|
|
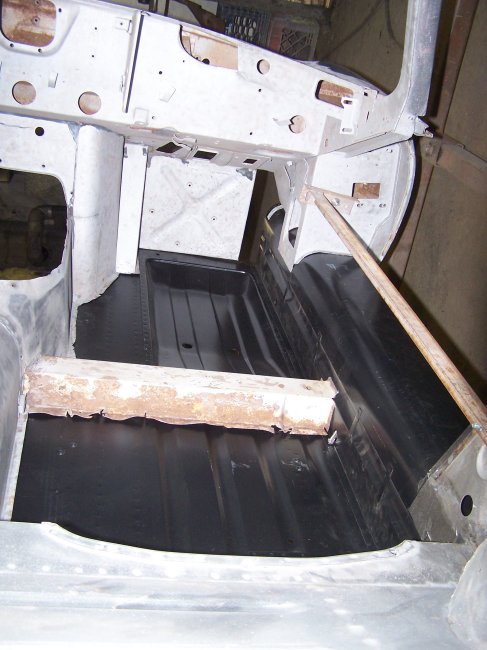
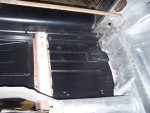
Before tackling the actual repairs I had to remove the thick layer of factory undercoating that filled the wheel wells and the section
of floor that goes between them. I discovered that mineral spirits that comes in the form of paint thinner in blue plastic containers
liquefies the undercoat if allowed to sit overnight. Since the tub was on a rotisserie all I did was turn the tub upside down and coat
everything with mineral spirits. Oh, it was a mess, but it clean-up really nice. The cracks are hard to clean out by hand, but sandblasting,
which was required for the rust spots, was the best way to get into the deep crevices.
|
|

|
|
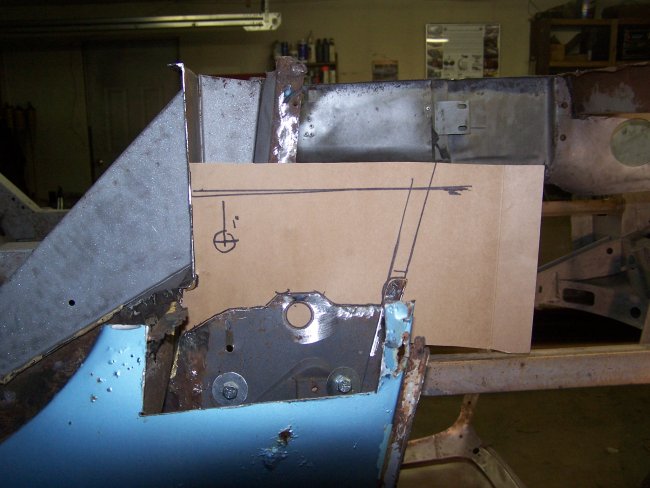
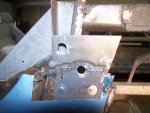
In this series of pictures you can see how I repaired the inner section of the left hand B-pillar. The first thing I did was to cut away the rusted section. Then I made a cardboard template
of the new piece. The new piece was then cut from a sheet of 19 gauge sheetmetal that I bought at a local partstore. I'm not sure what the 1 inch hole was for, but
I reproduced it anyways. The new piece was then butt-welded in and the welds were ground down on both sides.
|
|
|
|
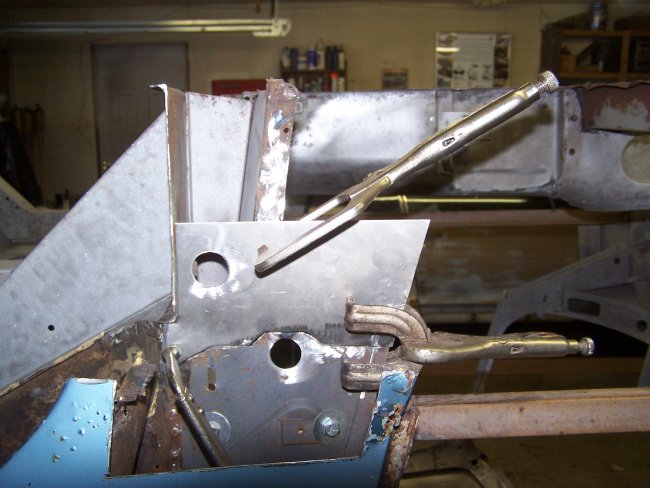
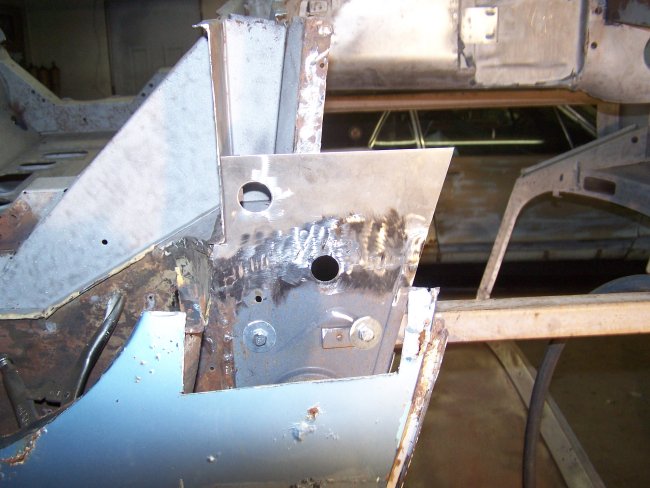
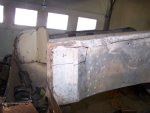
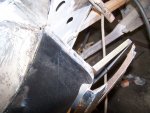
The next repair was the lower back section where it meets the floor and the rocker (seen in the first picture). It's pretty comon for this section to rust out since water can pool in the corners. For this
repair I made two seperate patches. The first patch was butt-welded in and the welds were dressed (cleaned). The second patch was first spotwelded in place along the factory seam where two patches were
meant to overlap and then the rest was butt-welded in. In the second picture you cannot tell that the repair has been made.
Also worth mentioning is the wire retainers that are welded down the side of the inner rocker panel. On the new inner rocker panels the last retainer is welded directly to the rocker, but in the original car
the last retained is welded to the outside of the B-pillar (the section that I patched) so that the B-pillar can rest flat on the rocker for welding. So I cut the last wire retainer off the new inner rocker
and welded a new one to the outside of the B-pillar. You can see this in the last picture above with the inner rocker panel installed.
|
|

 
|
|
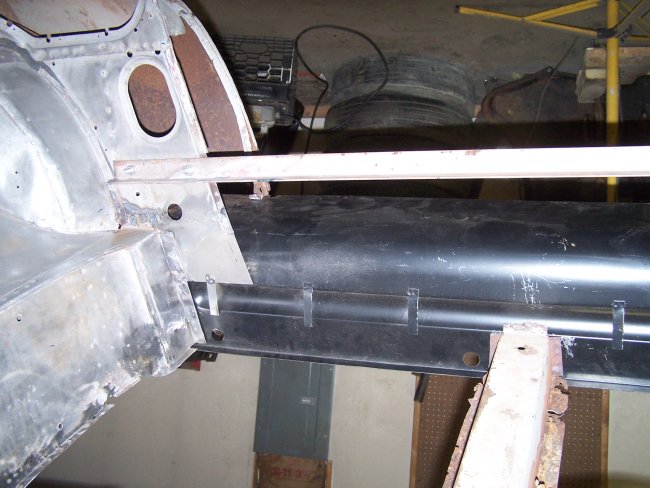
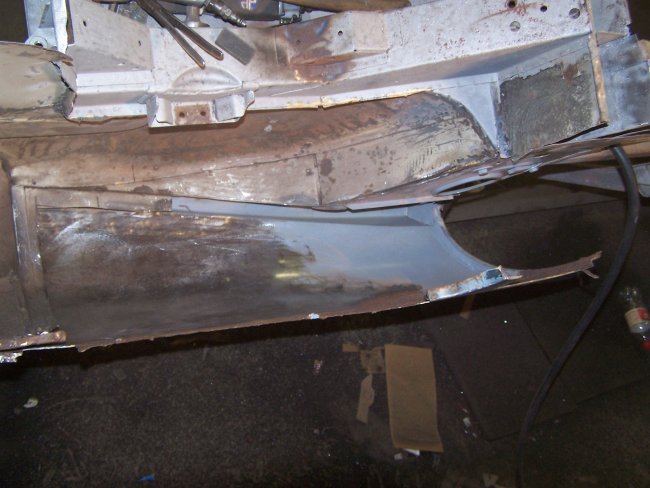
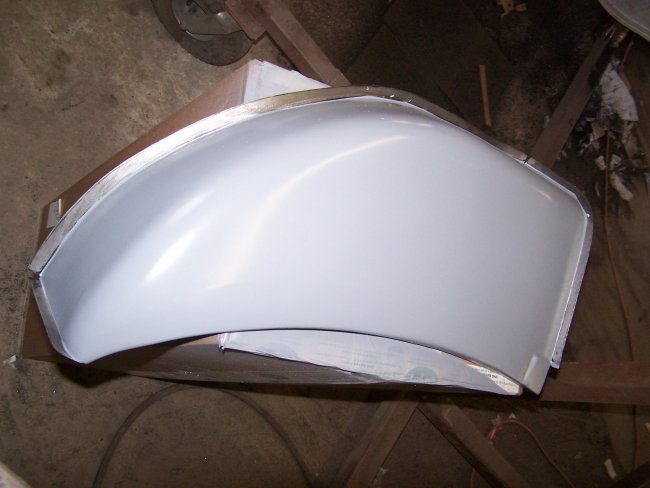
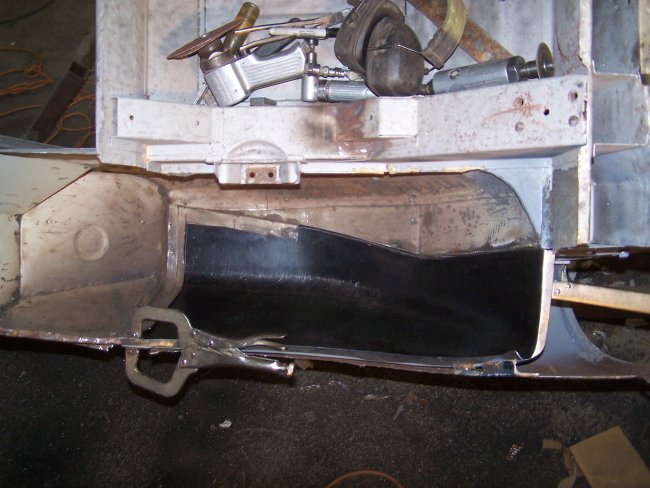
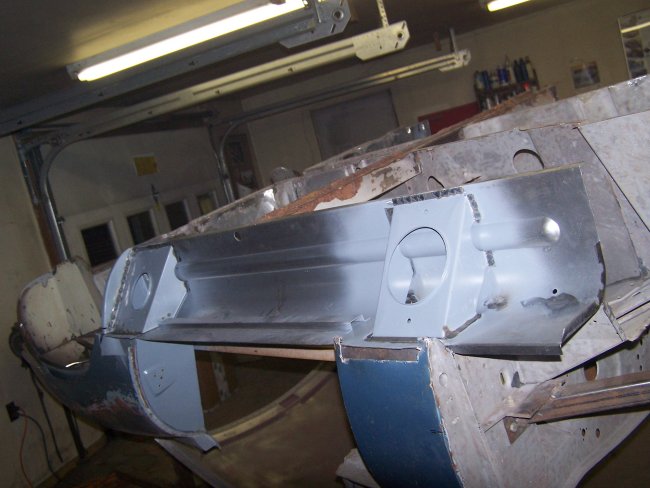
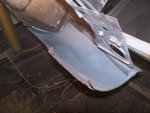
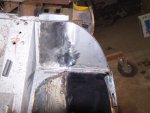
The next step was to repair the left hand rear outer wheel arch (aka outer wheel well). The bottom lips of the outer wheel arches were rotted pretty bad and even if I were to repair the bottom 2 inches of them
they were covered with severe surface rust on the inner surface, which couldn't be repaired without cutting them out or removing the rear wings (rear quarters). I decided to just buy new ones. I did run into a bit of
confusion trying to acquire new panels. The reason is the parts are not available through all the vendors and they are mislabeled as Rear inner arch repair panels in the SNG Barratt and Martin-Robey catalogs. At $275 each
I needed to get this right. Going by the partnumbers of BD19628 and BD19629 in the catalogs I was able to identify them as "outer wheel arches" in my Jaguar Spares catalog. I contacted SNG Barratt in New Hampshire
and the guy there was able to confirm that the parts were truely "outer wheel arches". I ordered both sides. Unfortunately the right side had to be manufactured by Martin-Robey and then shipped, on a container ship,
to the states. This took a month.
With the Left Outer Wheel Arch in hand, I cut out most of the old section on the tub and primed the back of the new wheel arch and the backside of the rear wing with PPG DP50LF Gray Epoxy primer.
The rear edge of the new wheel arch had to be cut away since it could not be installed on the car unless the rear wing was removed. As you see in the fourth and fifth pictures, the new wheel arch was spotwelded
in place like the original one. The remainder that could not be reached with the spotwelder was butt-welded in place, NOT lap-welded.
|
|
 
|
|
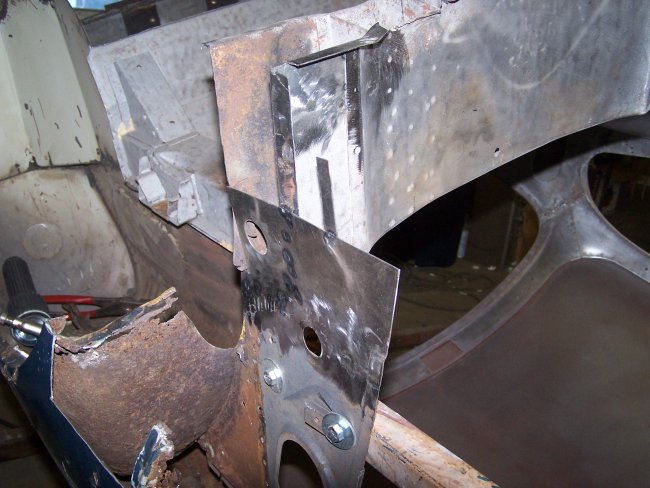
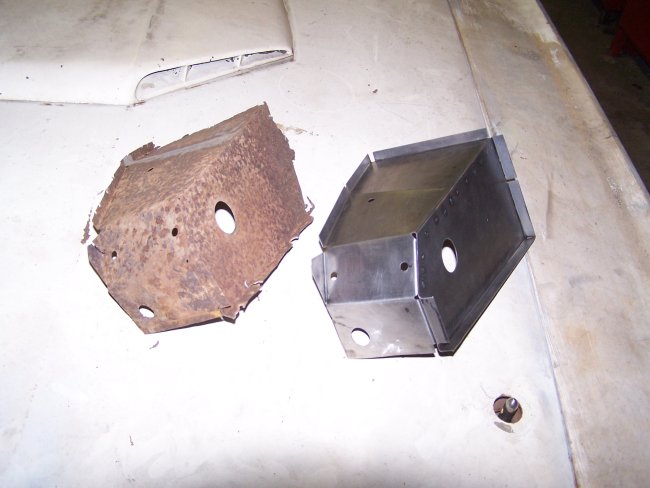
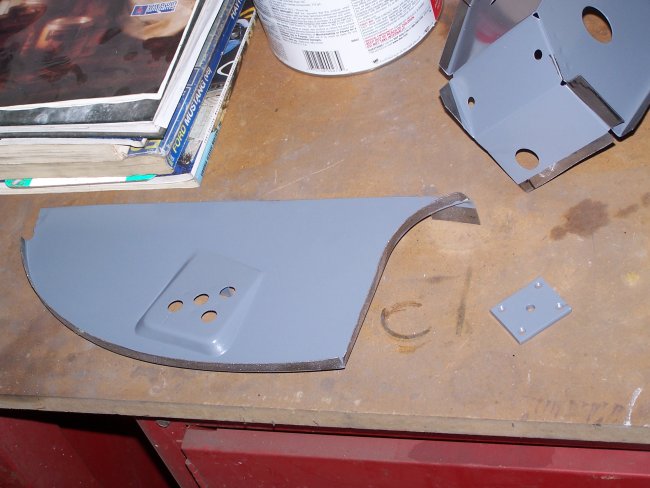
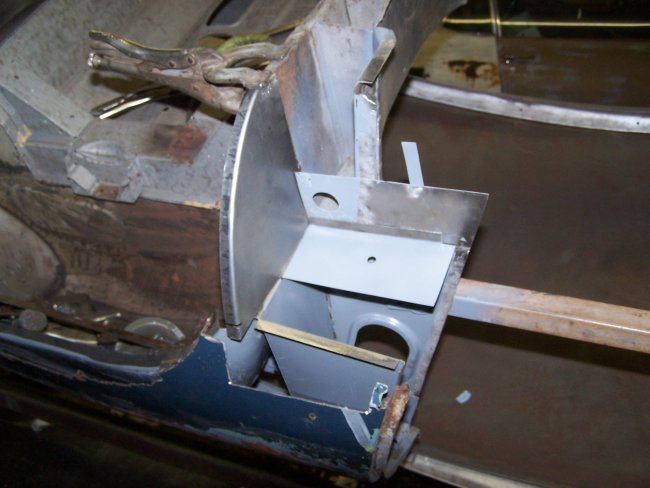
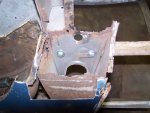
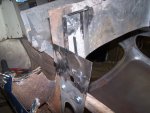
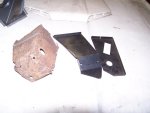
Next came the inner B-pillar reinforcement. There was way too much rust to repair the original so I bought some new ones. The new ones have to be assembled, which is just a matter of spotwelding them together. If you compare
the new parts to the old in the first picture you can see that a triangular piece is missing on the new part. I'm not sure why. Perhaps it was a later change ? But in any case I wanted to be as original as possible
so I butt-welded in a section of sheetmetal and drilled out the hole in the corner to duplicate the original.
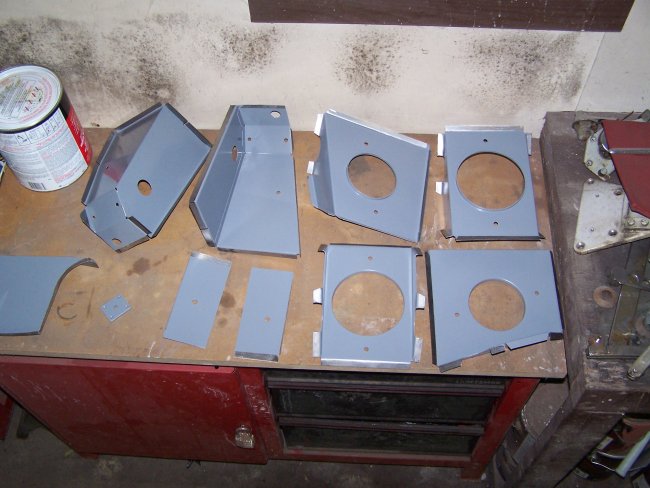
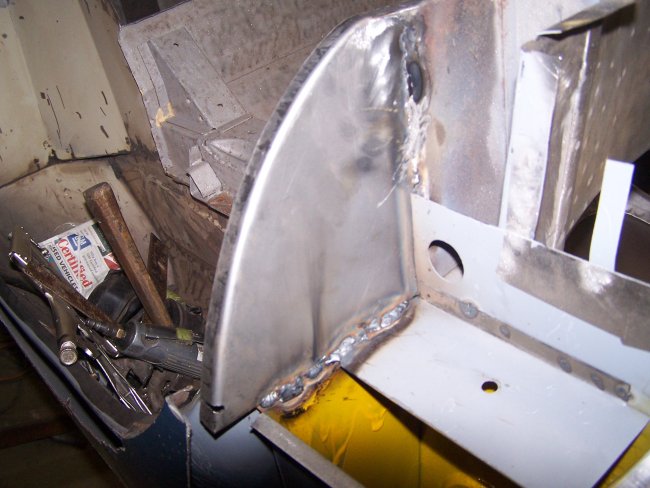
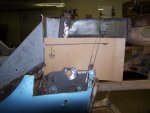
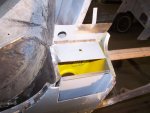
There were a couple pieces that I had to make, which were installed on the Series I E-types, and are not available. They are some sort of baffle, I guess, that is basically a 6" by 3" piece of sheet metal with a vertical seam
along one side for spotwelding them in place. In the third picture you can see them along with the new parts that I stripped and primed.
|
|
|
|
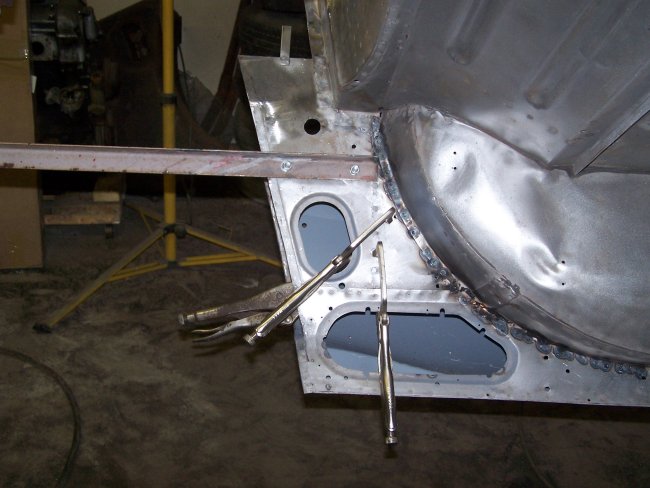
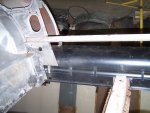
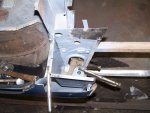
Now comes the B-pillar rebuild. I started by trial fitting all of the parts. Since I did not have the correct tongs for my spot welder, I had to plug weld the inner reinforment in place and then weld a bead where
it overlaps the rear wheel arch. Though its not shown, the welds were all ground down flush. I use a 40 grit flapdisk on my grinder to take welds down smooth.
|
|
|
|
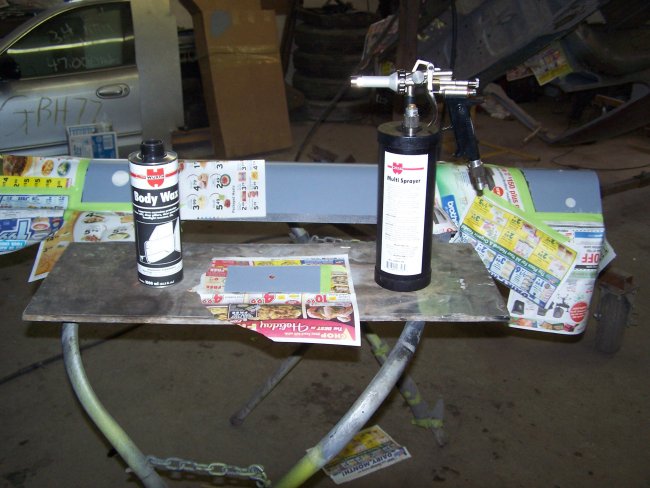
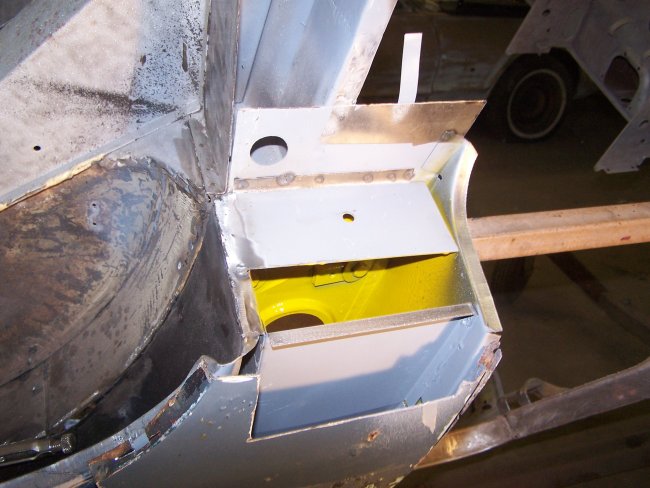
With the reinforment in place and the shut face panel spot welded in, I primed the exposed metal and then coated the insides of the pillars with Worth Body Wax. I picked this tip up from Classic Jaguar. I was lucky enough to
get a new gun from E-bay for $150, which saved me $100. The body wax itself I bought from Worth USA at $30 a liter, ouch.
|
|

|
|
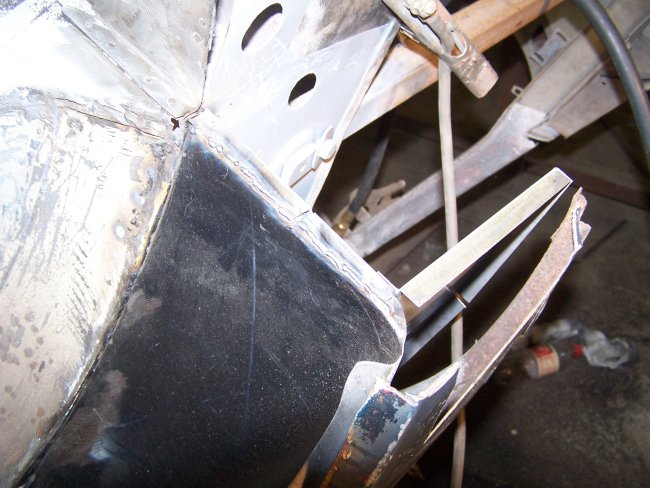
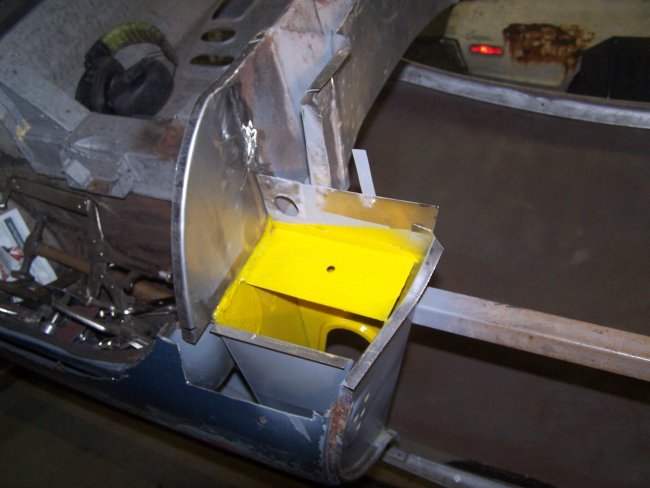
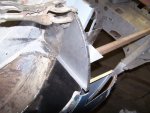
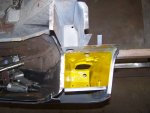
The back side of the baffle was body waxed before it was installed. The baffle was spot welded to the inner reinforcement and bead welded on top of the wheel arch. The original was brazed in place. After the baffle was installed
I welded in a new rocker end close panel. The close panel was fitted using the new outer rocker, prior to welding it in. If I had not done this, the outer rocker panel would probably not fit. Once welded in, the welds were
cleaned up, primed and then everything was coated woth Worth body wax.
|
|

|
|
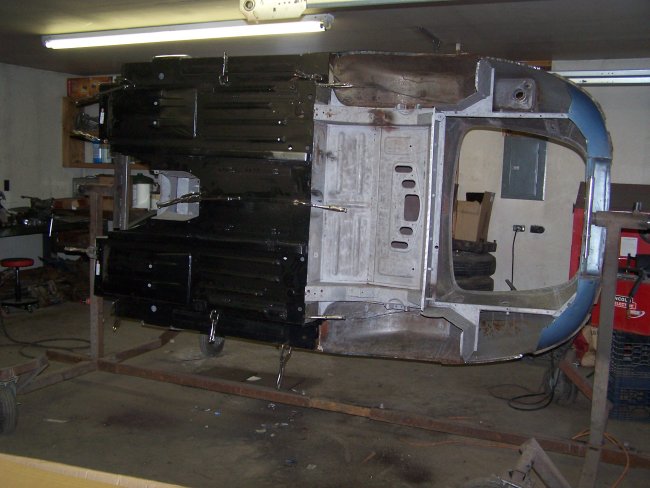
Before welding in the left hand inner rocker panel, both left and right inner rockers and the floor pans were trial fitted. There is a lot of trial fitting required for this kind of work. As it turned out, everthing
fit pretty good.
|
|
|
|
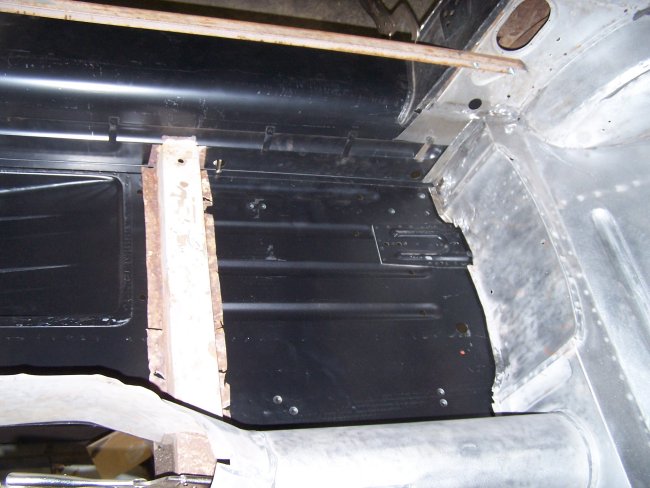
The left hand inner rocker was primed and received a coat of Worth Body Wax where it encloses the A-pillar and B-pillar. These areas are not very accessible once the inner rocker is welded in
so it has to be done at this point. Once properly clamped in place the inner rocker is quickly welded in place. Before installing the support gussets, I primed the areas that they cover. Welding the gussets in
took no time at all with a spot welder.
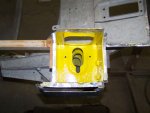
I would like to mention that a 220volt spot welder like my Miller LMSW-52 is a must for working on these cars. Spot welding is fast and there is no further dressing of the welds afterwords. The alternative is to drill holes, perform
plug welds and then grind the welds down. With a spot welder a dimple is left behind, which is the way the welds looked from the factory. The only draw back is that you need an assortment of tongs to reach the desired areas.
|
|