
Lock Bolts - Fastenal p/n: 11102661, Huck p/n: C98LT-U6-5BR 3/16"dia 0.250" - 0.375" grip range
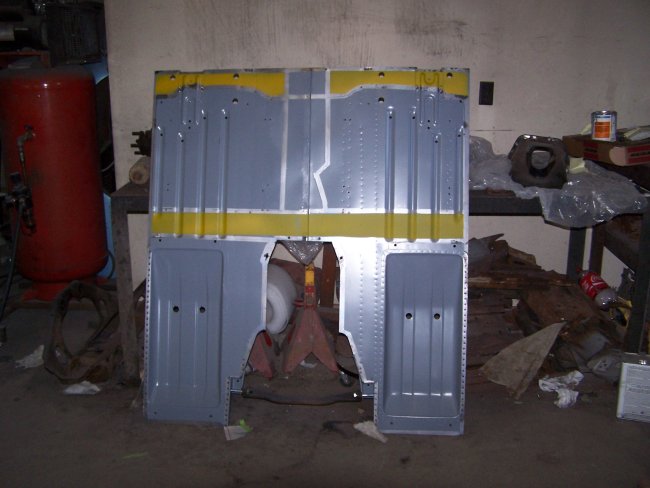
Lock Bolt Collars - Fastenal p/n: 0125601, Huck p/n: 2LC-R6G 3/16" dia
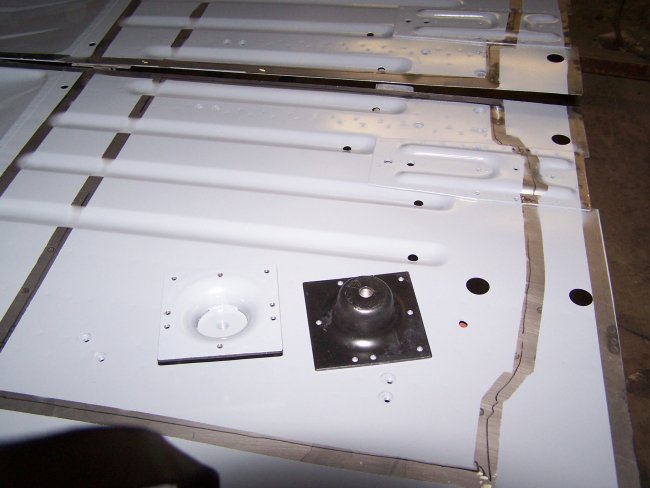
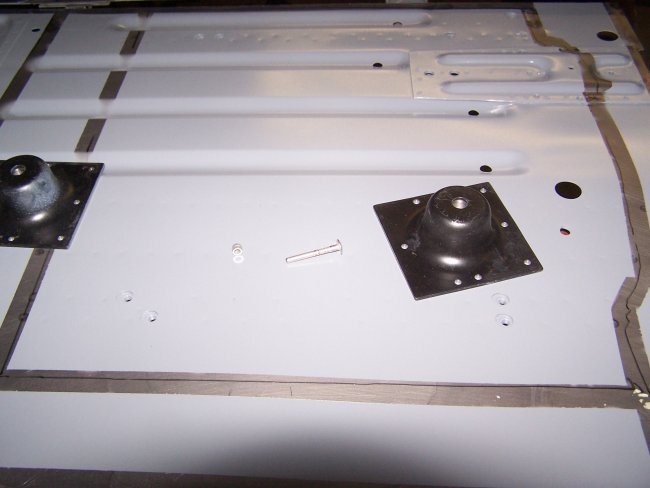
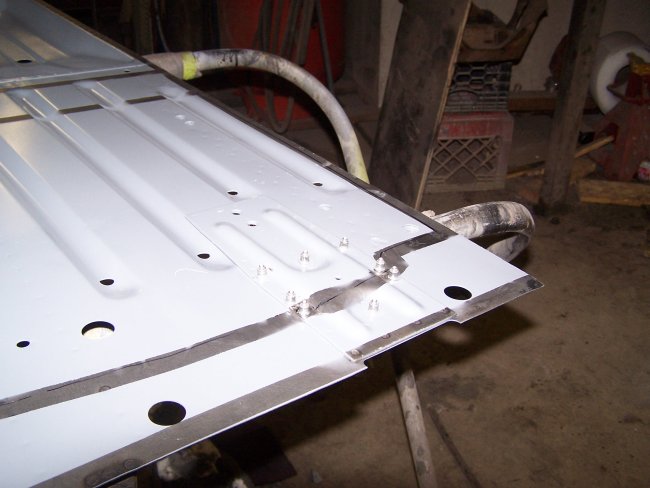
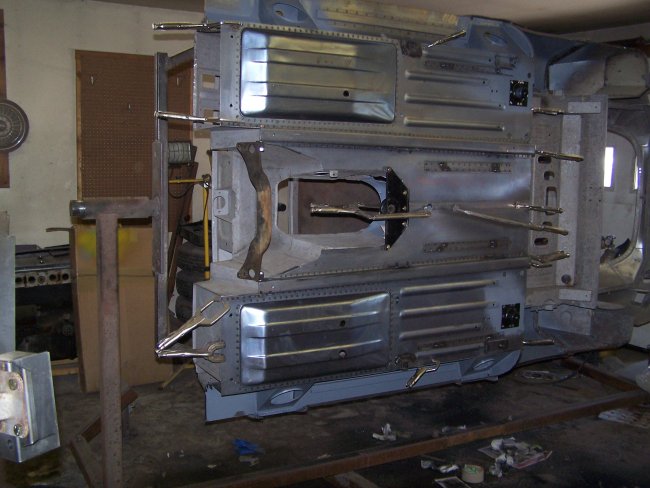
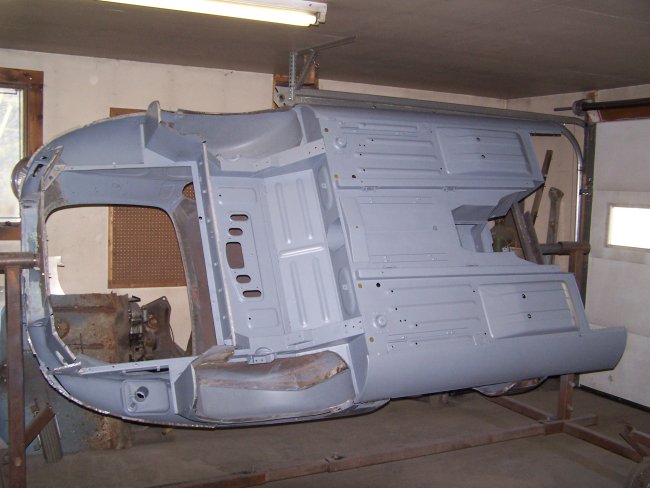
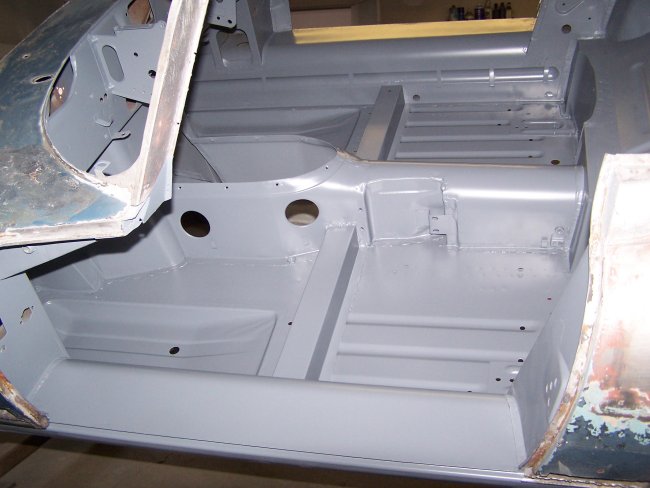
You can see them in the second picture. They are installed using a special tool, which of course, is not an easy thing to find. In an incredible stroke of luck after searching for only a couple days I found a manual installation tool on E-bay for $89 which was configured specifically for 3/16" Huck lockbolts. The tools is a Huck Model 194, which is no longer being manufactured. It appears in the fourth picture.
The first thing I learned during the installation was that the holes in the radious arm cups were smaller than 3/16" though the holes in the floor were 3/16". The lockbolts didn't fit ! So I used a drillpress and drilled them out to 3/16". The lockbolts where still a little larger than the holes, maybe by 0.002", which is ideal. You don't want any slop in the radius arm cups once they are installed. I used a hammer to persuade the lockbolts in place. Using the Huck Tool was a pretty quick and easy process to finish the job. The completed installation looked factory original.
I've seen that some people use regular bolts or metal rivets and peen the ends over to hold the radius arm cups in. I'm not sure how safe that is. At least, in my opinion, have used the correct materials and method to do the job right.
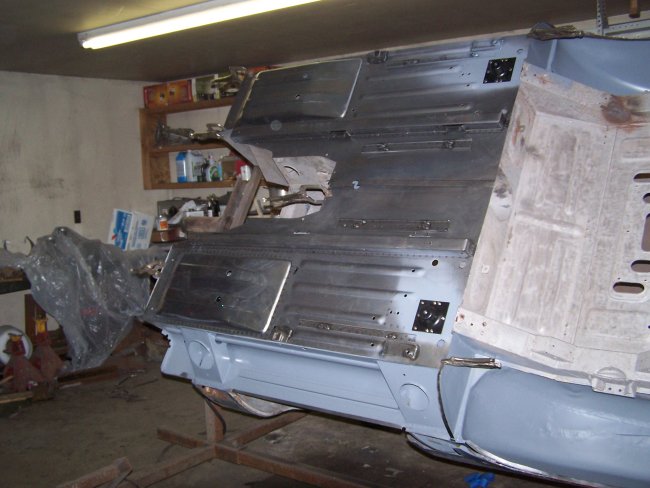
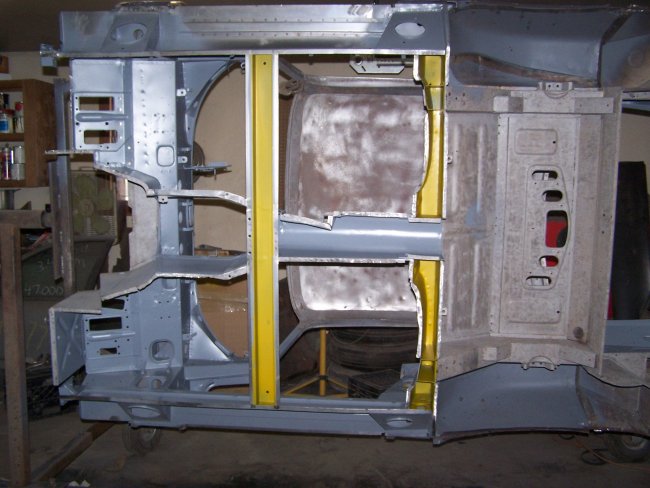
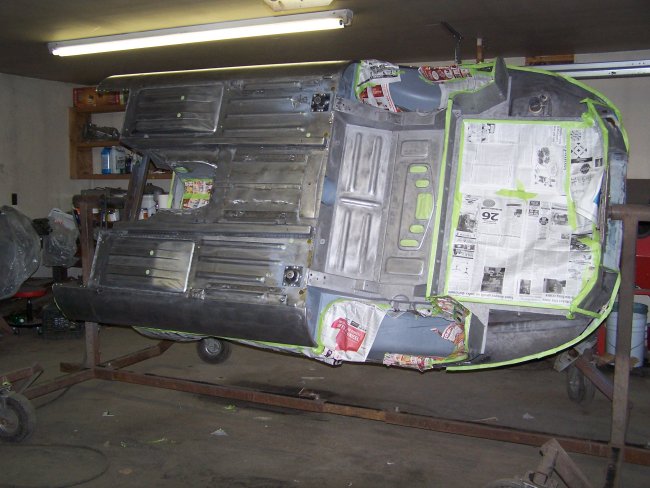
With the floor sections clamped in the correct location, I spot welded them together in a few locations and removed the floor from the tub. With the floor sitting on milkcrates I finished the spot welding. My spotwelder cound not reach the center 2 inches of the floor so I just welded the that section on both sides with my mig.
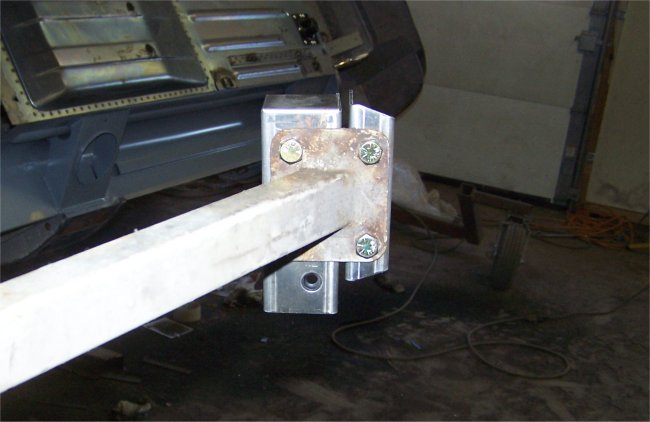

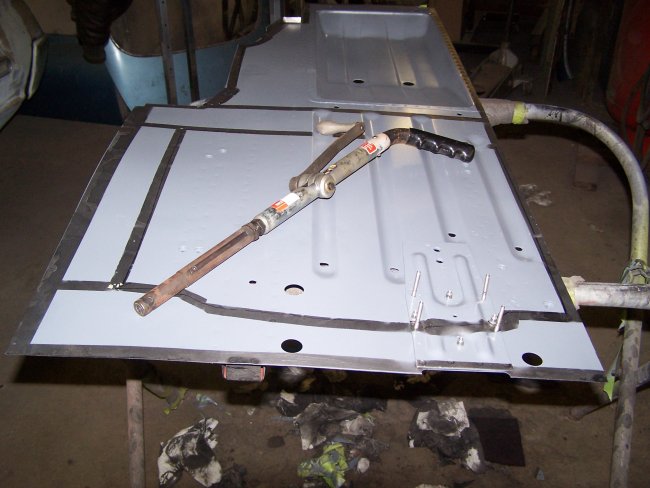
In the second picture you can see how I started. I spot welded the inner bracket in place. Then using an engine frame installed backwords, I bolted the frame in place to set the spacing for the inner bracket. Then I welded both brackets in place with my mig. Though not shown, I welded the two bracekts together down the front.
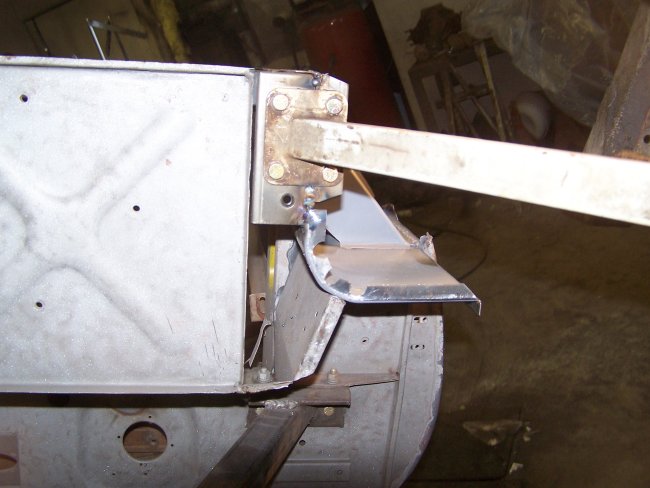
One more thing to note was that one of the nuts on an outer bracket broke free when I was taking the engine frame off. The original brackets had their nuts mig welded in place, so I decided to do the same to the new ones. The last thing I need is for one of those nuts to break off inside the sealed rocker panel.
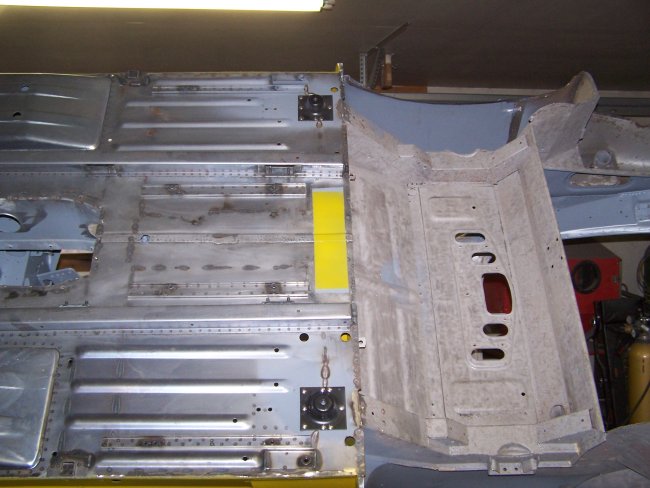
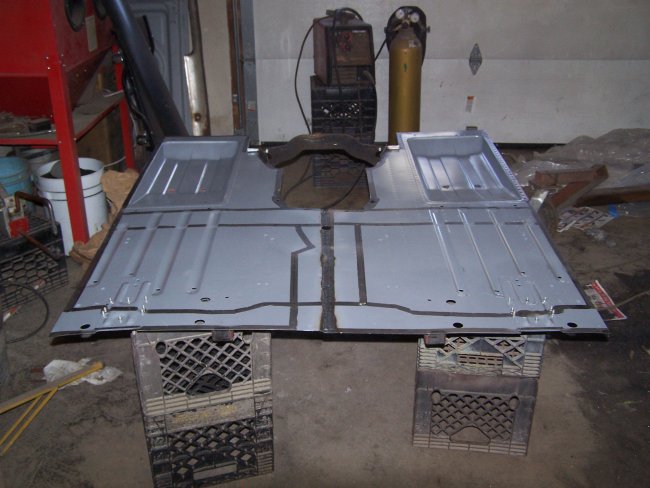
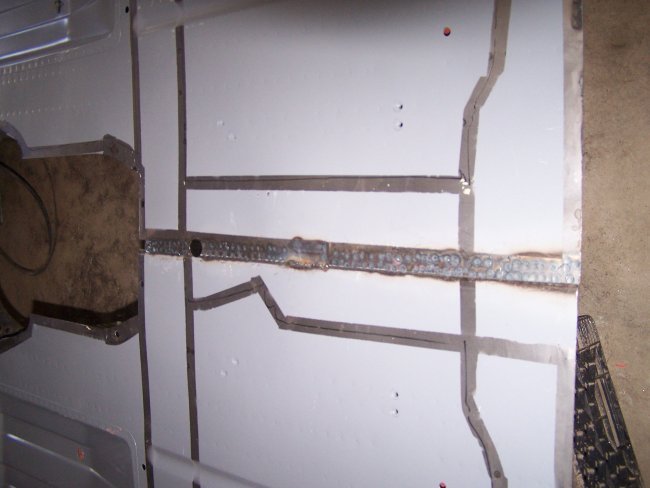
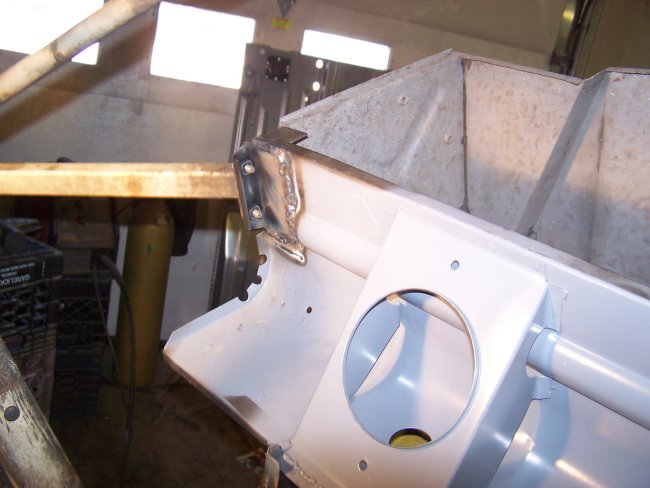
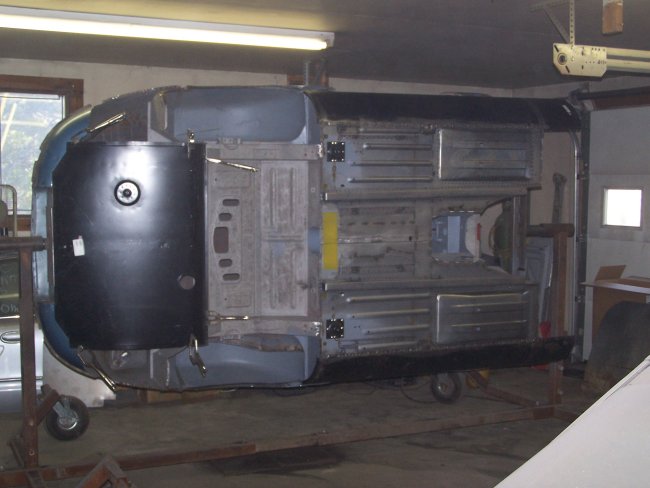
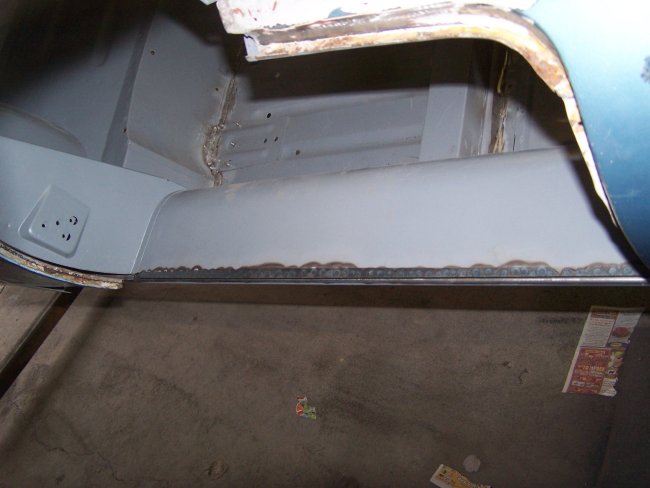
Once the primer had dried I applied Wurth Body Wax to the inside of the floor reinforcements and on the mating floor sections prior to welding. The floor was clamped in place as before and was welded in using a combination of plug welding, bead welding and spot welding. Ideally I would have liked to have spot welded the entire floor in, but it would require a large investment in different tong styles for the spot welder. In the last picture above you can see a section of the underside that was primed and coated with body wax. This was done in preparation for a reinforcement that is welded across the transmission tunnel towards the rear of the car.
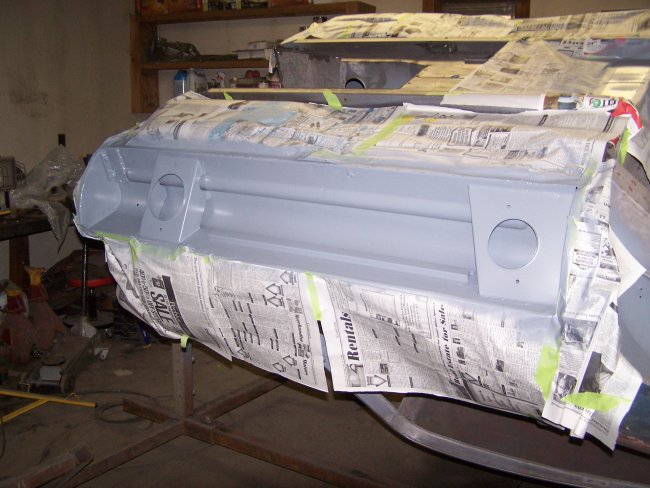
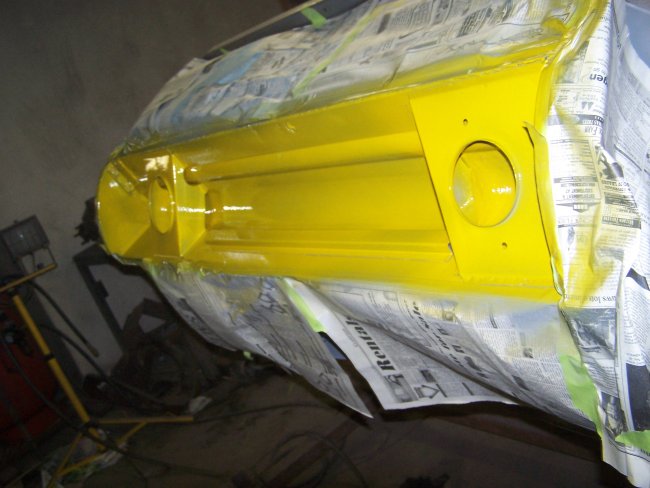
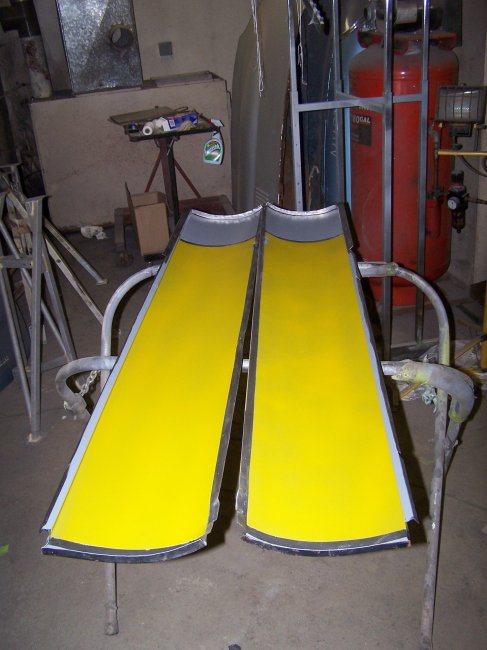

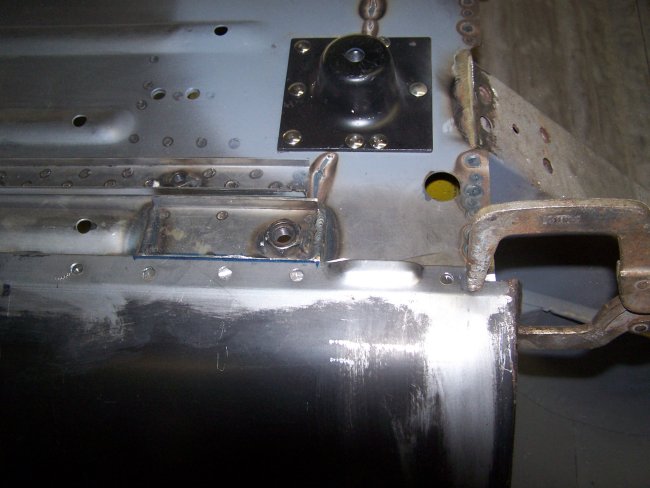
Next on the list was the outer rocker panels. The first part of the job was to prime and Wurth Body Wax the inner and outer rocker panels as shown above. The next couple pictures show some critical areas where the rockers are welded to the floor pan. The center of the rocker is slid under a bracket which is the main jacking point for the car. The rocker is bead welded to the bracket. The rear of the rocker is butted up to the seat belt loop mounting bracket. The rockers were not originally welded to the brackets, but I decide to put a bead of weld between them since its very hard to protect this area from rust. As you can see from the pictures the rocker panels were plug welded to the floors. Again I would have prefered to use a spot welder, but I did not want to invest in all of the tongs that were necessary to do the job.
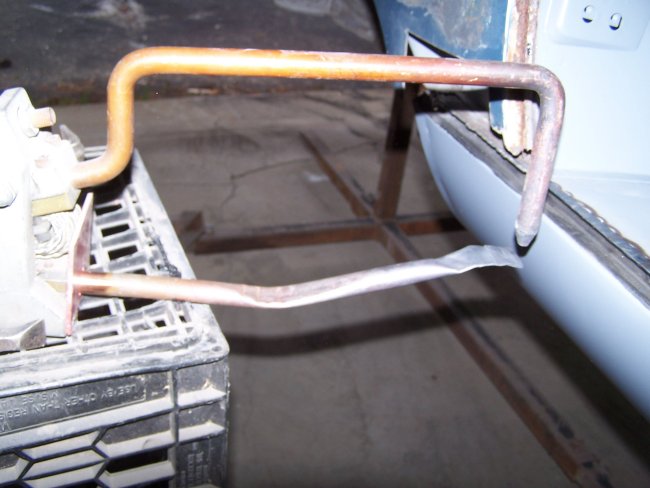
Then with the tub flipped over I spot welded the top portion of the inner and outer rockers together. There are a significant amount of spot welds required to hold the rockers together. For this job I made a special lower tong for the spot welder using a 1/2" copper pipe that I hammered flat on one end. It made the job very easy, but the tong only survived long enough to do both sides.
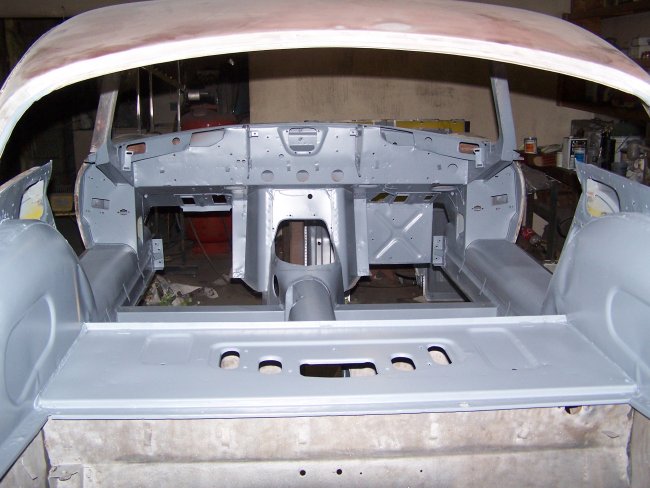
With the welds cleaned-up I primed the inside floors and rockers. The only thing left to do was to seam seal the seams and the interior will be ready for color.
It should be noted that repairs up to this point are what one can typically expect to perform on any E-Type Jagaur restoration. This is mainly due to the car's construction. Many inner areas of the structure where unprotected and any protection tended to be burnt off during the lead loading process. The under carriage of the cars barely received any primer at all. They were just coated with a petroleum based undercoat. So if you are thinking of performing your own restoration on an E-Type keep in mind that it's a rare car that doesn't need this much repair.
A word on protection: Epoxy primer can withstand a lot of heat before it burns so it's ideal for treating the panels. Wurth Body Wax will 'flow' instead of burning like rubberized undercoat. So it will still protect the inside of enclosed structural members. I've seen in flow out of the joints while welding.
| < Back | 10 | NEXT > |