Project Index, Project Home, Part I, Part II - Page #: 5 6 7 8 9 10 11 12 13 14 15 16 17 18 19 20 21 22 23 24 25 26 Part III, Progress, Links

< Back April 3,2010 - Now: Bonnet Installation NEXT >


Since it will be some time before I get a new left rear wing, I decided to go with the next stage of the body work which is to install the bonnet so that the end panels could be installed on the rockers and the seam between the rockers and the bonnet could be lead loaded. This can only be done with the body off the rotisserie. I built a cart to rest the shell on from a 2"X4"X8' and a couple 2x4s and some casters. I stapled some foam padding on the cart where it made contact with the shell.It took me a few hours to lower the body onto the cart.

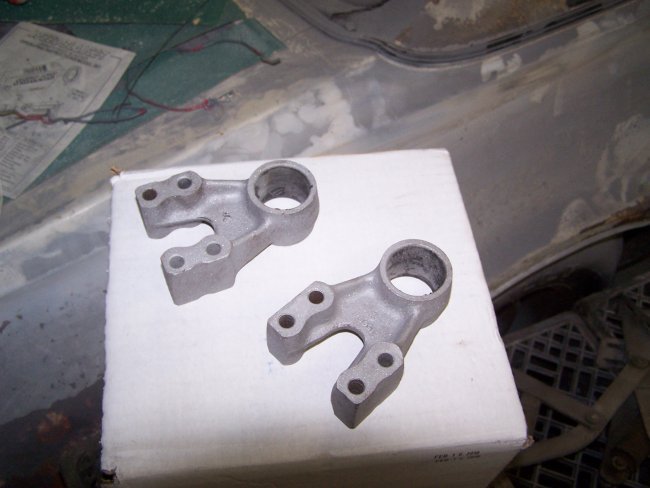
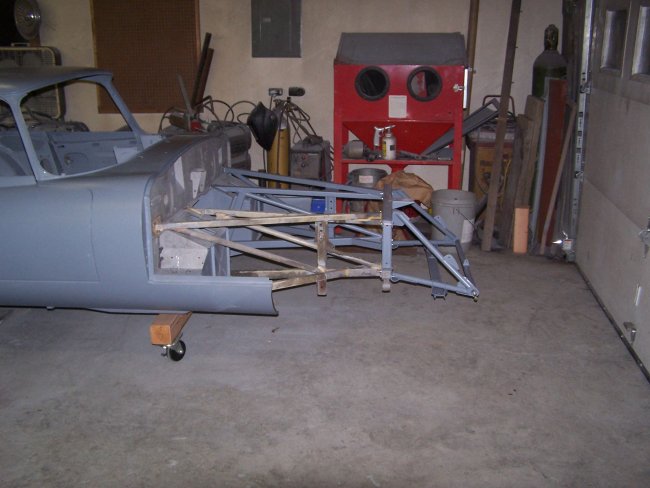
Then came the installation of the subframes, the picture frame and the bonent support frame. To prevent damaging the picture frame I had to install the lower A-arm front brackets (shown above). They are inserted into pockets inside the picture frame. If is installed the bonnet support frame without them, the pockets would have been deformed when I tightened the hardware.

As you can see in the pictures one of the engine subframes has not been primed. I need to buy a new subframe for the right side. The original one was split at a joint in the front where someone had jacked the car up. There was also a rust hole by the pciture frame. E-type engine subframes can not be repaired. They are running about $1200 per side right now. At least the left side was perfect.


I purchased some new pivots (hinges) for the bonnet including new bushings and bolts, but I forget to order the shims. In the first picture you can see the shims the car originally came with from the previous owner. The small U-shaped shims are not original. I used these shims to install the bonnet. Since I'm replacing the right subframe I will need to reshim everything when it comes in.

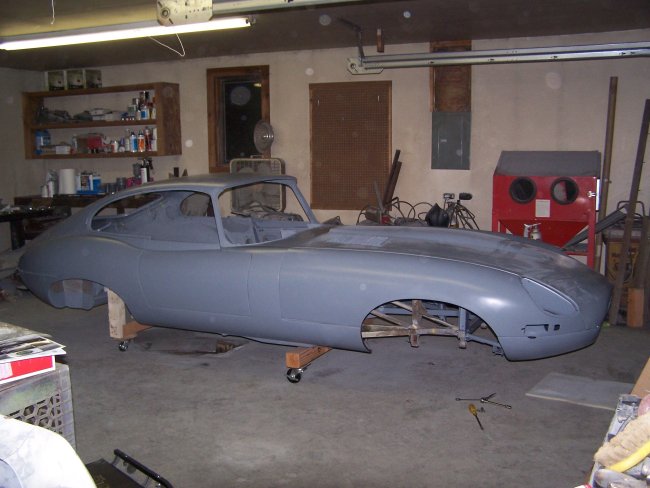
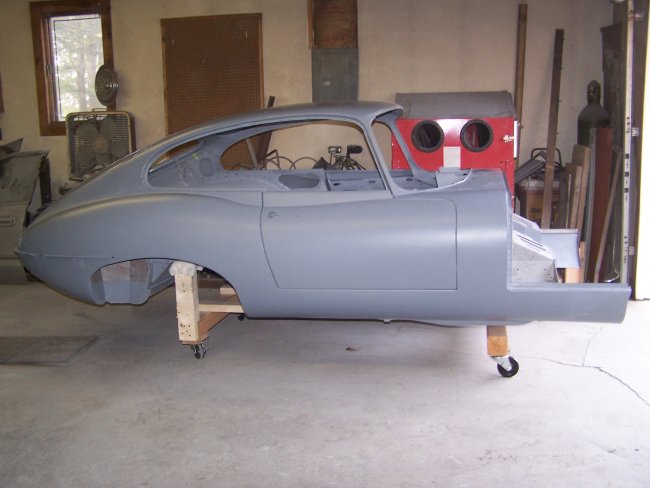
With the bonnet install it really looks like a car again. Unfortunately it all has to come apart prior to painting. The body also has to go back on the rotisserie to paint the underside. Once that is done the rotisserie has to be modified so that the interior can be painted. I hope to paint it in July. Let's see if I make it.


< Back 20 NEXT >