The following activies were performed sporadically throughtout the spring and summer of 2008. I was finishing up the exterior work on a new
960sqft addition to my garage, which took up most of my available car project time.
|
|
 

|
|
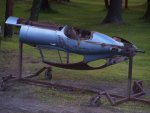
Once the roof was replaced, I removed the doors and the rear hatch. Then I mounted the whole thing on my car rotisserie. I had to manufacture mounting brackets to mate
the shell to the rotiserrie. I won't go into detail on how I made the adaptors since its specific to my rotisserie. Basically I emmulated what
Classic Jaguar fabricated for their E-Type restorations.
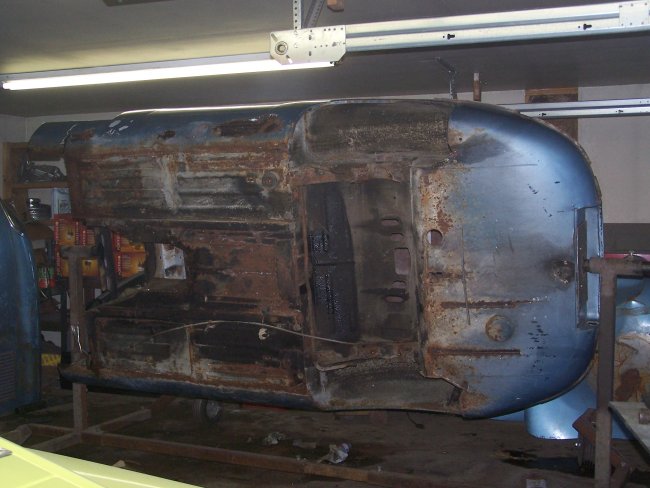
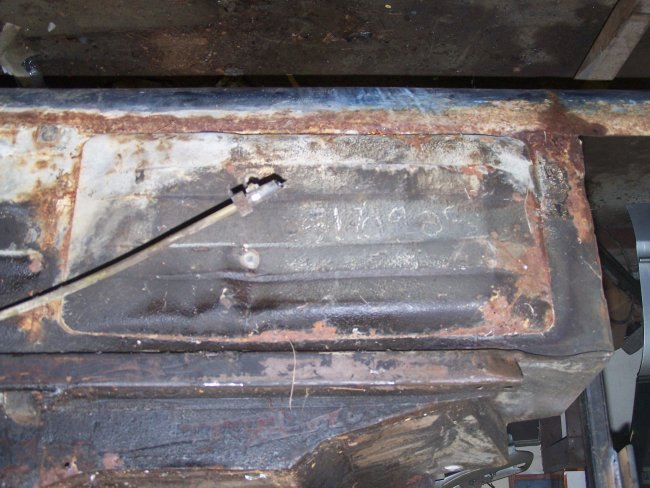
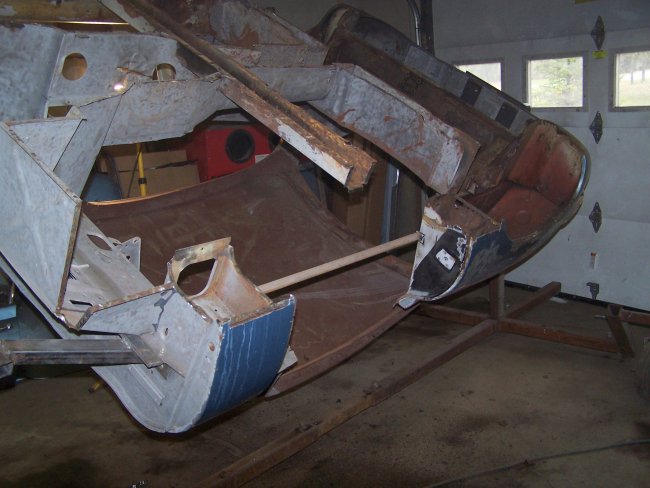
Without a rotisserie this work would be extermely difficult. Before I started I turned the shell sideways and took a few pictures. I was suprised to find what looked liked
a phone number (516-925#) carved into the undercoating. It could be a Jacksonville, Vermont phone number. I may have to try it someday...
I started by cutting out the floorpans. Basically I used a hand-held pneumatic reciprocating saw to cut out the bulk. The floors are mostly spot welded in place.
I used a stone grinder to identify the spot welds and then I use a small hand-held pneumatic cut-off well to carve the spot weld down trying carefully not to cut into
the metal I want to reuse. Then I use a hammer and a flat chisel to help me peel away the unwanted metal. This takes a lot of time and patience. In the last picture above
I had removed the driver's side outer rocker and floorpan.
|
|
|
|
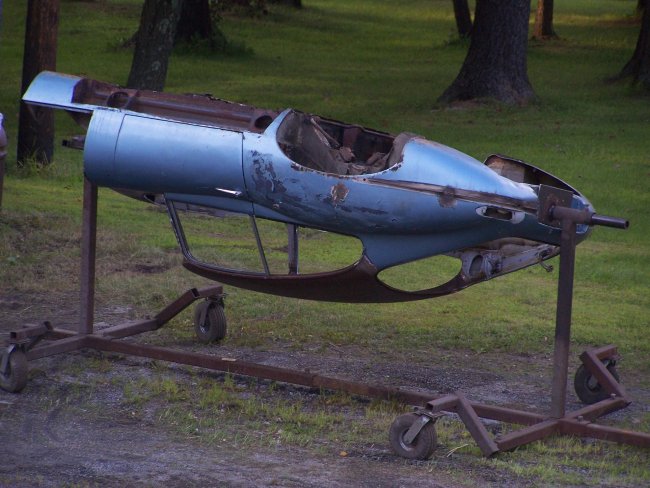
On a nice sunny day I rolled the shell outside so that I could perform most of the sandblasting that was needed. The crossmember was going to be replaced, so it was not sandblasted.
The outside body panels and the boot area should not be sandblasted to avoid warping the panels. The boot area was stripped with Aircraft Paint Remover. Any areas that showed rust on
the inside were sandblasted.
|
|
 
|
|
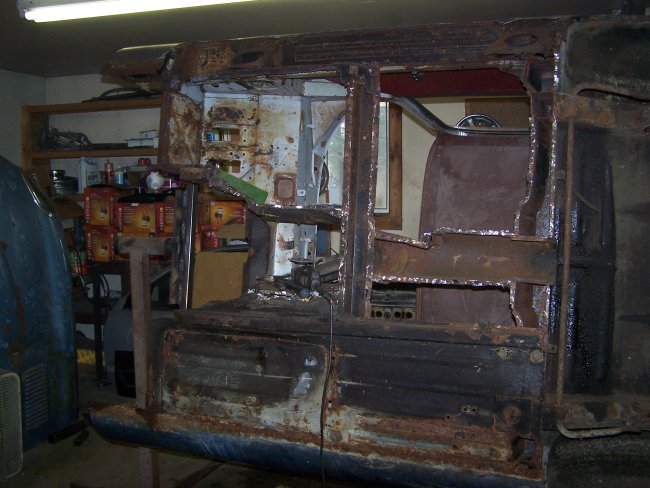
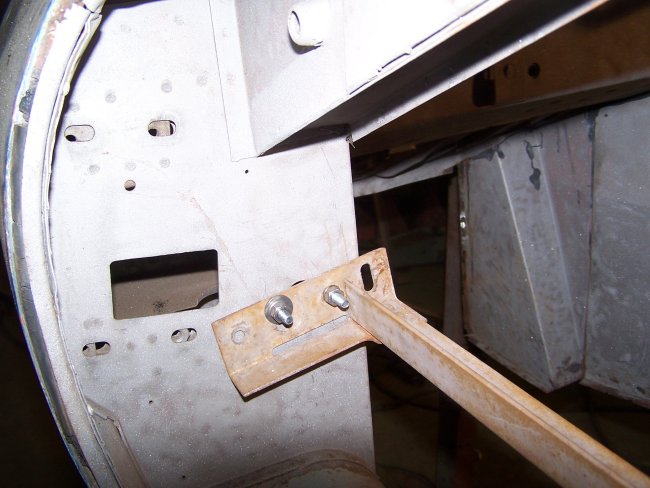
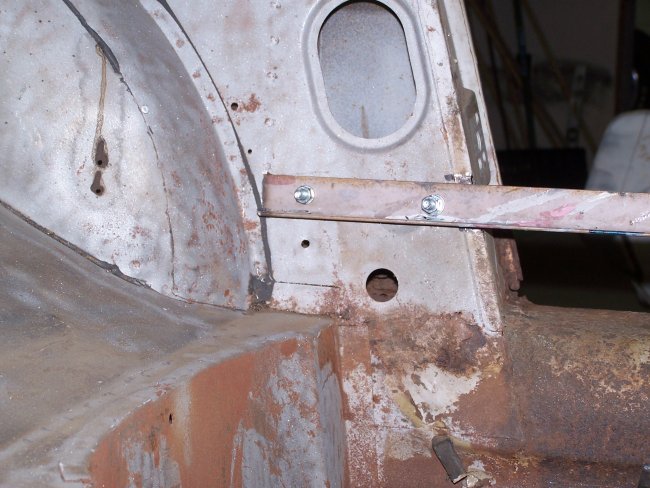
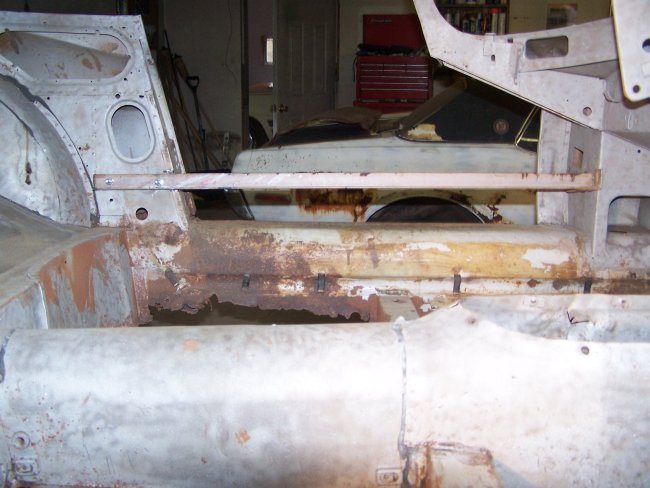
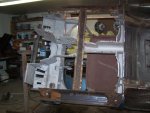
With the floors removed it was time to cut out the rockers. But first braces had to be installed to prevent the shell from buckling. I made my braces from a scrap bed frame.
Using fender washers on the inside of the A-pillars I bolted the shortened 'L-section' of the bed frame in place using existing holes. The opposite end of the rails were bolted
in place in the same fashion and by using existing holes. I was planning on replacing the door shut face panels so I marked and cut-out the section of the door shut face panel
that would be trapped under the brace. Refer to the fourth picture.
|
|
|
|
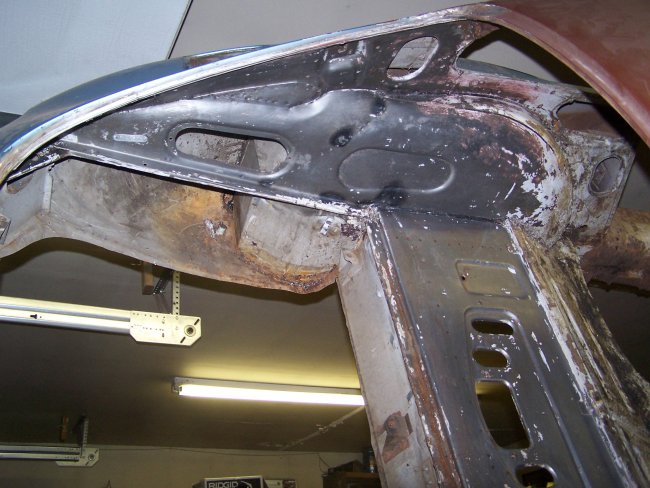
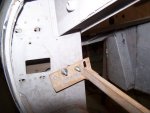
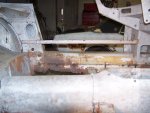
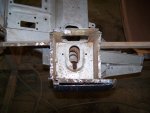
Once the bracing was completed, I cut the rocker panels out using the same technique that I used for removing the floorpan. The A-pillars were in great shape, with only a little repair being needed on the
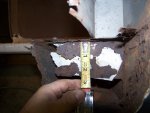
passenger's side. The B-pillars are another story. They were in very bad shape. It will take a lot of time to fix them correctly. In the third picture you can see where I was measuring the dimensions,
center hole position & size for a piece of metal that will need to be reproduced later. With that done I removed the rest of the rocker and close panel.
|
|
|
|
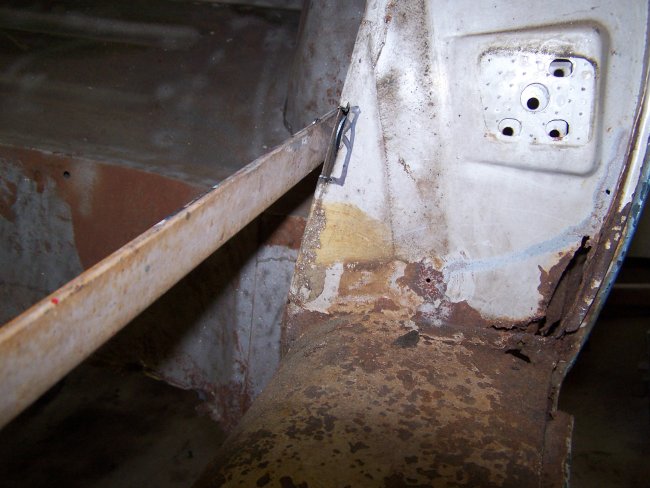
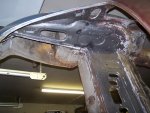
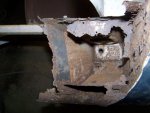
The B-pillar rust appears to be a typical problem with E-types. At least with the Series 1 E-types. There are many restorations at Classic Jaguar that show this problem. This is no surprise.
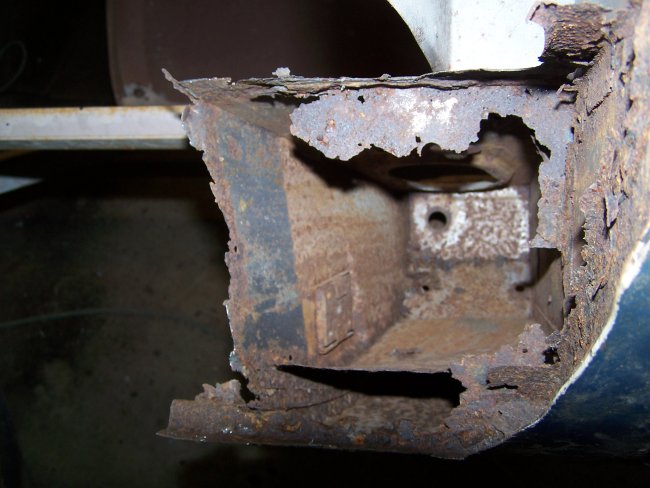
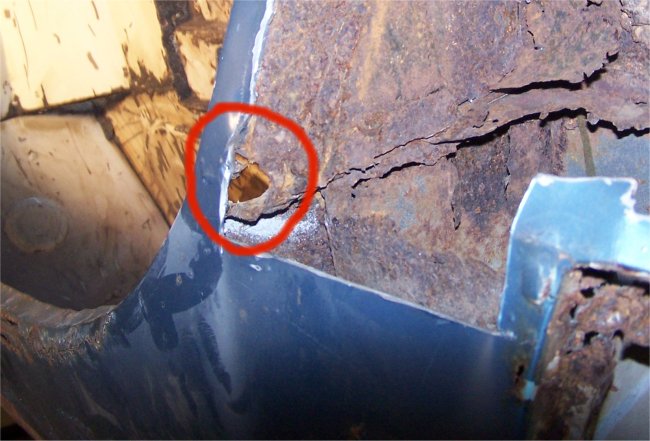
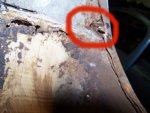
Upon close examination of the rear close panels (rocker panel end caps) there was a visible opening in the corner were the outer rocker and rear wing are joined. This allows all sorts of water and debris
to enter the rocker cavity.
|
|