|
|
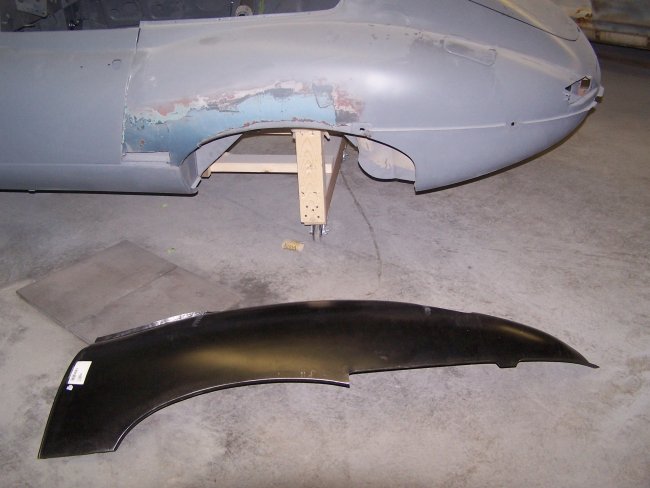
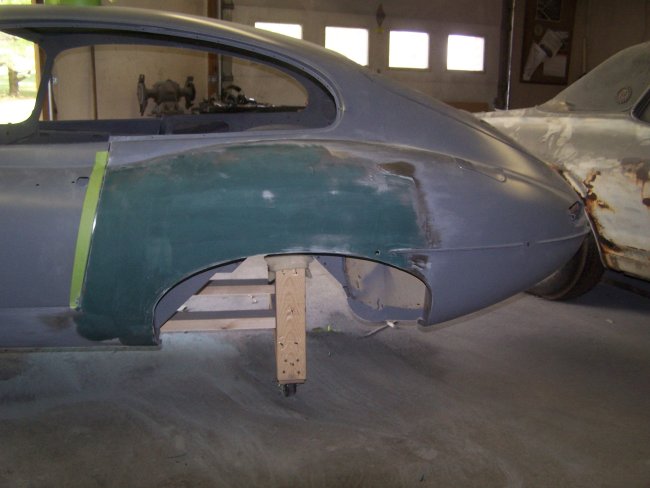
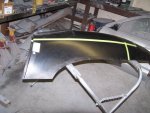
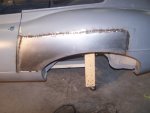
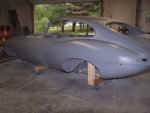
After waiting a mere 6 weeks, my new rear wing came in fresh from England via SNG Barratt. It cost me $858 including shipping. This is officially the most expensive part I have
ever paid for in my life! Since I did not need the whole wing, I saved myself $700 by buying a wing for a roadster instead of a coupe. In the first picture you can see the new wing
and the section it replaced. I had previously bought a repair panel for $85 that didn't fit at all and was not high enough to fix what I needed.
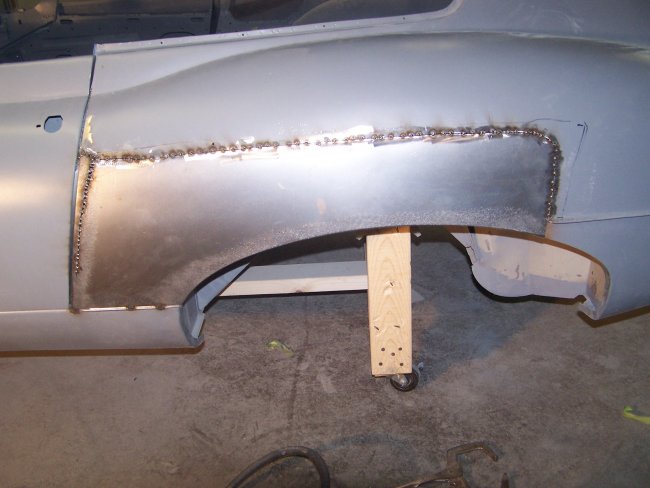
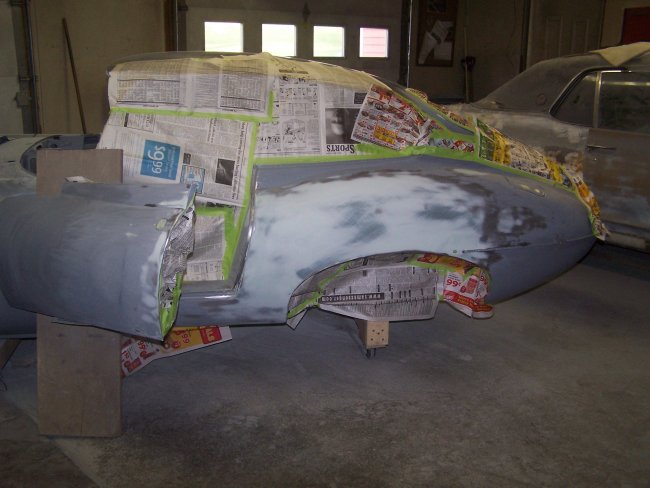
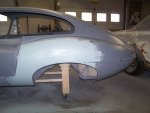
The new wing was butt-welded in place. The process was started by cutting down the new wing to a size that was a few inches larger than what I needed to replace. Nothing like cutting
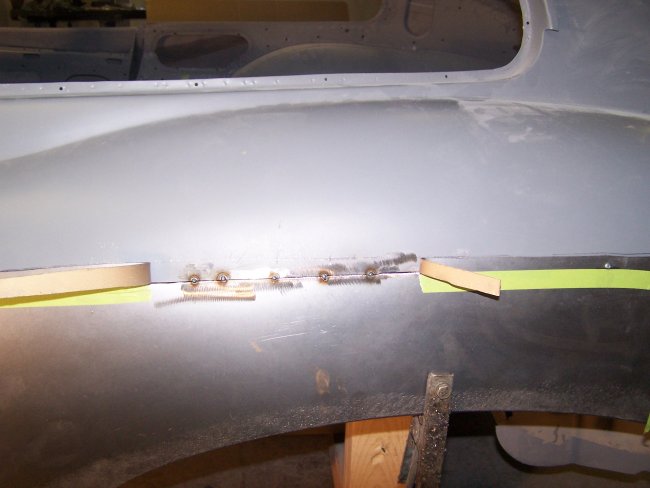
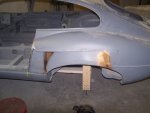
into a $858 panel and tossing out 2/3 of it! Using the reduced panel as a reference a smaller section was cut away from the car. In the fourth picture you can see where the rear wing was
cut which revealed my previous work. I took the opertunity to touch up some of the primer that had been burned through when the inner wheel arch and door pillar had been welded in.
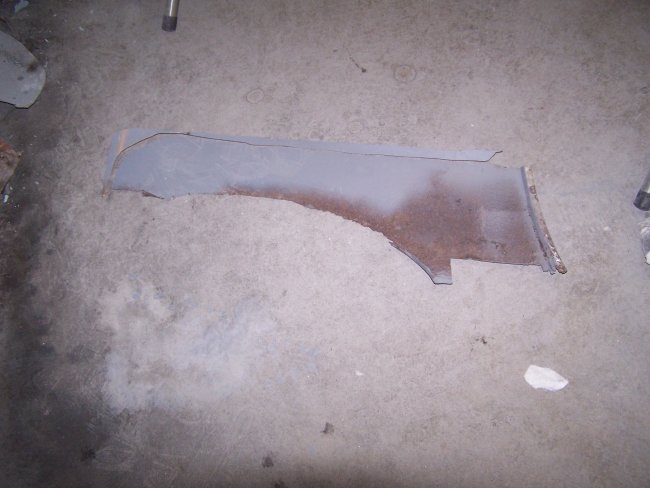
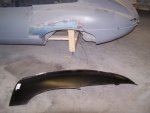
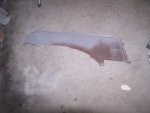
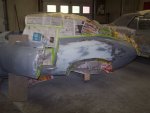
The last picture shows the back side of the pieces that I had cut off the car which was loaded with rust.
|
|
 
|
|
The butt-welding process is discussed more thoroughly on my Mustang pages, but here it is in a nutshell. First you clamp the new panel over the old panel. In this case I used rivets. Then I
cut though both panels with a cut off wheel to create a small slot. I then inserted my pneumatic saw into the slot and cut a section about 6-8 inches wide. Then I peeled the waste material out
of the way. With the new metal held in line with the I placed spot welds every inch with my mig welder. The process was repeated all the way around the panel. There was no suprise to find
that the new panel did not fit the door opening correctly, so I had to cut a vertical slit in the panel to get the opening correct.
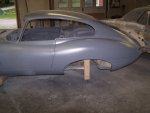
Then a weld was placed inbetween the previous welds. The process was repeated until the gaps were filled. Air was blown on each spotweld as they were created to keep the panel from warping from
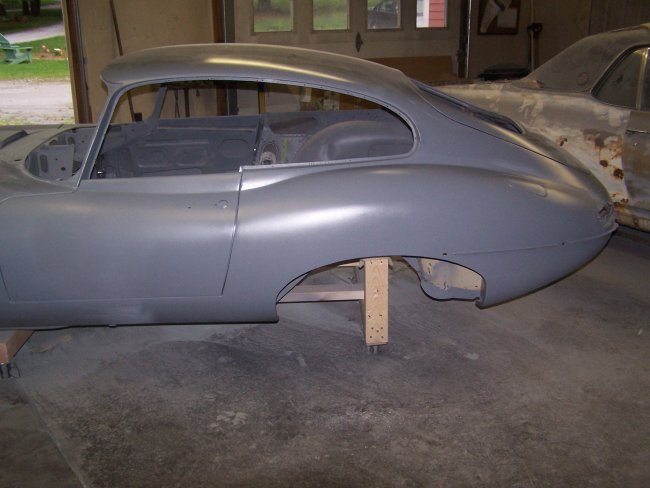
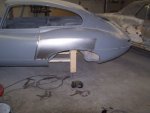
the heat. The last part of the process was to grind the welds down with a flap disk on my die grinder. As you can see in the last picture the panel came out really nice.
|
|
|
|
Since the joint at the rocker came out pretty even, I did not bother with lead on this side. I gave the whole panel a skim coat of Evercoat fiberglass filler, sanded it down and gave it a scratch
coat of Evercoat Polyester filler. I then blocked it with the door properly aligned. With a couple coats of PPG DP50LF epoxy primer, the bodywork was officially completed on June 2, 2010. Exactly
2 1/2 years from the day that I started working on it. Let the Blocking and Painting begin !
|
|