Since I did not need to replace a large portion of the left rear wing, I was clear to go ahead and replace the trunk tub (pan). Full trunk tubs
assemblies can be purchased for about $1200-$1500, but they have many incorrect details for a series I E-type. The price and the incorrect
details is why I decided to go with buying the individual pieces and put it together myself. It cost about $700 for all the sheetmetal. The only
problem was that I got 4 of the 5 pieces I needed right away and waited 6 months for a small $45 piece, which never came in. I ended up paying $90 for
it from an overly-priced vendor just so I could get the trunk tub in.
|
|

|
|
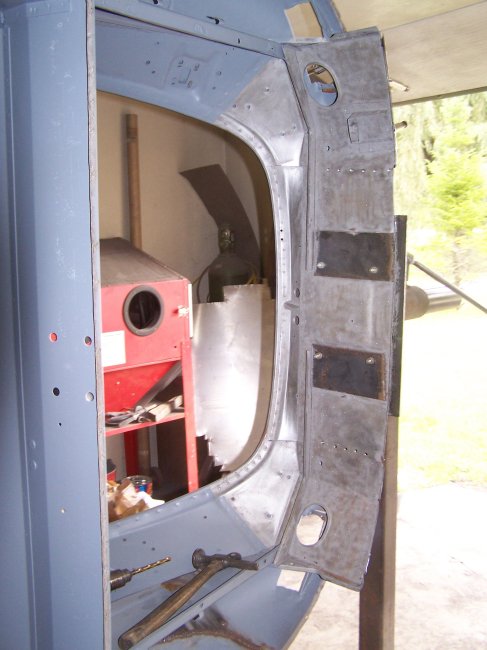
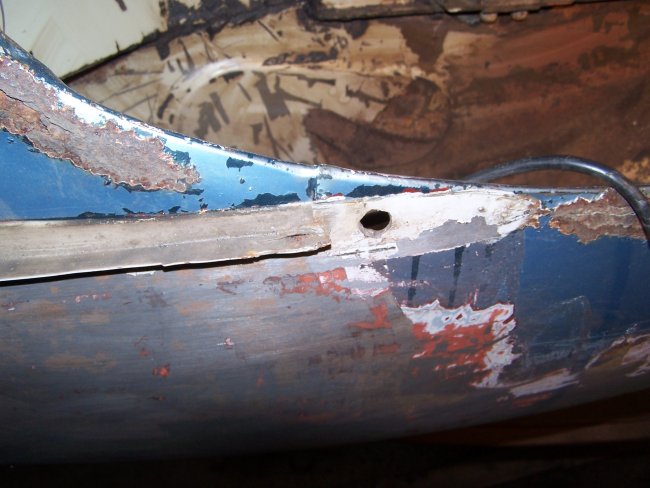
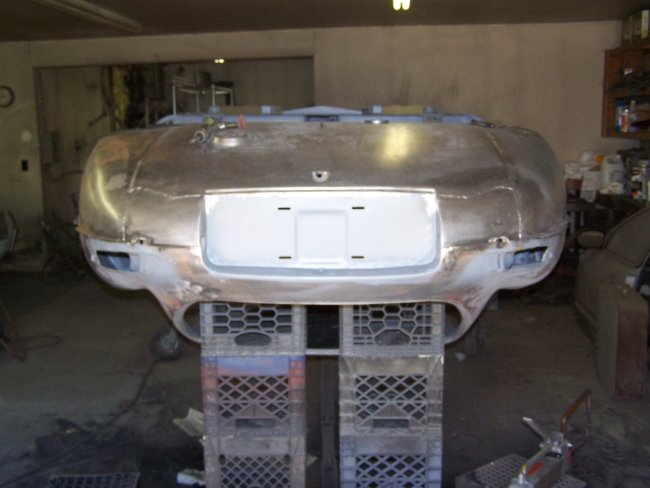
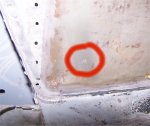
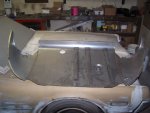
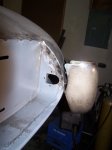
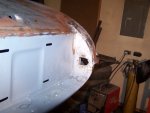
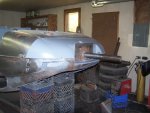
To install the trunk tub I had to detach the rear of the shell from the rotisserie. This was mainly because of the rust and non-original holes at the license plate mounting location. In the first picture above you can
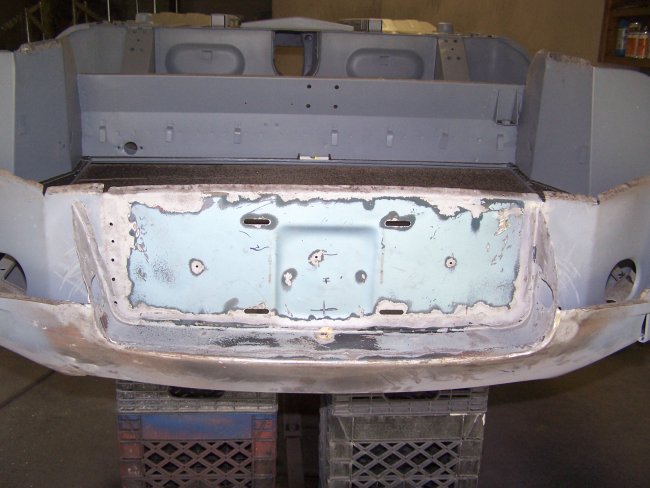
see where the rotisserie is mounted to the license plate opening. With the shell on "good ol' milk crates" I drilled out the spot welds that held the license plate surround panel in place. I then sandblasted away
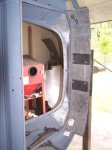
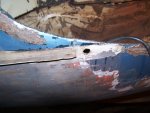
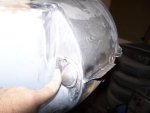
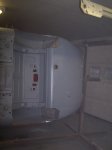
the rust. In the third picture you can see that the surface rust is gone and the three non-factory holes that someone had drilled into the rear panel.
The third picture shows something interesting. When I removed the paint I found "JAG 319" stamped on the rear panel. I'm not sure what it means.
|
|
|
|
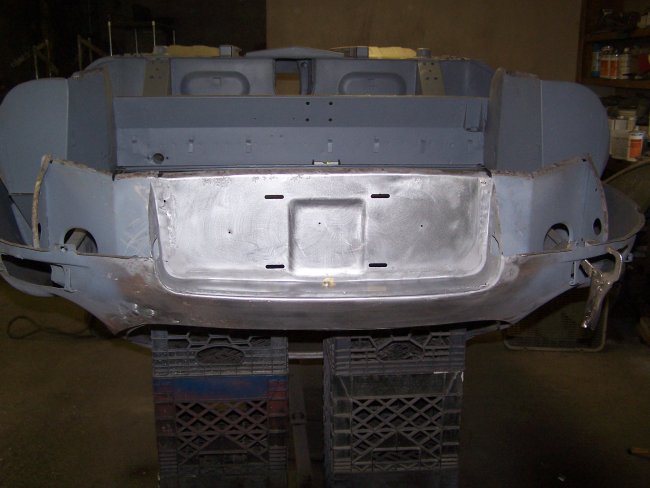
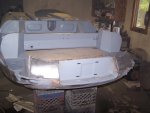
With the holes plugged using the mig welder, I spot welded the surround back in place and primed the opening, the inside of the rear panel and the inside of the rear wings.
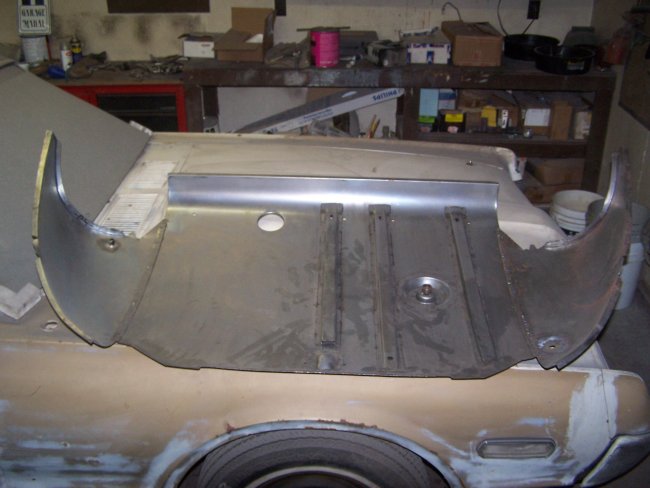
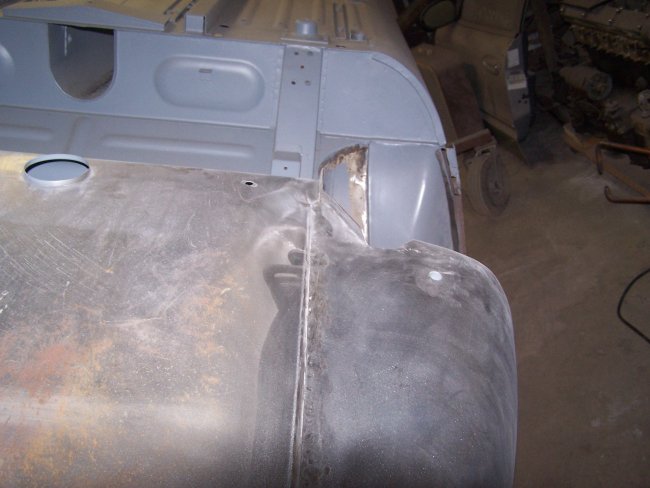
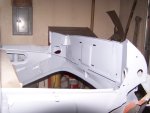
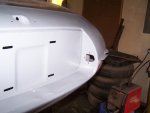
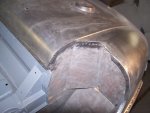
In the third picture you can see the major portions of the new trunk tub. It is comprised of three pieces that are spot welded together. To do this I clamped the pieces together on the shell. With the alignement set I used pop-rivets
to hold them together long enough to take them off the shell and spot weld them together.
It might sound easy, but there was quite a lot of time spent trying to get the pieces aligned correctly.
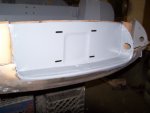
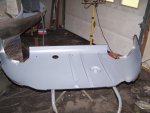
A note on details: the lower rear wings came with drain tubes welded to them which were not correct for a Series I E-type Coupe. The tube on the
right had to be removed and the hole had to be welded closed. The one on the left (for the gas overflow) came with a 'Y' shaped tube, which had to be cut back to a straight pipe. After the welds were dressed, I primed the
inside of the trunk tub. In the last picture you can see the bare areas that were left for welding purposes.
|
|
|
|
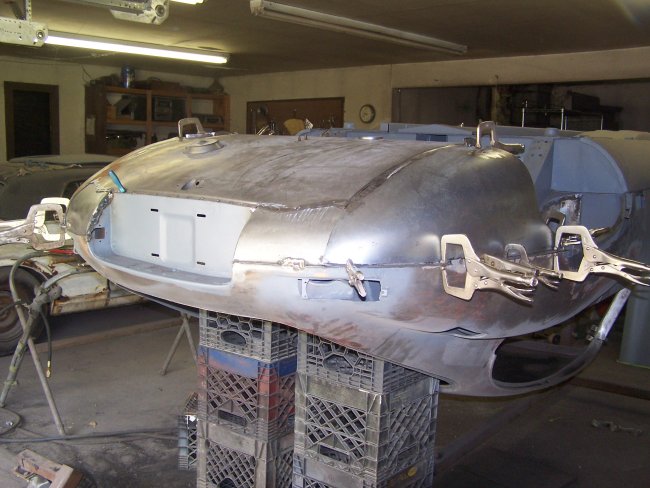
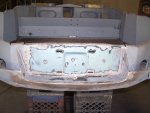
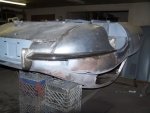
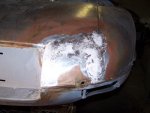
Next came the welding. In the first picture above you can see where I welded on the two small filler panels. The one on the left is the one a waited 6 months to get. All of the pieces were back primed before installation. With the fillers
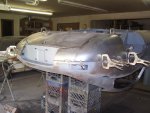
welded in I clamped the tub in place. The bumpers were used to assist in fitting the trunk tube correctly. Nothing was perfect for these cars. I had to modify the inner lips of the bumpers to get a satisfactory alignment.
Modifing the bumpers is not an uncommon thing to do with these cars. It is not really a big deal for this car since I will be sending the bumpers out for rechroming.
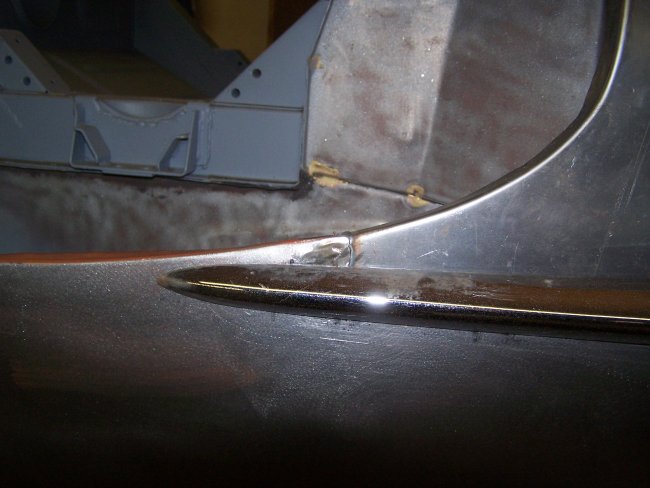
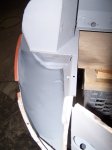
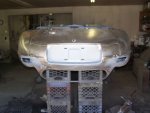
In the last couple of pictures above you can see that the lower rear wings are tucked under the rear wings at the bumper tips. Originally the lap was left visible by the factory and the fit was quite poor on
the right side (refer to last picture). My panel fitting was much better. Later I applied lead to it to smooth it out so that no seam could be seen at all.
|
|
|
|
With the trunk tub welded in I decided to get my filler work done underneath before I reattached the rotisserie. I started by applying lead around the inner panel by the license plate lights. The lights were used to ensure
that the fit was even. I also leaded the seams along the side filLer panels. The seams that runs front to rear on the lower wings were left visible originally so I left them that way. My lead loading skills are not stellar
at this point so I turned to using chopped fiberglass filler by Evercoat (the kind without the strands) to smooth out the low spots that were left by my lack of applying a suffient amount of lead. A skim coat of Evercoat
Extreme Rage polyester filler was used to fill the inevitable voids in the fiberglass filler.
|
|
|
|
with the rear re-attached to the rotisserie, I dressed the spot welds at the front by the rear arches and then primed the rest of it.
|
|