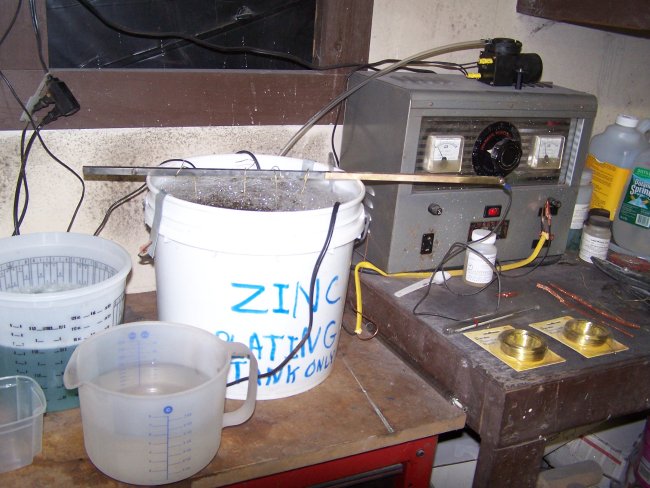
Caswell sells almost everything you need to plate the parts except for a good power supply, distilled water, air bubbler, copper/brass wire and copper pipe for the electrode. I was given a 10amp supply from a coworker who's uncle died of cancer. The uncle was using the supply to nickle plate guns and to bronze baby shoes. The distilled water I purchased from a local supermarket. Brass wire I got at a hardware store. For the electrode I used a brass bar that I got with the power supply. The Caswell kits are pretty good, but you need to calculate the surface area accurately so that you set the power supply to the proper current.
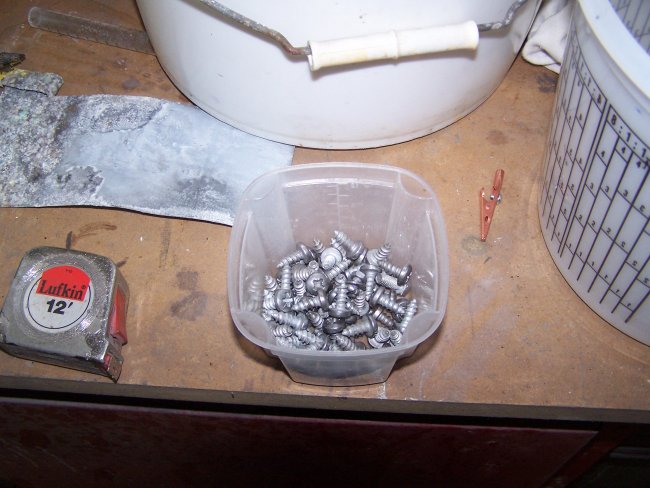
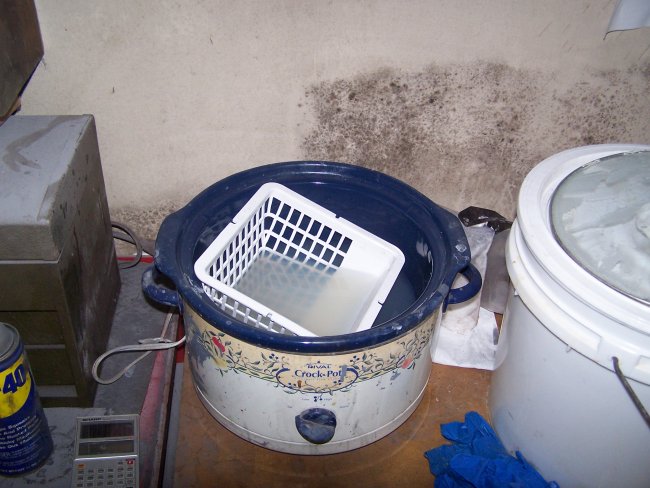
I then dropped the screws in my cheap Wallmart $12 crockpot which was filled with a degreaser solution made from a powder supplied with the zinc plating kit. After sitting in the degrease for 15 minutes the parts were soaked in distilled water until I was ready to plate them shortly after.
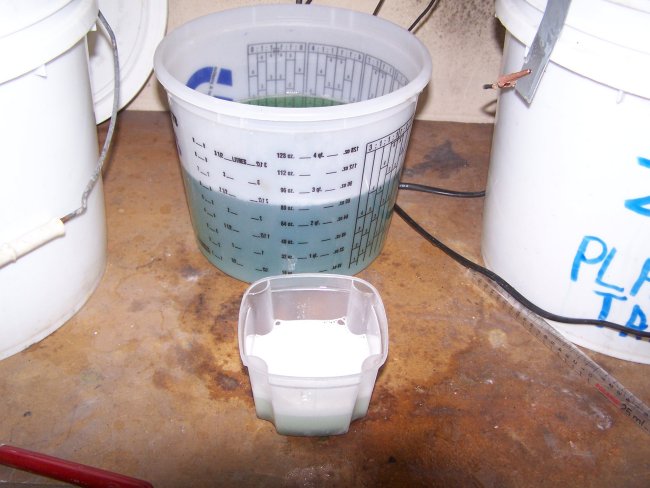
Just before plating the screws were pickled (submerged in a solution of phosphoric acid) to desolve any rust in the areas that sandblasting could not reach. The Phostphoric acid is available as a concrete cleaner at Home Deport. In the last picture above you can see my container of diluted phosphoric acid. I poured the acid in the little container with the screws. The acid started foaming right away. After setting for a couple minutes I drained of the acid and rinsed the screws with distilled water.
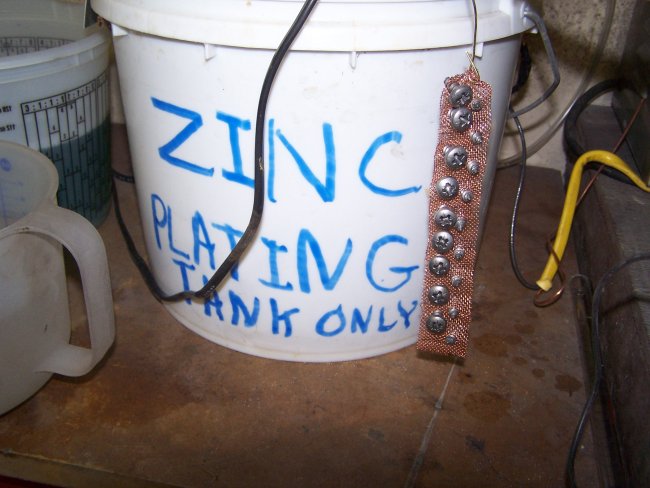
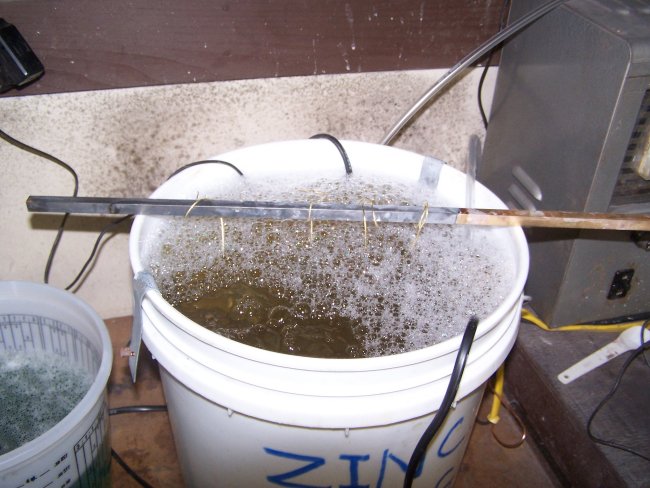
I plated about 62 screws at once, which required about 8 amps on the power supply. It took about an hour to plate them.
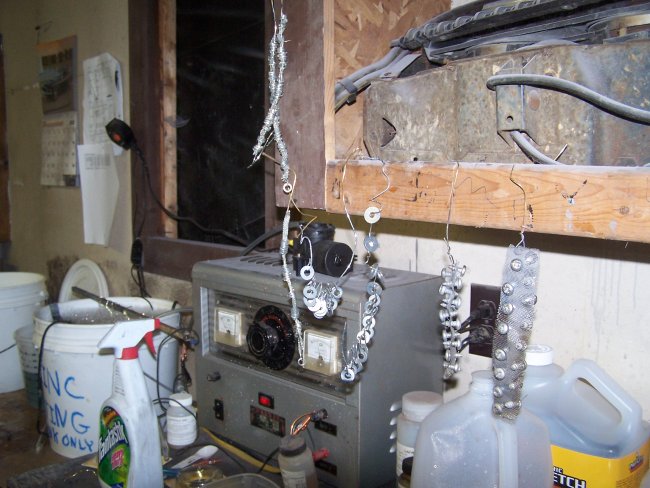
Once out of the plater, the parts are submerge in the pickle solution to neutralize the strong plating solution. Then they were rinsed with distilled water, blown off with air and allowed to dry.
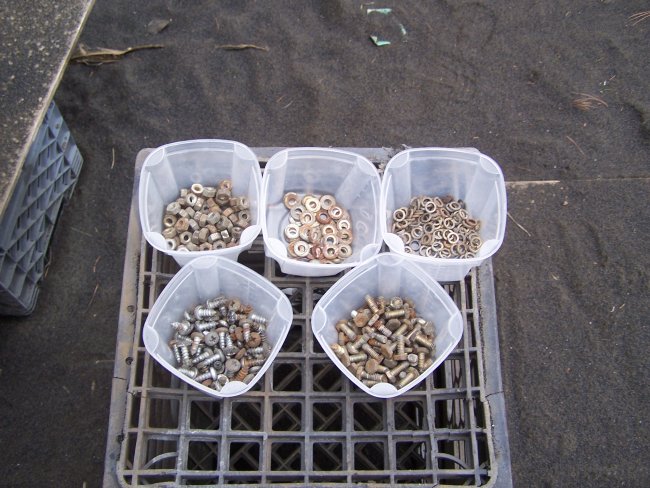
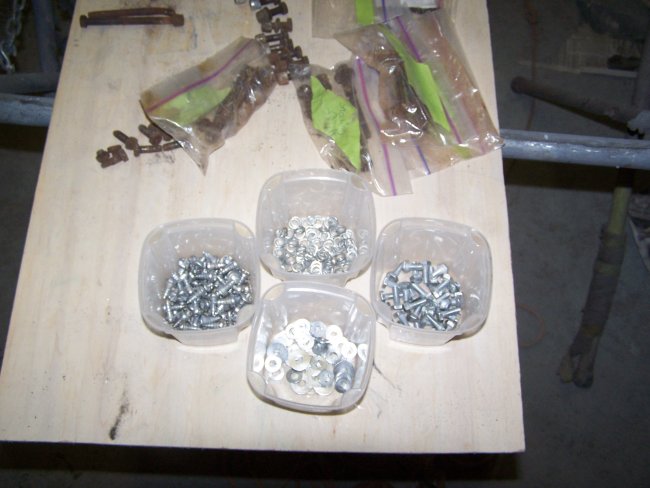

In the last picture you can see the difference between an original split washer and the one that comes in the bonnet hardware kits. The smaller outer diameter original ones are not available new. The only thing that I was able to use out of the $75 bonnet hardware kit was the nuts and the big oval washers.
| < Back | 18 | NEXT > |