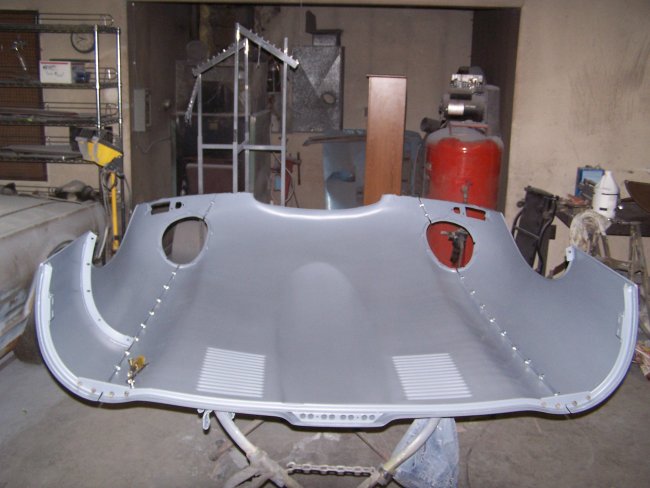

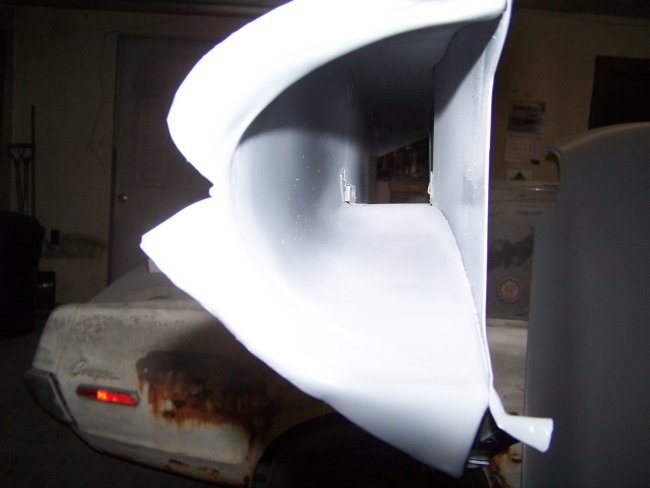
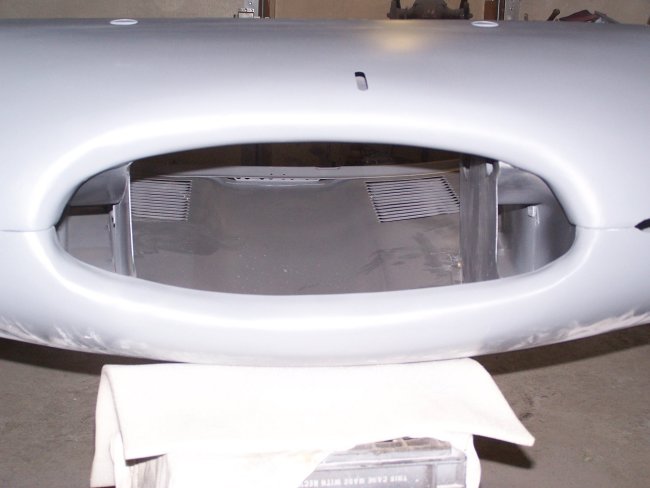
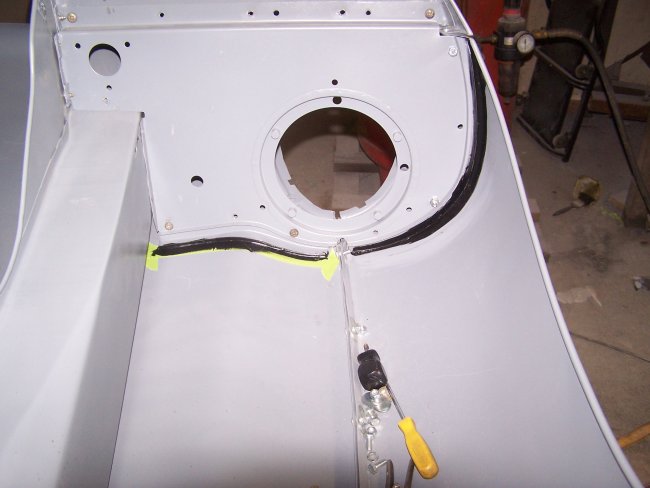
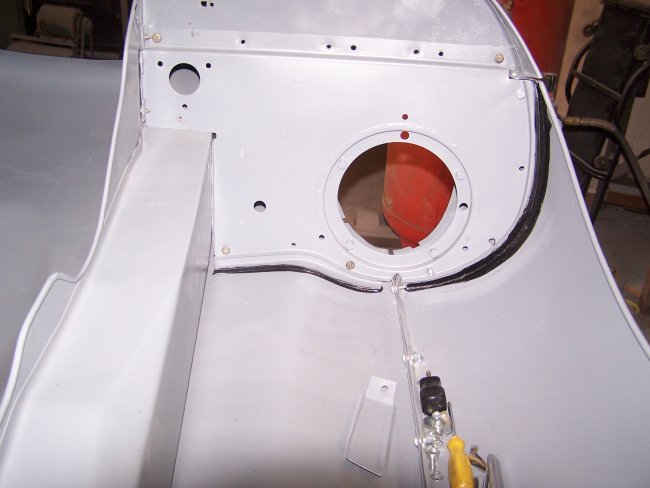
The next thing to go in was the longitudinal air ducts (refer to second picture above). They fit tight into the mouth of the bonnet and it appears that the factory had to beat them open with a hammer to get them to fit correctly (refer to third picture above). This appears to be the norm based on other E-types that I have examined. I made the mistake of "improving" the duct openings before I put them in primer, so I had to open them back up to get them to fit. Fitting the ducts is the hardest part of the job. With the front of the ducts properly widened they were then bolted to the lower pan, which requires only as single bolt each. A filler panel, which appears at the bottom of the mouth, was installed next. It has the advantage of spacing the ducts apart. If you can make it his far the rest is easy.
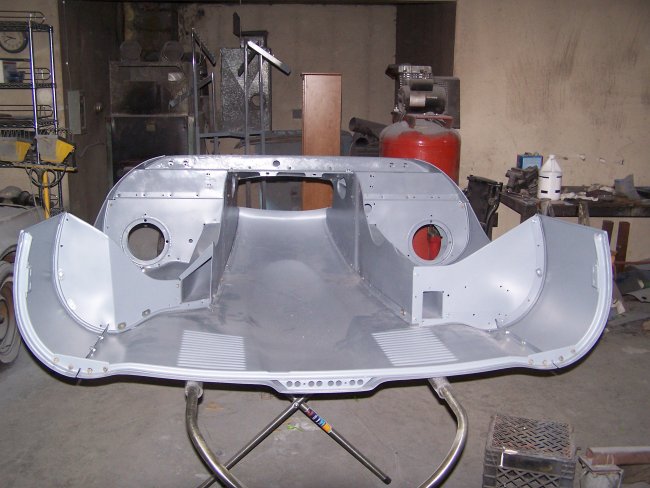
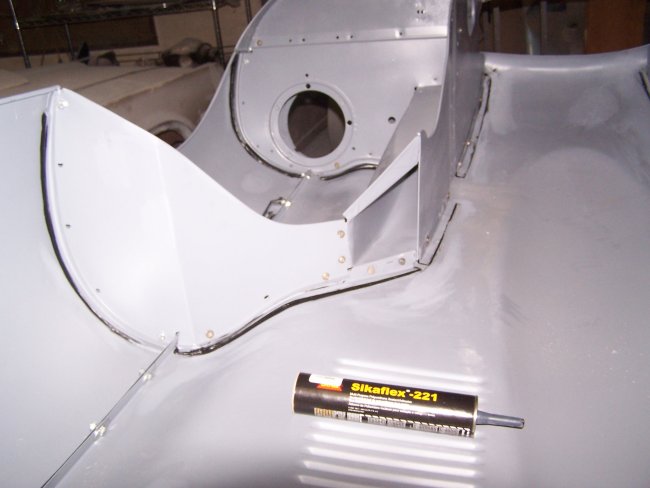
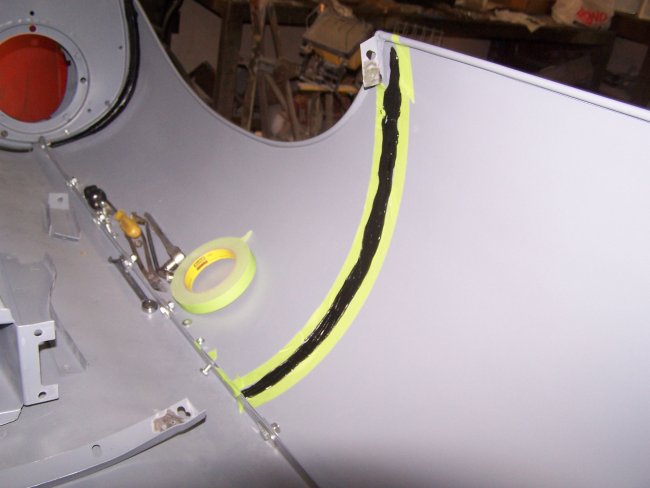
The remaining panels bolted in rather quickly. The panels are actually held in place by braces that are glued/bonded to the underside of the bonnet. Since I removed the braces during the restoration process, I had to reglue them. I was able to purchase the correct adhesive, Sikaflex-221 online. Unfortunately I had to buy nine tubes of it to meet the minimum order. Sikaflex-221 is a polyurethane adhesive which is quite similar to the adhesive that is used to bond windshields in place.
| < Back | 17 | NEXT > |