|
|
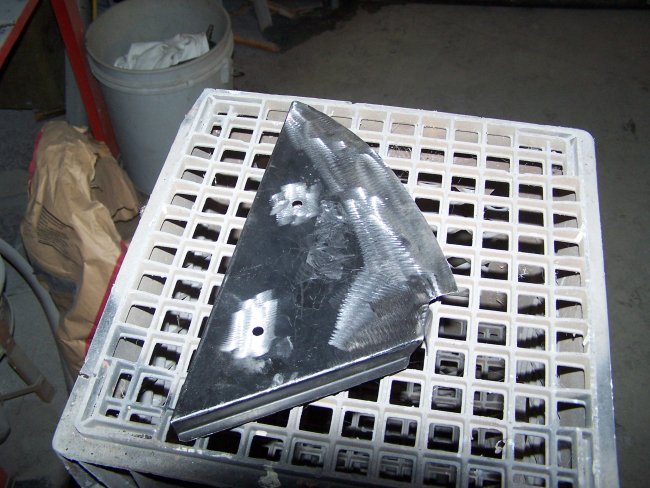
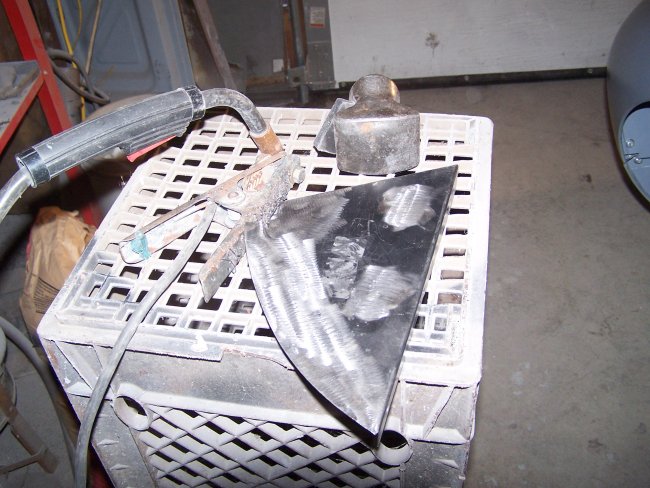
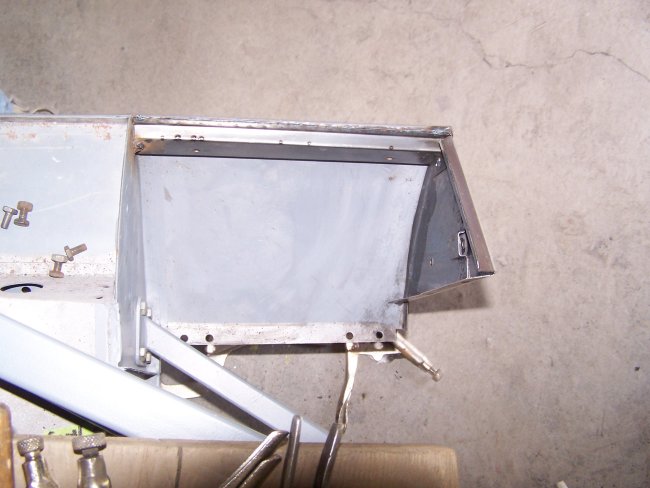
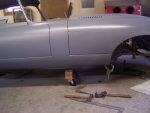
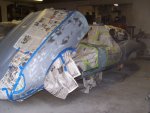
The next part of the project was to attach the rocker end panels. The outer rocker panels shoot out about 2 feet beyond the firewall (bulkhead). The end panels
are roughly the shape of a quarter of a circle and are welded to the end of the rocker panels. However the correct placement of the end panels requires the bonnet
to be properly aligned so that the end panels properly align with the inner wheel wells (arches).
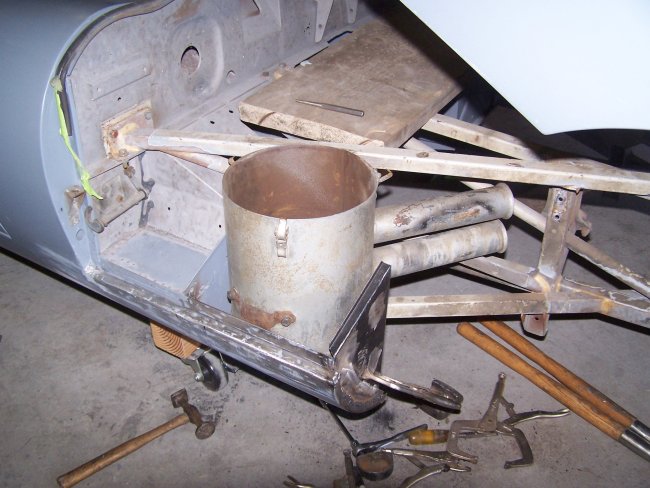
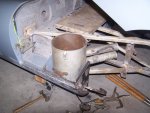
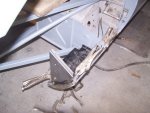
The right hand end panels come with extra holes, which had to be welded up to look original. I had to install the breather on its base bracket and the inner fender dust shield
to get the exact placement correct. The panel was then spot-welded and bead-welded on place.
|
|
|
|
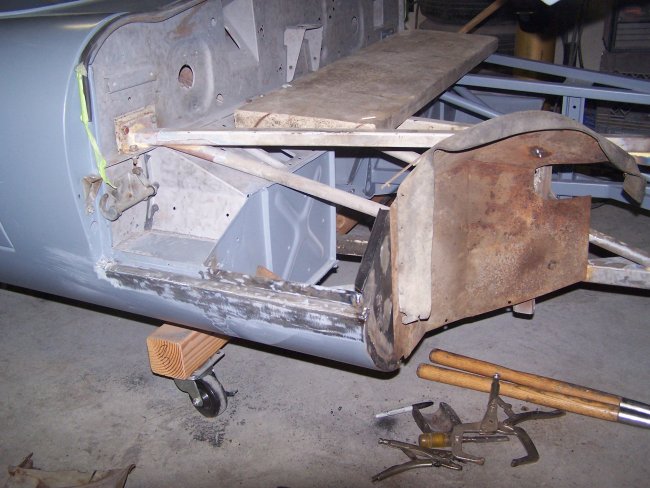
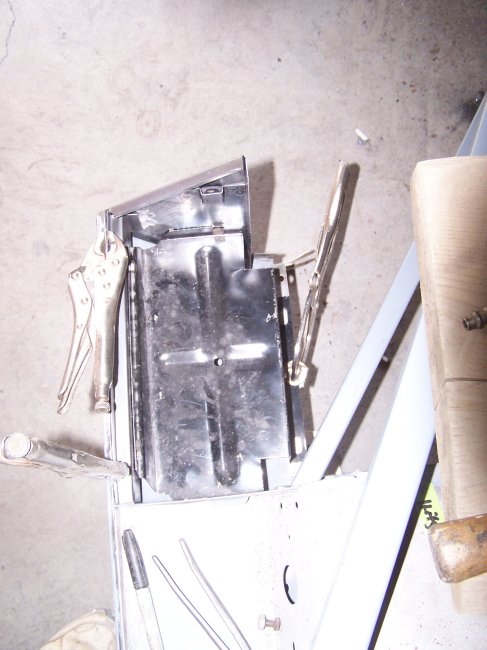
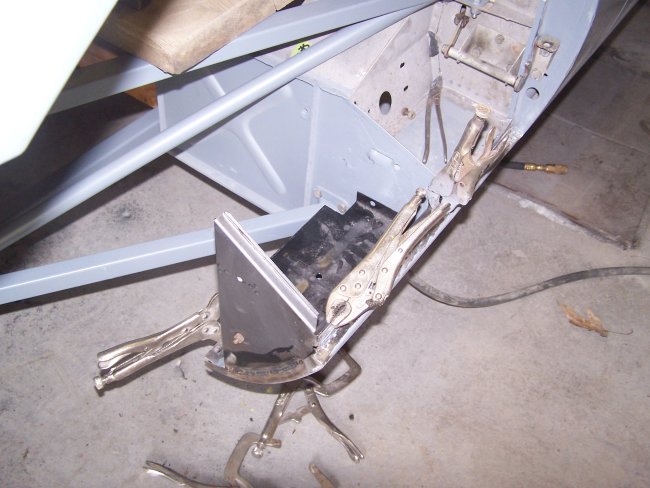
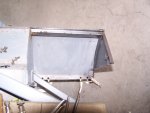
The left side was done just like the right side, but using the battery tray to set the alignment. It was at this point that I learned that the slotted holes at the base of the new battery
tray were in the wrong location. I will have to weld the slots up and make new ones when the time comes.
|
|
|
|
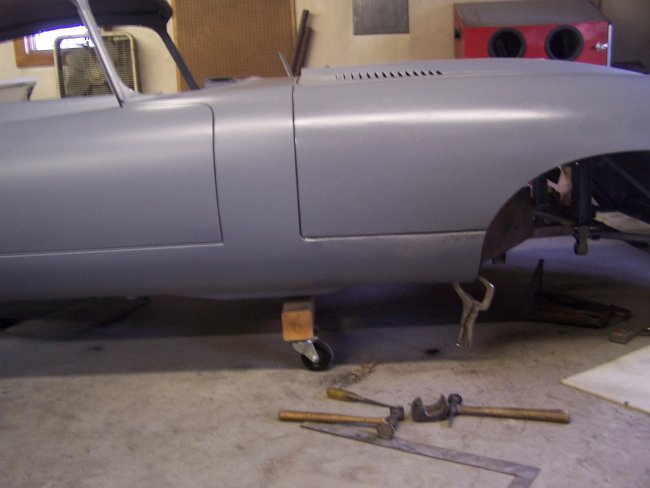
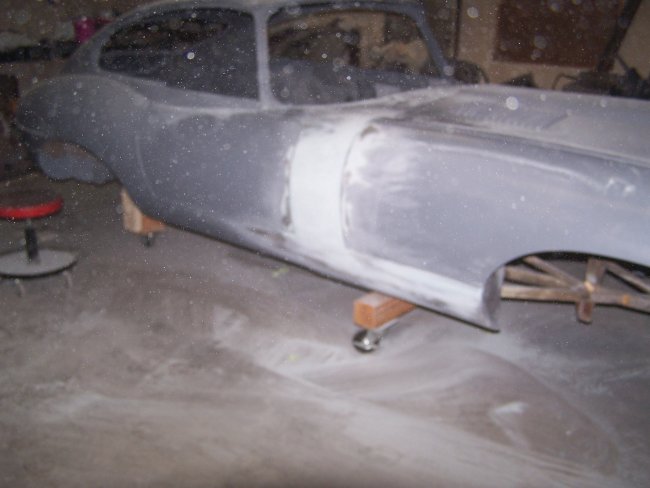
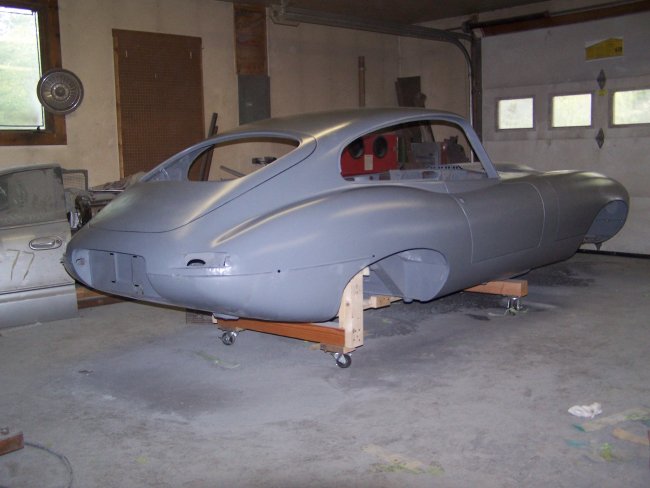
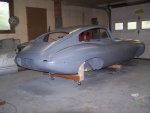
With the rocker end panels in place, the gap between the bonnet and rocker was leveled using lead. I then used Evercoat fiberglass filler to
even out the errors in my lead work. A thin coat of Evercoat polyester filler was then used to make the rocker and front filler panel (the panel inbetween the door and bonnet) even. The goal
is that when you look down the side of the car, all of the panels are in perfect alignment. Once I was satisfied with the alignment, a couple coats of PPG DP50LF epoxy primer was applied.
|
|