With the doors reskinned, I turned to the rear wings. The right side was not only rusted out, but had also suffered from a previous accident (which was poorly repaired as well, see above).
I originally purchased a rear wing repair panel, but found it to be worthless. The metal was flat and the lip where it was supposed to weld to the outer wheel arch was to narrow. It also lacked the weatherstrip
channel that I need. New rear wings are very expensive ($750 - $1200). I was lucky enough to find an NOS one for a roadster on E-bay for $450. But, your car isn't a roadster you say. It doesn't matter.
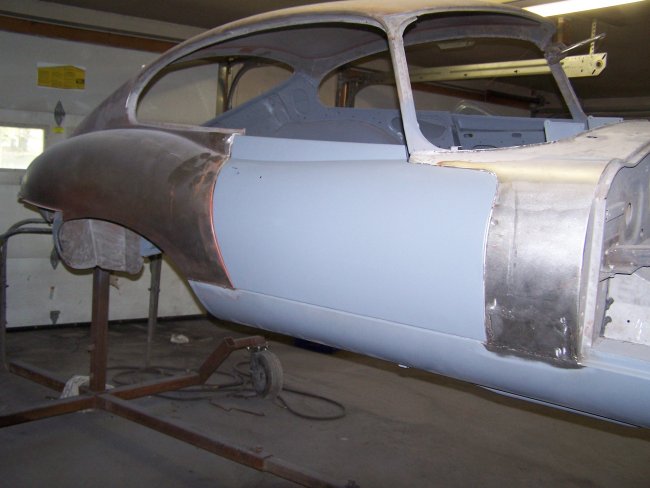
The part of the wing I needed was the same. In the second picture above you can see that I cut off the roadster specific portion of the panel. I also removed the factory primer and coated it with epoxy primer. In the third picture
you can see where I cut out a section of the old wing. The inside was mostly in new primer since I had previously replaced the outer wheel arch and the B-pillar reinforcement. All I had to do was touch up the areas
that I could not reach when those areas where rebuilt.
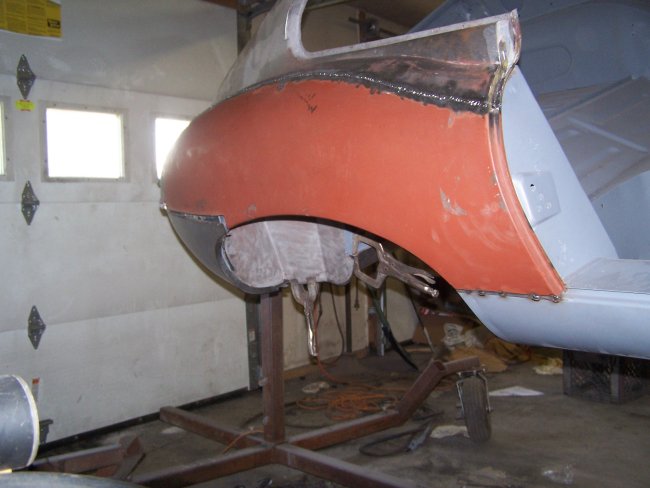
The new wing was then butt-welded in place. I won't go into detail describing the process here since it is thoroughly discussed in the Mustang Restoration pages on this site. But here it is in a nut shell.
The new panel is clamped in place overlaping the old panel. A small pnuematic reciprocating saw and cut-off wheel are used to cut through both panels so that the new panel fits the hole that is being made
in the old panel. After every few inches are cut, the new panel is tack welded in place with the new panel being held flush to the opening. Once this is done along the entire parameter, the remaining gap between
the tack welds are welded closed (The third picture above shows the end of this process). The welds are then ground down, almost flush to the panel surface, using a grinder with 36 grit flap disks.
|