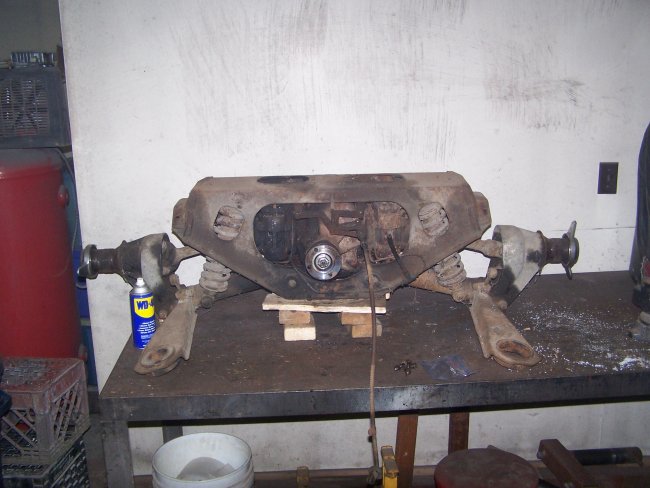


The first part to come off was the bottom plate. This exposed the differential. With a little cleaning the differential's original redish/orange color was uncovered. The color is very much like the color of the differentials on my Mustangs, which are often refered to as pumpkins because of the color.
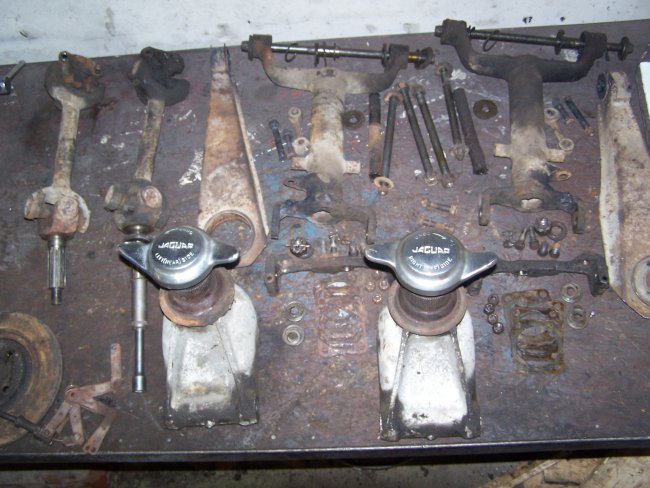
Removing the hubs was relatively easy with a block of wood and a mallet, though I expected to have to use a puller. The pivot arms came out easier with little persuasion required. The pivot arm shafts have lots of washers and spacers that need to be kept tract of for proper reassembly. The pivot arm shafts were a little tricky getting removed from the cage. With the bottom plate removed and the nuts removed from the shafts, the cage tends to open up, which makes it hard to slide the shafts out. I may have to reinstall the bottom plate during reinstallation of the shafts.
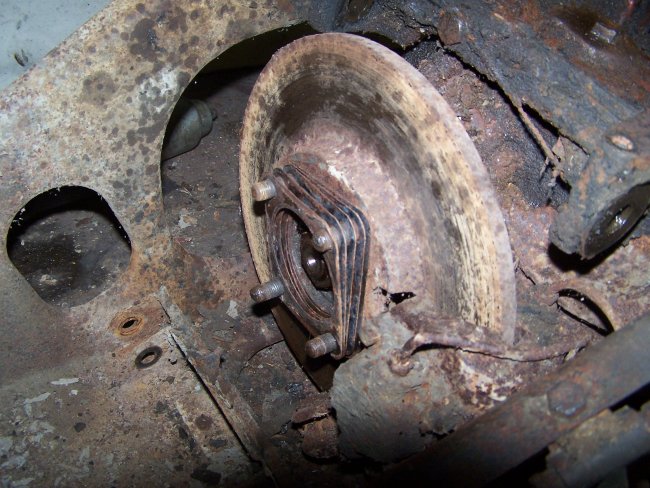
Removing the half drive shafts revealed stacks of shims between the half drive shafts and the rotors. These will also need to be kept track of. I'm sure that the number of shims will change when I replaced the rotors with new ones. What a job it is to change out the rear rotors!


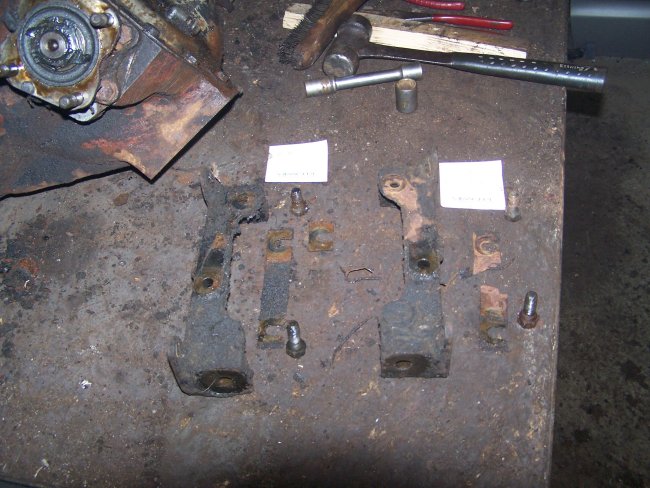
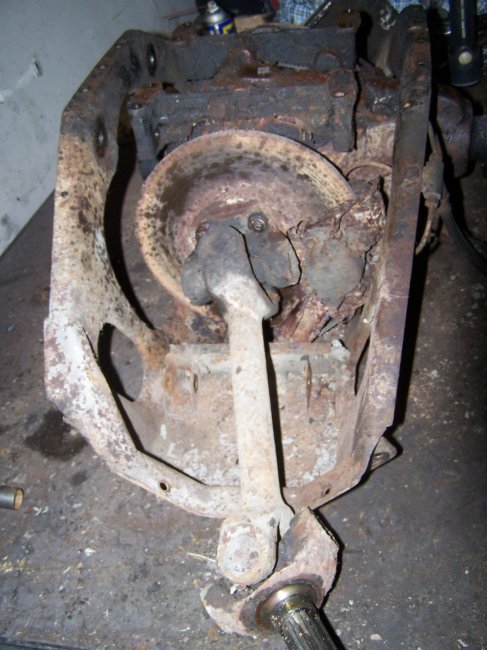
The brackets that are attached to the bottom of the differential, which are the pivot arms mounting points, are also locked in place with twisted wire (refer to the third picture above). When I removed the brackets I found that the brackets where shimmed and one side was shimmed more than the other side. It's always a good idea to keep track of the shims and where they go so that things go back together correctly.
I did not bother taking the differential apart. I decided to wait until I was ready to restore it.


That's it for now. Now, back to the bodywork......