Project Index, Project Home, Part II - Page #: 5 6 7 8 9 10 11 12 13 14 15 16 17 18 19 20 21 22 23 24 25 26 Part III, Progress, Links

< Back March 29,2010 - March 31,2010: Bonnet Assembly NEXT >


Its been 9 months since I took the bonnet apart, which really hasn't been a long time since this is a home restoration project. The reassembly went by pretty fast once the hardware was plated. All of the panels had been prefit prior to gluing, so there really wasn't much effort required to put the rest together.

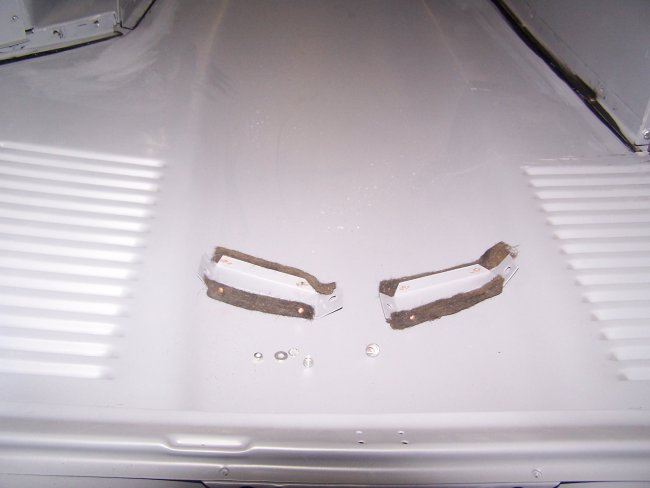
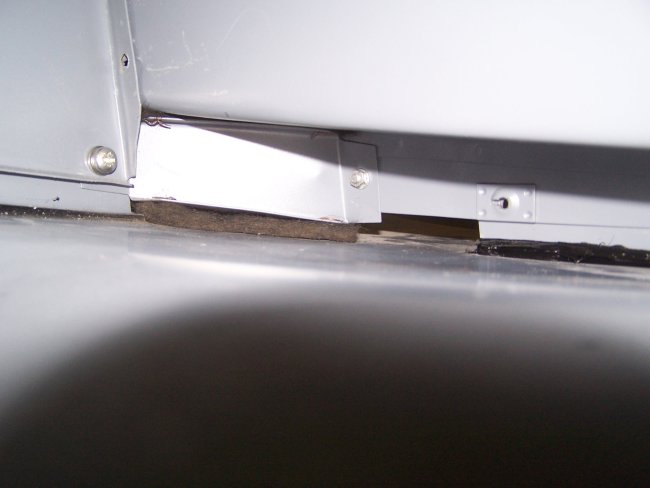
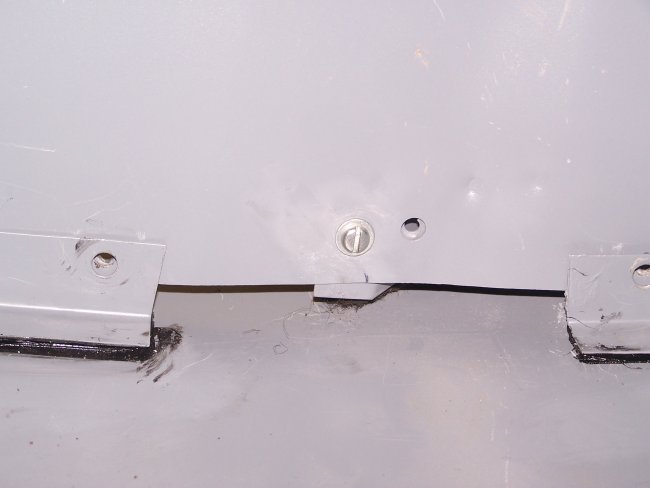
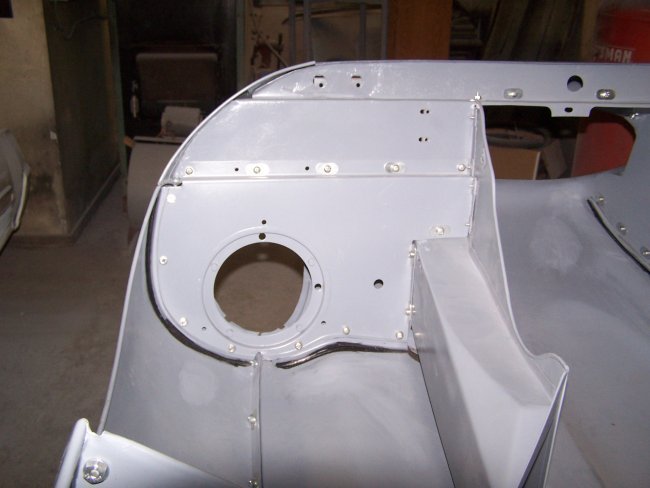
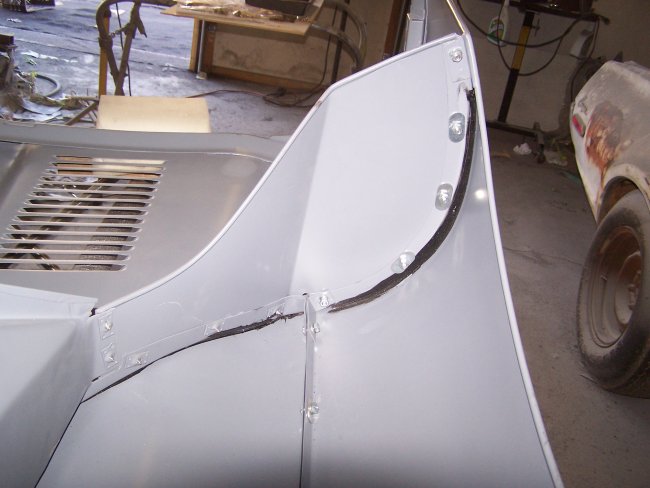
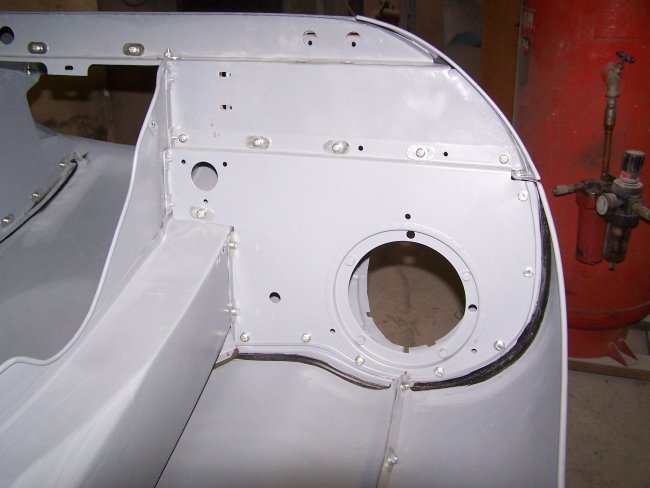
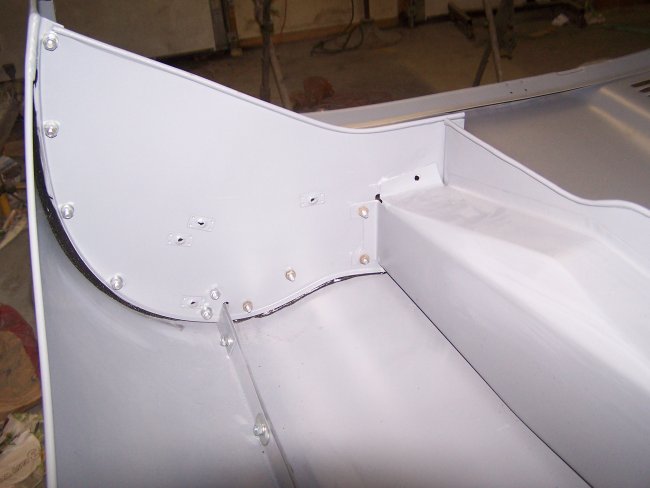
I thought it was worth mentioning the brackets pictured above. They seem to be missing on quite a lot of restorations that I have seen online. I'm not sure why. They are used to fill a void below the air ducts. They have felt strips attached to the top and bottom. Due to the lack of documentation I can only assume they go on before the bonnet is painted. The last two pictures show the correct orientation and hardware.


In these pictures you can see the bonnet in its entirety. I've seen lots of restored cars online that seem to use way too many oval washers. Especially by the headlight panels. Even though my car has a replacement bonnet, I put the hardware back on as it was originally installed.

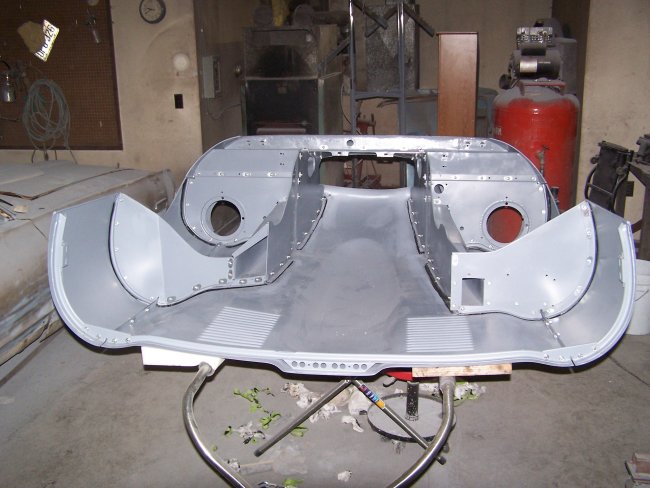
The next phase is to install the bonnet on the car and adjust the rear portion of the wings so they align to the cowel. Once that is completed it gets block sanded with the rest of the body.


< Back 19 NEXT >