|
|
|
|
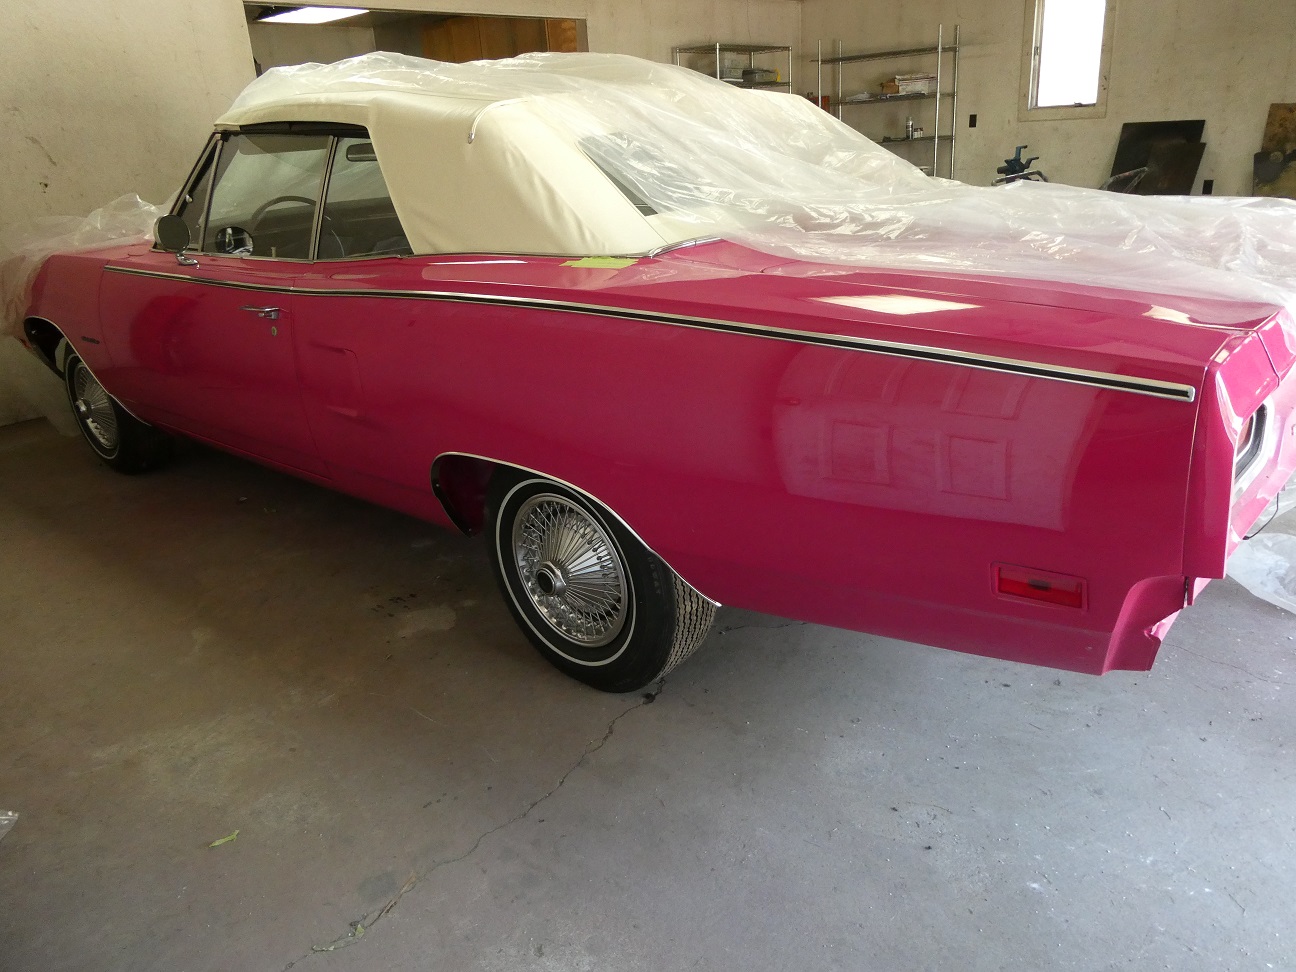
Wheel Wells, Wheels and Hubcaps
|
|
|
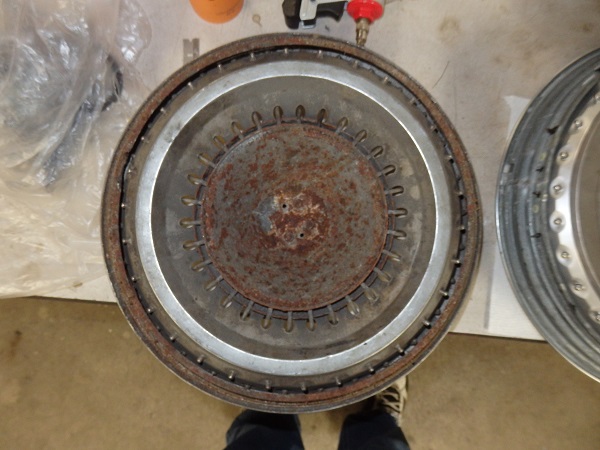
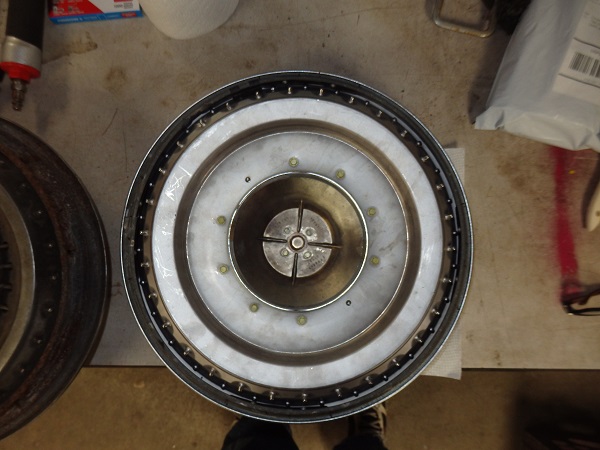
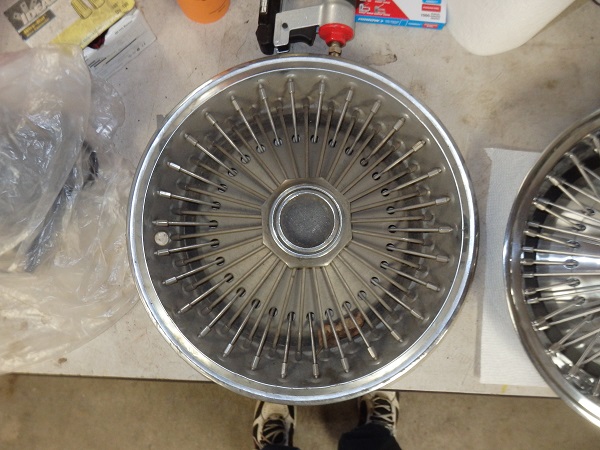
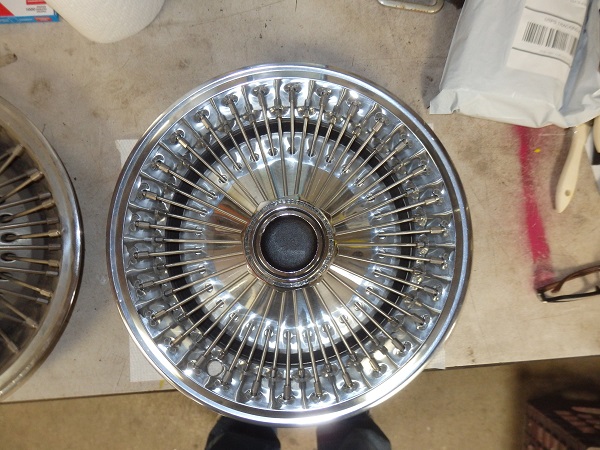
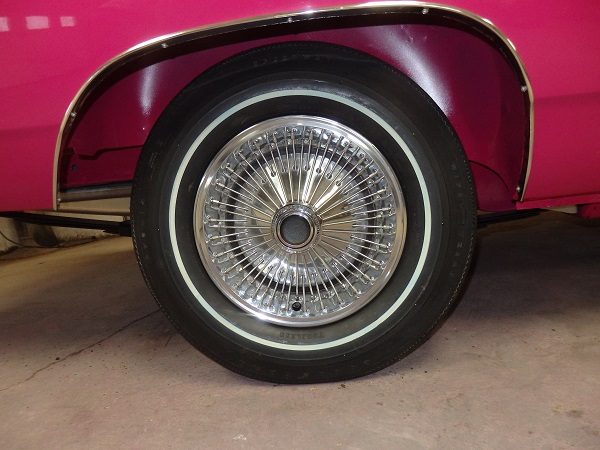
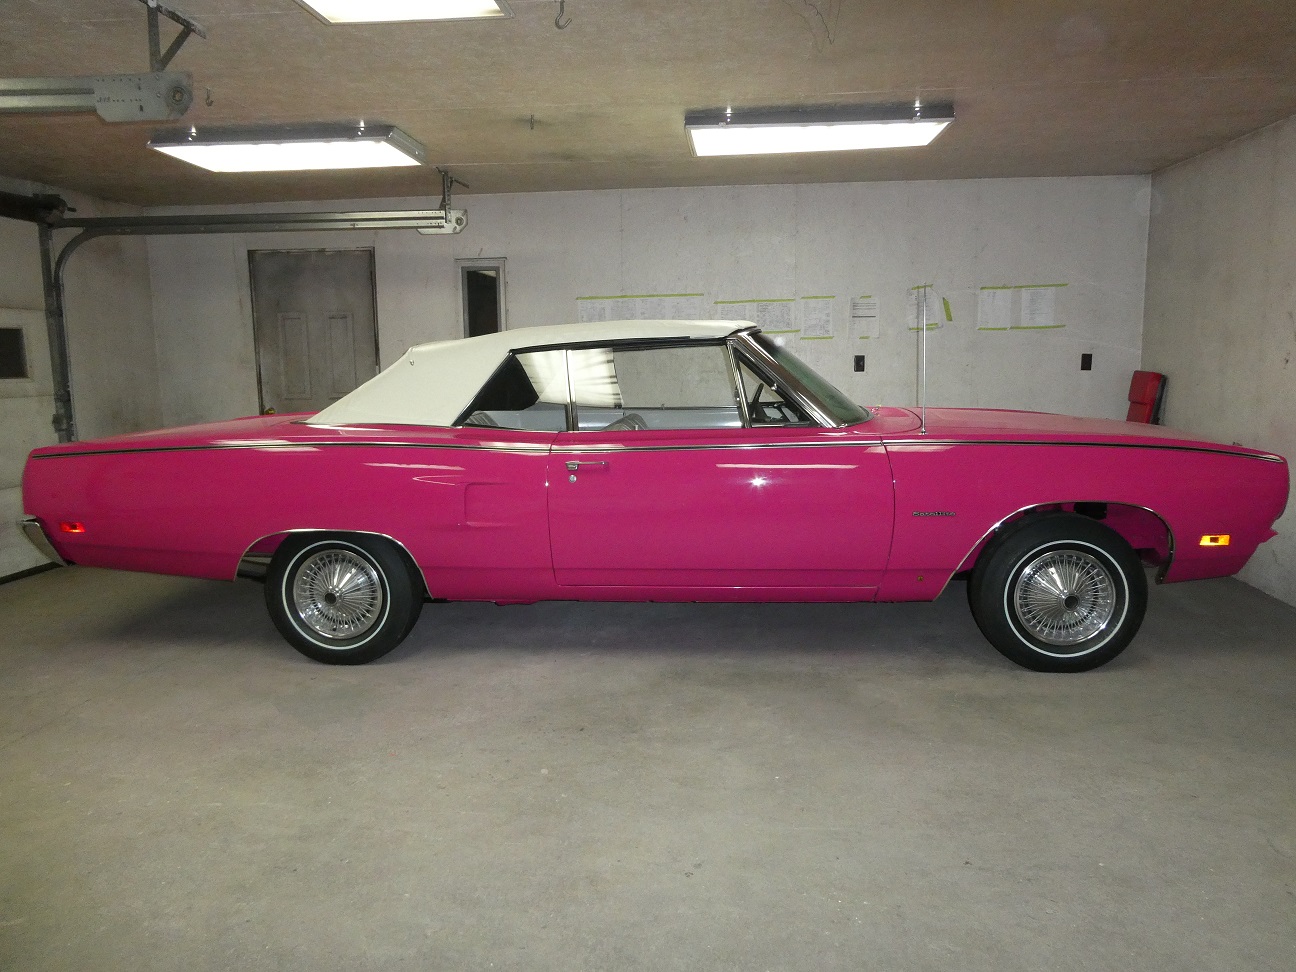
The car originally came from the factory with wire wheel covers. I was able to find an NOS set, but they were slighly different then the original ones. Most of the differenes were on the back side. On the outside you can only tell if you know what you
are looking for. There is a separation line on the NOS ones where the spokes go through the front, which is hard to see.
|
|
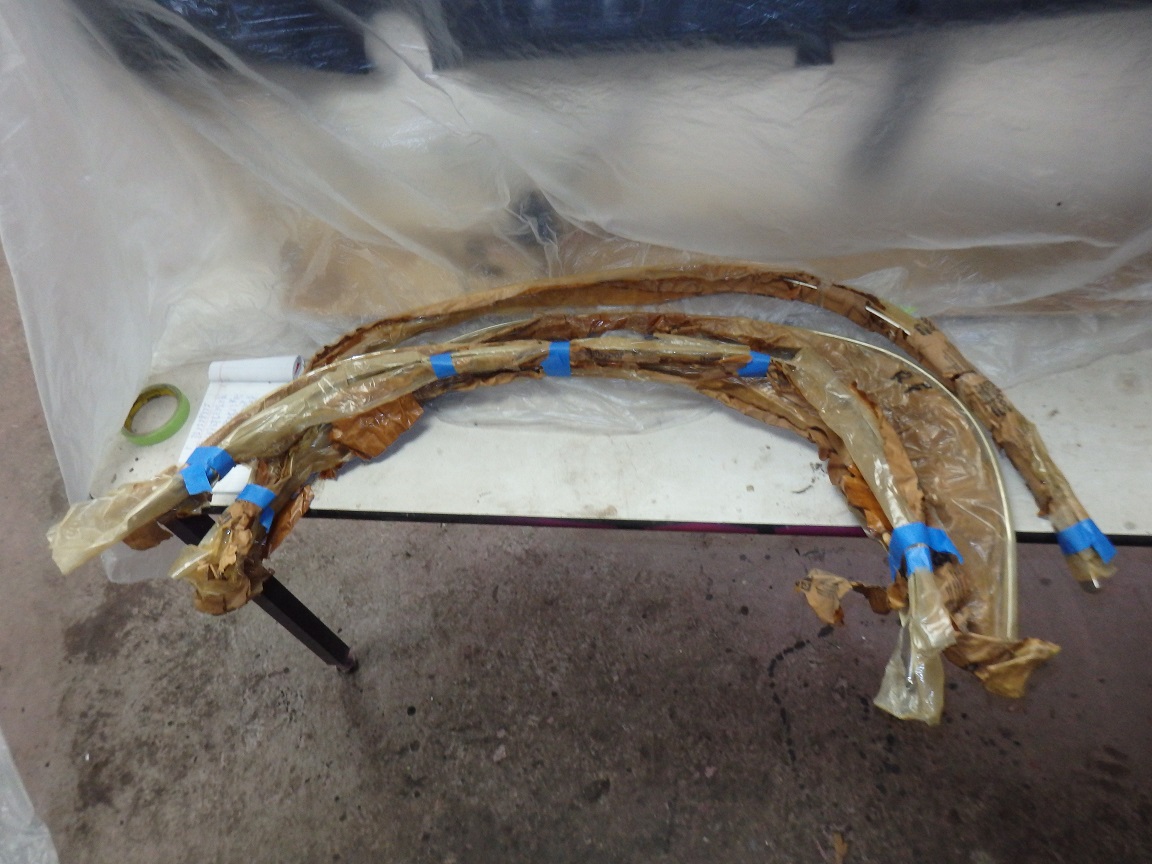
I originally bought repo wheel well lip mouldings, which for $300 you would expect them to be half way decent. Where they ? Nope. I ended up buying an NOS set. They fit perfrect of course.
The original rims were long gone. They were originally 14x6's, which are hard to locate. So I ended up using the 14x5.5's that came with the car. I had them sandblasted and powder coated. For tires I went with the same
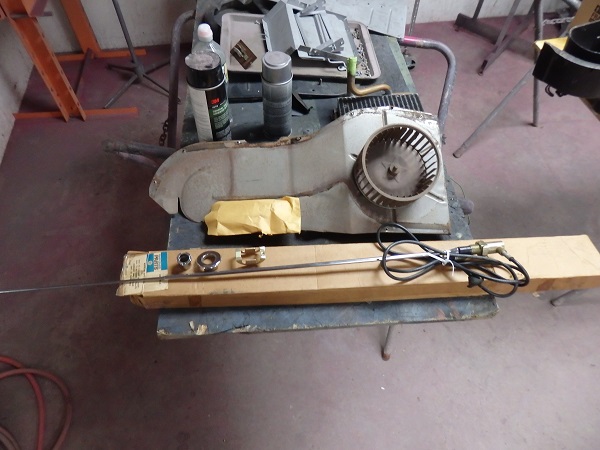
F70-14 Goodyear SWT .35" White Stripe tires that I put on my FM3 1970 Challenger, simply because that was what was on the car from the factory. The shop that mounted the tires couldn't get them to inflate because the tire wouldn't
spread open enough to set the bead. The problem was with the repo tires, not the rims. I had to take them to a shop that worked on tractors. They quickly inflated the tires using a bead setter. I had never heard of one until that point.
It's a big air cannon that blasts a large amount of air quickly between the tire and the rim. The blast is strong enough to spread the tire outward so the bead seals againts the trim. It happens super fast.
|
|
|
Side Trim
|
|
|
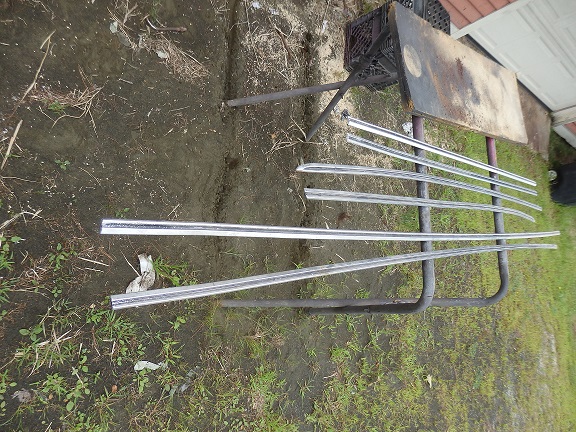
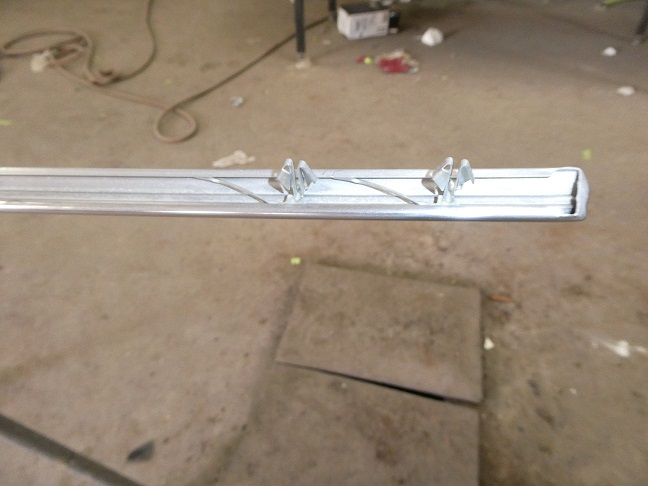
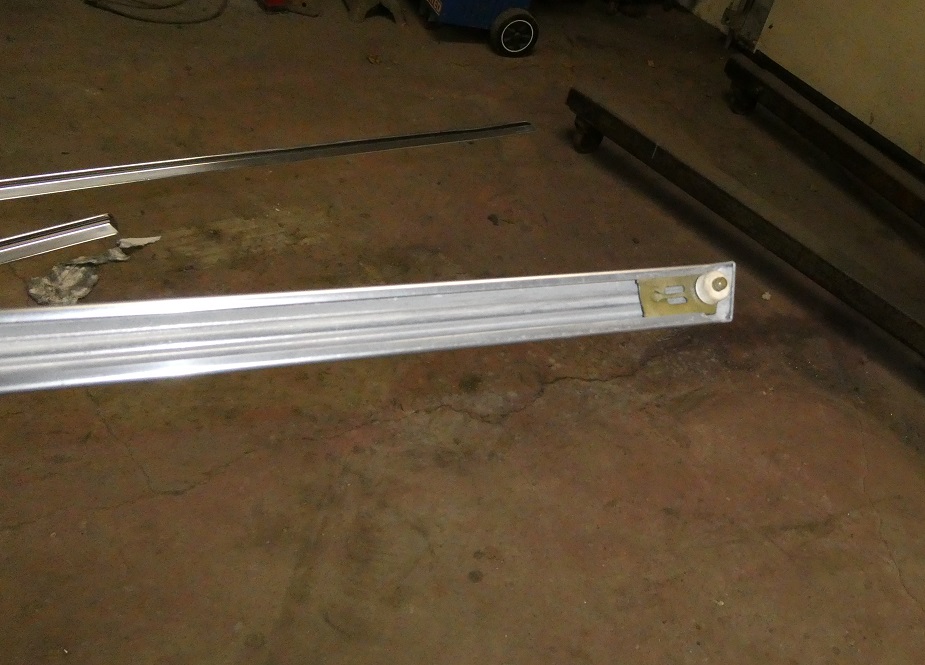
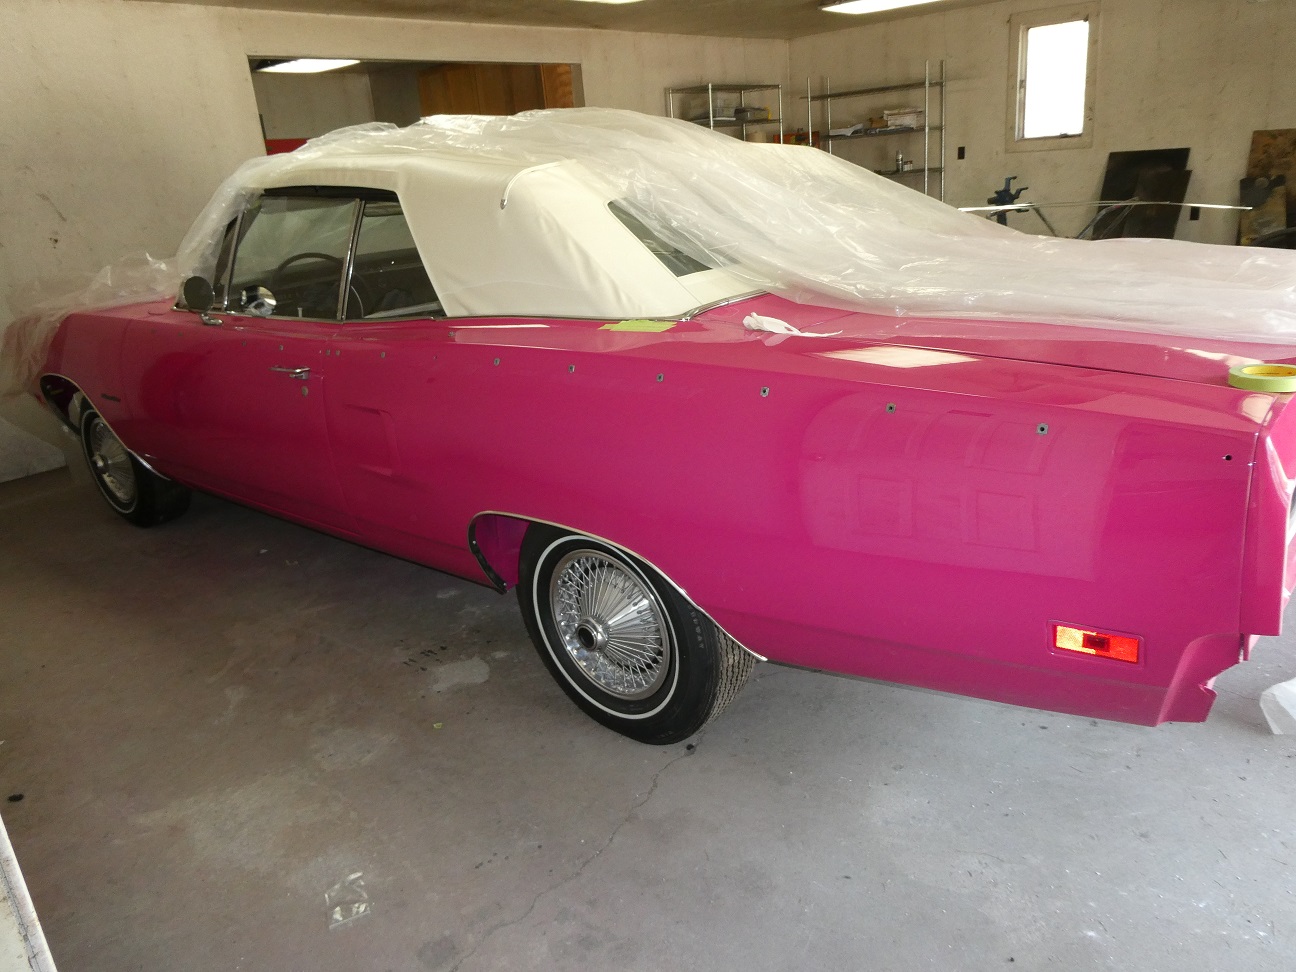
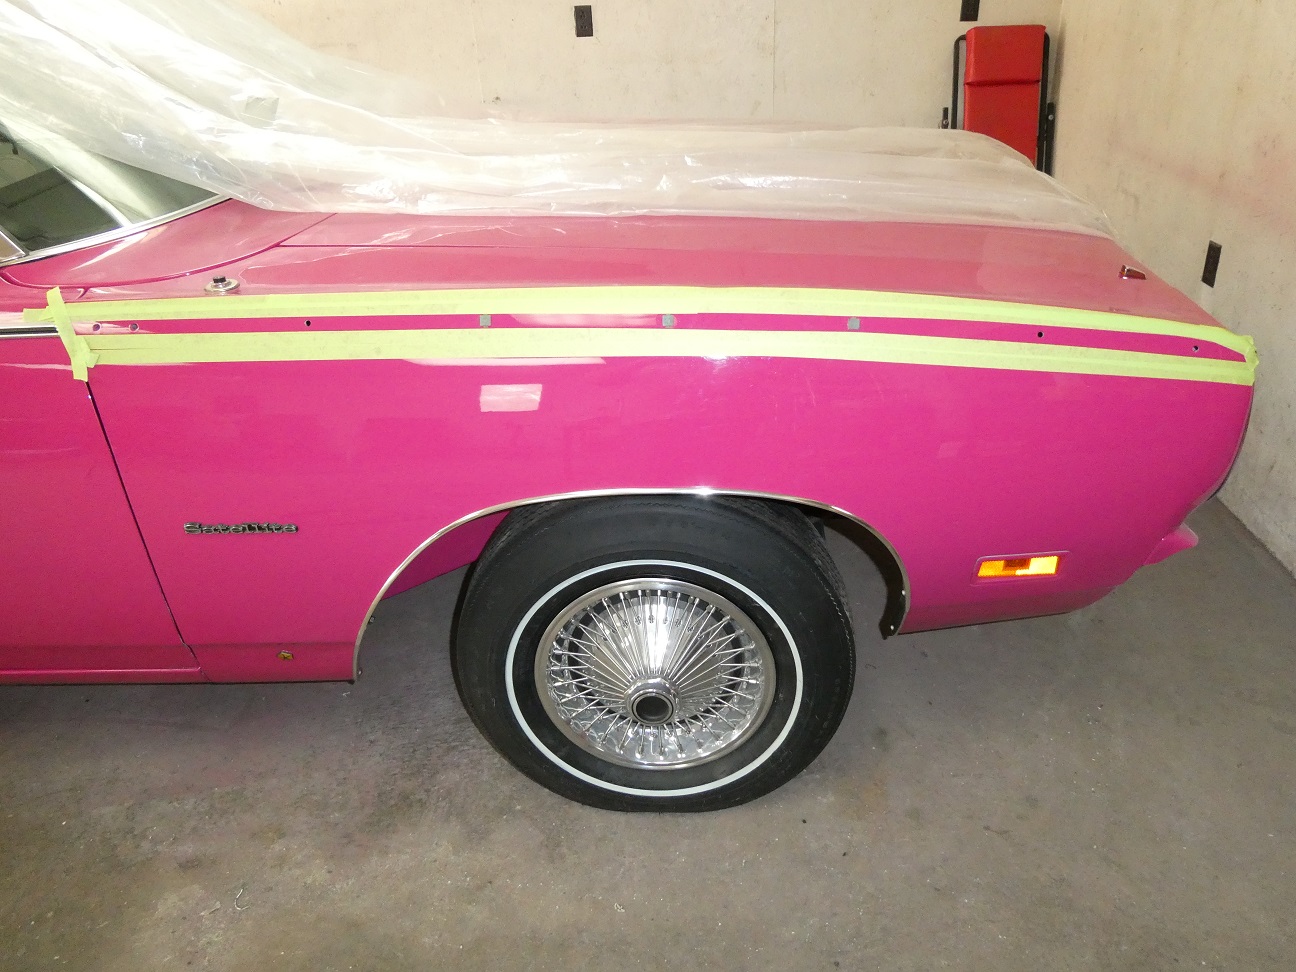
Next onto the side mouldings. Satellites have mouldings that go along the length of the car near the top of the fenders. People who clone Road Runners from Satellites, remove these mouldings and fill in the holes. The mouldings are anodized
aluminum. The anodizing on the original mouldings was scratched up and it is really expensive to get them re-anodized. I chose a different method. I stripped the anodizing off by soaking the parts in a bath of lye. The bath was made using plastic
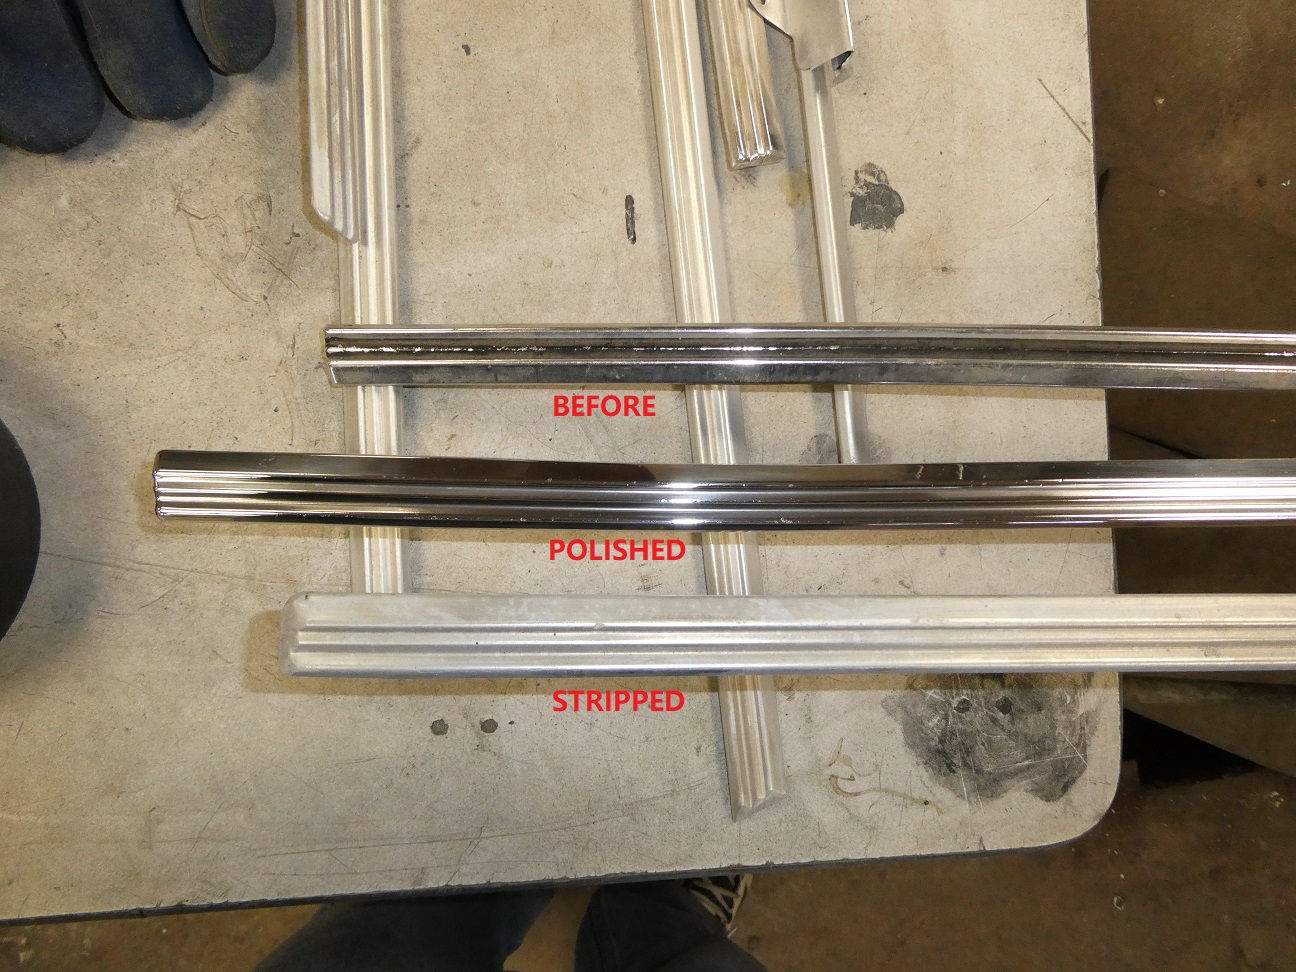
rain gutters. You mix lye with distrilled water and soak the parts for perhaps 10 to 15 minutes. In the middle picture you can see what the part looks like stripped (dull aluminum).
With the parts stripped, you sand and buff them like a stainless steel moulding. To protect them and to keep them from turning dull over time, I clear-coated them with Cerakote MC-160 High Gloss Ceramic Clear. I had to buy a small paint gun
with a 0.8mm tip to spray it. Once the clear cured, I masked the centers off and painted the centers with Sems Trim Black. They came out really good. They look just like they were anodized.
|
|
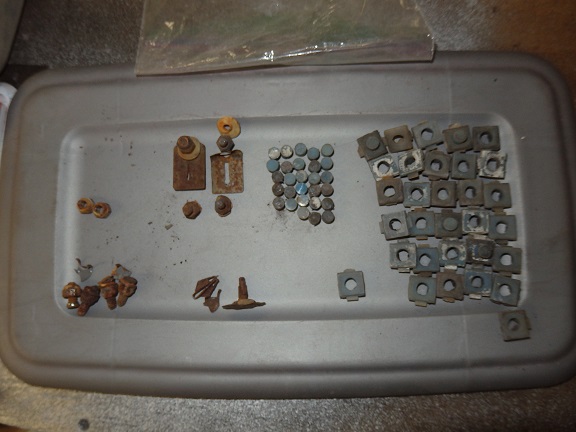
The picture on the left shows all of the side moulding clips that I had. I was able to locate some NOS ones for the ends of the door mouldings. I was also able to locate some repo clips for the ends of the front fender mouldings. I was short a couple of the
blue square plastic clips and paid a lot of money for some used ones as no one on the forums could help me locate new ones. I should have been more patient....
|
|
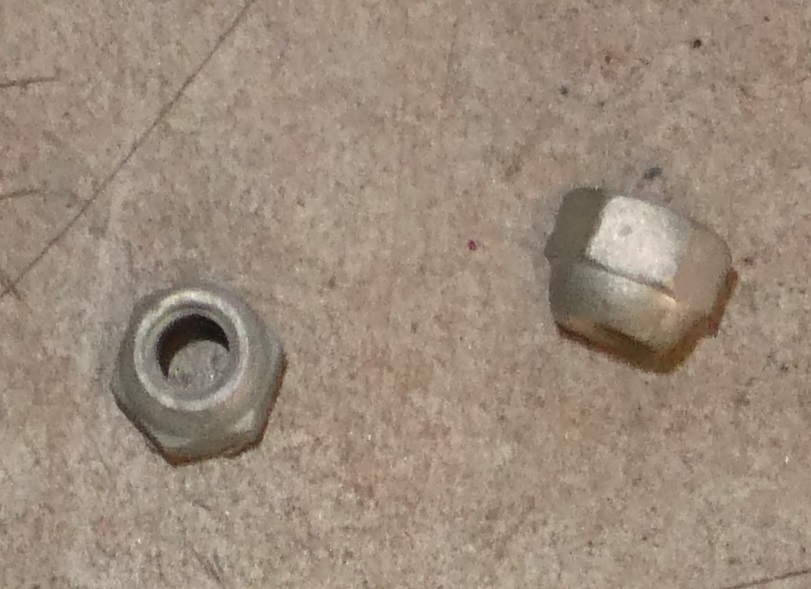
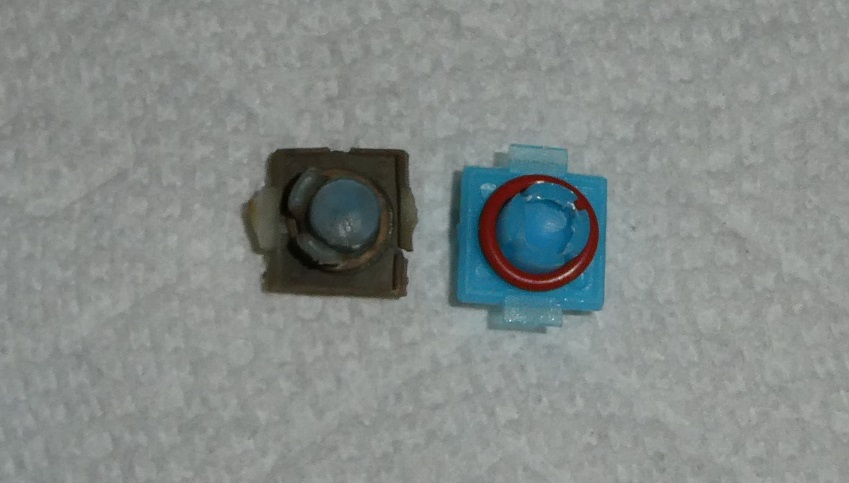
The clips at the front any back of the doors and the clips at the very rear of the quarters require a special nut. I had to replate the originals as I could not find any NOS ones.
|
|
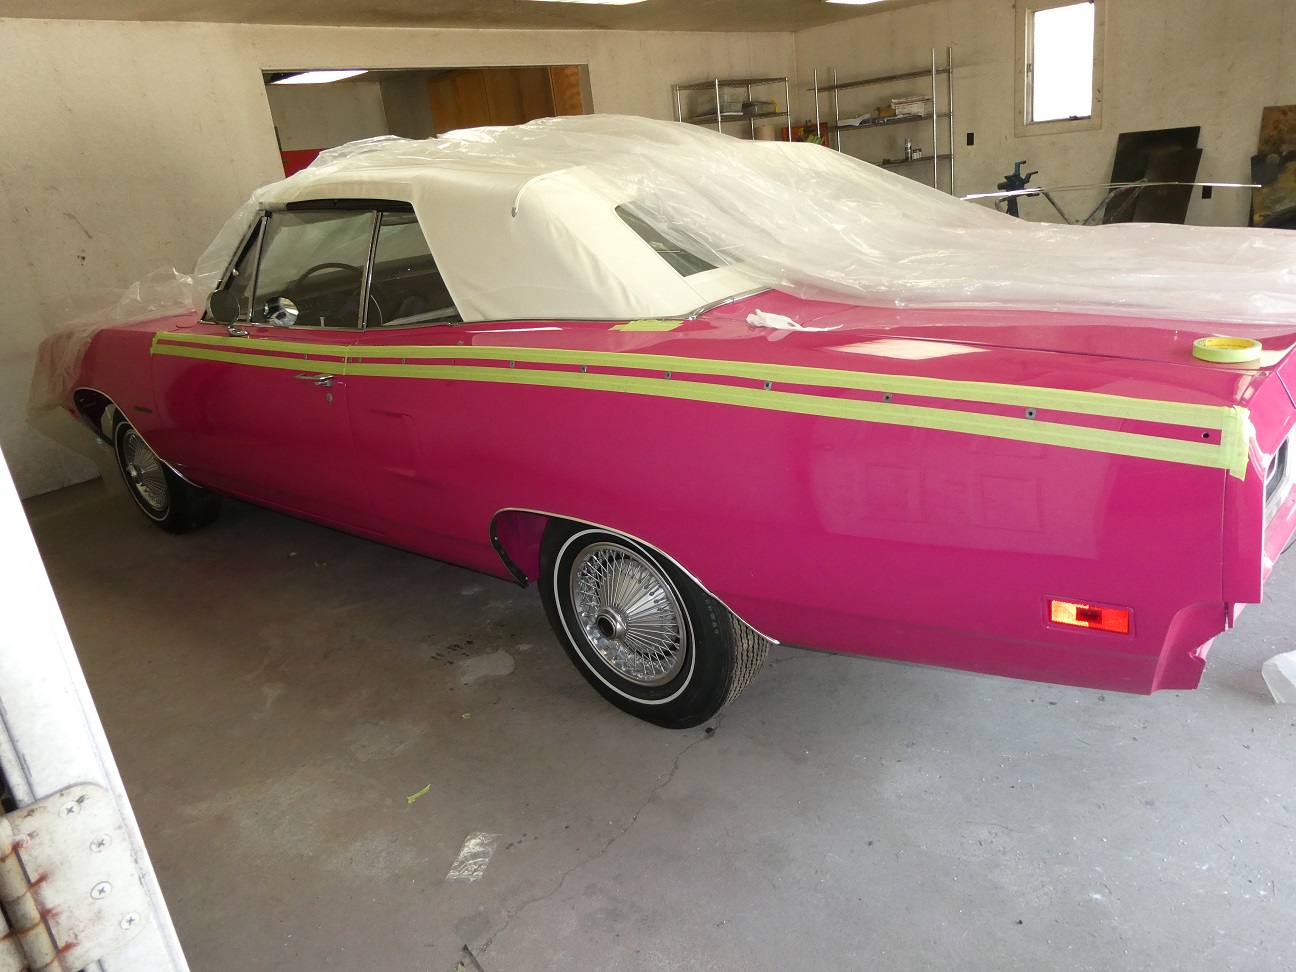
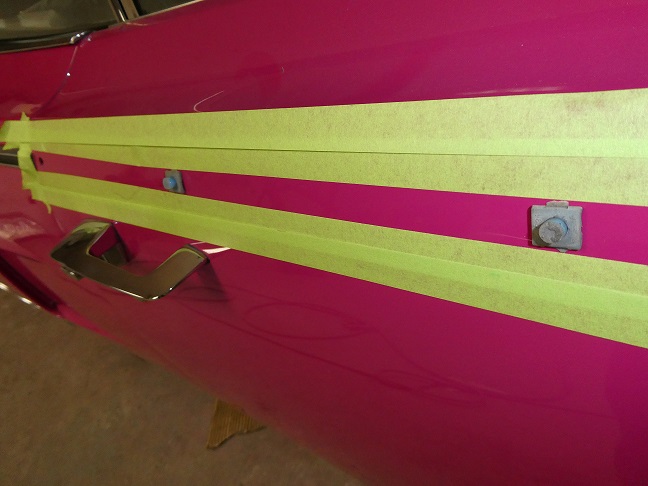
To install the mouldings I first set the blue clips in place without the locking pins, I then masked the perimeter off to protect the paint and tapped the locking pins in place. The mouldings just snap into place using the palm of my hand..
|
|
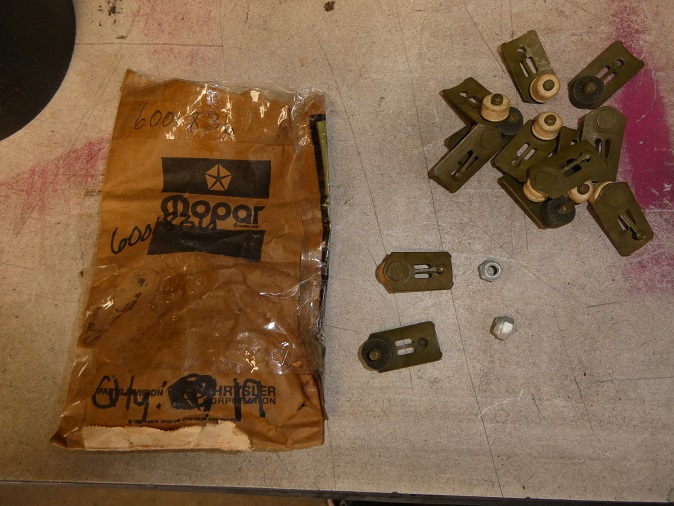
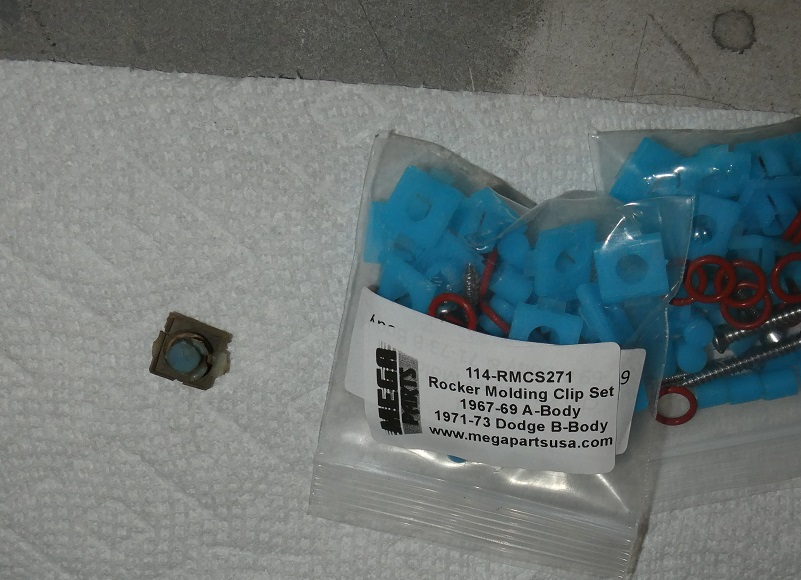
So it turns out that they do reproduce the blue plastic clips. They are used on 67-69 A-body cars and 71-73 B-body cars for the rocker moulding mouldings. Unfortunately I found the clips after the mouldings were installed. My plan is to use them
if and when I ever locate some NOS side mouldings.
The picture on the right shows the clips during the process of installing them. You snap the clip in the hole and then you tap the blue locking pin even with the face of the clip to lock it in place.
|
|
I was able to locate an NOS antenna. It's looking more and more complete every time a touch it. Now onto the bumpers.
|
|
|
Rear Bumper
|
|
|
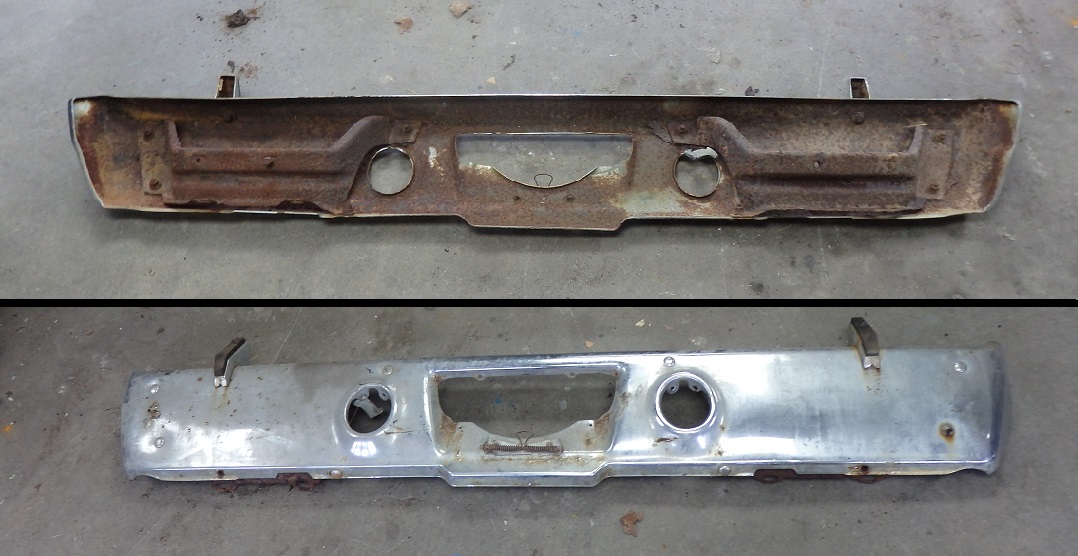
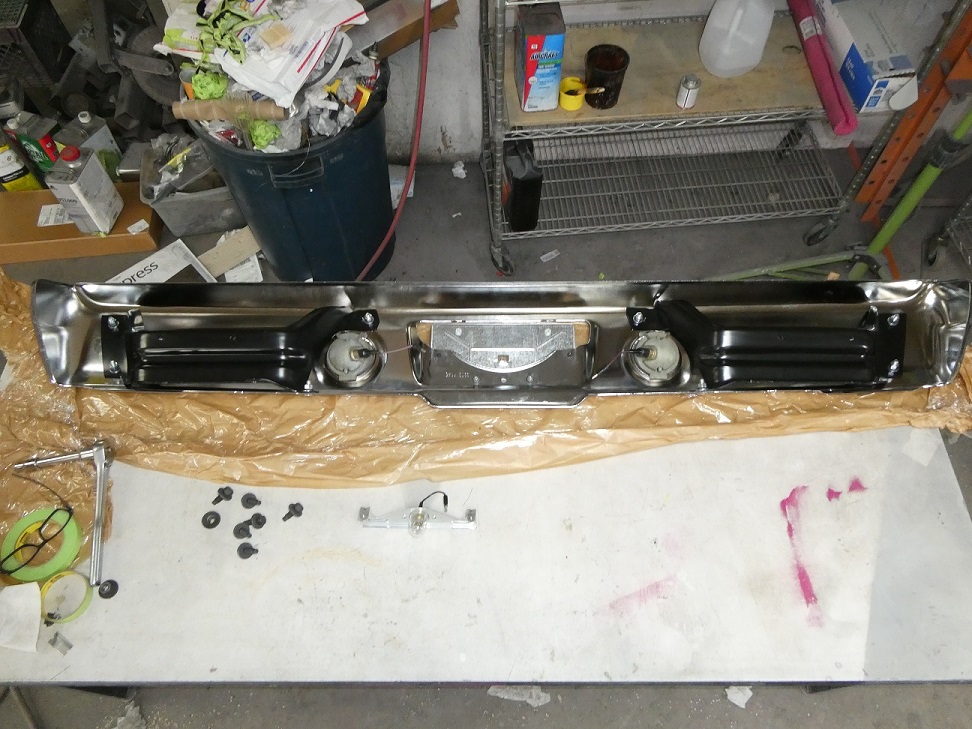
The rear bumper that came with the car was not original to the car and was not installed when I bought it. It also had bumperettes, which were not correct for this car. The bumper itself had lots of damage to it, so getting it rechromed would have been really expensive. I could
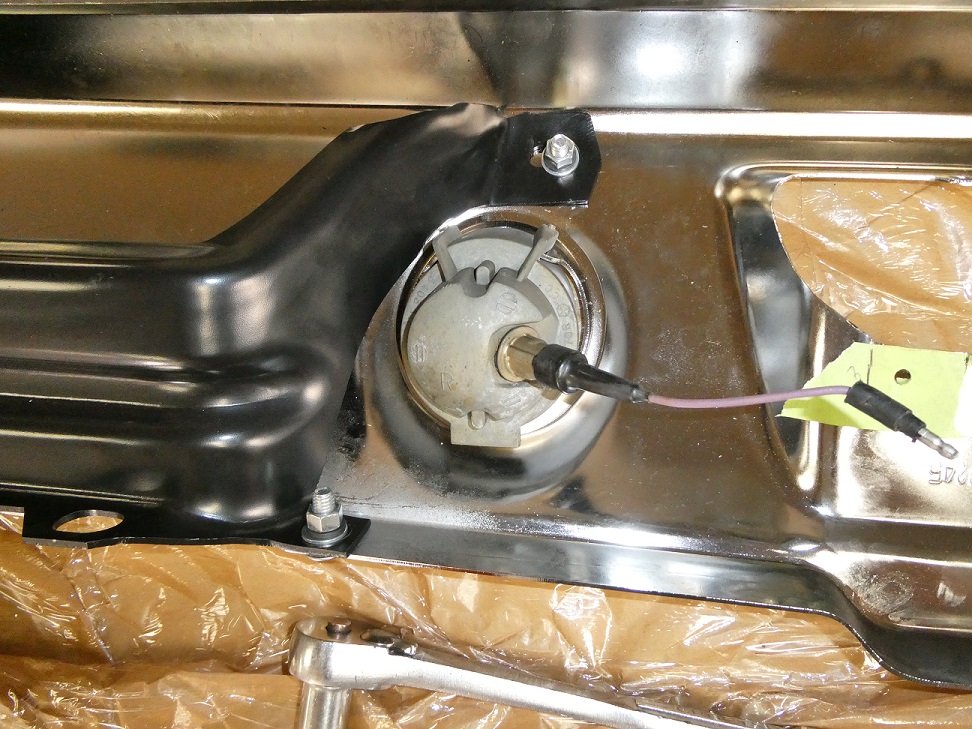
have tried to locate another one, but in the end I risked buying a repo bumper. In fact just about everything about the rear bumper is repo except for the reverse lights, which were originals from a low milage car.
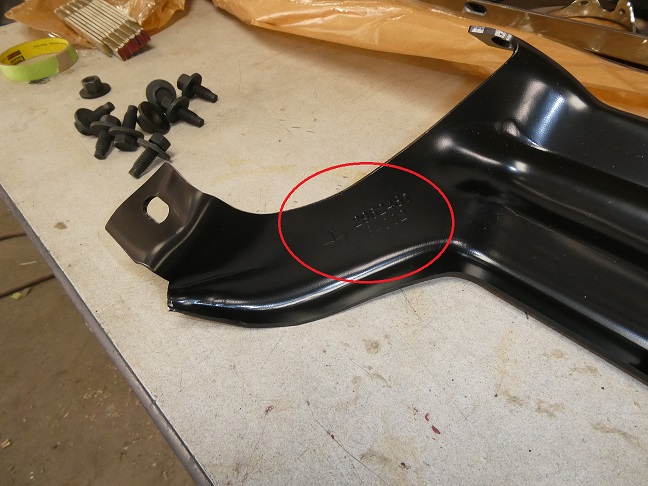
The bumper brackets were repos from AMD, which even had the Chrylser logo and part numbers stamped on them. Even being a nice repo parts, I still had to trim and adjust them to get them to fit right.
One thing I discovered with the repo bumper is that the holes for the license plate bracket were missing. So I ended up drilling them. One thing to note about the license plate bracket is that it is a near perfect repo of the original.
|

|
As recommended I installed the bumper and checked the clearance with the rear quarters. The right side needed to come out a bit as it probably got bent during shipping. This was quickly fixed with a rubber mallet with the bumper off the car.
|
|
|
Front Bumper
|
|
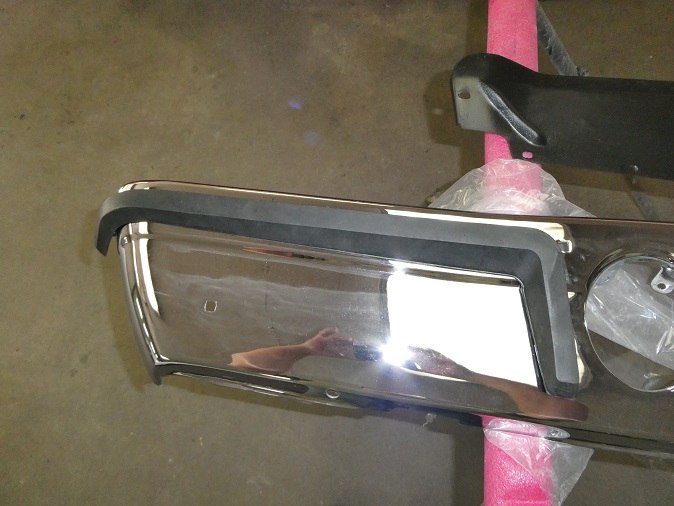
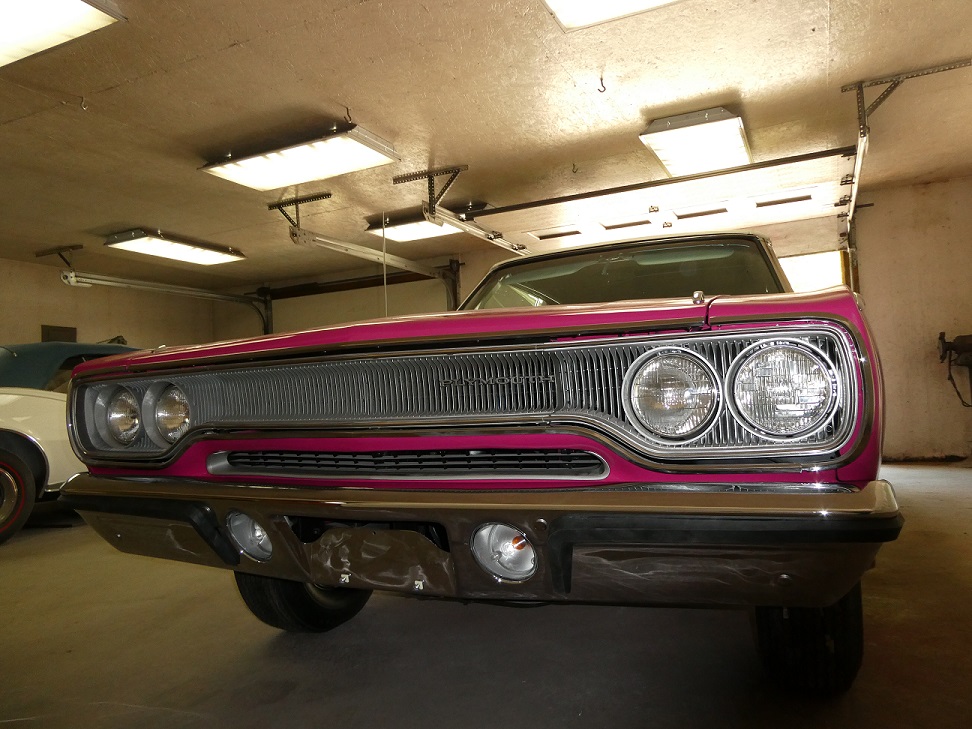
Though the original front bumper was a great candidate for rechroming, I purchased a rechromed original online. It saved me about $300 and a lot of time waiting.
|
|
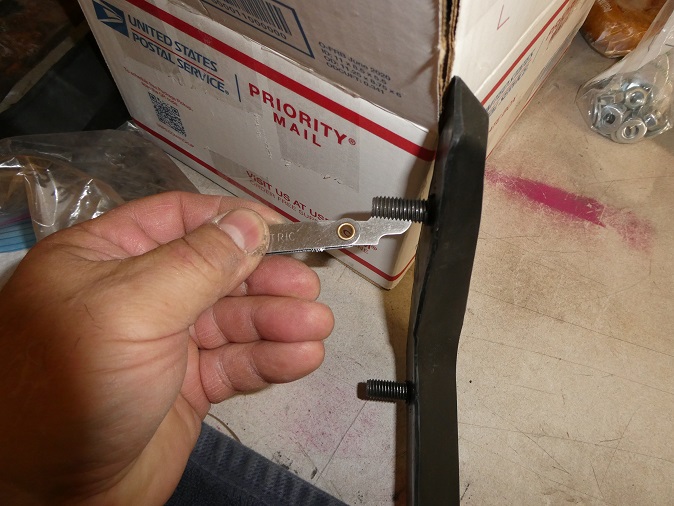
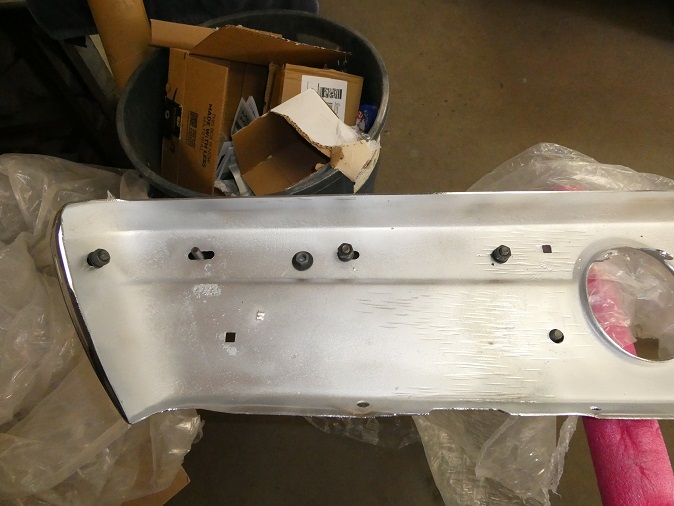
The cushions for the front bumper were a slight challenge. The originals were too damaged to use. They make repo ones, but to my surprise the studs have metric threads, so original style hardware will not fit on them. There is only a couple
places to get front cushions from and they are both metric. Even with photographic evidence showing a metric tread gauge on the studs, the supplier/manufactures of these parts won't really admit it. I was pointed to the fact that the parts are "factory like" in their ads and they sell
lots of them, so I should be happy that I even have repos. Yup, the people who make these parts don't care. The best I could do aside from finding NOS or nice used parts was to paint some metric hardware with dark zinc paint.
|

|
The original front bumper brackets were quite pitted. I was able to buy a really nice used set, which I epoxy primed and painted. No one supplies the correct hardware kits for them, but I was able to buy the
correct hardware piecemeal from AMK. The nuts that hold the brackets to the bumper and cushions to the bumper, are supposed to be nuts with captive conical washers. I was only able to use the correct nuts for the locations that
weren't fastened to the cushions.
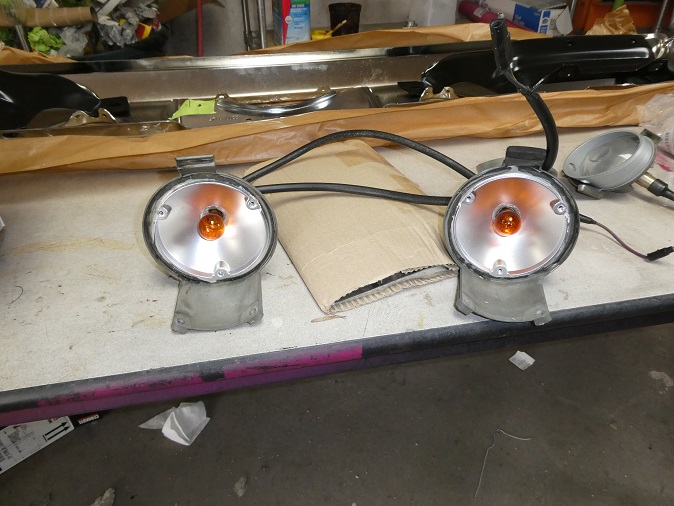
I was able to purchase a set of parking lights that came off a low milage car back in the 70's. I touched up the silver paint on the inside and replaced the gaskets. Even the original lenses were in greate shape.
|

|
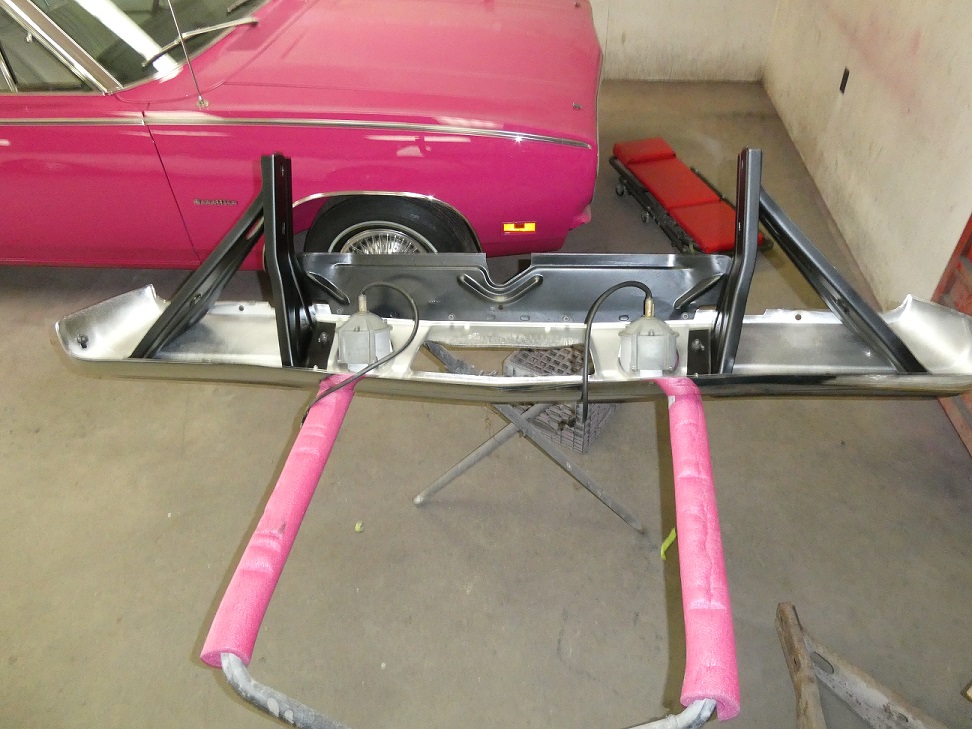
Here is the bumper fully assembled and ready to install the way the factory did it. The baffle is supposed to be flat black, though it looks shiney in the pictures.
|
|
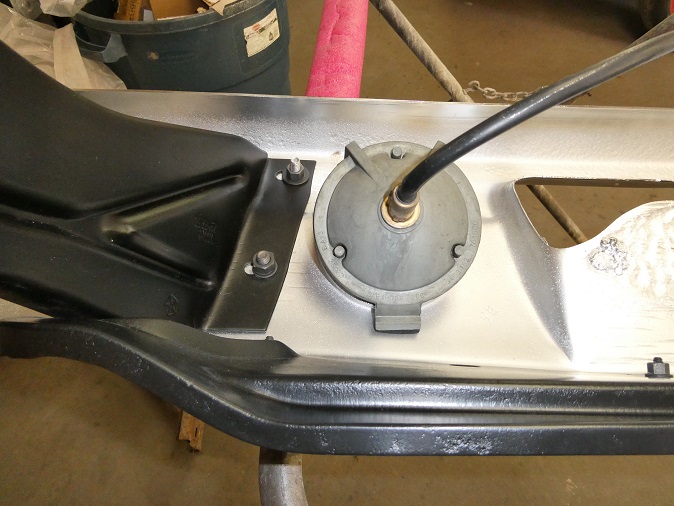
The bumper was really easy to install. You bolt the rear bolts to the car loosely and you swing the bumper up into place. Then you put the two front bumper bolts in. Once the bumper is positioned correctly, you just tighten the four bolts.
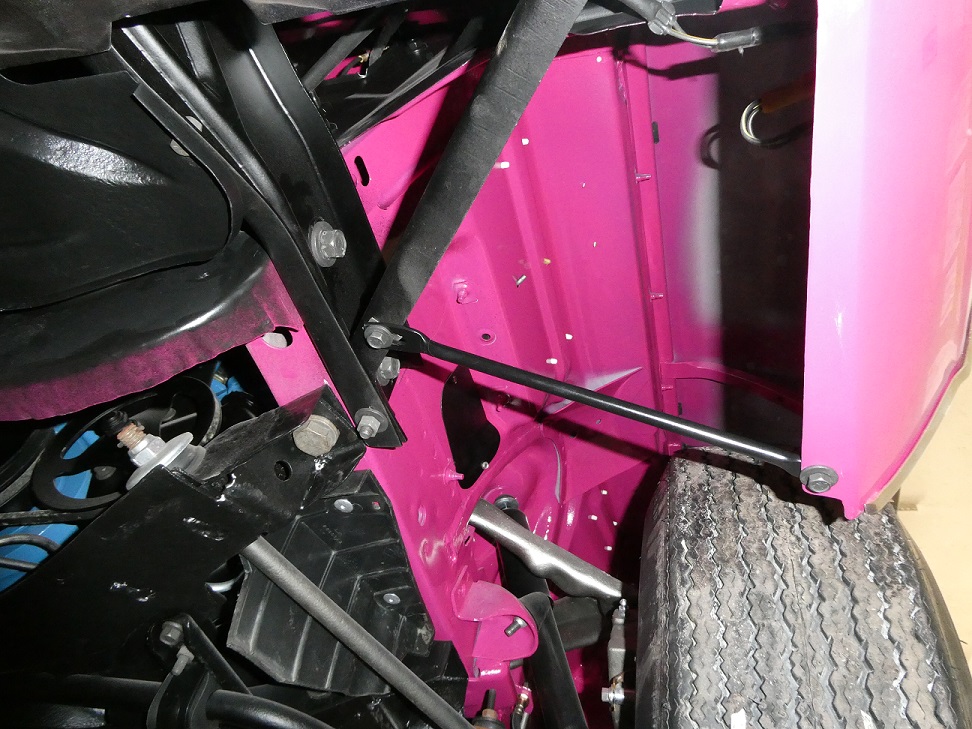
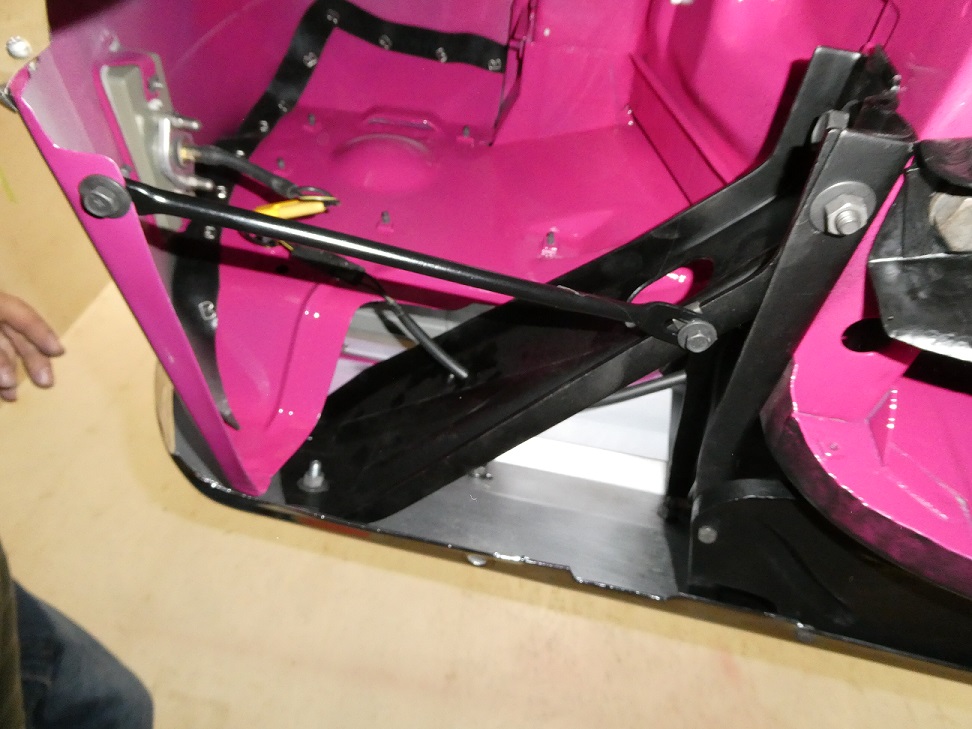
The last pieces to be mounted were the fender as they bolt to the bumper braces as shown here. You may notice that the bolts that connect the braces to the fenders are not painted. They are just dark zinc.
Lastly the wiring for the side marker lights is fed through the bumper brackets and plugged into the side marker pig tails. With that connection, the exterior of the car is now completed.
|