

|
|
Here's the rearend after I removed it from the car. Oh yes, that is actual sections of the rear frame rails still attached to it. The car was a real rusted disaster. The right spring broke off at the front bushing so it was
pretty clear from thje beginning that I needed to buy new leaf springs. |
|
|
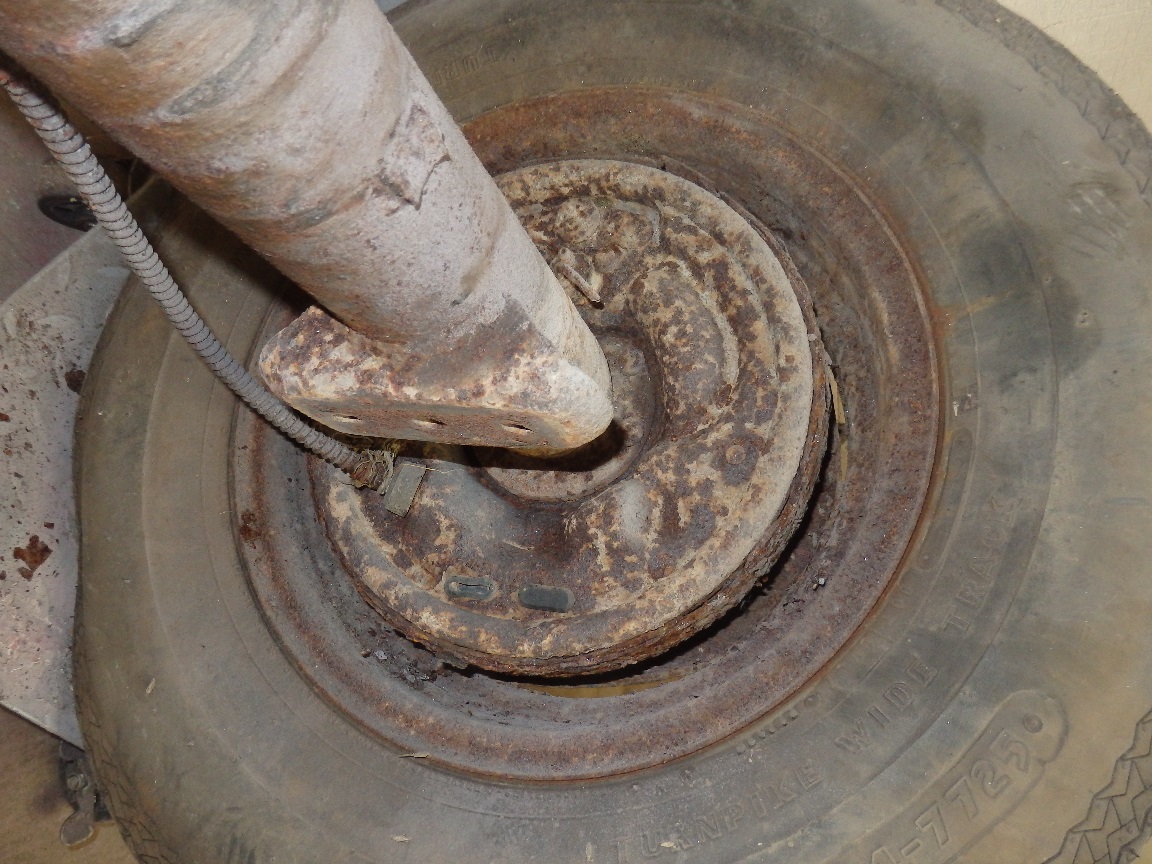
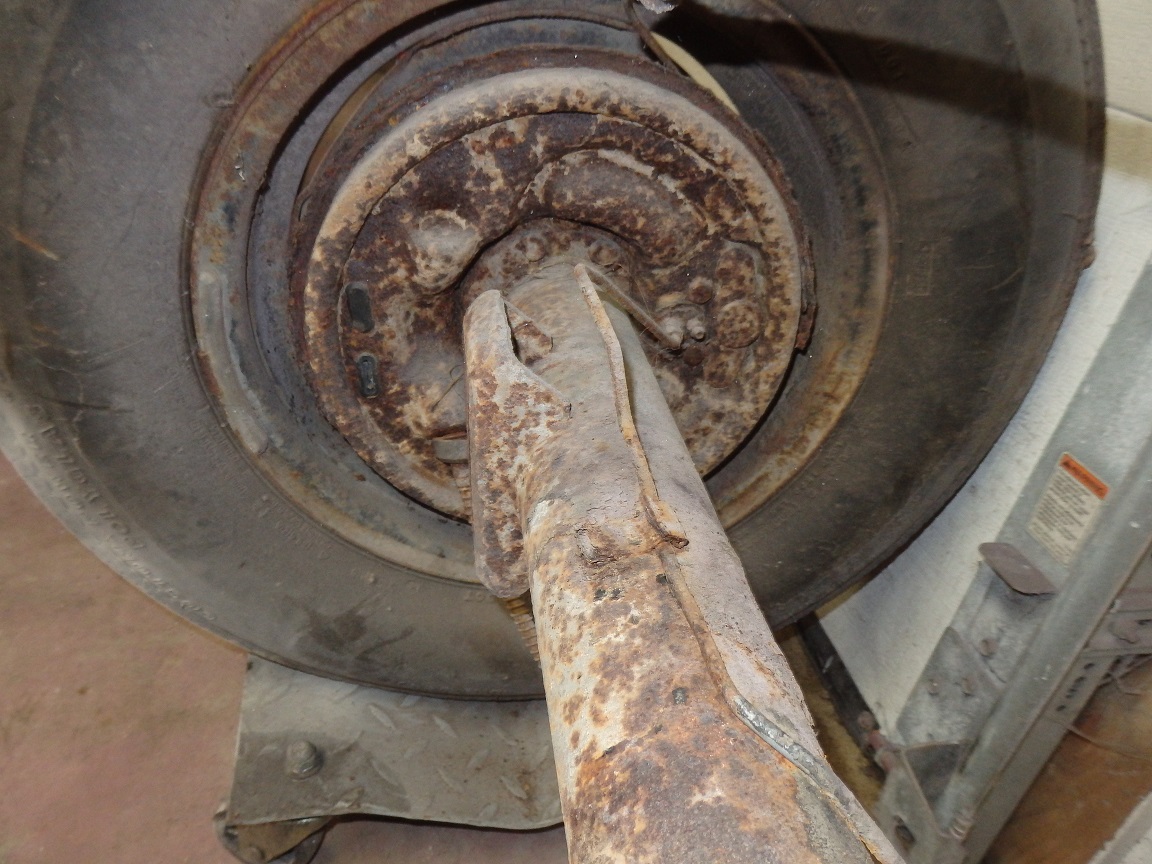
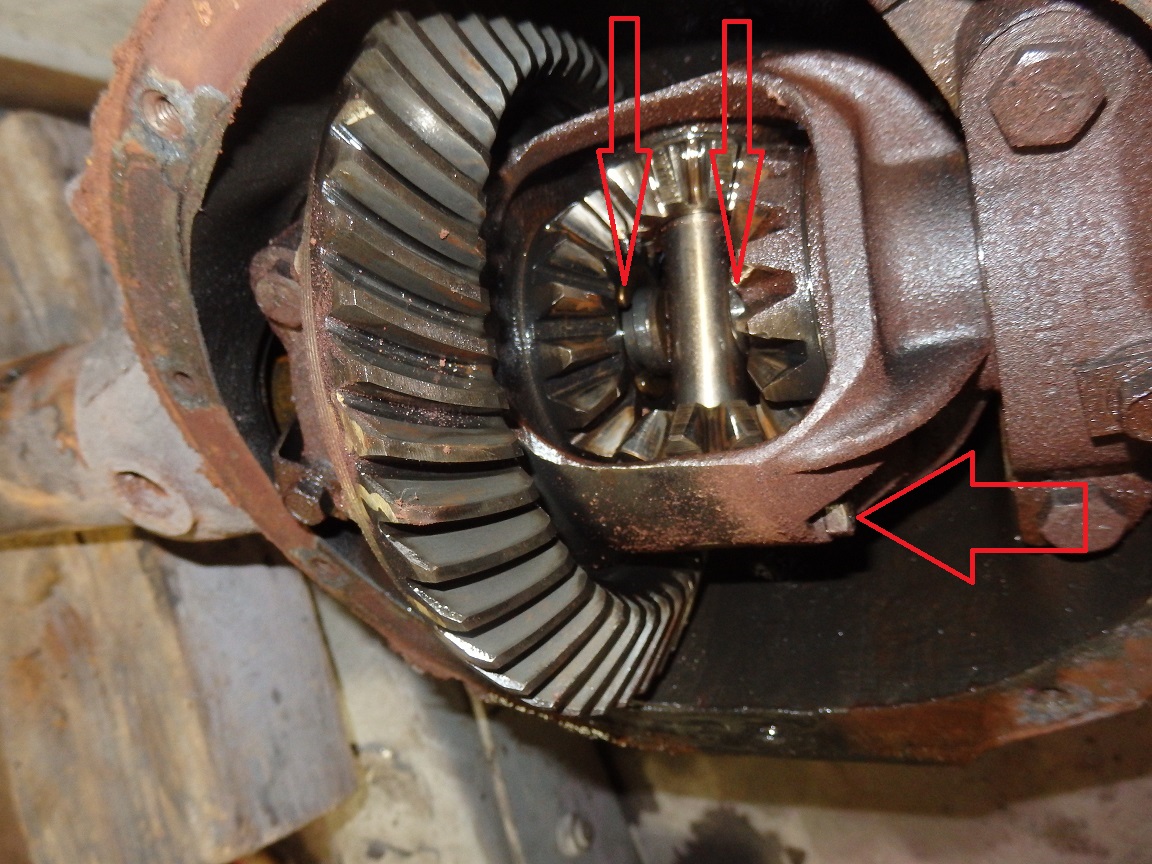
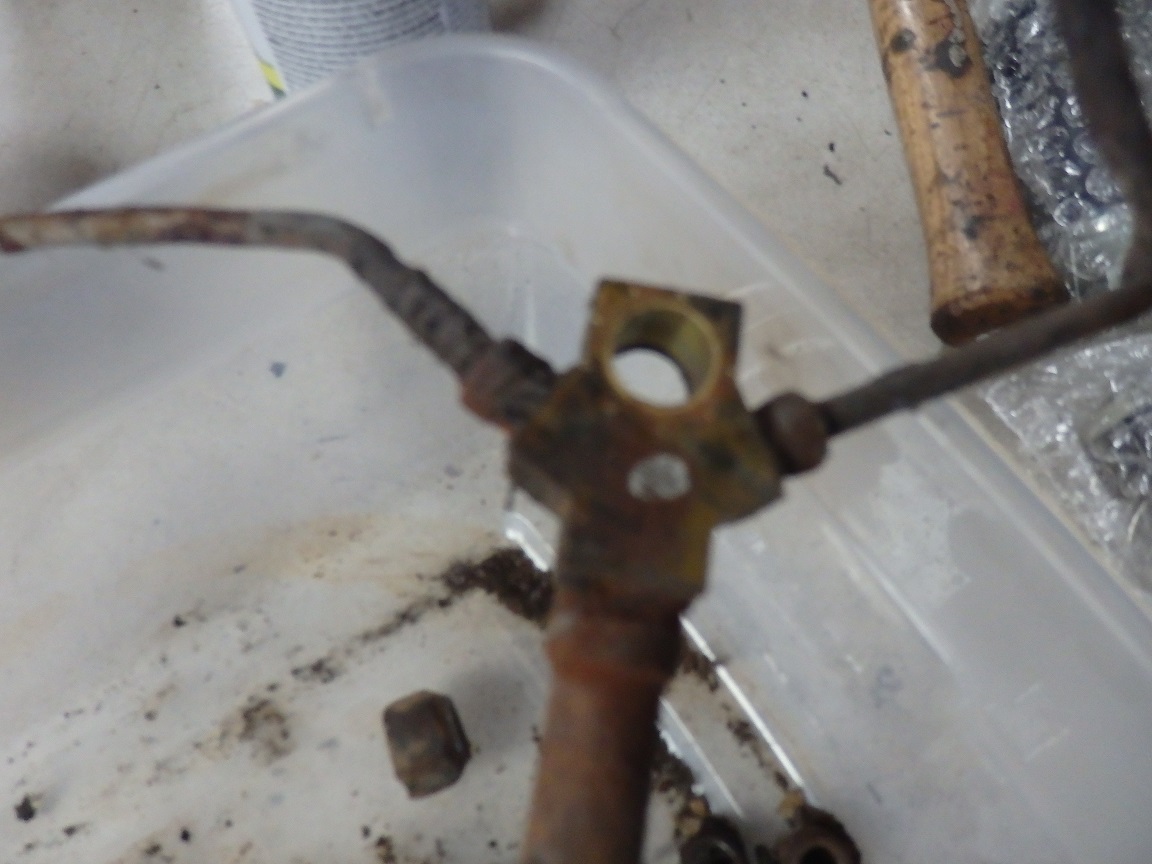
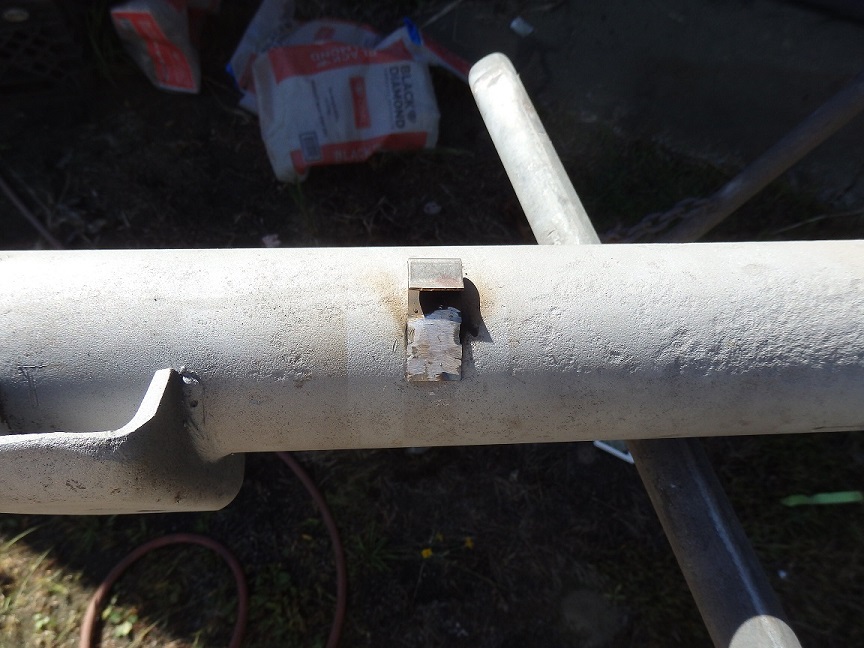
It was obvious that this car was sunk in the ground up to the bottom of the brake drums. The drums and all of the internal brake components were not worh saving. To remove the axle shafts you have to remove the differential cover and pull the C-clips that retain them. Then you just yank the axle shafts out. To reach the C-clips to remove them you have to remove the cross pin that prevents the axles from sliding inboard. The cross pin also doubles as a pivot pin for the spider gears. You have to remove a bolt (marked with red arrow above) so that the cross pin comes out, then you push and axle shaft inboard and the C-clip falls right out. |

|
|
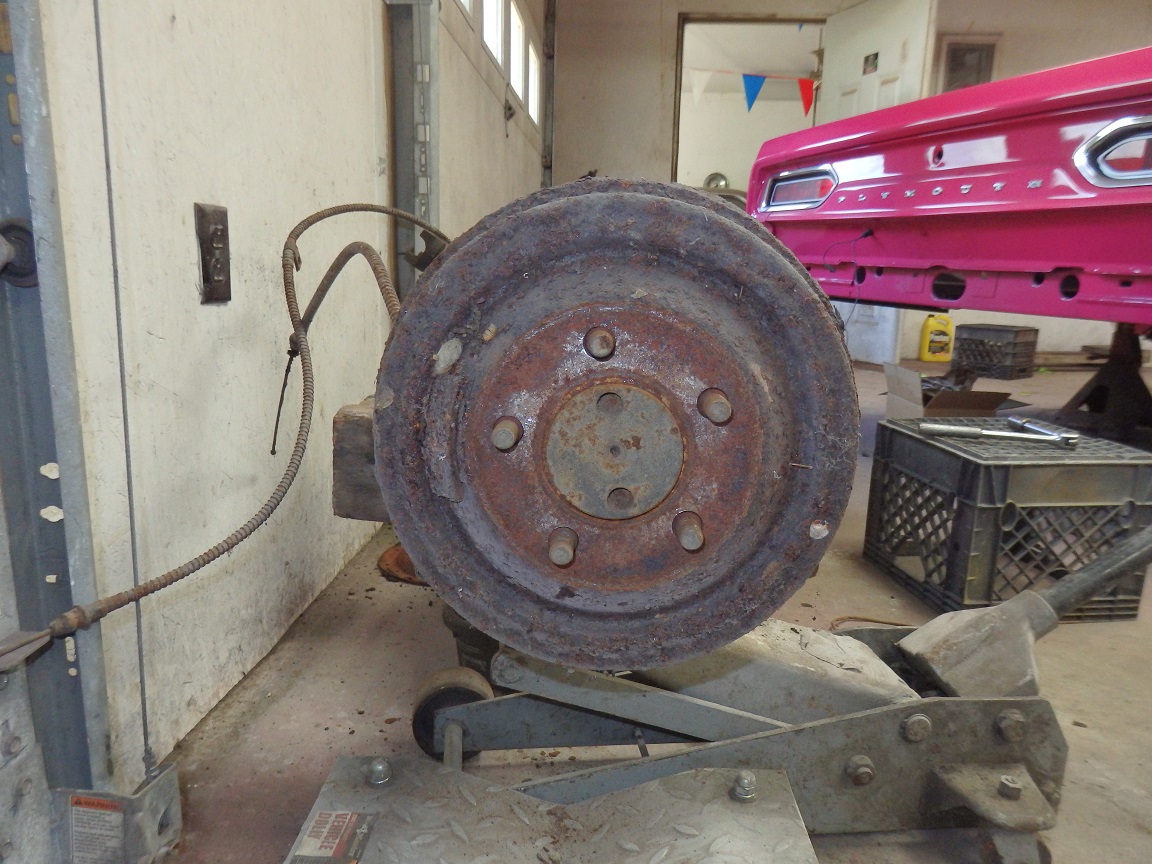
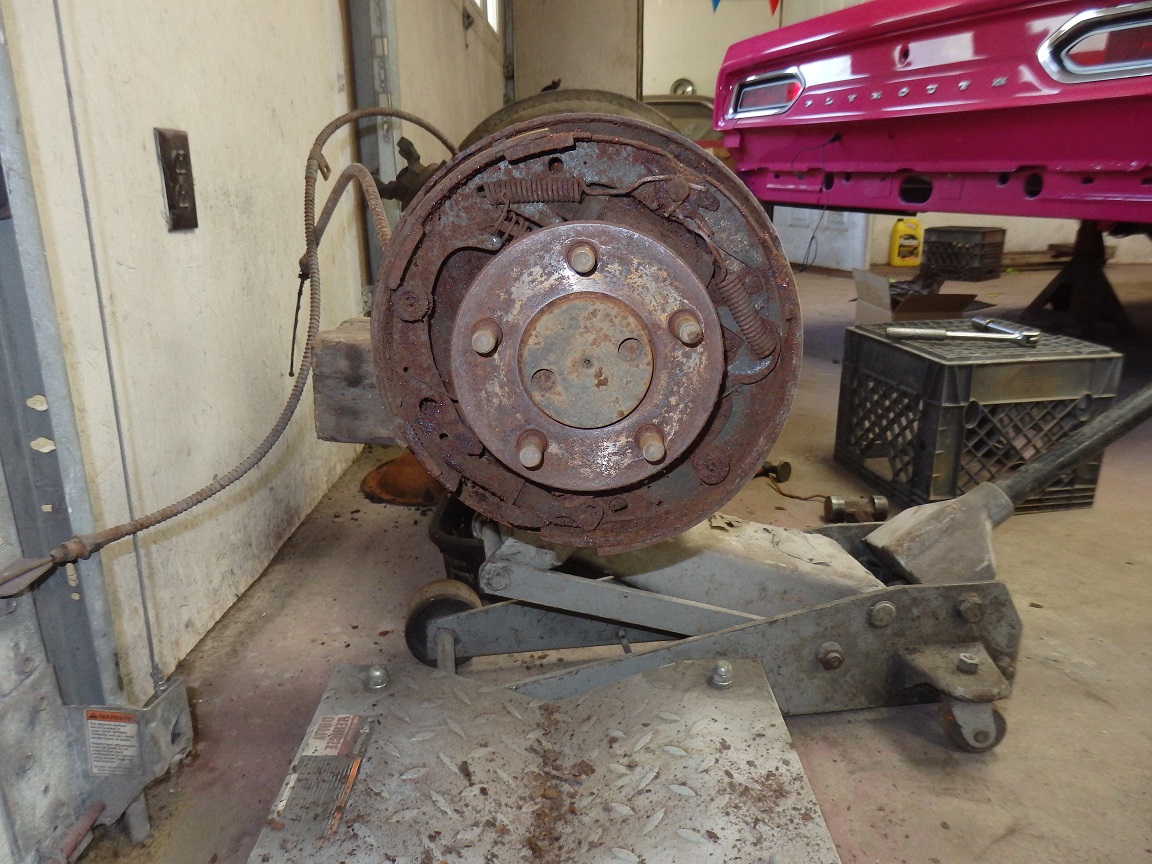
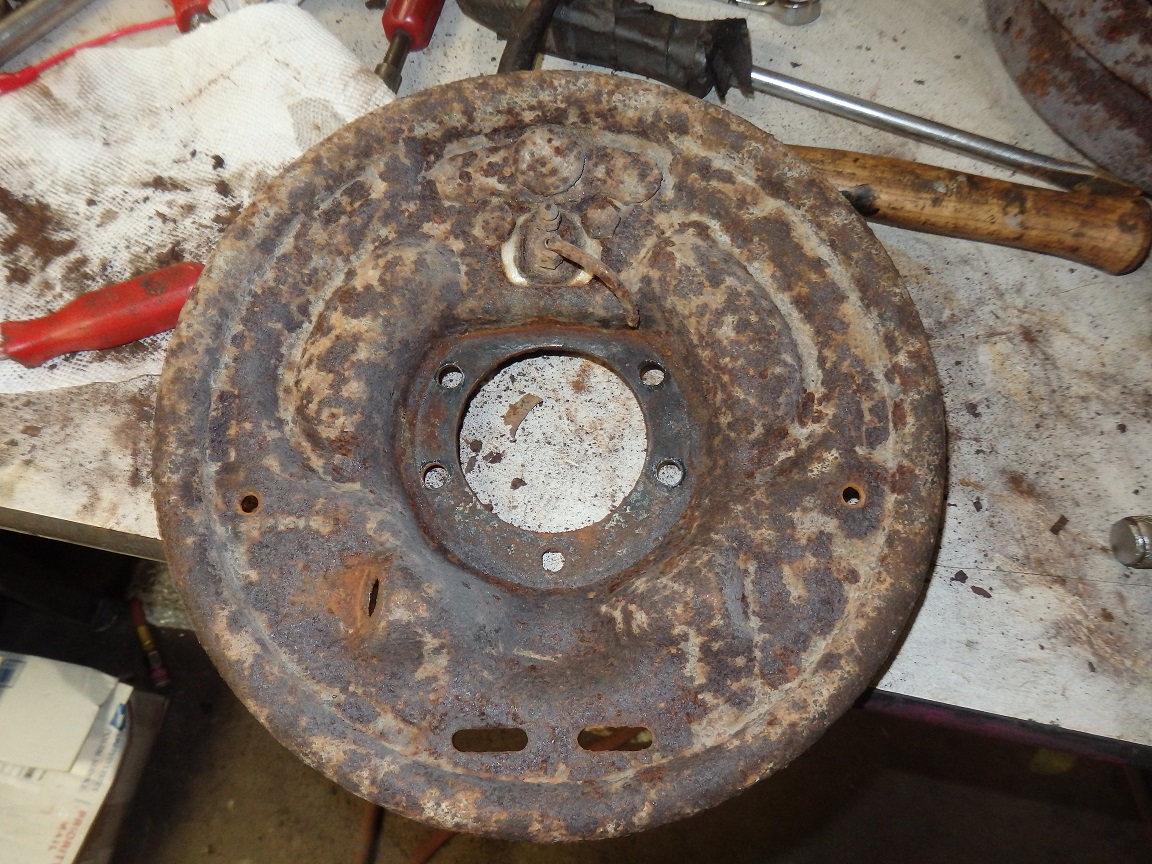
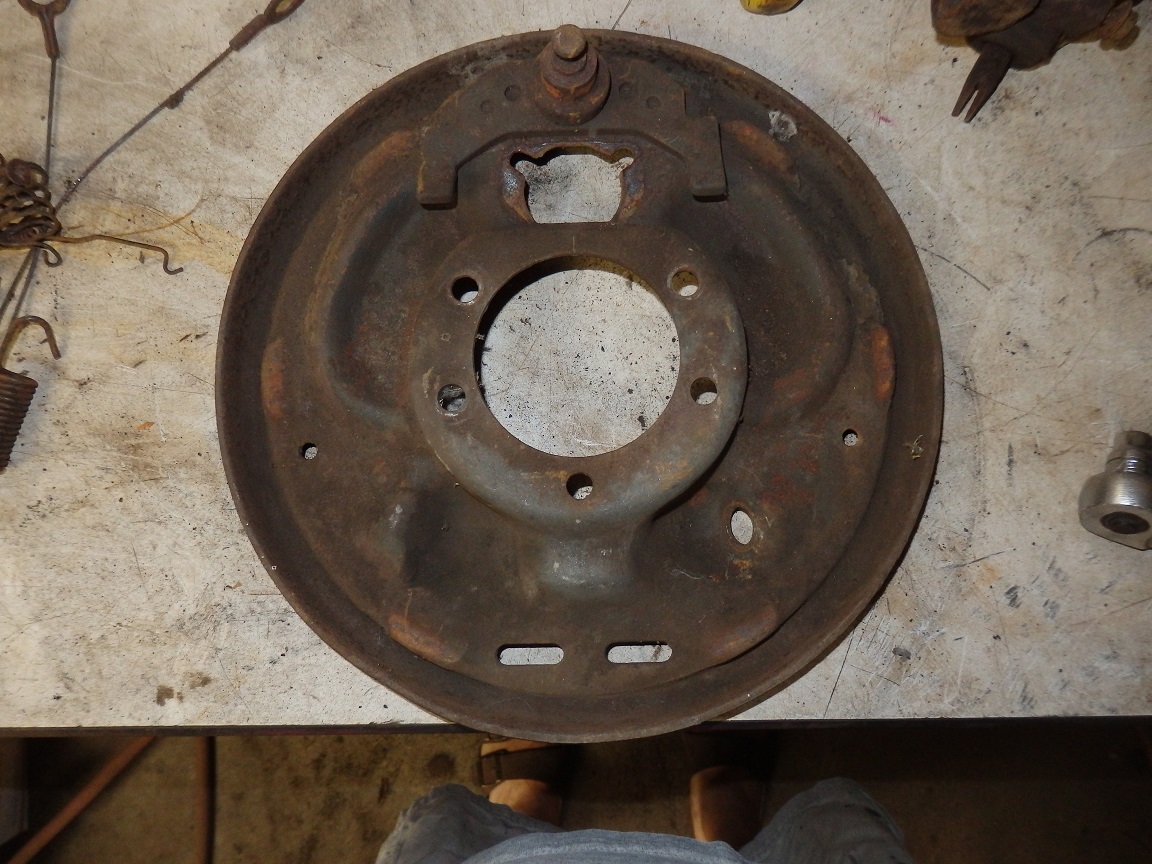
Here is one of the backing plates removed. You can tell by how dark the rust is that they are very pitted and would not clean up looking very good in the end. They would probable start rusting under any finish I could put on them. |
|
Here are some of the factory markings I foudn while taking a part the rear end.
|

|
|
While sandlblasting the axle shafts I discovered that the reverse threaded wheel studs were painted with green paint instead of being copper plated like the front wheel studs. |
|
|
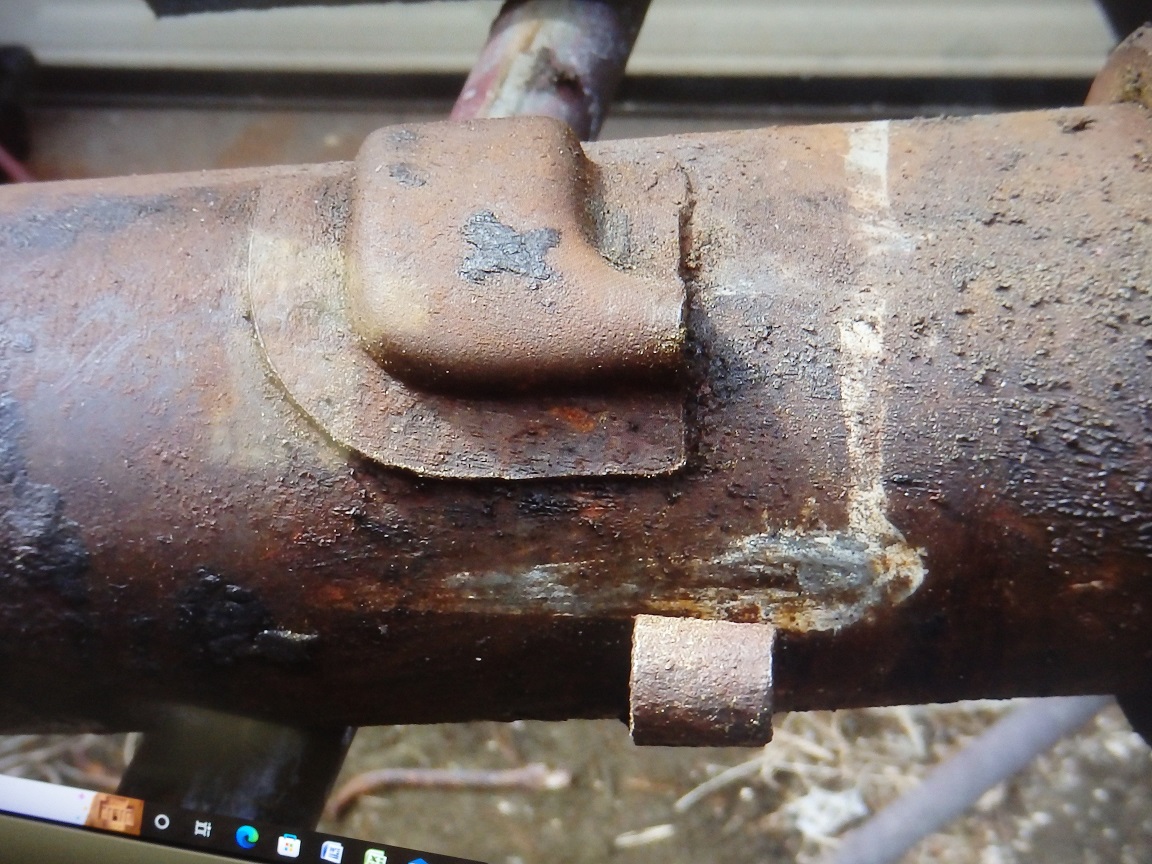
I sent my rearend housing out for sandblasting as my little handlheld blaster would not do a good enough job. Two of the brake line welded-in brackets had rusted away, so I welded-in some new repo replacments. Then I
primed the entire housing with DP90LF black epoxy primer and painted it with SEM HotRod Black, which looks factory correct. |

|
|
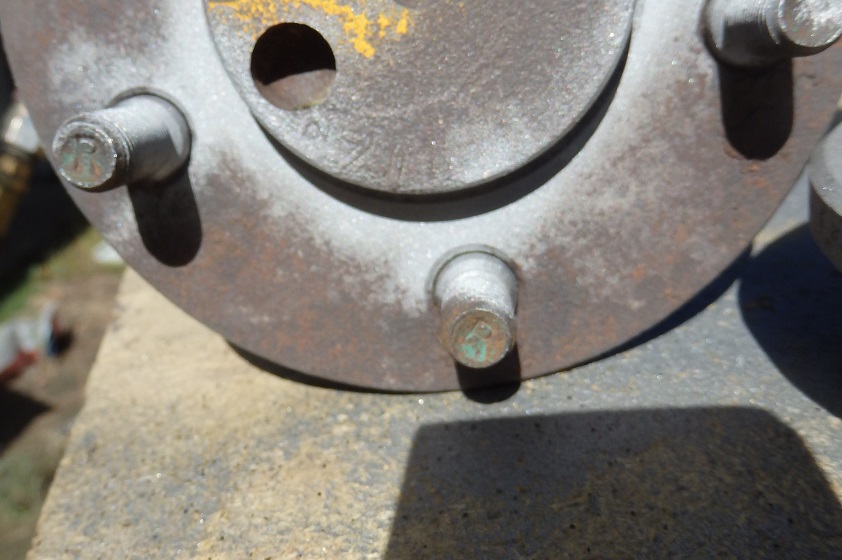
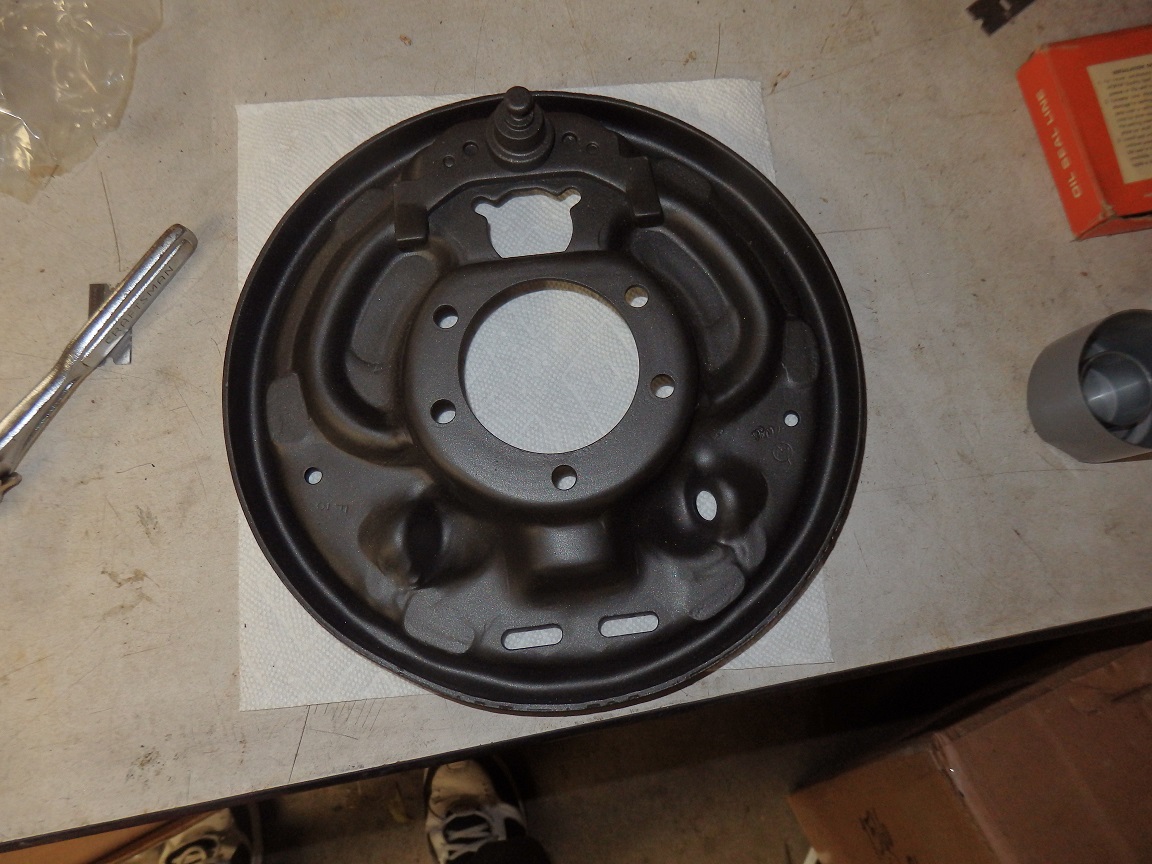
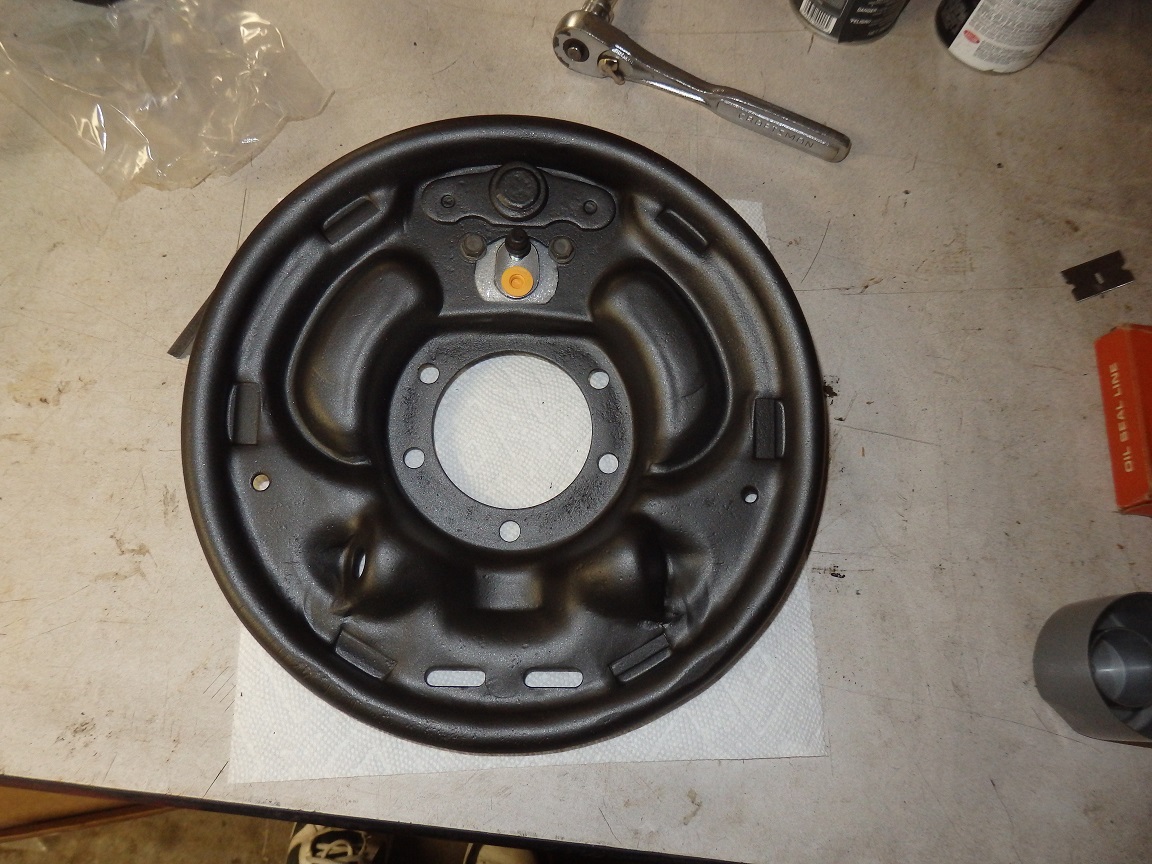
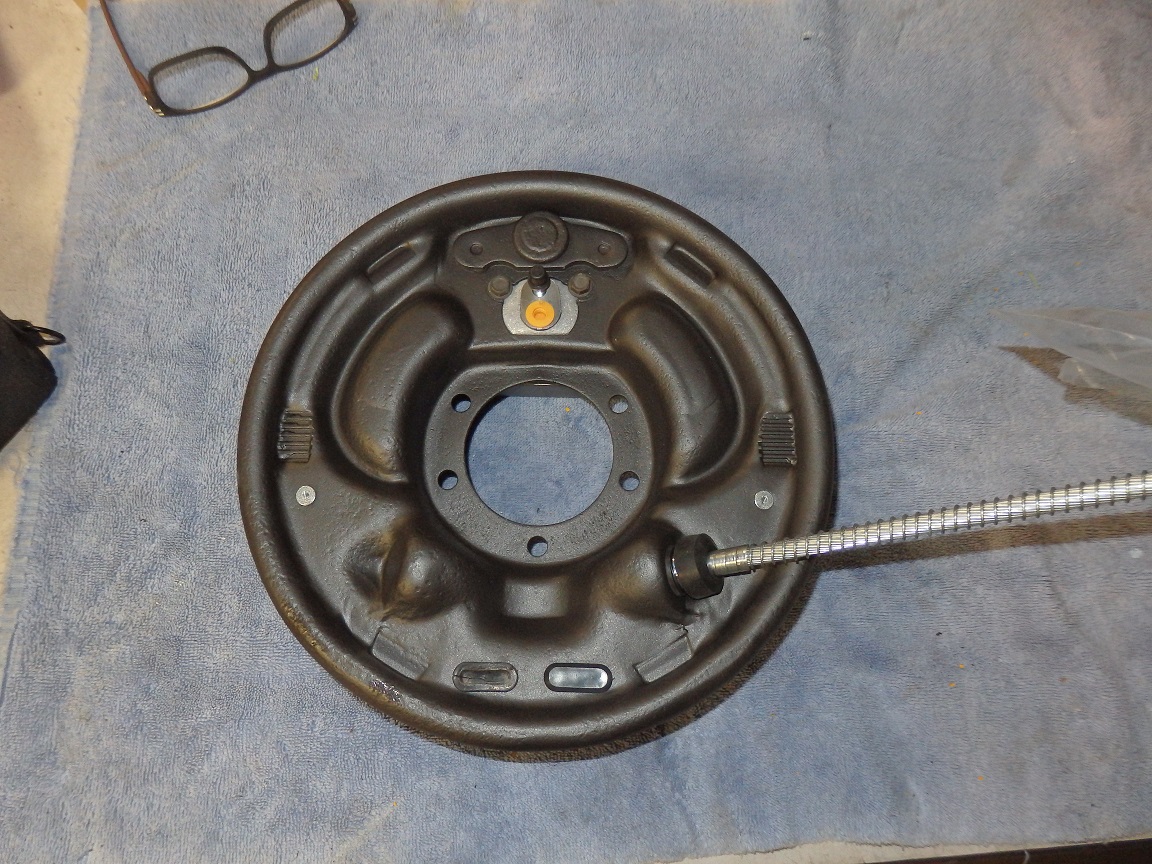
One of my parts sources on www.forbbodiesonly.com came through and sold me a really nice set of rear backing plates that came off a 1970 Road Runner that were removed in the 80's. Originally the backing plates were sealed in a special phosphate coating which you can't buy anymore. The best I could do was sandblast them, seal them in DP90LF epoxy primer and paint them with Eastwoods Zinc Phosphate paint. |

|
|
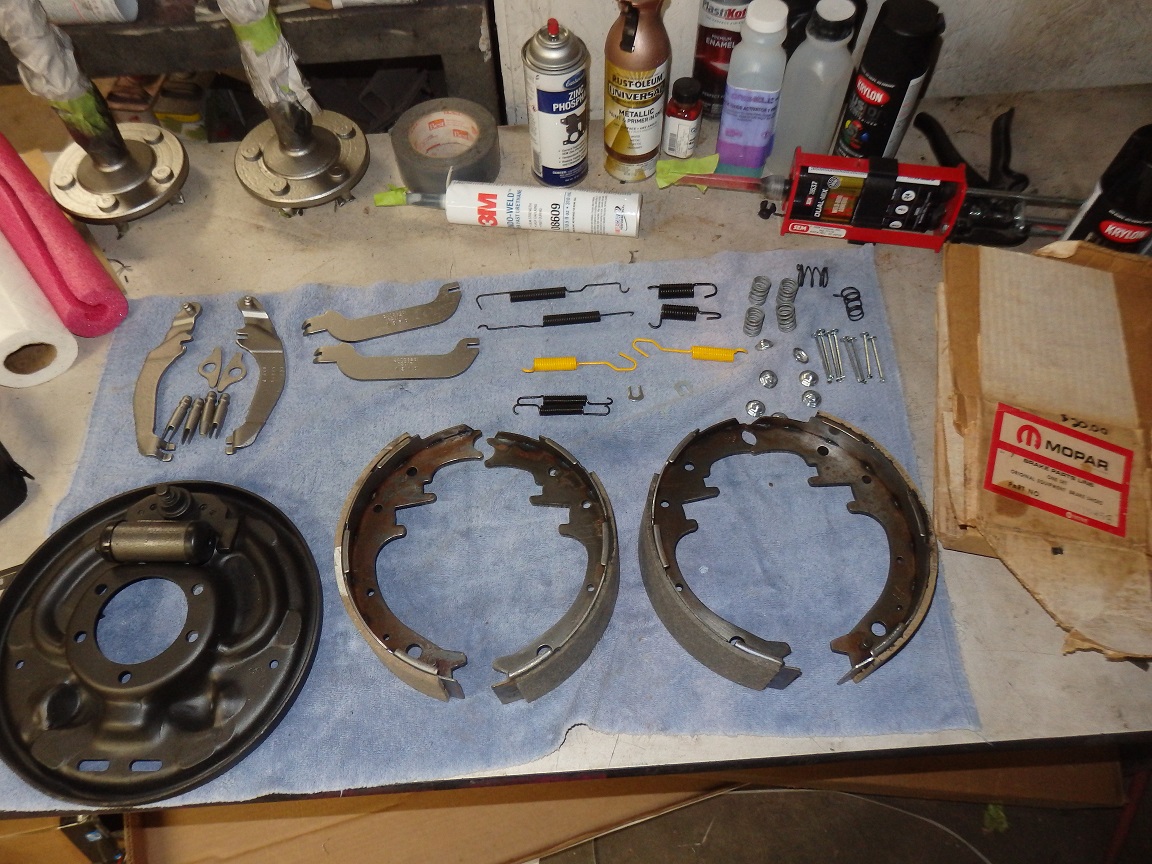
The same source also came through with an NOS set of rear brake shoes. You can tell they correct by the Chrysler logo stamped into them. |


|
|
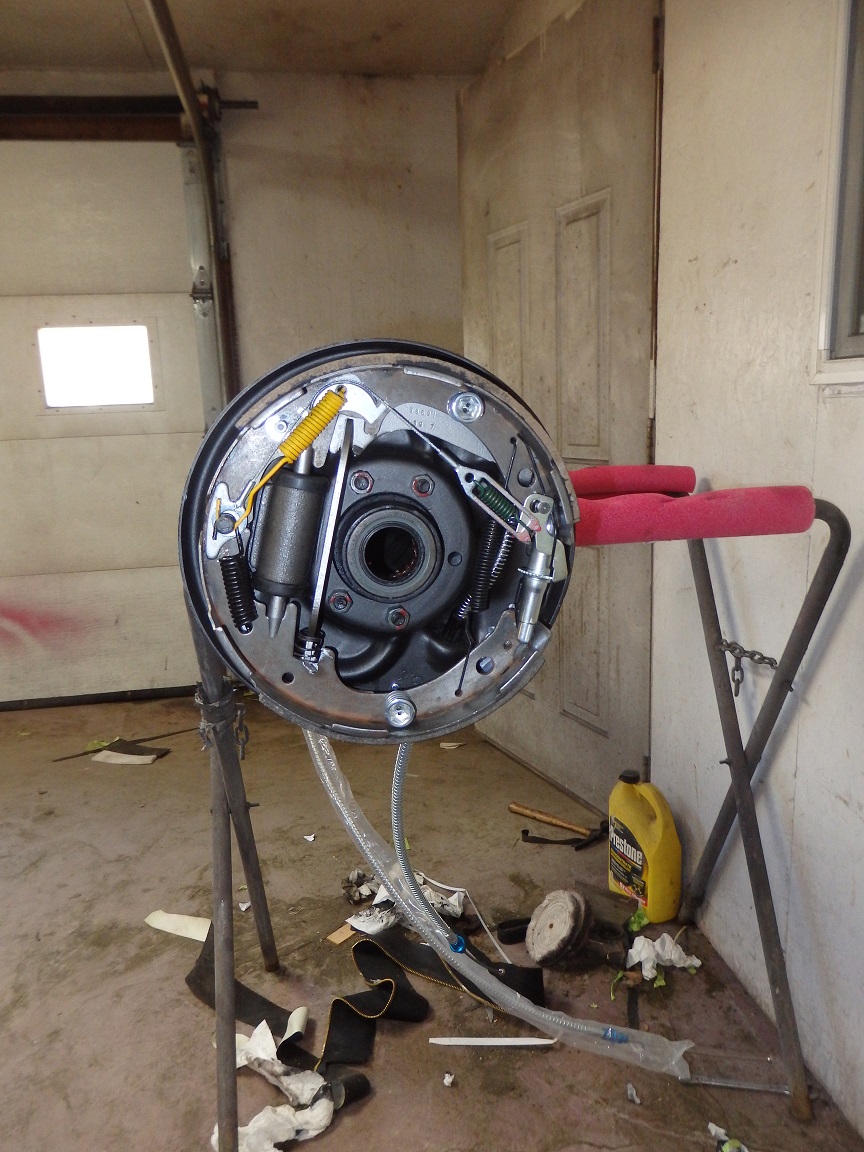
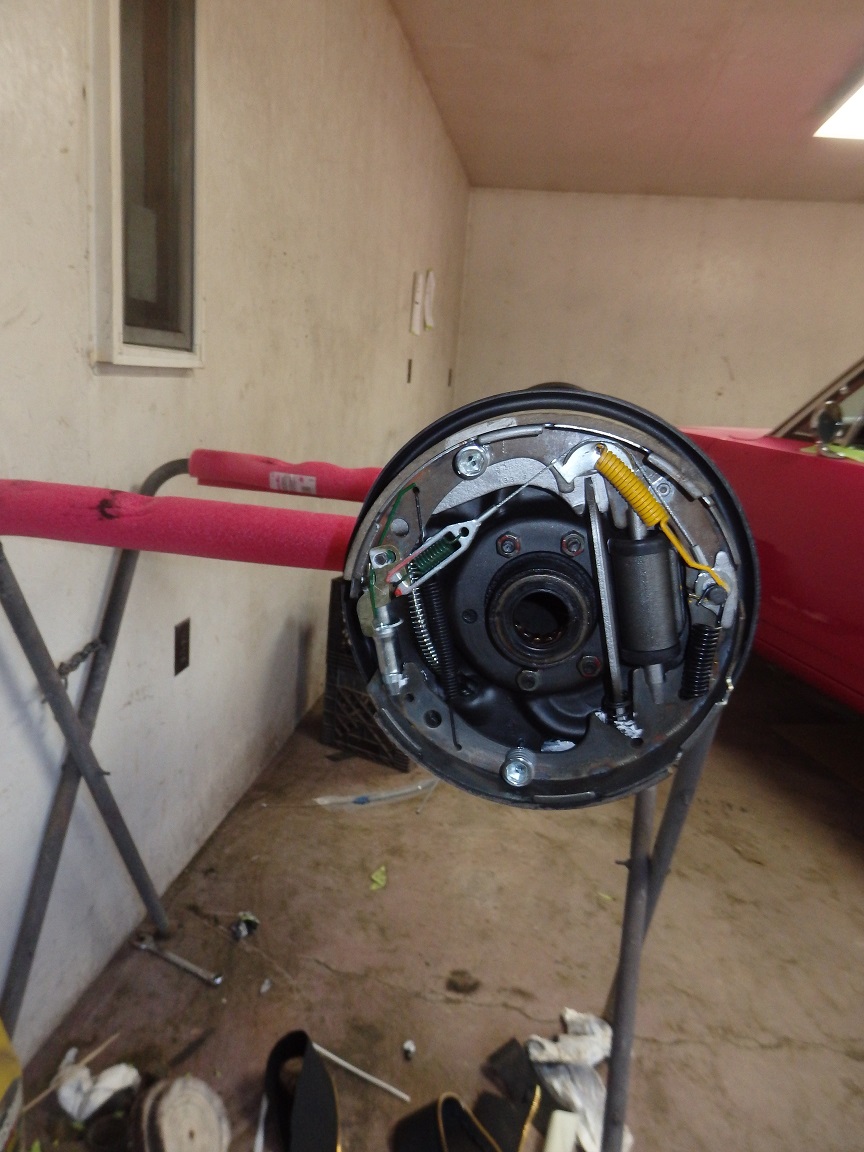
Here are the rear brakes all built up. The parking brake cables are stainless steel ones from Inline Tube. One thing of note is the white foam gasket around the wheel cylinders. These are factory correct. |

|
|
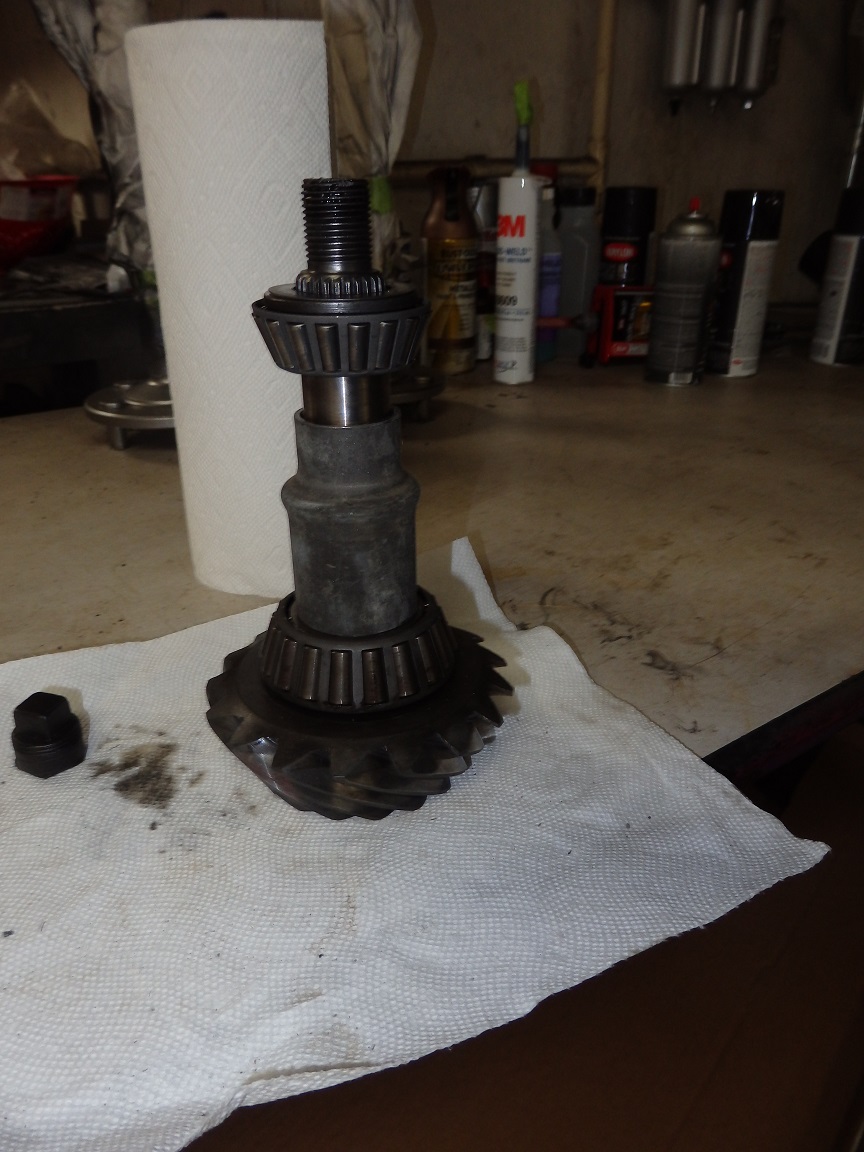
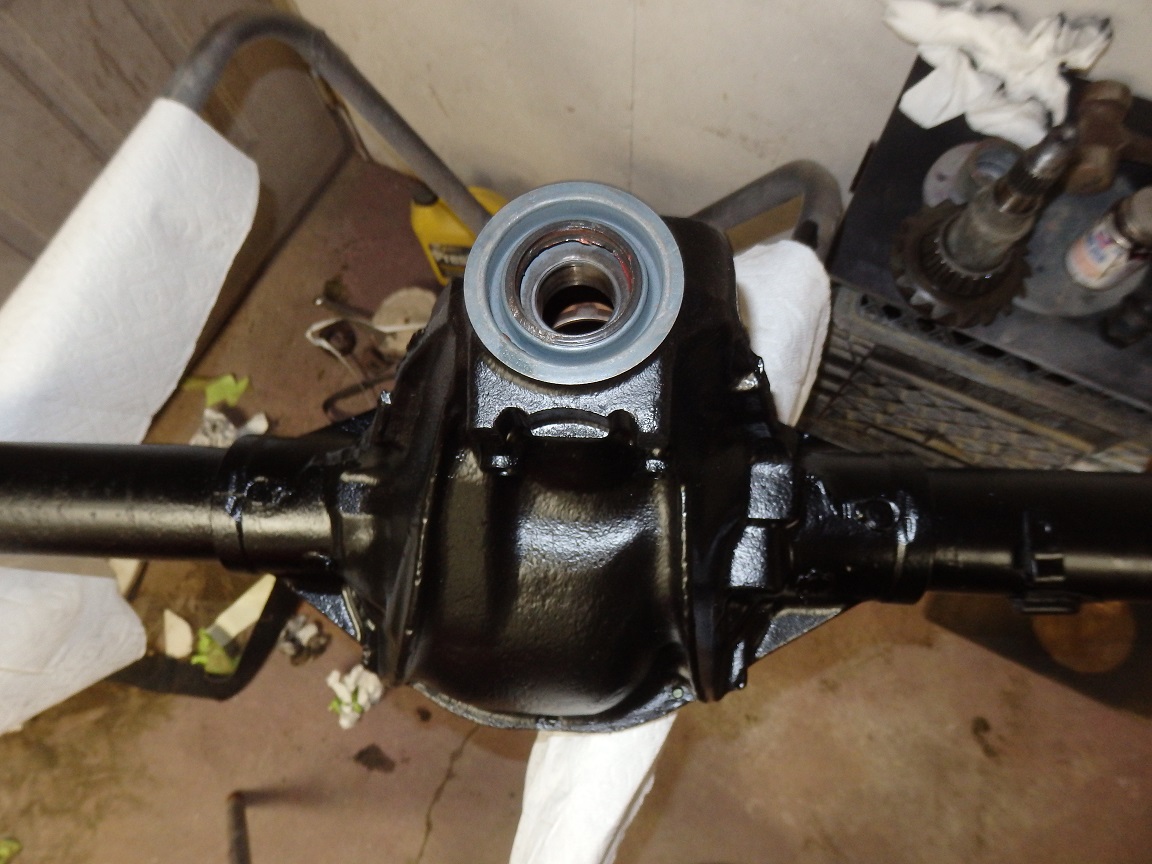
Here is the rear pinion. It has a date code of 2-12-1970, which we will talk about shortly. When I pulled the pinion I inspected the bearings and found they were in great shape, so the only thing I need to replace has the pinion seal, hopefully. This rearend utilizes a crush sleeve spacer. So if I over torqued the pinion nut when installing it there was chance I would have to replace the spacer. I didn't need to replace it. More on that shortly as well. I was able to locate an NOS pinion seal. |
|
|
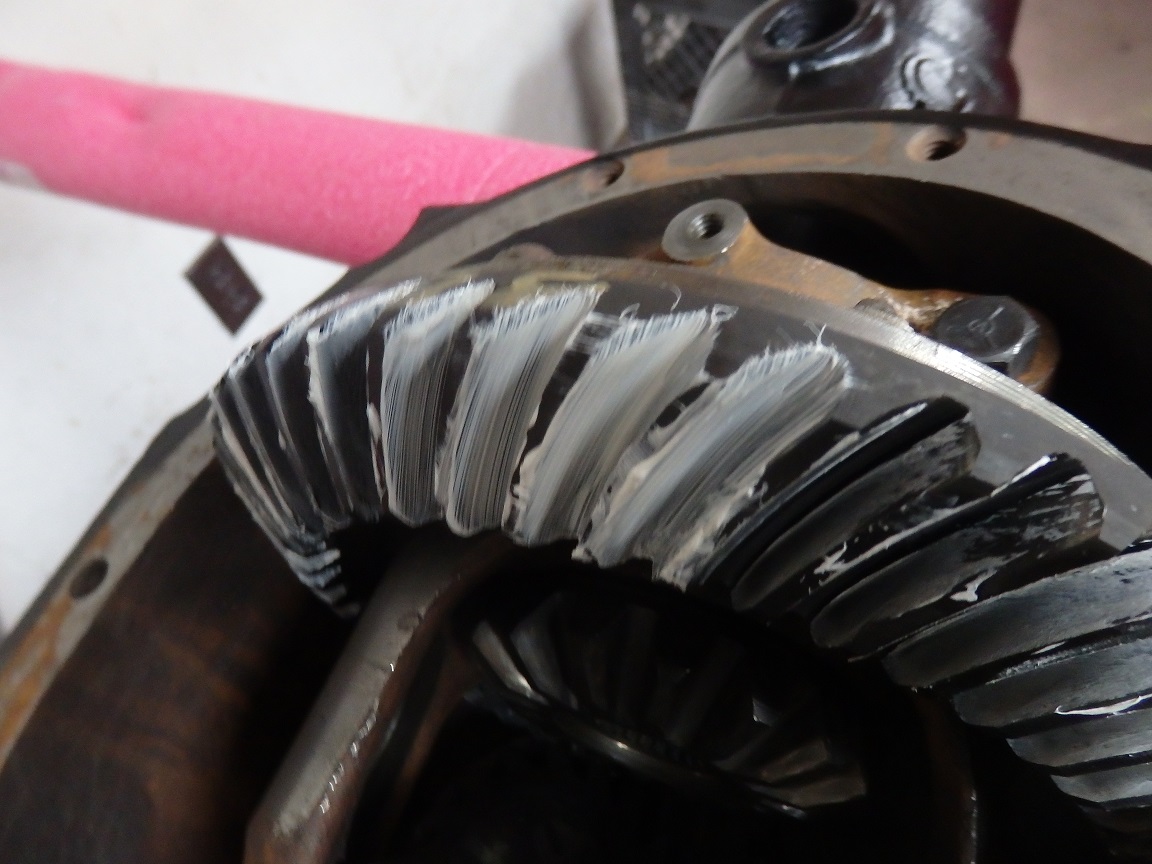
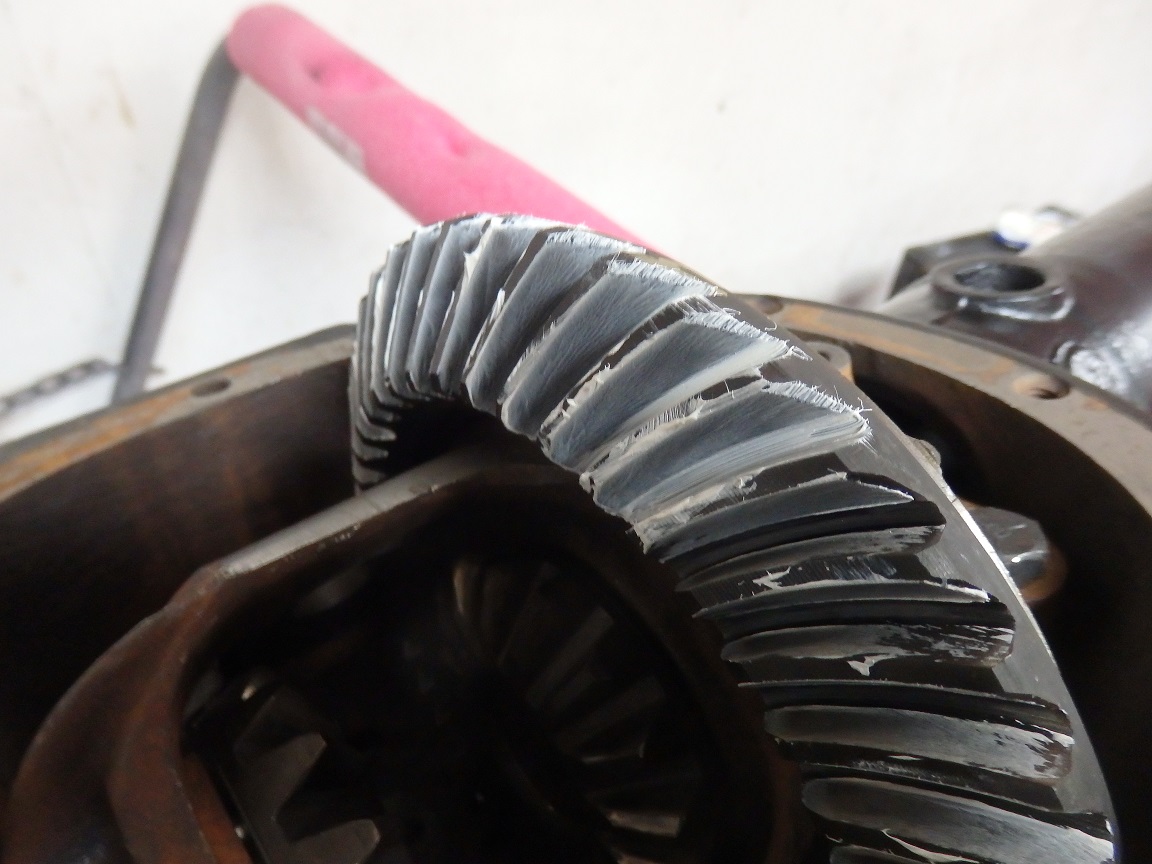
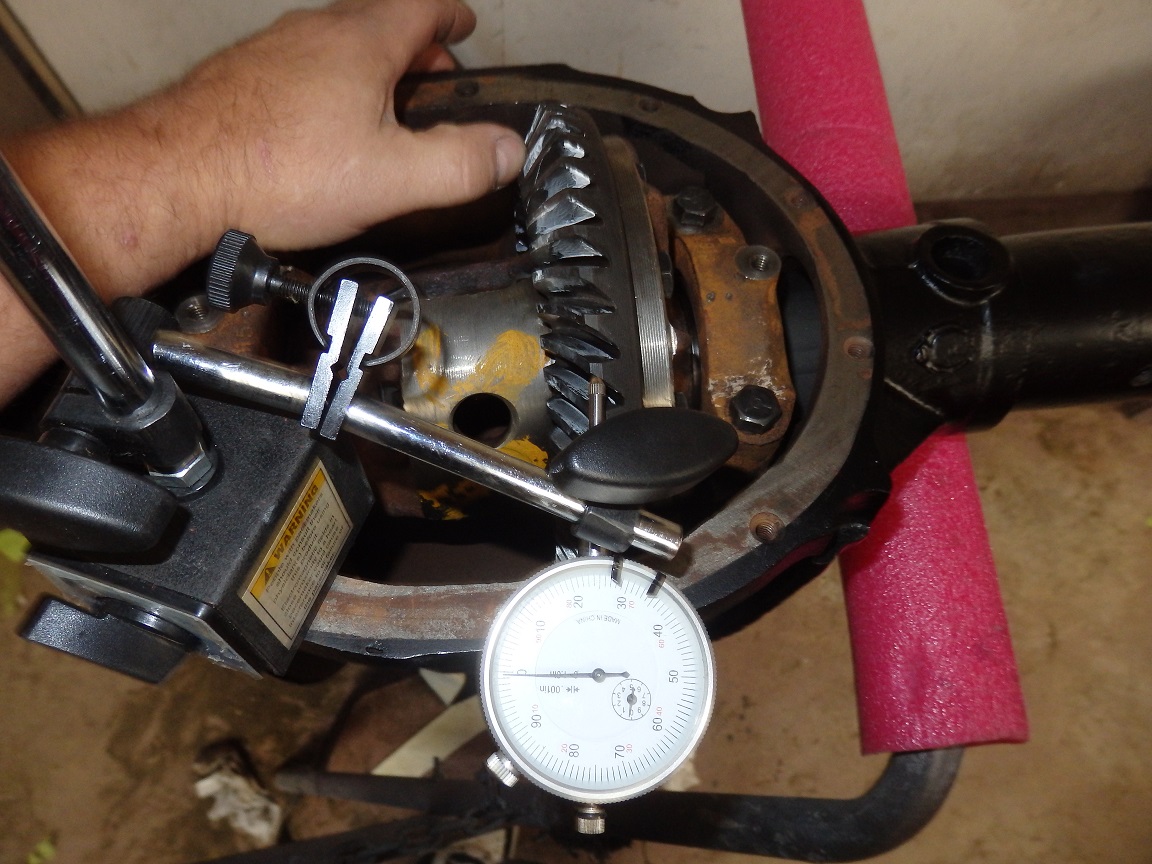
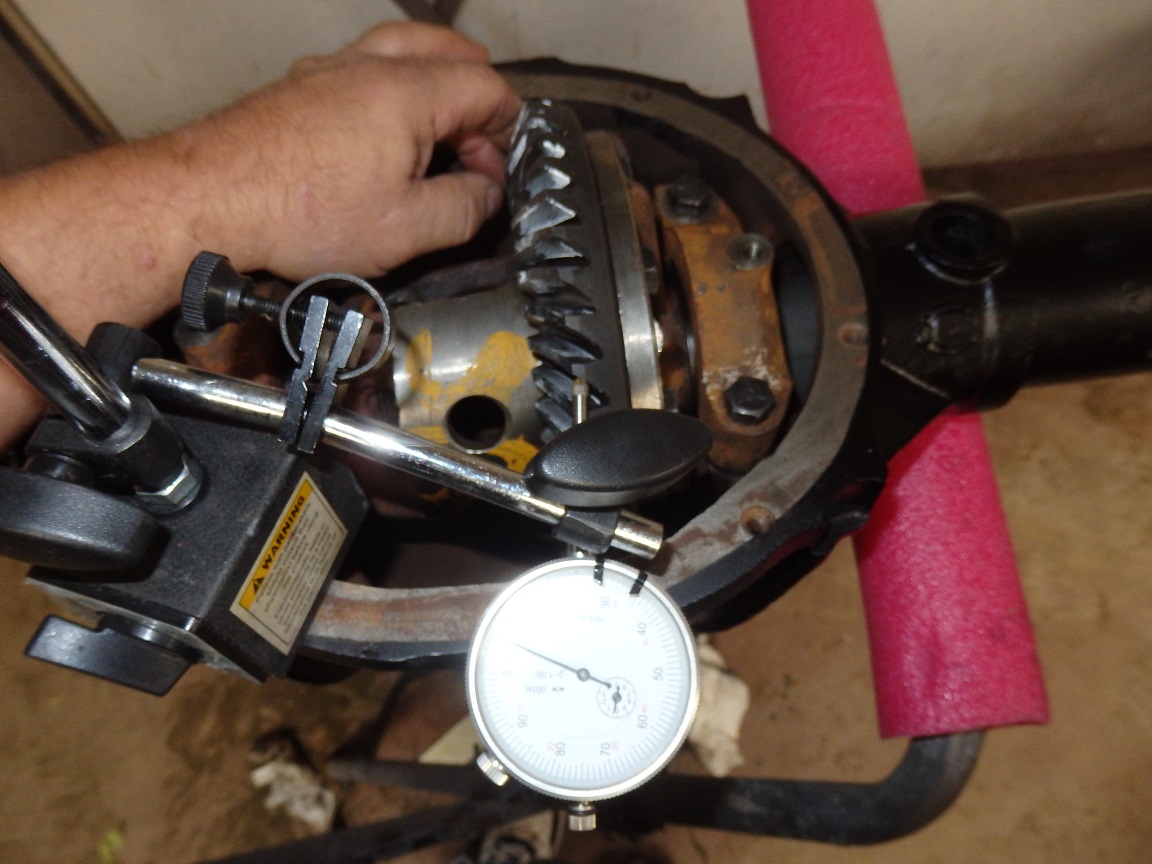
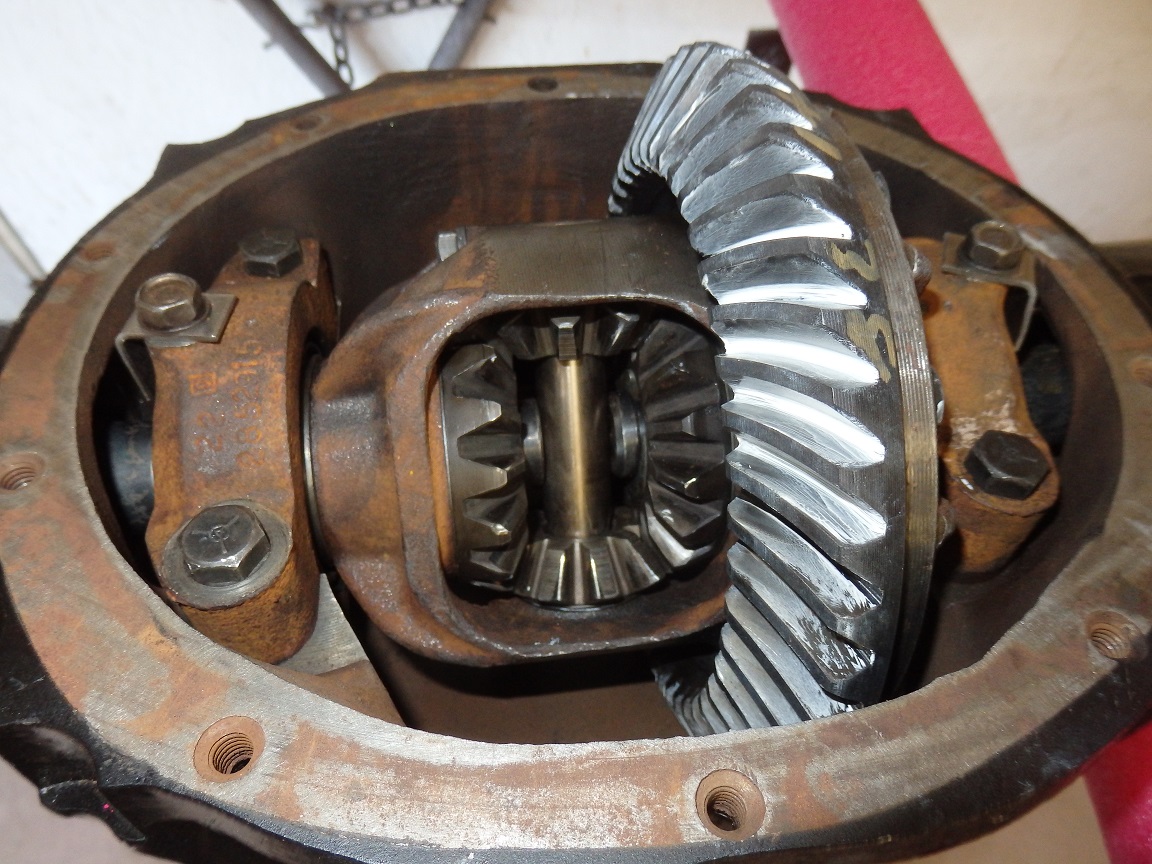
Here I am installing and checking the rearend carrier. The first thing you do is check the pinion engagement by applying special paint (I used lithium grease) to the teeth and observed the smeers in the
paint to see how well they teeth are engaging. The 2nd picture shows even marks across the teeth and deep engagement with the pinion. So this proved that my pinion was set to the correct depth. If it hadn't worked
out, I would have had to pull the pinion and replaced the crush sleeve with a new one and repeat the process by crushing the sleeve and checking the engagement as the pinion nut was torqued. With pinion depth correct, next comes setting the backlash. This is done with a dial indicator. You adjust the side bearing threaded locks to the left or right so that you get a backlash that is defined in the service manual. For this rearend it is supposed to be 0.005" - 0.010". I was able to set this one to 0.007" with a little trial and error. |

|
|
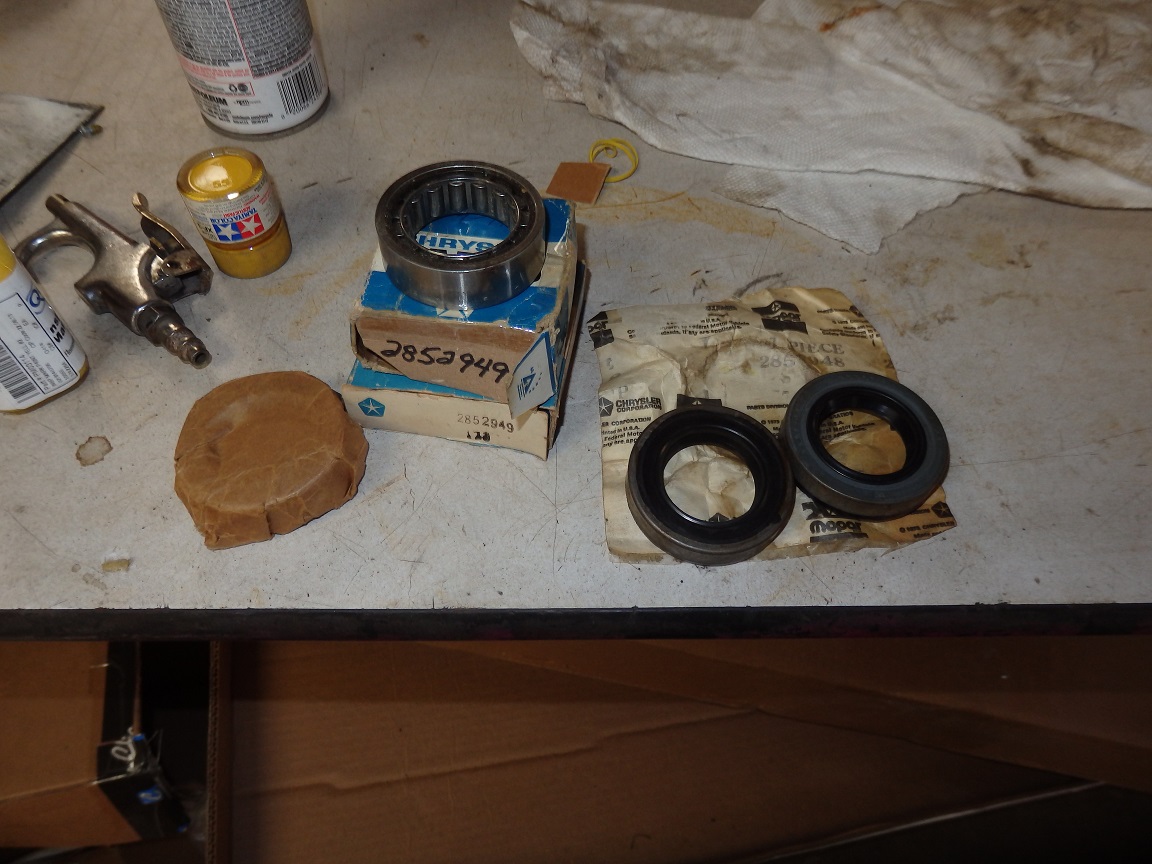
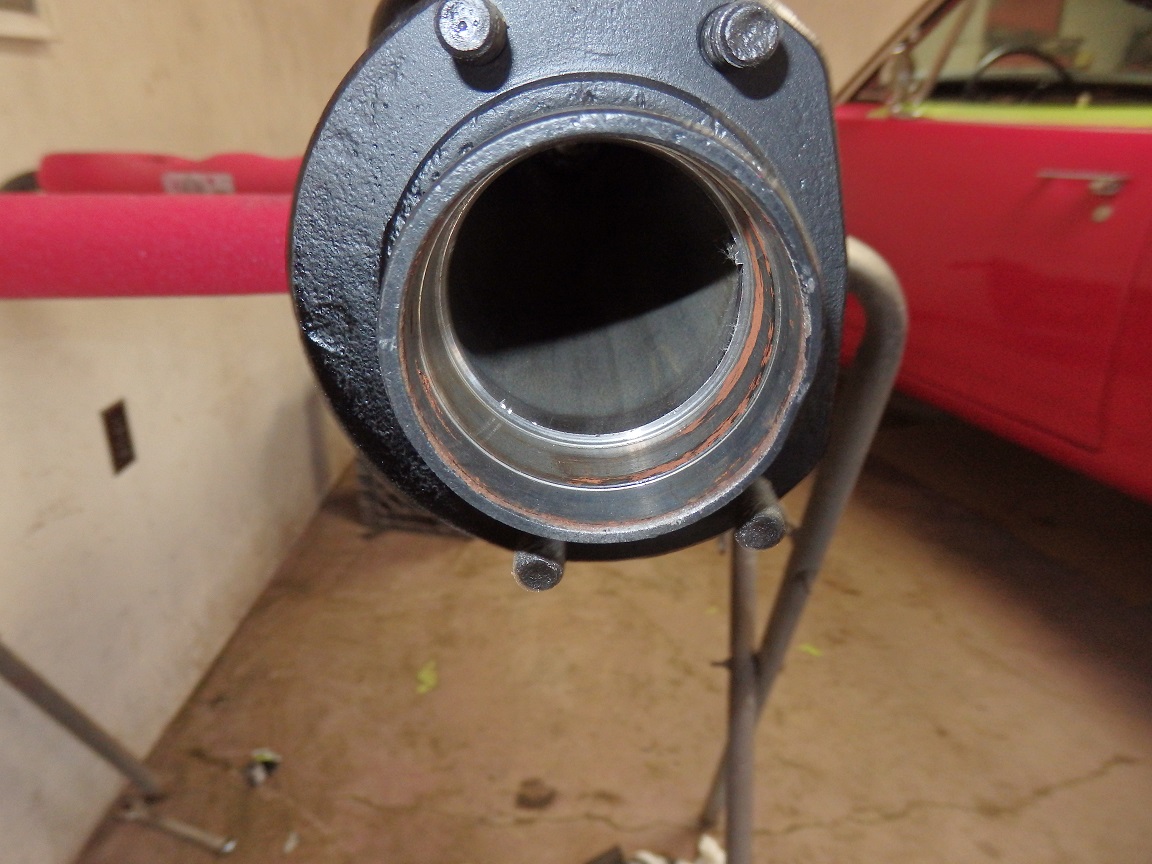
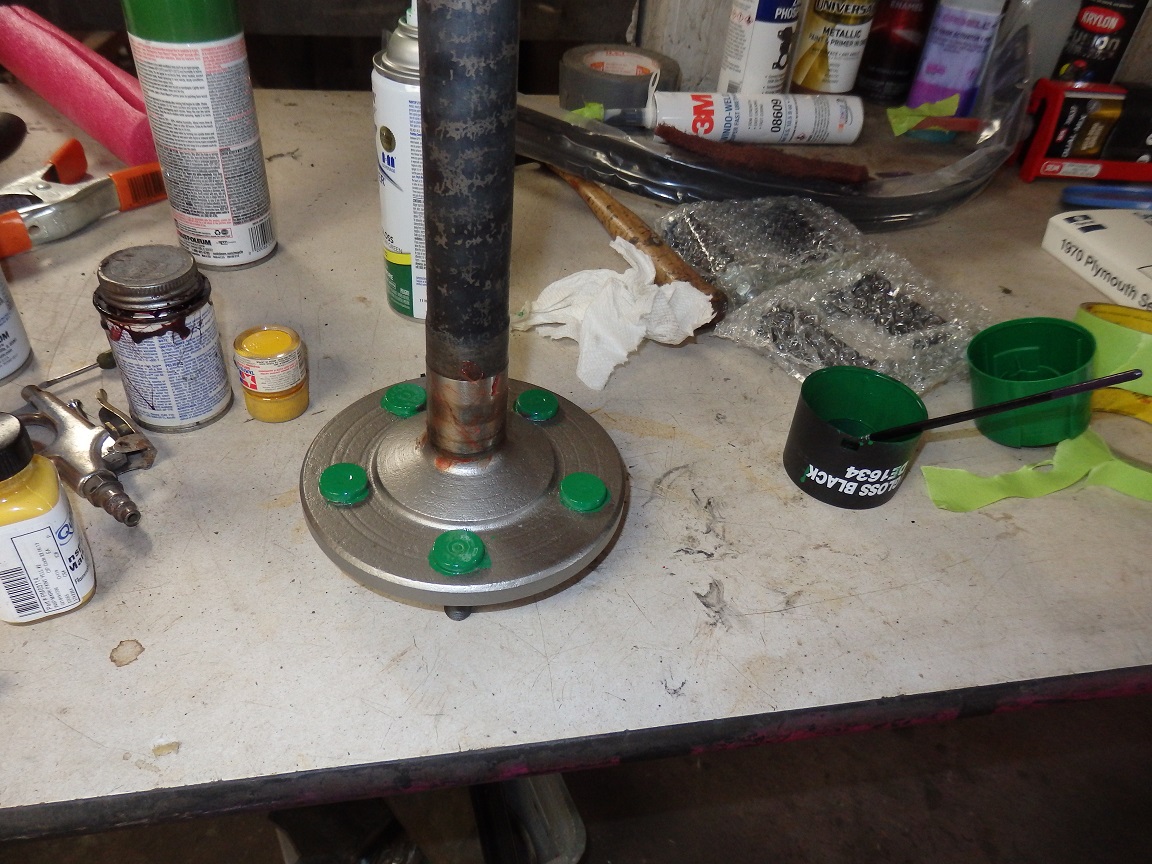
Axle bearings a little different on 8.25" rearends. Instead of the bearings being pressed on the axle shafts, they are just installed in the end of the axle tubes and the axles jsut slip right through them. I was able to
locate an NOS of of axle bearings and dust seals on ebay. Here they are getting installed. |
|
|
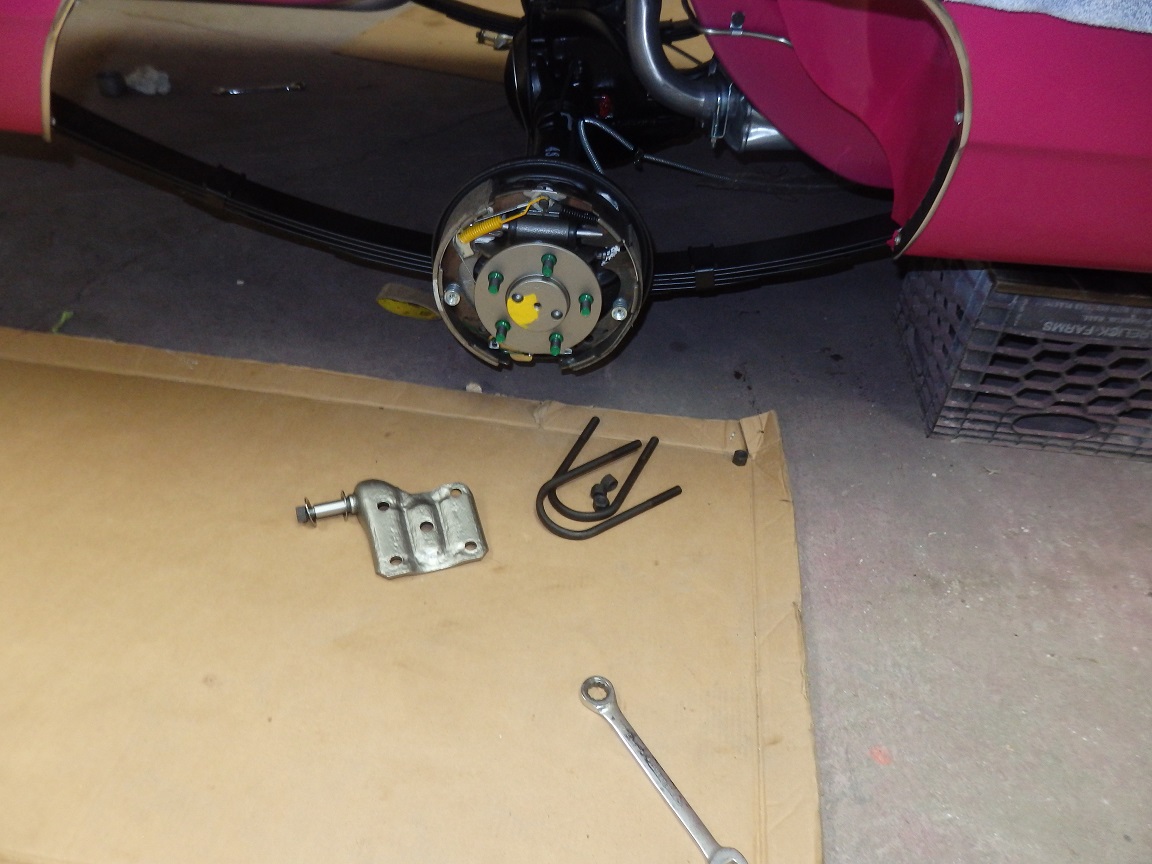
Next up are the rear brake assemblies. The are just bolted in place with locking nuts. 4 per side. No gasket required. |
|
|
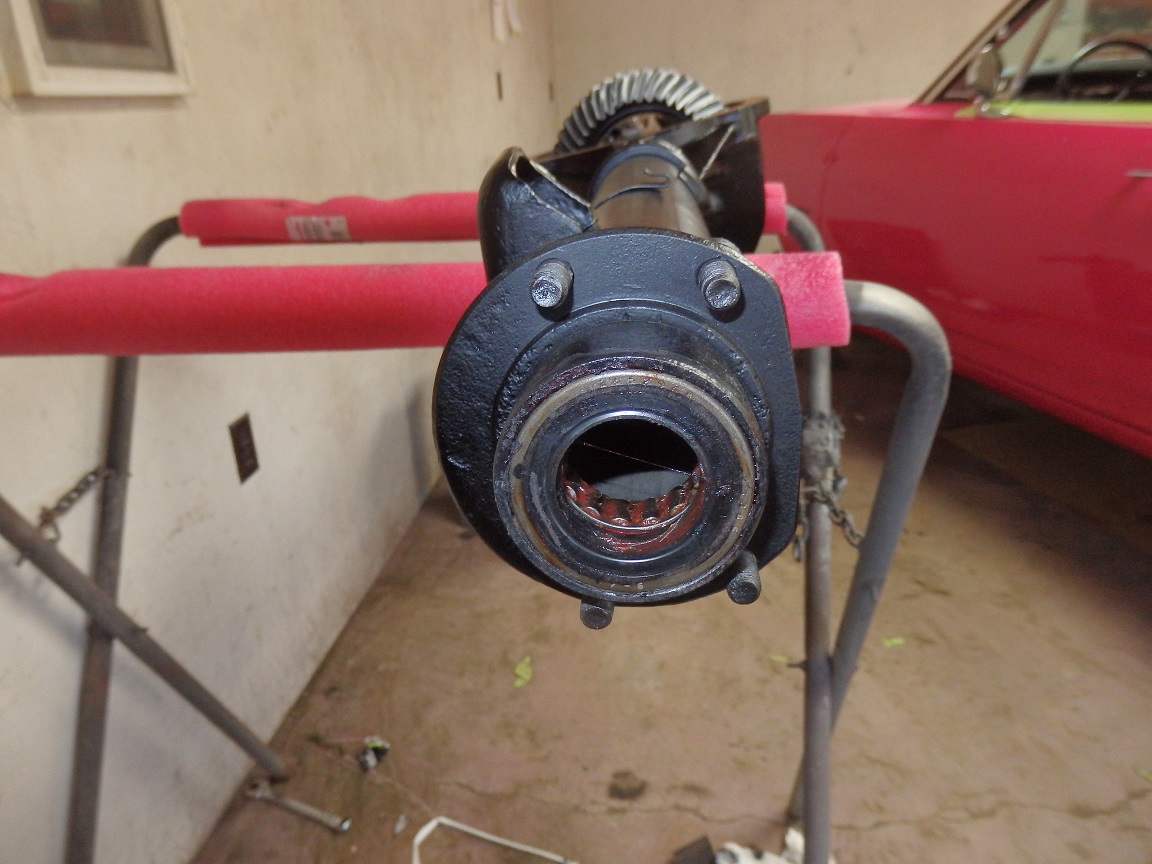
The axle shafts go on next. Before installing them I experimented with green paints to get the correct green for the reverse threaded wheel studs. As mentioned before the axle shafts just slide right in. Once in you hook the C-clips back on them and install the cross pin with the spider gears. |
|
|
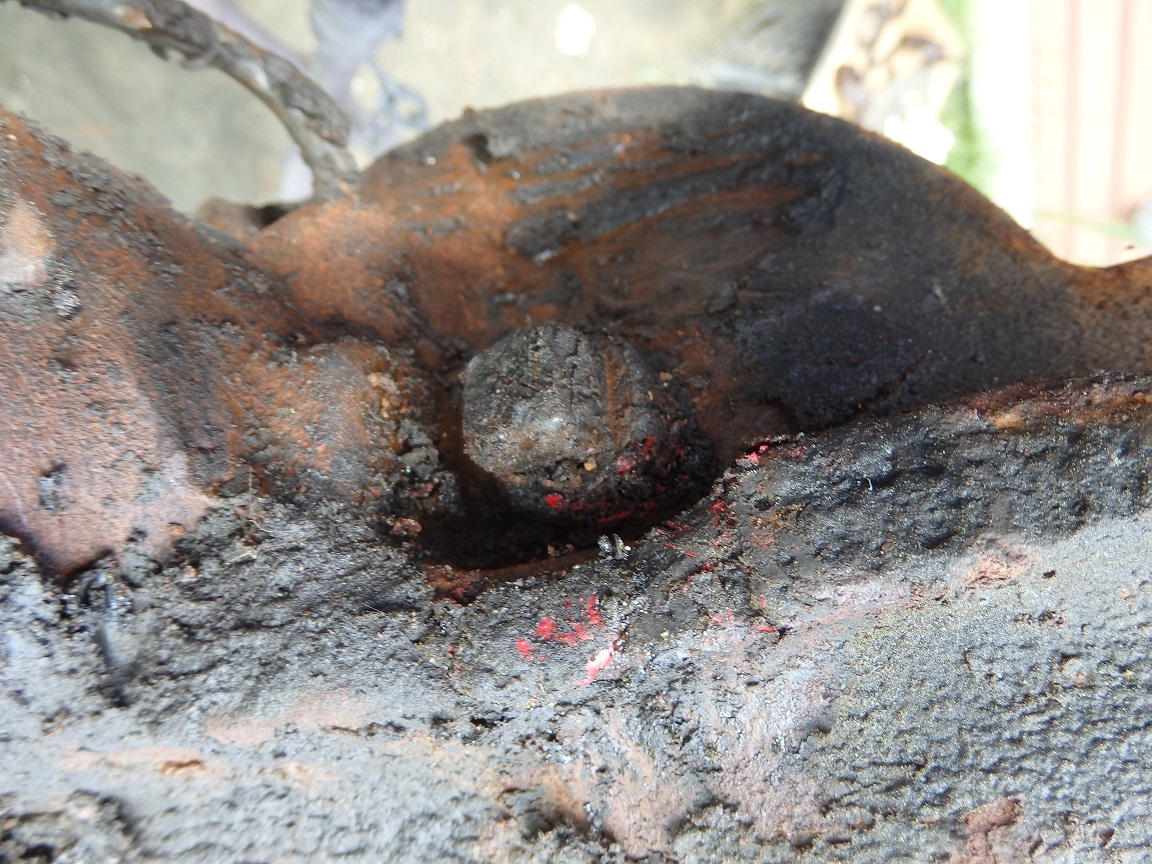
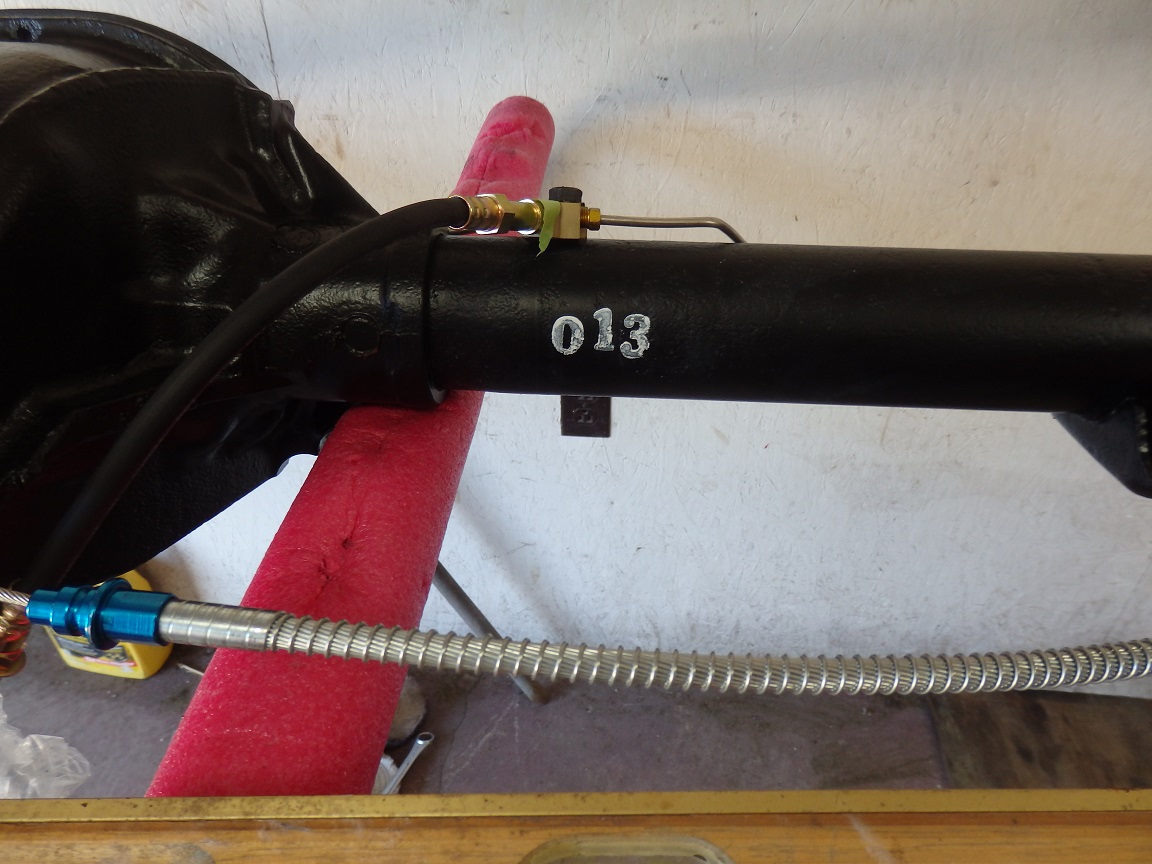
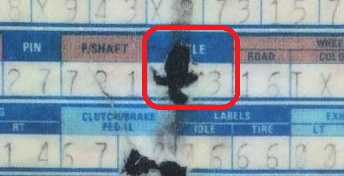
I mentioned earlier that I found a "1" ink stamped on the left side of the differential. I took some research to reveal that this was part of the factory axle code number. The number appears on the broadcast sheet, but luck would have it
that part of the broadcast sheet was missing in that area. All I could see was a "3". But per a technical service bulliten from 1970 the rearend code should be "013". www.e-bodies.org has a bunch of reference images for the inck stamps
and instructions on how to order ink stamps. So that is what I did. |
|
|
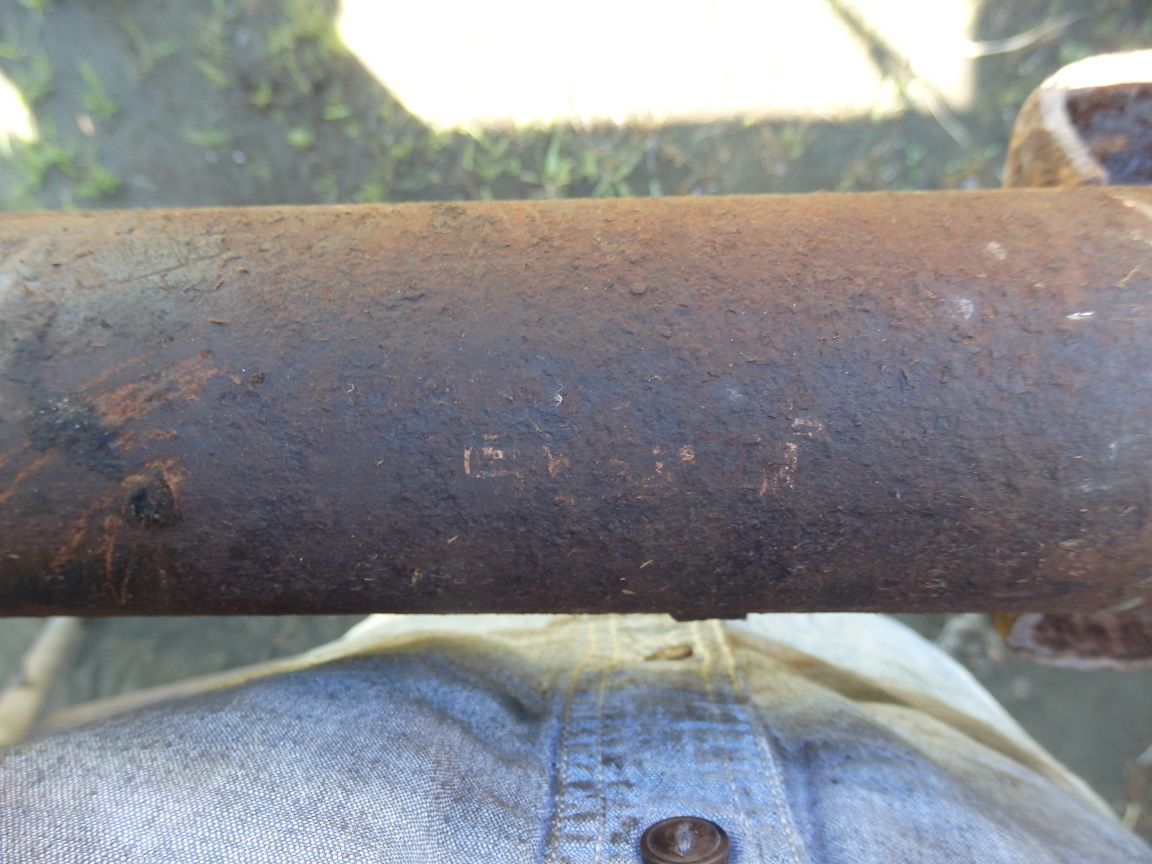
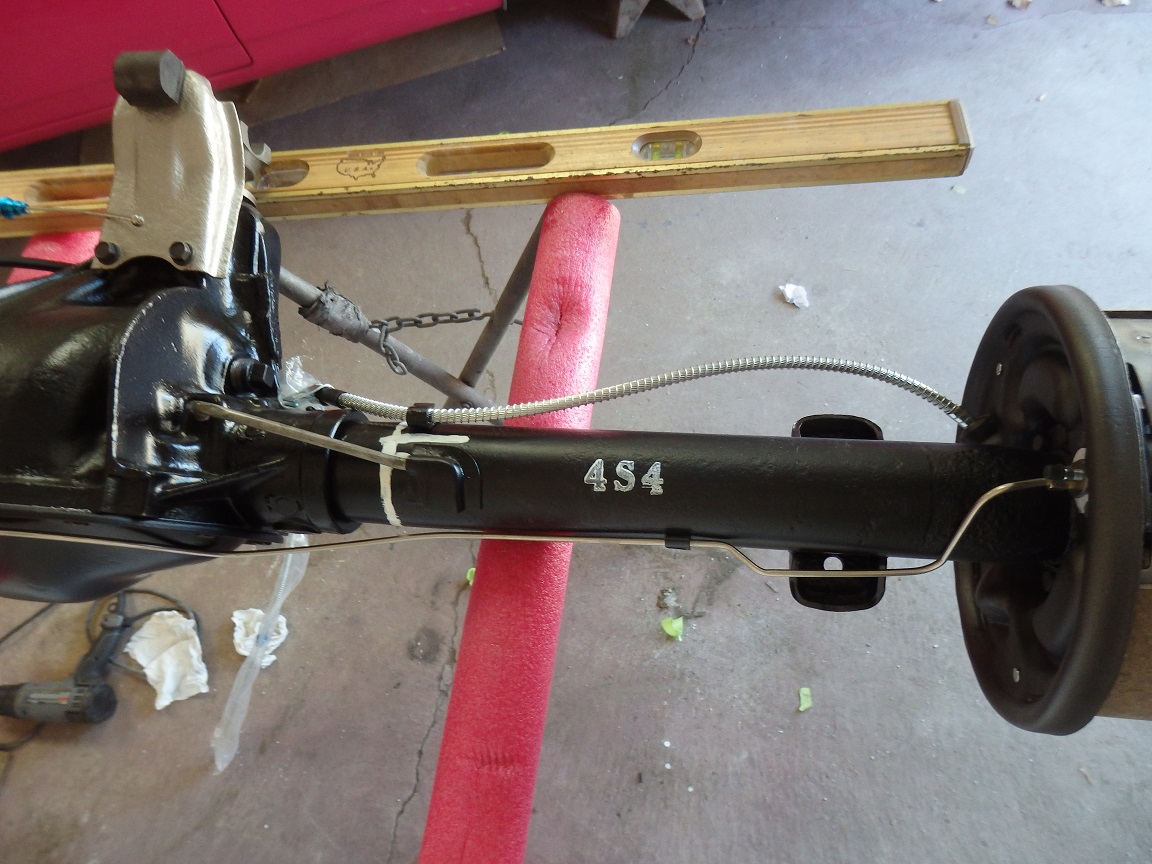
This stamping was bit more difficult to figure out. From the David Wise books and from other web sources I learned that this would have represented the build date of the axle assembly. The date is in the format month - letter - day, where month and day
would be numberical. It was easy to tell that the letter in the middle was an "S". As for the month, I new the pinion was made on Feb 12th and the car was sheduled to be built on May 1st. So the month could only be 3, 4 or 5 as there was only 1 digit
stamped for the month. When looking at the actual character font set the factory used on rearends, it was pretty obvious that that month was "4". Since there was only a single nubmer to the right of the "S", it had to be 1 - 9, but only a "4" could have
left a smudge like that. So "4S4" is what I settled on. |

|
|
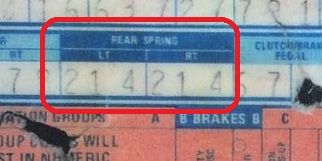
As previously mentioned I had to buy new rear leaf springs. I bought a set from Eaton Spring who makes them per order. They are virtually identical to the original ones, but the holes on the bands are round instead of rectangular. The original springs
have their part number stamped into the bottom short leaf. The last 3 digits of the part number appear on the broadcast sheet. In this case 214. To retain the original factory look I replace the short leafs from the new springs with the originals. Then I
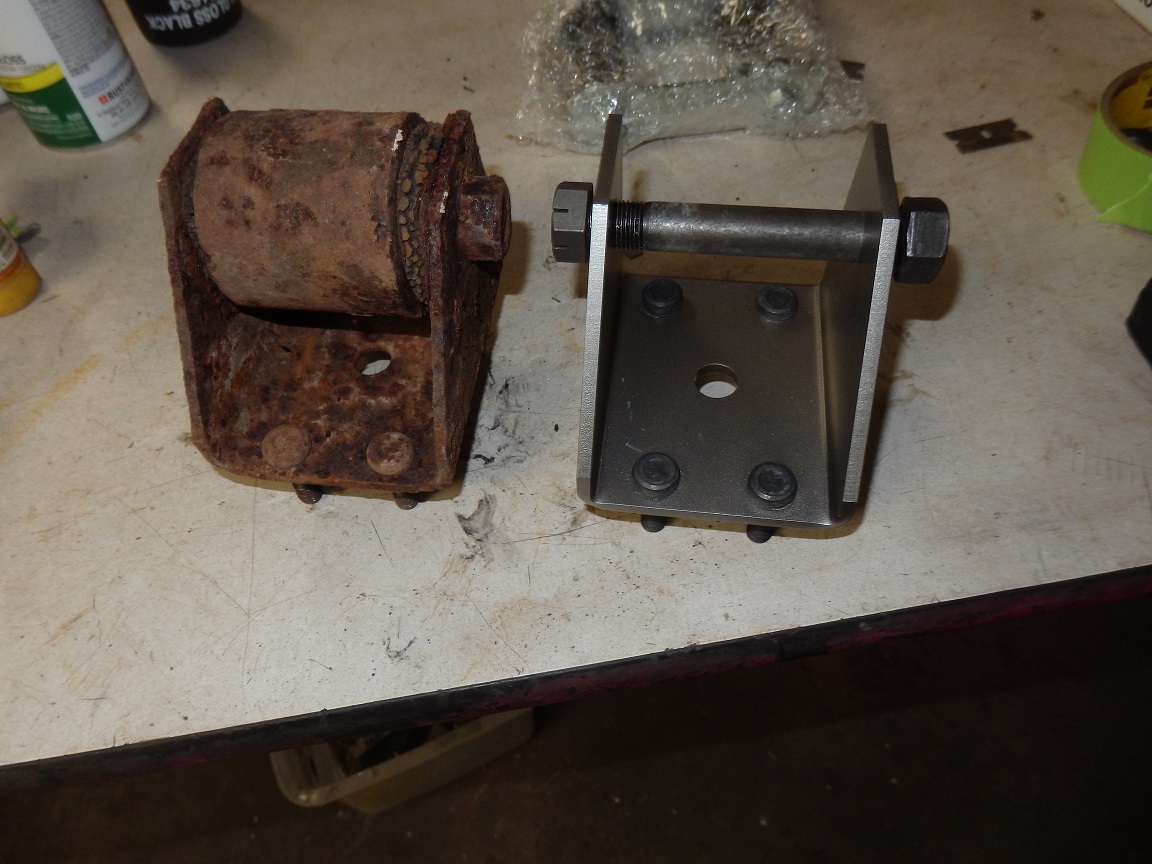
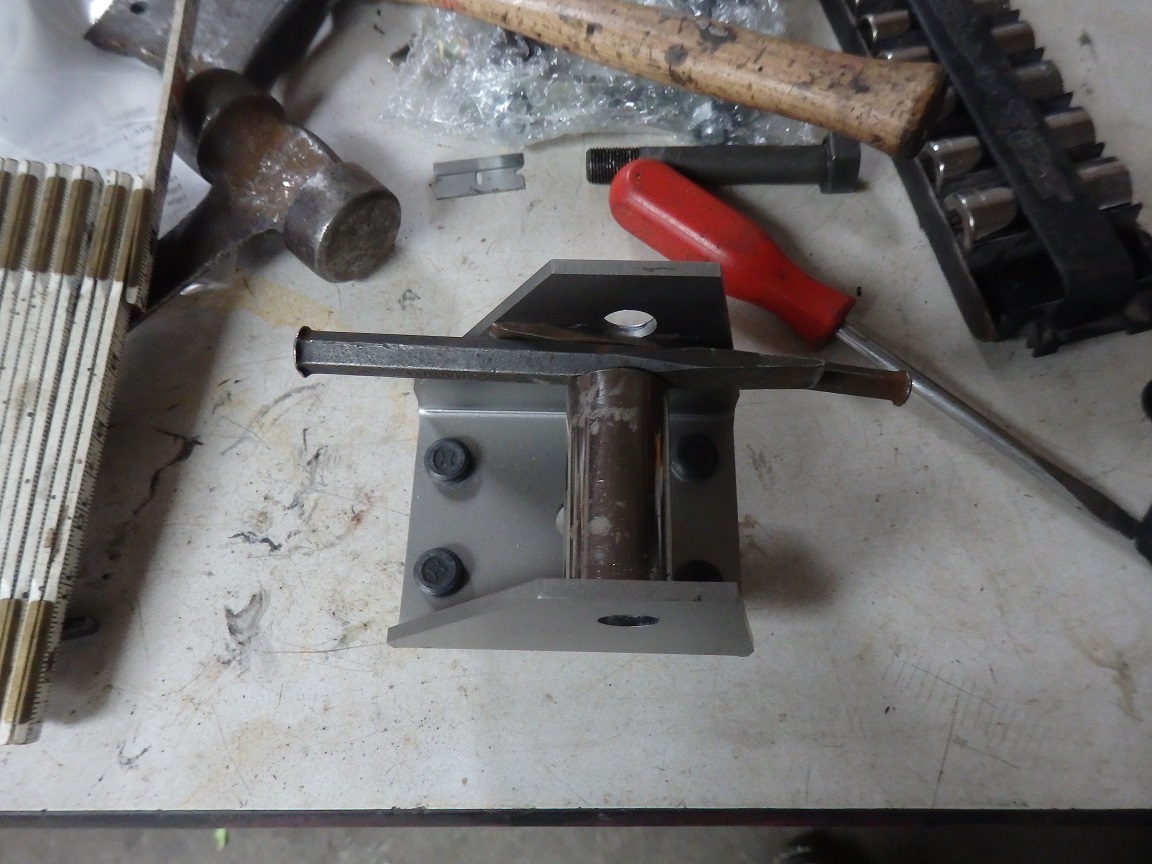
sealed the springs with DP90LF black epoxy primer and coated with with flat black Krlon engine paint to give them the facotry original look. The front leaf spring brackets are repos with the correct "H" markings on the studs. They were too tight to install when I got them so I used this trick with a socket and 2 flat chisels to spread them open to allow them to fit over the leaf spring eyelet bushng. |


|
|
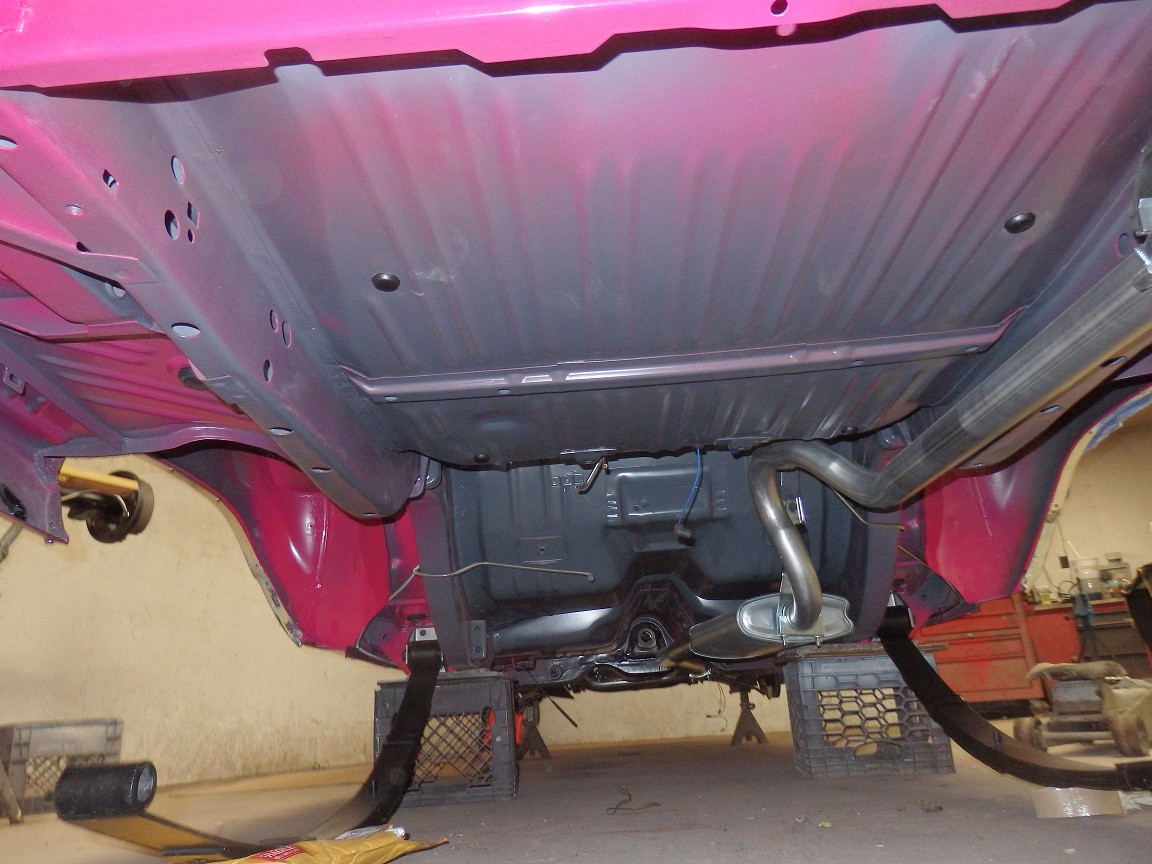
I don't install rearends like you see on TV. I first mount the leafsprings at the front and then I slide the rearend in place using a floor jack. Then I just hook the rear of the leaf springs in place with the shackle bushings. The rearend is keyed in place with studs
that come up through the center of the leafsprings. So all I have to do is install the shock plates and shocks. Takes no time at all. With the shocks in place, I jack the rearend up so that it is now suporting the wait of the car and rest it on jack stands as shown. Thnen it's just a matter of tighting down the shackle nuts and front eyelet bolts. For the curious, the shocks for the car are Monroes that I painted black. Monroe was the original supplier to Chrysler though they sampled Chrysler part numbers and date codes on them. Otherwise the look virtually the same today as they did back then. And they are not expensive at all. Yay, because everything else for this car was.......... |