 |
|
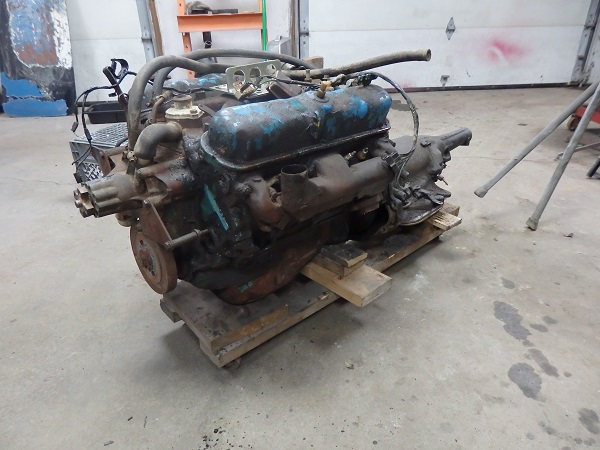
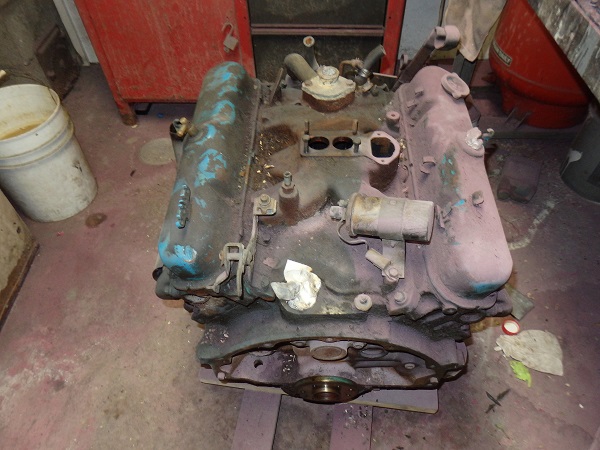
Here's what the engine looked like when I brought it home. It was already removed from the car and separated from the transmission when I bought the car. A quick wiping down with some thinner revealed that the VIN stamping on the block matched
the VIN of the car. The stamping on the front of the block showed a 3188, which is an April 20, 1970 assembly date for the engine. The is correct since the car was scheduled to be build on May 1, 1970. One curious thing
to note is that the date cast into the block is Sept 29, 1969. |
|
|
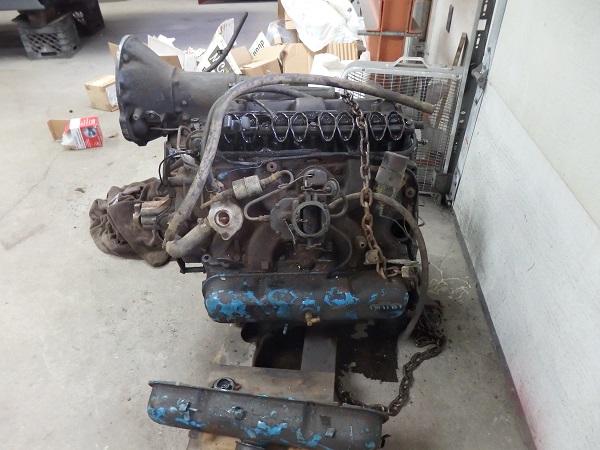
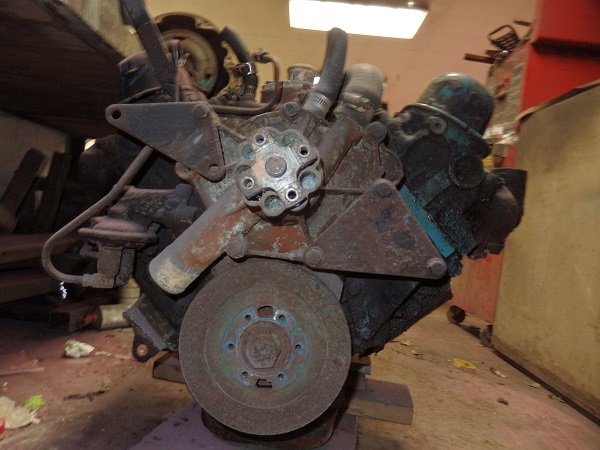
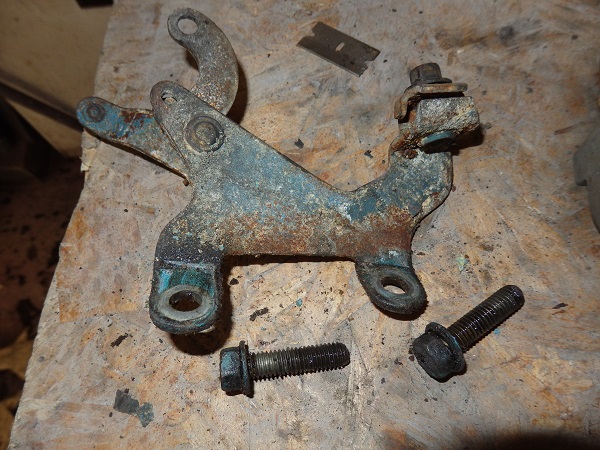
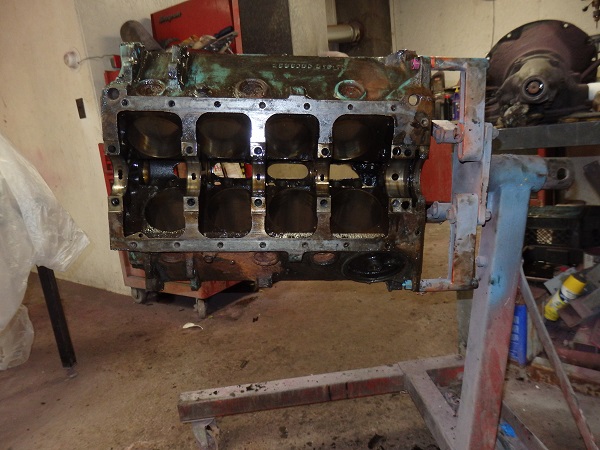
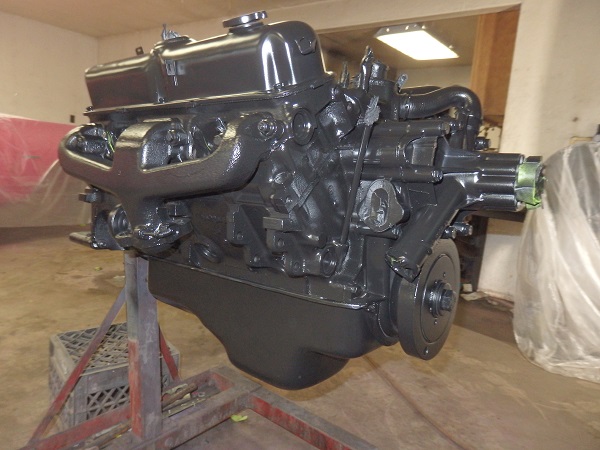
As with all of my projects, I set the engine aside until the car was painted before I touched it. It doesn't make much sense to rebuild the motor first and then have it set around for a couple years. In the first picture
you can see the pinkish dust on the part of the engine. This is actually overspray that landed on it from when I painted the car. Taredown always begins with taking lots of pictures of everything in order to record what goes where and what gets painted engine color, such as this throttle bracket. |
|
|
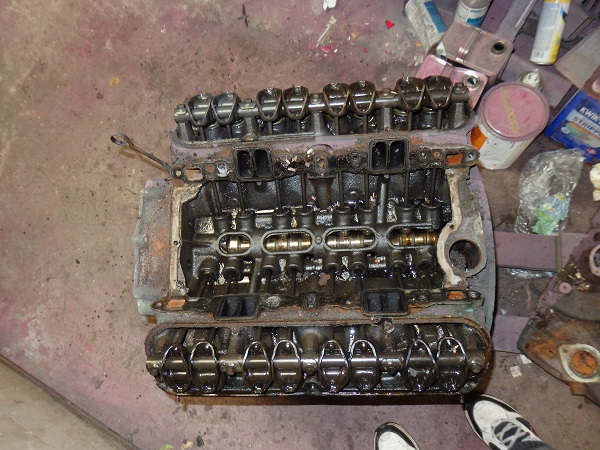
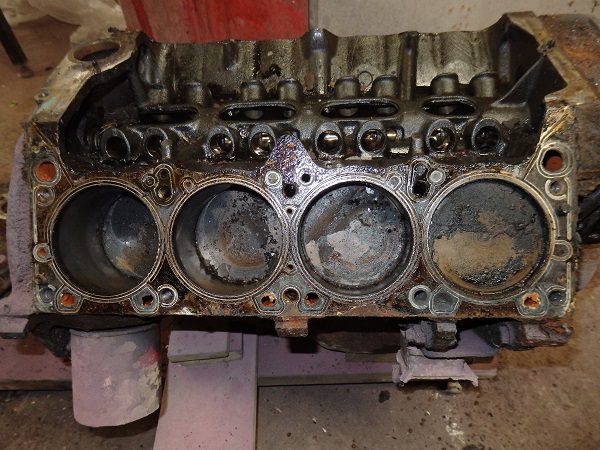
The first things to come off were the intake and then the heads. There were no signs of sludge anywhere. The underside of the intake was suprisingly clean for a car that always ran on leaded gas. Had this engine been
apart before? |

|
|
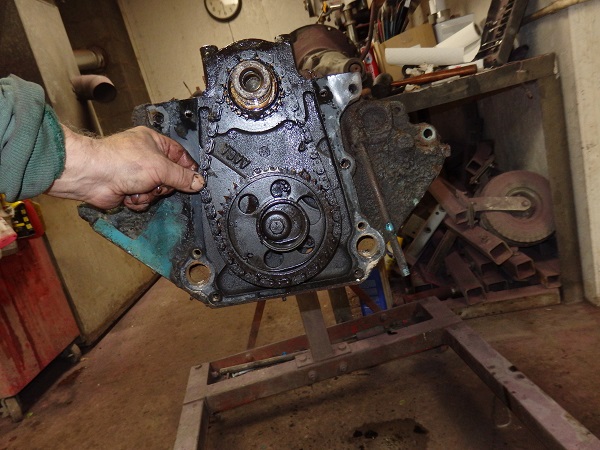
Removing the timing chain cover revealed a damaged timing gear. The nylon coating had broken off many of the teeth leaving lots of play in the chain. I'm sure the car ran terribly because of it. |

|
|
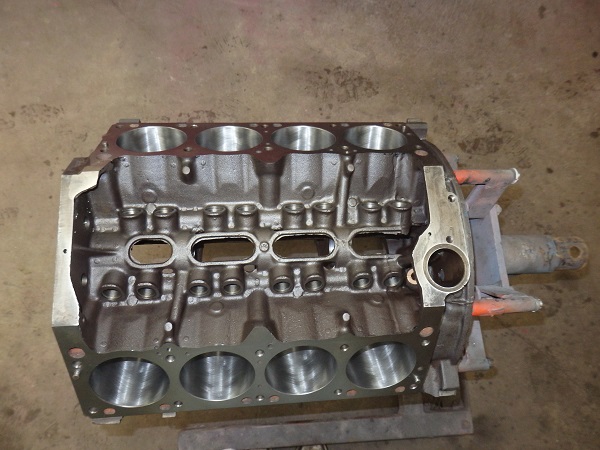
It only took a couple months to get everything back from the machine shop. I typical use Vermont Engine. Besides the obvious machining, magnifluxing, cam bearing install and
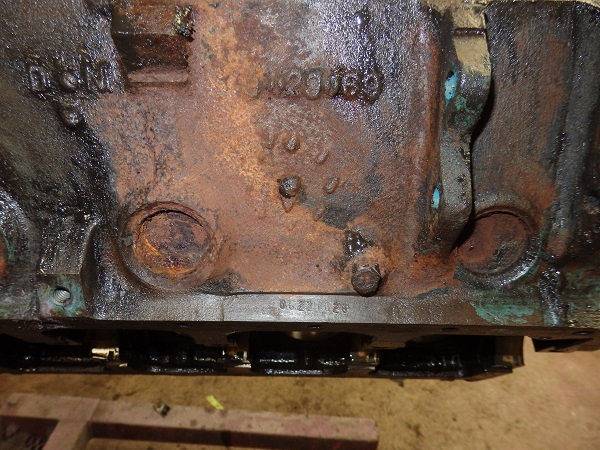
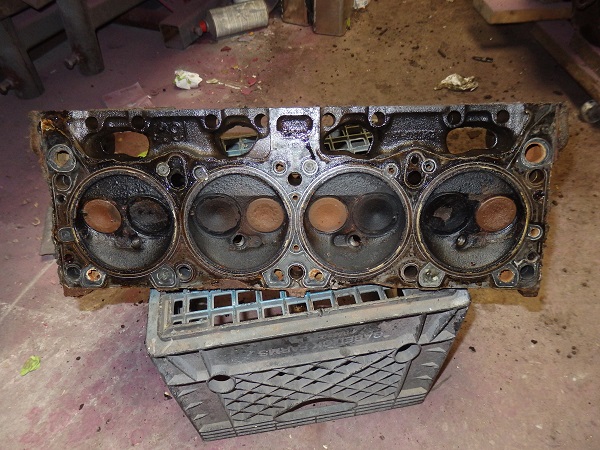
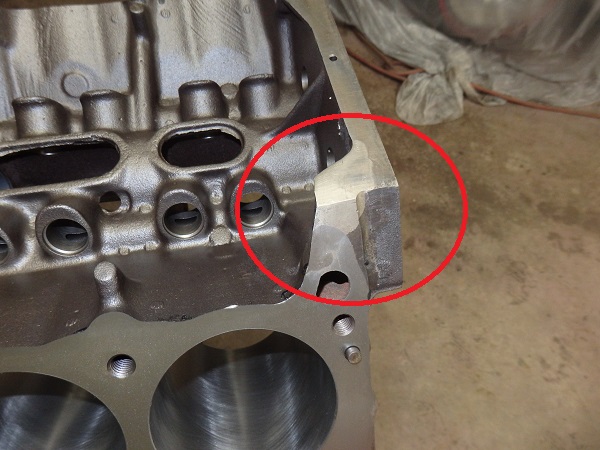
frost plug install, I only have the machine shop rebuild the heads. I like to do the rest of the assembly myself. One big surprise the machine shop showed we was that the block had been repaired. The right front corner was nickle welded. One of the machinist told me that he say this in maybe 1 out of 10 Mopar blocks, but I am not sure how true that is. It looks like someone broke the corner of the block prying the head off and had to fix it. Either way, at least the block is original thanks to a siccesful repair. |
|
|
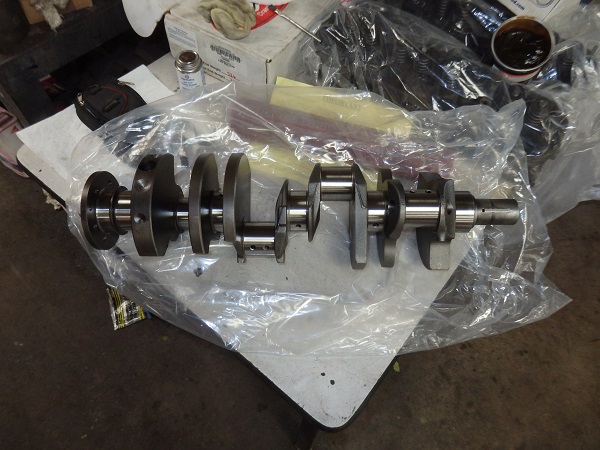
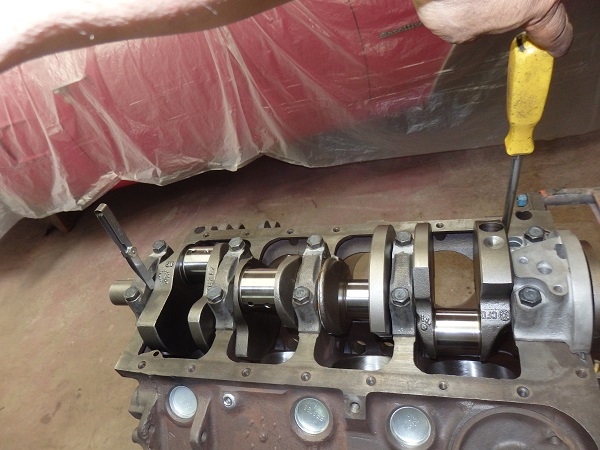
When I took the crank out I damaged the rear flange with a prybar when I pulled the harmonic balancer off. The machine shop couldn't repair it, but they found me a nice used one that was already turned and balance and came
with a full set of main and connecting rod bearings for only $330. When I put the new crank in, the first hing I did was check the endplay (the side to side slop). It was 0.006" which is jsut about perfect. Note: Too little endplay will result in binding when the engine warms up. |

|
|
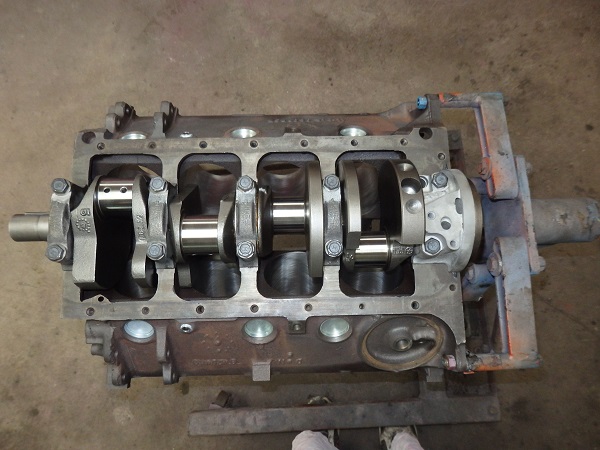
I wanted to reuse the original connected rods, so I had them checked for roundness and balanced. |

|
|
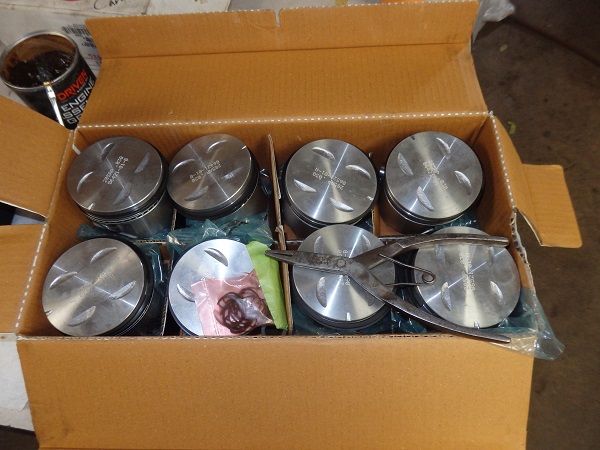
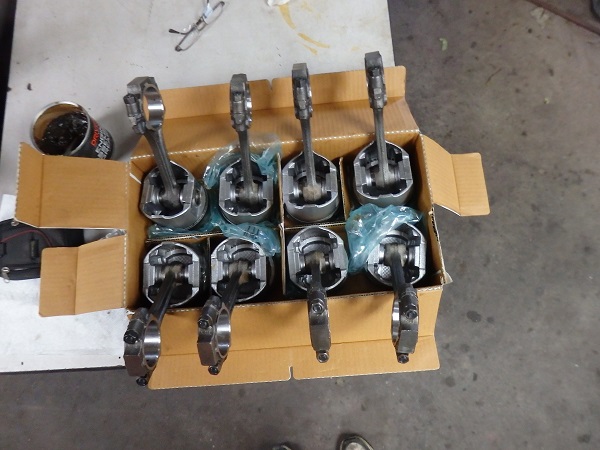
After fitting the connecting rods to the new oversized 0.030" pistons, I installed the rings and soaked them in oil before installing them in the block. Cutoff pieces of hose were used to keep the stub
bolts from dinging/damaging the crank. |
|
|
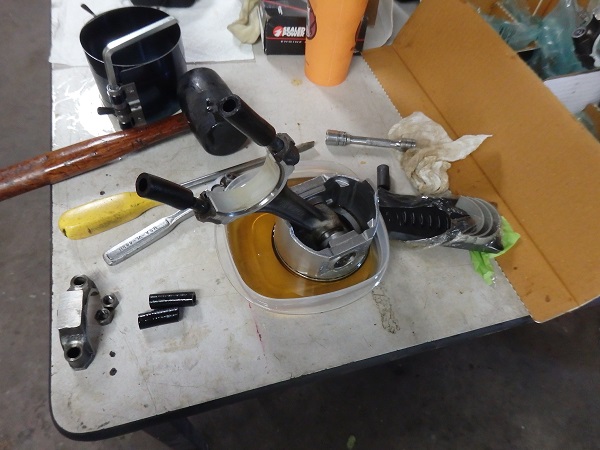
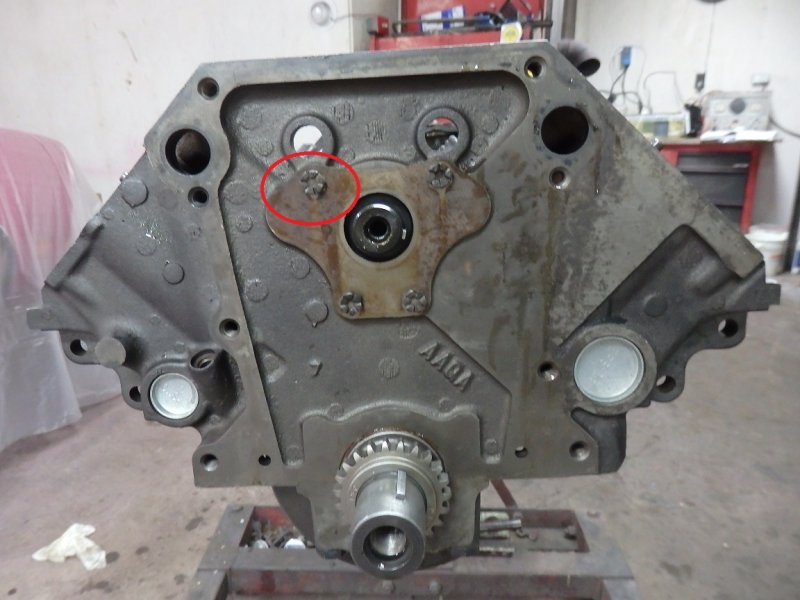
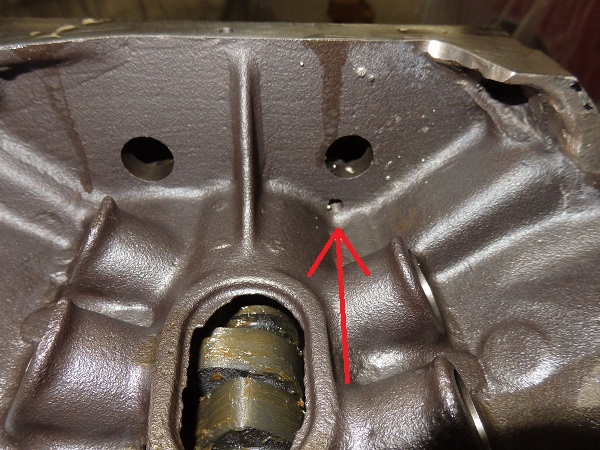
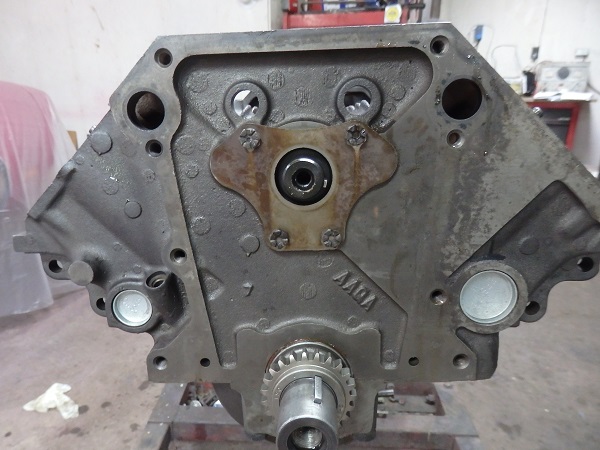
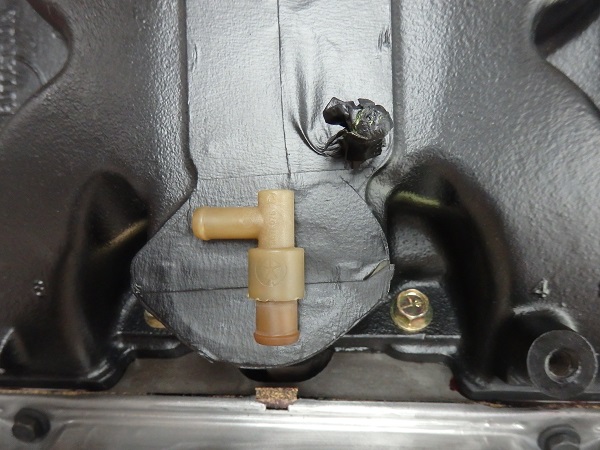
I didn't realize this until I started to put the timing chain in: Early 318's, like this one, originally had a special bolt with a hole in it where oil from the oil valley would drip down onto the timing chain. This engine didn't have the
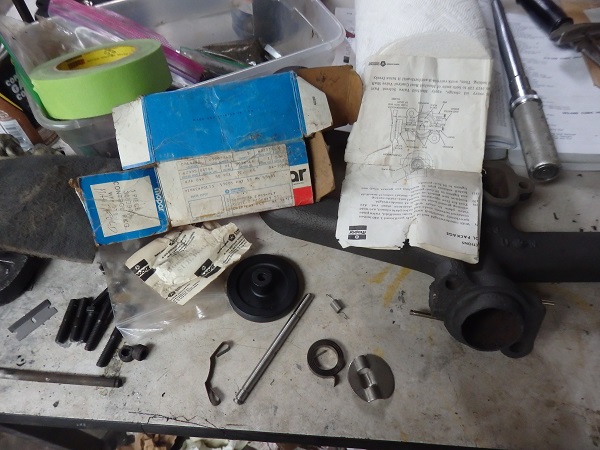
special bolt. I bolted the cam plate in and thought, wait a minute isn't there supposed to be a special bolt there? My 1970 Challenger had one. The second picture gives you a clue as you can see the hole at the bottom of the oil valley where the oil supposed to leak out. In the third picture you can see the special copper plated bolt, upper left corner, that was installed on my Challenger's 318. It is plated copper so it can be quickly identified. I didn't have a spare one and you can't buy new ones, so I drilled a hole down the center of the one I had, as seen in the last picture. I wonder if the wrong bolt is why the timing gear failed ? Note: Later 318's had a defector that directed oil onto the chain. |


|
|
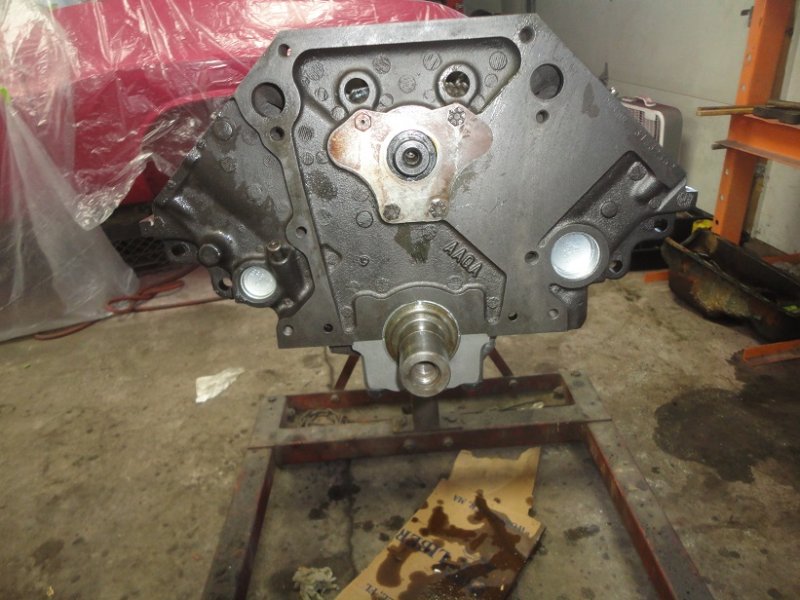
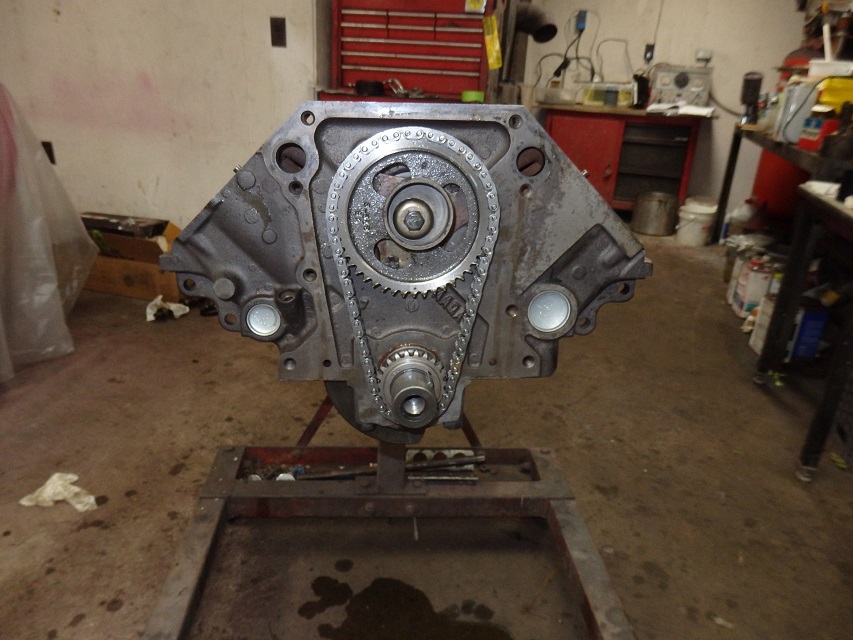
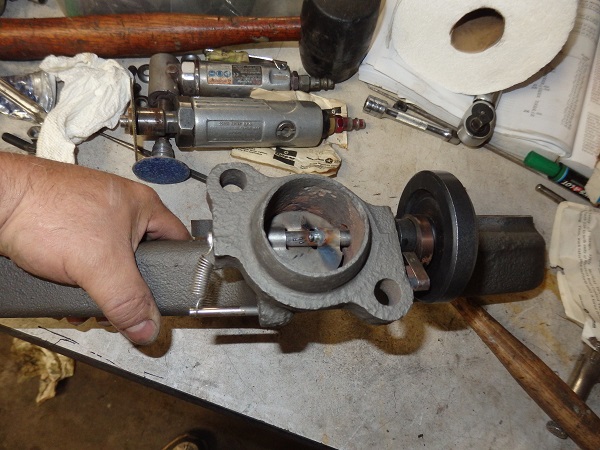
With the oiler taken care of, it was on to the new timing chain and gears. This time no nylon coated timing gear. Another thing to make sure of is to no forget to install the oil slinger over the lower gear as bad things will happen. |
|
|
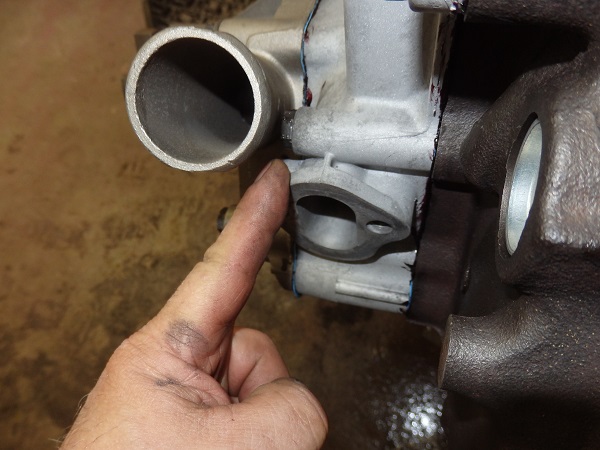
The water pump I installed was a rebuilt one. New ones don't have the closed snout with the 9 open holes like the factory originally had. There are plenty of rebuilt ones out there. There was a great selection on ebay
so I was able to get the correct one for $24. If you prefer to use your original one, you can rebuild it, with a press and a little bit of patience. IMPORTANT: Before bolting the water pump on you have to torque down
the timing chain cover bolt as one by the fuel pump cannot be accessed after the water pump is installed. |


|
|
Next up was the heads. I applied a thin layer of ultra black Permatex on the top corner and underside of the head gasket where the block was repaired to enusre it wouldn't leak. The rocker arms had very little wear, unlike the Challenger, so I was able to reuse the originals along with the rail. There is a specific orientation for the rail. The notch points down. |

|
|
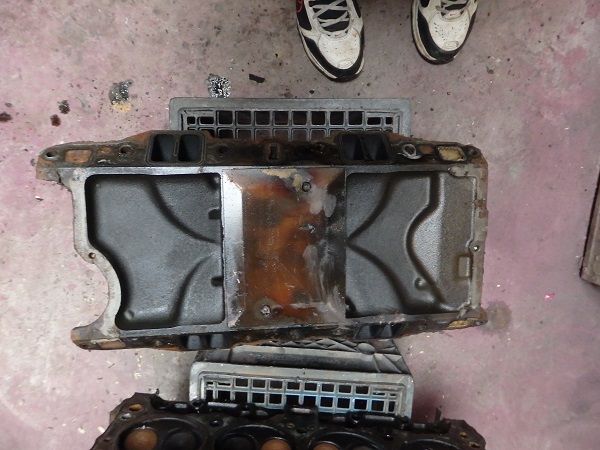
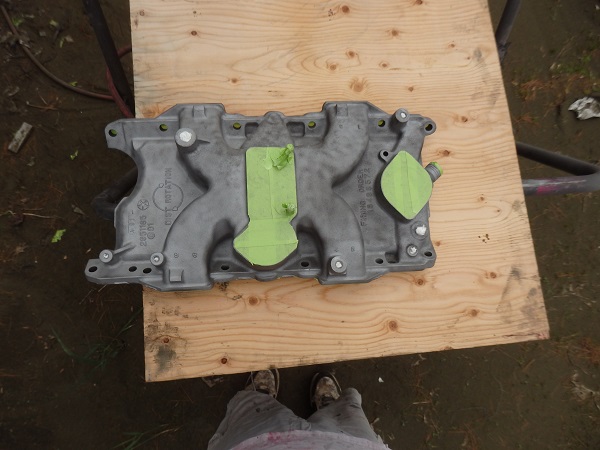
The intake looked great when I got it back from the machine shop for cleaning, but it started rusting too much before I was able to paint the engine. So I ended up sandblasting it and giving it a coat of DP90LF epoxy primer
(I just love that stuff). |
|
|
The original oil pan was too rusty to use as I was concerned it would continue to rot out even after sandblasting and priming. I bought a repo pan. It looks pretty close to the orignal one, but doesn't have the
raised number that gives it away as an original part. I also replaced the oil filter block plate. The original had slight pitting, which could potentially leak. You can get complete kits from many repo houses. I got mine from Mancini Racing. |

|
|
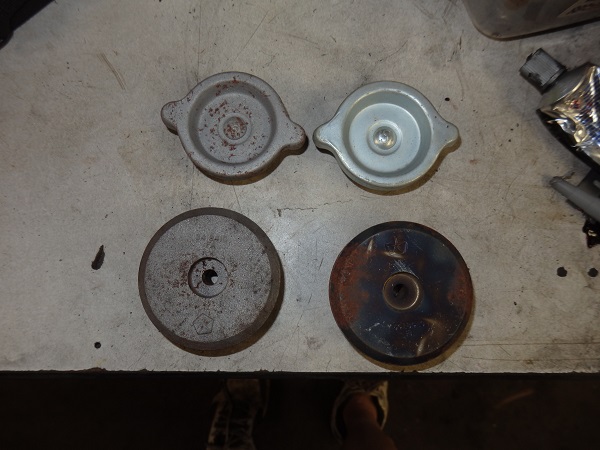
The next three pictures are of a few smaller items. 1) The original dipstick tube was split so I bought a NOS one (they are readily available), 2) The original Stant oil filler cap was pretty pitted, it took me a while to
to find a correct NOS one as most of the ones for sale have the wrong details, 3) The original PVC valve just needed a good cleaning. |
|
|
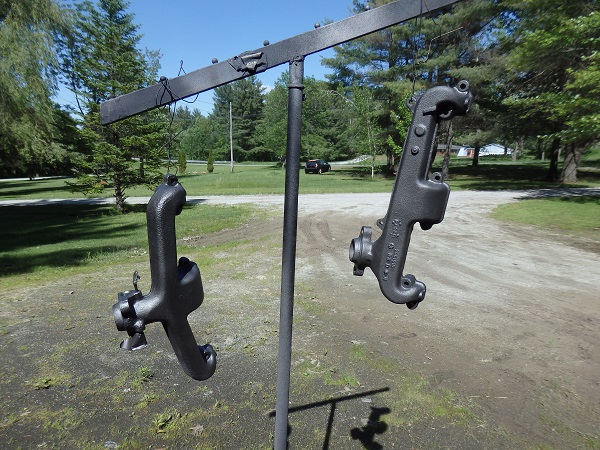
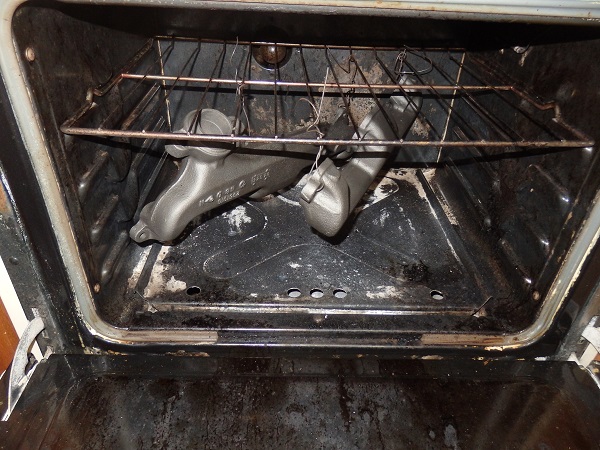
The exhaust manifolds were sandblasted painted with Seymour High Heat Castblast paint and were baked in the oven for 2 hours (when my wife wasn't home).... The heat stove had issues. One spring post was gone and the other one was almost completely rusted away. I was able to remove what was left of them and insert dowel pins that I bought from McMaster Car. I was also able to locate an NOS heat stove kit to rebuild the rest of it. |

|
|
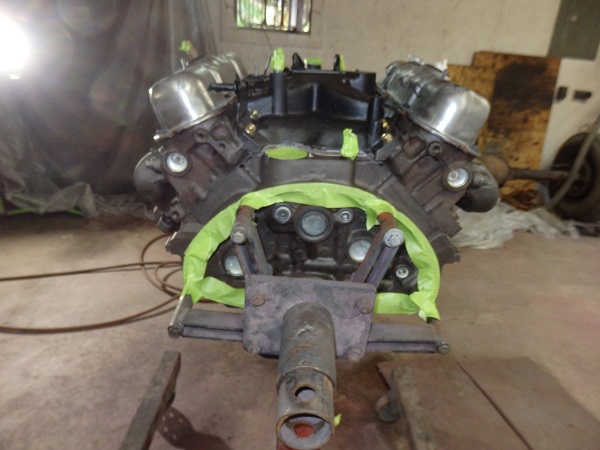
The engine was masked off primer to priming and painting. As originally done by the spark plugs and PVC valve were installed prior to paint. |

|
|
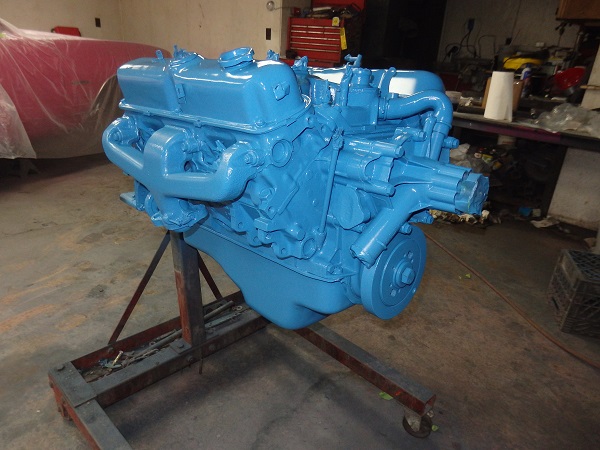
I primed the engine with 2 coats of PPG DP90LF epoxy primer.You may have noticed that I primed the exhaust manifolds. This is an experiment. The factory originally
painted the exhaust manifolds with the engine. The painted burned off shortly after use. My hopes is that when the paint, and potentially the primer burn off, that
the cast blast paint will remain so that the exhaust manifolds don't rust. I hope it works. |

|
|
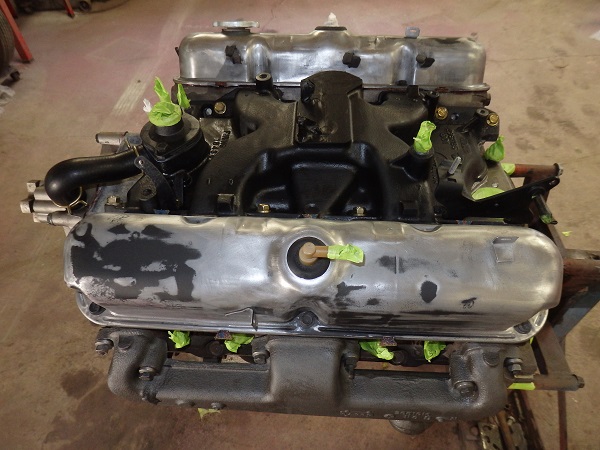
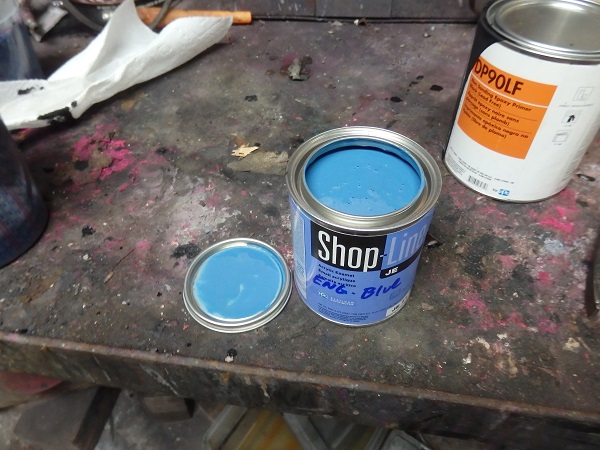
As with my 1970 Challenger's 318, I bought a quart of the correct blue from Roger Gibson Restorations. I needed to make sure the engines matched as they are identical 318
cars and they will be shown side by side. |