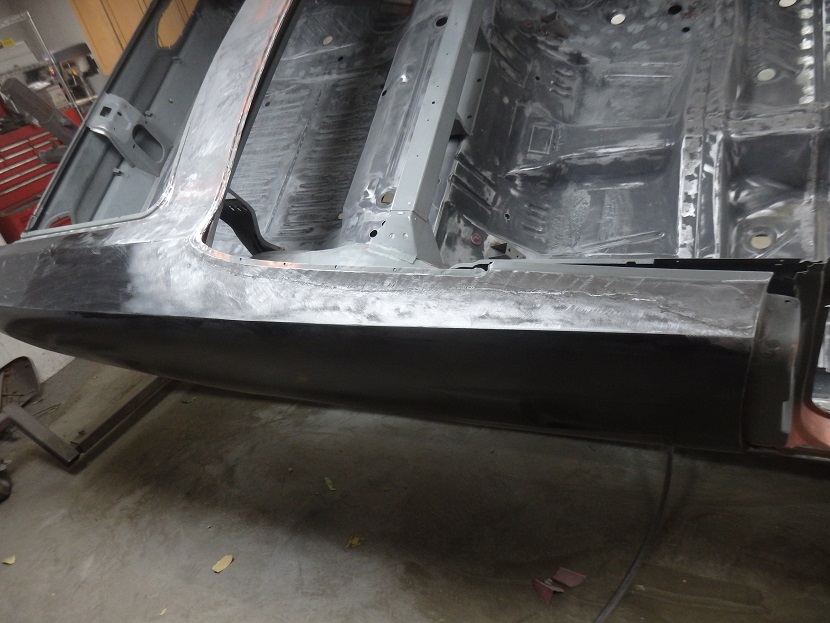
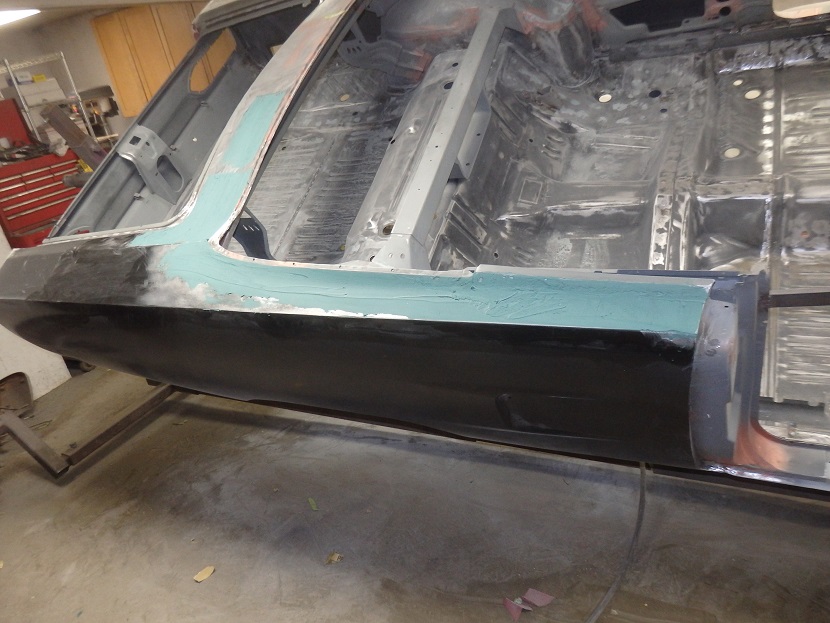
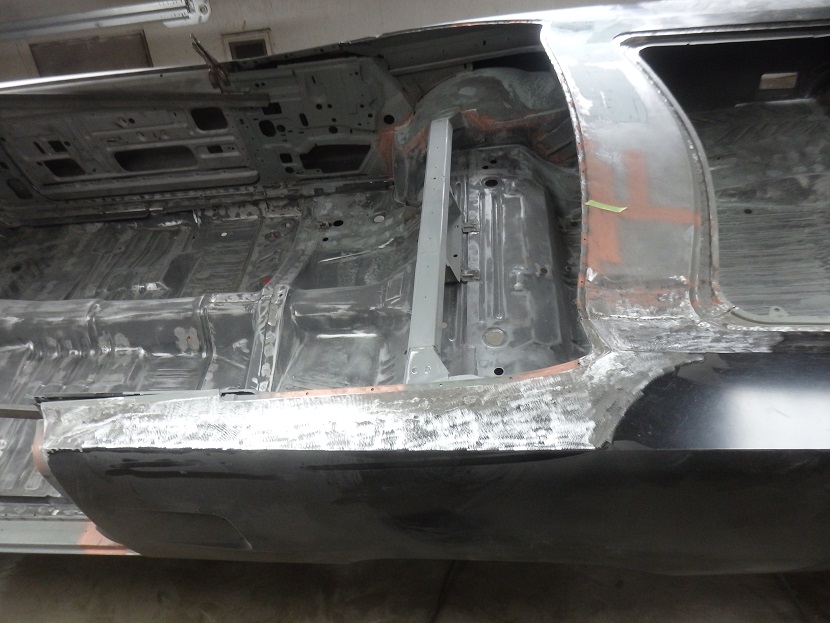
After all those repairs, the shell did not really need a lot of filler work. All I had to do on the the quarters was grind down the buttwelds on the top and apply filler across the welds. I also had a bit of work to do across the butchman panel as it had extensive repairs. That and the area where the dutchman was originally leaded to the quarters needed to be dressed. The last pictures shows all of the filler work I had to do. As a first layer I always use Evercoat Chopped Fiberglass filler, followed by Evercoat Rage or Gold to finish it off.
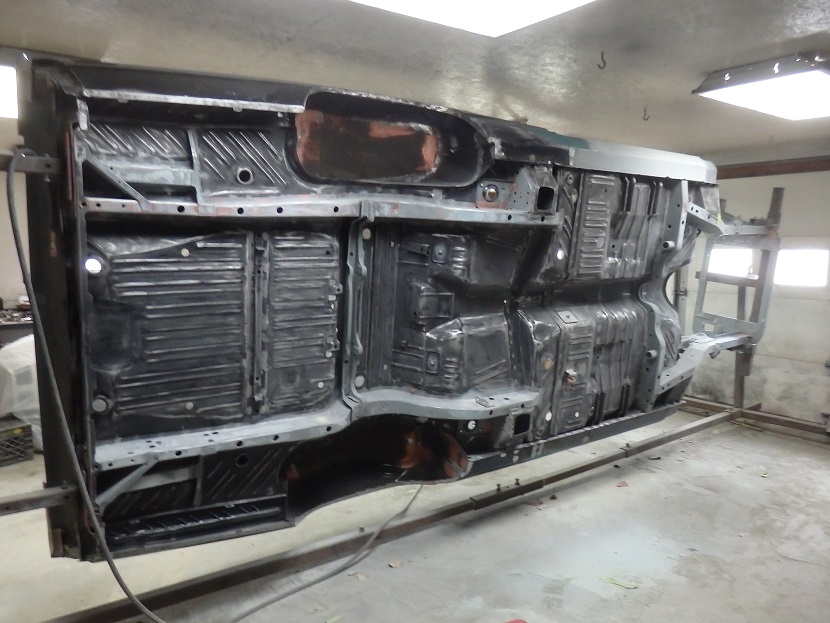

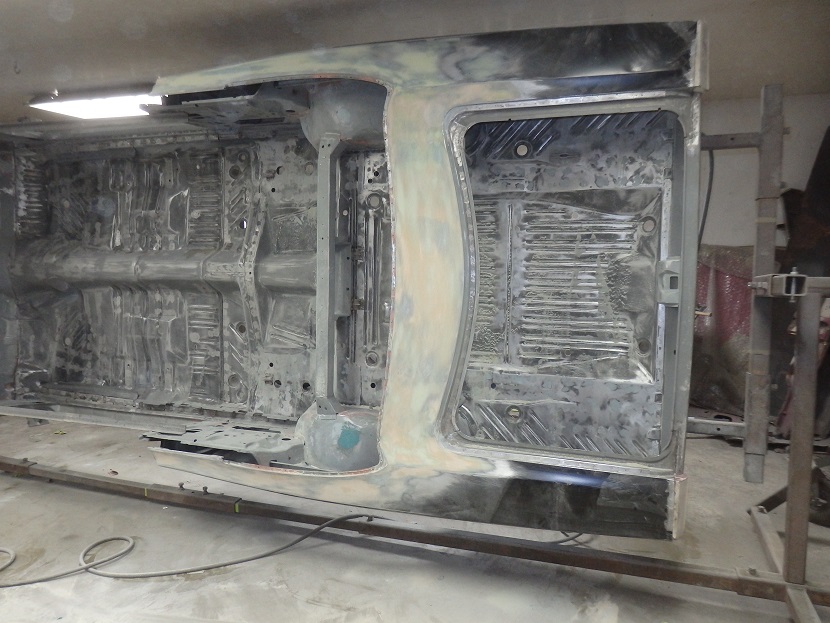
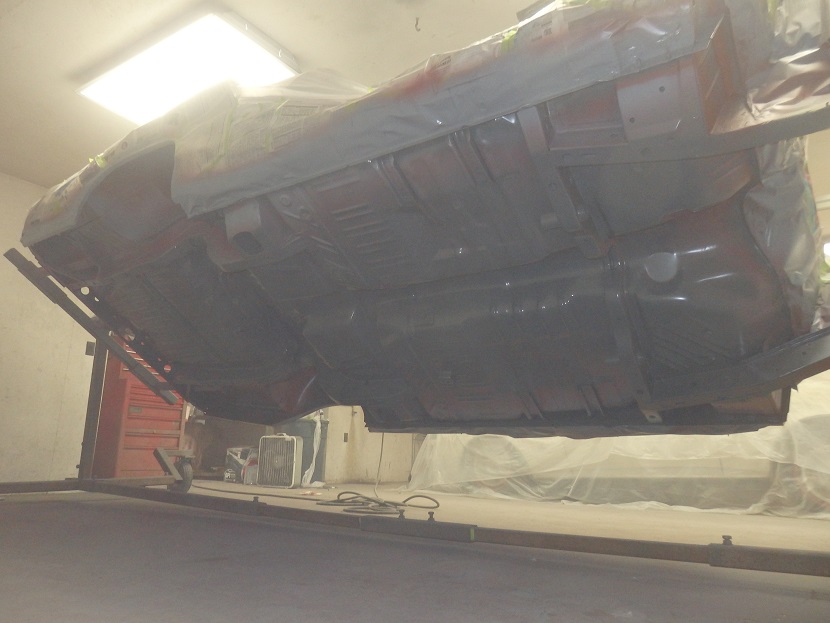
Next up was to put the shell in primer starting with the underside. I had a lot of hours sanding the underside and dressing the welds.
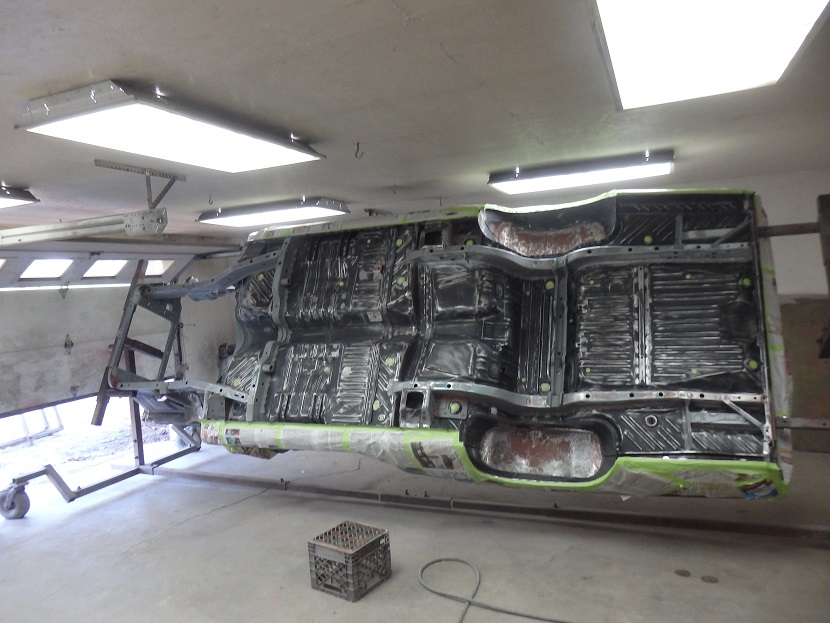
I couldn't prime the entire car at once, so I masked off the the car except for the undercarriage and engine bay. Then I primed the underside and engine bay with SPI Epoxy primer.

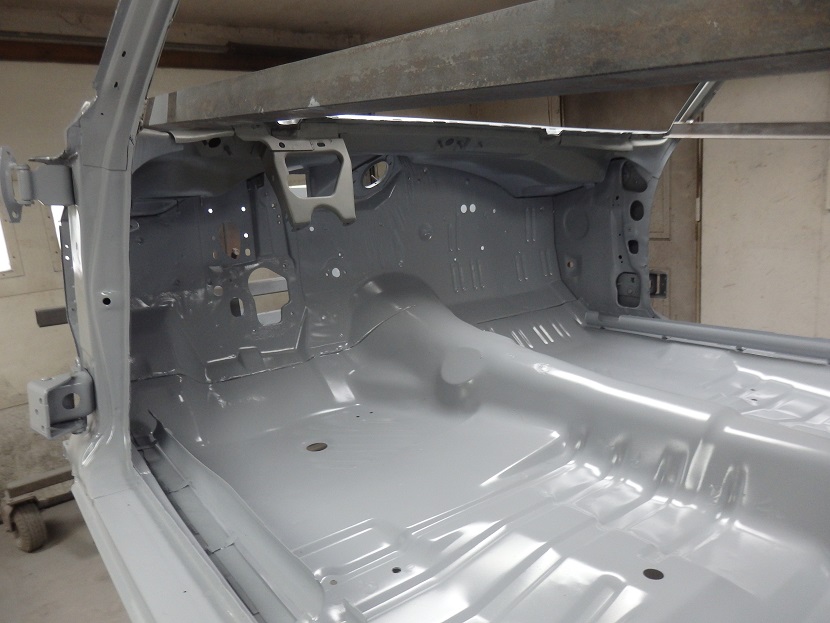
Then I did the inside.
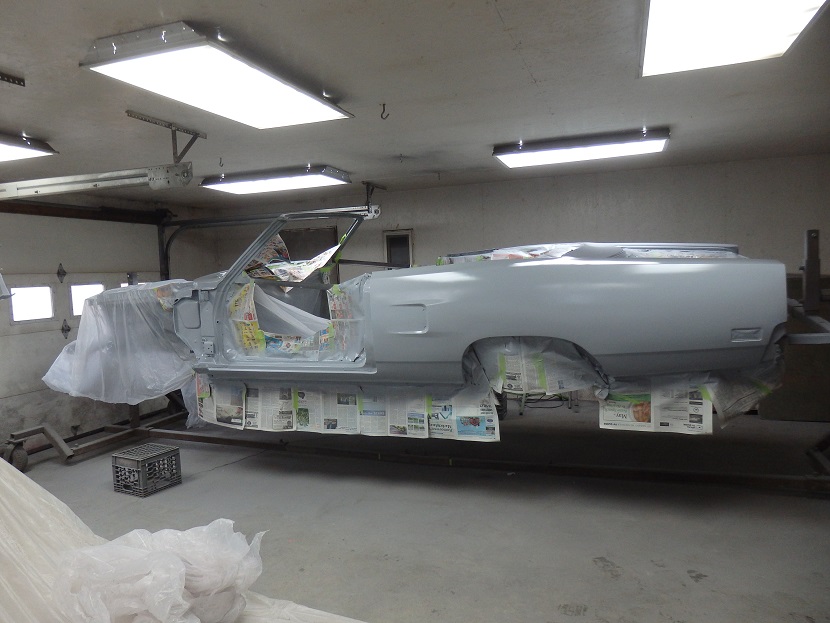
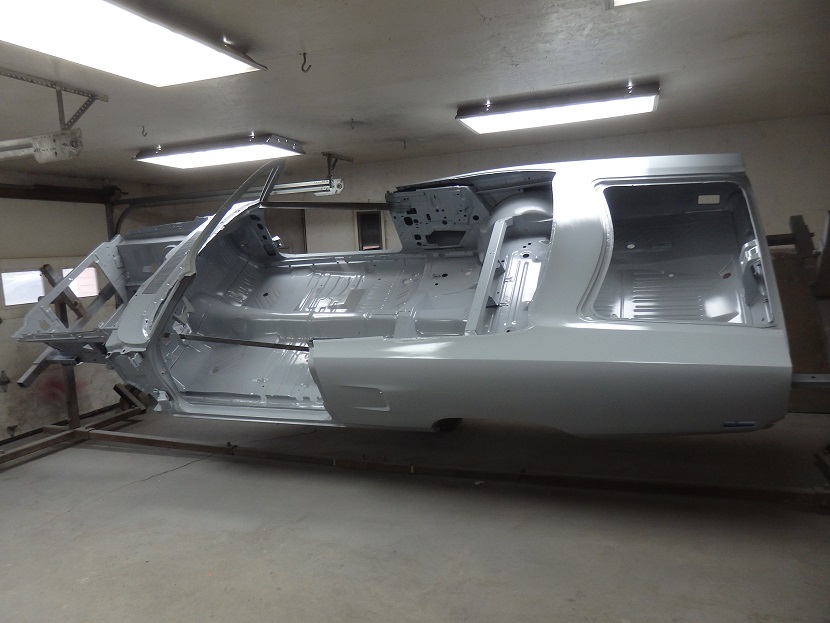
And finally the outside. At this point the shell looks something like a car again.


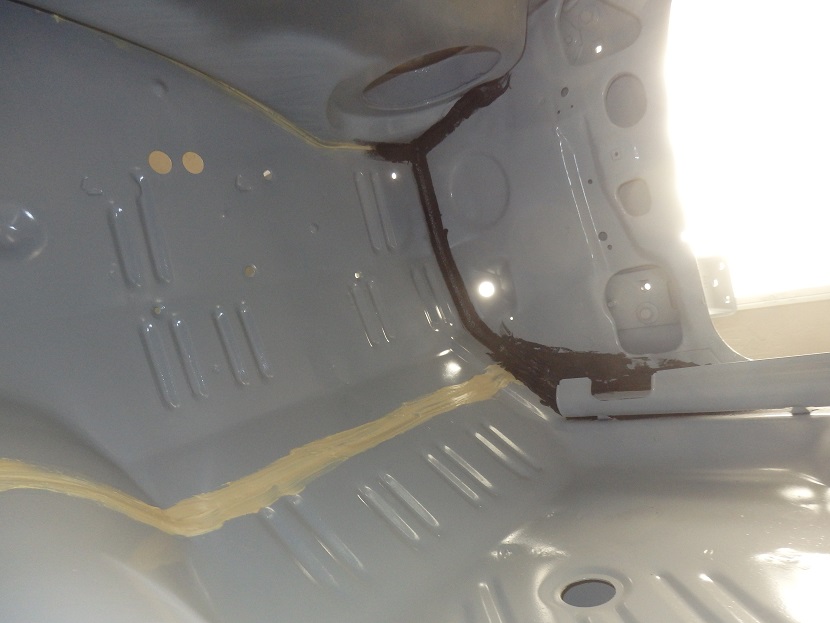

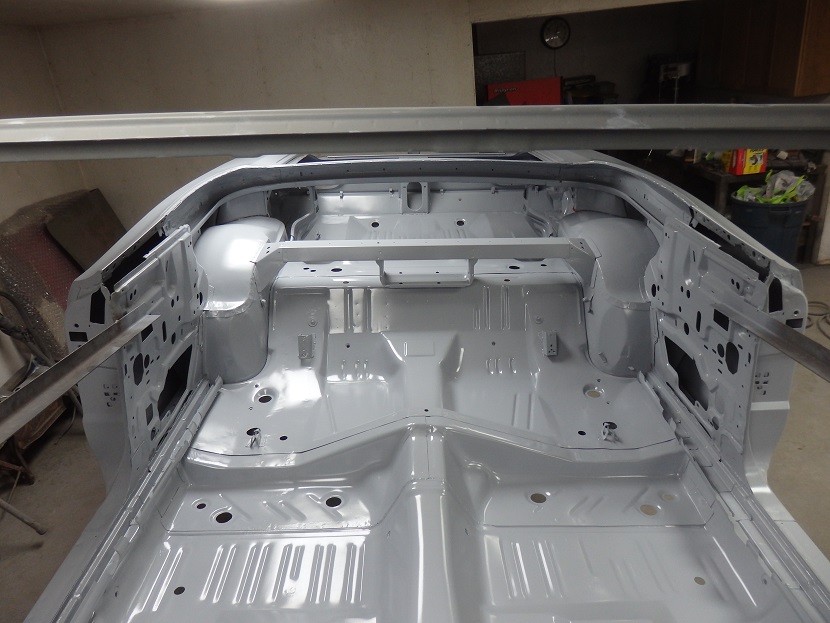
At this point I applied the seam sealer to the inside of the car. I replicated what I found on the car. The yellow seam sealer is 3M Fast & Firm 08505. The black seam sealer is Black Jack Neoprene Super Flash Cement.
Many restorers apply the black seam sealer after the inside of the car is painted, but that is not how the factory did it. The factory painted the inside (and the rest of the car) afterwards. Then they bakes the paint to cure it quickly. This process caused the paint to mix into the black seam sealer and disappear. So, some people just apply the black seam sealer after painting the inside.
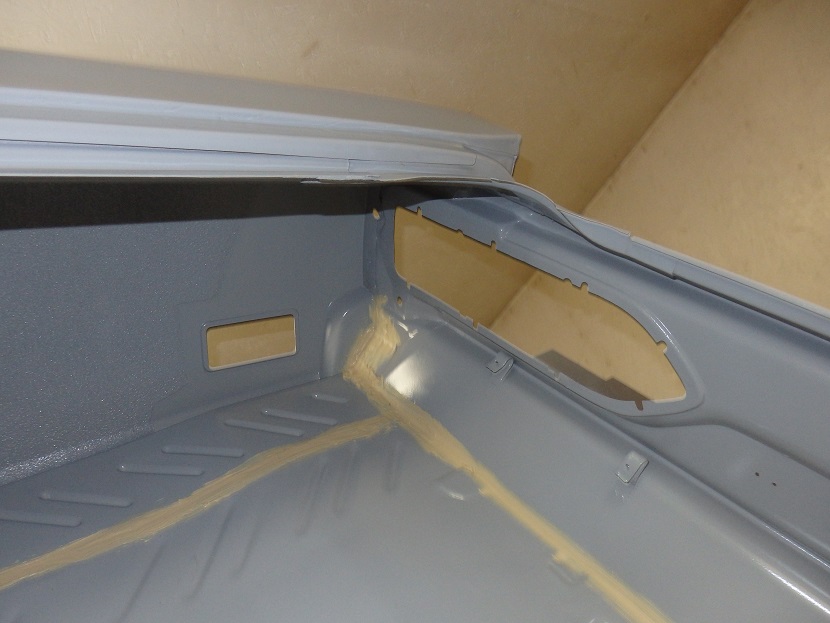
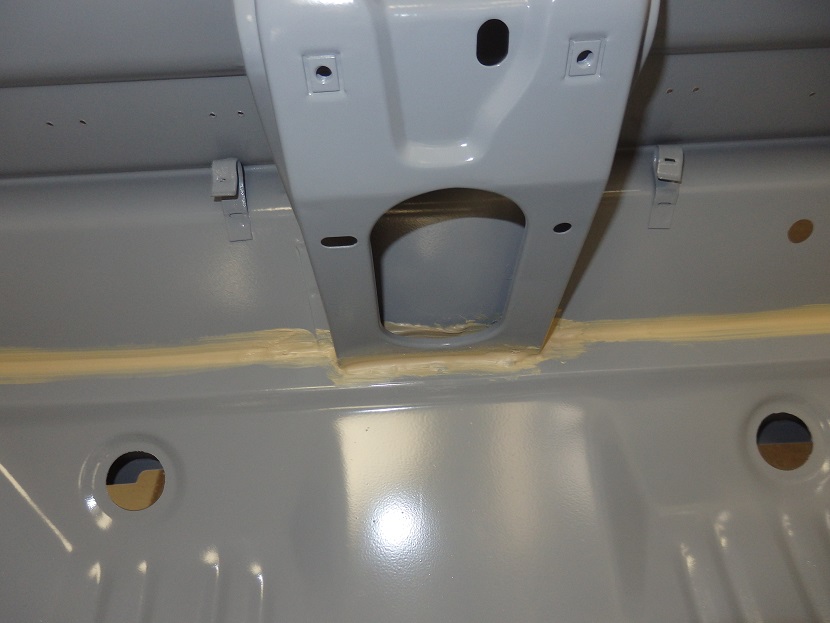

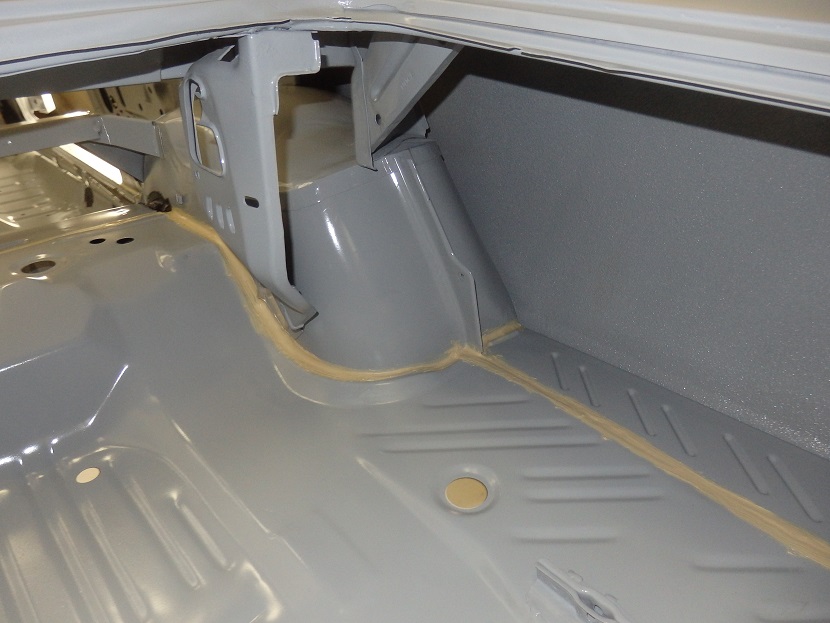
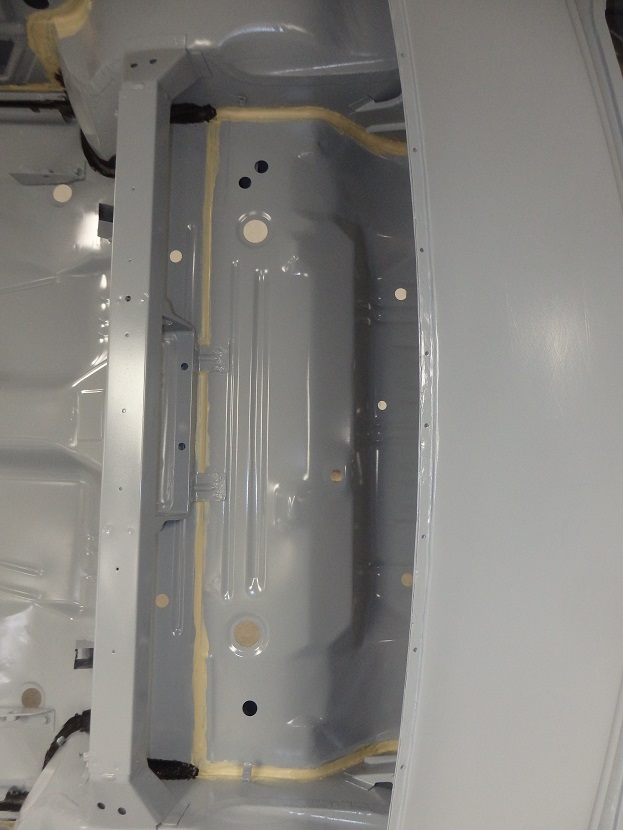
Back seam sealer wasn't used in the trunk by the factory. I applied 3M Fast & Firm 08505 rather slopily and used and used a 3/4" paint brush dipped in thinner to slop it around factory style.
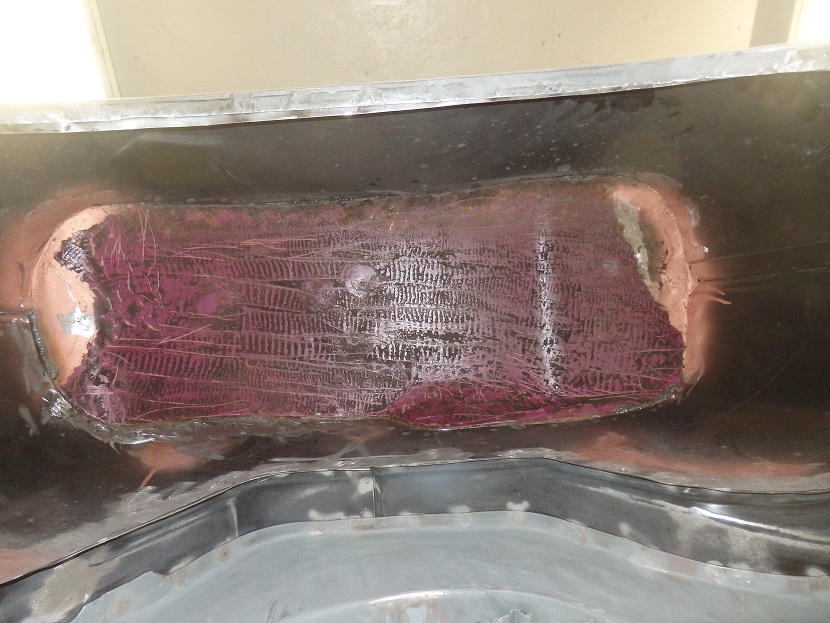


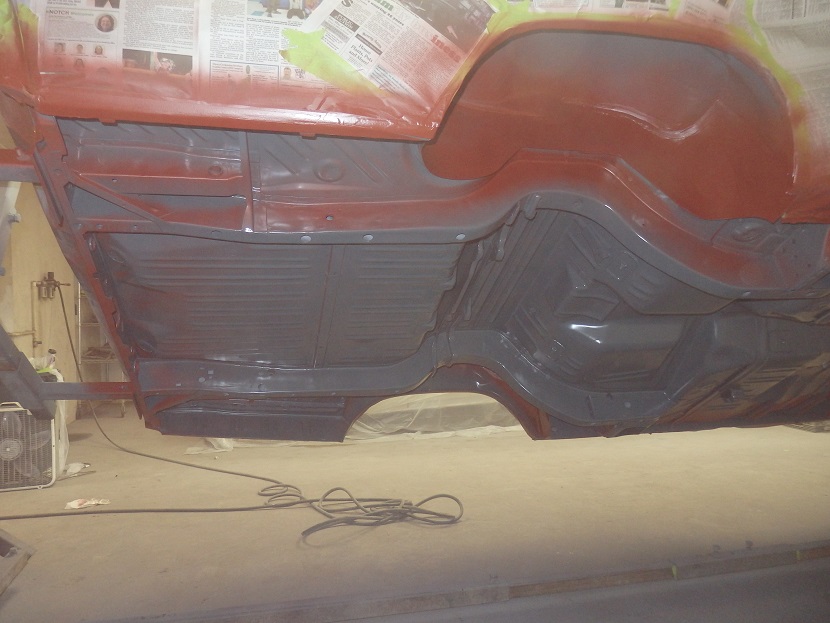
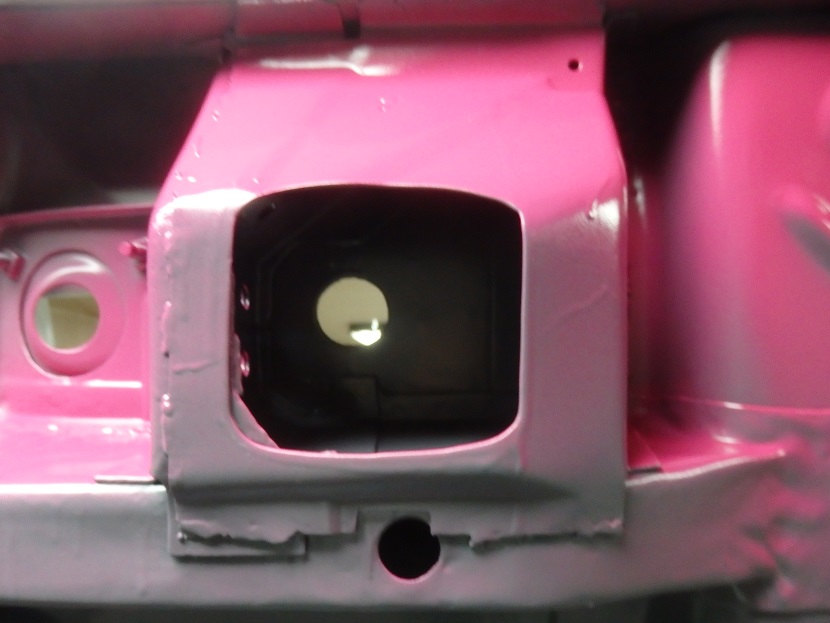
In this series of pictures you can seen the undeside of the right rear wheelhouse. THe factory paint cover red oxide primer. There was no dark grey dip primer to be found. this is most likely do to the fact an air pocket was trapped in the wheelhouse during the primer dip.
All I did to this area was primer it and seam seal it prior to painting the undercarriage.
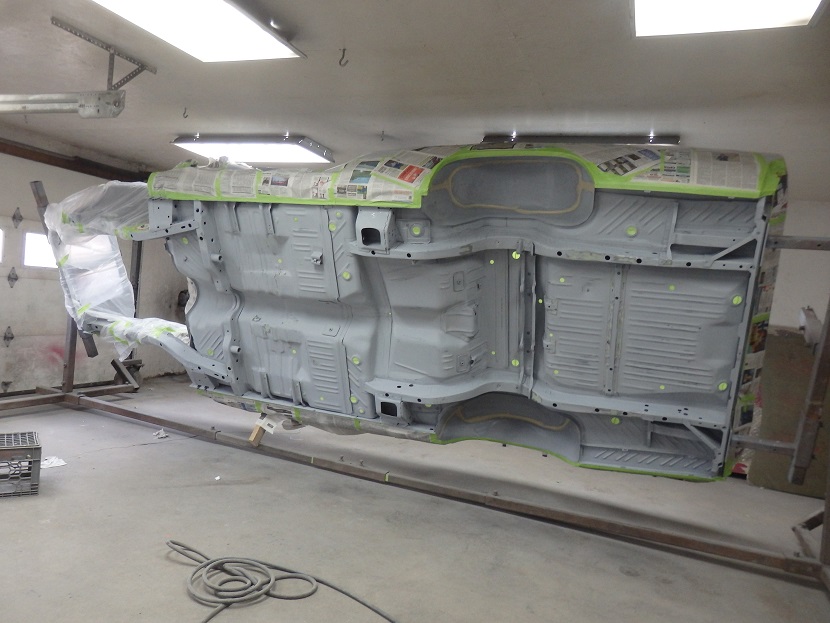

With the undercarriage in its initial primer all of the little defects stand out. With the defects fixed, the whole undercarriage was sanded again. Then the final primer was applied after extensively blowing the dust out of the cranks and wiping it down with wax & grease remover several times.
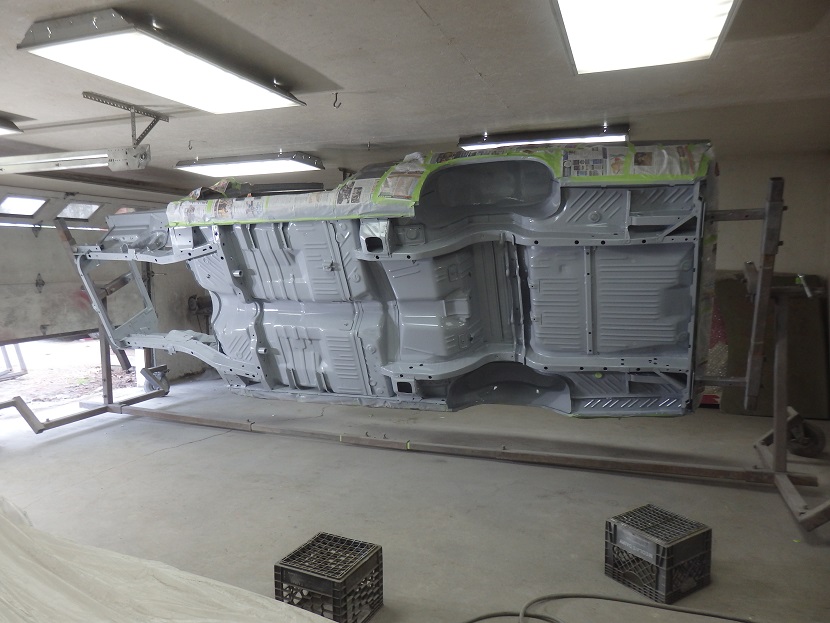
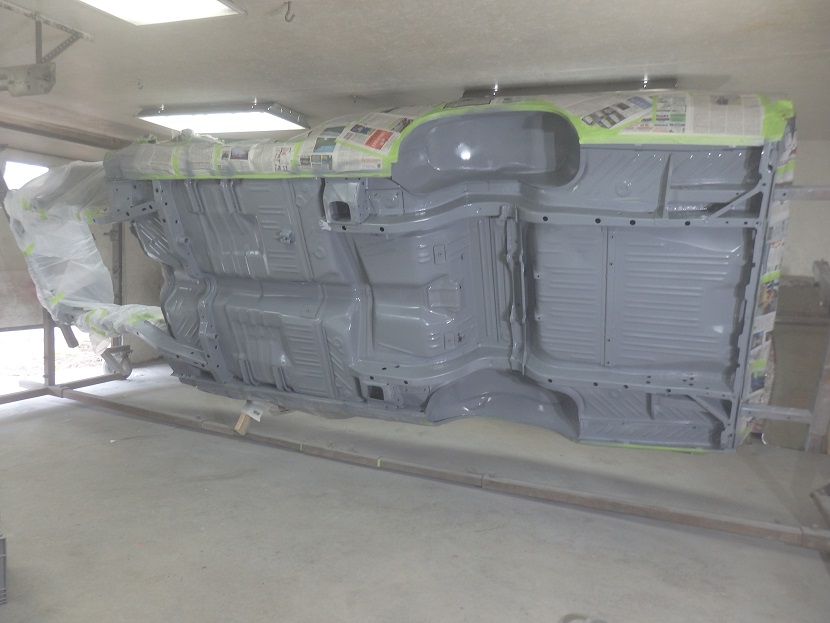
After sealing the undeside with more SPI epoxy primer a let it set a day and then came back and applied dip gray paint from Resto Rick.
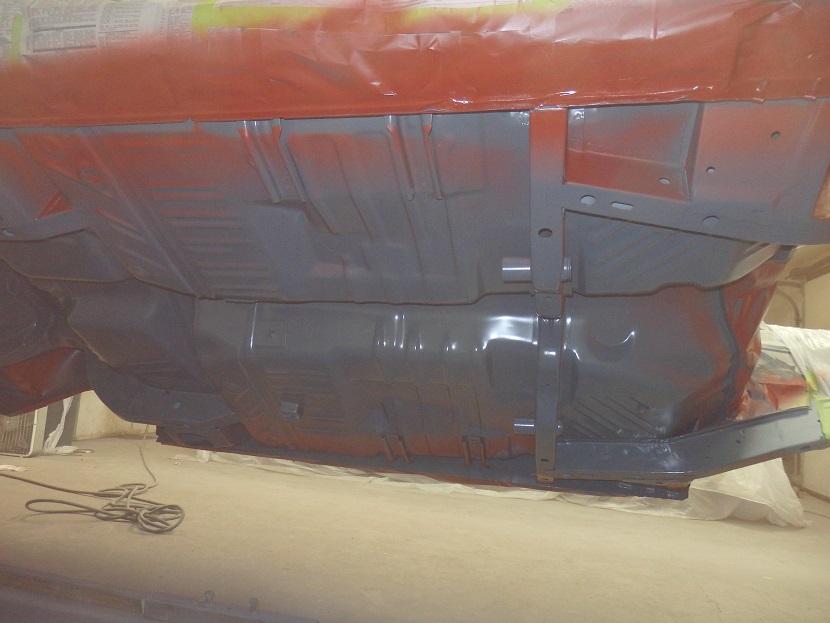
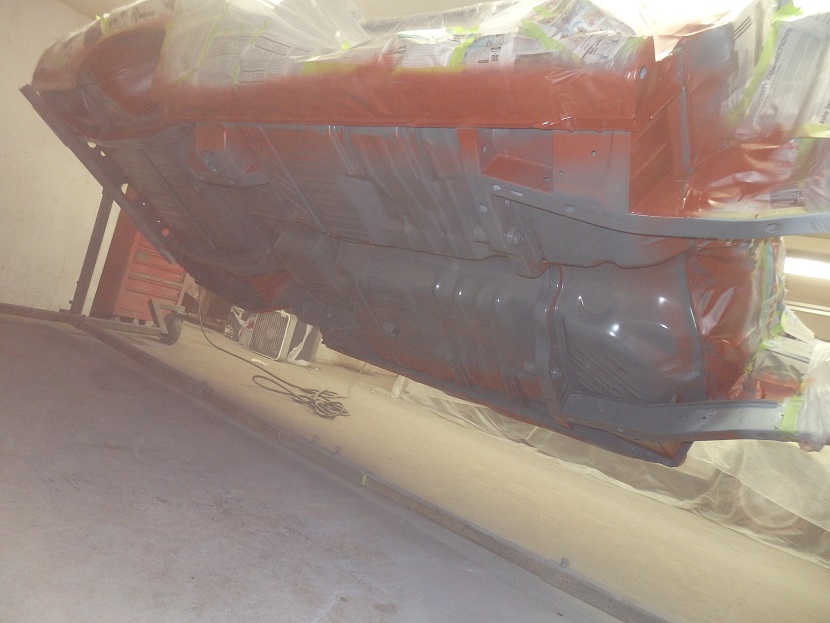
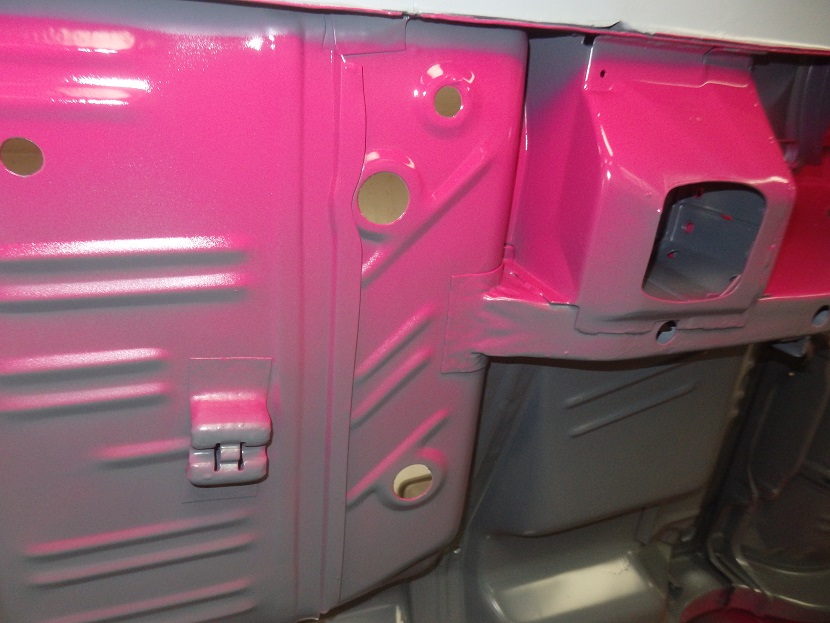
To replicate the original factory look, I applied red oxide primer over spray followed by a light gray overspray (picture on the far right).
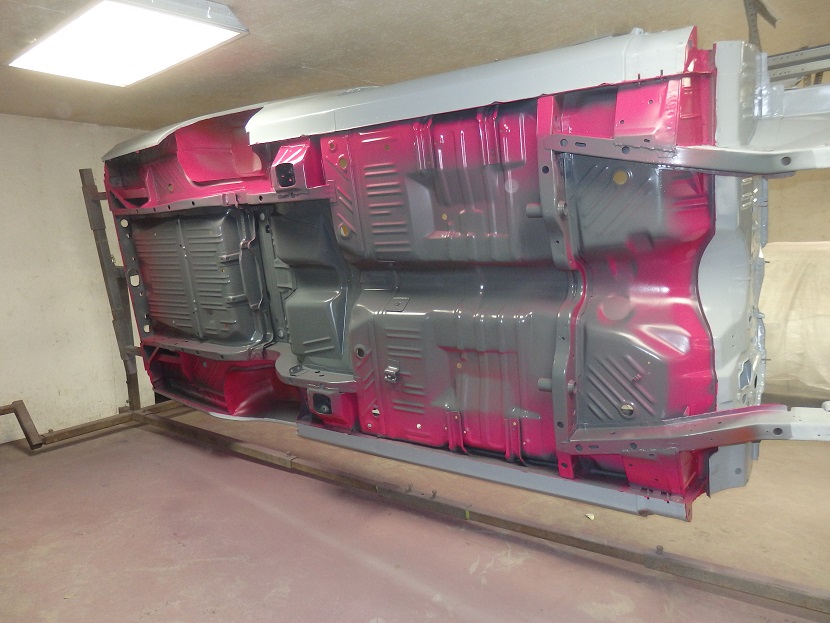
And finally some FM3 overspray to complete the factory original look.
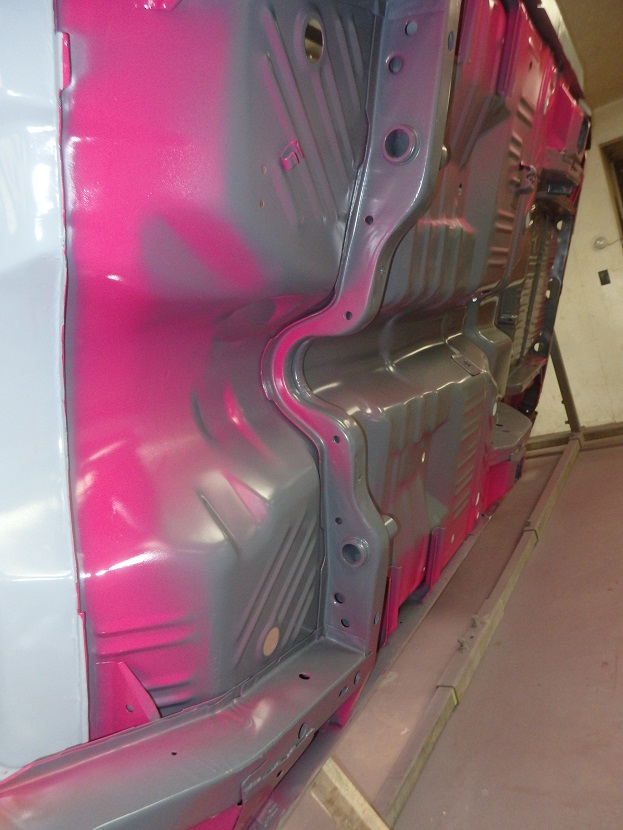
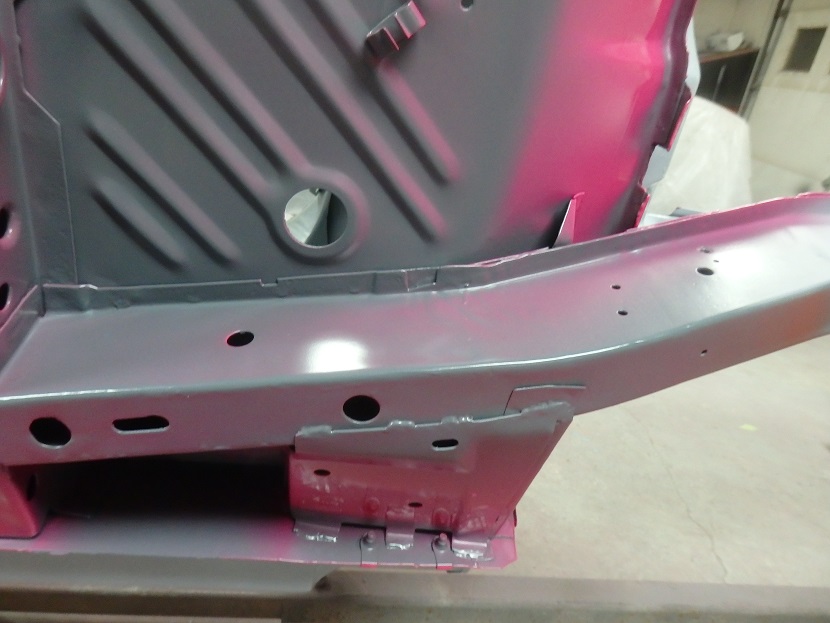
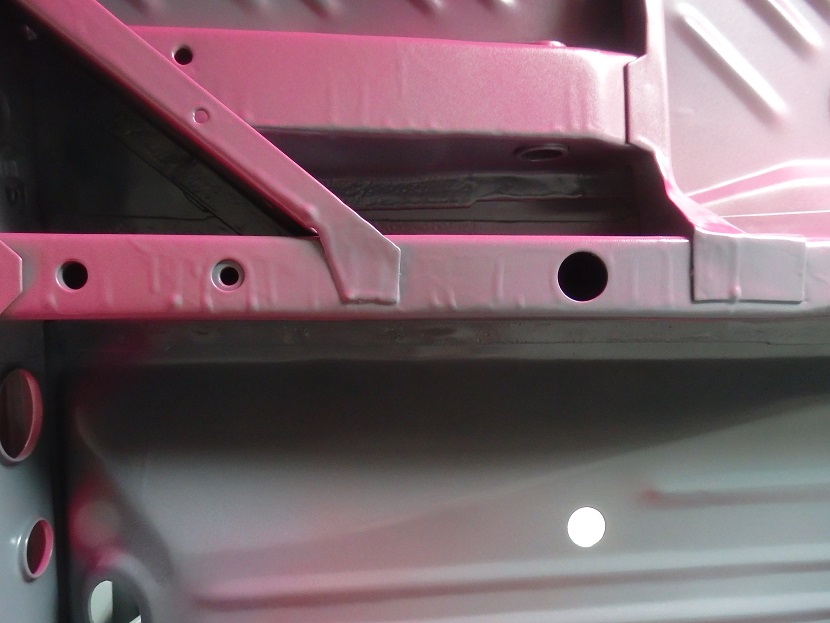
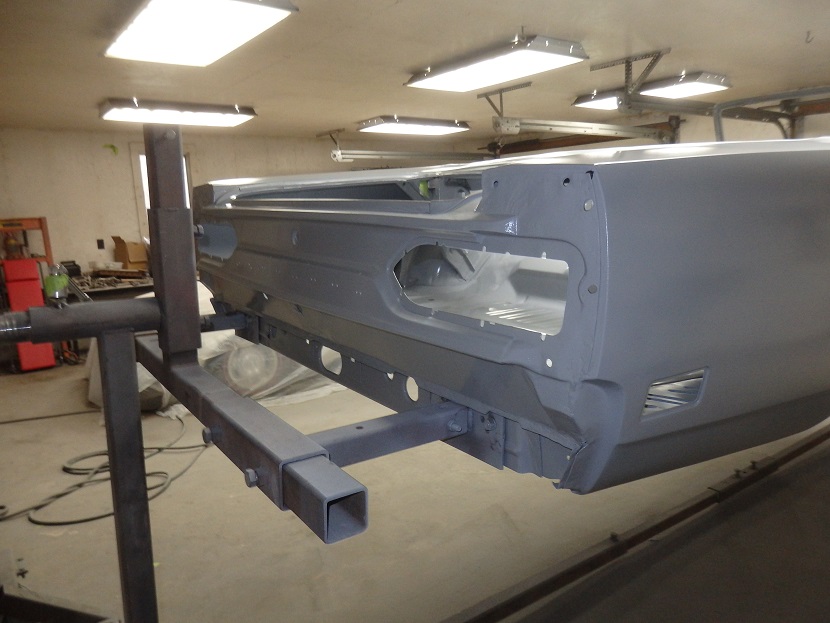
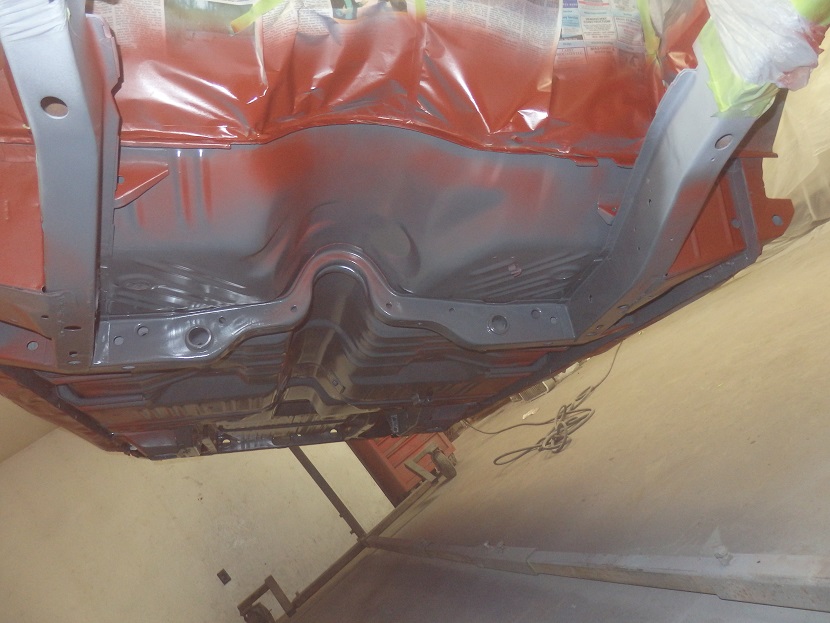
Here are some detail pictures. I sprayed the dip grey paint thick around the frame rails so that original looking runs would appear in the grey paint. Once the FM3 paint was sprayed the run details rally start to show.
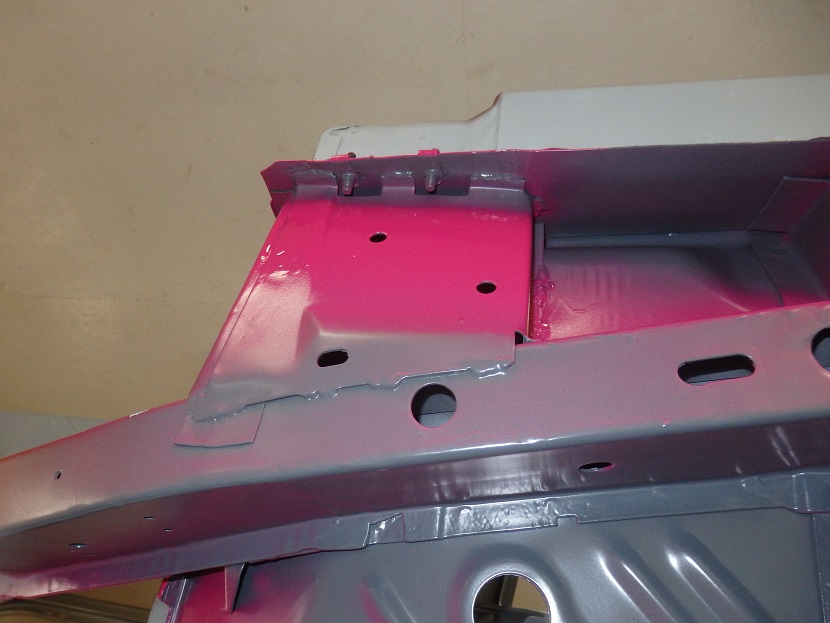
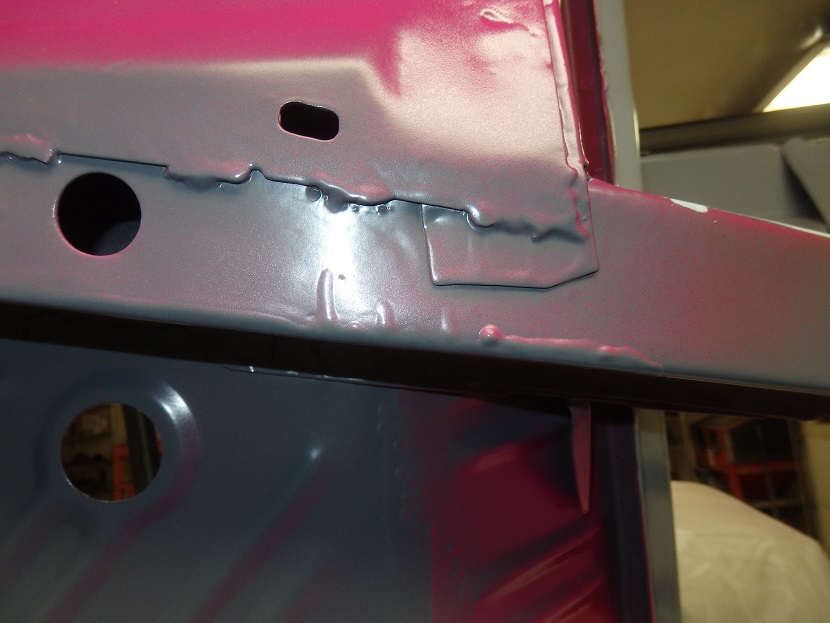
Here's some picuters around the torque boxes. Original factory overspray would look just like this.