|
It's not my intention to show how to rebuild a transmission. I am only showing some of the highlights on what I did. There is a great video series on YouTube that you may find very
helpful, located here: Mopar A904 overhaul for rookies. For the rebuild I bought most of my parts from Trans Parts Online since I had a good luck when I used them for my 1970 Challenger. |
 |
|
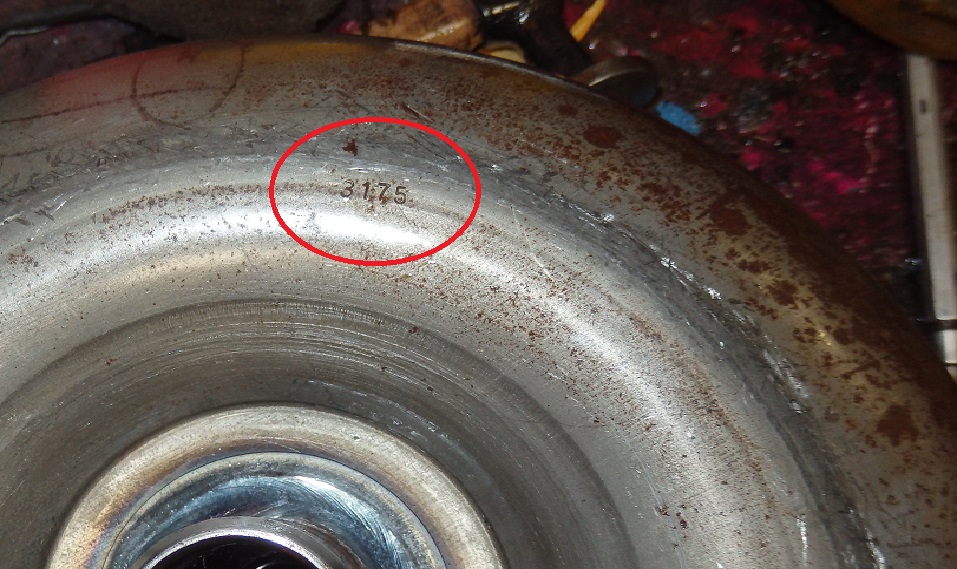
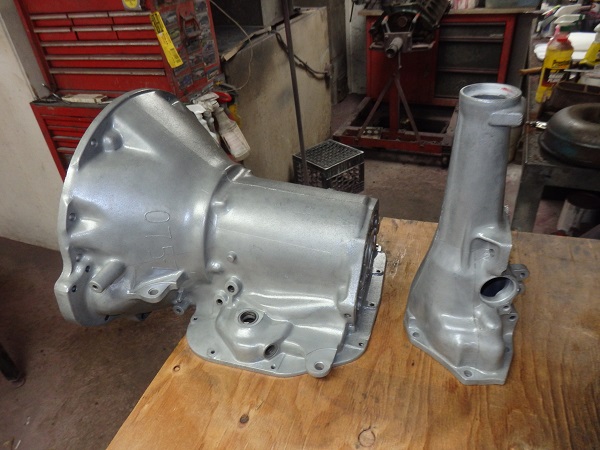
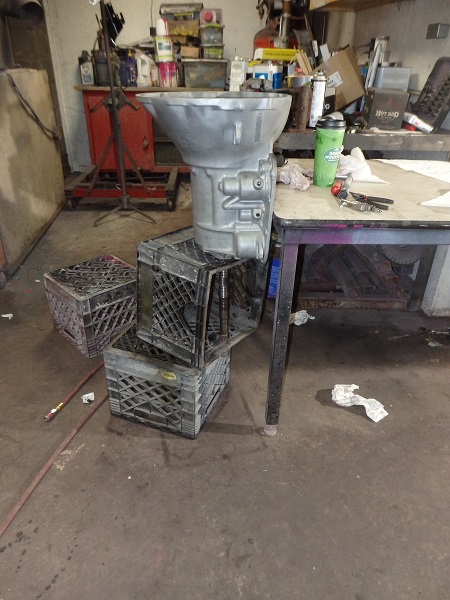
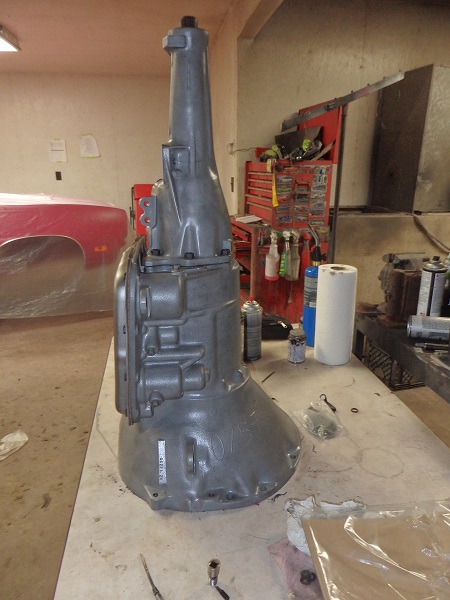
Here's the original A904 transmission when I started. The overspray on the torque converted was applied by the factory, so that is a pretty good indication that the
torque converter was installed when the engine was painted. The number 3175 stamped on the torque coverter indicates the date of manufacture using the Chrylser 10,000 calender of
April 7,1970, which is just before the car was built in May 1970. |
|
|
|
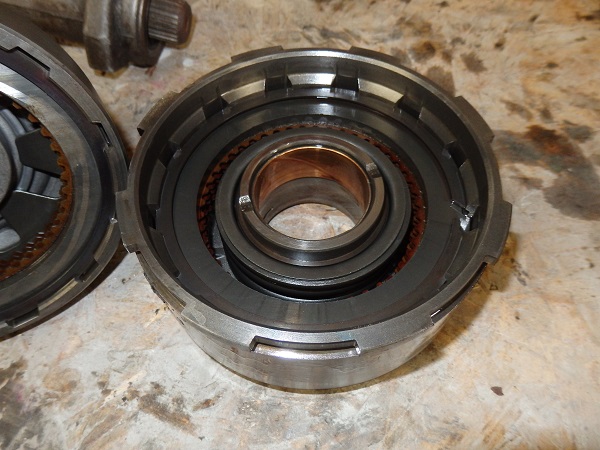
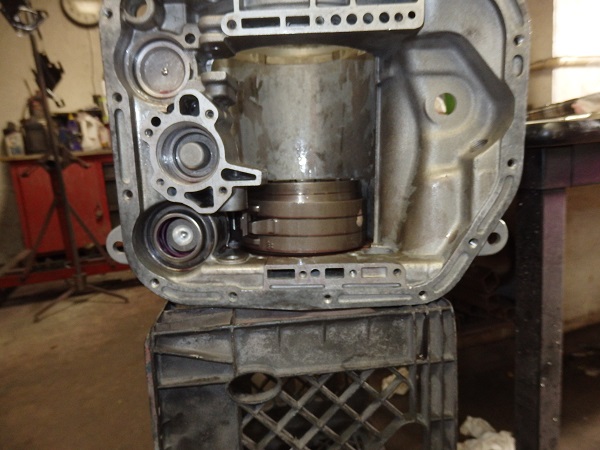
The first thing I did was to pull the trans fluid pan and removed the valve body. You have to be careful not the loose the accumulator spring (orange) and
the piston that it holds in place. |
|
|
|
The fluid pump must be removed with a special puller. I made one with a piece of angle iron and a pair of long bolts that I had lying around. |
|
|
|
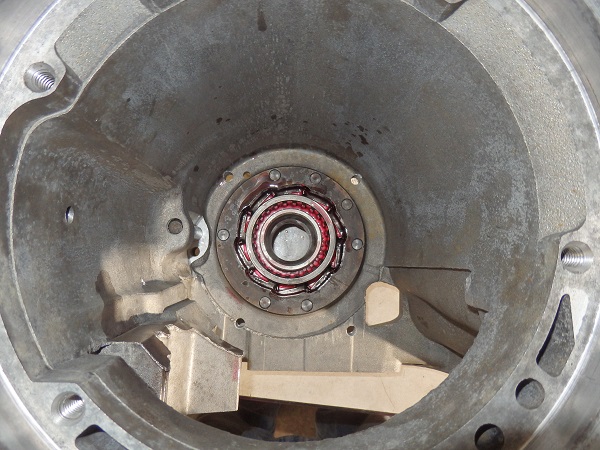
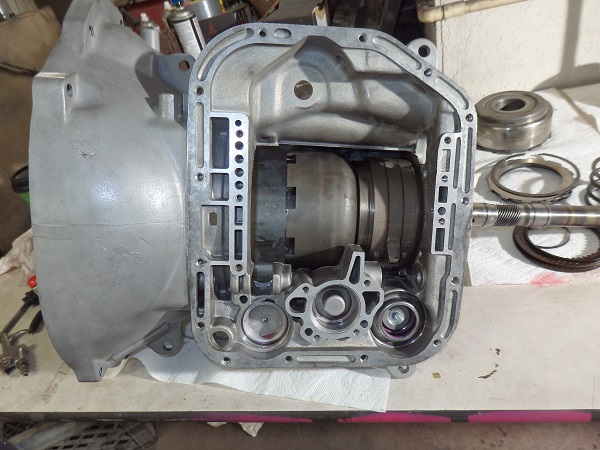
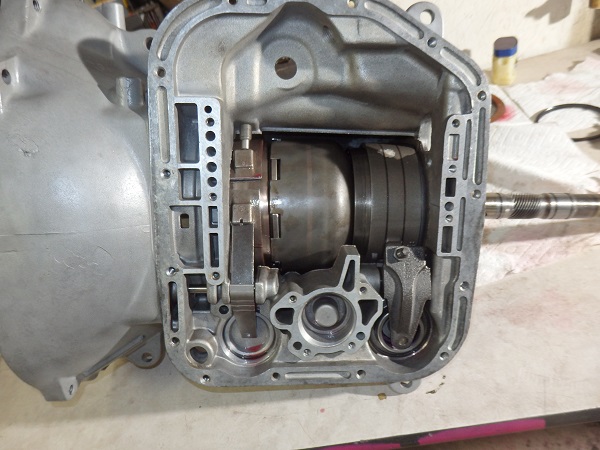
To remove the direct drum you have to relieve tension on the front (kickdown) band. You have to pull the pivot pin (first picture) to remove the lever on the inside
of the case as well as the removing the tensioning bolt (not shown) on the outside of the case. |
|
|
|
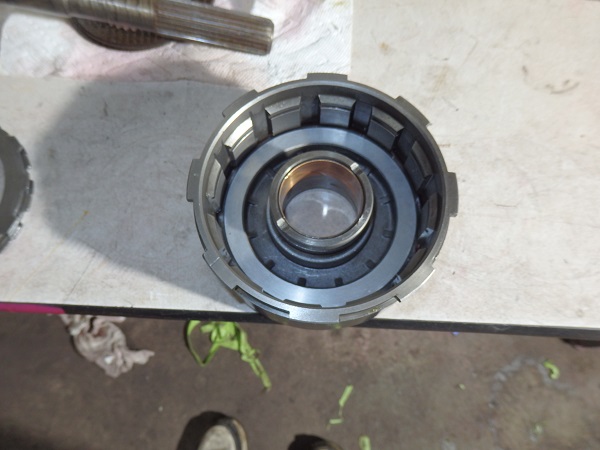
The direct drum, forward drum and input shaft come out together. There is a special washer that butts up between the input shaft and the output shaft. You have to be careful not to lose it when you pull the transmisison apart.
In this case it stuck to the input shaft. |
|
|
|
I skipped over the front ring gear and shell removal on this webpage..... You remove a clip and those pieces come right out. The rear gear, reverse drum and reverse band also pull right out. The output shaft just comes right out, though you may have to tap on the end with a rubber mallet. The rear sprag is made up of a bunch of springs and rollers. You can just compress the springs with a small screwdirever and pull the rollers out. Replacements are readily available. The support/flange, just bolts in place. It's a tight fit so a rubber mallet and a block of wood may be neccessary to get it out. Avoid damaging the bores or it will not fit back together very easily. |
|
|
|
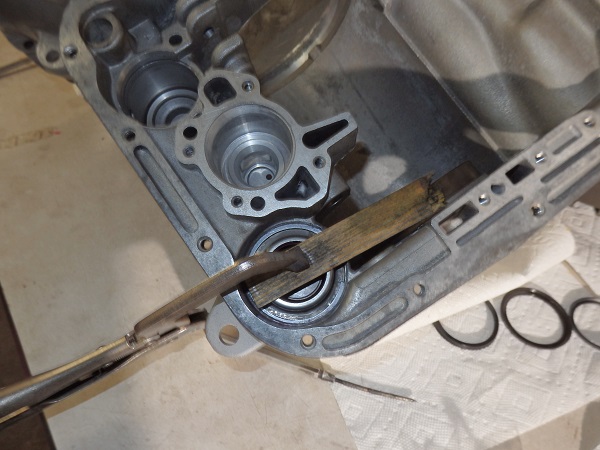
To remove the tailhousing from the output shaft you have to remove the bottom cover and spread the exposed snap ring while pulling on the output shaft to get it apart. I had to use torches to heat up the phillip
screws to remove the cover.... |

 |
|
Taking the forward clutch apart for rebuild requires compressing a spring and removing a retaining ring. Again a special tool is required, but I cheated and used a couple sockets and some extensions along with a press
to compress the spring. |
|
|
|
The rear servo also involves a spring that needs to be compressed and a retaining ring to be removed. This I did with a big pair of C visegrips. |
|
|
|
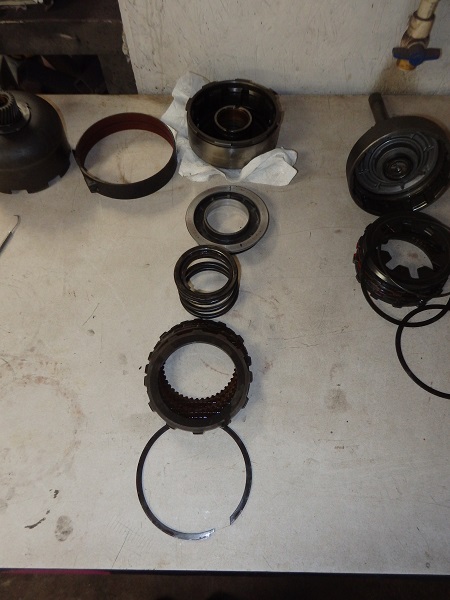
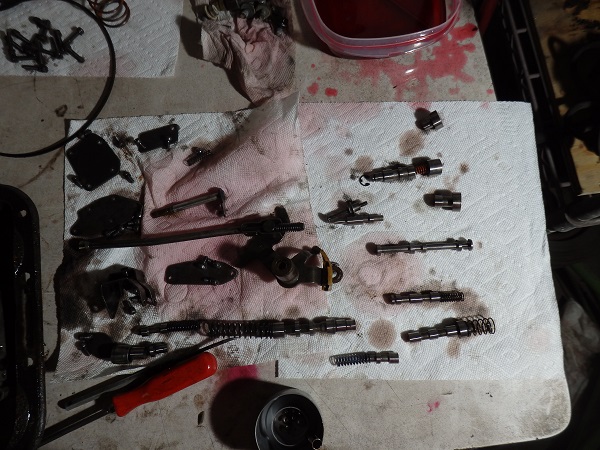
Here's the guts all pulled out and ready for cleaning and rebuilding |

|
|
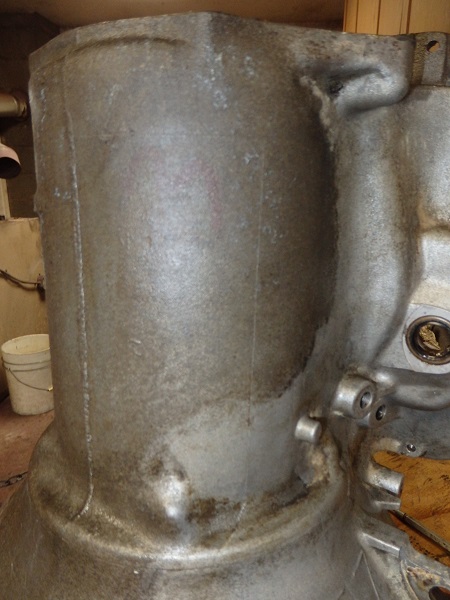
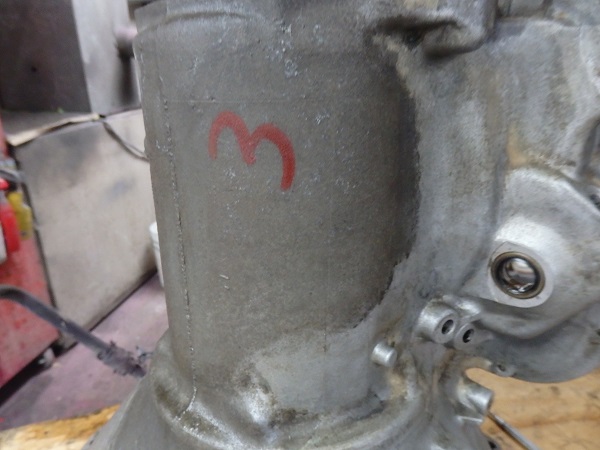
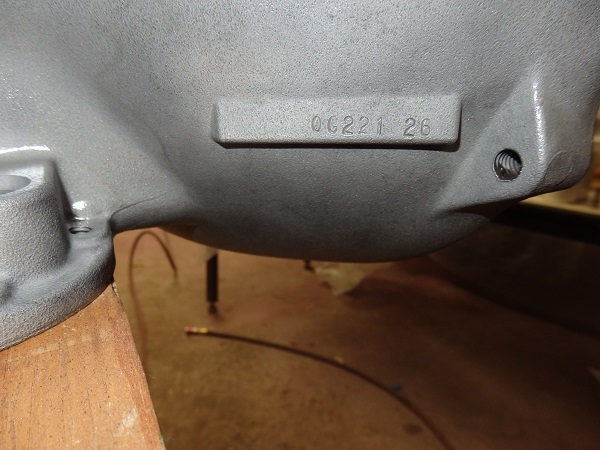
When I cleaned the transmission case and tailhousing I found a few factory numbers. A 3 (freshened with a marker on the 2nd picture) and a 1 (stamped backwords). The transmission code on the broadcast sheet for this car was D31, so I
suspect that is what the numbers are about. |
|
|
The first thing I did after cleaning was beadblast the transmision case and tailhousing. I then recleaned and painted them with Krylon satin clear engine paint. |
|
|
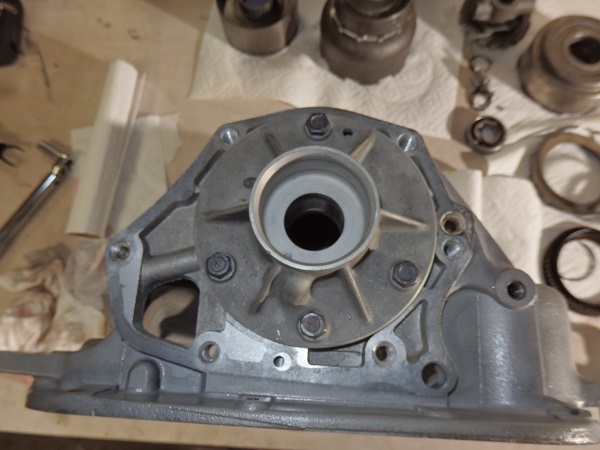
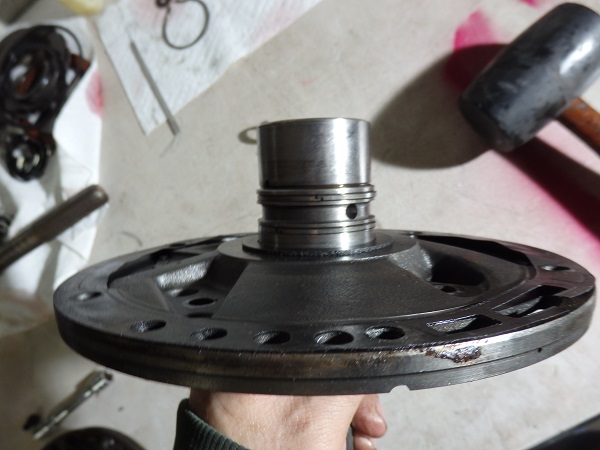
The first thing to go back on was the rear support/flange and then the new sprag rollers and springs. |
|
|
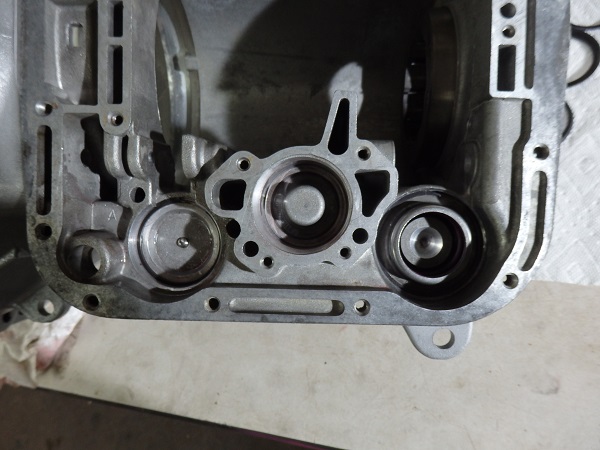
The next things to go in where the servos once I replaced the oil seals & oil rings. For the rear servo I used the same visegrip trick I used to take it apart with. |
|
|
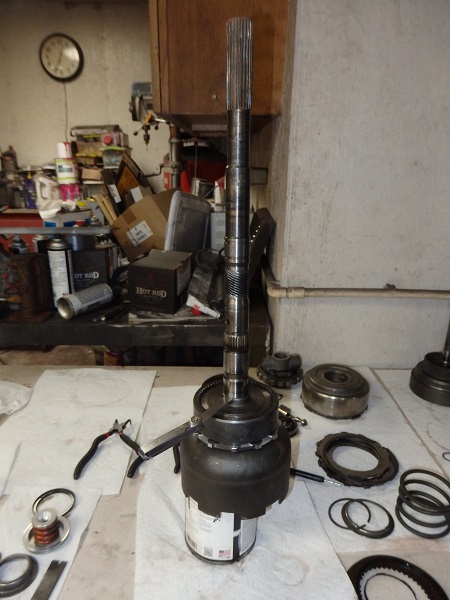
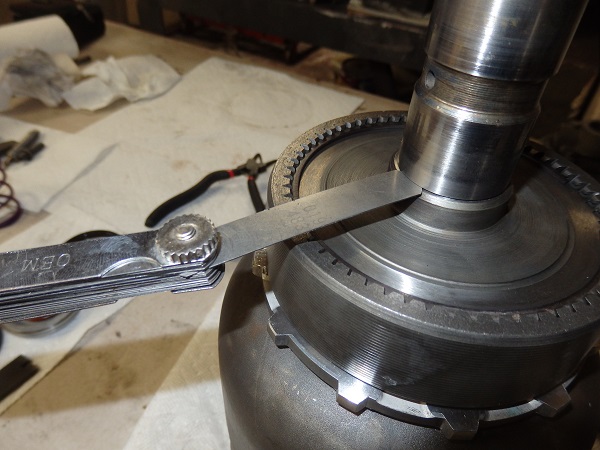
After rebuilding the rear clutch, the rear gears and drum must be fitted to the output shaft outside of the transmission housing to ensure there is a proper amount of endplay. Once satisfied that
the endplay is correct, it must all come apart and put back together in the transmission case. Due to the lack of "special tools" a stack of milkcrates were used as an asssembly stand. The last picture shows the next step, which is to install the reverse band. The band needs to be soaked in transmission fluid prior to install. |


|
|
The forward clutch is the hardest part to rebuild. Only because of the piston, which is difficult to install due to the flared seals. The best trick I have found was to wrap the outer seal tight with electrical tape
and stick it in the freezer overnight so that is shrinks. You remove the tape and quickly install the piston. Then you drop the components in place and once again you have to compress the spring (using the technique shown
earlier) and install the snap ring. |
|
|
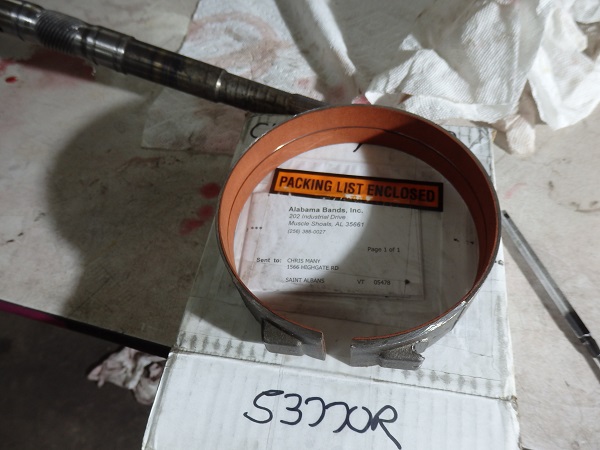
As with the forward band on my 1970 Challenger, I did not like the one that came in the trans rebuild kit. Once again I found myself buying a relined band from Alabama Bands. With the new band in hand it was nothing to put the rest of the gears and clutches back in. After cleaning an rebuilding of course. |

|
|
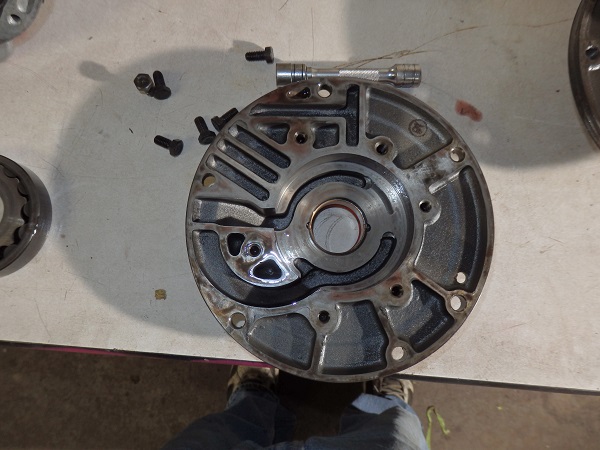
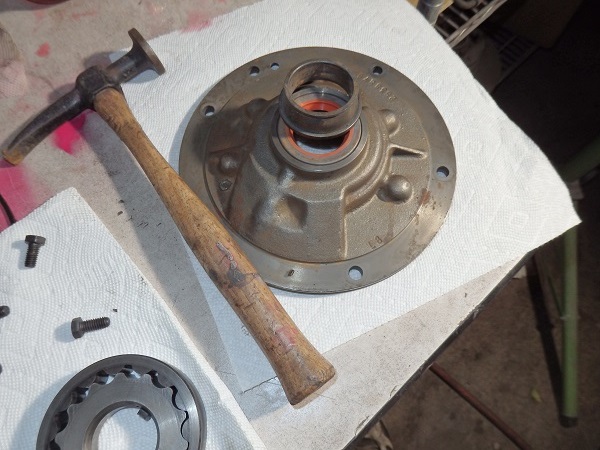
The fluid pump is pretty easy to rebuild. You split it apart to clean and inspect the ring gear and you replace the torque converter seal. I like to use old bearing races to help tap in new seals. There are a pair of metal rings that should be replace as well (see 2nd picture). Their ends hook together so you have to be careful not to break the hooks or nick the channels that they are installed in. Once the halves are back together, there is a large o-ring that wraps around the outside of it. |
|
|
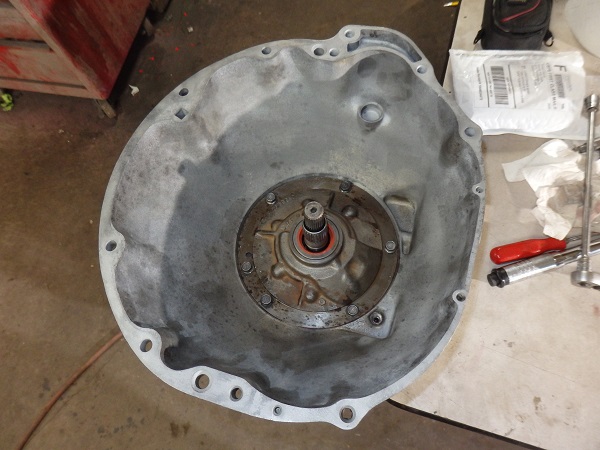
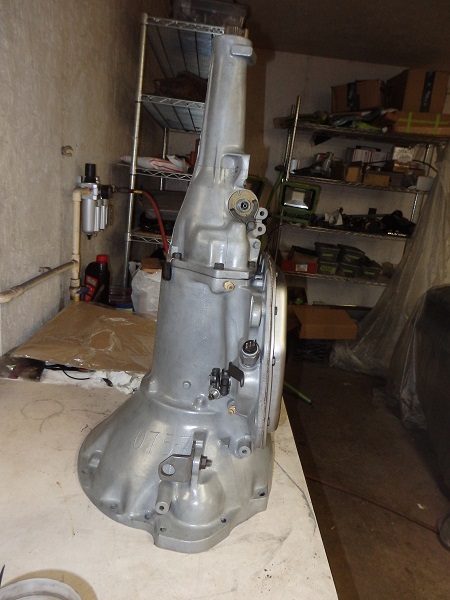
Once the fluid pump is bolted back in, the transmission can be flipped on its face for the installation of the tailhousing. You will want to install the tailhousing before installing the valve body as there is a
trick to installing the parking pawl. |


|
|
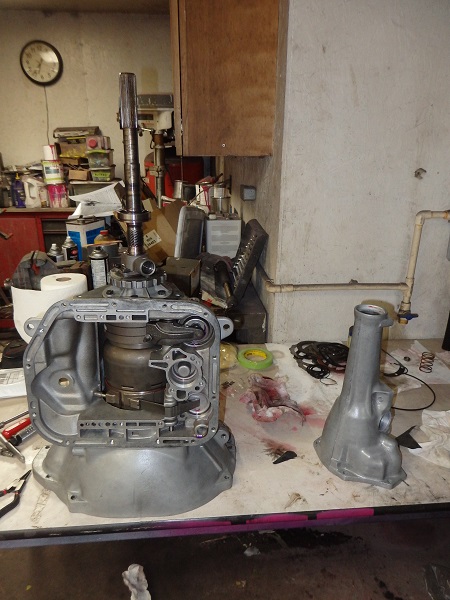
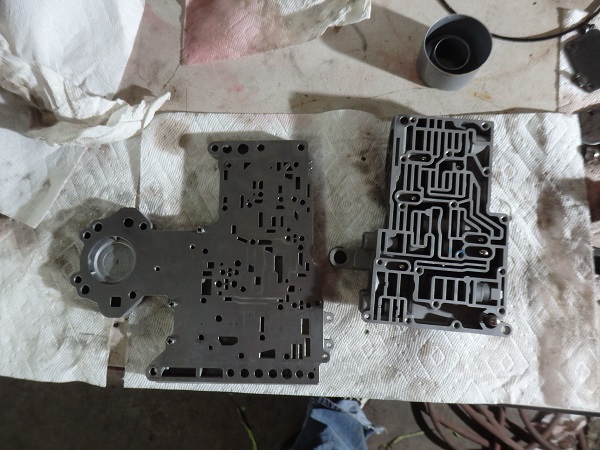
The valve body should be pulled apart and cleaned really well. The valves are sharp so watch your fingers. You should take plenty of pictures when you pull it apart as there are a bunch of ball bearings
that will fall out. You should also take pictures as you pull the valves out to ensure proper location and orientation when you put it back together. There is actually nothing to rebuild here except for perhaps
replacing a cone filter. In the picture on the right you can see a rod. This is the parking pawl rod. This engages a gear that keeps the car from rolling away. Yah, that's it! |

|
|
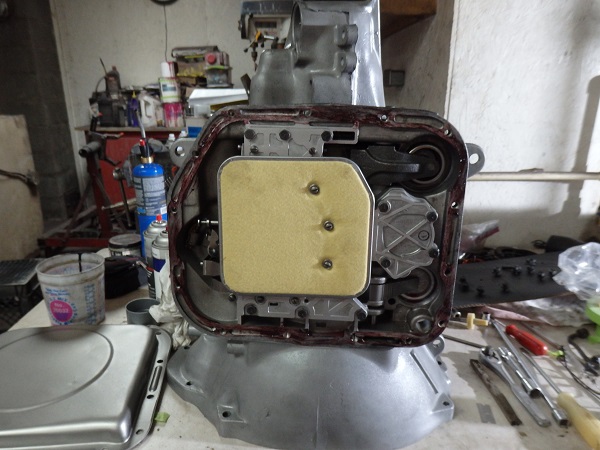
The valve body and filter install very easily. TLAK ABOUT CONNECTING THE PAWLLLLLLLLLLLLLLLLLLLLLL |

|
|
Here's the transmission bolted up to the engine. All of the linkages are connected and the factory markings are reproduced. |