

|
|
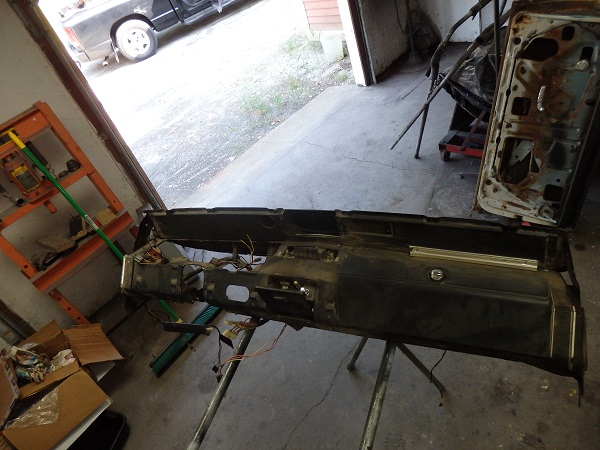
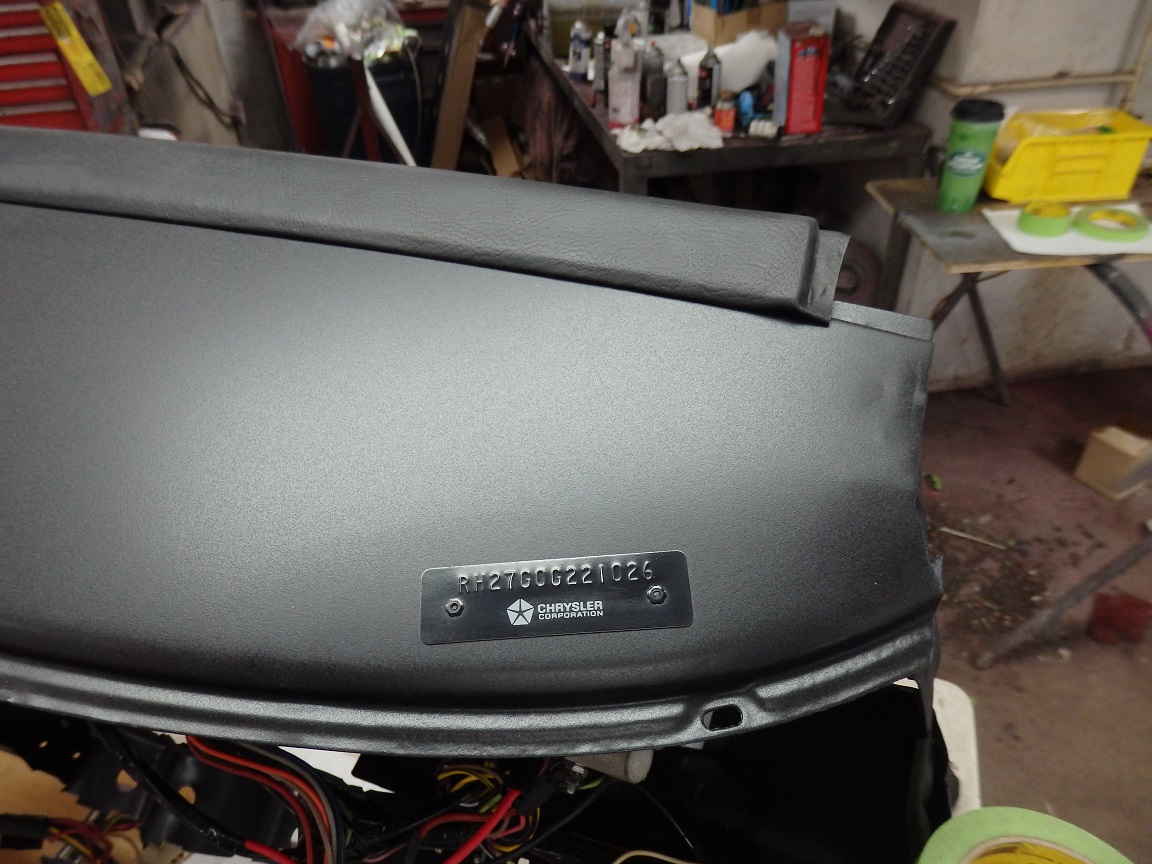
The dash was not installed in the car when I brought it home. At least the VIN tag was intact. I dismantled the dash and took an inventory of what I needed to buy probably I year before I started working on it. |
|
|
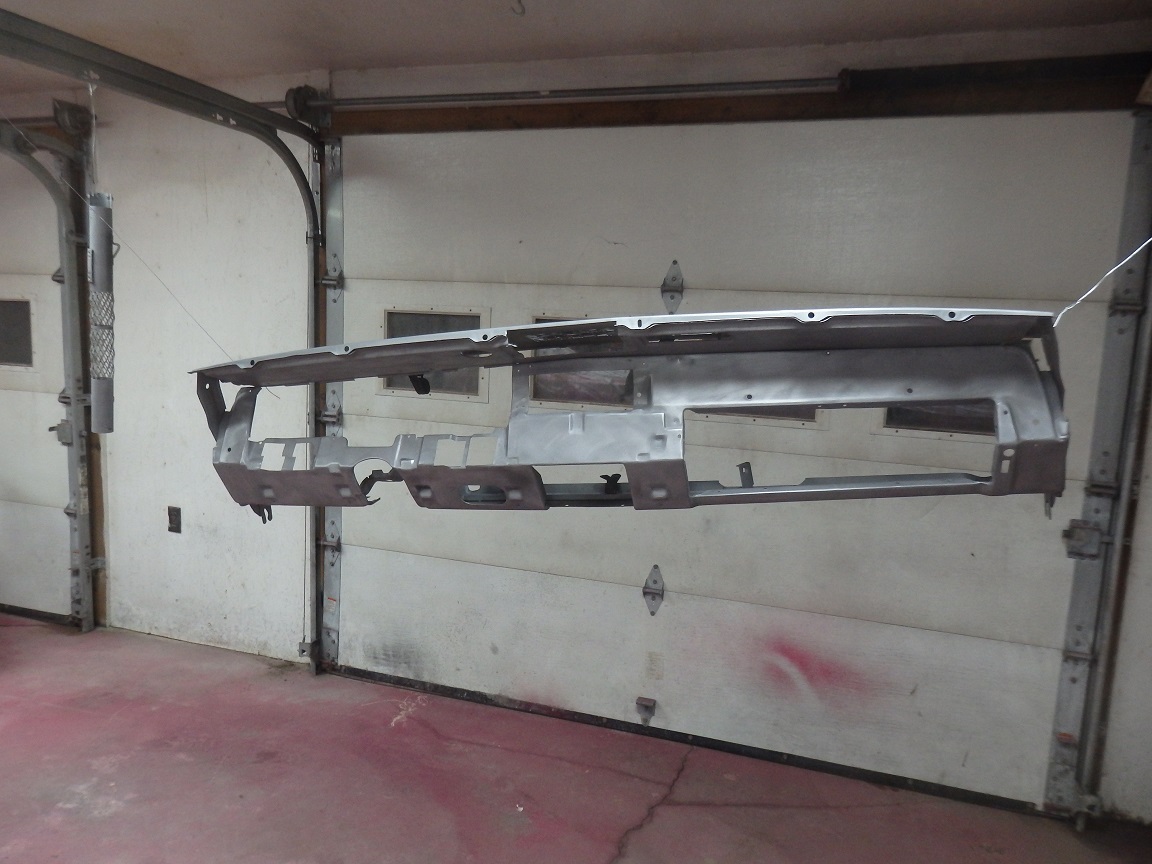
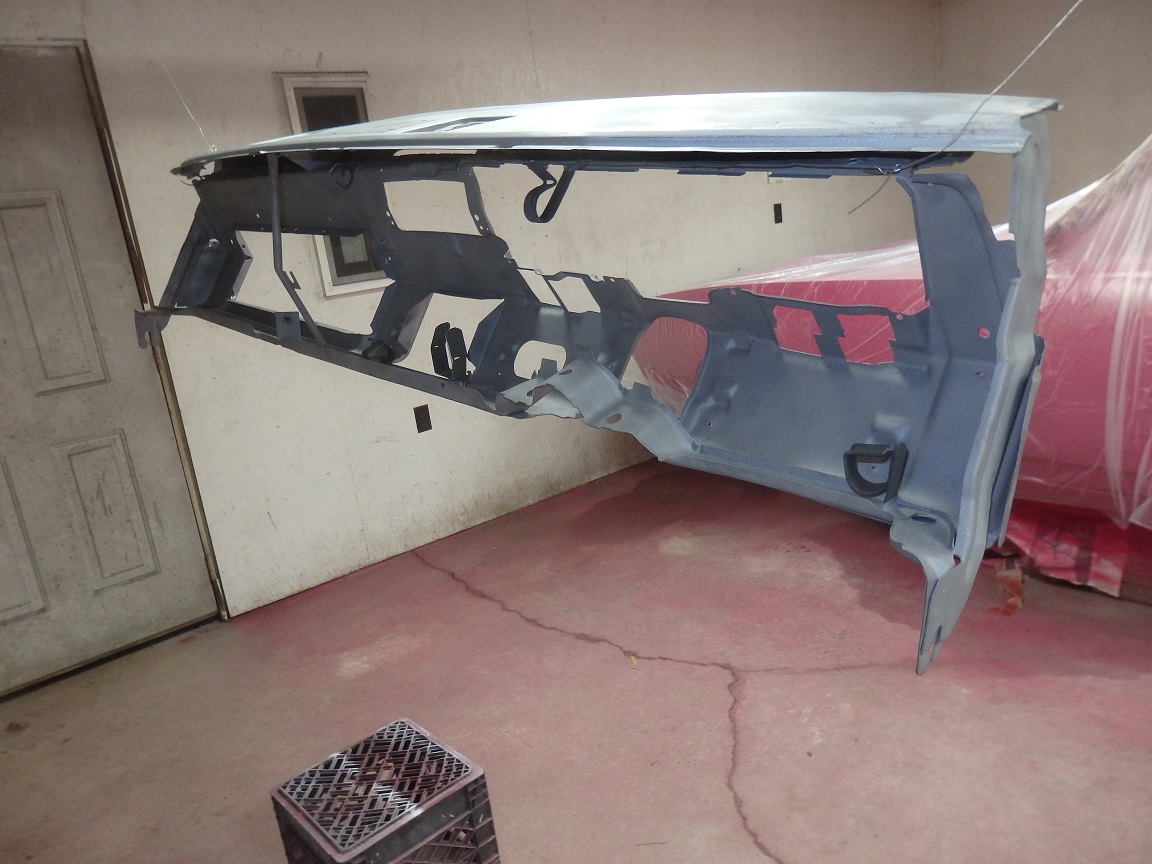
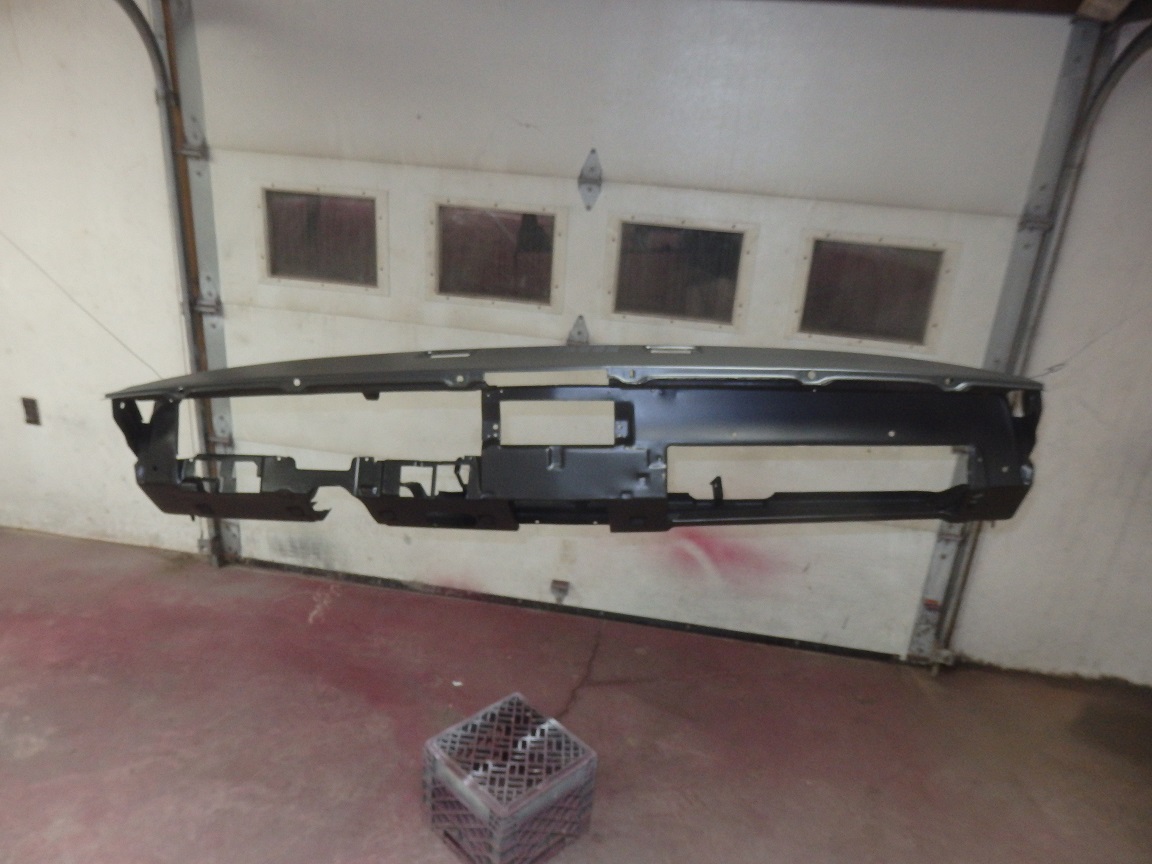
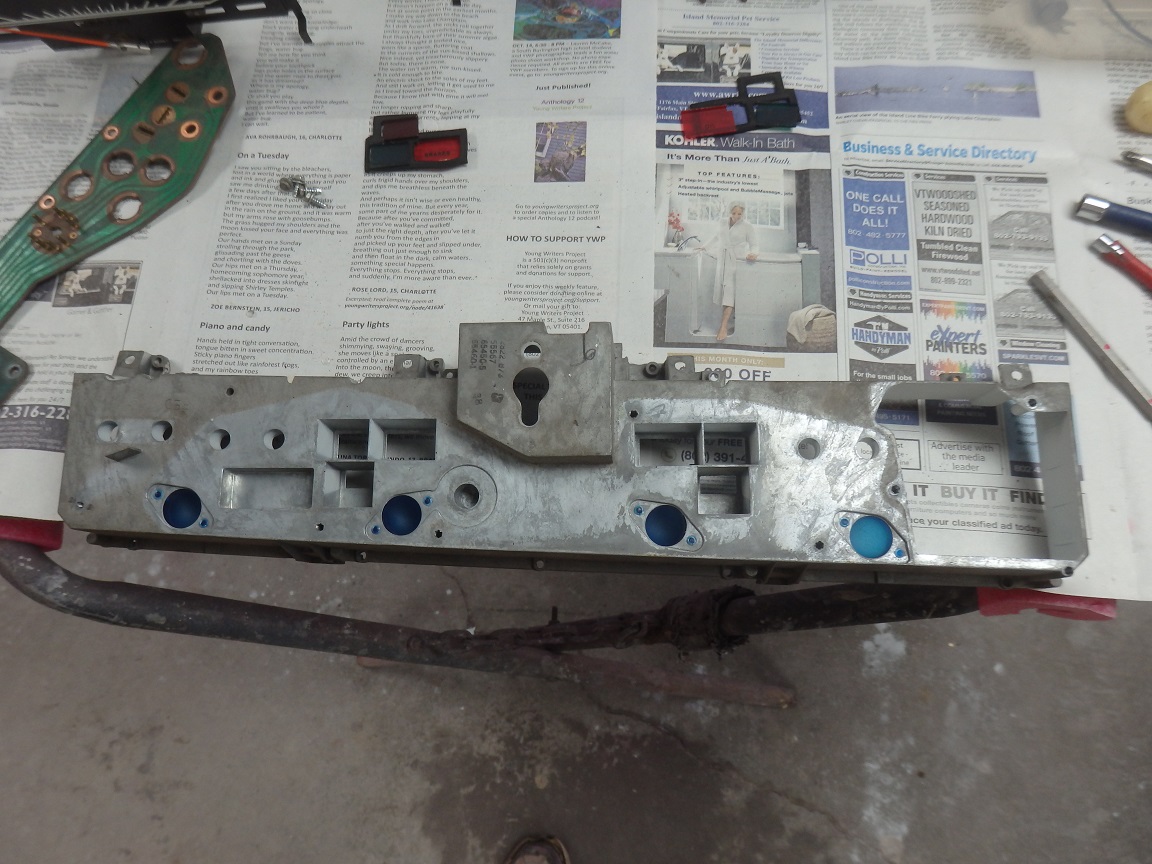
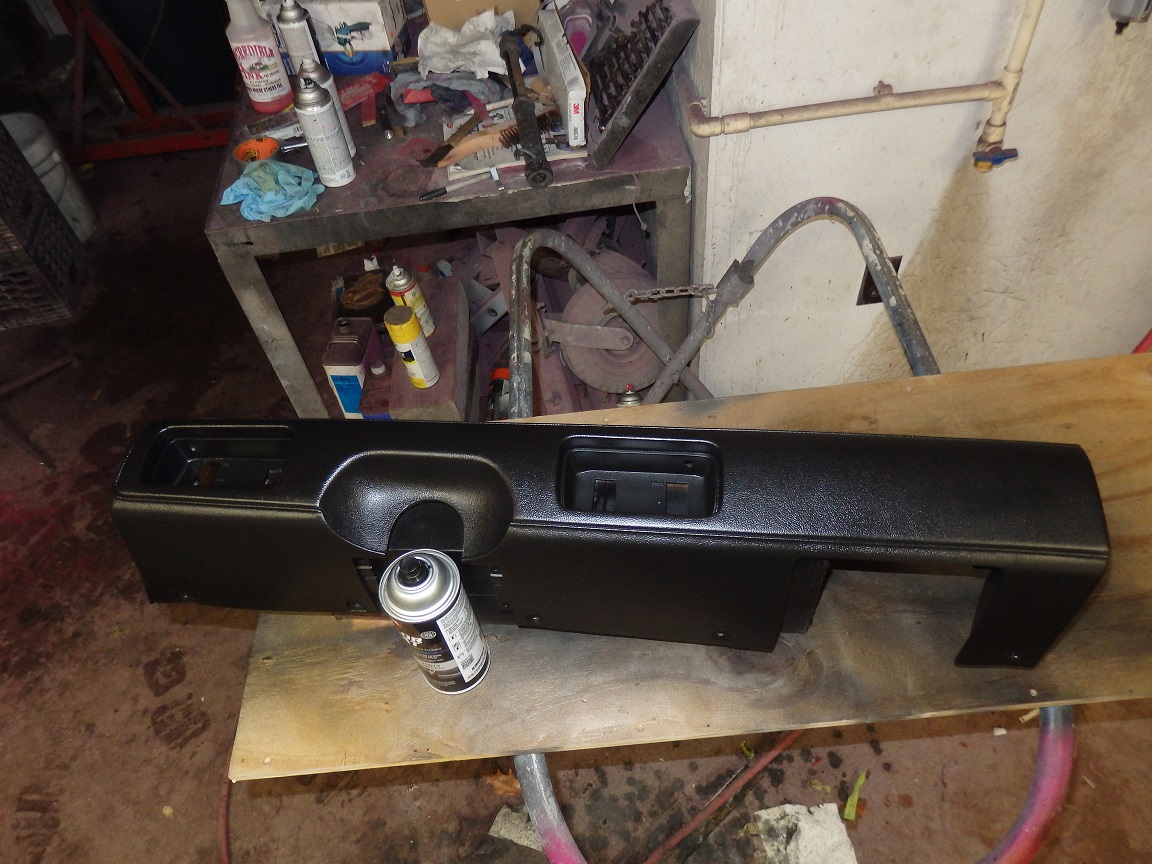
I had the dash sandblasted and then hit it with an orbital sander when I got it back. Minor dents showed up after sanding, which were easily repaired. Once repaired I primed the dash with DP90LF epoexy primer and then painted it
with the correct suebe black lacquer which I bought from Instrument Specialties. It wasn't cheap as the additives are not made any more. |
|
|
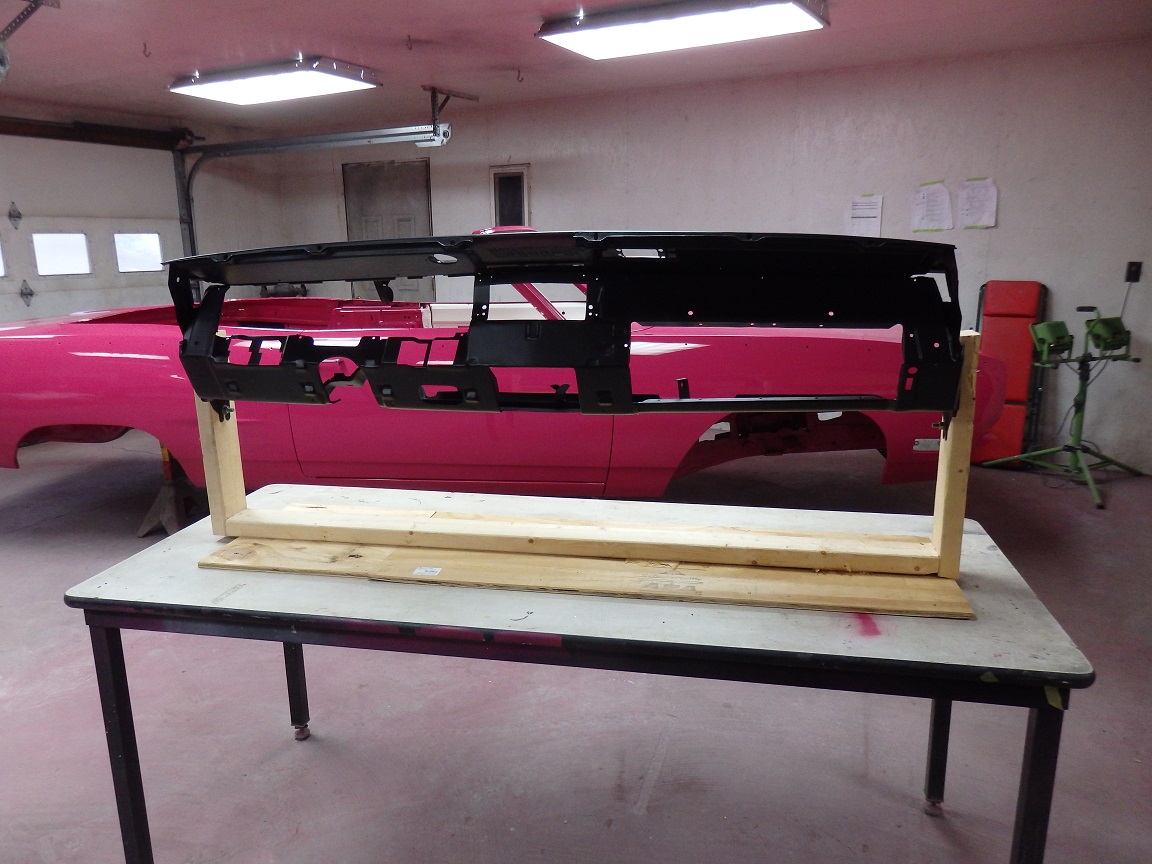
I built an assembly stand for the dash. The dash frame is was only bolted to the stand with 2 bolts with big washes at the bottom where it mounts at the lower A-pillars. |
|
|
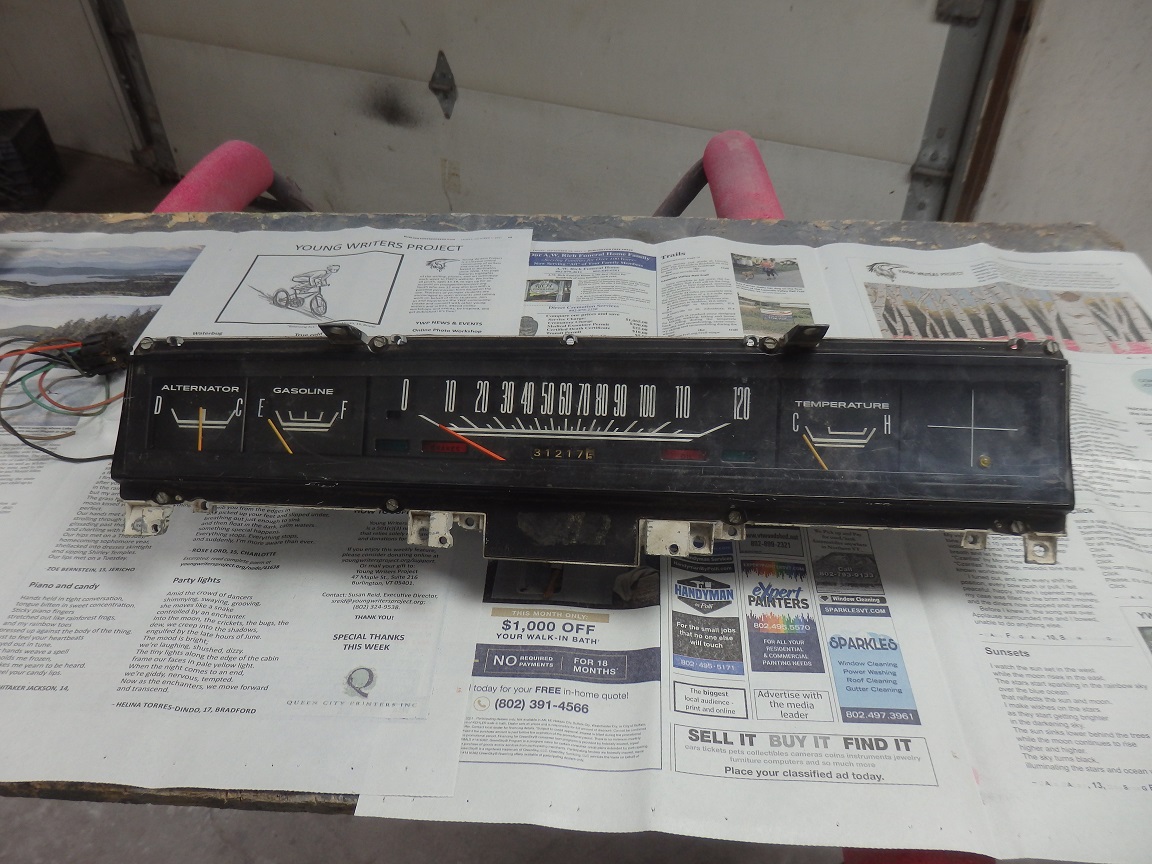
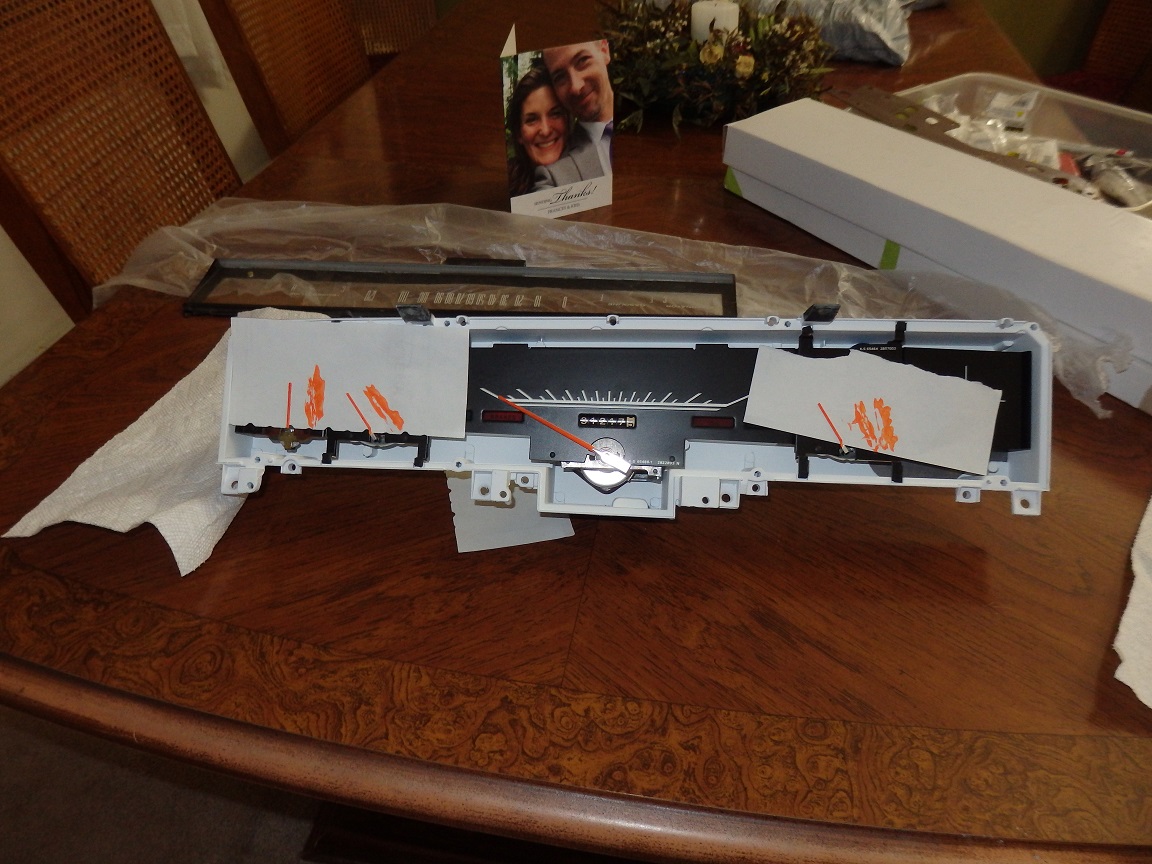
This series of pictures show the restoration of the instrument cluster. As it turns out this was not the original cluster for the car. It was from a 1969. So I have no idea what the real milage of the car is except for the
what is written in the registration paperwork for the car. The c;uster comes a part pretty easy. 8 hex screws in the front, 3 hex screws in the back and 6 nuts in the back. |

|
|
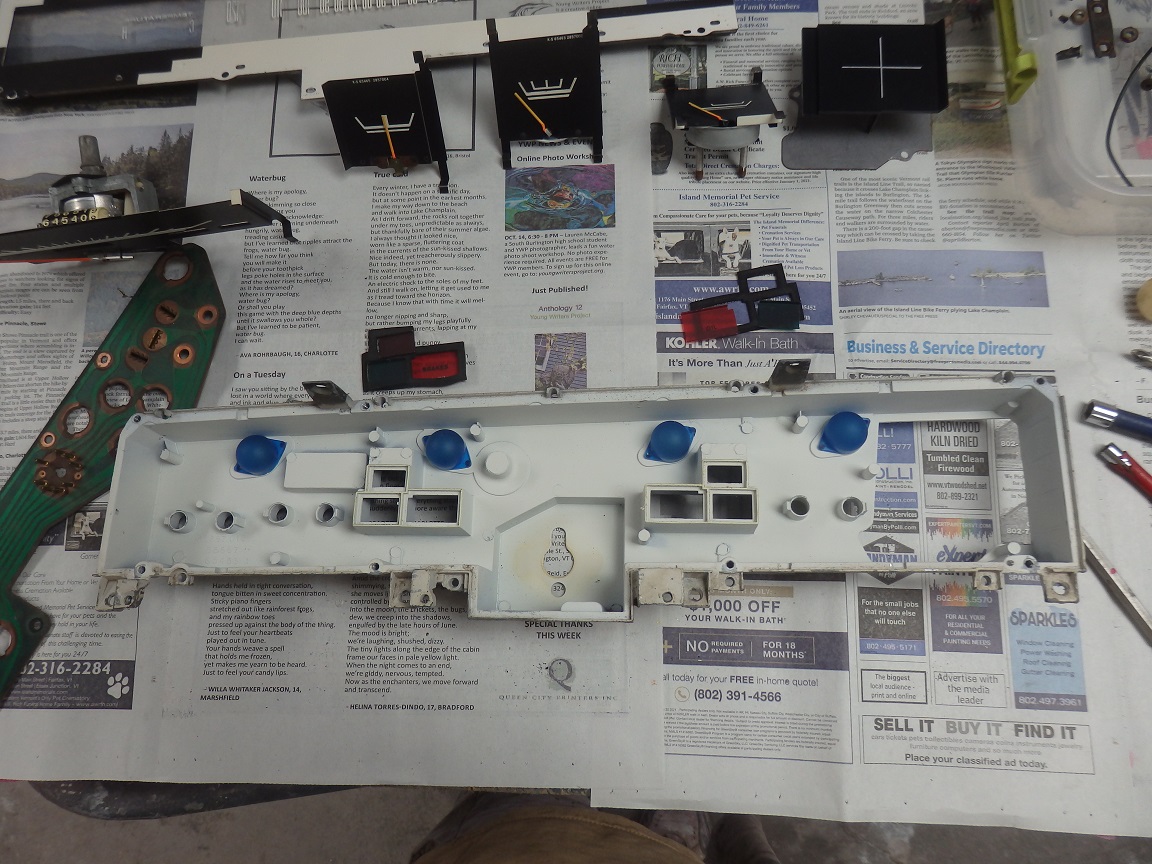
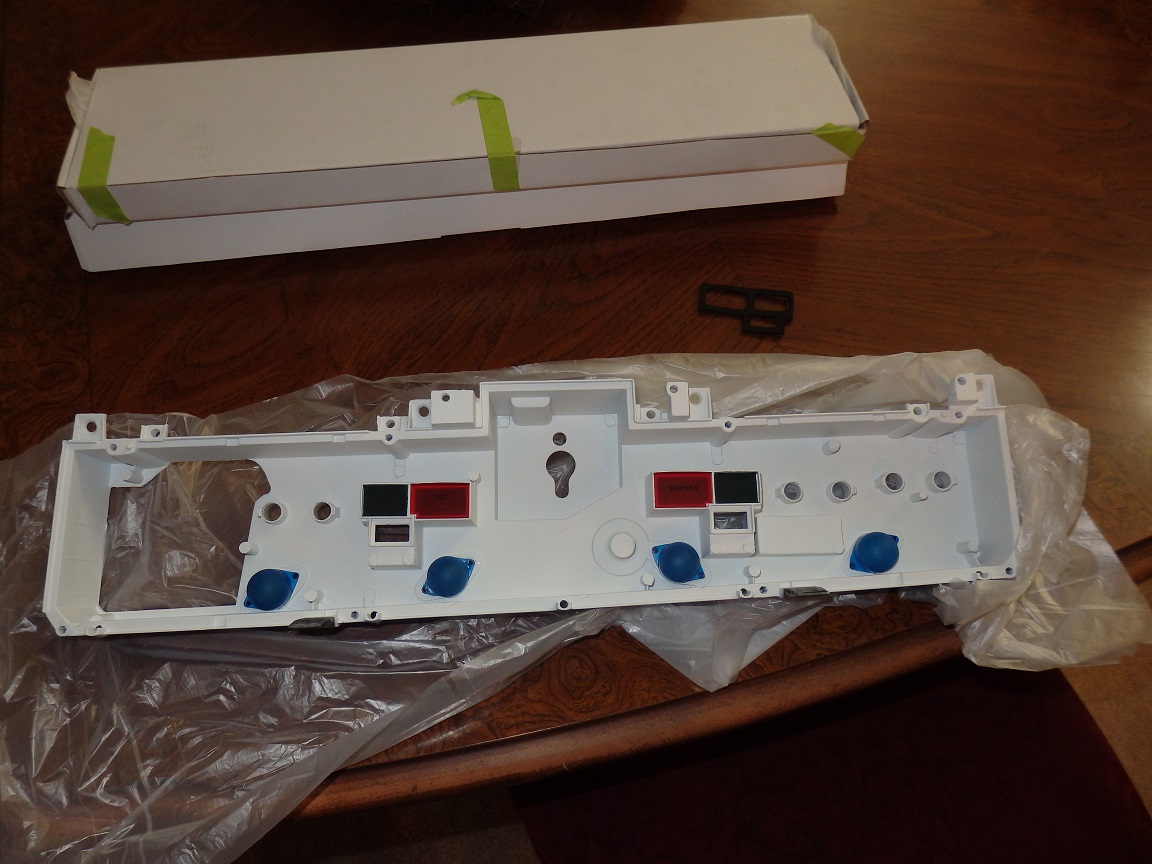
I masked around the blue bulb covers and painted the inside Rustoleum flat white. I replaced the red and green lenses with a kit I bought from Classic Industries. You have to be careful as they mixed up the part numbers in the catalog
with the rally version. Some of the guage needles were faded, so I touched them up. |
|
|
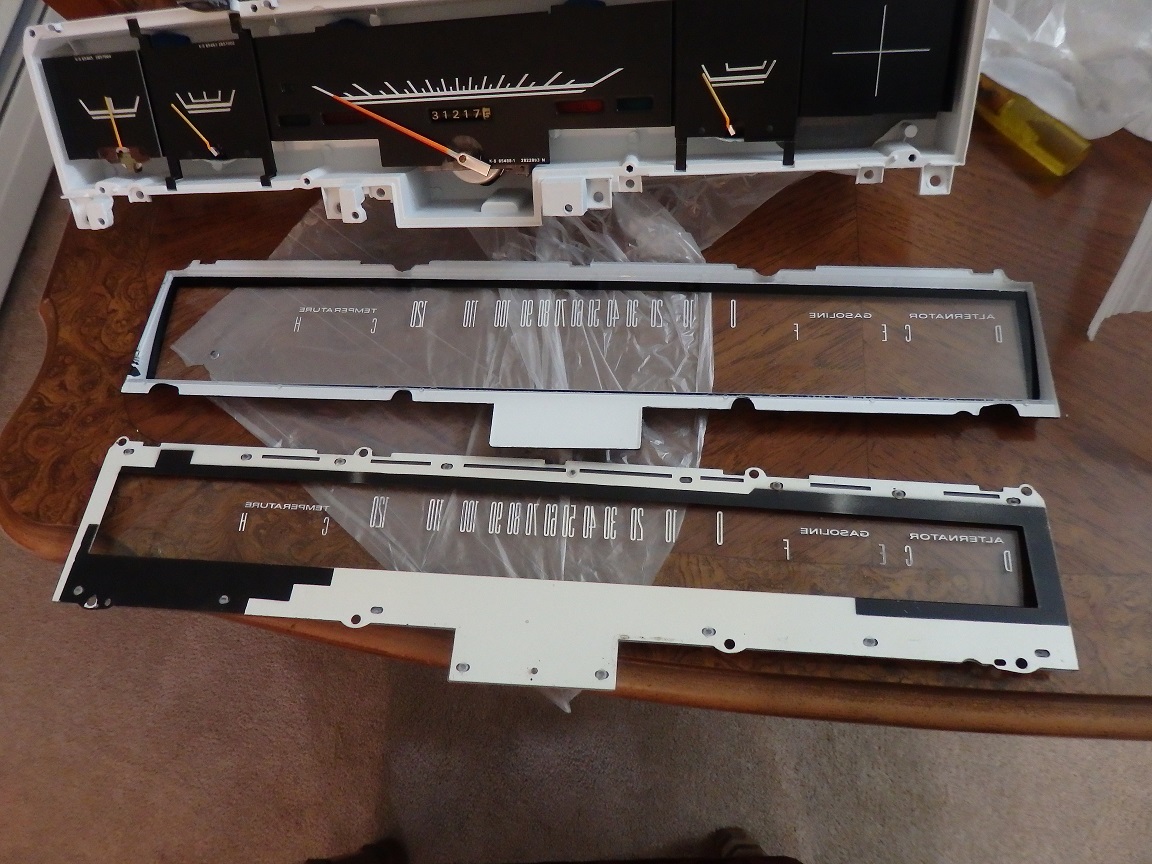
The lettering on the repo cluster lenses look pretty close to the originals, but they do not attach to the cluster housing like the originals. On 1969 clusters there is a chrome bezel that holds them in, but on 1970 you have to
rely on the dash trim pieces to hold the repo lens in place. |

|
|
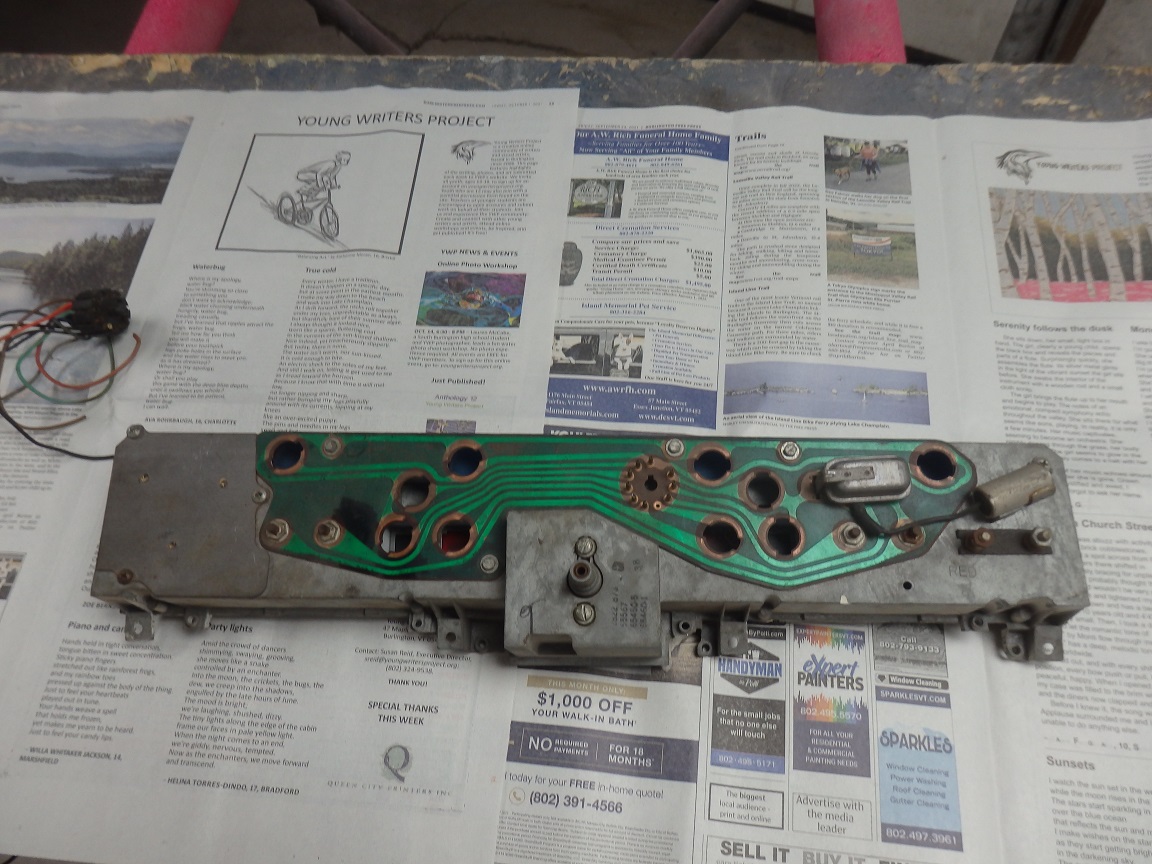
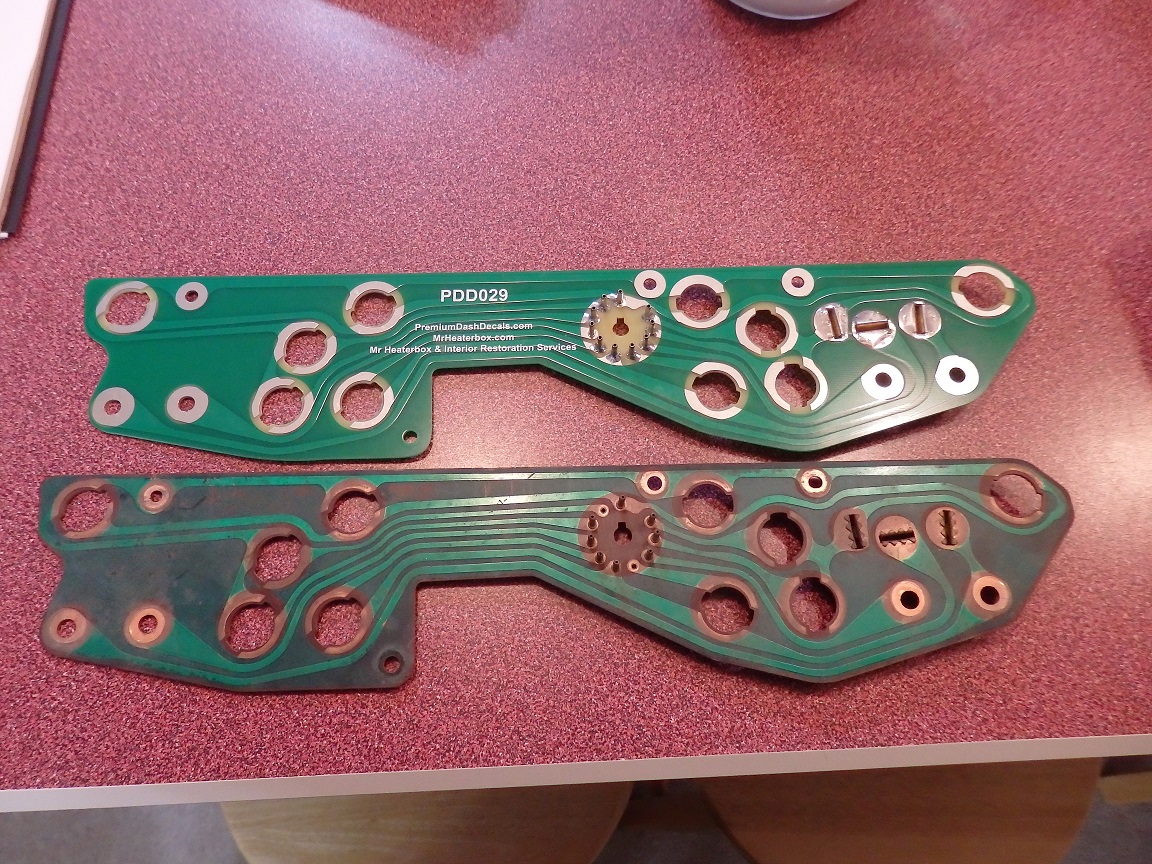
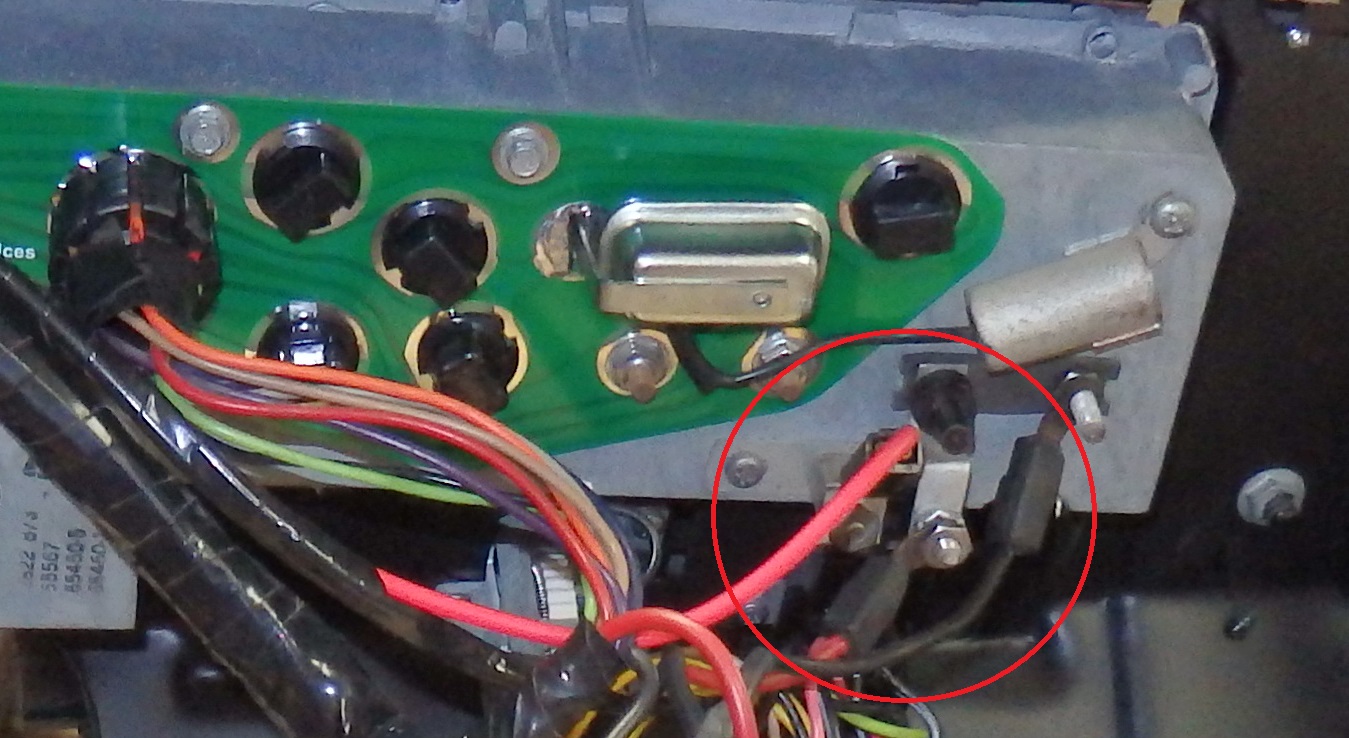
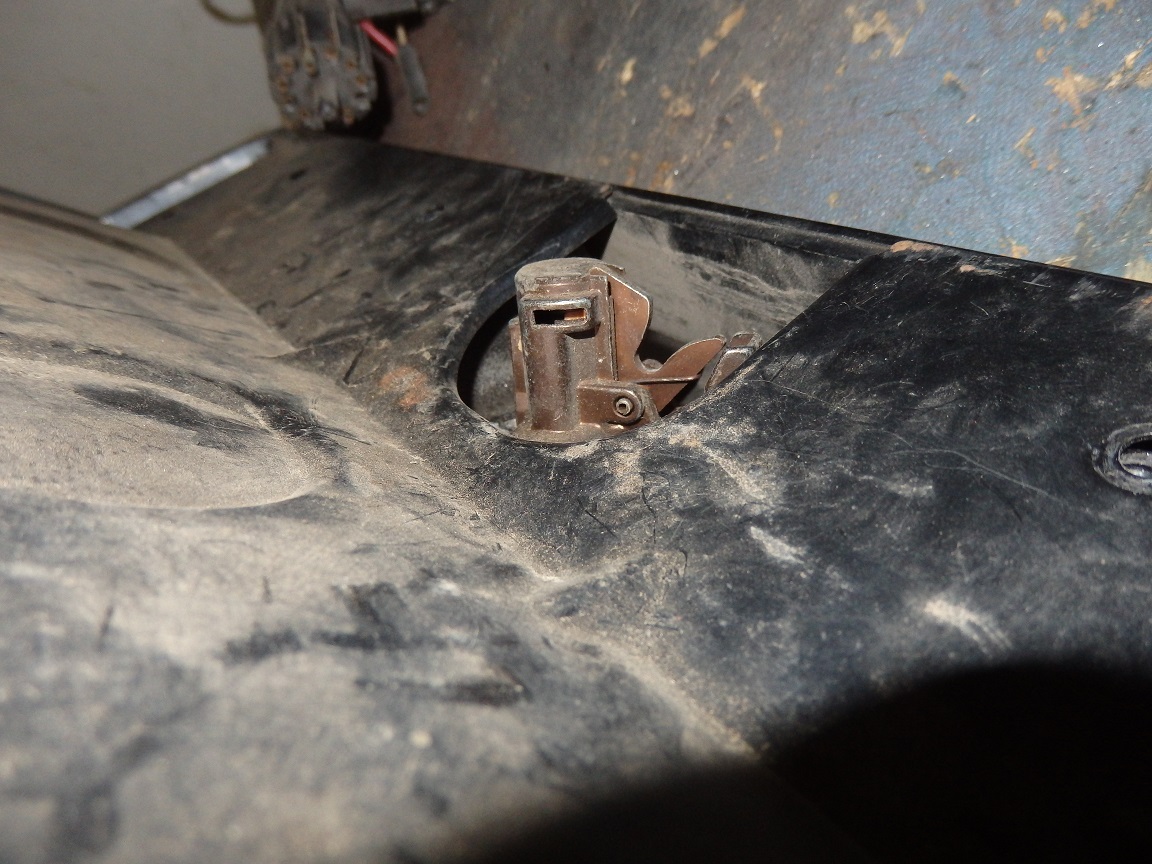
A couple pins were broken off the PCB. I ad a couple parts clusters, but they had the same issue. So in the end I used a repo PCB. Not identical to the original, but fits good just the same. The picture on the right shows the proper wiring and mounting for the convertible top relay. |
|
|
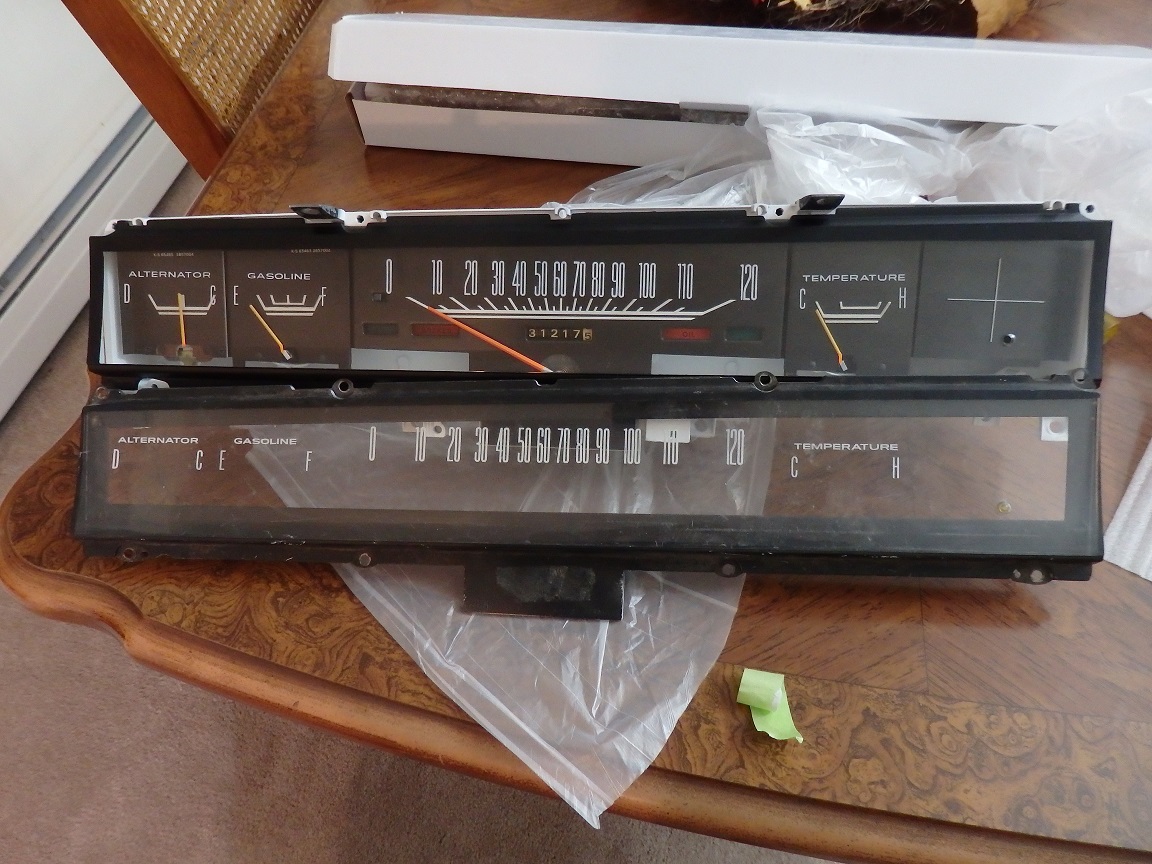
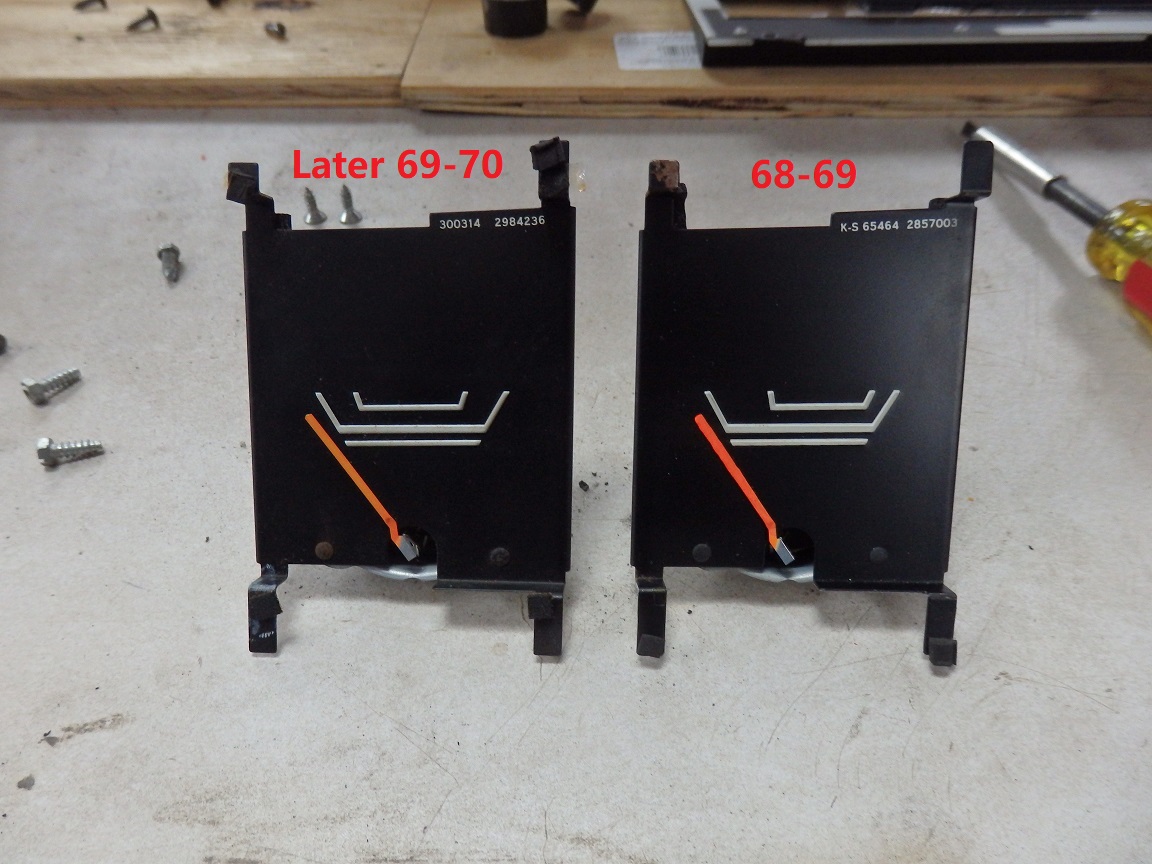
So after I had the dash all back together I was suprised to learn through the David Wise books that I had the wrong temperature gauge installed. Chrysler changed the gauges in late 1969. The difference is in the top line.
It took me a while to locate a used cluster with the correct gauge in it. |

|
|
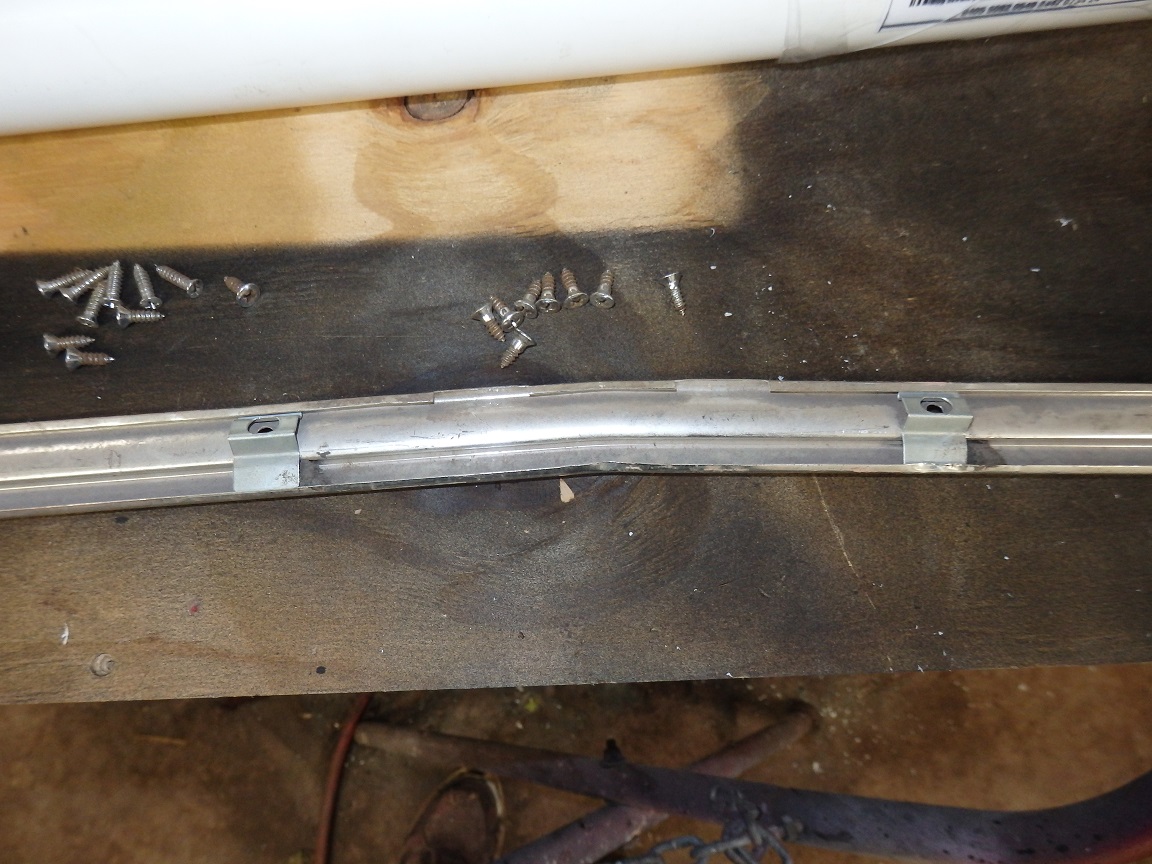
Here's a few items of interest...The first picture is of the original AM center dash speaker. The second picture is the original glove box lock. The lock body has a brown chromate finish. NOS replacements and repos are black. The last picture is of the dash upper trim with its standoff clips installed along with the special shoulder screws to install it with. |
|
|
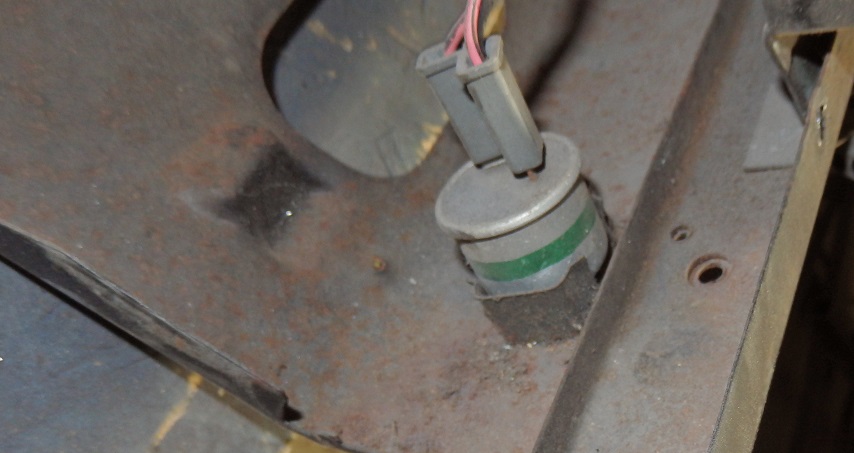
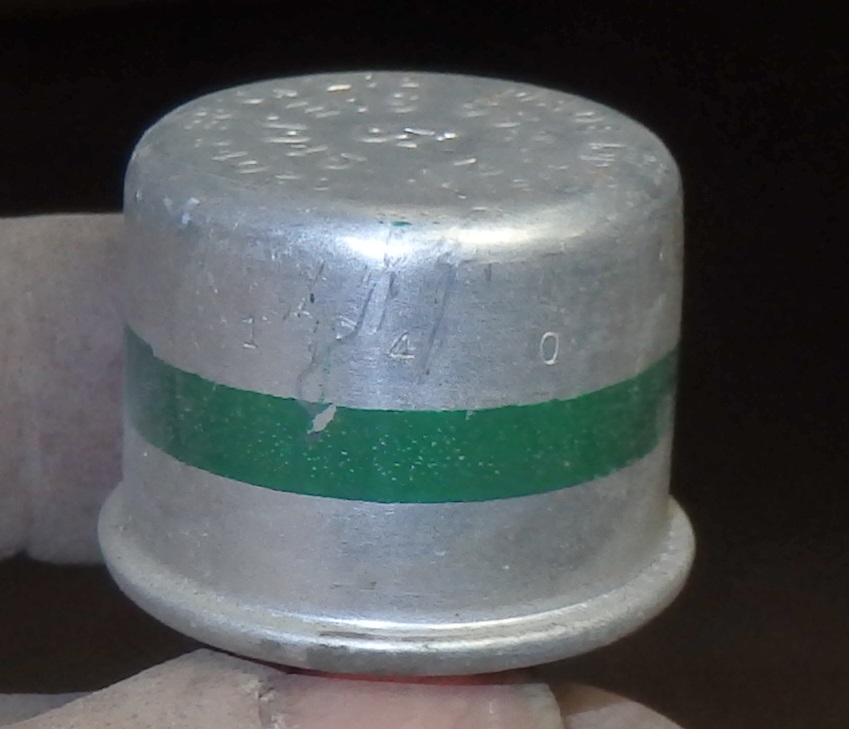
Continuing on, here is the original fourway flasher. It has a date code of 1 4 0, or January 4,1970. |


|
|
The pink relay is the key buzzer, the one in the middle is the horn relay and the one on the left is the convertible top relay which gets installed on the rear of the cluster. |

|
|
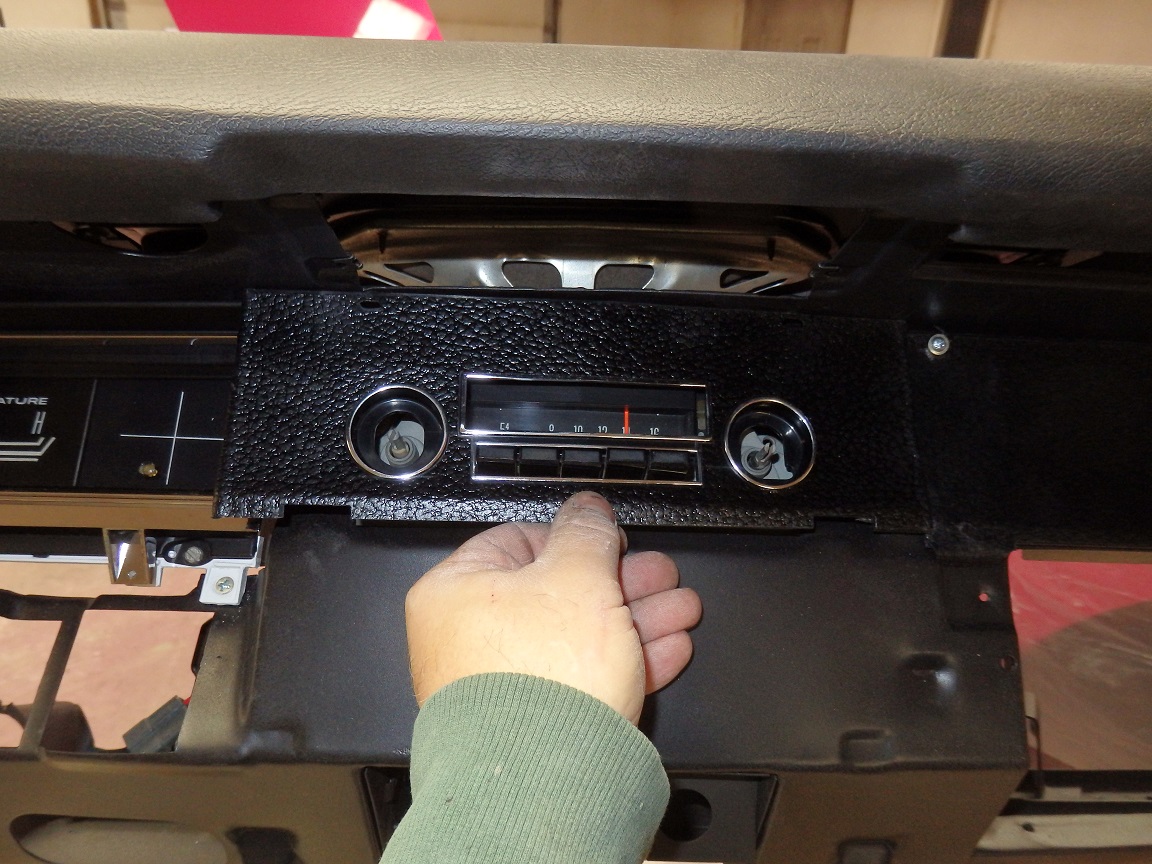
I was able to acquire an NOS radio bezel and NOS map light. Repo map light lenses are a lot whiter than this NOS one. |

|
|
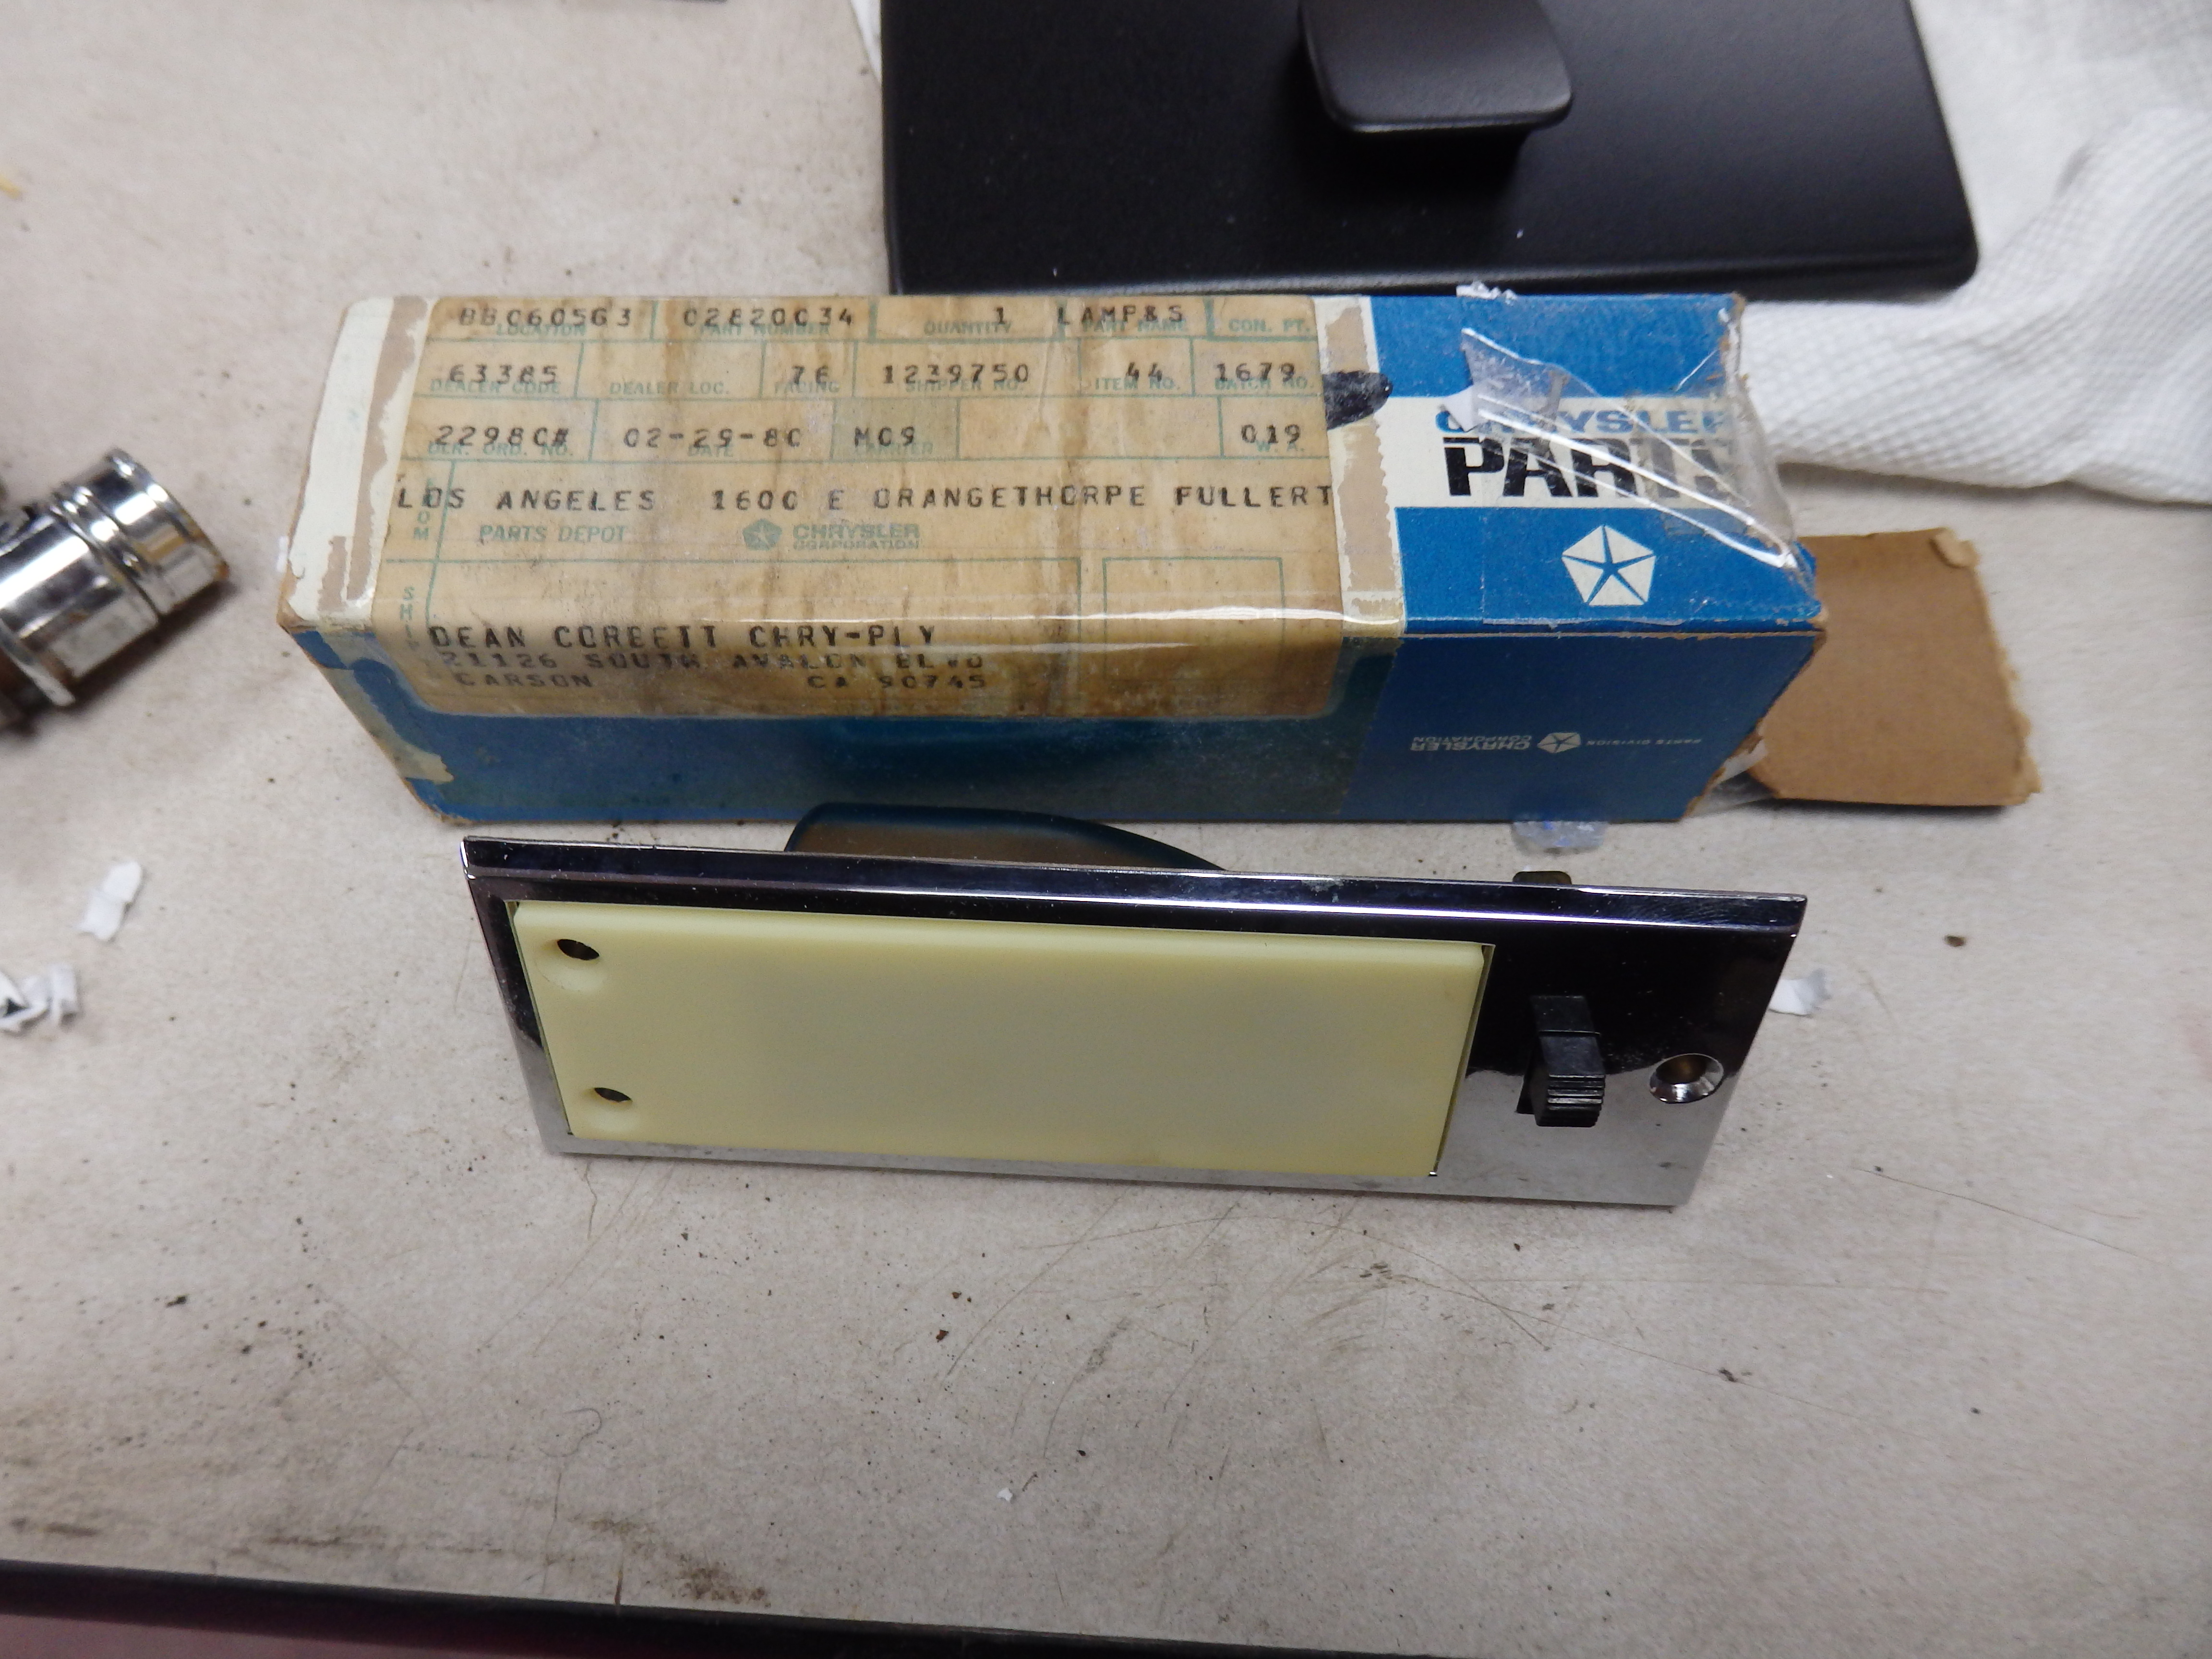
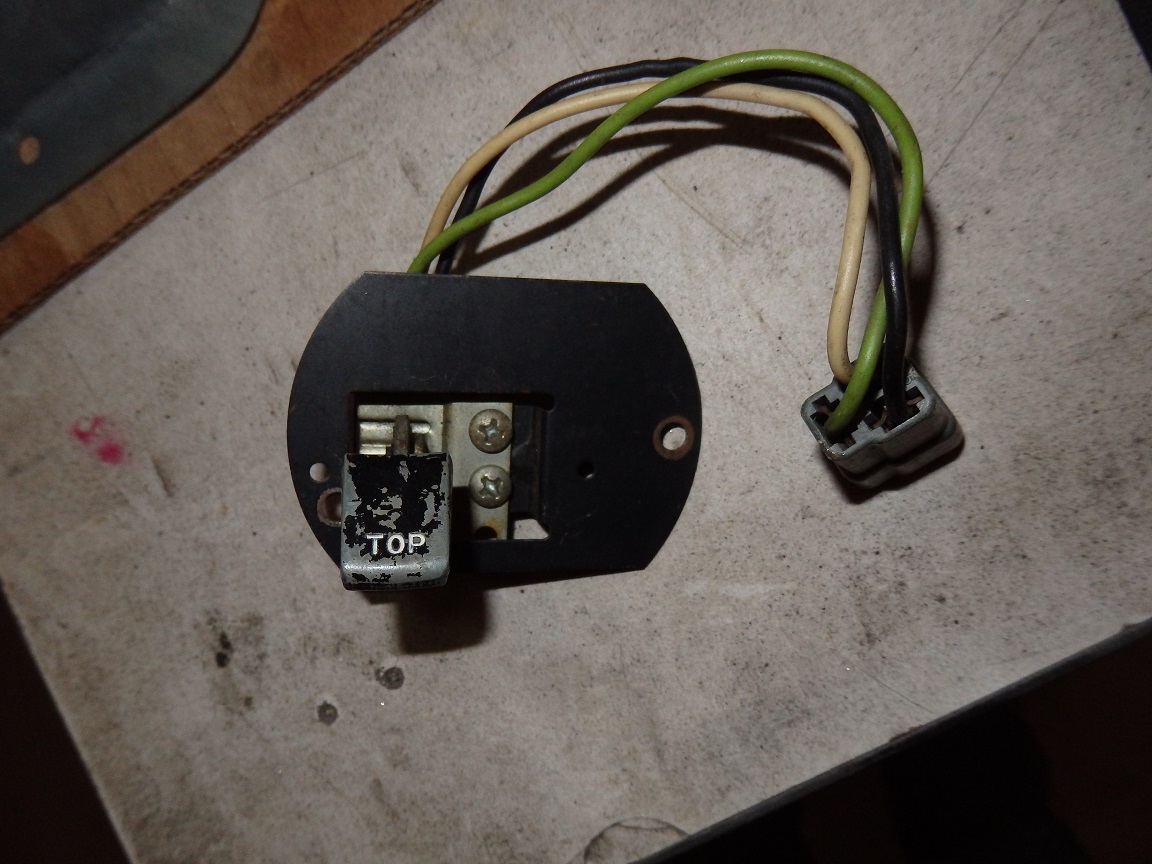
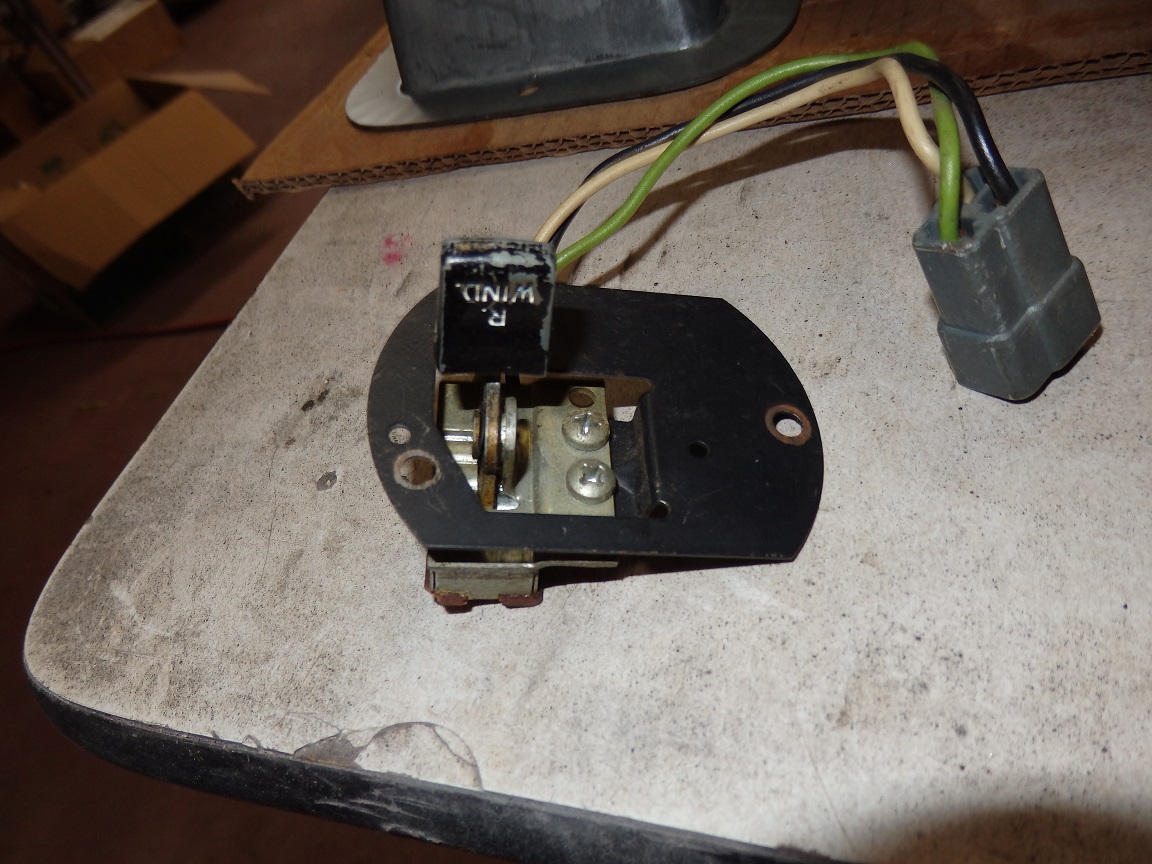
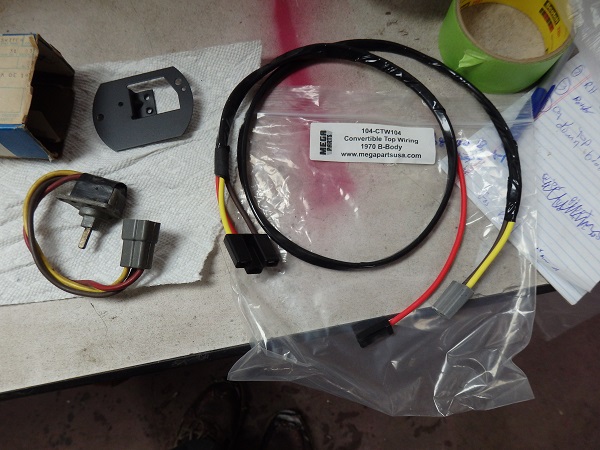
I was missing the original convertible top switch. It may be interesting for some people to know that the bracket and the knob are the same for station wagons with a power rear window. One sife of the knob says "P Wind" for the
power window. If you flip it over it reads "Top" for the convertible top. I bought this assembly on ebay. I bought an NOS switch from Tony's Moparts. The wiring harness is new repo. A word of warning. The harness for the switch
is a 1970 only part, though some vendors are selling the 69 version as a 69/70 part. |

|
|
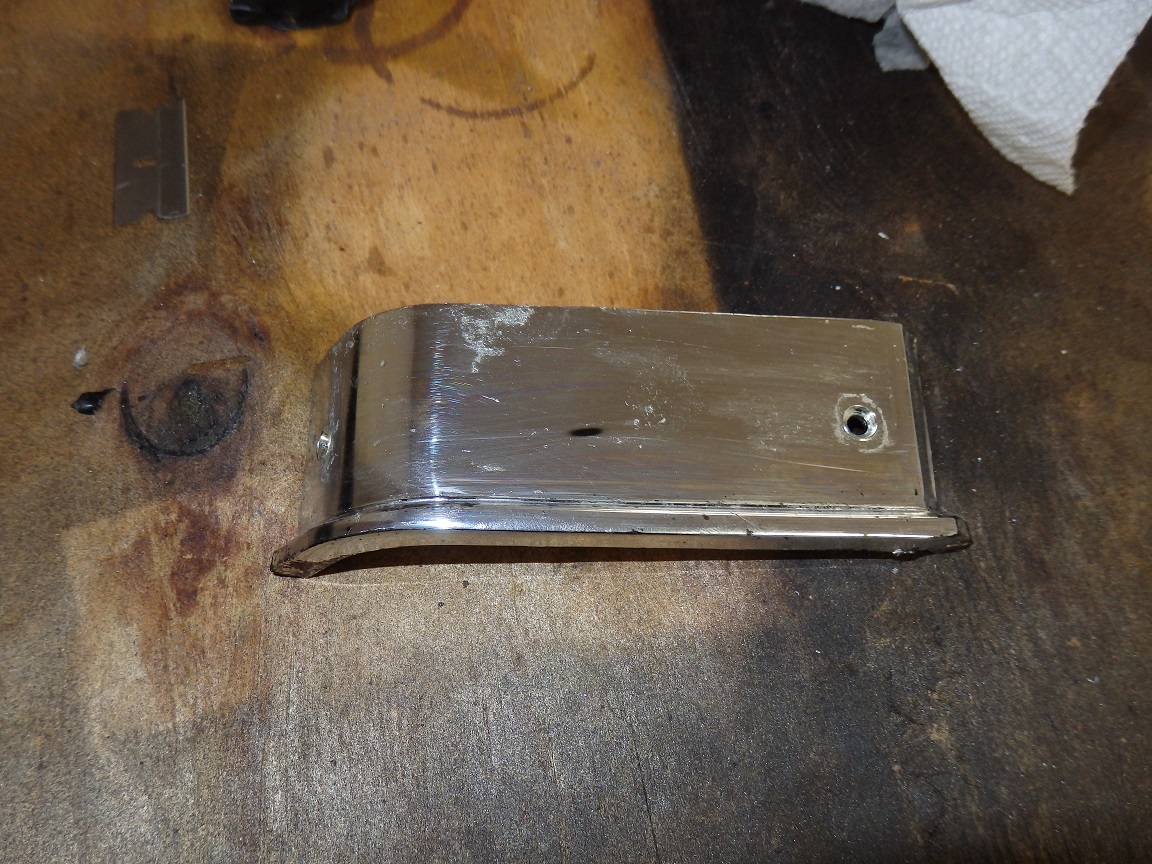
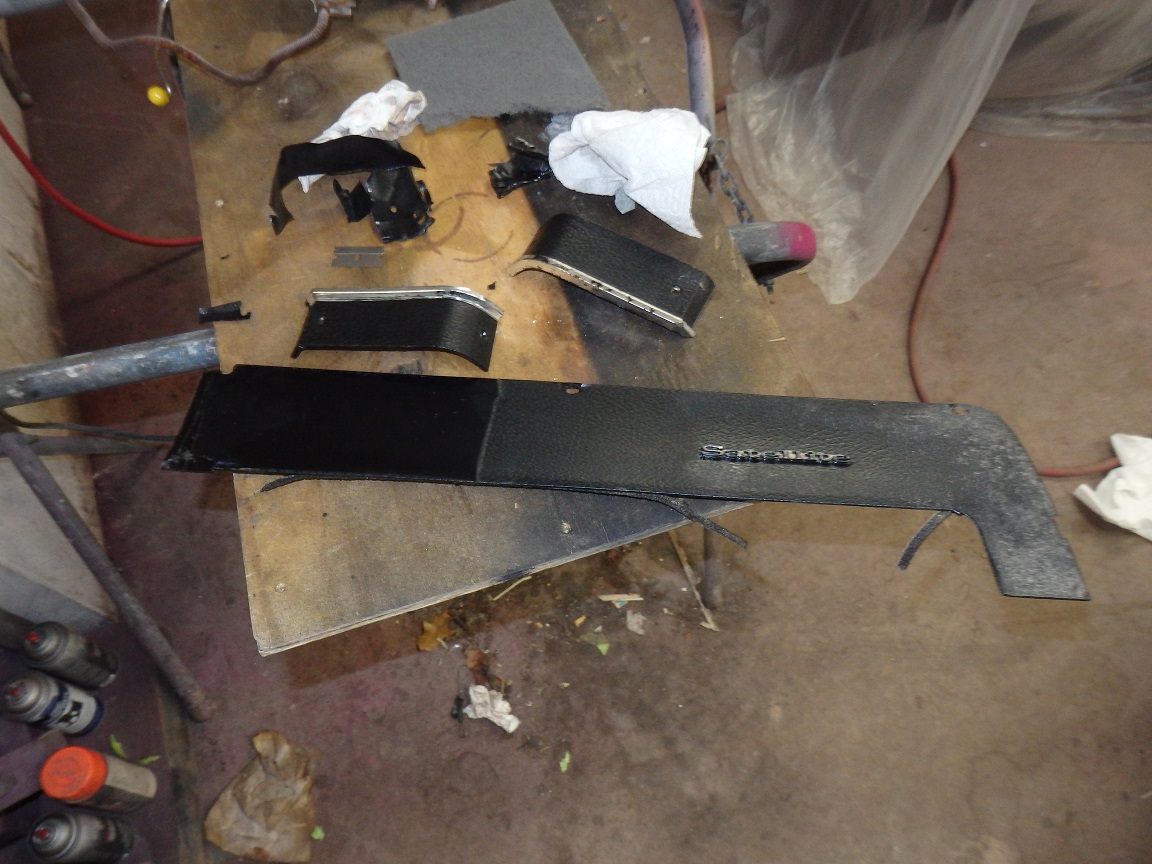
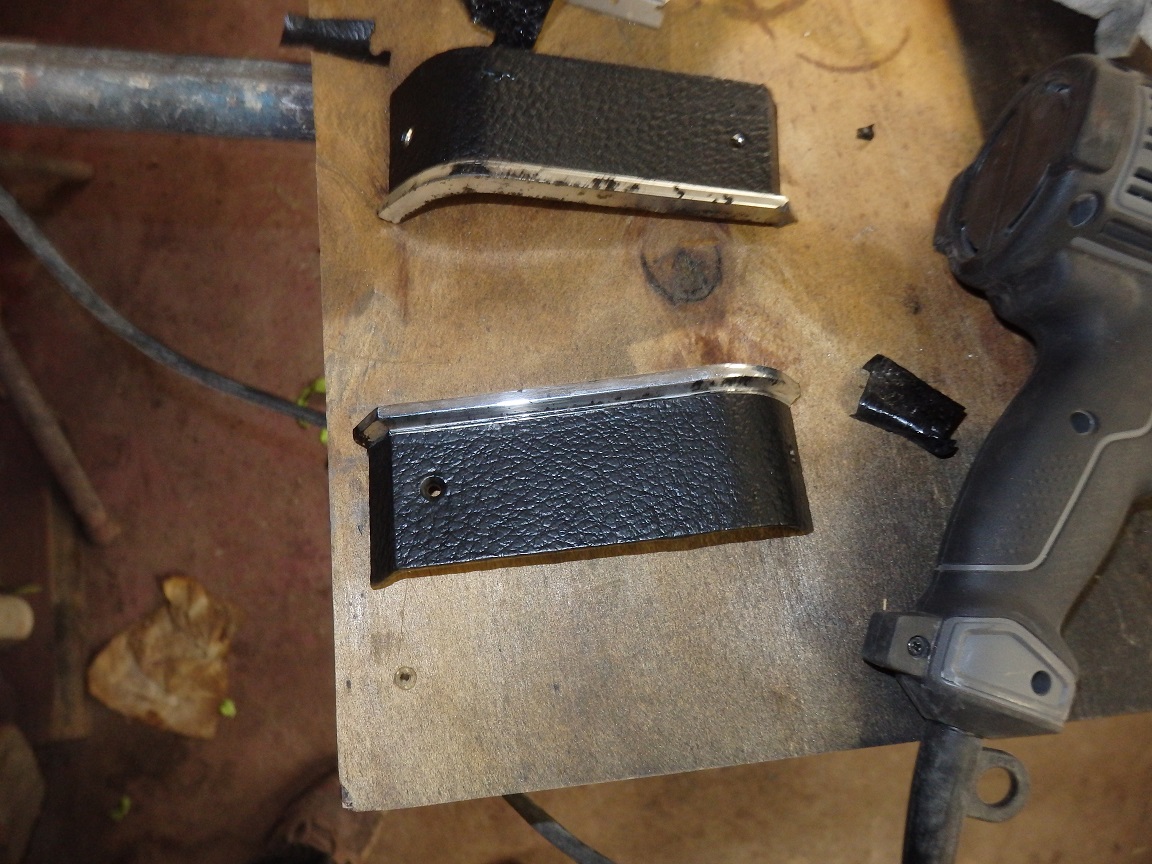
The end trim panels on standard dash cars are chromed plastic with a textured vinyl covering that usually doesn't survive. To fix the damaged vinyl I found I could heat vinyl up with a heat gun and peel it off old trim pieces. So I bought
a broken Satellite upper dash piece, removed a good section of the textured vinyl and applied it to an end piece. |


|
|
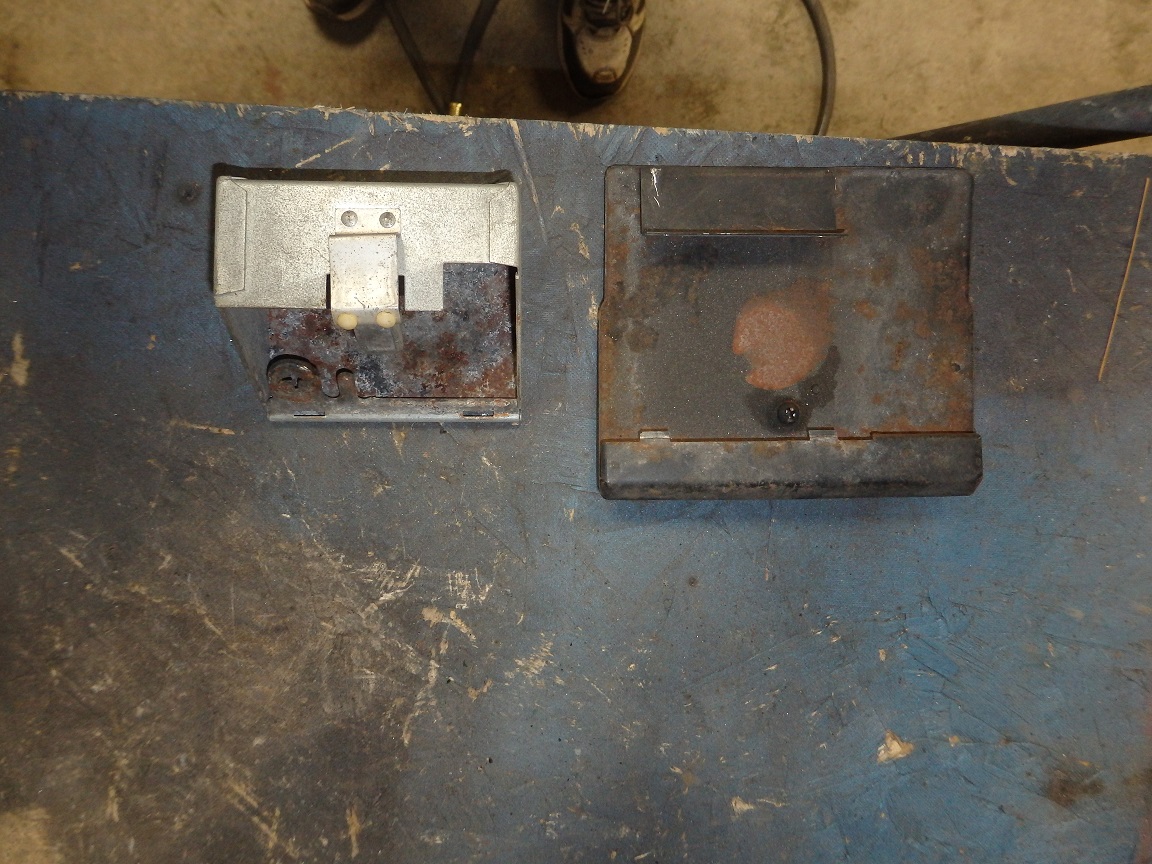
The original lower dash plastic panel was damged by someone who intentionally broke the switches out of it. I bought a used one off ebay that turned out to be a green one painted black with way too much paint to boot. So I stripped
the paint off using Easy-Off oven cleaner (works well on interior plastic parts) and painted it with SEM Landau Black 15013, which is a pretty good match to the original color and sheen. |
|
|
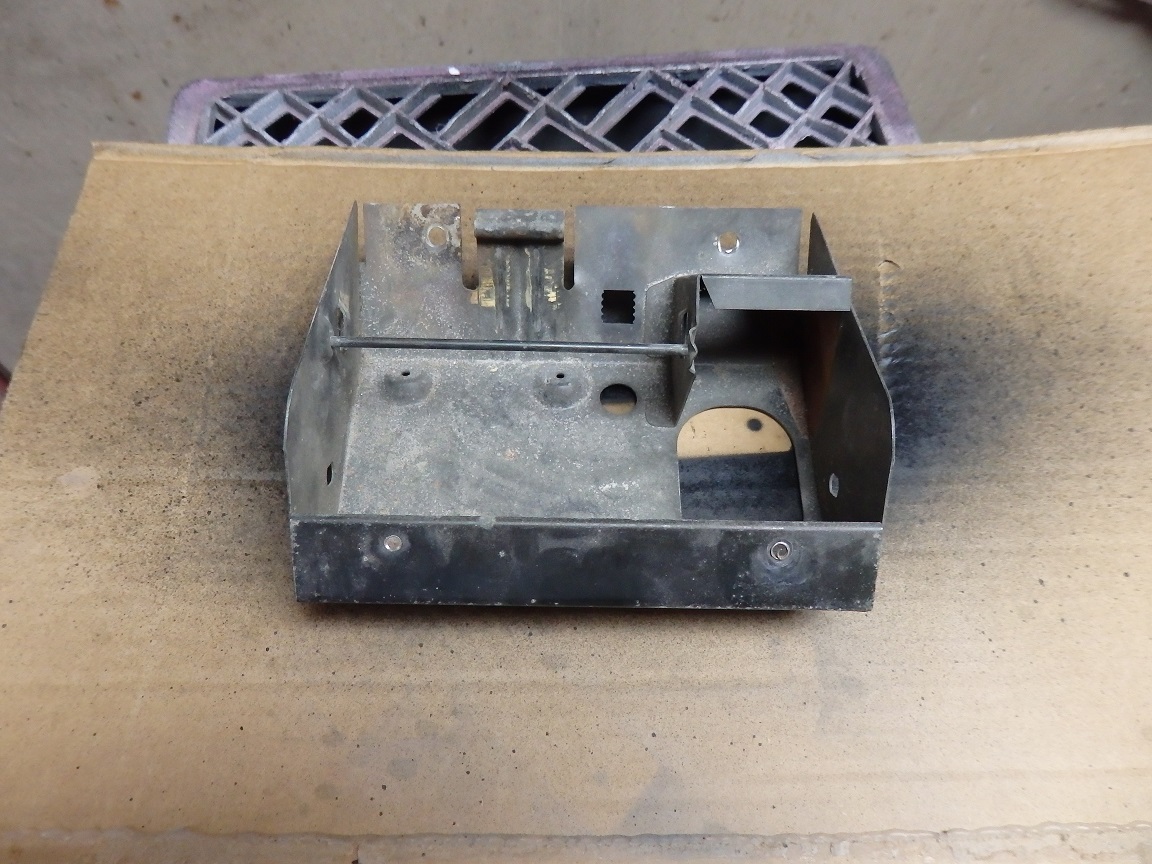
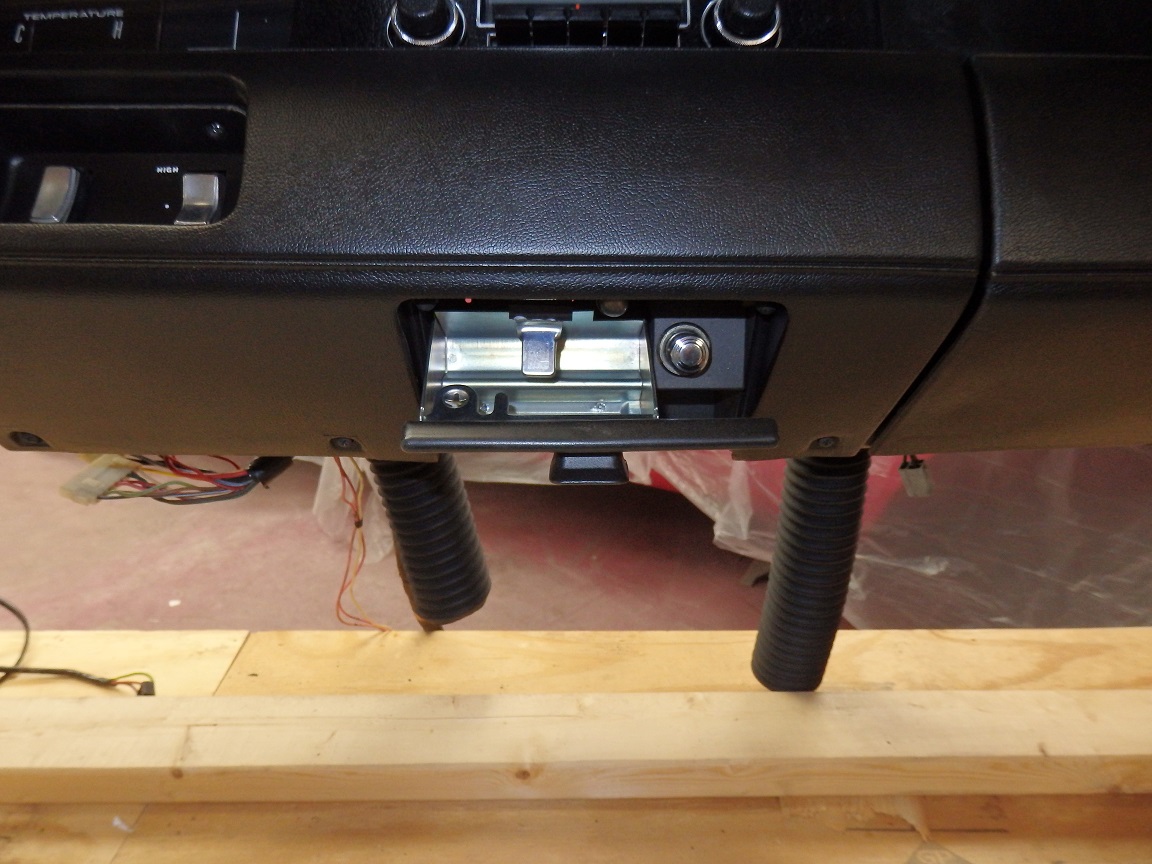
Some ash tray assemblies are all silver zinc inside and some are black zinc. Not sure of its a standard dash versus a rally dash ot something else, but for this car it was black zinc. The make an excellent repo ash tray. So I used one of those. It's just a matter of drilling out the rivets and installing the new ash tray by mushrooming over the new rivets that come with the ash tray. For the other items in the asssembly, I painted the door with the same suede paint as the dash. For the pocket I used Eastwood Zinc Phosphate paint. The element for the lighter is an NOS one. |

|
|
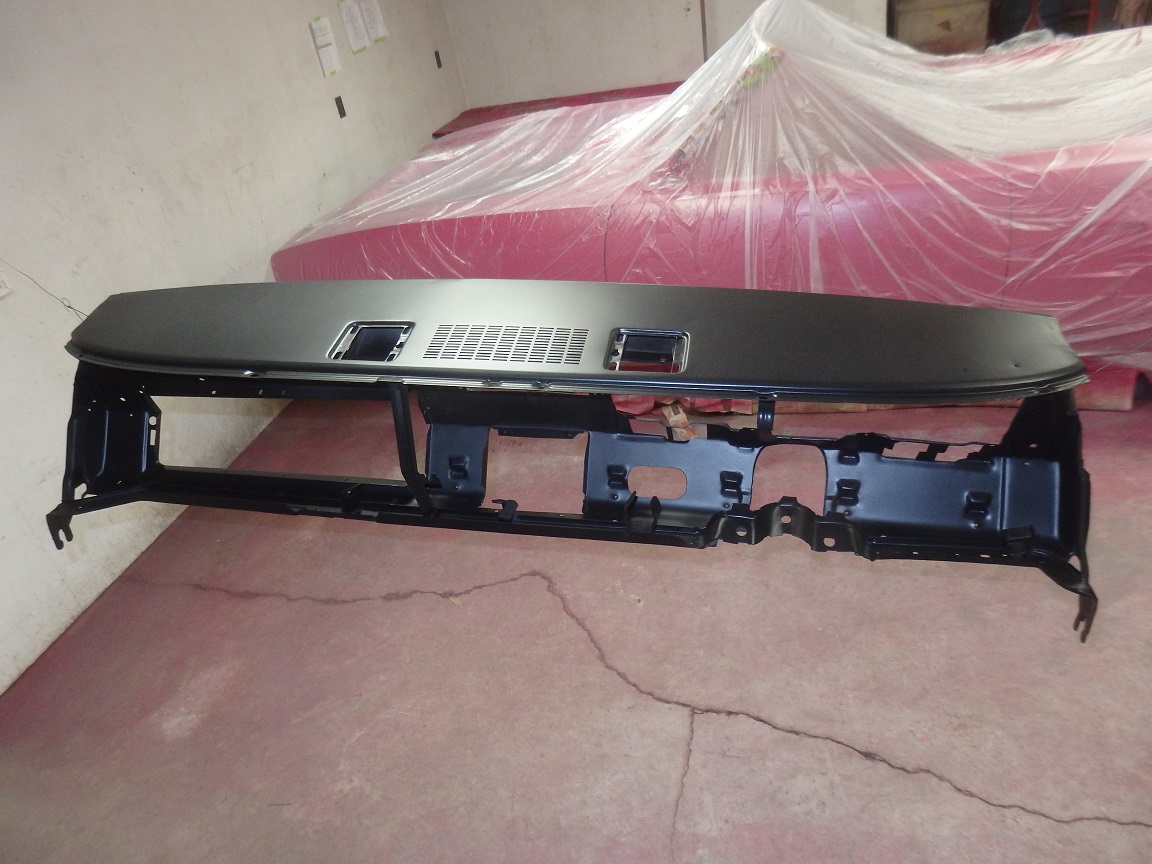
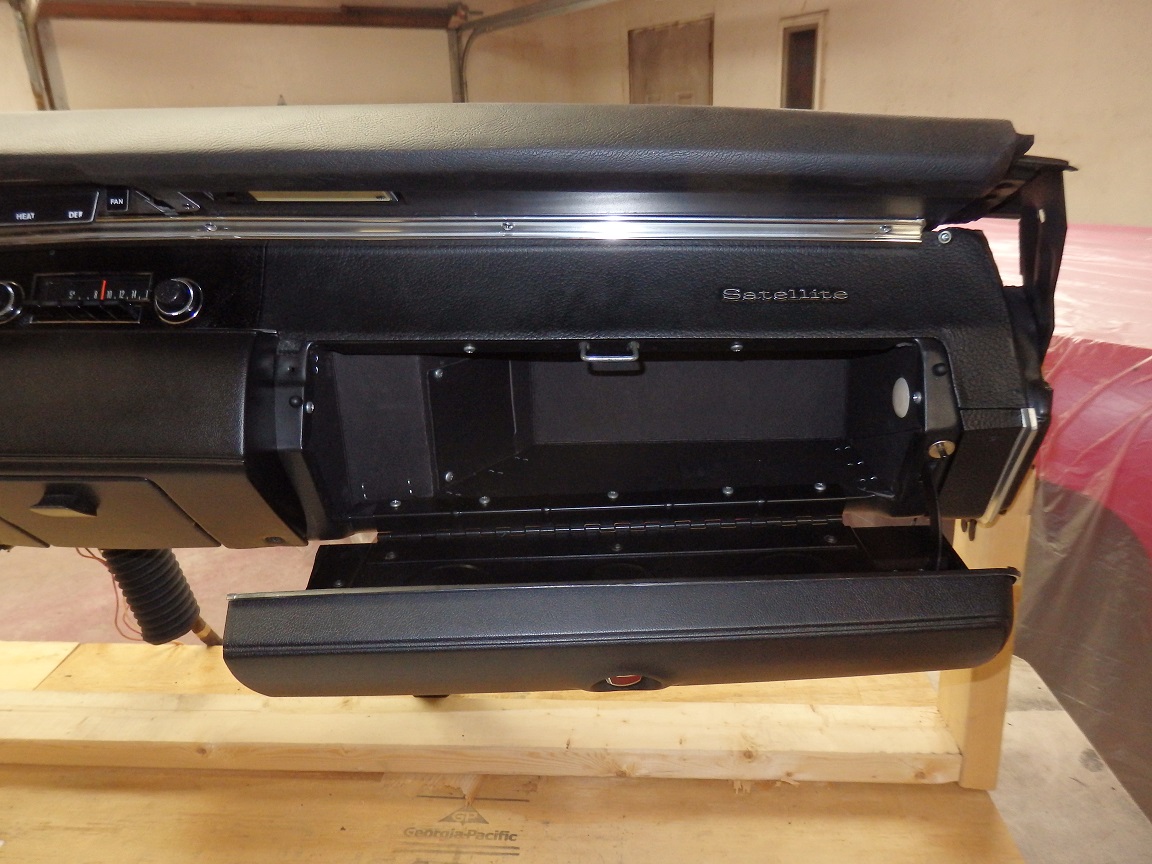
Here's the dash all done and ready to go into the car. Or at least I thought so until I realized I had the wrong temperature guage in it. The VIN tag was bare metal when I got the car. ECS Automotive makes a great transfer to restore VIN tags. All you have to do is paint the tag, wait several days so the paint fully cures, warm up the transfer with a hair dryer and apply it to the VIN tag. |
|
|
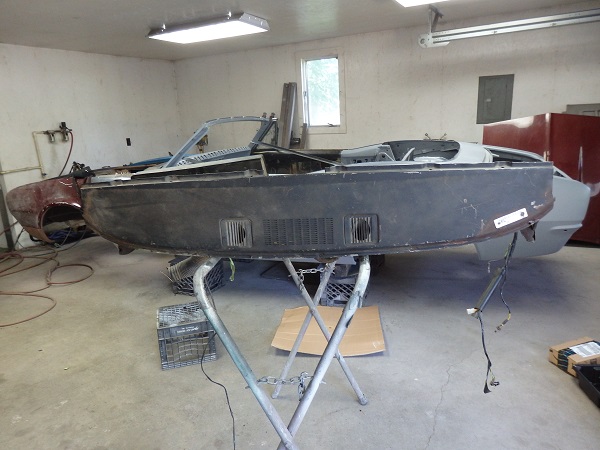
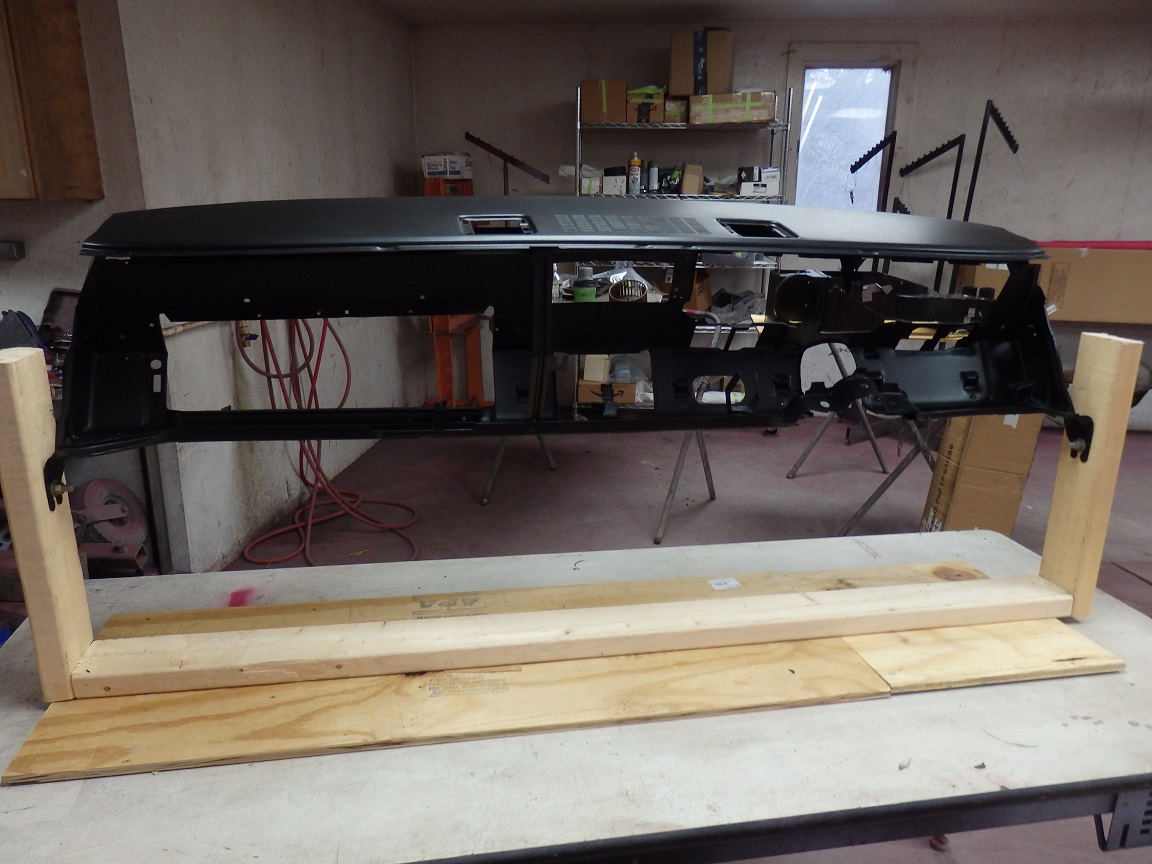
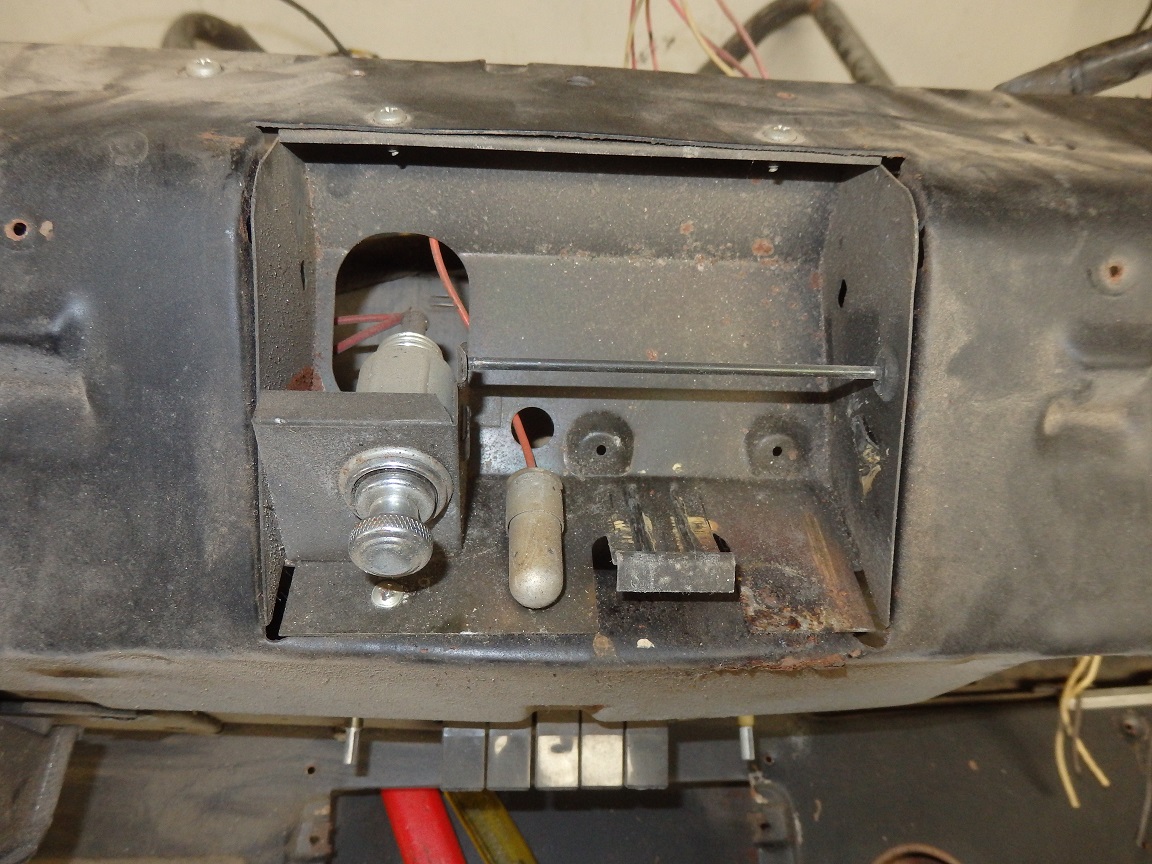
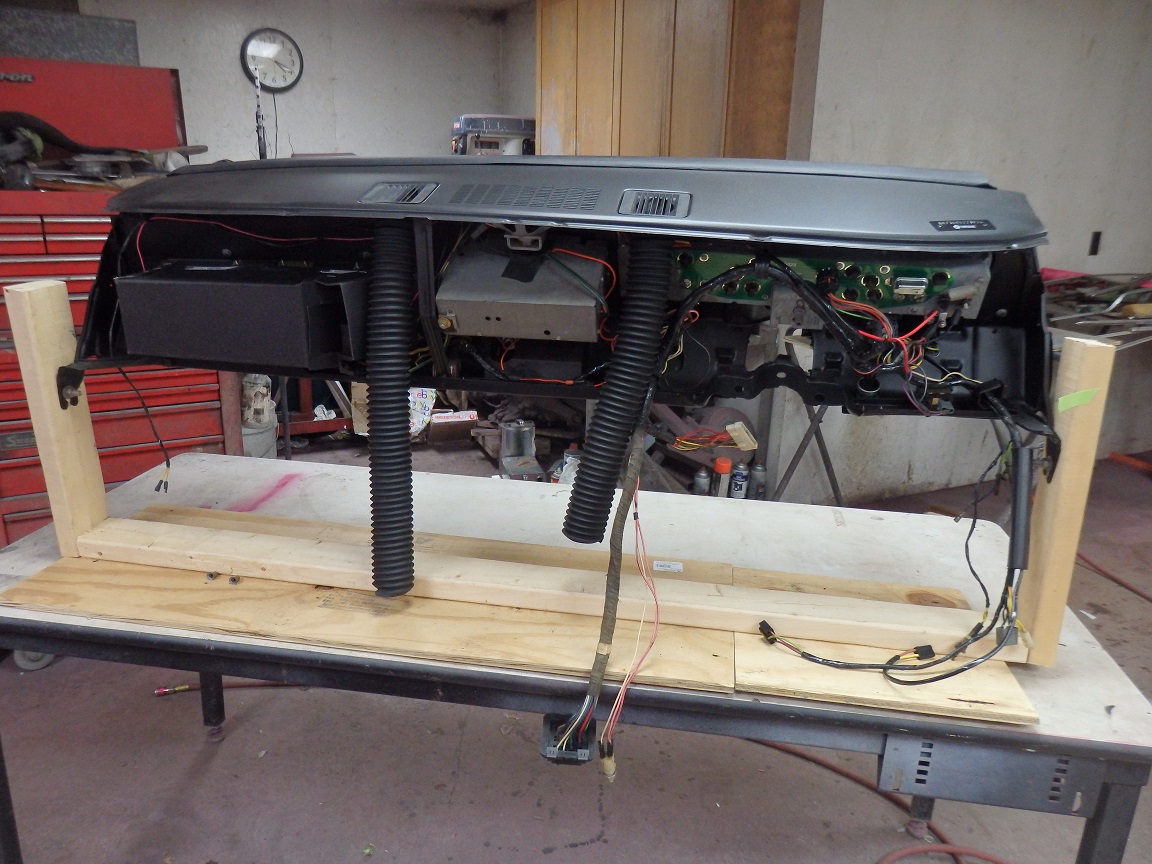
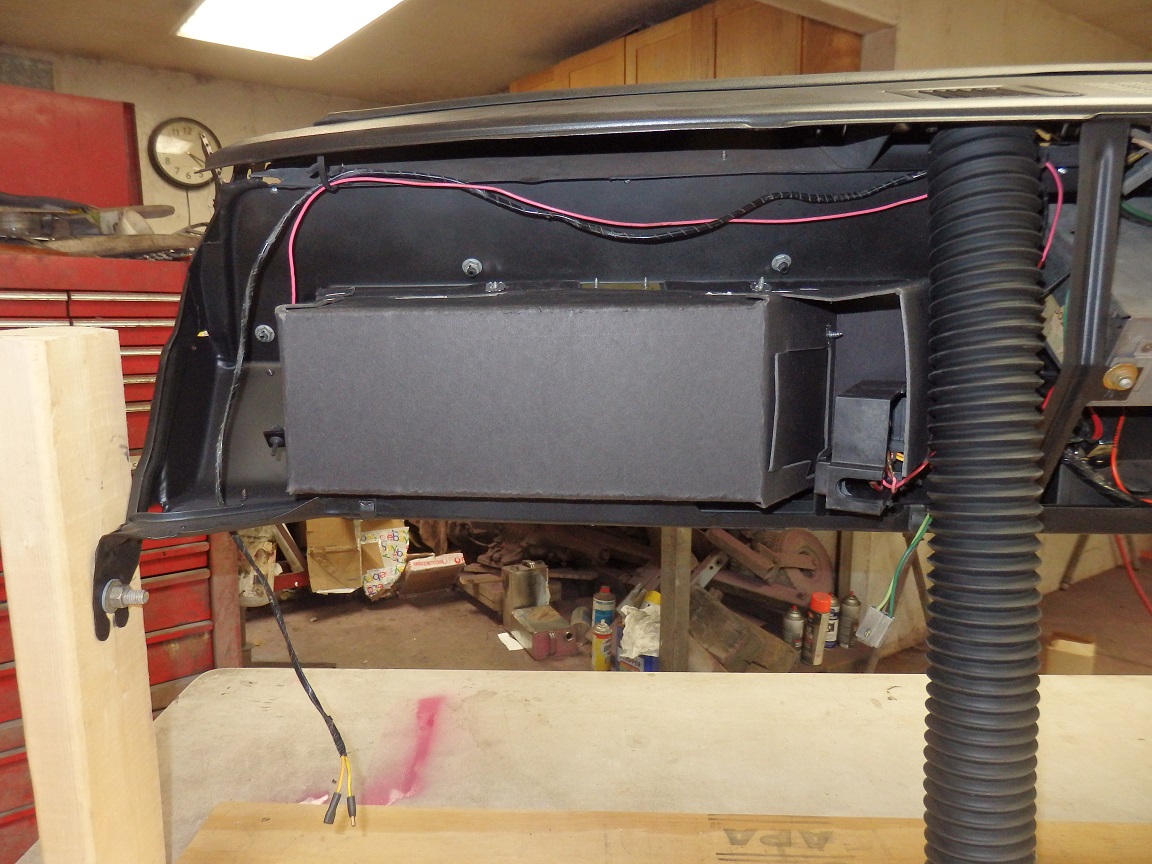
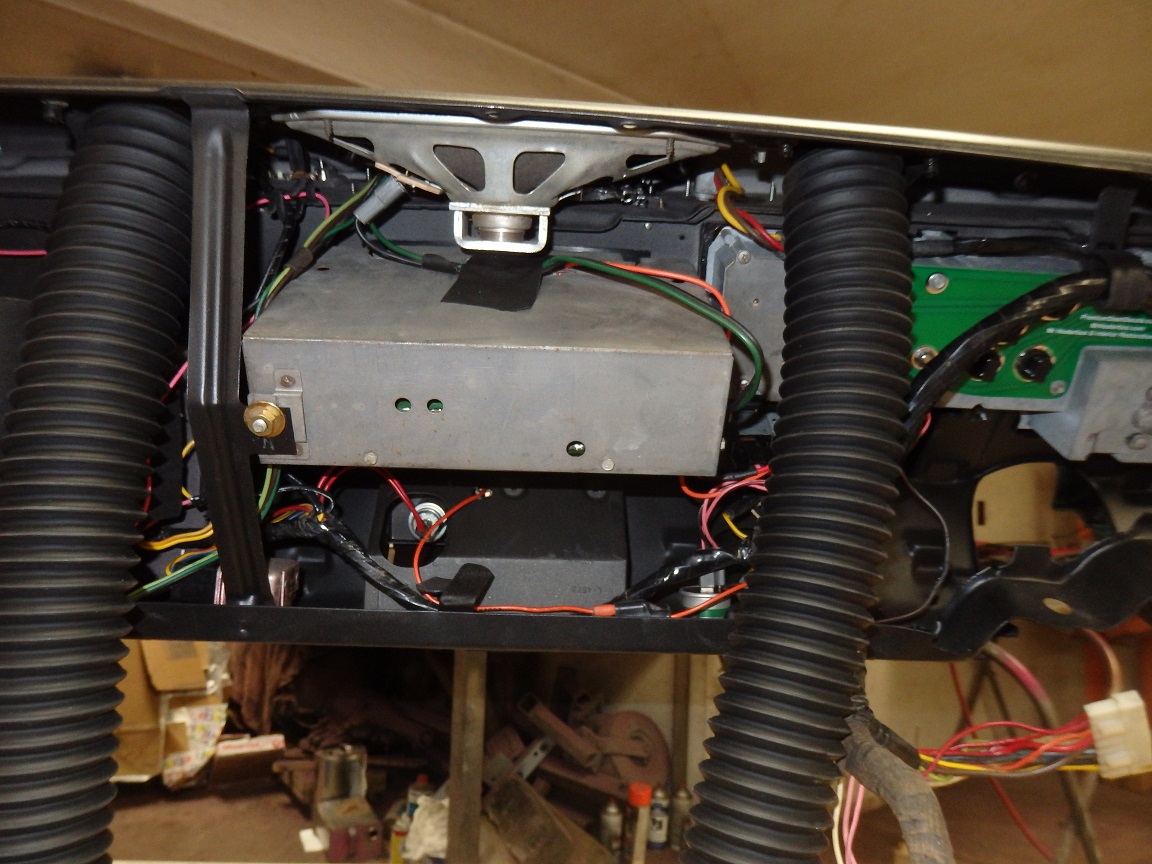
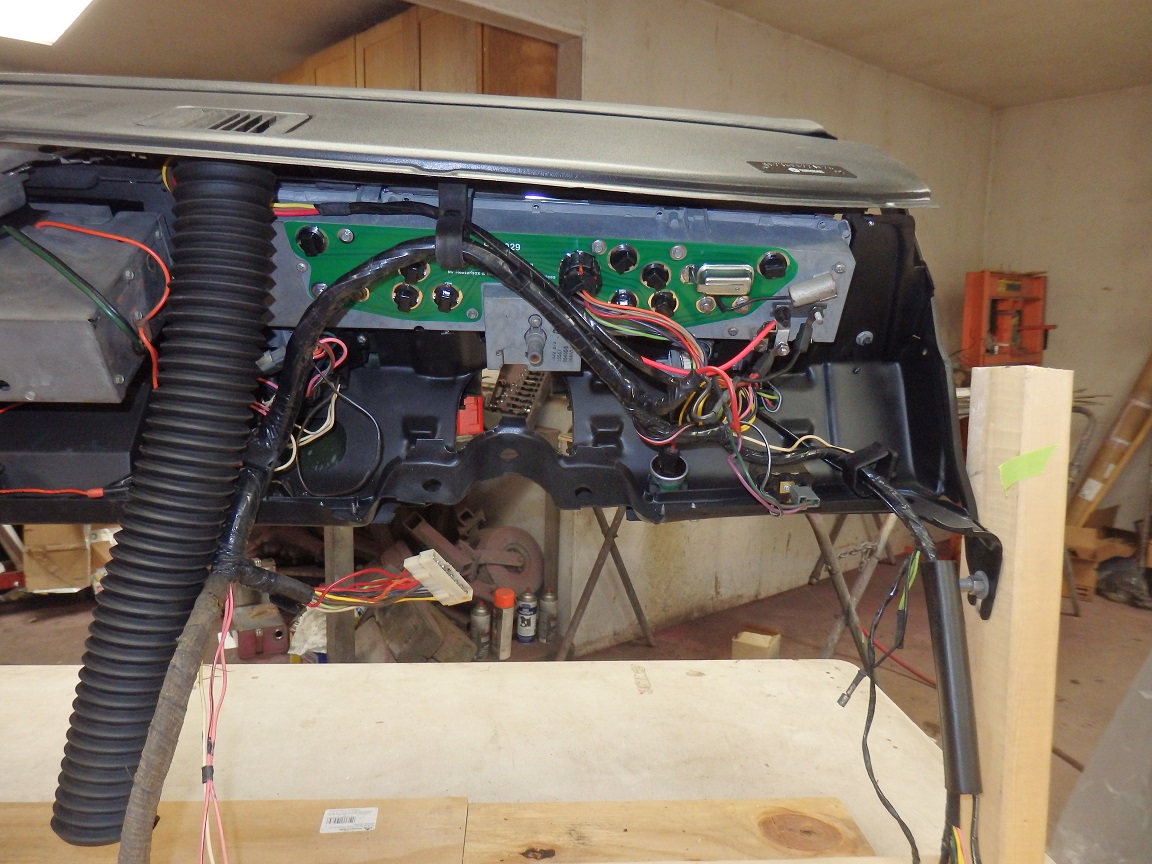
Here are some pictures of the rear of the dash to show what the wire routings look like. |