| DOORS |
 |
|
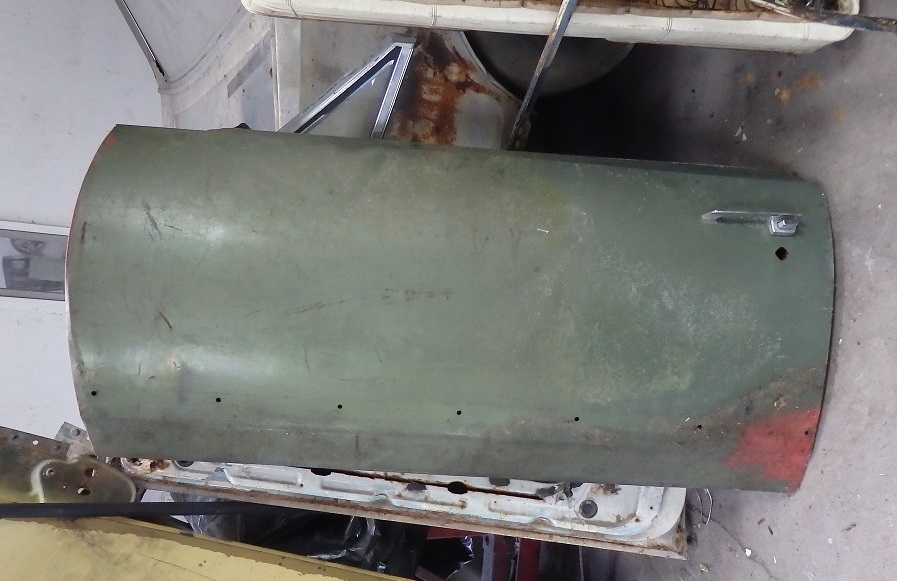
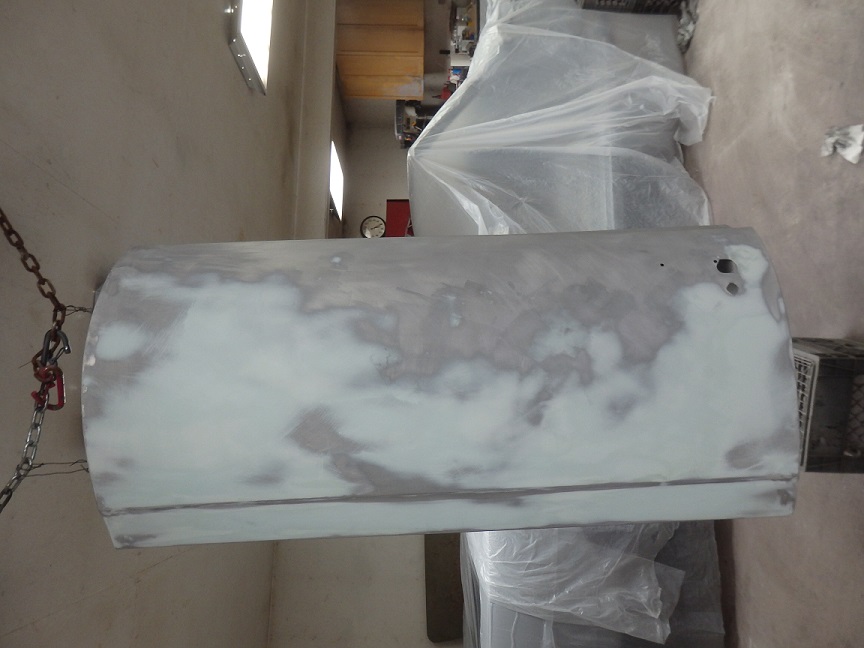
Here are the replacement doors that came with the car. Which is a good thing as the orignal doors could not be saved. The driver's door came frome a GTX with the tell tale lower molding holes. The passangers door came from another Satellite.
The doors looked great until they were sandblasted.... |
 |
|
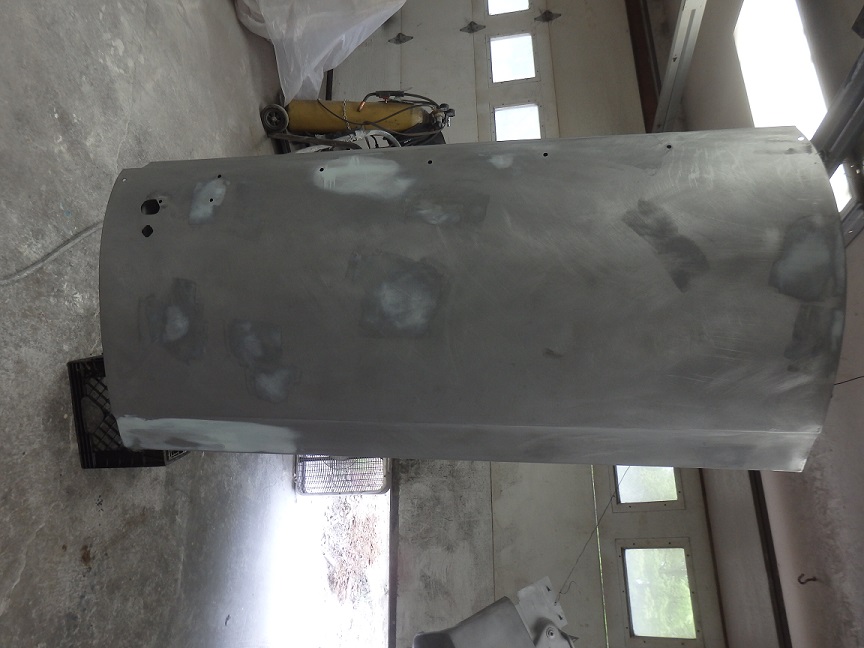
The driver's door had some rust on the inside where the GTX molding hole was. It took me an evening to repair the rust. The piece for the door bumper actually came from the orginal driver's door. |
 |
|
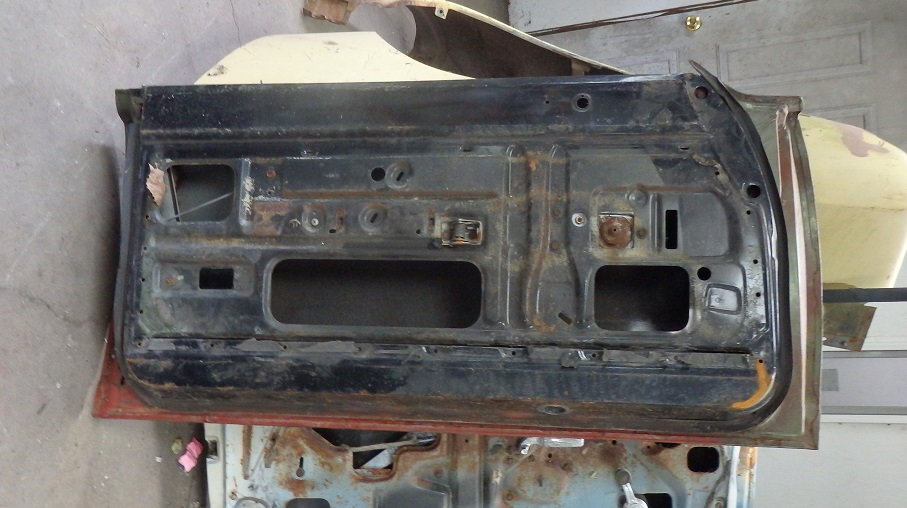
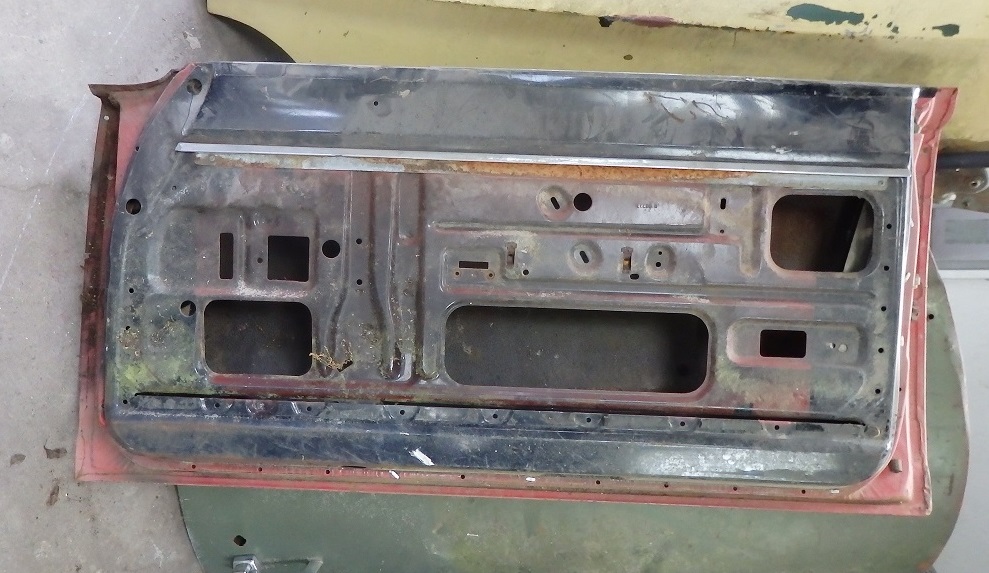
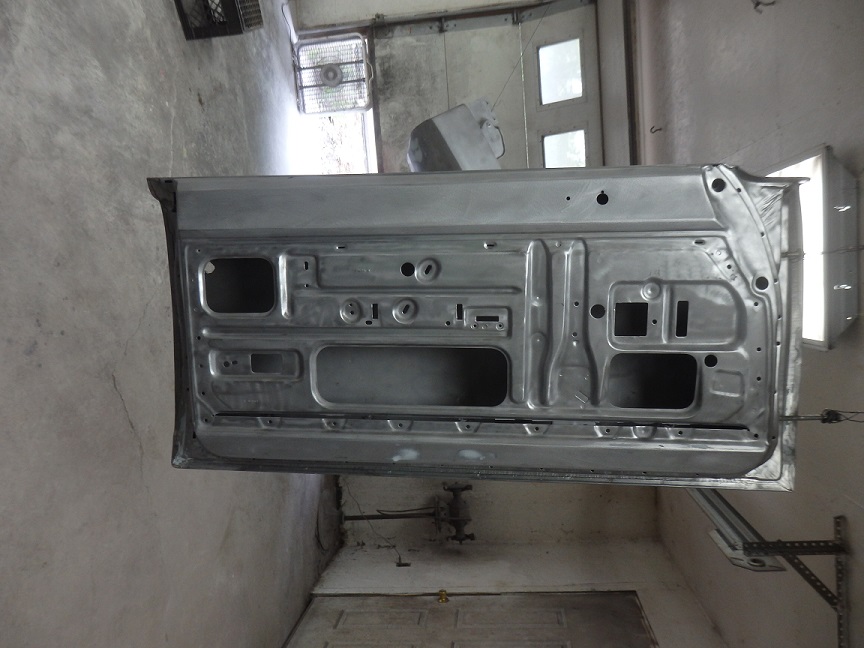
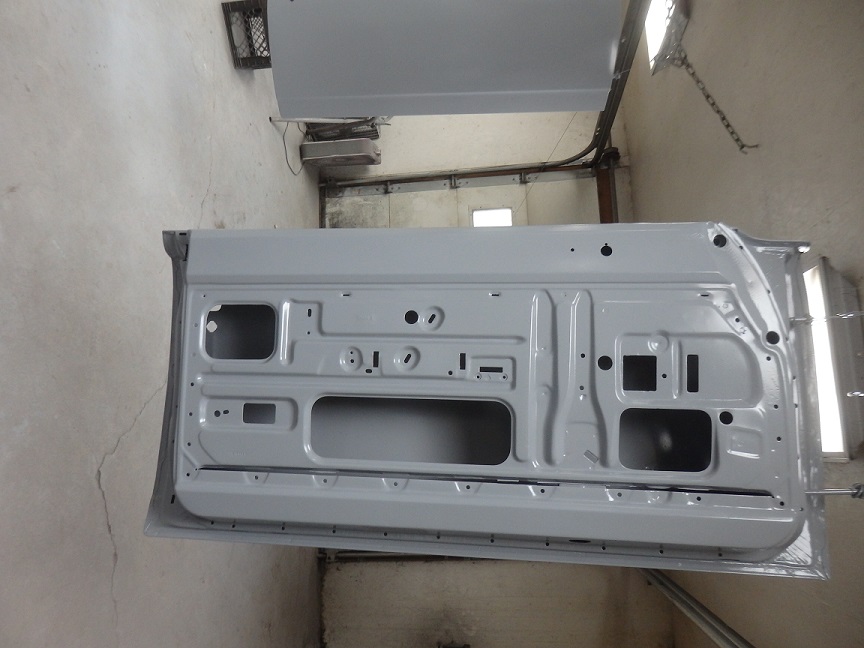
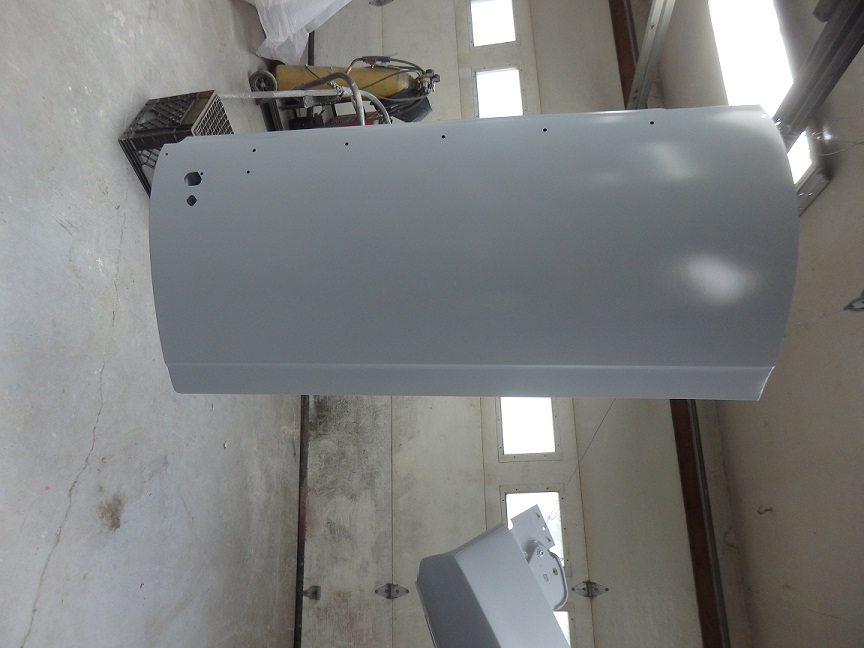
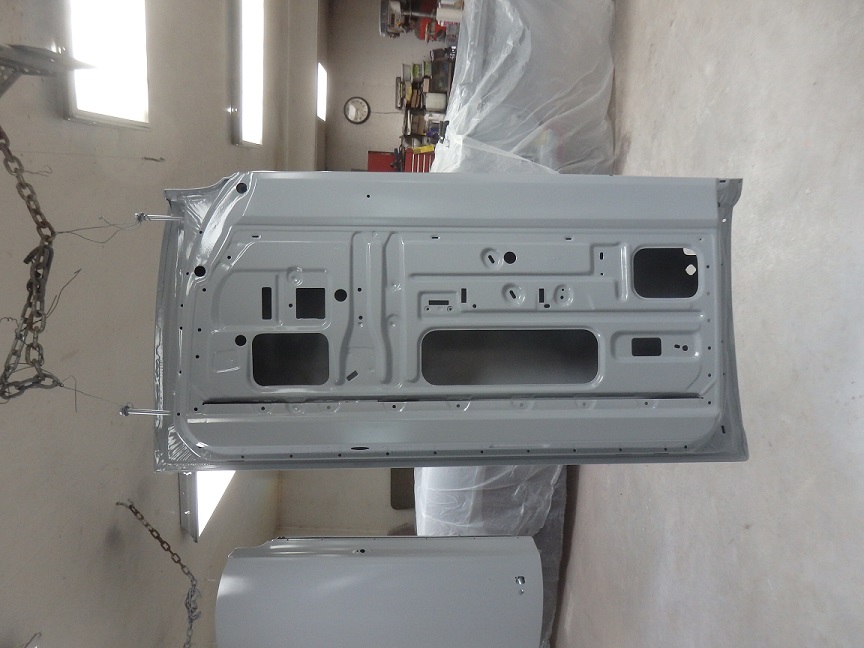
There were a few small dents that needed to be taken care of before putting the door in epoxy primer. The GTX molding holes also needed to be welded up. The pictures make it look worse than it really was. |
 |
|
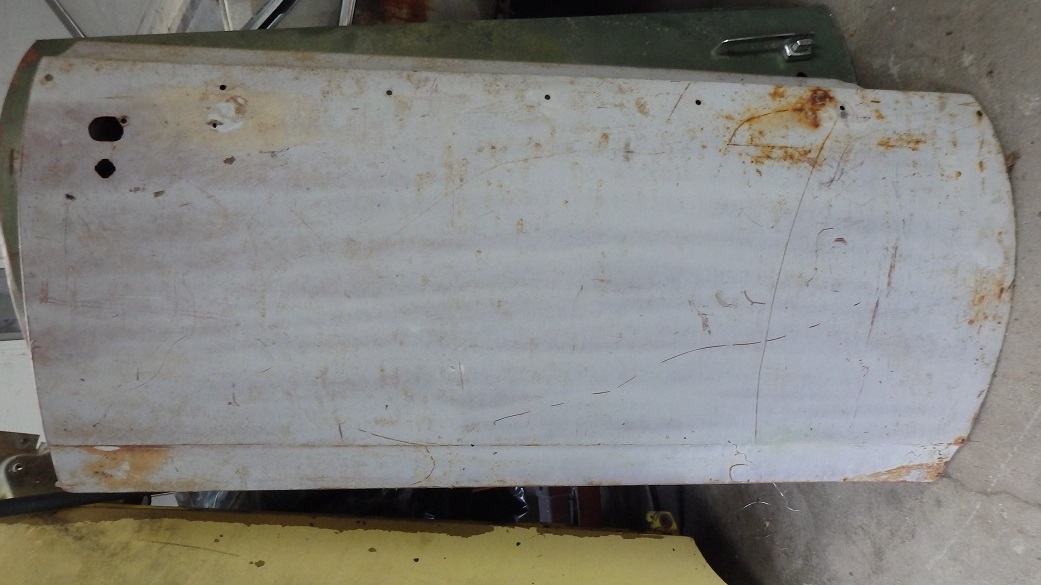
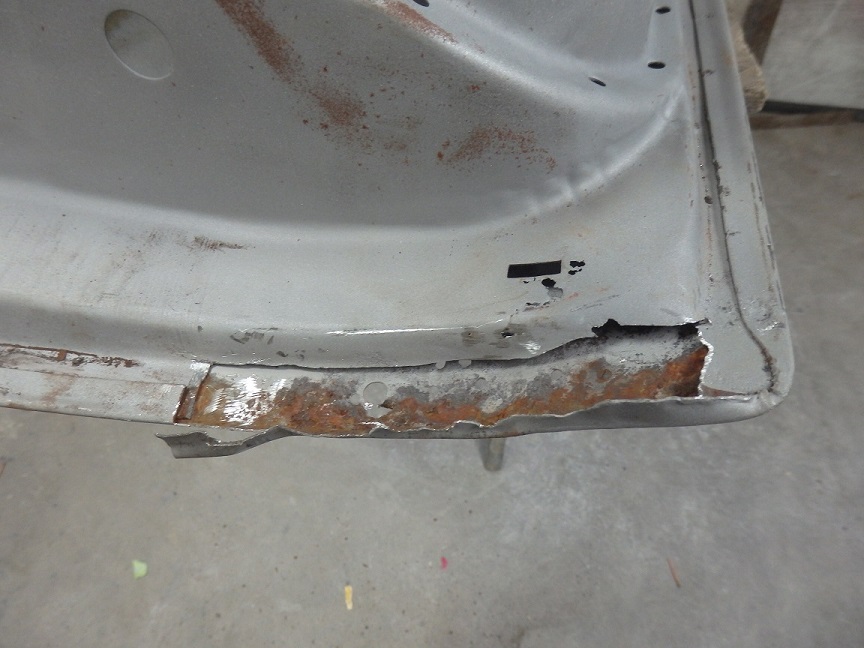
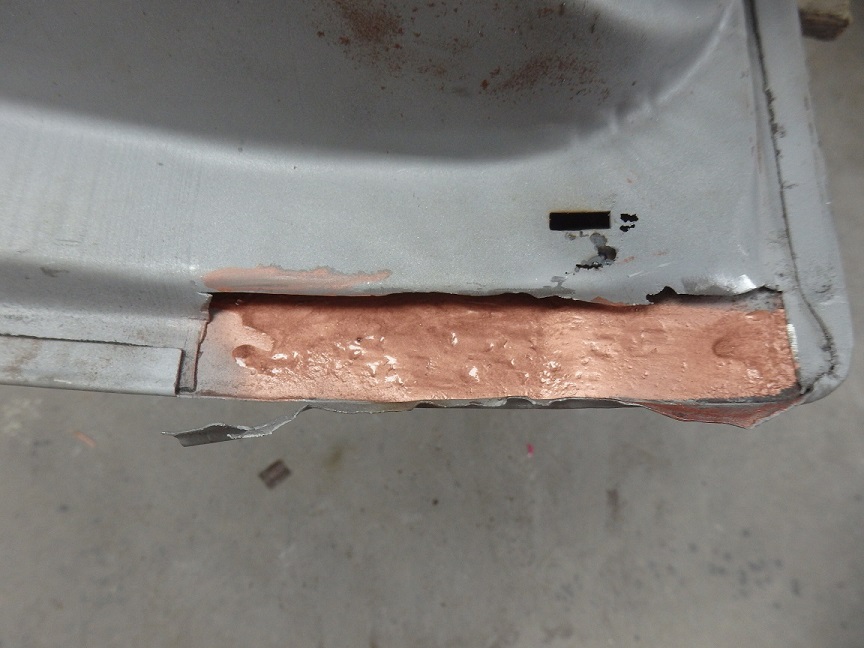
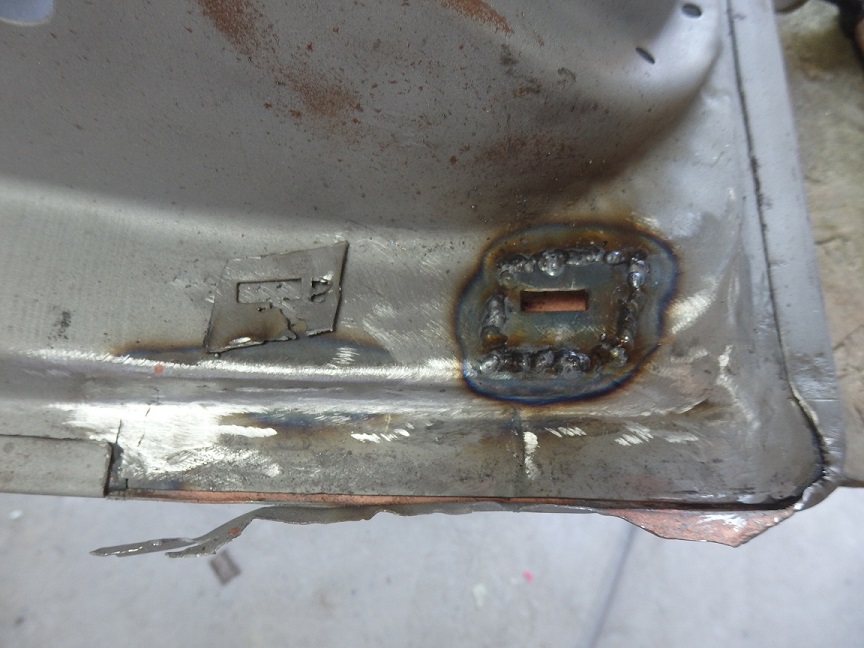
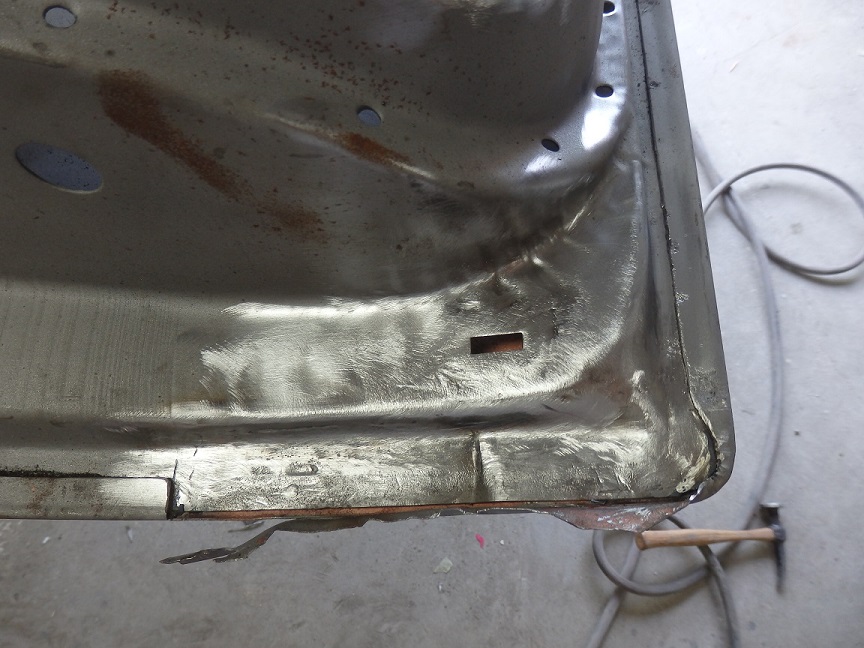
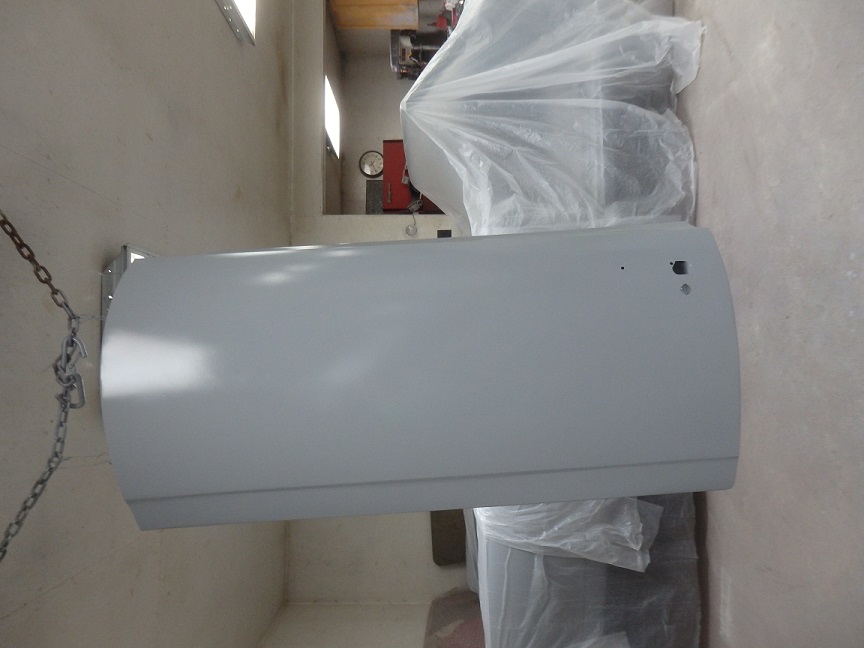
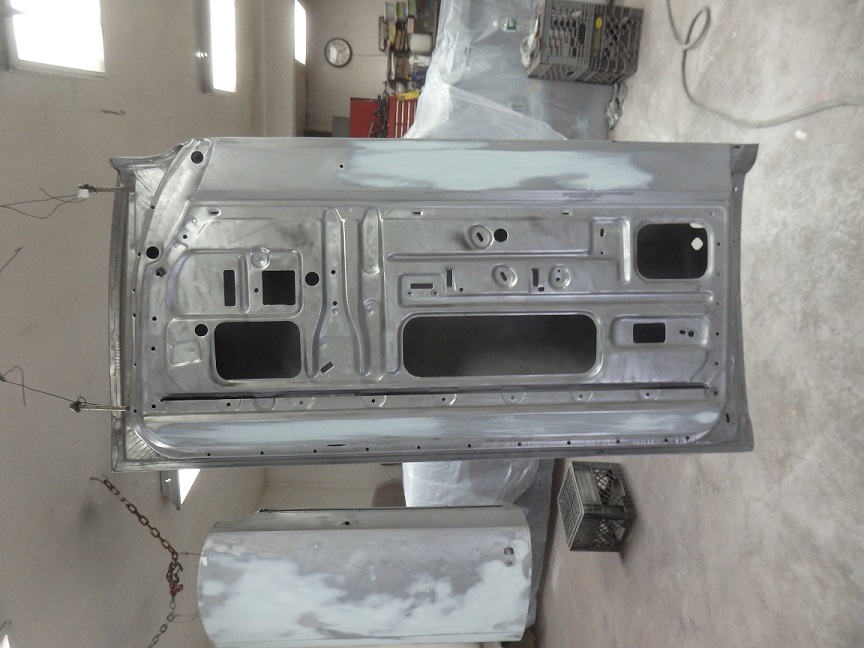
The passenger's door had a small rust hole in the bottom left corner that was revealed by sandblasting. It was quick work to repair the hole. As usual the rust was cut out and a new piece of metal was buttwelded in. I actaully vut a piece off the
original door to make the patch as it had the correct contour. |
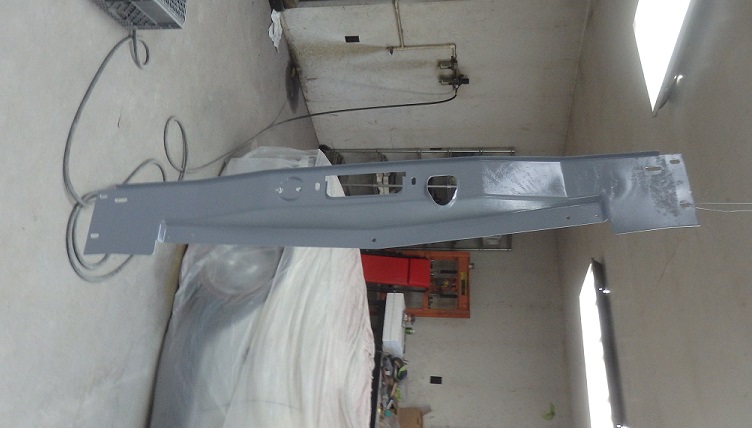
| FENDERS |
 |
|
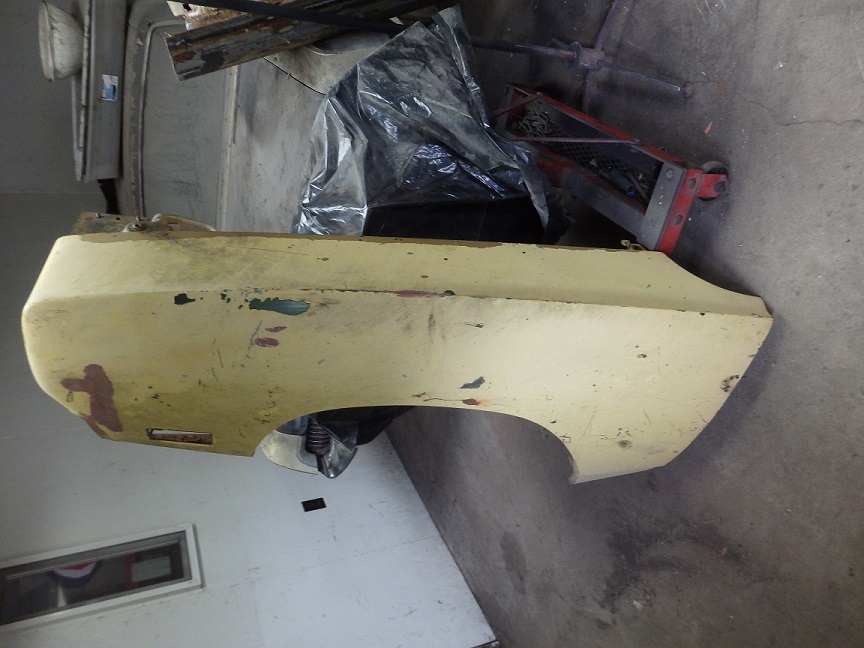
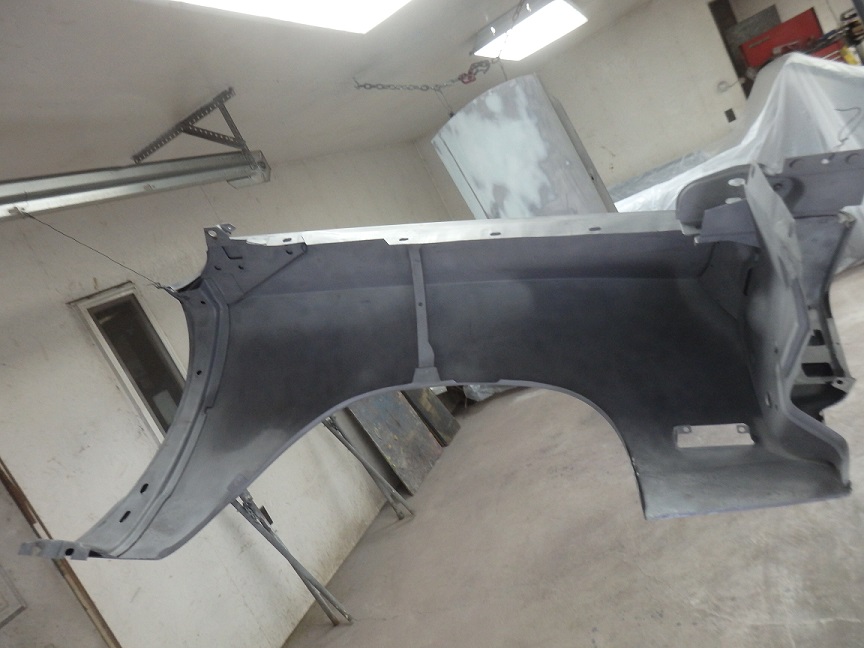
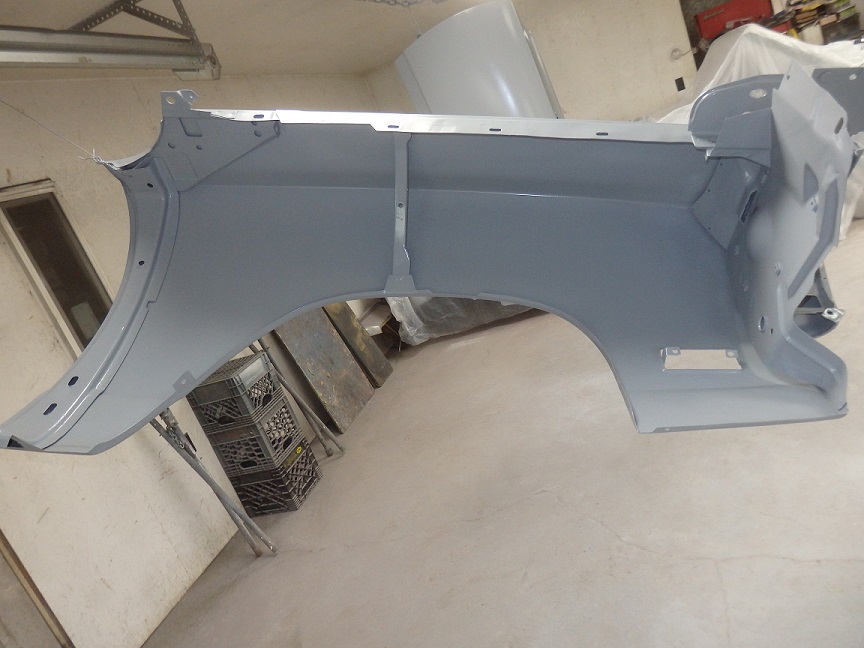
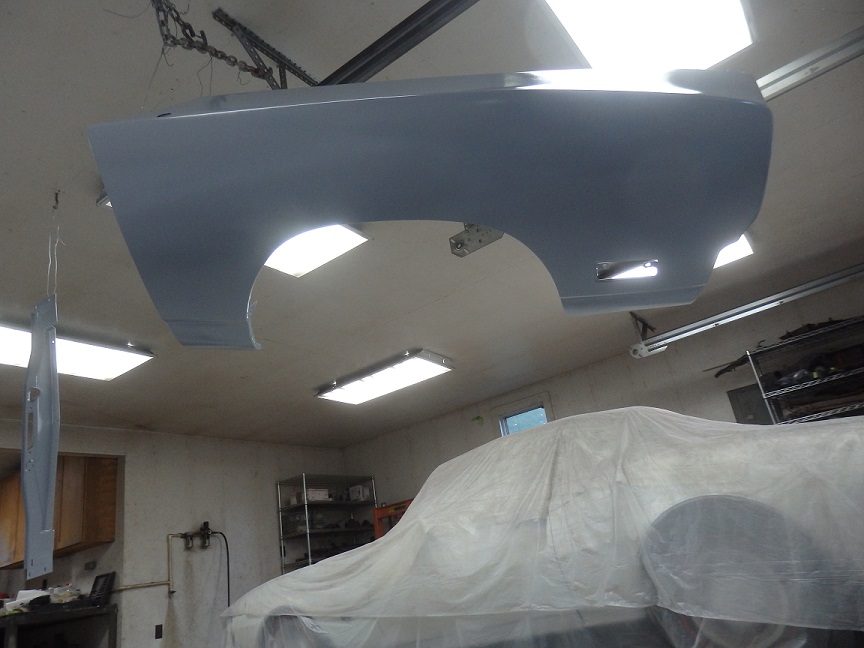
The car also came with some replacement fenders from a 70 Roadrunner. |
 |
|
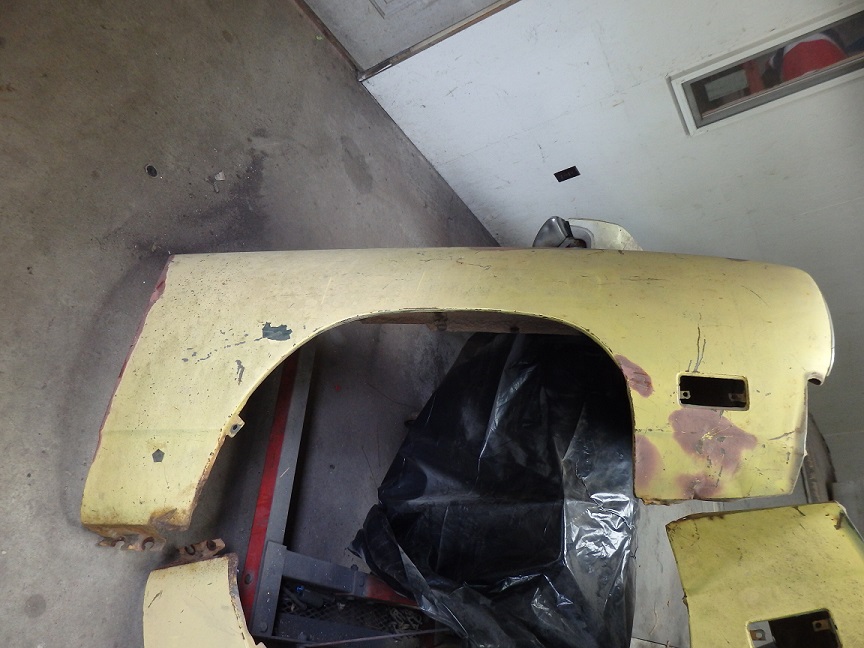
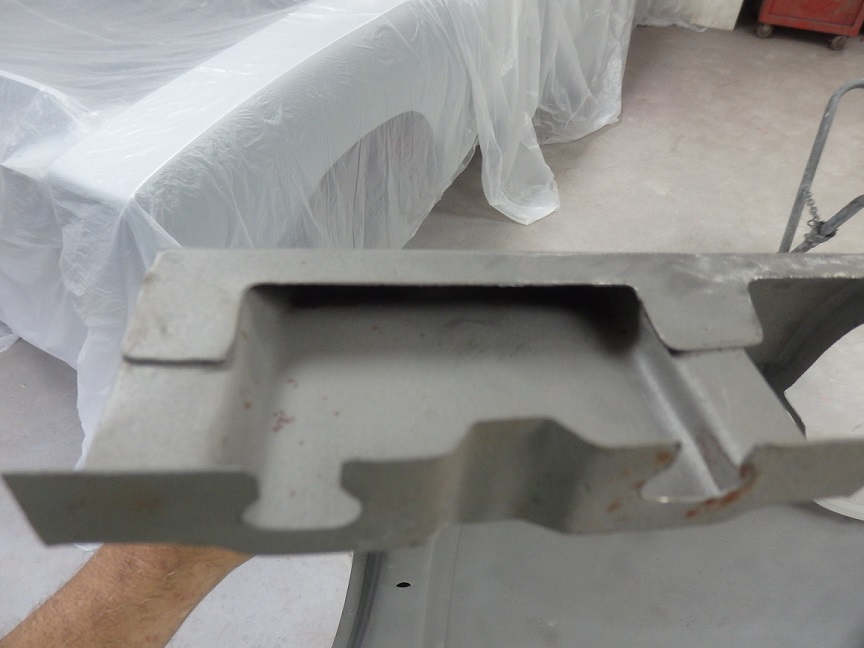
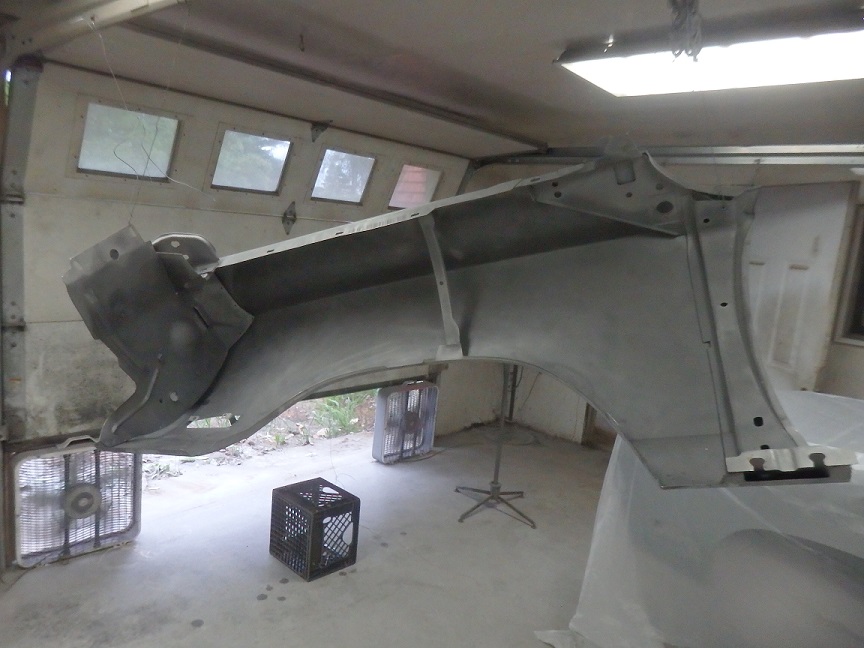
The fenders were actually in pretty great shape after sandblasting. No holes at all. The right fender had a small jamb at the lower rear and a crease at the lower front. As you can see in the picture on the right, the lower section
were the fender bolts to the rocker panel was perfect. |
 |
|
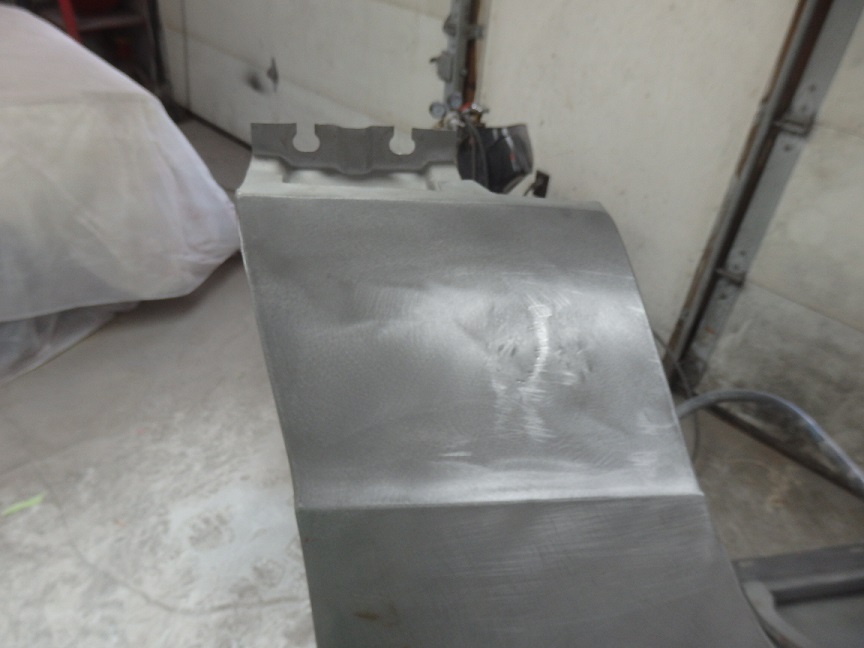
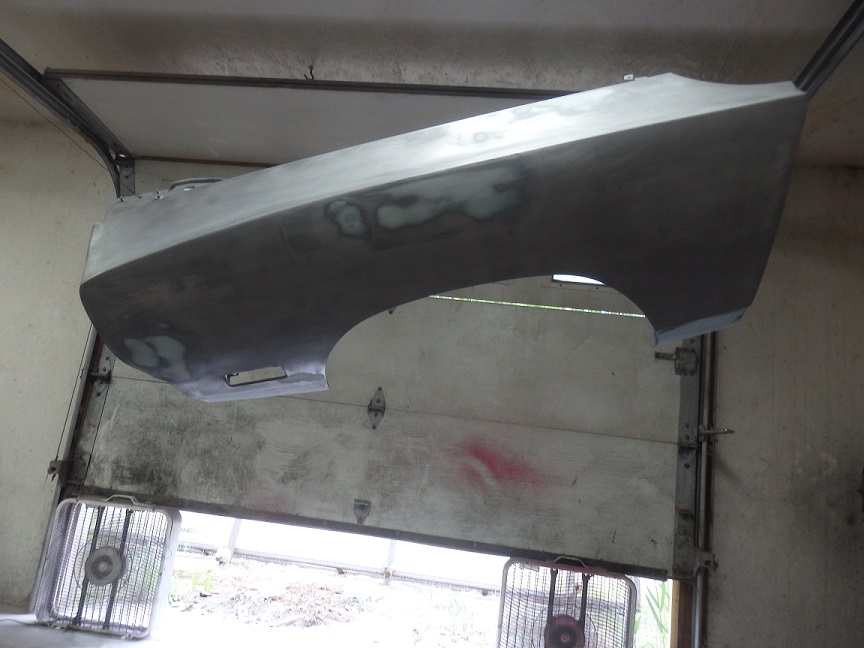
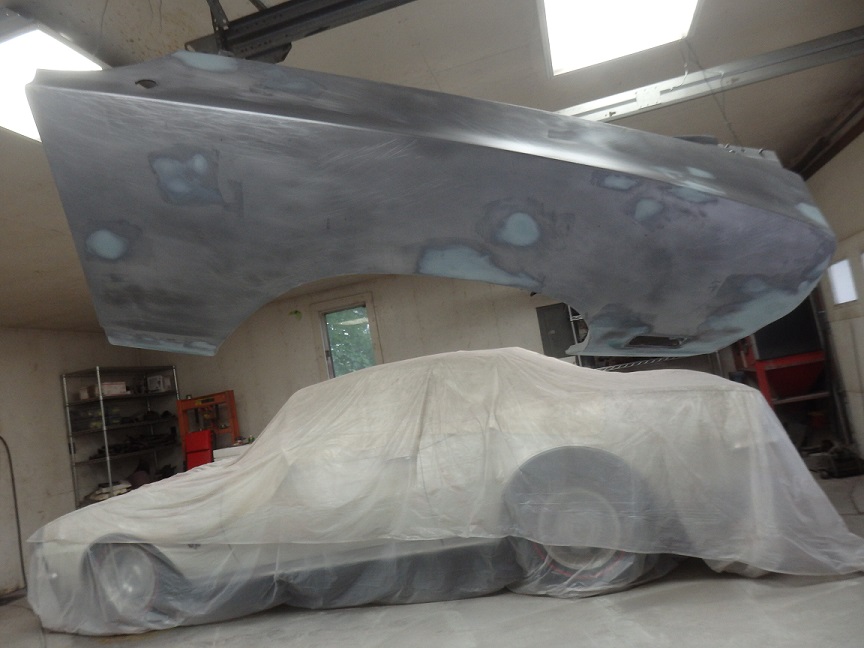
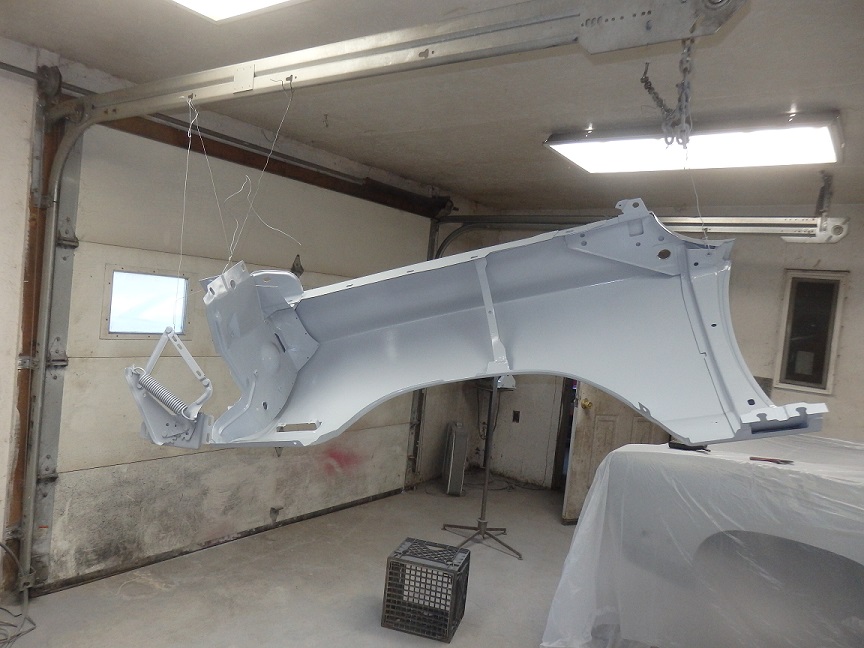
With a little light filler work the left fender was put in epoxy primer rather quickly. |
 |
|
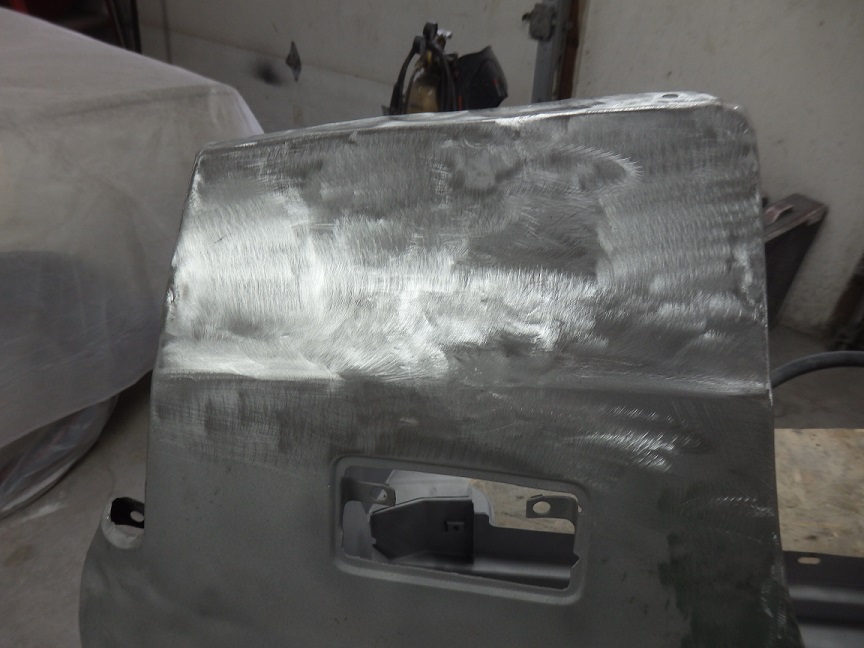
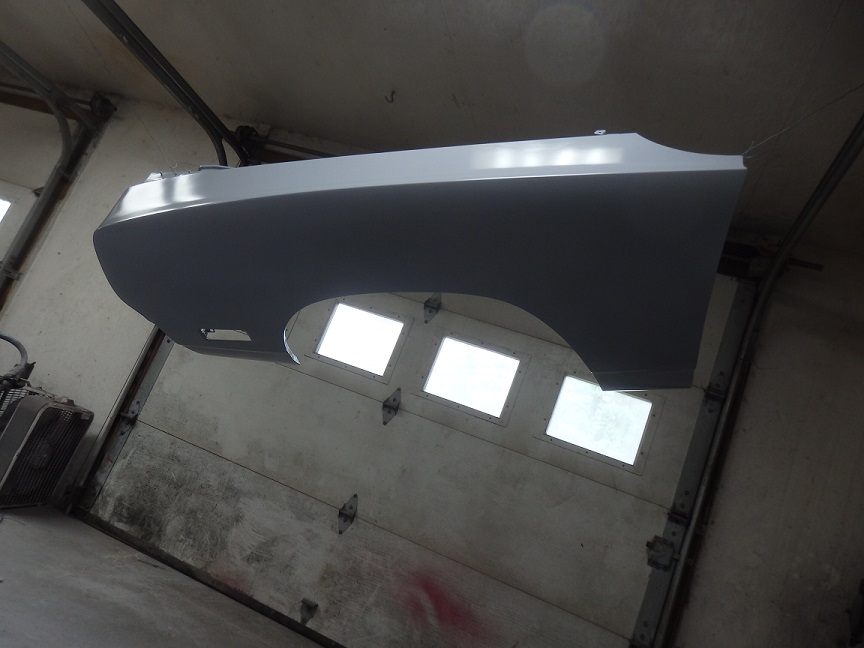
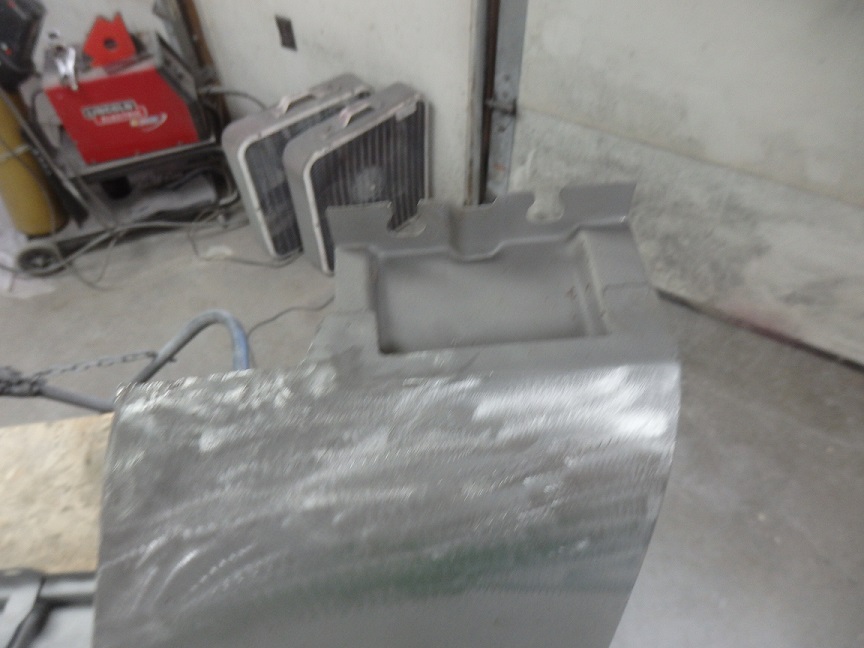
The right fender also went into epoxy primer rather quickly after a little light filler work to fix some small defects. |
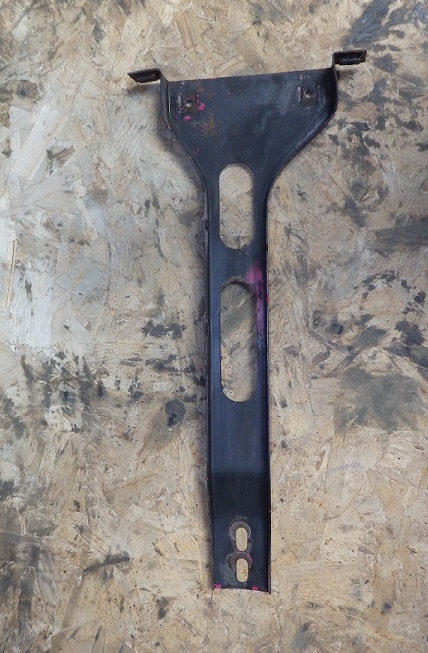
| FILLER PANELS |
 |
|
The original upper grill panel did not and repairs. It was sandblasted, sanded and put into epoxy primer. |
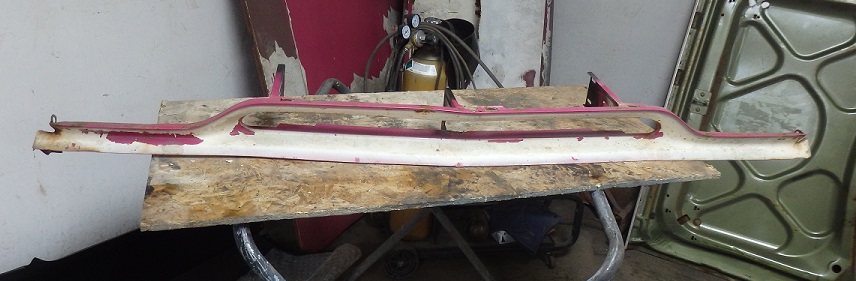
| GRILL PANELS |
 |
|
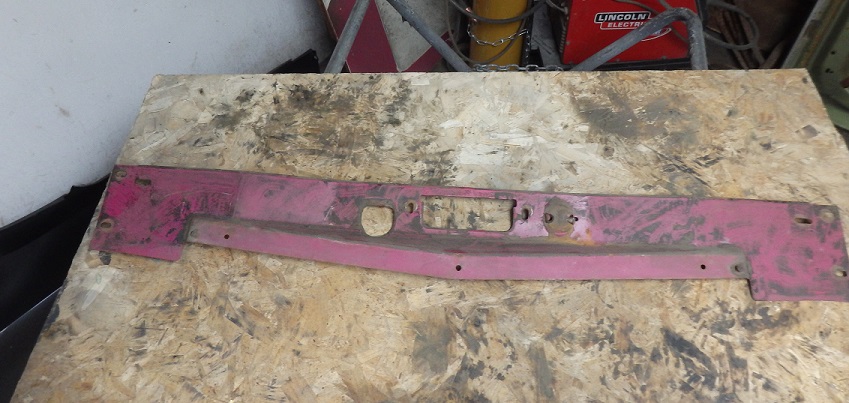
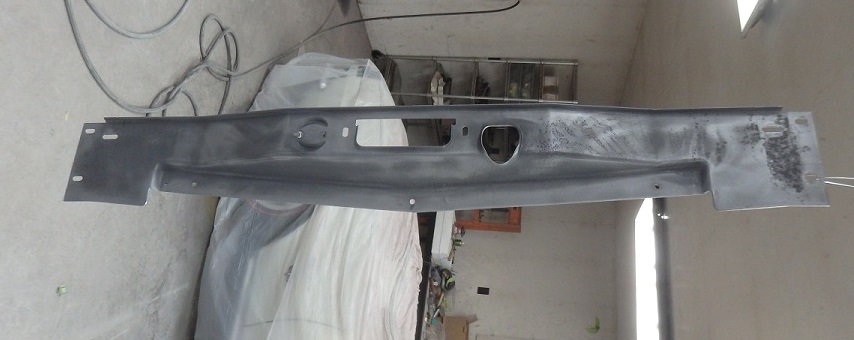
To complete the work on the bolt on panels, was the stripping and priming of the grill center support and the lower grill panel. On the grill center support you can see the original factory blackout. A lot of pictures of these parts were taken to ensure an accurate reproduction of the factory blackout. |
| HOOD |

 |
|
Here are a few more details I uncovered prior to the tare down. Circled in red in the first picture is the date code tag on the A/C expansion valve. |
 |
|
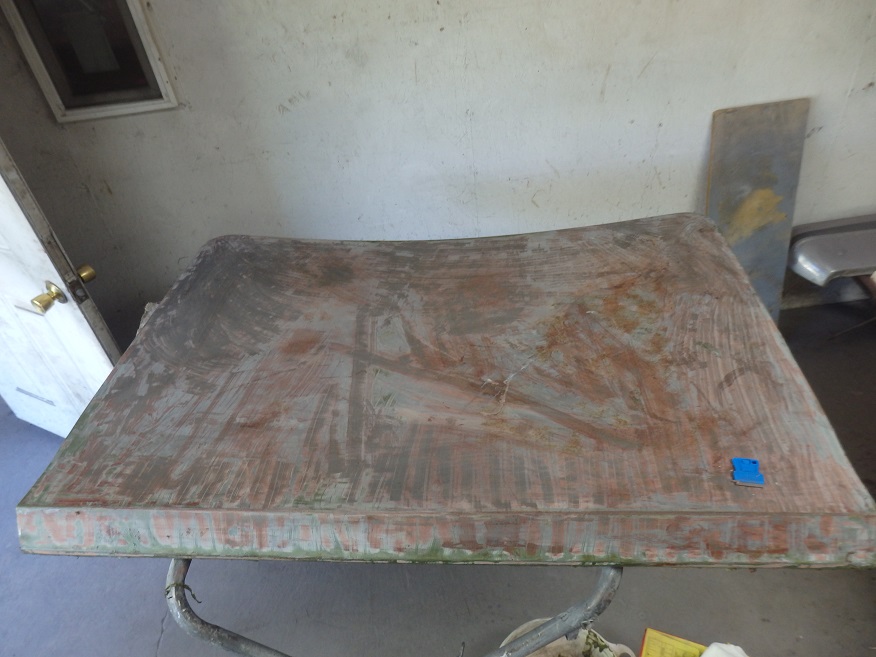
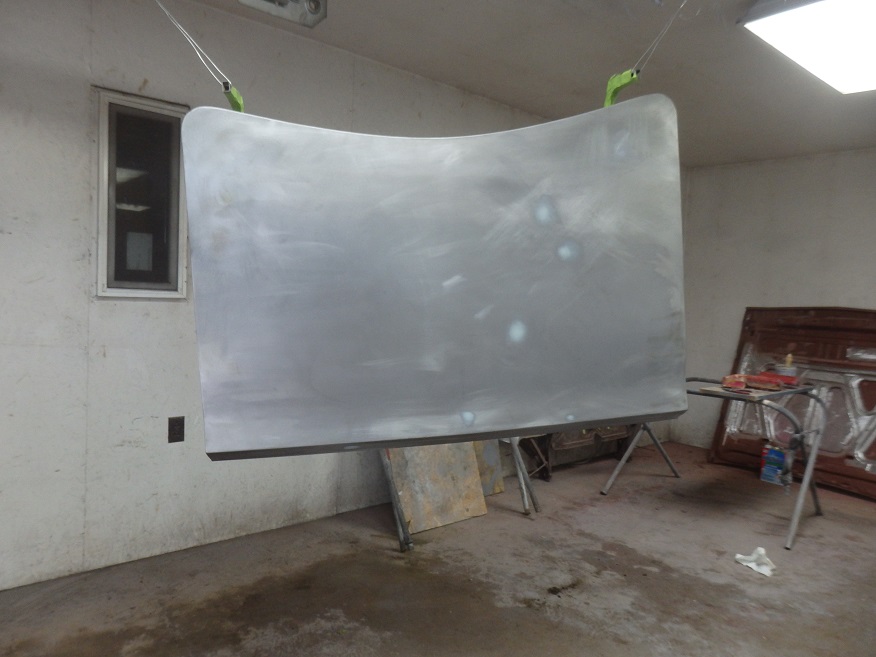
Hoods are a real pain to strip. You can't sandblasted without warping them. On the top side I use Airplane Paint Stripper. On the inside I use these plastic paint stripping wheel on my air die grinder. |

 |
|
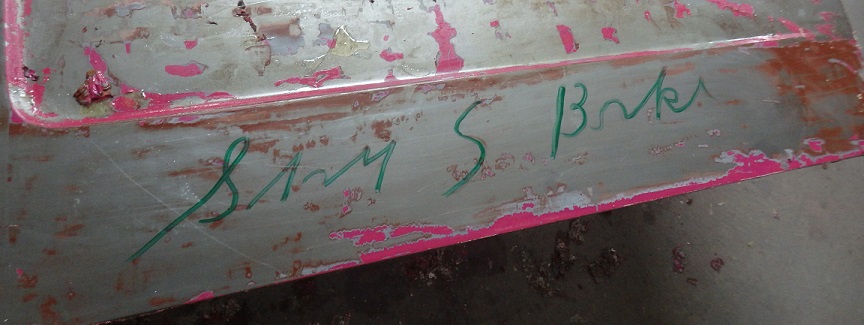
This was a suprise. Strippnig the hood revealed this factory writing. I traced over it with a marker to make it more ledgible. My best guess on what is says is "8AM S Bake". |


 |
|
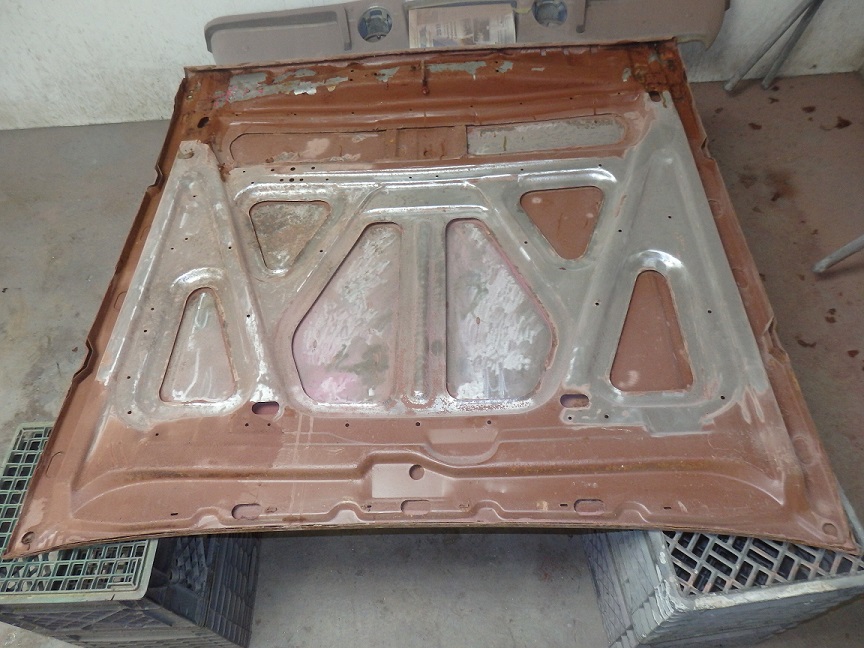
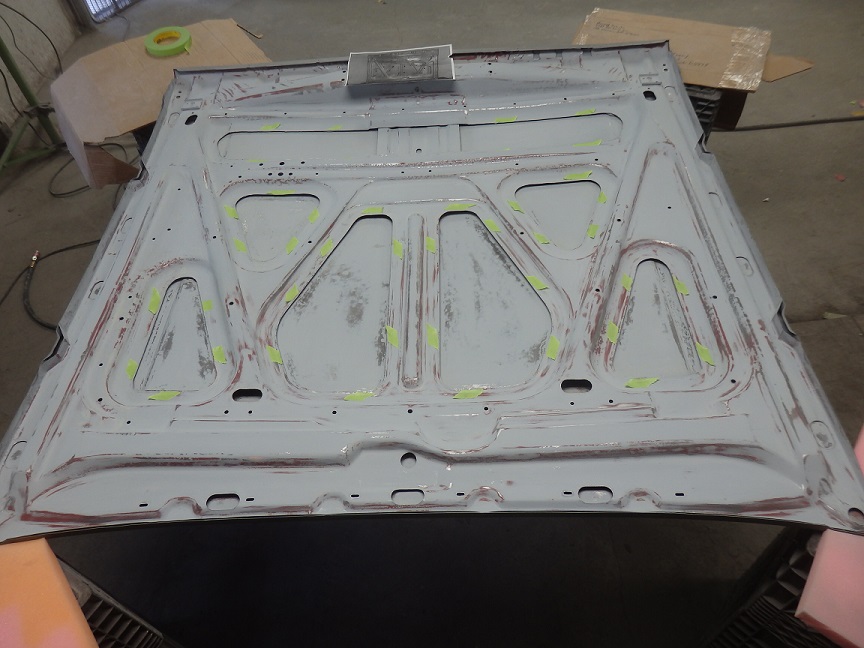
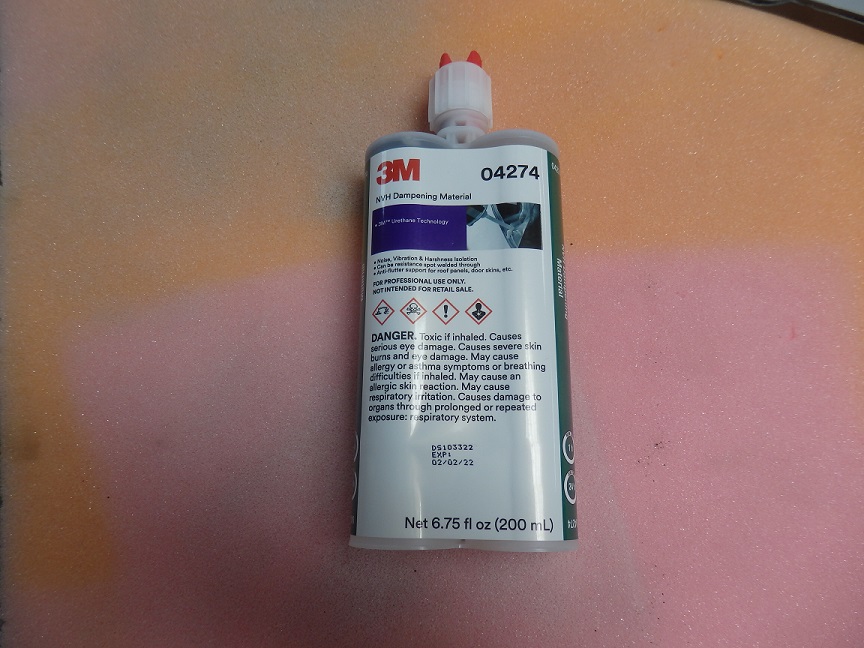
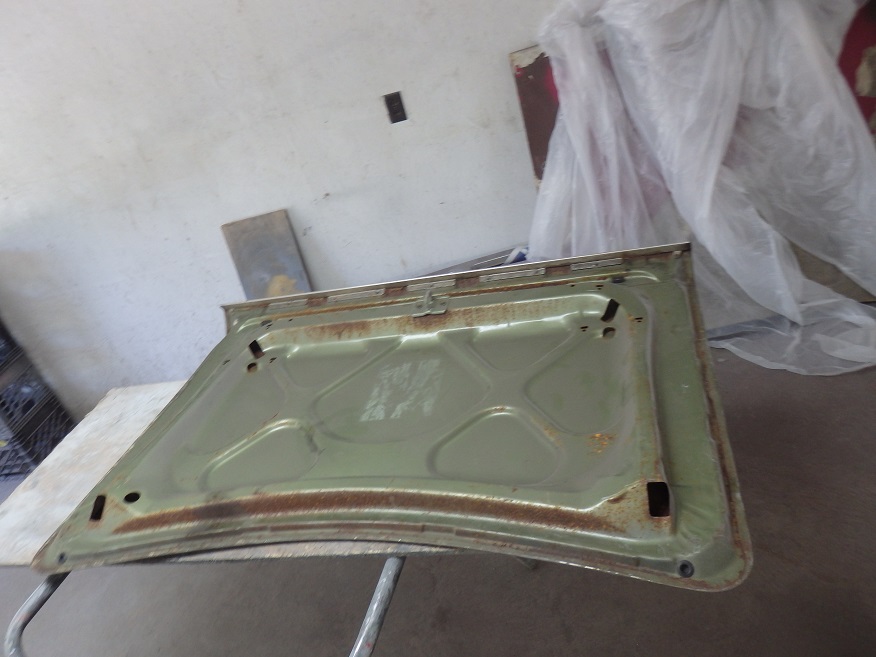
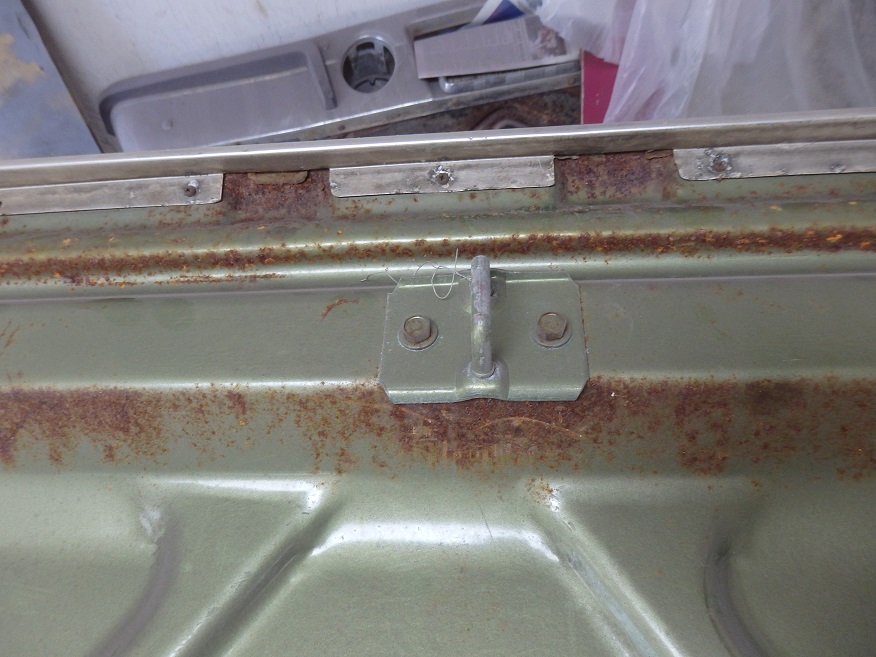
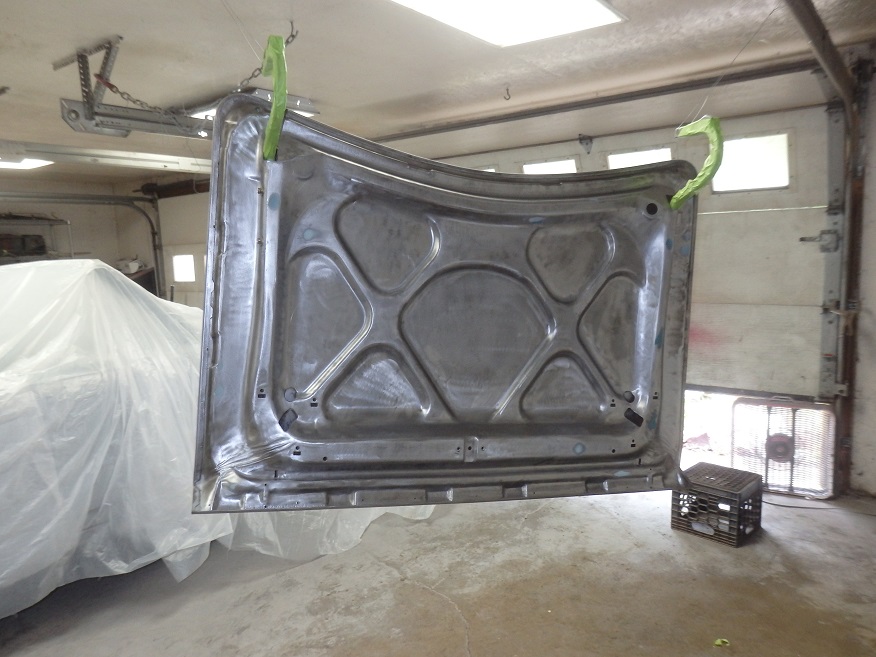
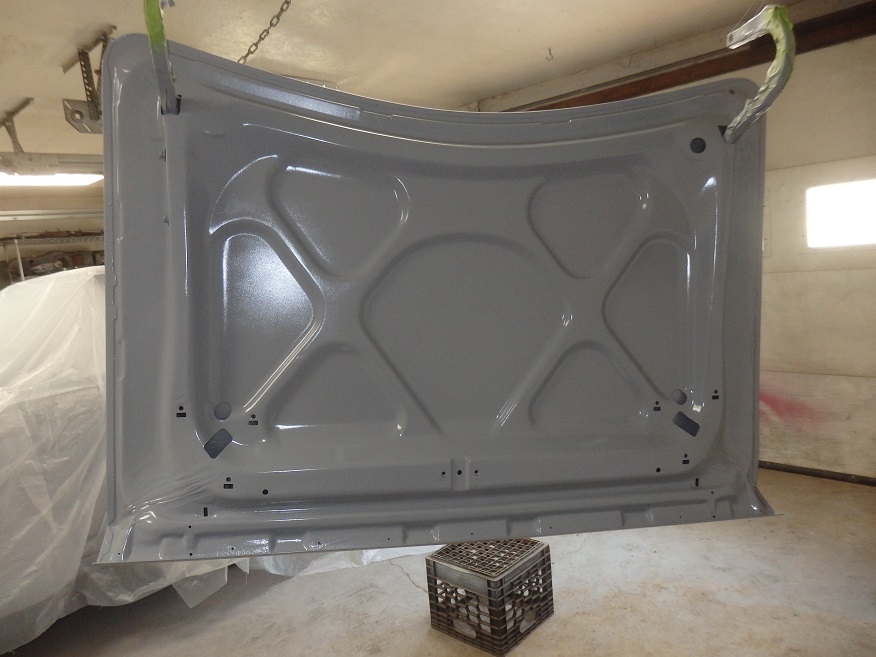
The underside of the hood had lots of rust pitting. To fix it I first coated the hood with epoxy primer (red) and the sprayed over the rust area with slicksand. After sanding it was recoated in epoxy primer (gray). Another issue this car had was that all of the factory foam came unglued. I used reference pictures from another car to mark where the factory originally applied the foam, in green tape above, and then used 3M AntiFutter Foam, 04274, to reproduce the factory look. The trick is to applie the foam and then flip the hood over so that it oozes out like the factory applied foam. |
 |
|
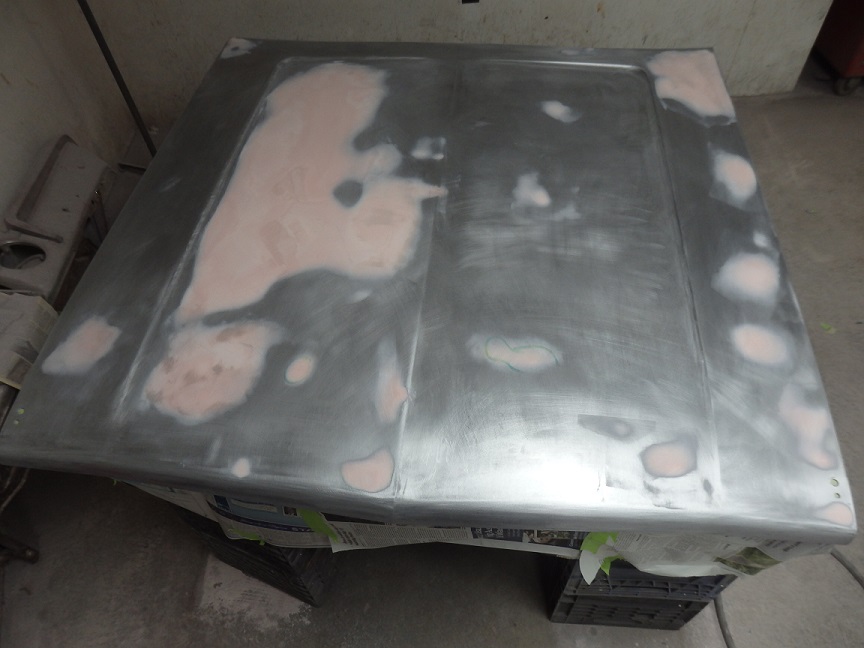
The top of the hood either suffered from where someone sat on the hood or walked across it in the junkyard. A litte filler, in a large area, and big sanding blocks were required to bring the hood back to its original flatness. |
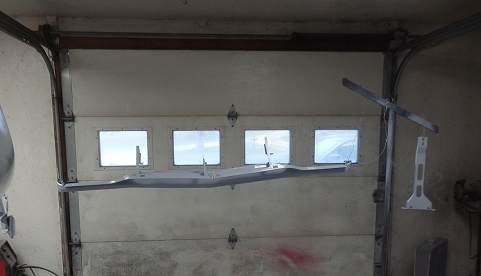
| TRUNKLID |
 |
|
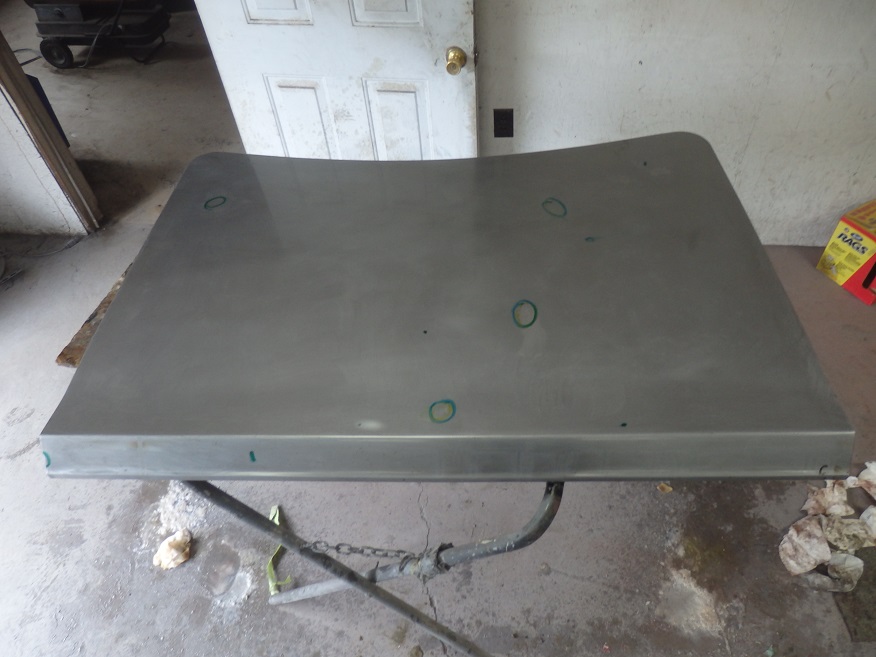
The original trunkl id was long gone. The car did come with this trunklid installed on it. The B-body trunklids are really springy, I had to chemical strip it top and bottom. The only damage on the trunk lid were a few very small dings, circled in green. With the slightest amount of filler, the trunk lid quickly went into epoxy primer. |

 |
|
Orange inspection marks were found on all of the ball joint nuts on both spindles. Basically anything with a cotter pin was found to have an orange inspection mark. |