|
|
|
|
Front Seat
|
|
|
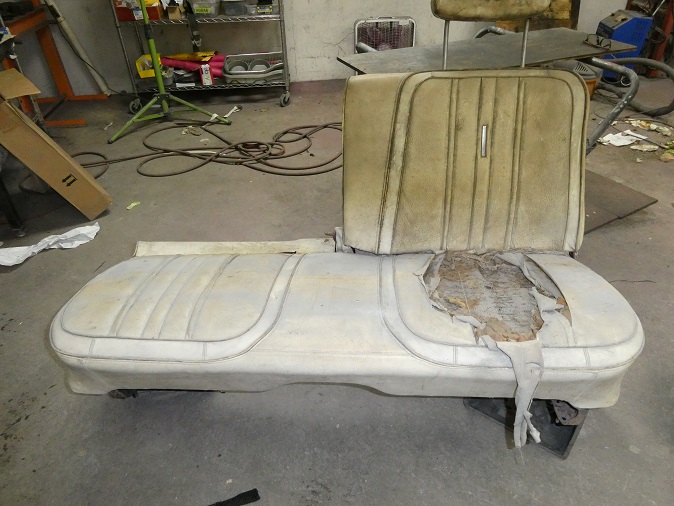
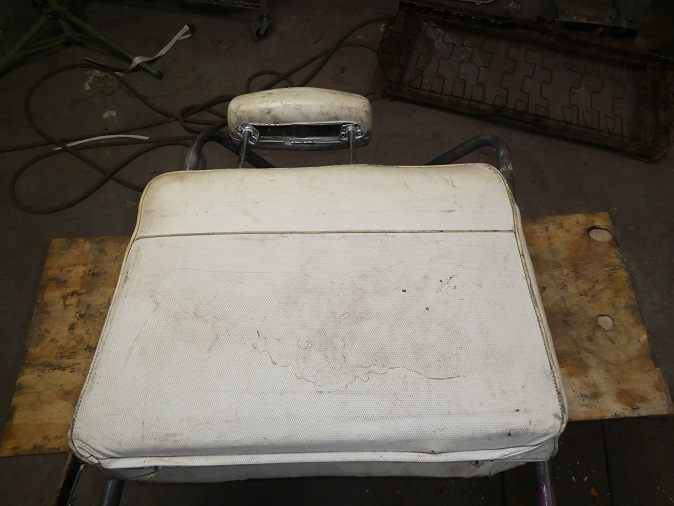
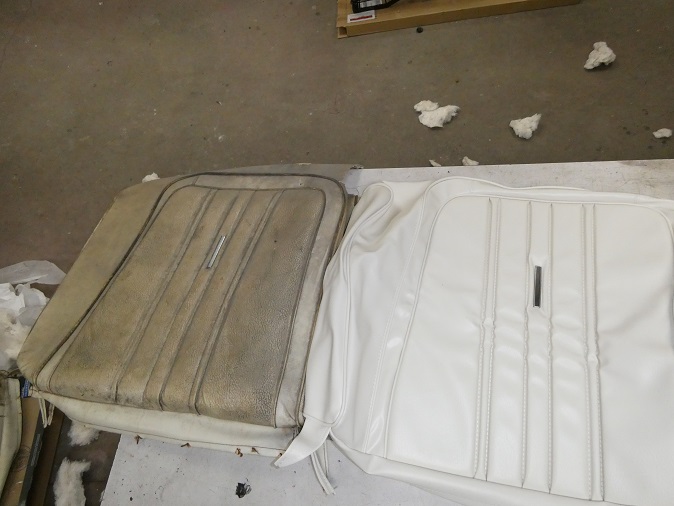
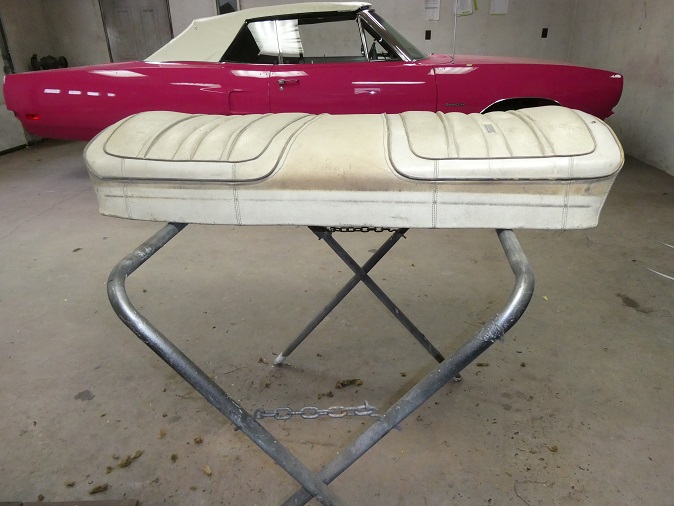
The seats were already pulled out of the car when I got it. The driver's side of the front seat was pretty ratty.
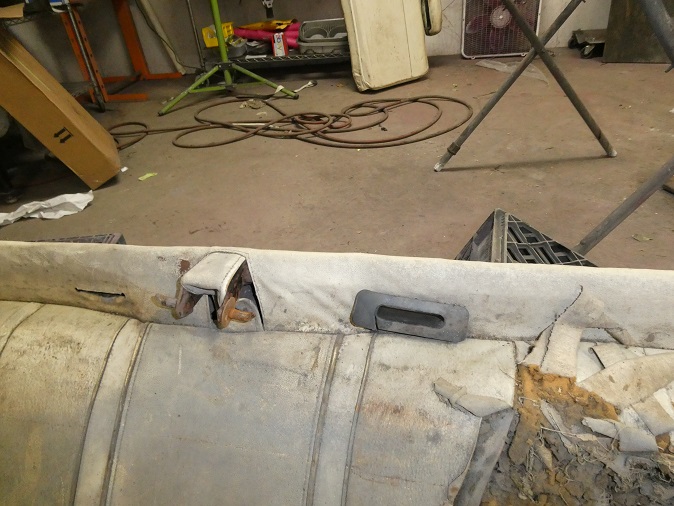
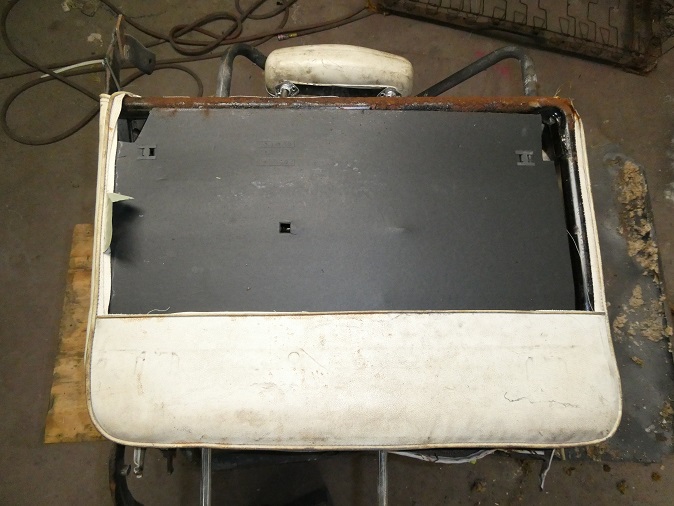
Bench seat cars have the seat belts running through the seat using guides. In the third picture you can see one of the guides (black).
The other one was missing... along with the front seat belts to the car.
|
|
Here we have one of the front serat backs. It's easier to remove the head rests if you open up the back of the seats first.
In the third picture you can see the special foam (gray) that fits the top edge of the seats. It is not reproduced, so you have to be
careful removing it.
|

|
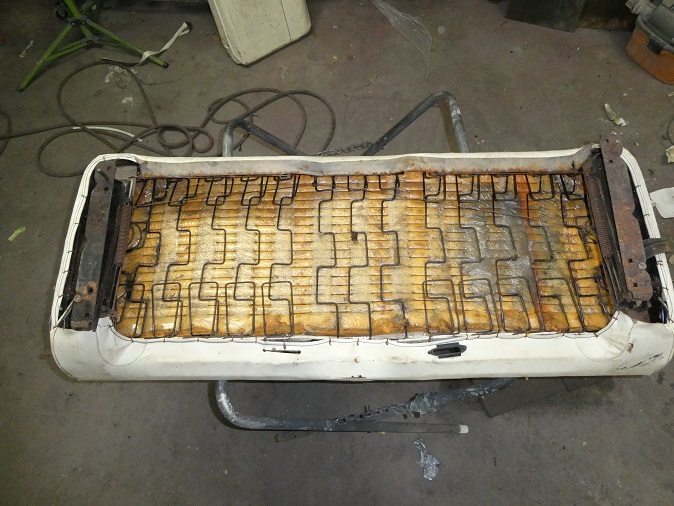
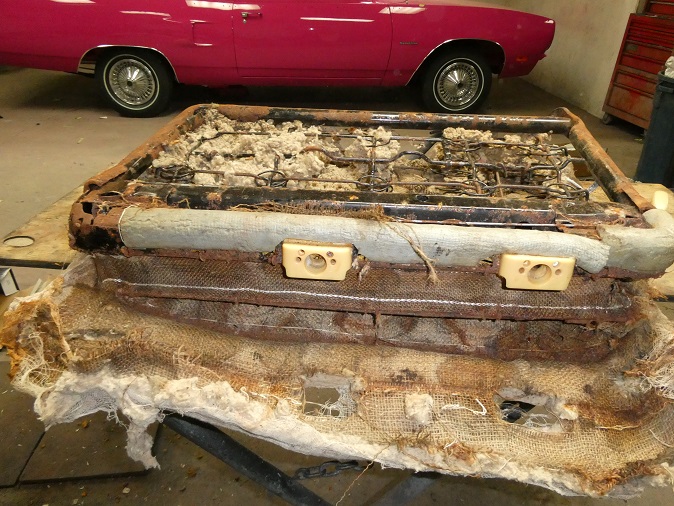
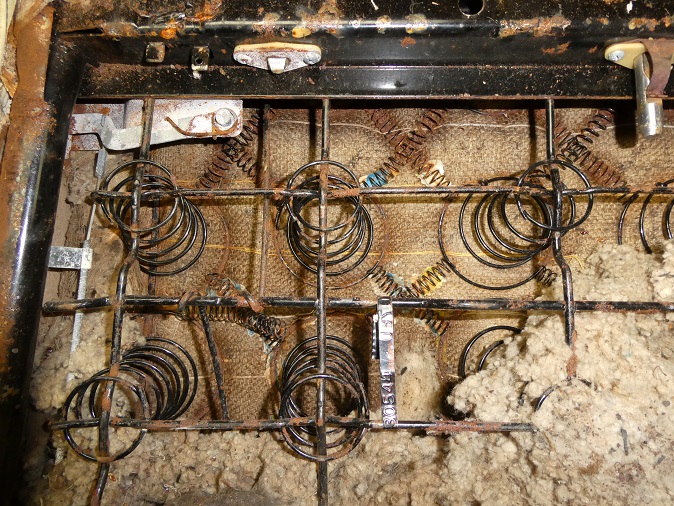
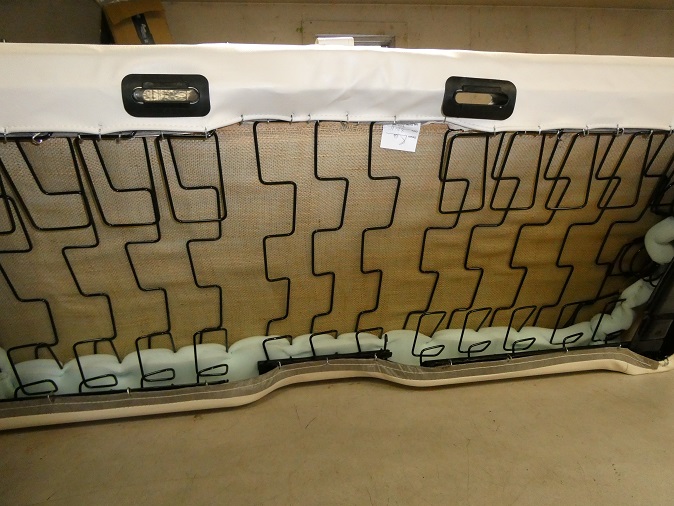
I found a mouse nest inside the driver's seat back when I pulled it a part. Sadly they chewed-up one of the broadcast sheets making a nest. You can see little bits of it behind the springs.
The picture on the rights shows all the pieces I could find of the broadcast sheet. To be fare, I couldn't find enough pieces to prove that it actual was the correct broadcast sheet for the car. But it
is interesting to know that the factory did stuff broadcast sheet inside the seatbacks.
|
|
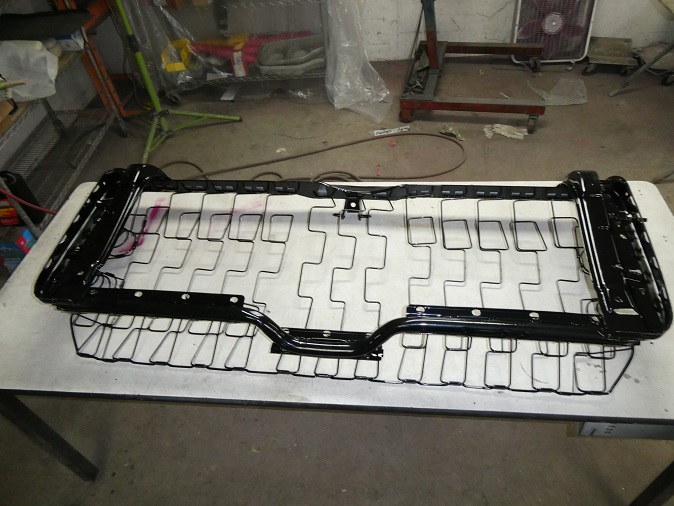
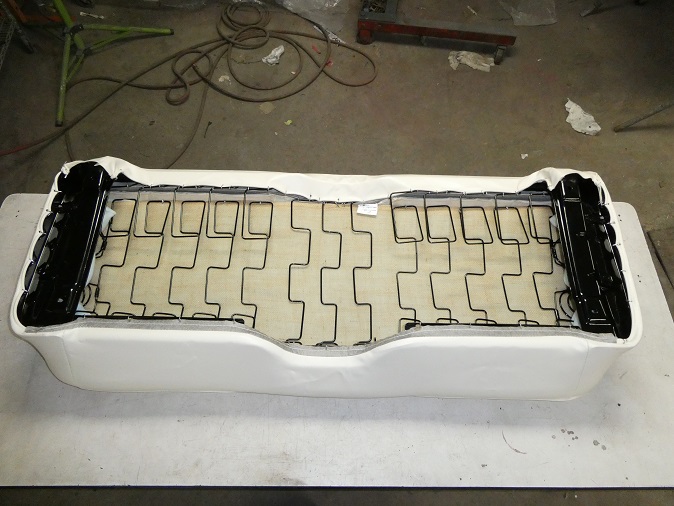
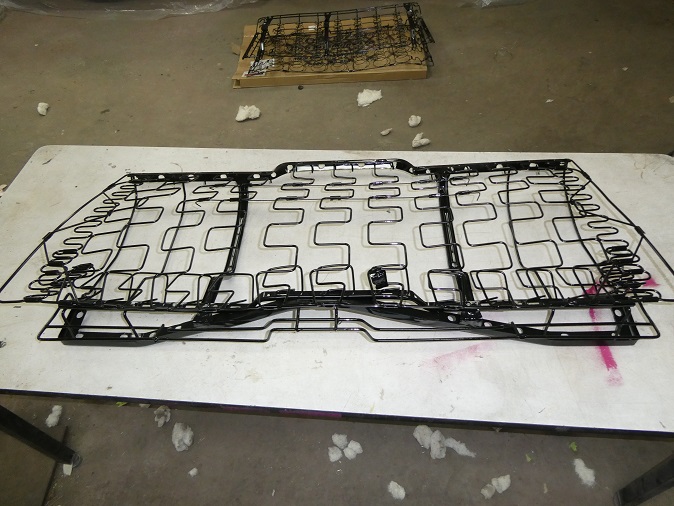
I had the bare seat frames sandblasted and powdercoated before putting on the new upholstery.
Legendary Interiors has a great series of videos that shows you how the upholster seats, so there is no need for me to go into much detail here.
I basically did what they showed in their videos.
|
|
You can buy the burlap and foam kits from them, which they sell separately. You have to buy 1 set for the front and a separete set for the rear. Youmight think they are exspensive, but if you had to gather all of the components to replicate them
you would go way over their asking price.
|
|
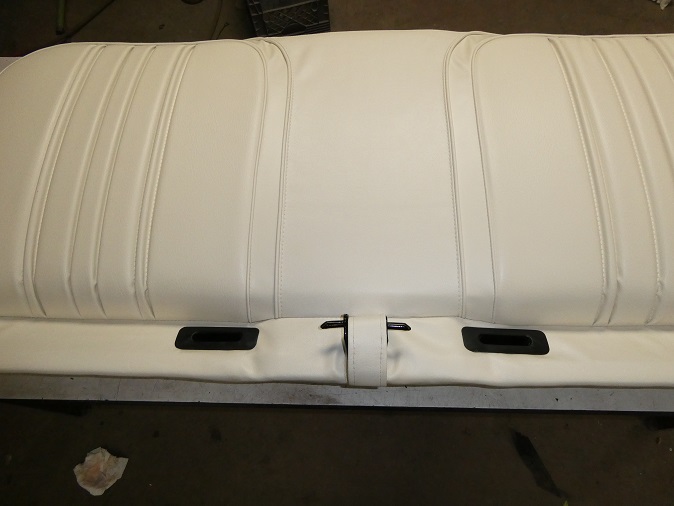
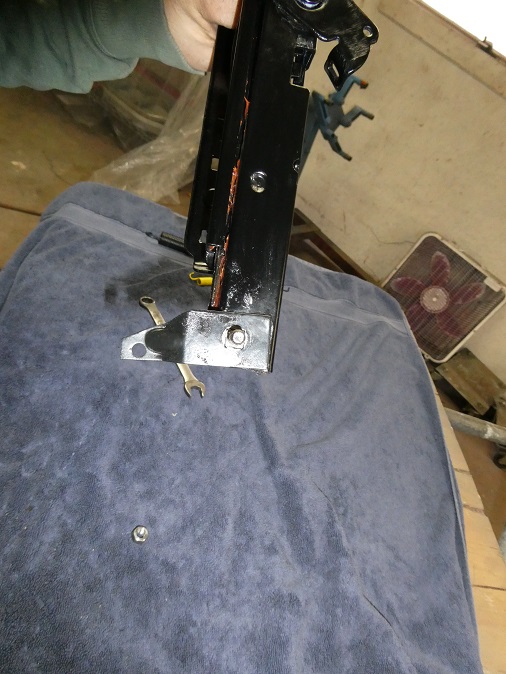
Once the seat covers are installed, the seat belt guides can be installed. You have to be careful when cutting the slits in the seat covers for the guides. used set off ebay as I only had part of one side.
|
|
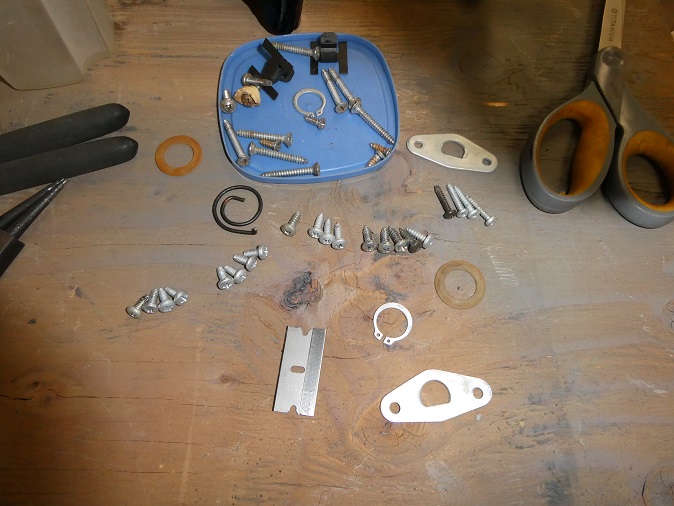
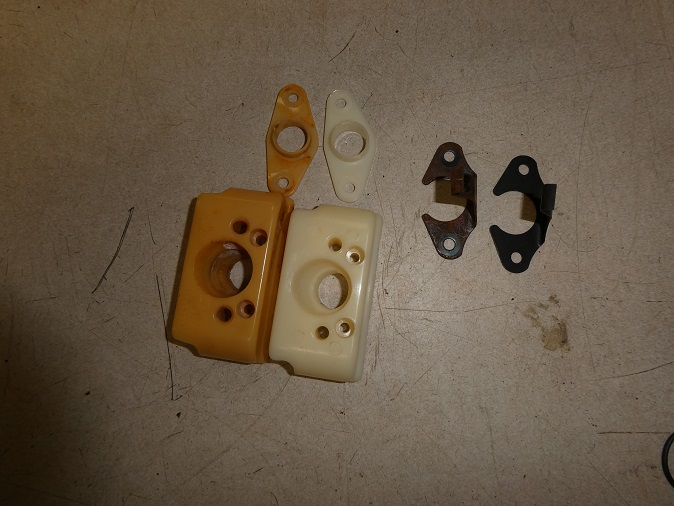
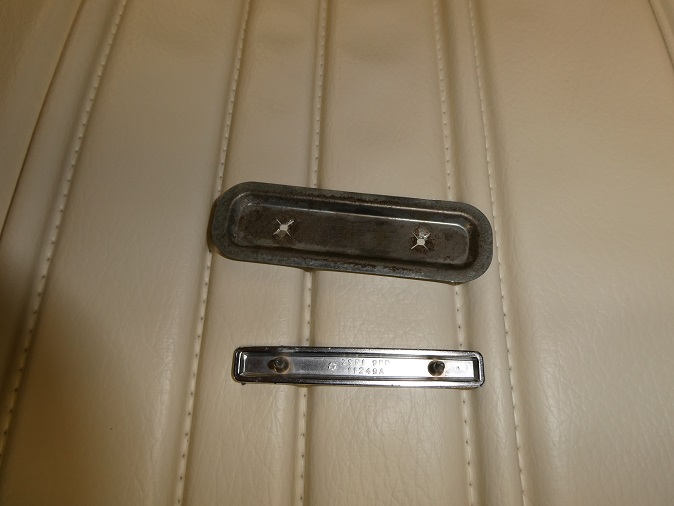
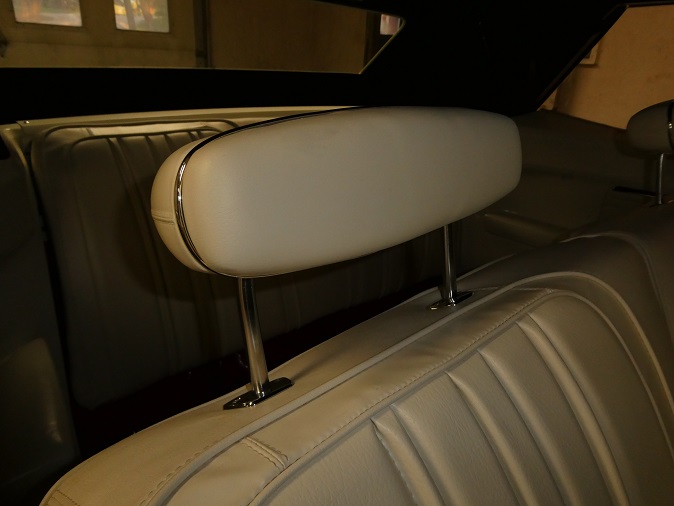
The first picture shows some of the original hardware that I restored. The middle picture shows a comparison between the original and repo headrest guides.
The repo pieces matched up really well.
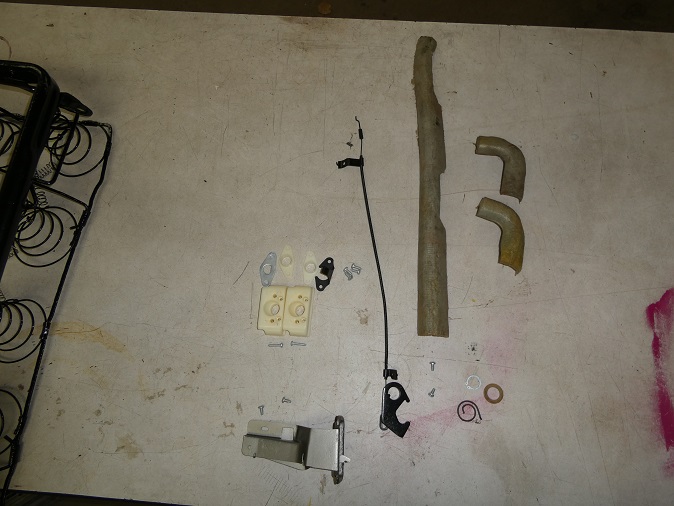
The last pictures shows the seat back release hardware and the special foam pieces that go on top of the seat. The foam pieces are not reproduced.
|
|
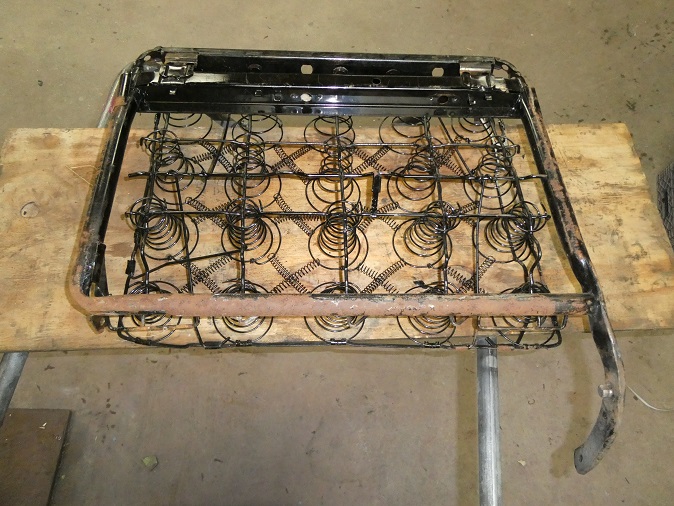
Here the seat backs are going back together. Some of the original "skinny" springs weren't any good. I bought various spring stock pieces from McMaster-Carr and made new ones from the
stock that matched up.
The first pieces I attached to the frames were the head rest guides and the seat release lever. The next piece to go on is the 2" (approx) burlap strip that holds the top of the springs to the right height.Then the burlap
that covers the springs and finally the foam pieces are glued on.
|
|
Again using the Legendary Interior videos as reference I applied the padding to the seat backs. In this case it was cotton padding as the factory did not use foam on the seat backs.
|
|
In the middle picture you can see that I installed one of the backer cardboards. There are left side versions and right side versions. When flattened out they are indentical. The only difference is how they are folded. It was not
very surprising to find that the repos came folded only to fit one side. So I had to fold one of them the other way. This involved cutting a thin line with a razor blade to get it fold the other way.
|
|
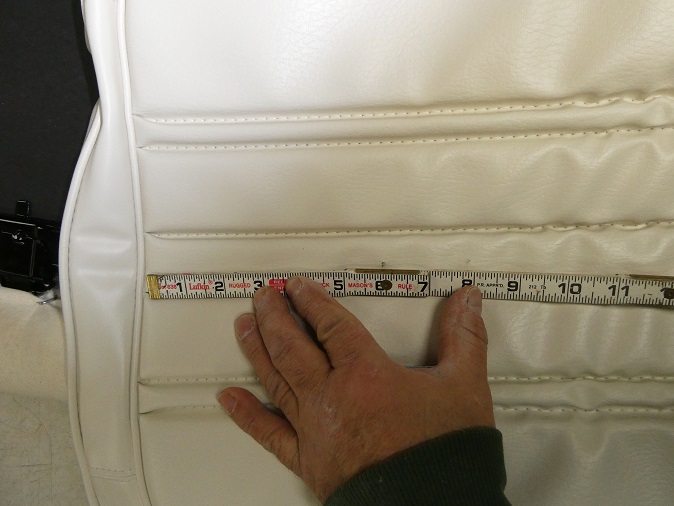
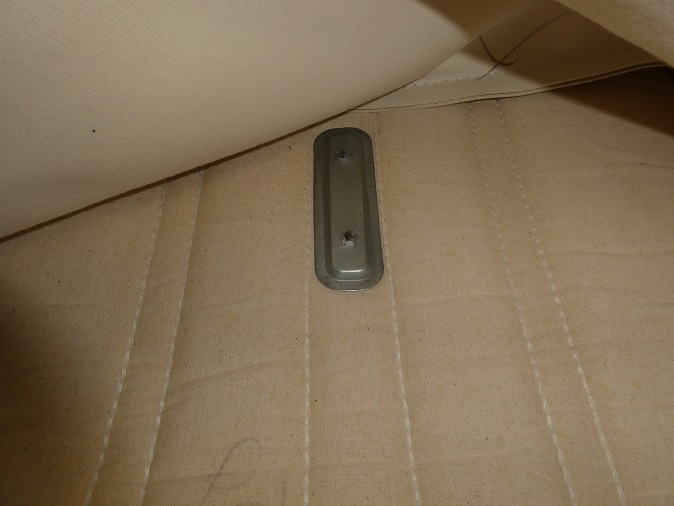
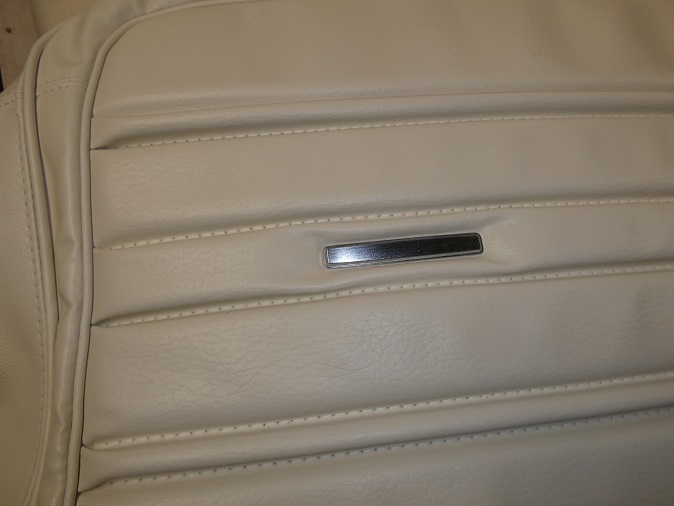
The seats have medalions on them that need to be installed on the seat backs before it is installed.
Using the original seat cover as a reference, I measured where the bottom mounting hole was and poked a hole in the new seat back at the same location. Instead of measuring the second hole, I just
pushed the medalion into the new hole and used it's upper stud to mark the 2nd hole.
Installing the medalion is easy. You flip the seat cover face down on a hard surface and press down on the backing plate on the inside of the seat. It helps to use a small nutdriver and a hammer
to tap it down tight.
|
|
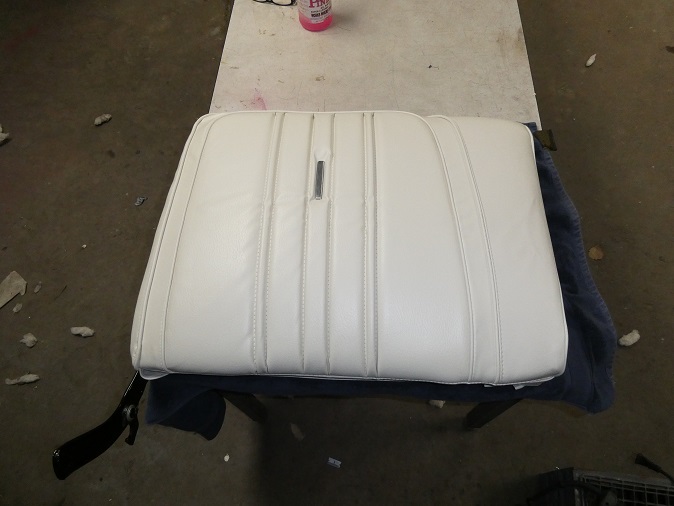
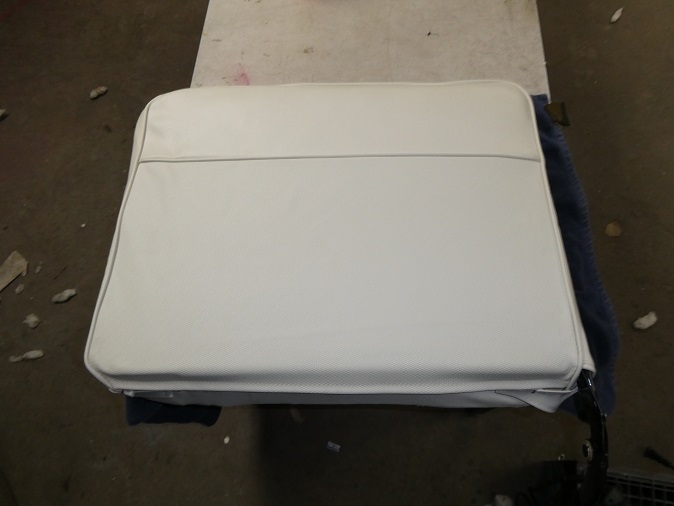
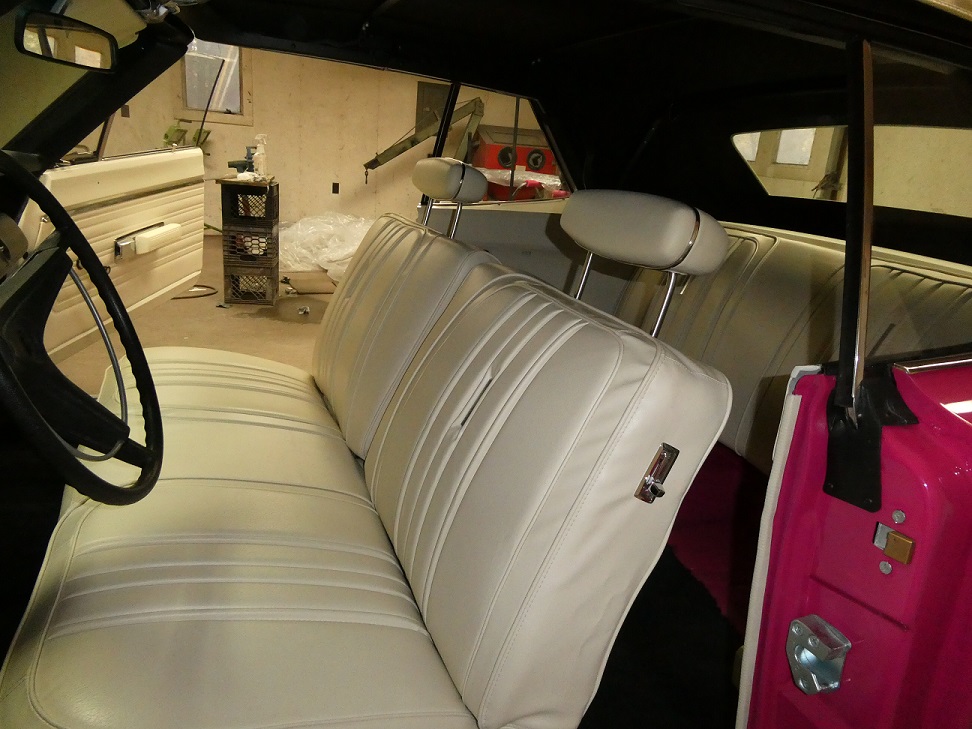
Here the passenger's side seat back is all upholstered and ready to install.
The headrests I sent out to Not Just Headrests to get restored. I couldn't
have done them myself for the price they charge.
|
|
|
Rear Seat
|
|

|
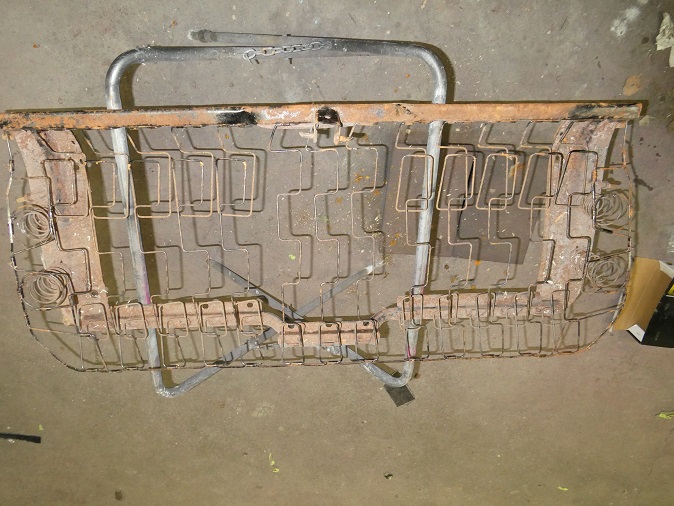
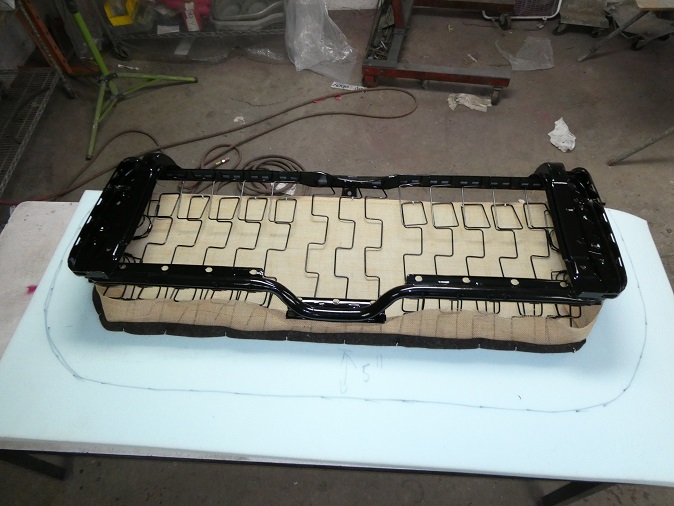
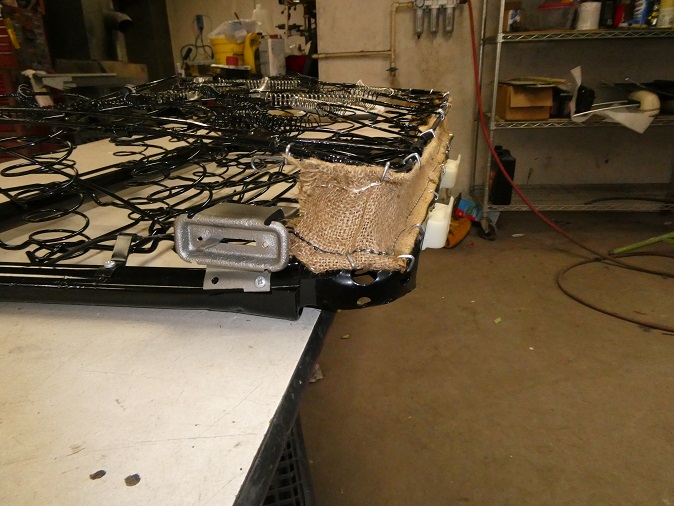
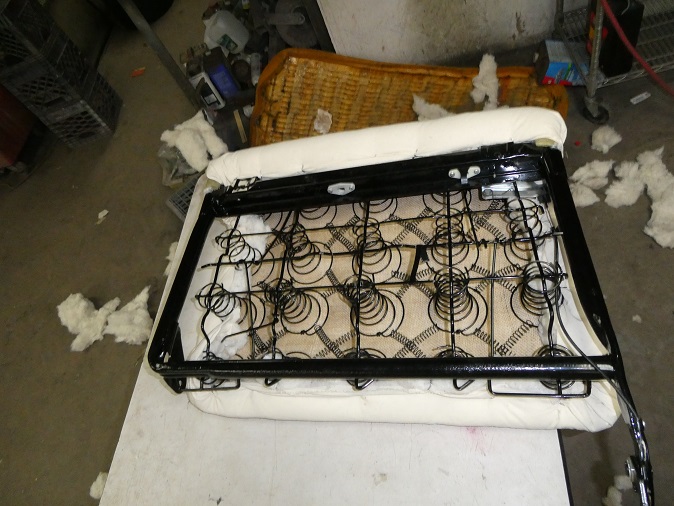
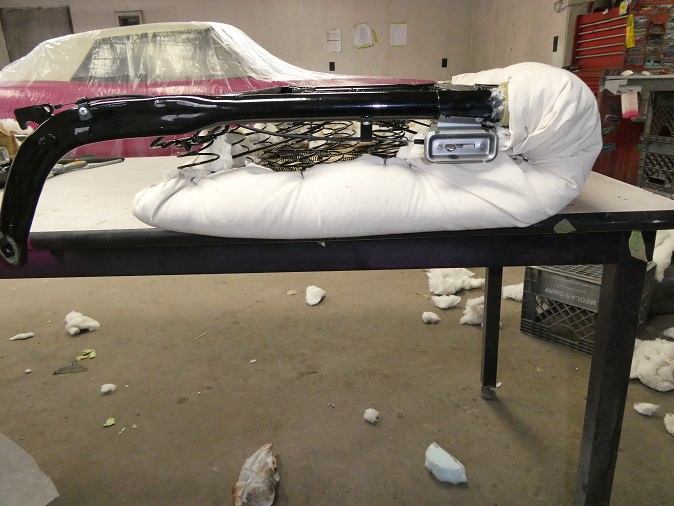
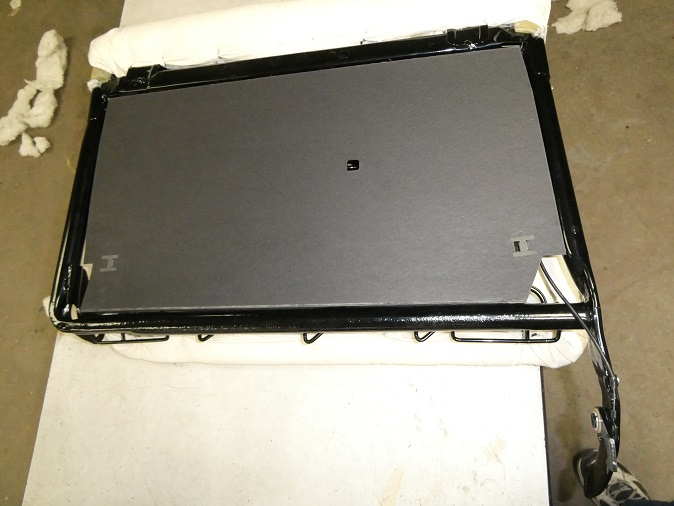
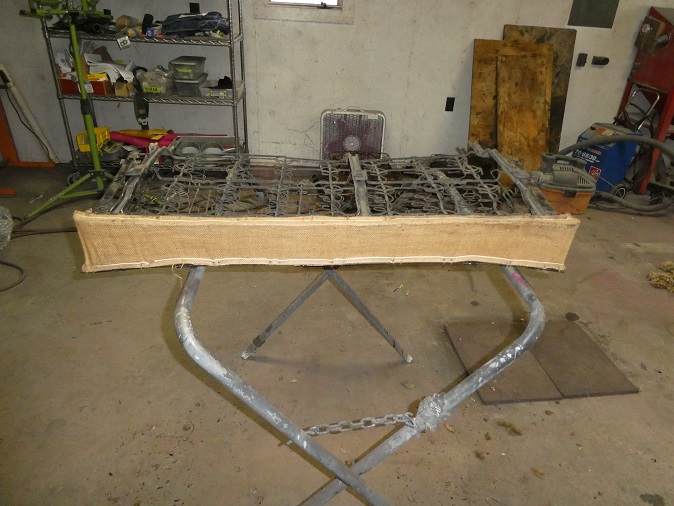
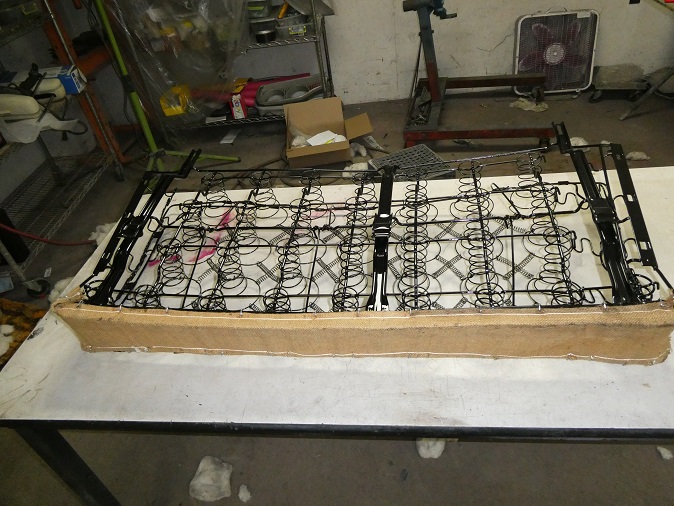
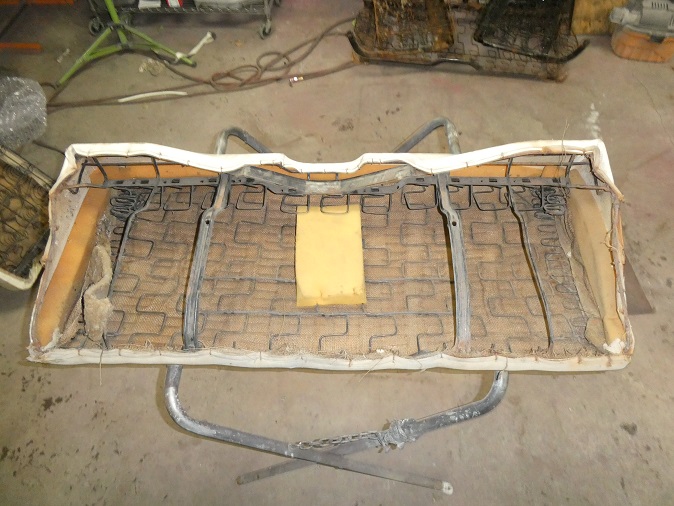
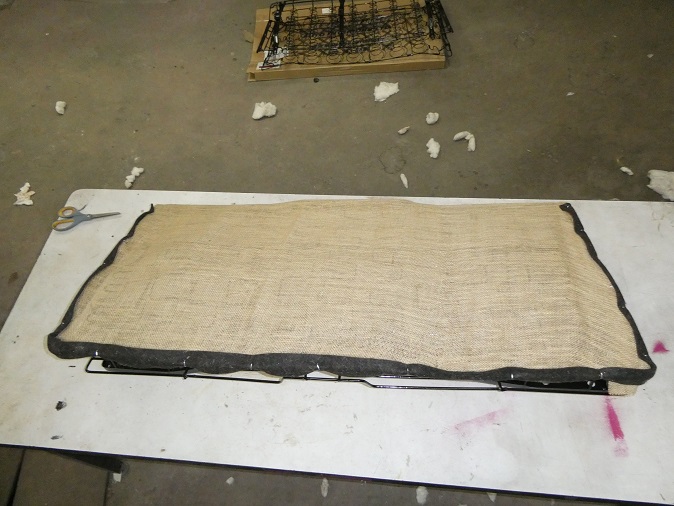
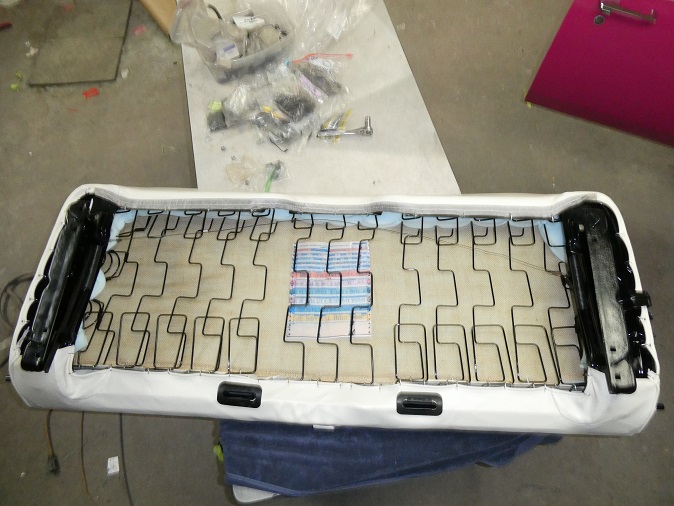
The rear seats never seem to be in bad shape on old cars. I guess they don't see as much action as you would think. This series of pictures shows the back of the rear seat. The last
picture shows the special 2" wide burlap piece that the factory used to hold the top of the seat springs to the desire height.
|
|
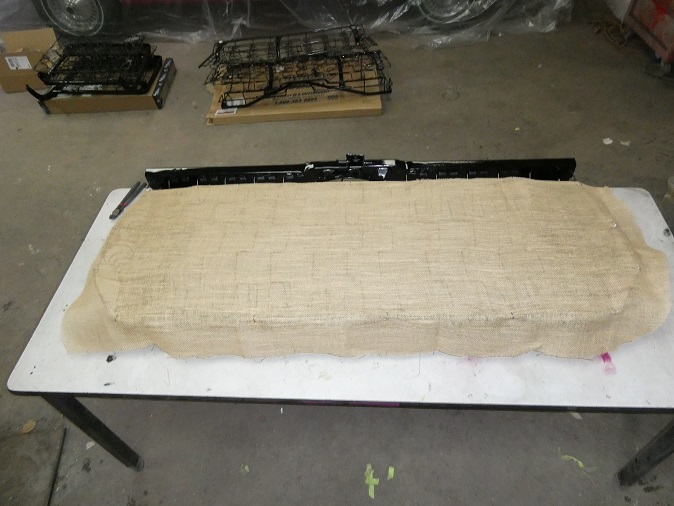
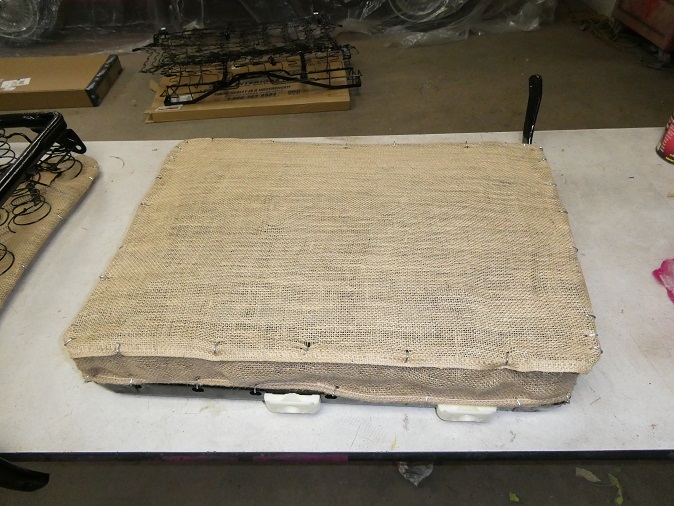
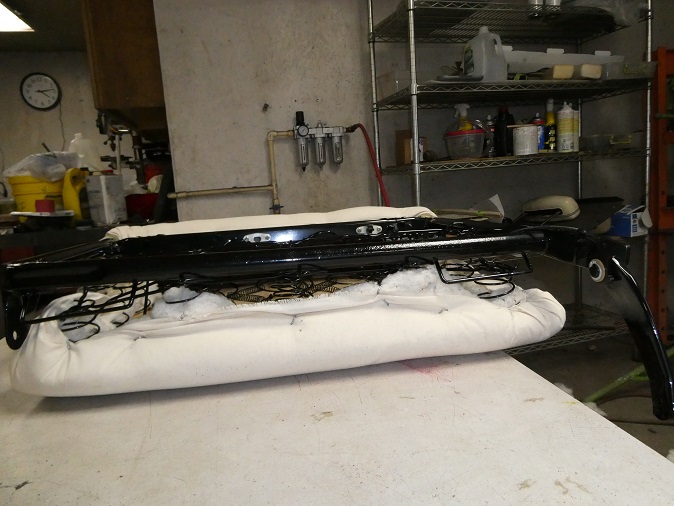
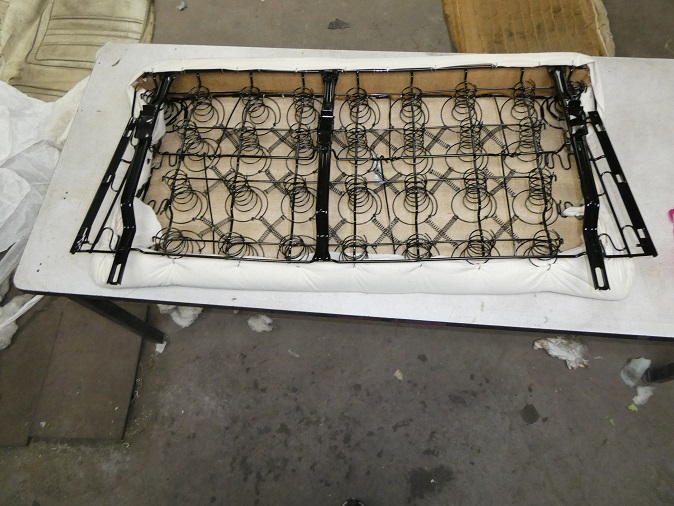
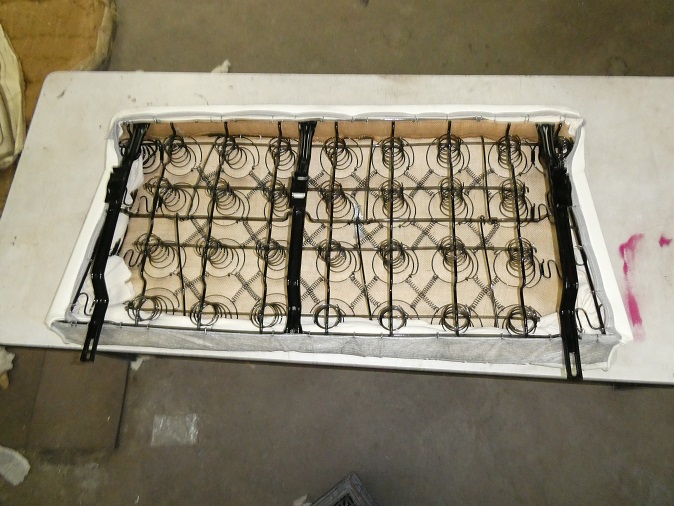
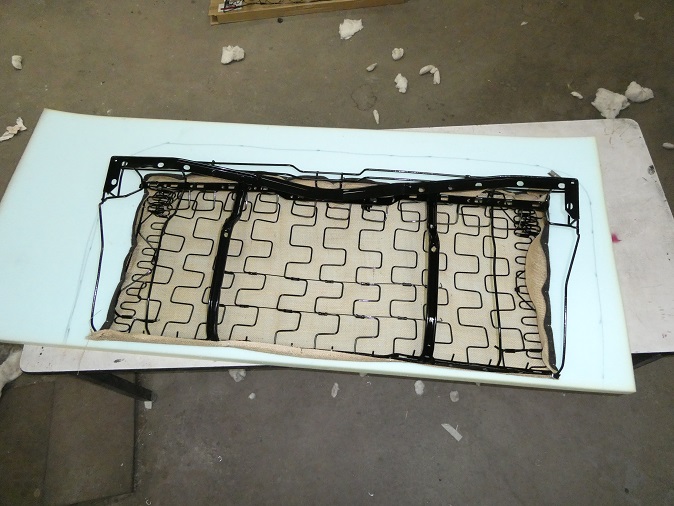
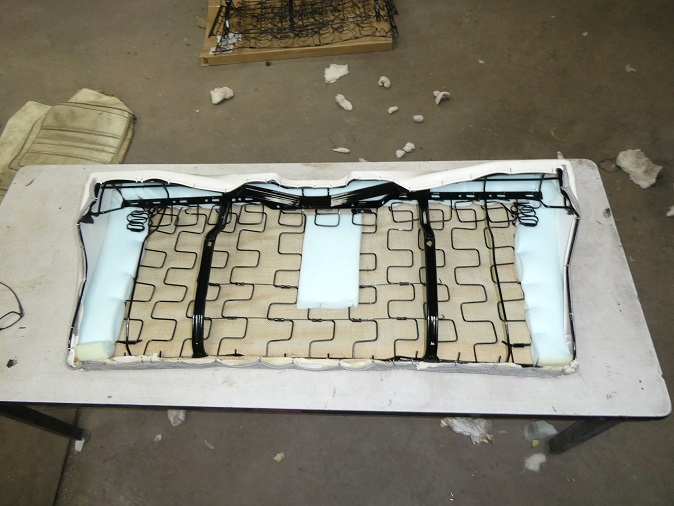
Here we have the burlap pieces going on to the powercoated seat frame. The rear seat kits from Legendary Interiors comes with a replacement piece for the 2" wide burlap piece previously mentioned, though I
opted for the original once since it was in such great shape.
|

|
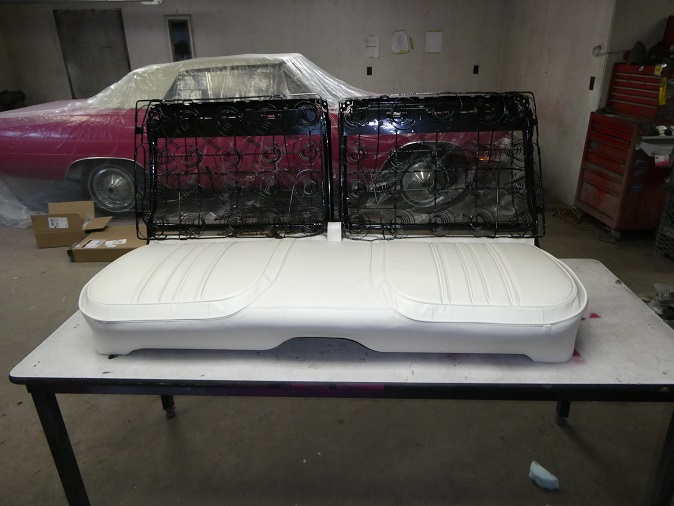
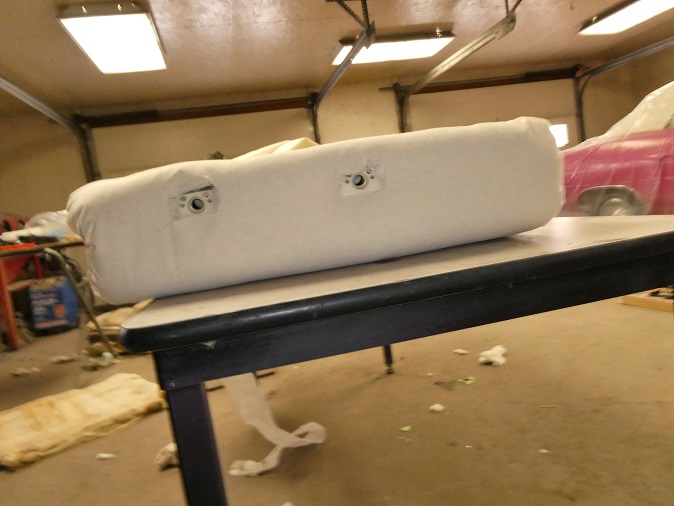
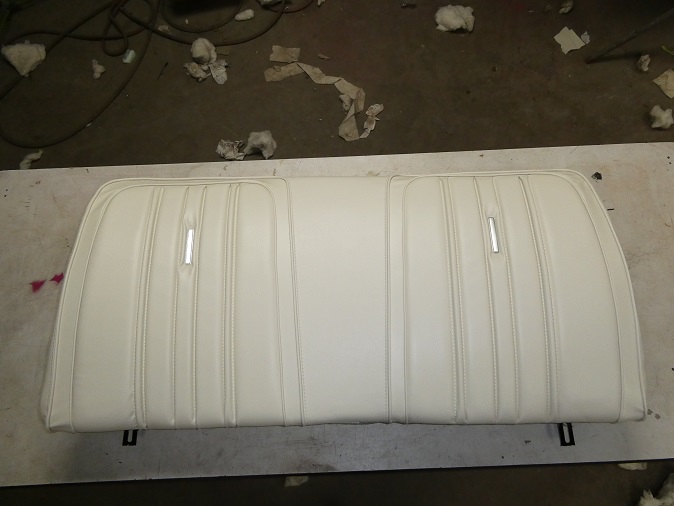
Again I followed the videos from Legendary Interiors for putting the seat covers on. The back seats also have medalions, which I installed in the same manner as the front.
|
|
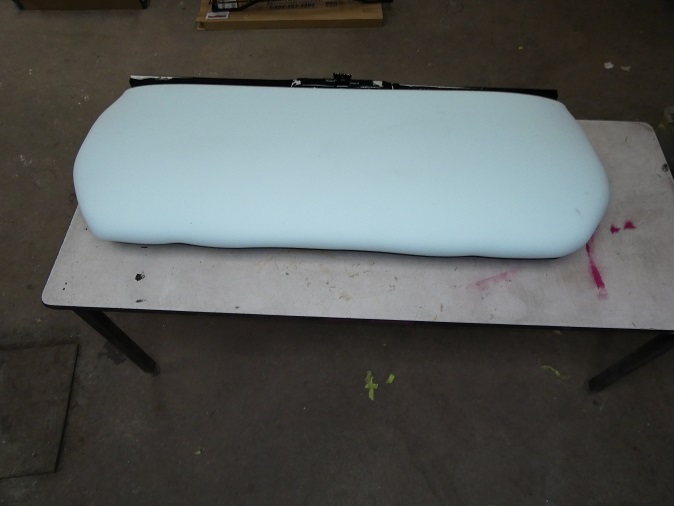
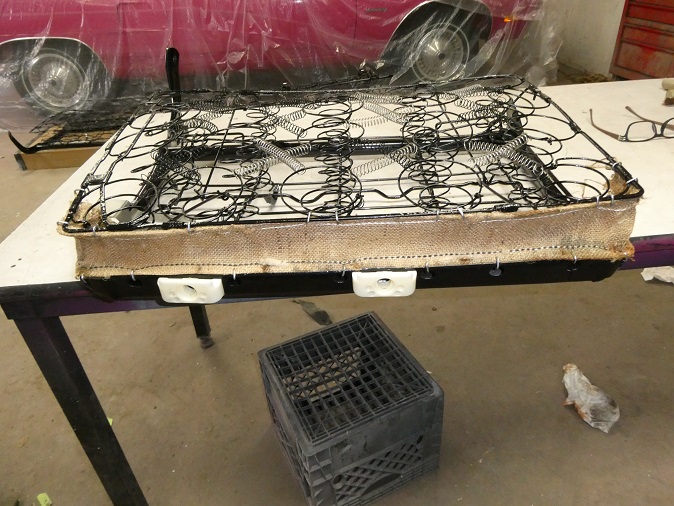
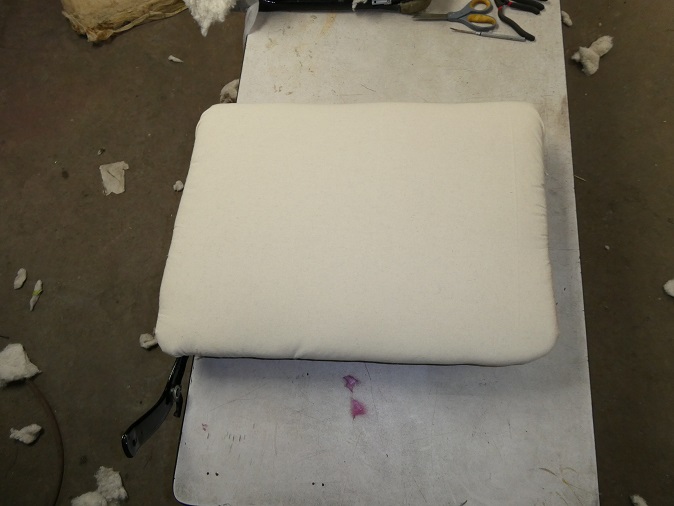
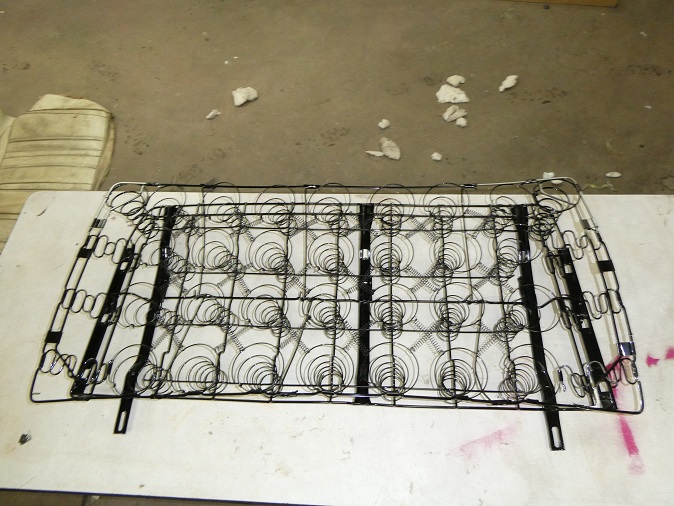
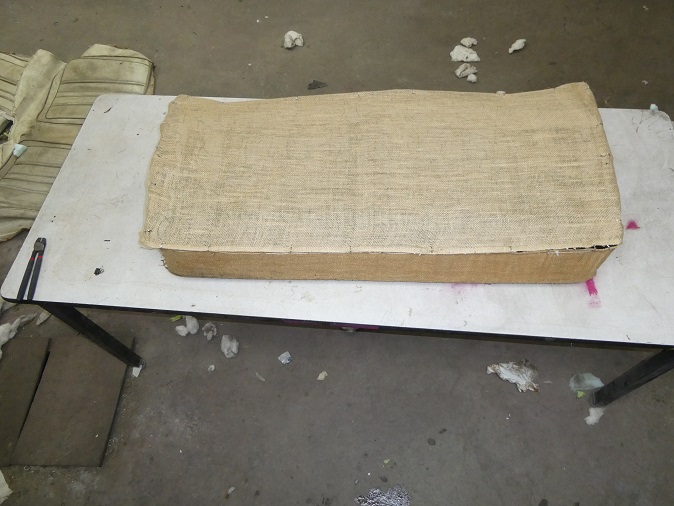
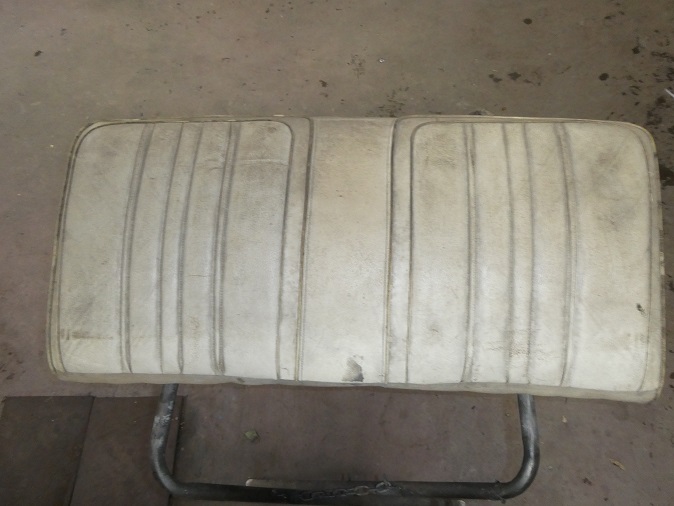
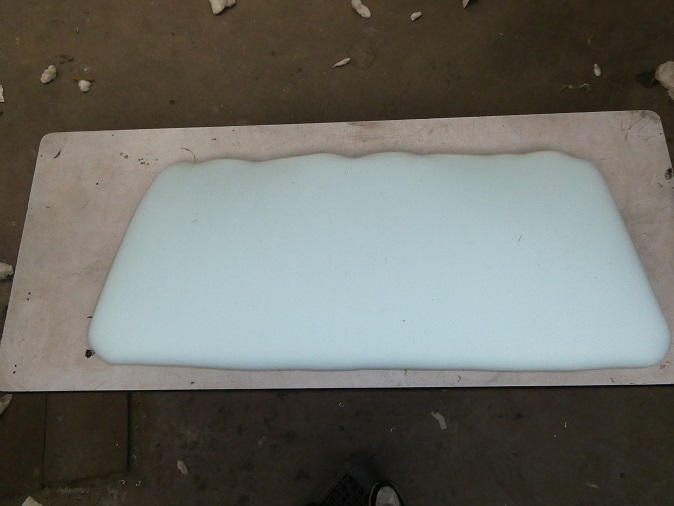
Here is the rear seat bottom before I took it apart. The foam block is factory.
|
|
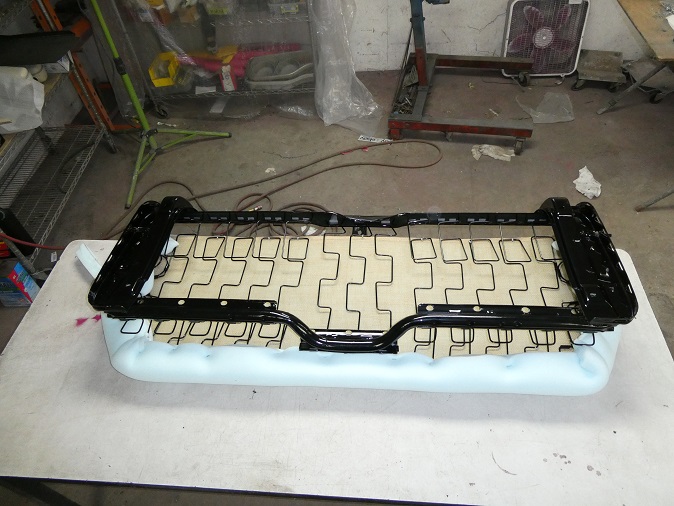
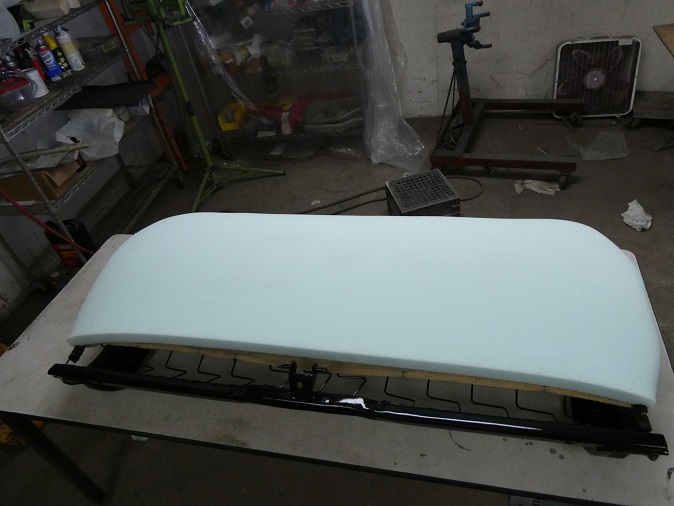
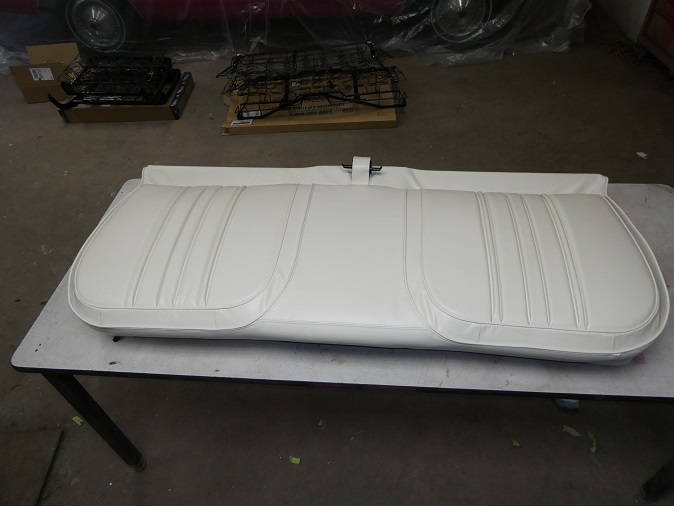
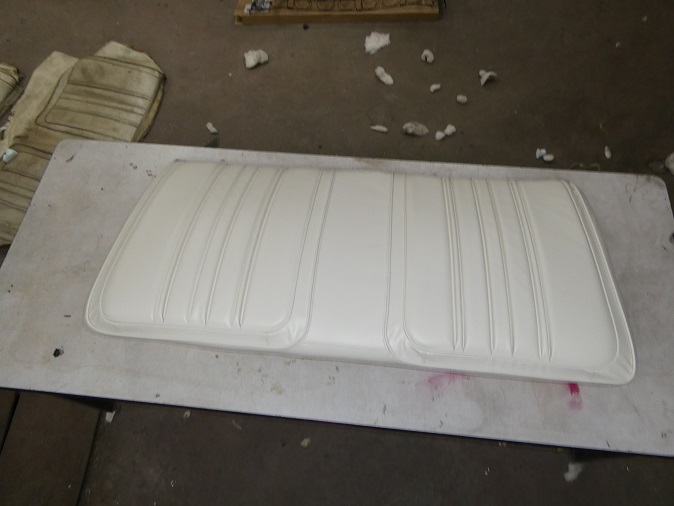
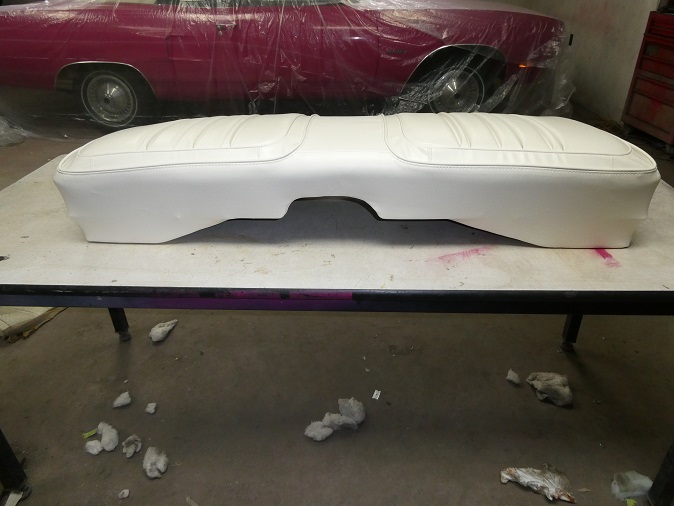
Installing the seat covers is the same process as the front seats.
|
|
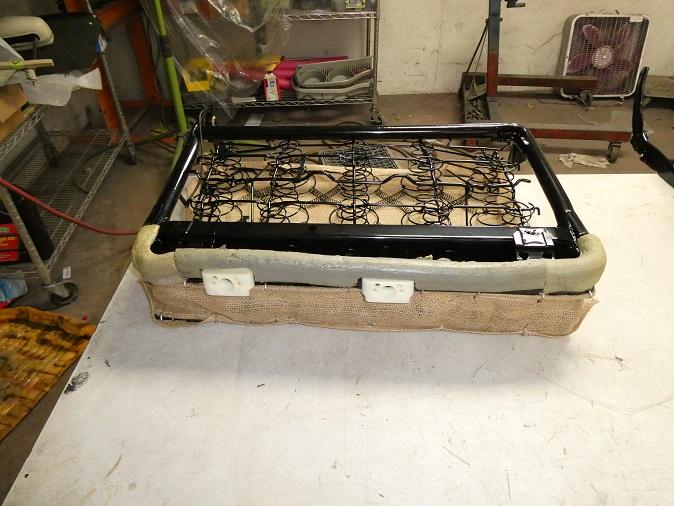
The tricky part is getting the corners to wrap around the frame. I used a heat gun to soften up the fabric to get it to fit the frame without taring it.
|

|
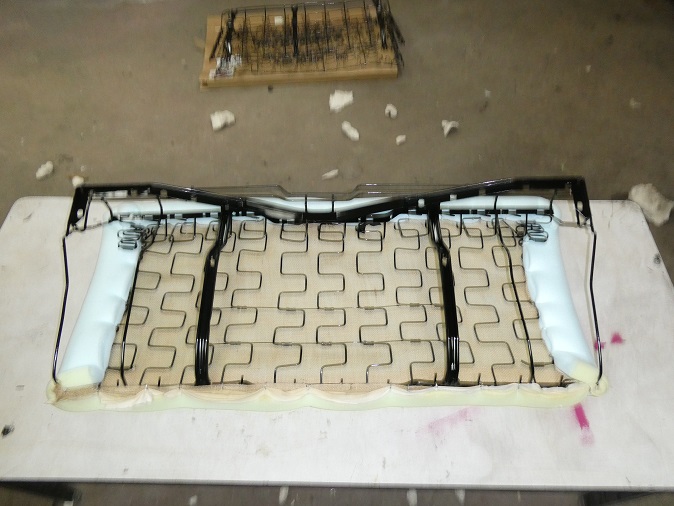
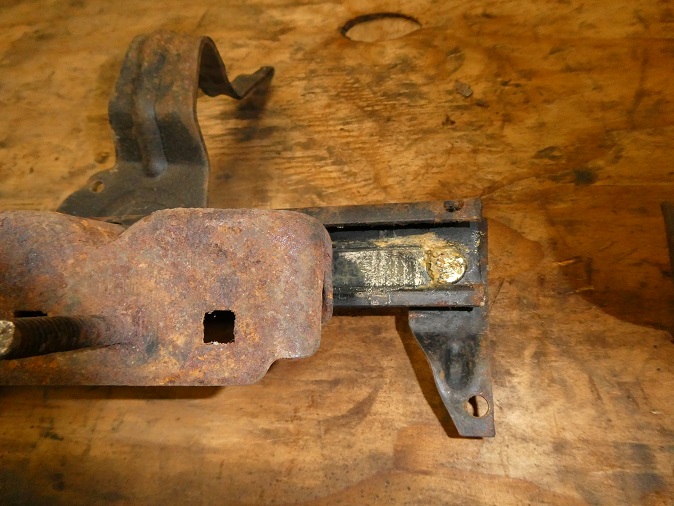
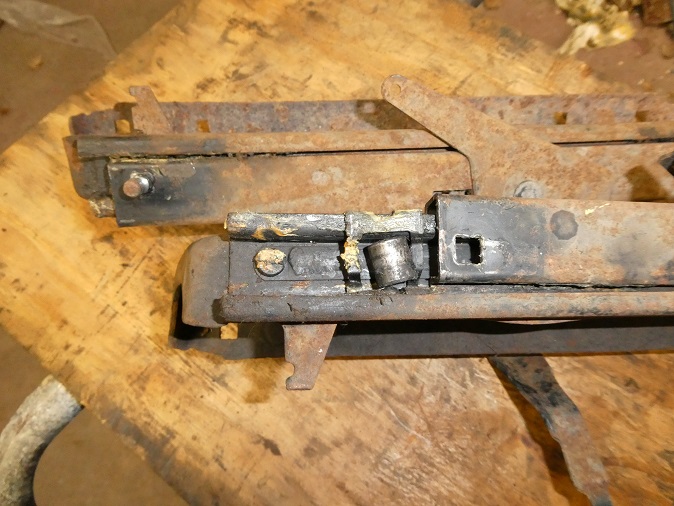
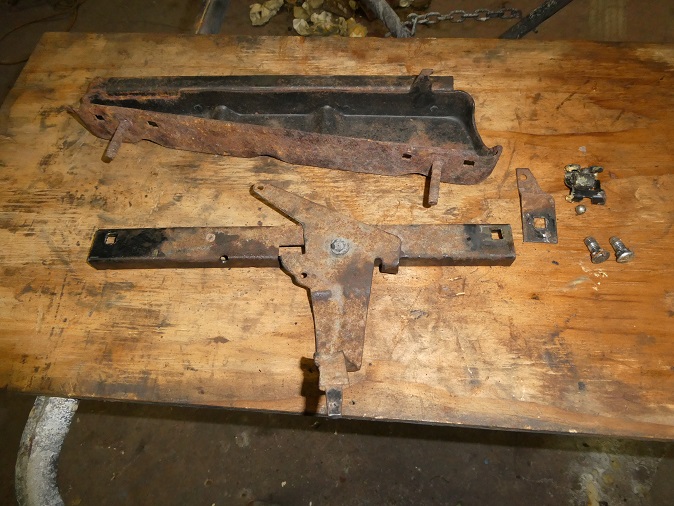
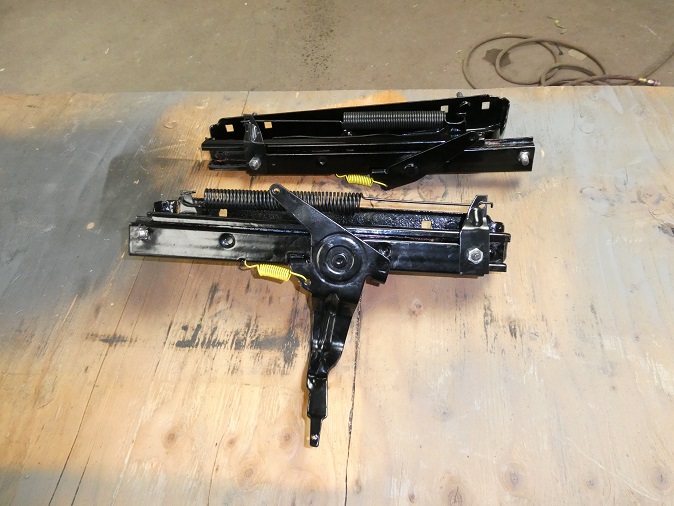
The seat tracks aren't really supposed to be taken a part, but you have to restore them or the seat won't slide very well. The seat tracks are comprised of an upper guide track and a lower guide track. A pair
of rollers is fitted between the tracks. There is a pair of threaded posts (one on each end) that retains the rollers and they also prevent the tracks from coming appart. In order to get them apart you have to press them
out. The rollers slide right out after that.
|

|
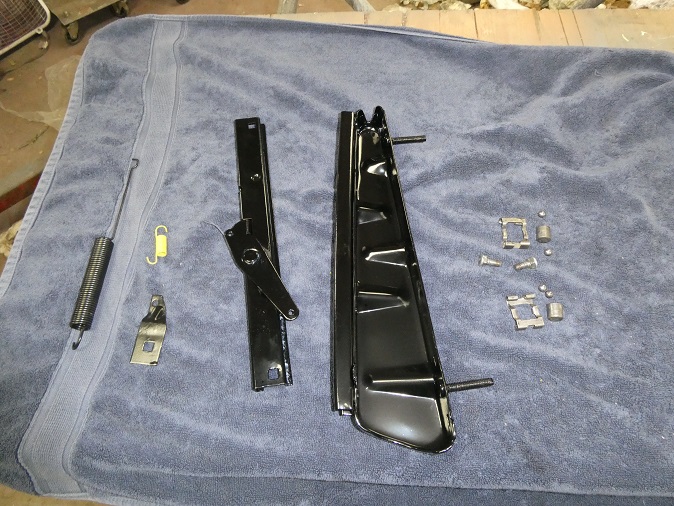
Here the track pieces are after sandblasting and powder coating. The rollers and roller cages only needed cleaning.
The tracks go back together rather easy. It helps to grease the rollers and tracks first. The studs are put back in last and I used a hammer and punch to mushroom over the inside face
of the studs to get them to stay in place.
|
|
Here we have the restored seat tracks before and after they were reinstalled in the seat.
As a finishing touch I took a color photocopy of the broadcast sheet (I only had a photocopy of the original), and placed it in under the seat like the factory had installed the original.
|
|
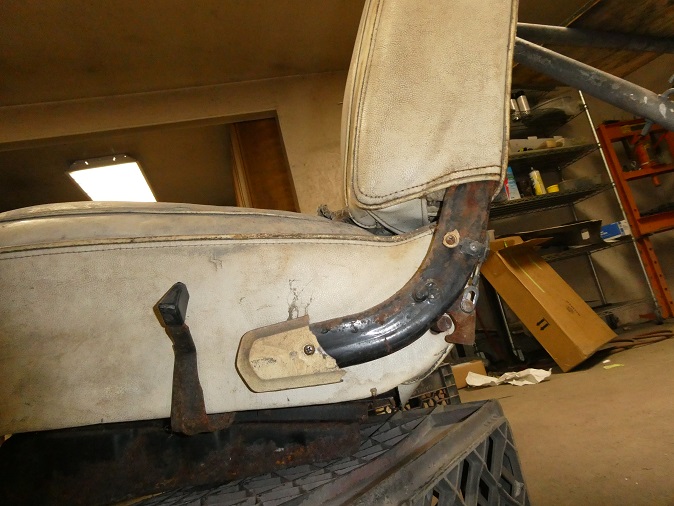
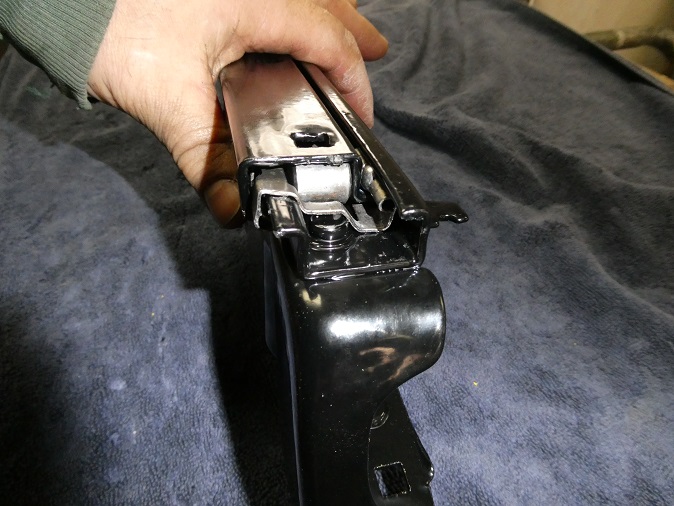
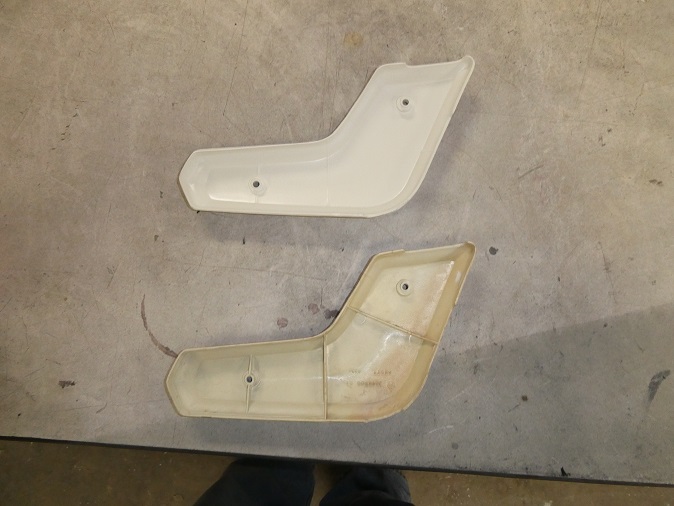
When I put the seat backs on the front seat I used the repo end caps. As soon as I folded the seat back in place it shattered. Why? Because the end caps did not have the ribbing on the
inside to hold the end caps away from the latch. You would think that if they went to all the trouble to fet the ourside right, they would bother to get the ribbing right so it
mounts correctly to the seat. Nope. Welcome to the world of repo parts......
|
|
The finishing touch on the seats was the headrests. A had the originals restored by Not Just Headrests. I couldn't buy the parts and materials to restore them for the price they charge and
they came back looing fantastic.
|