My intent here is to give an overview of what I did to put the new convertible top on. If you are considering doing this yourself, you may want to consider having a professional do it, as this car was quite
difficult due to the shape of the rear outer corners and due to the poor fitment of the repo tops.
|
|
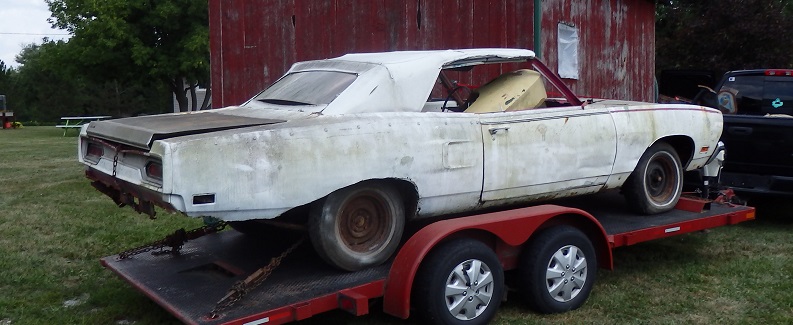
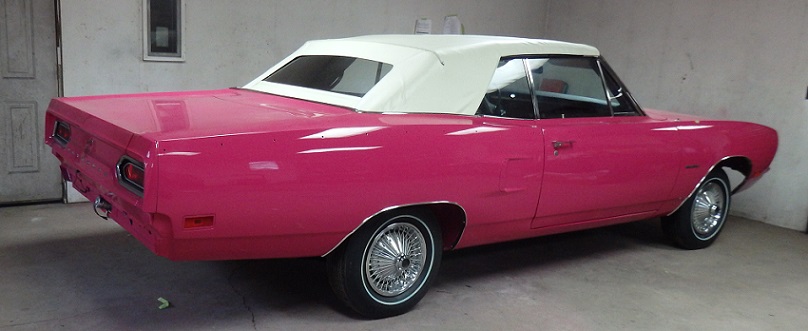
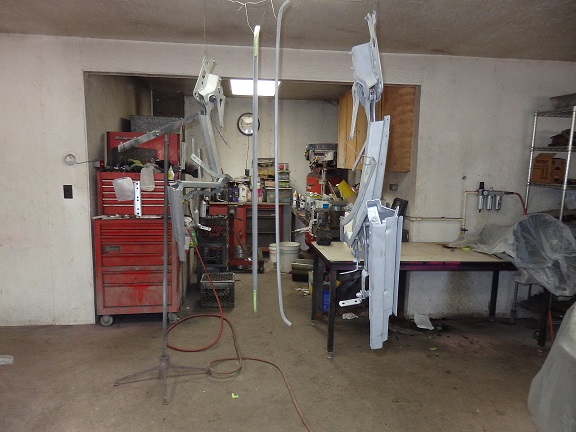
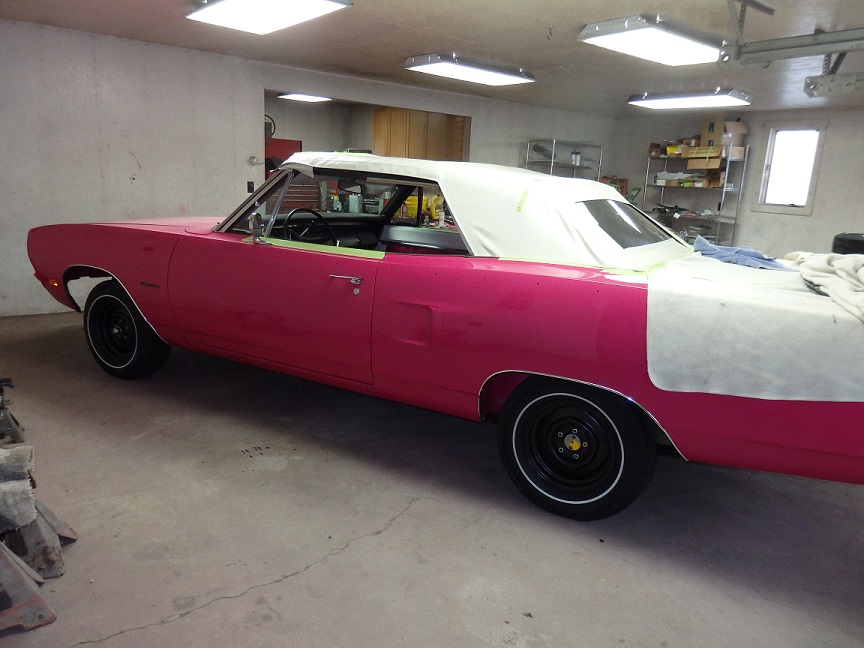
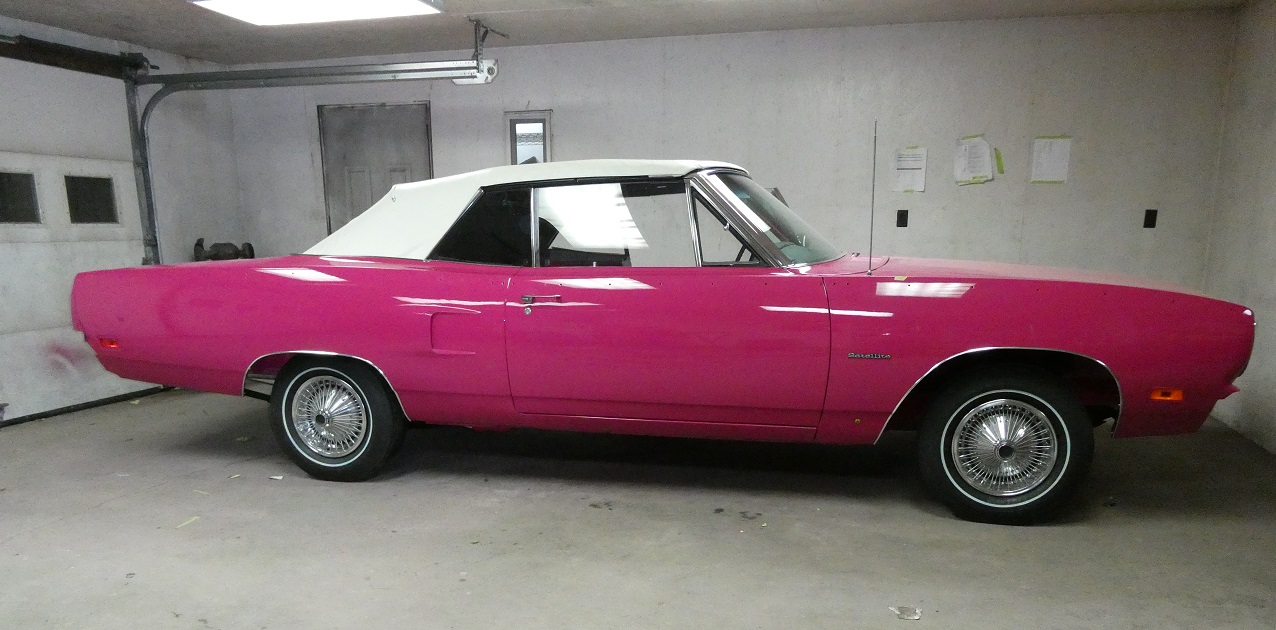
50+ year old convertible tops just don't survive the weather without drying up and cracking. Here are some before and after pictures. The new top looks pretty good, but the repo tops just don't quite match up to the originals dimensionally.
|
|

|
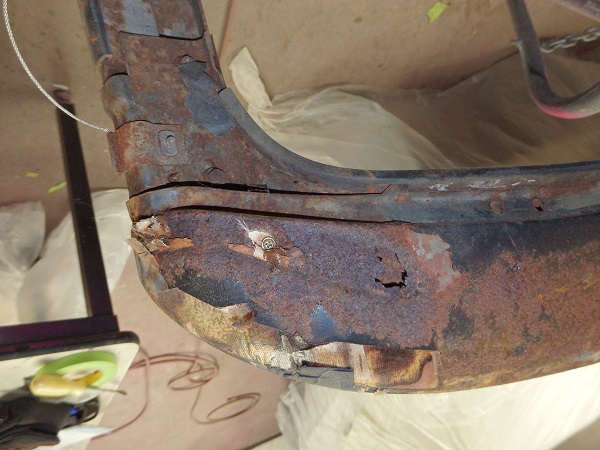
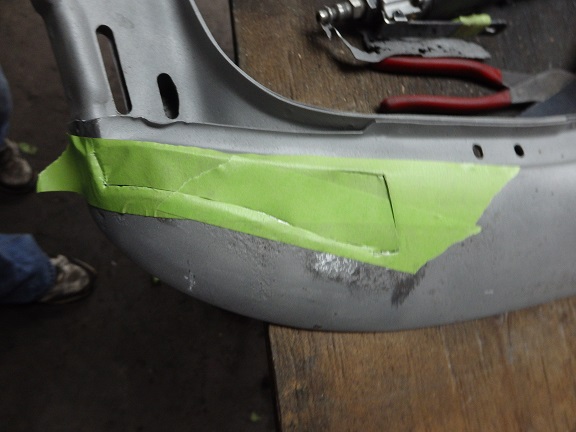
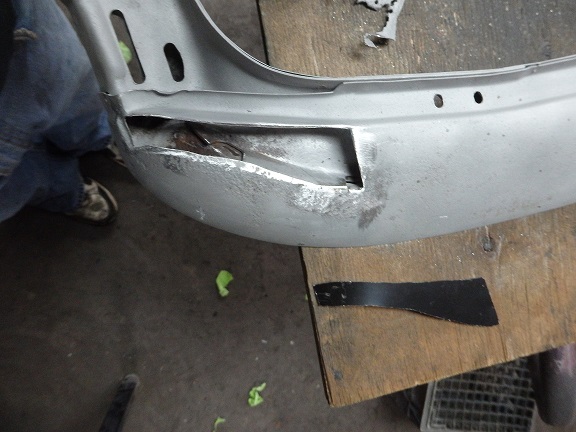
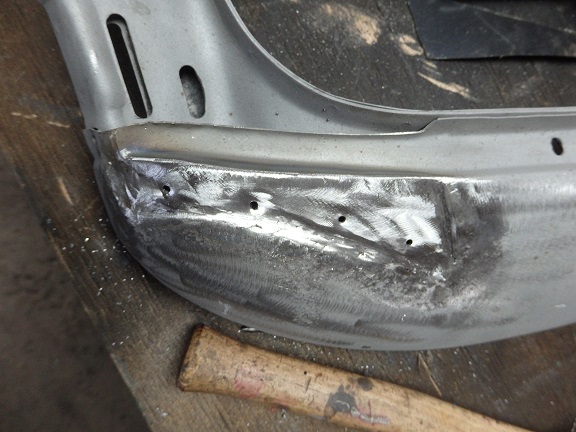
The top frame was actually nice, but a bit stiff. The header bow didn't quite survive intact. It rusted out where the pads were attached on the RH side. This is my typical method for making repairs. I cut out the rust and then I use a piece of masking tape to make template of the
opening. I then apply the tape to new metal and cut it out.
|
|
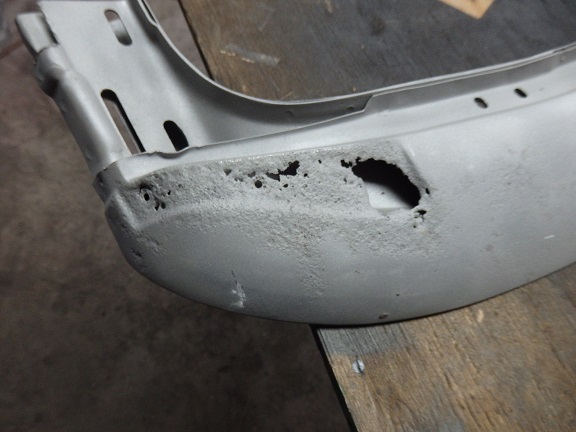
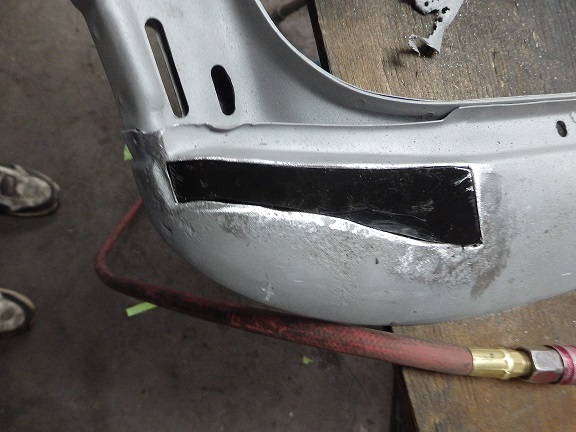
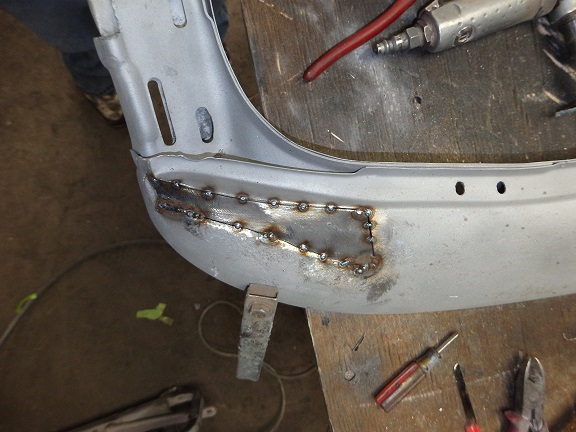
Then the new piece is trimmed roughly 1/16" smaller then the opening and before it is welded in. Once the welding is completed, the welds are ground down and the holes for the top pads are drilled.
|
|
The top frame was sandblasted, epoxy primed and painted satin black.
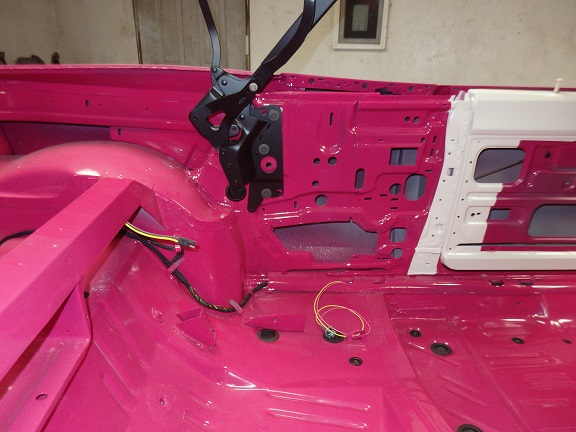
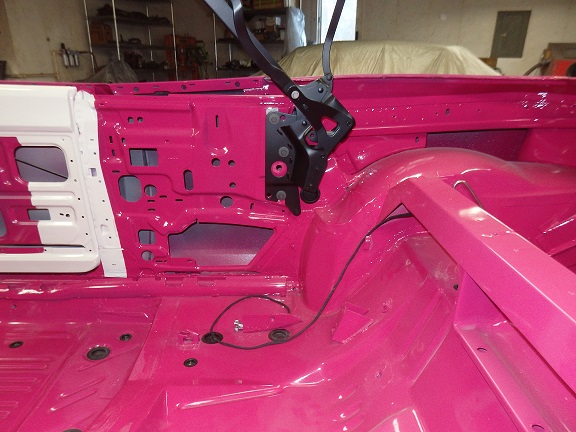
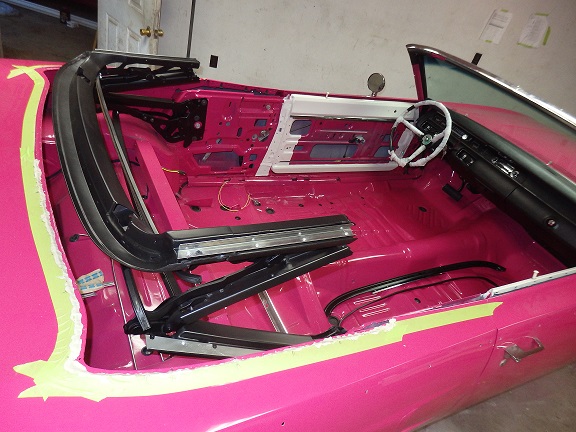
Installation began with the side rails bolted to the car in roughly the same locations where thet were when they were removed from the car.
|
|
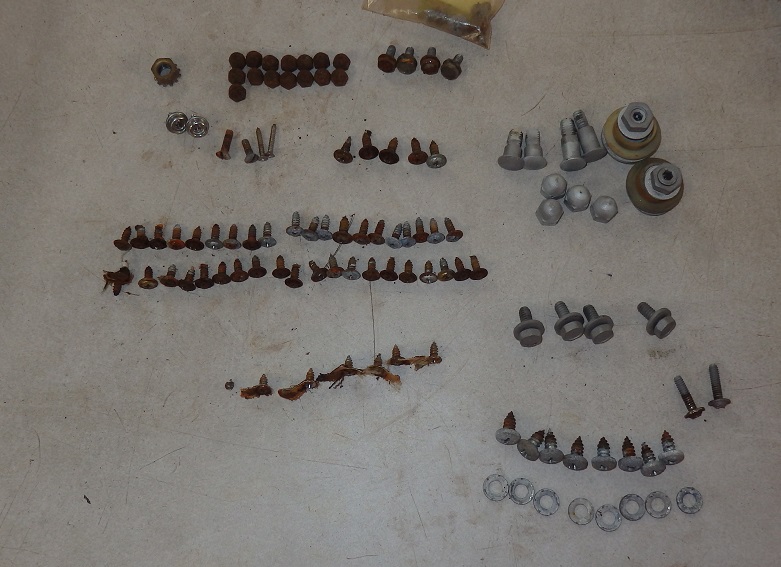
Of course nothing can go together until the hardware is restored. Here is most of the top frame hardware. Except for the acorn nuts, all of it was originally zinc plated. You can't buy new kits with the correct hardware,
so the originals must be replated to retain the original factory look.
|

|
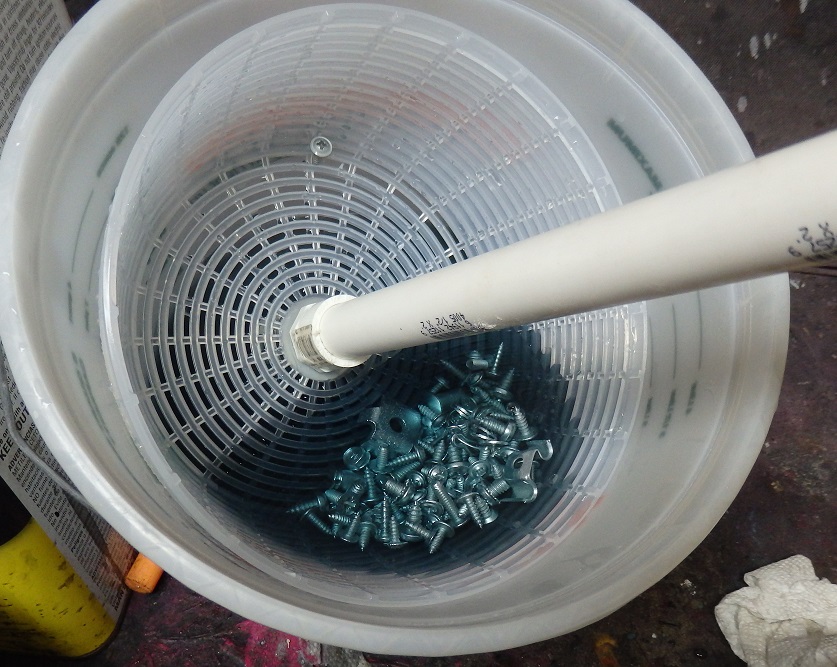
I replated the hardware myself. I made a revolving plating barrel out of a salad spinner, a BBQ rostiserie motor and some PVC pipe fittings. The zinc plating kit came from Caswell Plating.
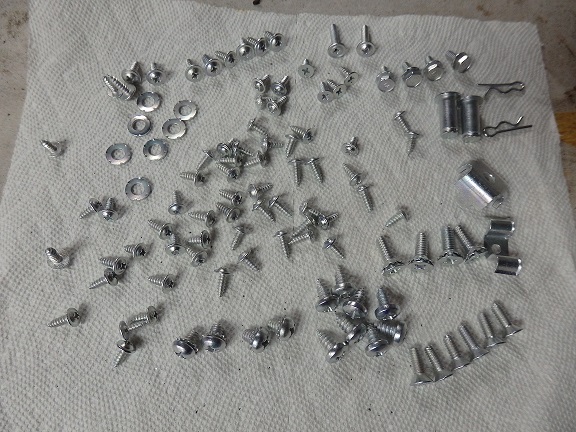
Prep work is very important when replating original hardware. The parts were sandblasted and wirewheeled to make them shine. They were soaked in a hot degreaser bath and then rinsed with distelled water. Finger
grease can ruin this process, so you have to wear gloves through the whole process.
|
|
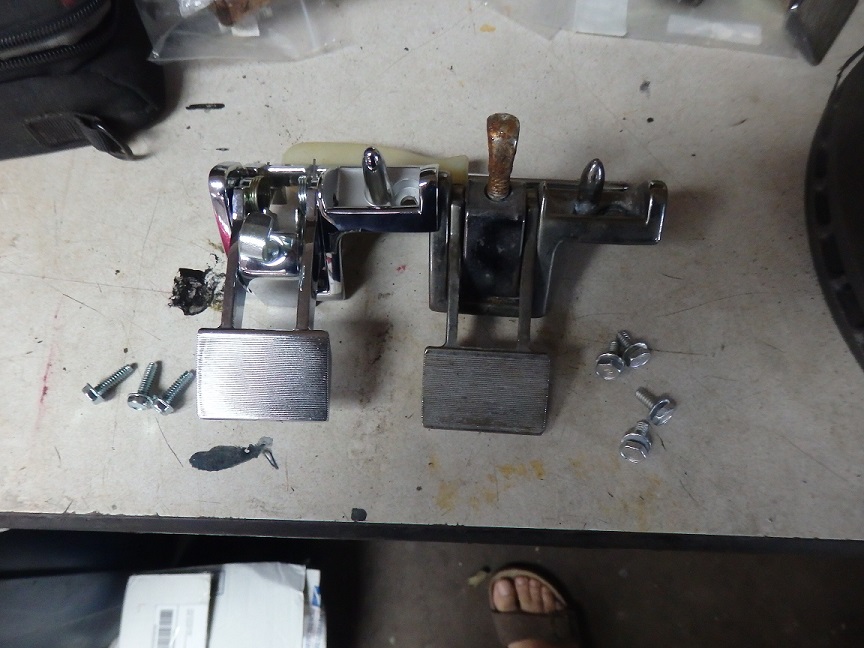
Here is a side-by-side of the the repo and original convertible top latches. The repo latches are actually pretty nice, but the hook isn't chrome plated like the originals and the hardware to mount them with is completely wrong. They can make a completely
accurate reproduction of a complex part, but they can spend the time to use the correct screws, unbelievable!
|
|
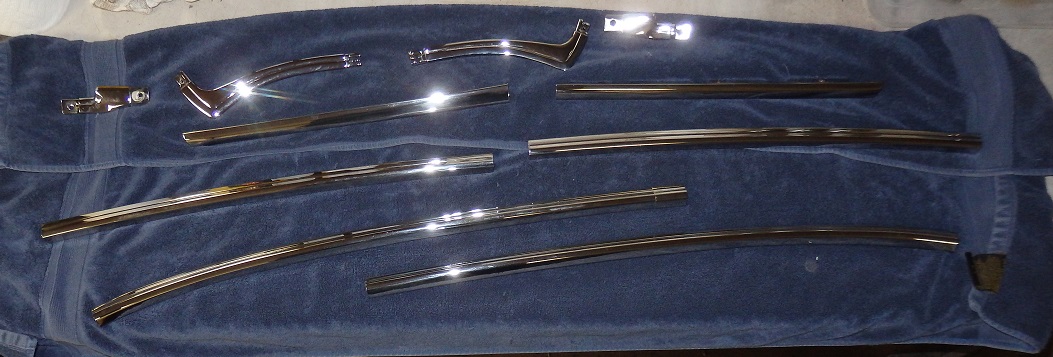
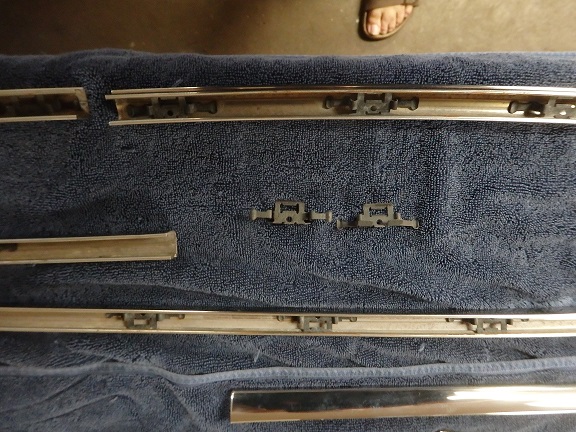
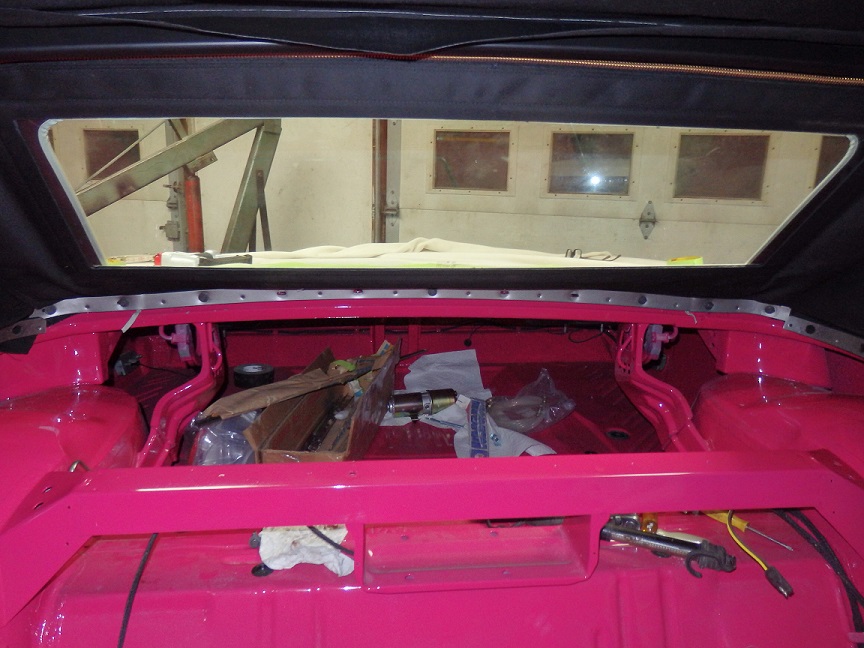
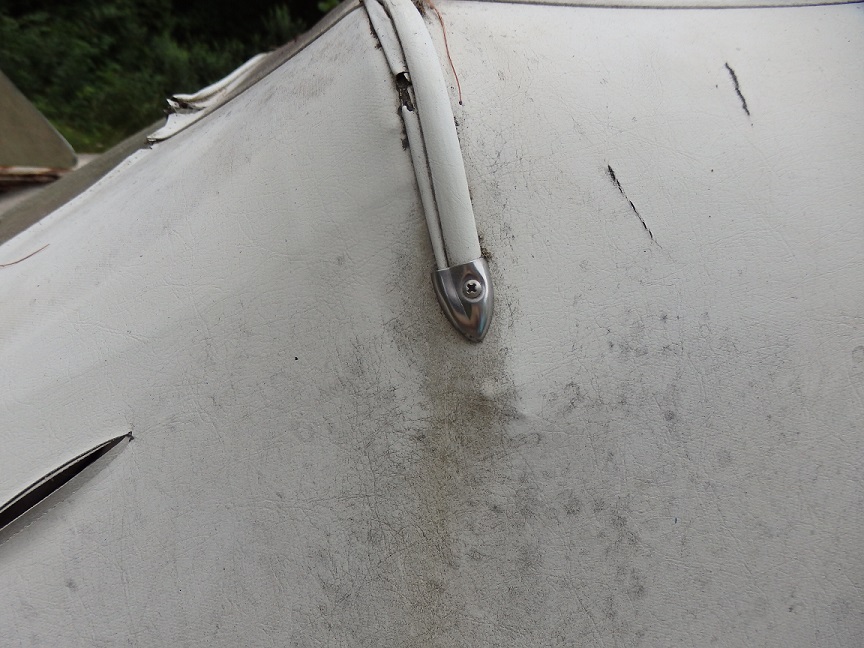
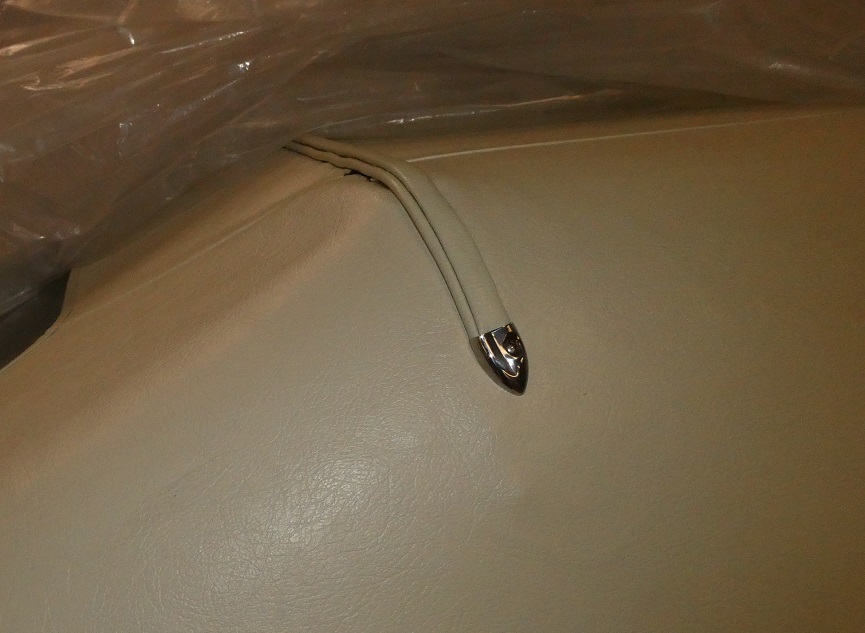
The convertible well mouldings must be installed before the top. The stainless steel pieces I sent out to Brightworks Restoration in Massachusettes for polishing. The chrome pieces were replate by Paul's Chrome in PA.
It should be noted that the 2 short chrome pieces and the short stainless steel mouldings are different then Coronet. So be careful when shopping for them.
The mouldings were originally bedded by the factory in sealer to keep the water out. I found that plumbers putty works perfectly in place of the original factory sealer and it stays softer longer.
|
|
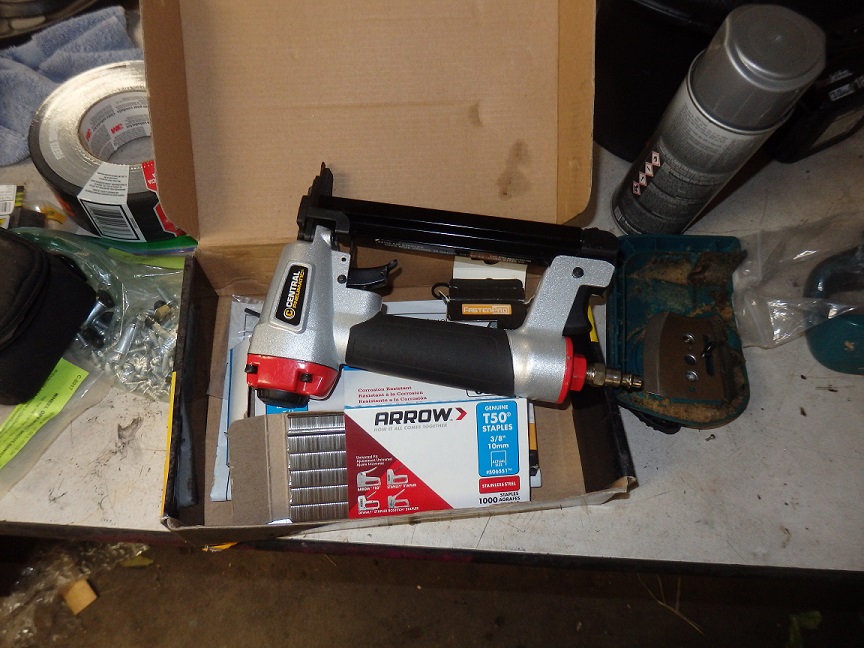
For installing the top I use this pnuematic stappler and stainless steel staples.
|
|
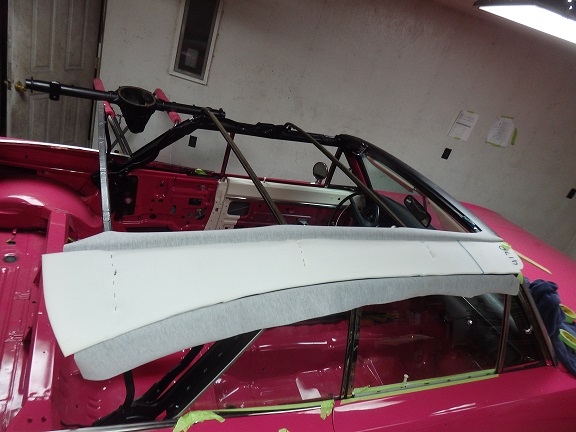
First to go on is the pads. They are screwed down at the front and are stapled at the rear. The two center bows are adjusted parallel to the floor and then pad is stapled to them.
The pads are attached opened up like the first photo. Then the top flaps are closed and are taped clsoed. The front is taped closed along the header box.
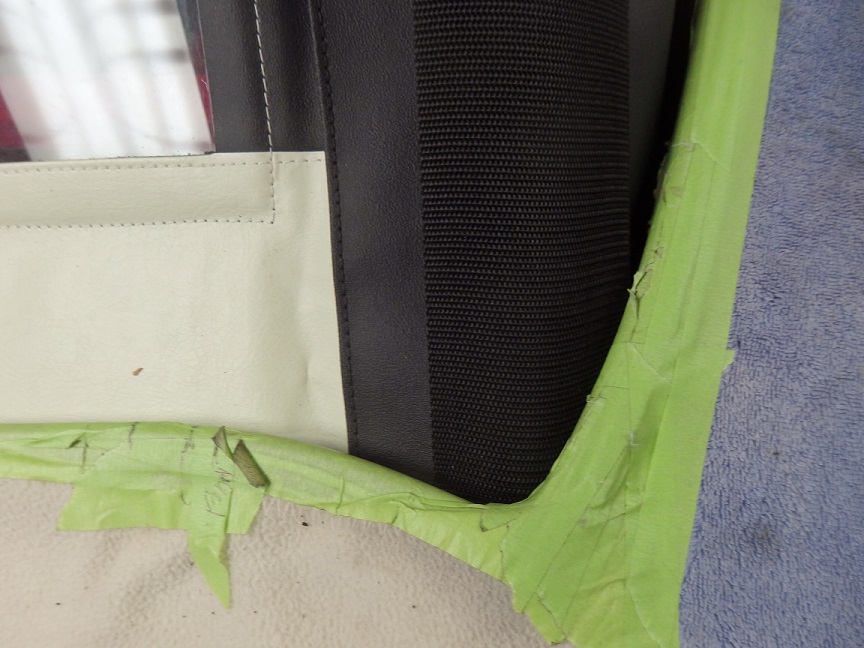
One thing to note is that it is very important to protect the stainless steel windshield moldings with many layers of tape, otherwise they will easily get scratch.
|
|
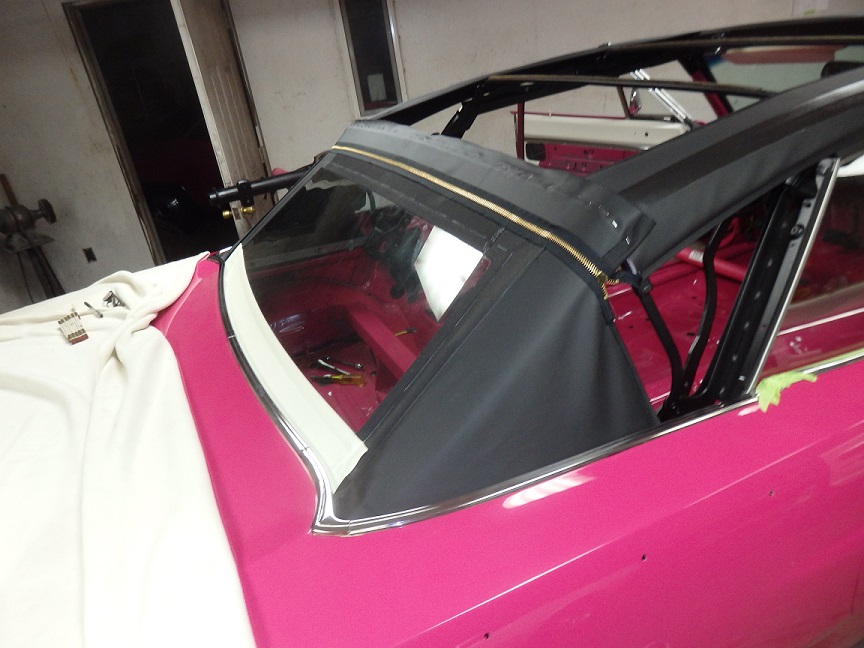
Next to go on is the rear window. This car had a glass one, so it was pretty easy to get right. It's important to make sure that the glass is up high enough so that the top covers the black above the glass. You may have noticed the zipper.
You were not required to unzip the rar window to lower the top. It was there so you could lower the rear window for ventilation.
|
|
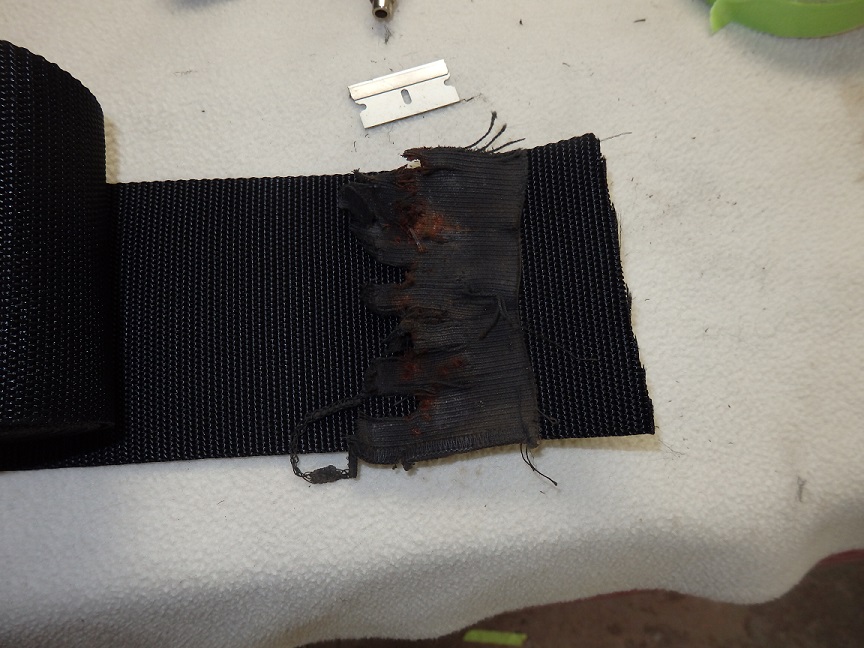
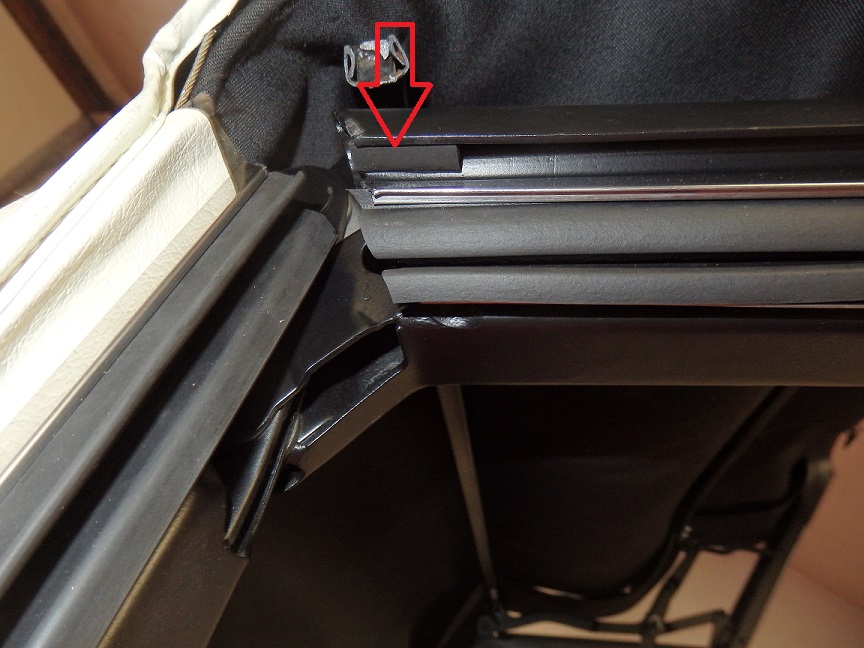
The secret to getting the corners to look right is to install these rigid staps. The originals were completely deteriorated. All I had to go by was this little piece that was originally stapled to rear bow. The top kits do not come with them.
I was lucky enough to buy a roll of that material off ebay.
Once they are installed they make a tight line between the corners and the rear bow, which prevents the convertible top from having wrinkles and creases.
|
|
So even with the straps I was pretty annoyed to learn that the convertible top did not fit. It was way, way too wide at the rear. The top was from a well known manufacture. They would not give me another one or refund my money because I was
not a licensed upholserer. What I load of crap. I paid $300 for a top that was made wrong.
|

|
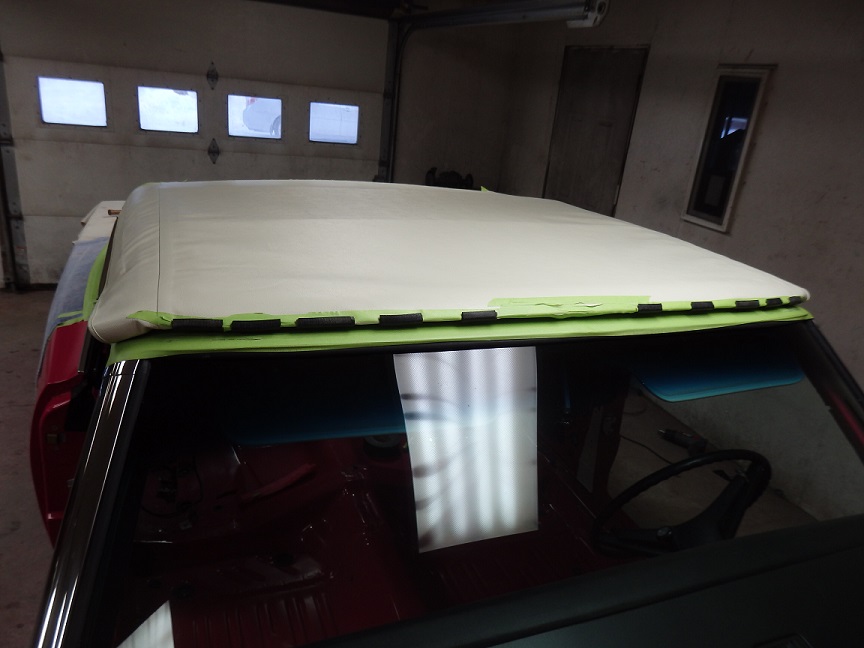
So $300 later I was able to get a top that fit OK (not stellar) at the rear. And yet it was not quite as wide as the original at the front. That's it folks. They make 1 top that fits a range of years, 66-70, instead of making
a more accurate 68-70 only top. So you have to live with what you can buy.
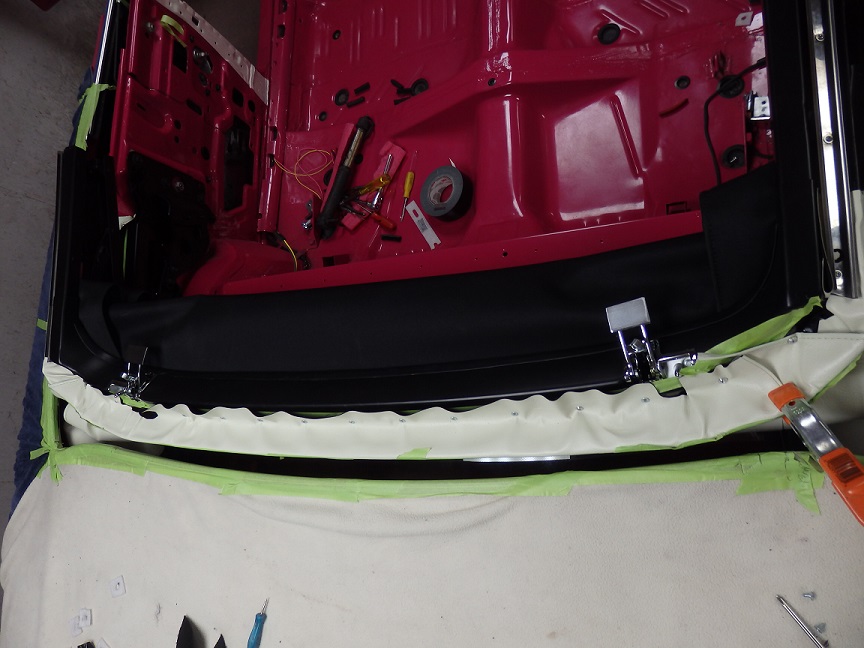
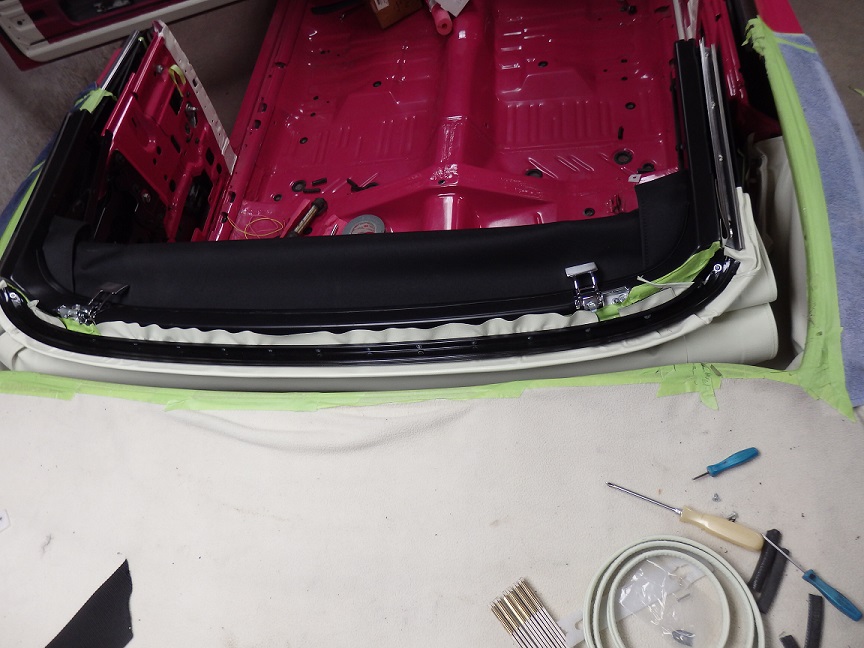
In this series of pictures I am getting ready to staple the top to the rear bow. I pulled the top tight at the front and used pieces of doorjamb welting as clamps. I applied masking tape before clamping as to not mark the top material.
At the rear bow I used masking tape to mark a reference line prior to stapling. This is the area where you need stainless steel staples the most. Otherwise they will rust and the top will come loose from the frame.
|

|
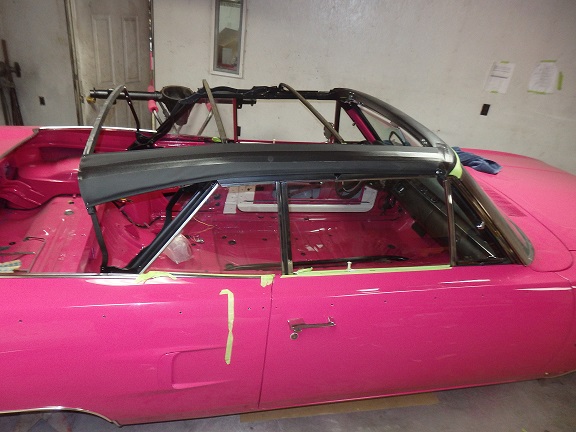
The front of the top is glued in place and then a weather strip retainer is screwed down over it. Once screwed down the excess top material gets trimmed back. The front stailess steel weatherstrip channels are also used to hold the top down
during this process.
|
|
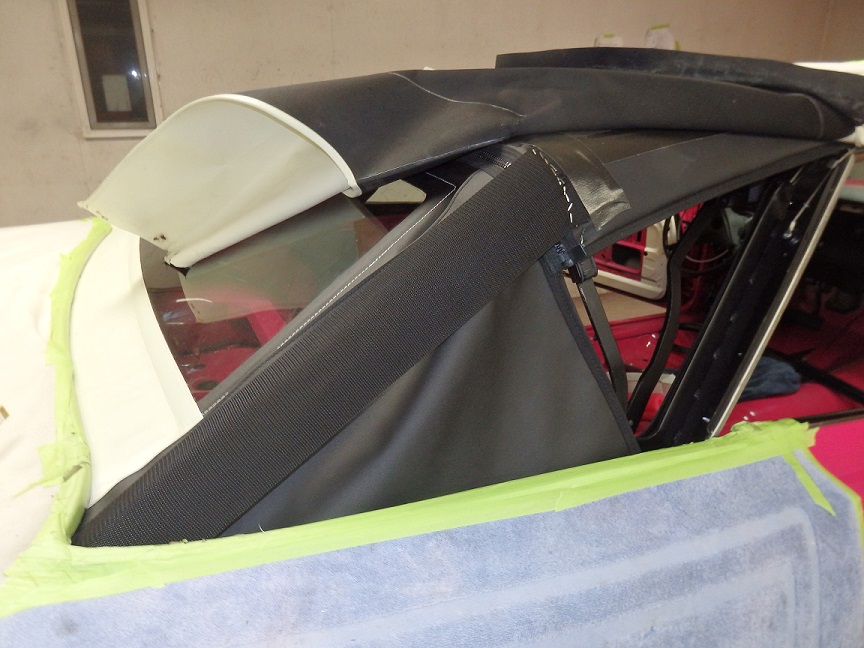
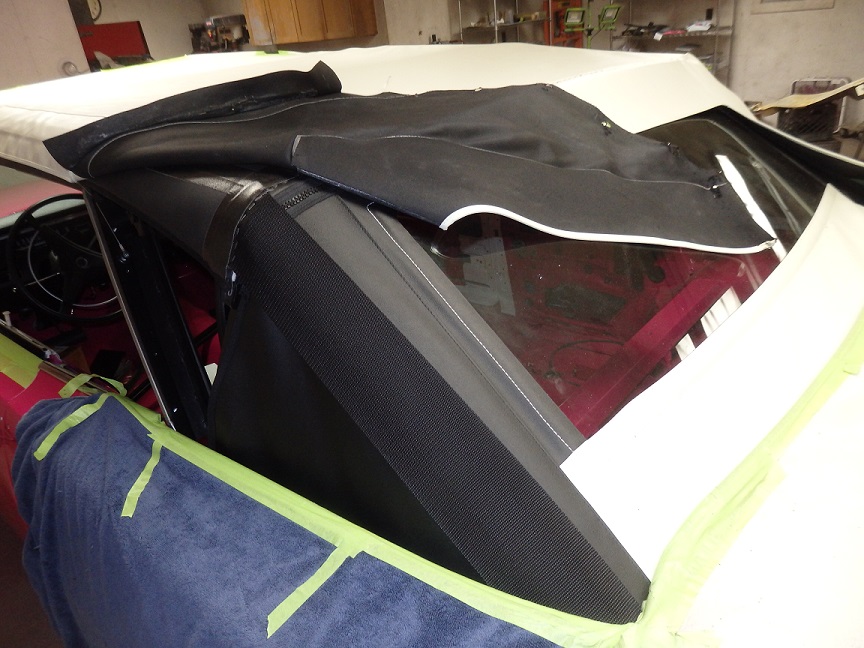
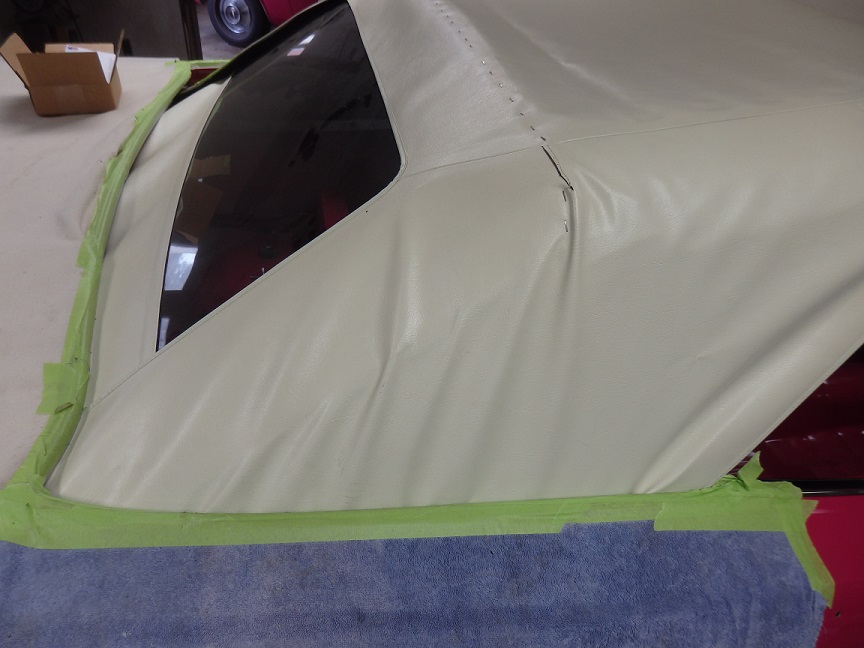
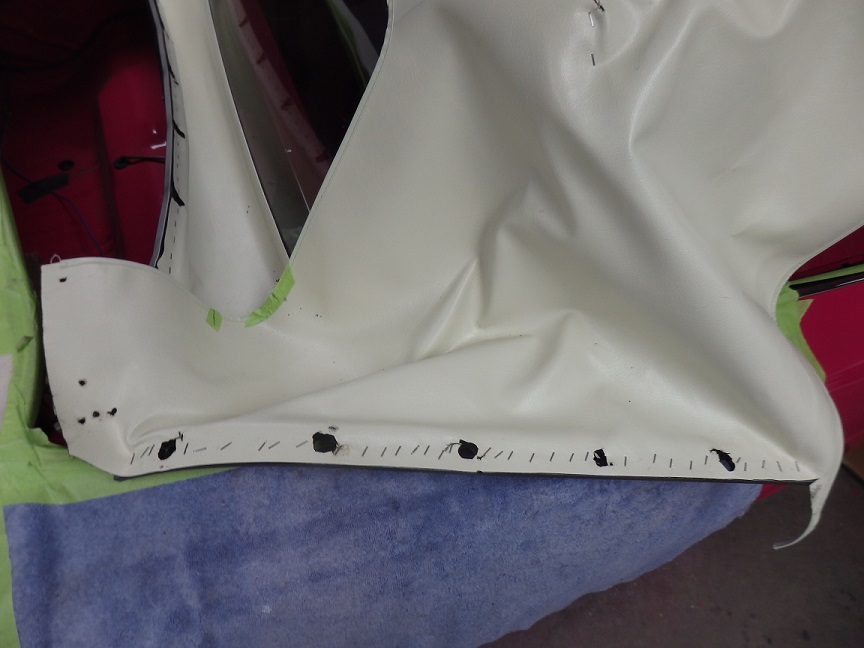
The rear section of the top by the quarter windows was the last to be installed. This took me quite a bit of time. I had to mark it with the tack strip bolted in, then tacked the material to it, then trial fitted it, retacked it, refitted it over and
over until it fit right. Then I was able to staple it in permanently.
Also worth mentioning is the foam gasket material that goes inbetween the tack strips and convertilbe top well. Do you think the repo places would supply enough to do the top ? Nope, the kits are for the earlier cars, so I had to make 2 more pieces.
|

|
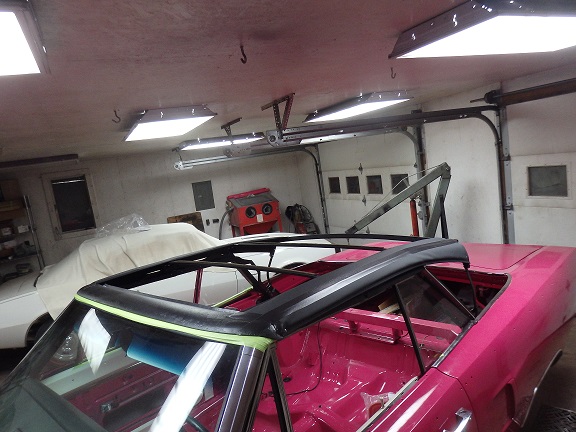
The roof rail weatherstrips were installed next. The repo weatherseals need to be trimmed to fit. It's important to get the angle right where is slopes down by the rear side windows. Otherwise you may hear wind noise.
I'm not sure what they were for, but the top original had these foam rubber bumpers glued into the top frame.
|
|
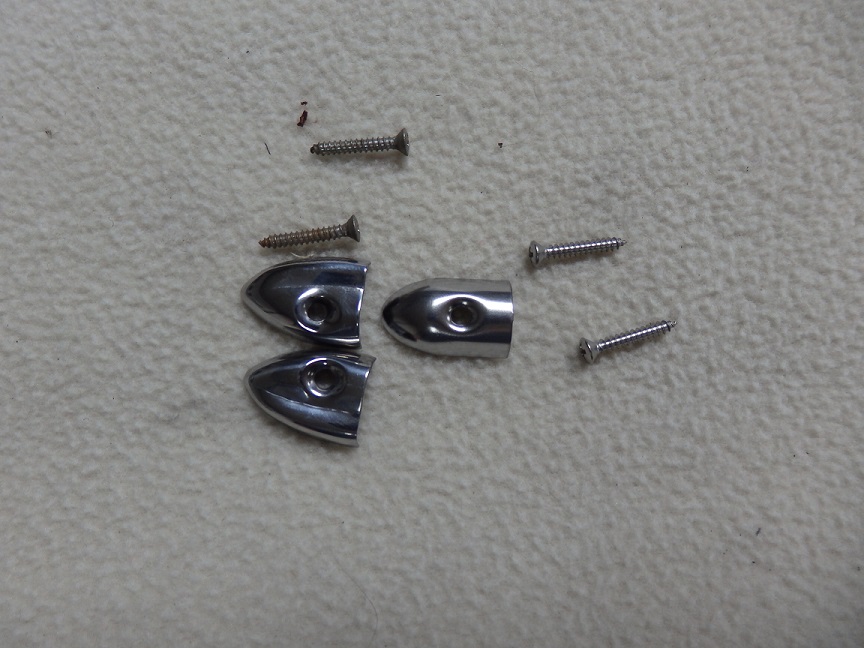
Another thing the convertible top kits gets wrong are the rear tack bead end caps. The screw holes are supposed to be offset and there is supposed to be an indent so that they fit the contour of the bead. The middle picture shows 2 originals
and a repo one.
|
|
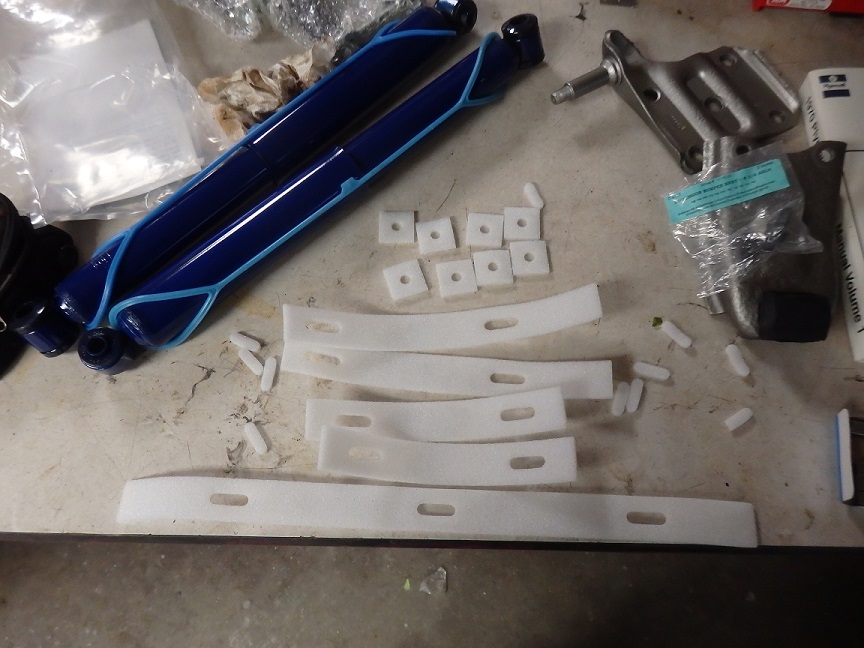
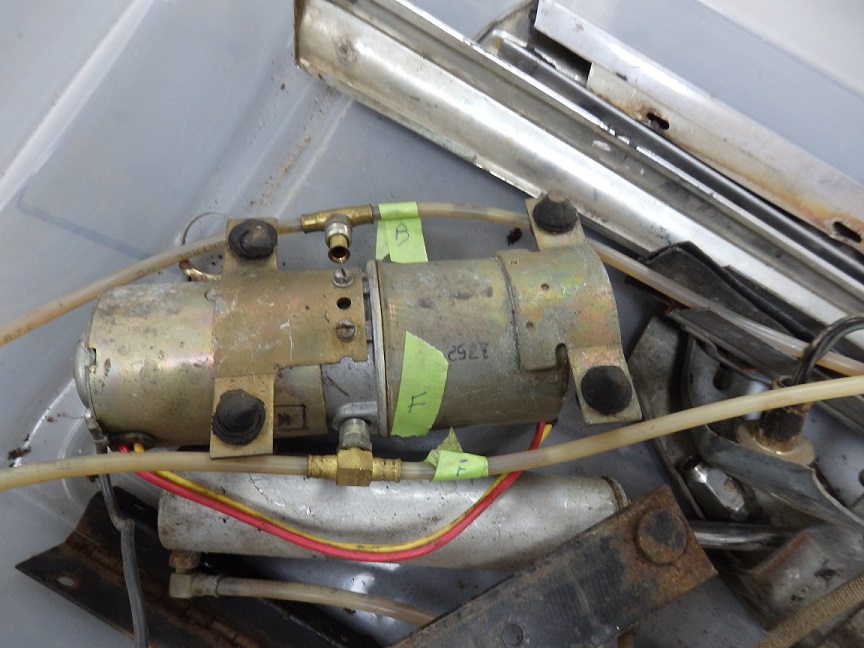
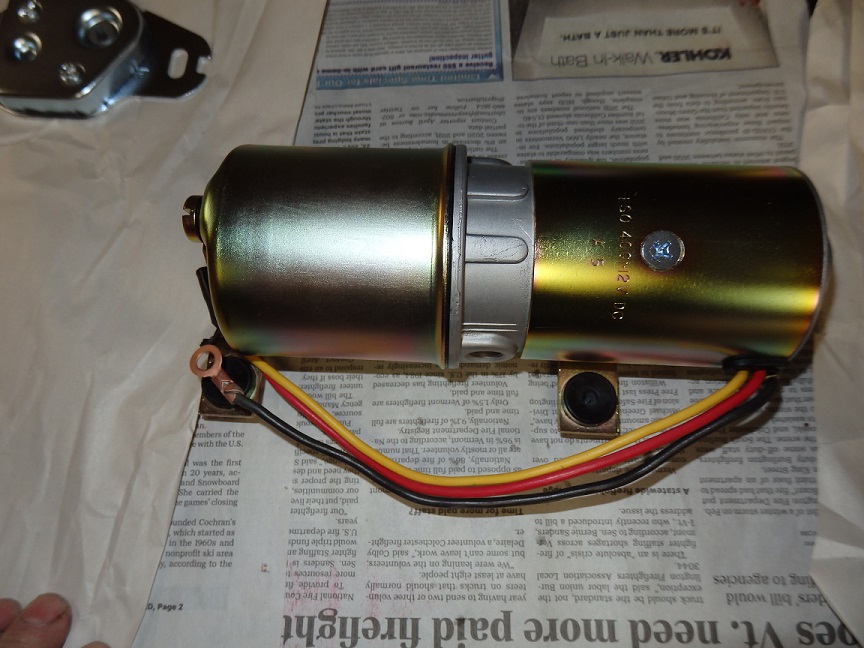
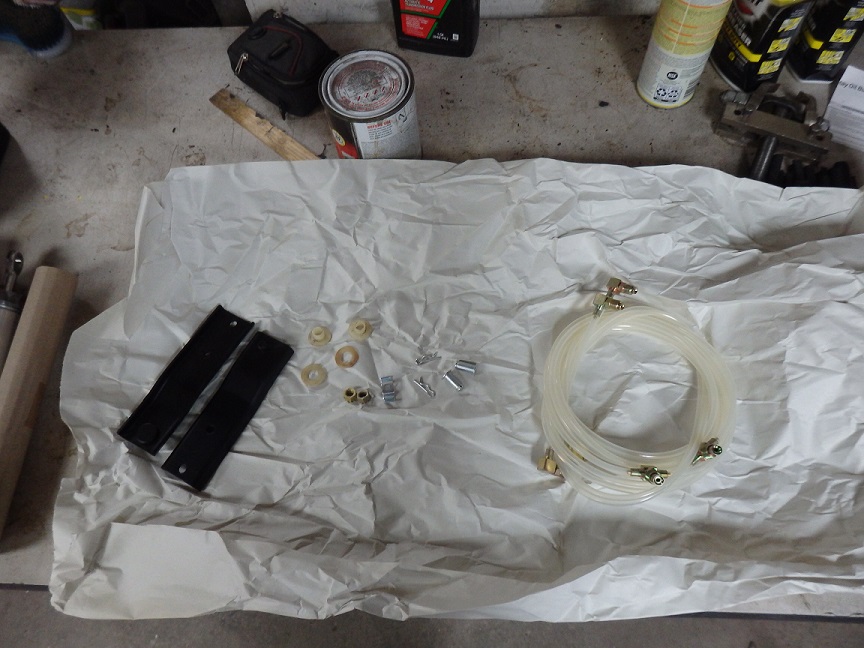
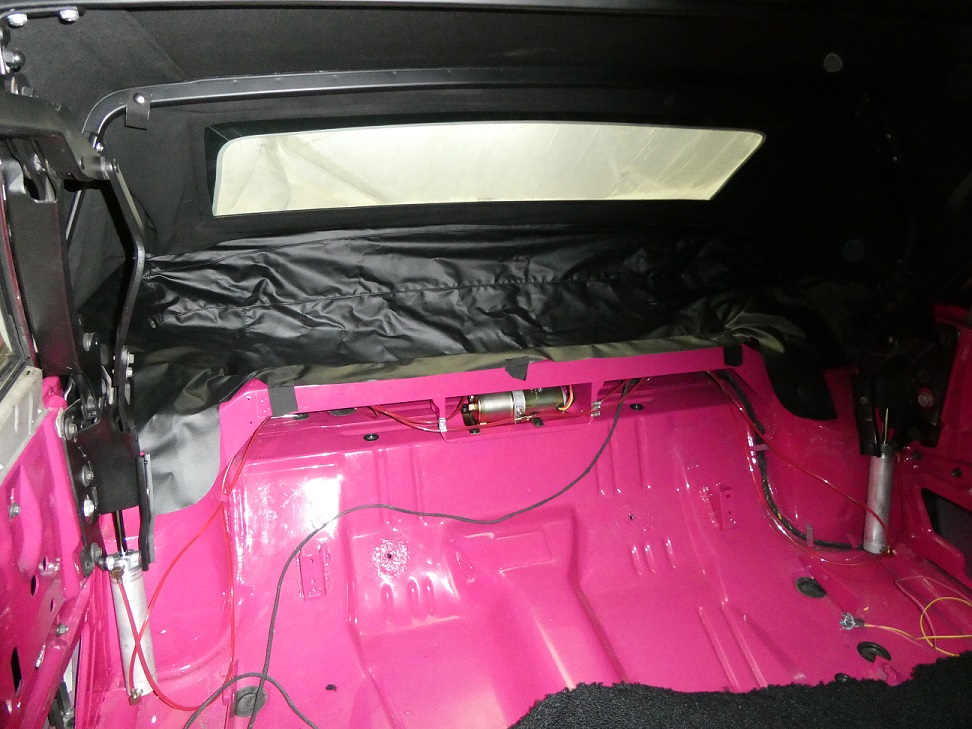
With the top finally installed it was time for the hydraulics. I had the convertible top pump restored. For $300 it was fully rebuilt with new wiring and guaranteed to work. Isn't it beautiful? I also bought new top cylinders, which looked very close to the originals.
I also bought new hose. It should be noted that the repo hoses are more of a 1 size fits all, so they were perhaps 6 inches too long on each end. To prime the system I used Dextron transmisison fluid.
|
|
The side glass can only be properly adjusted after the top is properly installed and aligned. Once the glass is adjust the inside of the car will be sealed off so that the rest of the interior can be installed and kept clean.
|