|
|
|
|
Alternator
|
|
|
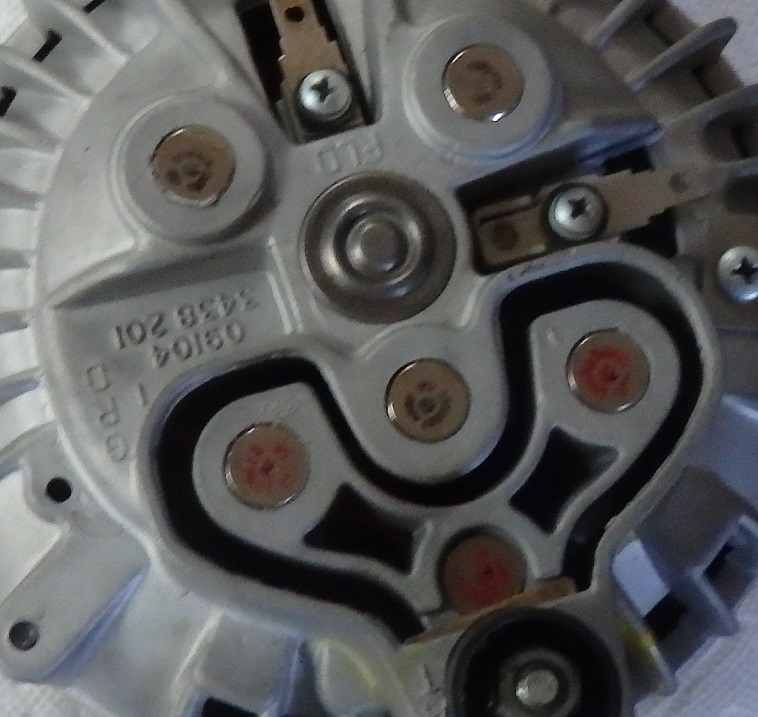
The original alternator was missing. From the broadcast sheet I was able to determine that the original one was part number 3438172, which is actually a common Chrysler 37-amp alternator. However, people pay a ton of money for them.
I had to $275 for this one, even though it was seized. This particular one was date coded 18 70 (18th week of 1970), which was close enough to be correct for my car.
|

|
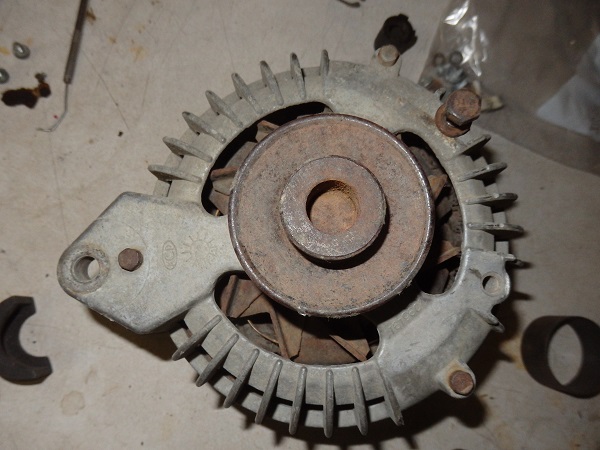
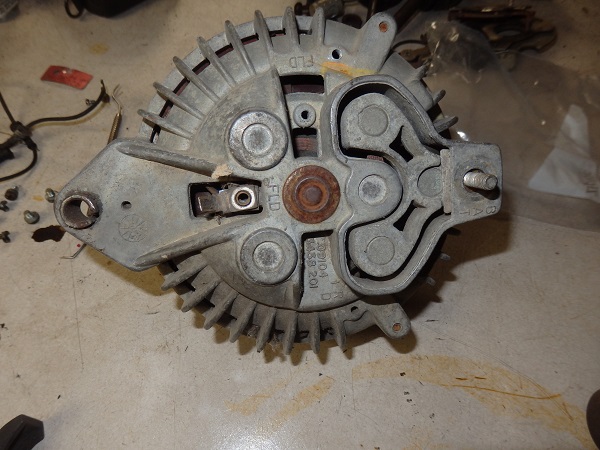
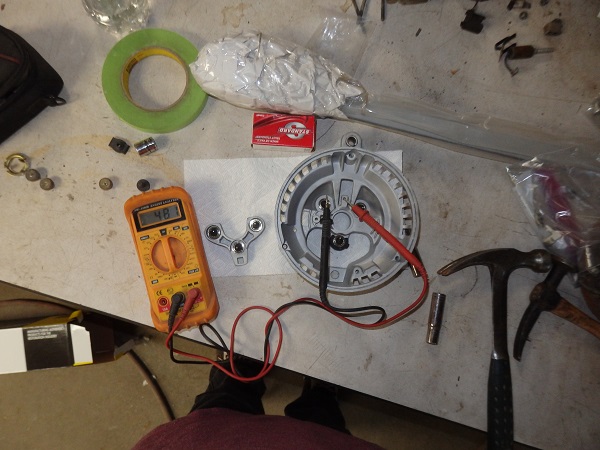
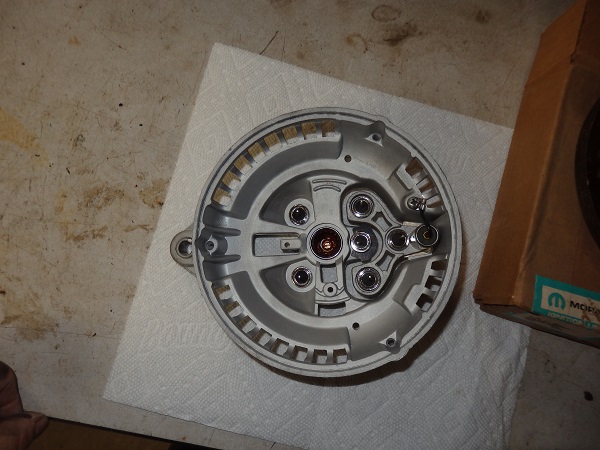
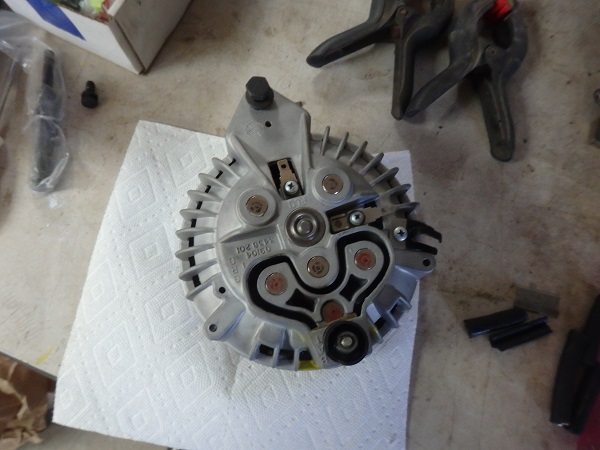
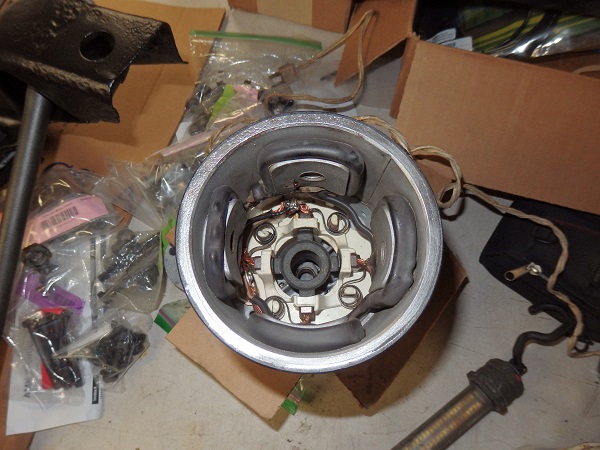
Restoring alternators is pretty simple. You can pay $300+ to get this done. I did it for under $100. I vapor honed the body of it and installed new diodes I bought from Rock Auto. I found an NOS stator coil on ebay for $50 so that was helpful.
I was able cleanup and reuse the original rear bearing, which was good because the repos don't look the same. The front bearing I bought form Rock Auto for $12.
|
|
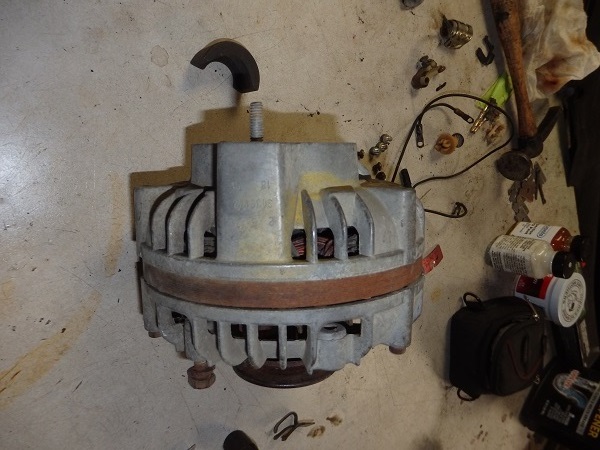
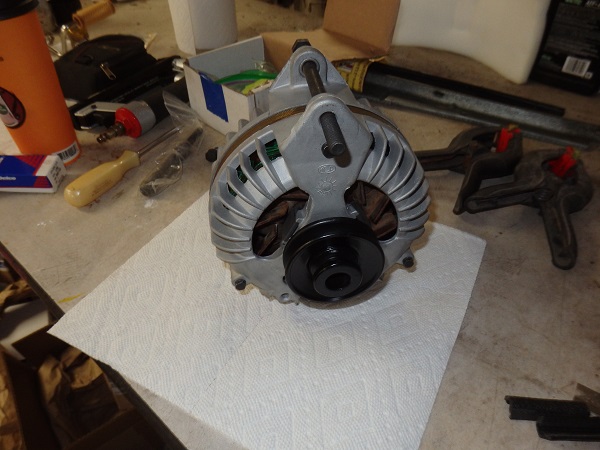
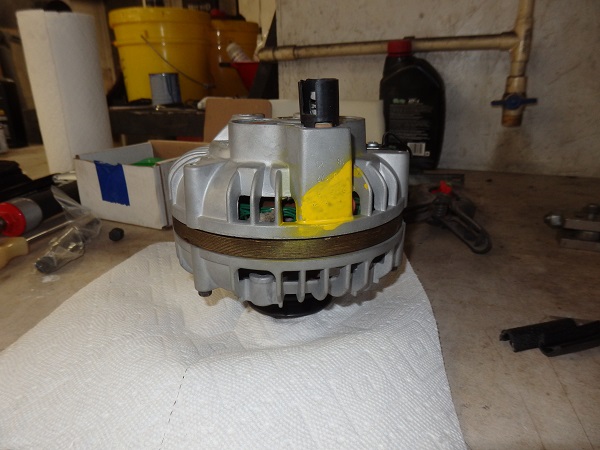
Here it is done, though I ended up redoing the yellow paint later...
The diodes have red or black stampings on the back depending on their polarity. I had reproduced them using rubber stamps that I had made for my 1970 Challenger's alternator.
|
|
|
Distributor
|
|


|
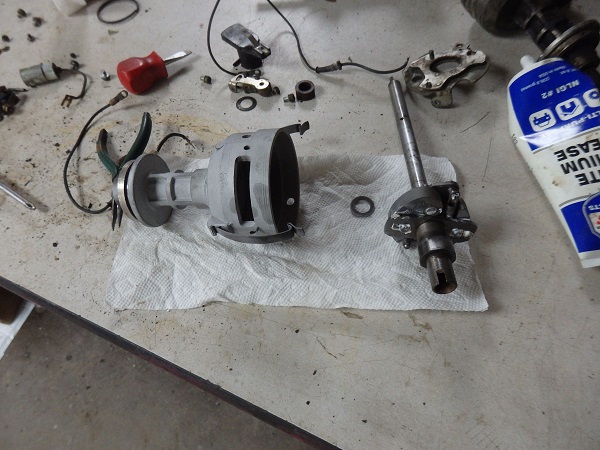
The original distributor was also missing. It is supposed to be part number 3438225, which is quite common to find on ebay. In fact I bought 3 of them for parts and used the tag off from the one that was closest to my car's build date.
As with the alternator, the body of the distributor was vapor honed. I was able to purchase the correct NOS vacuum advance from Tony's Mopars.
|
|
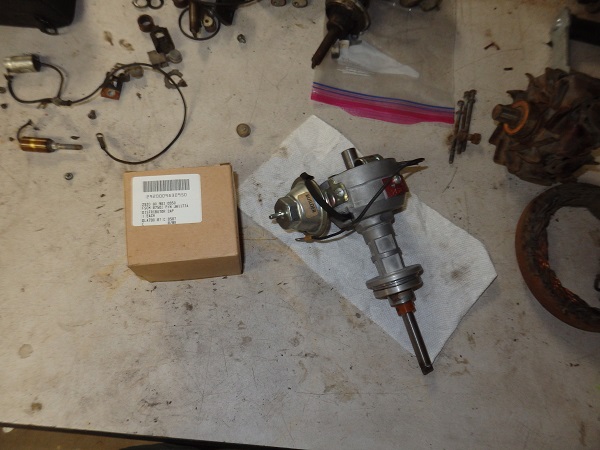
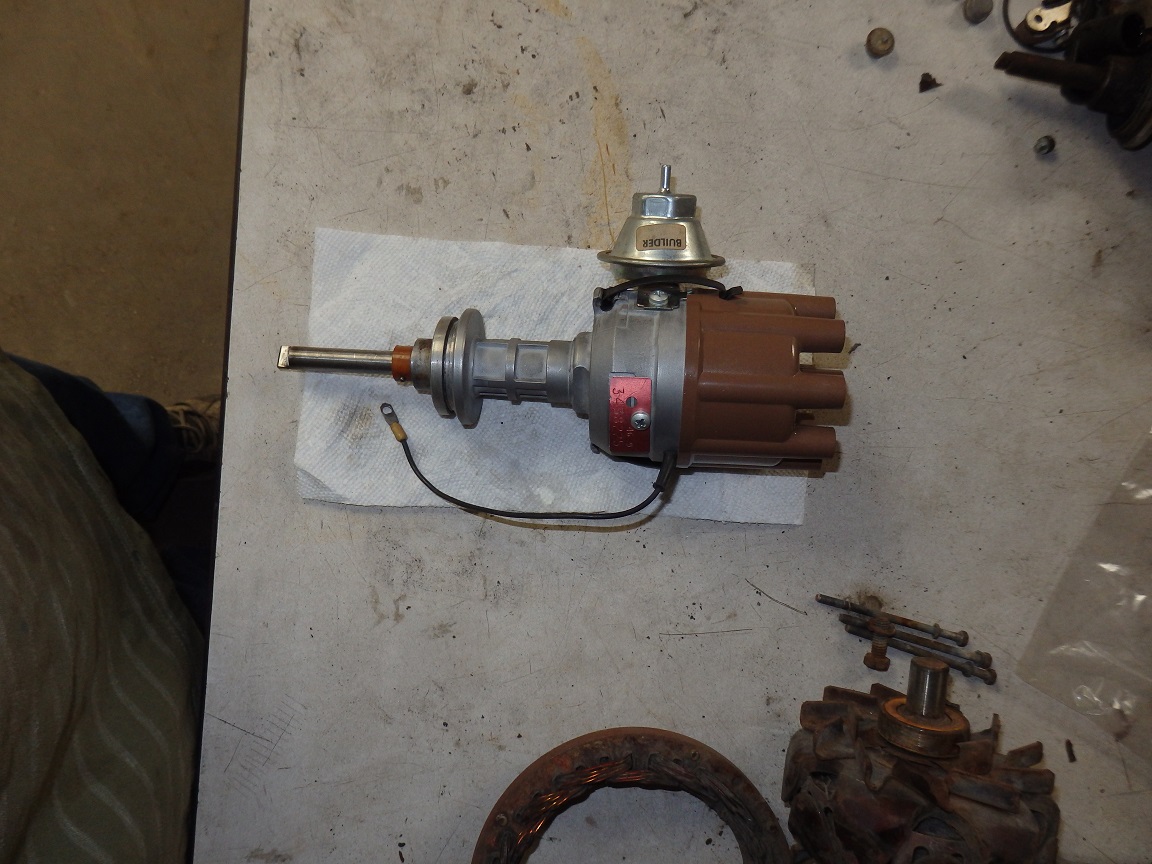
It's really easy to rebuild a single point distributor like this one. You may notice that the distributor cap is brown. It should be tan, but they are getting hard to find. This one correct except for the color, but atleast the markings are correct.
|
|
|
Starter
|
|
|
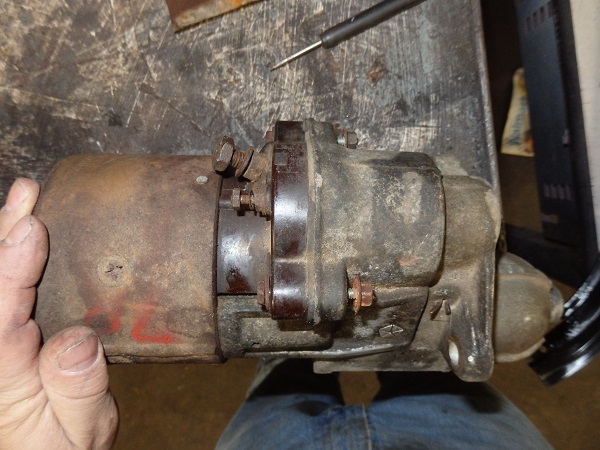
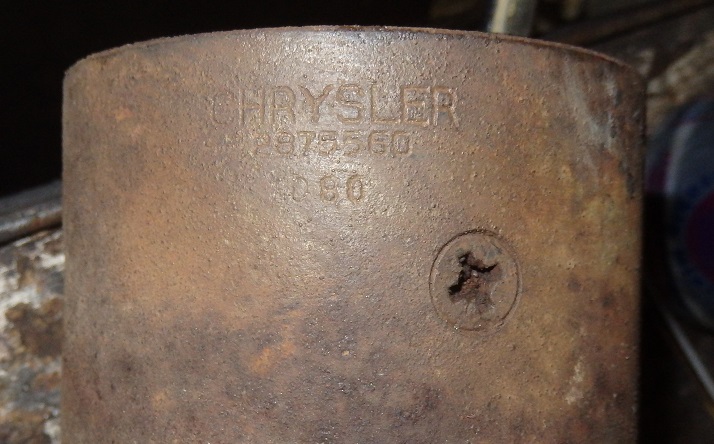
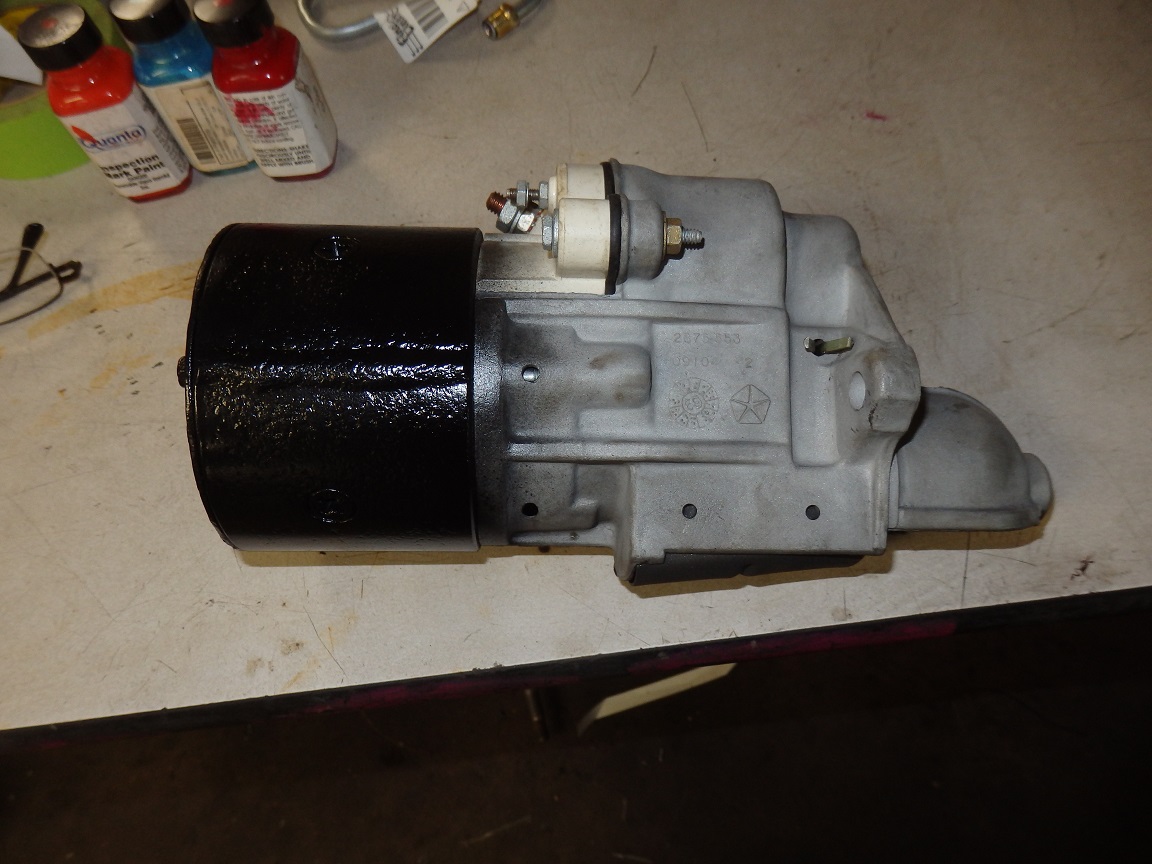
The original starter did not come with the car, so I ended up buying a rebuildable one. Not easy to find by the way. This is the correct one part number 2875560 with a date code of 080, which is the 8th week of 1970.
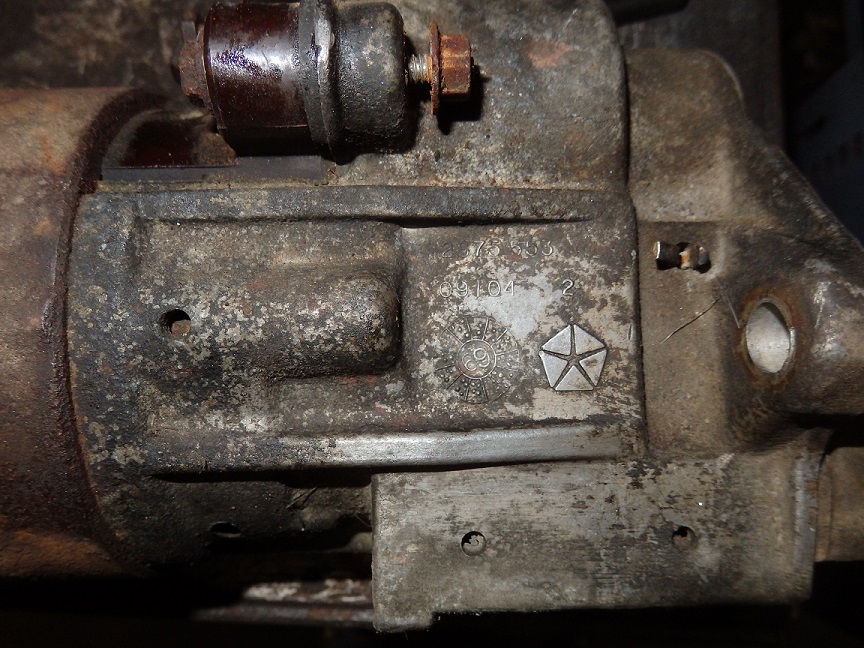
The nose was part number 2875553 with the date wheel code that decodes to 4th week of November 1969. I have no reason to believe that this starter has ever been a part and had the nose change. It seems ver commong for the nose to have a much
earlier casting date on it.
|

|
The starter was pretty easy to rebuild. I bought an NOS starter solenoid kit, NOS starter drive and NOS starter brush holder with brushes, which were all for sale on ebay.
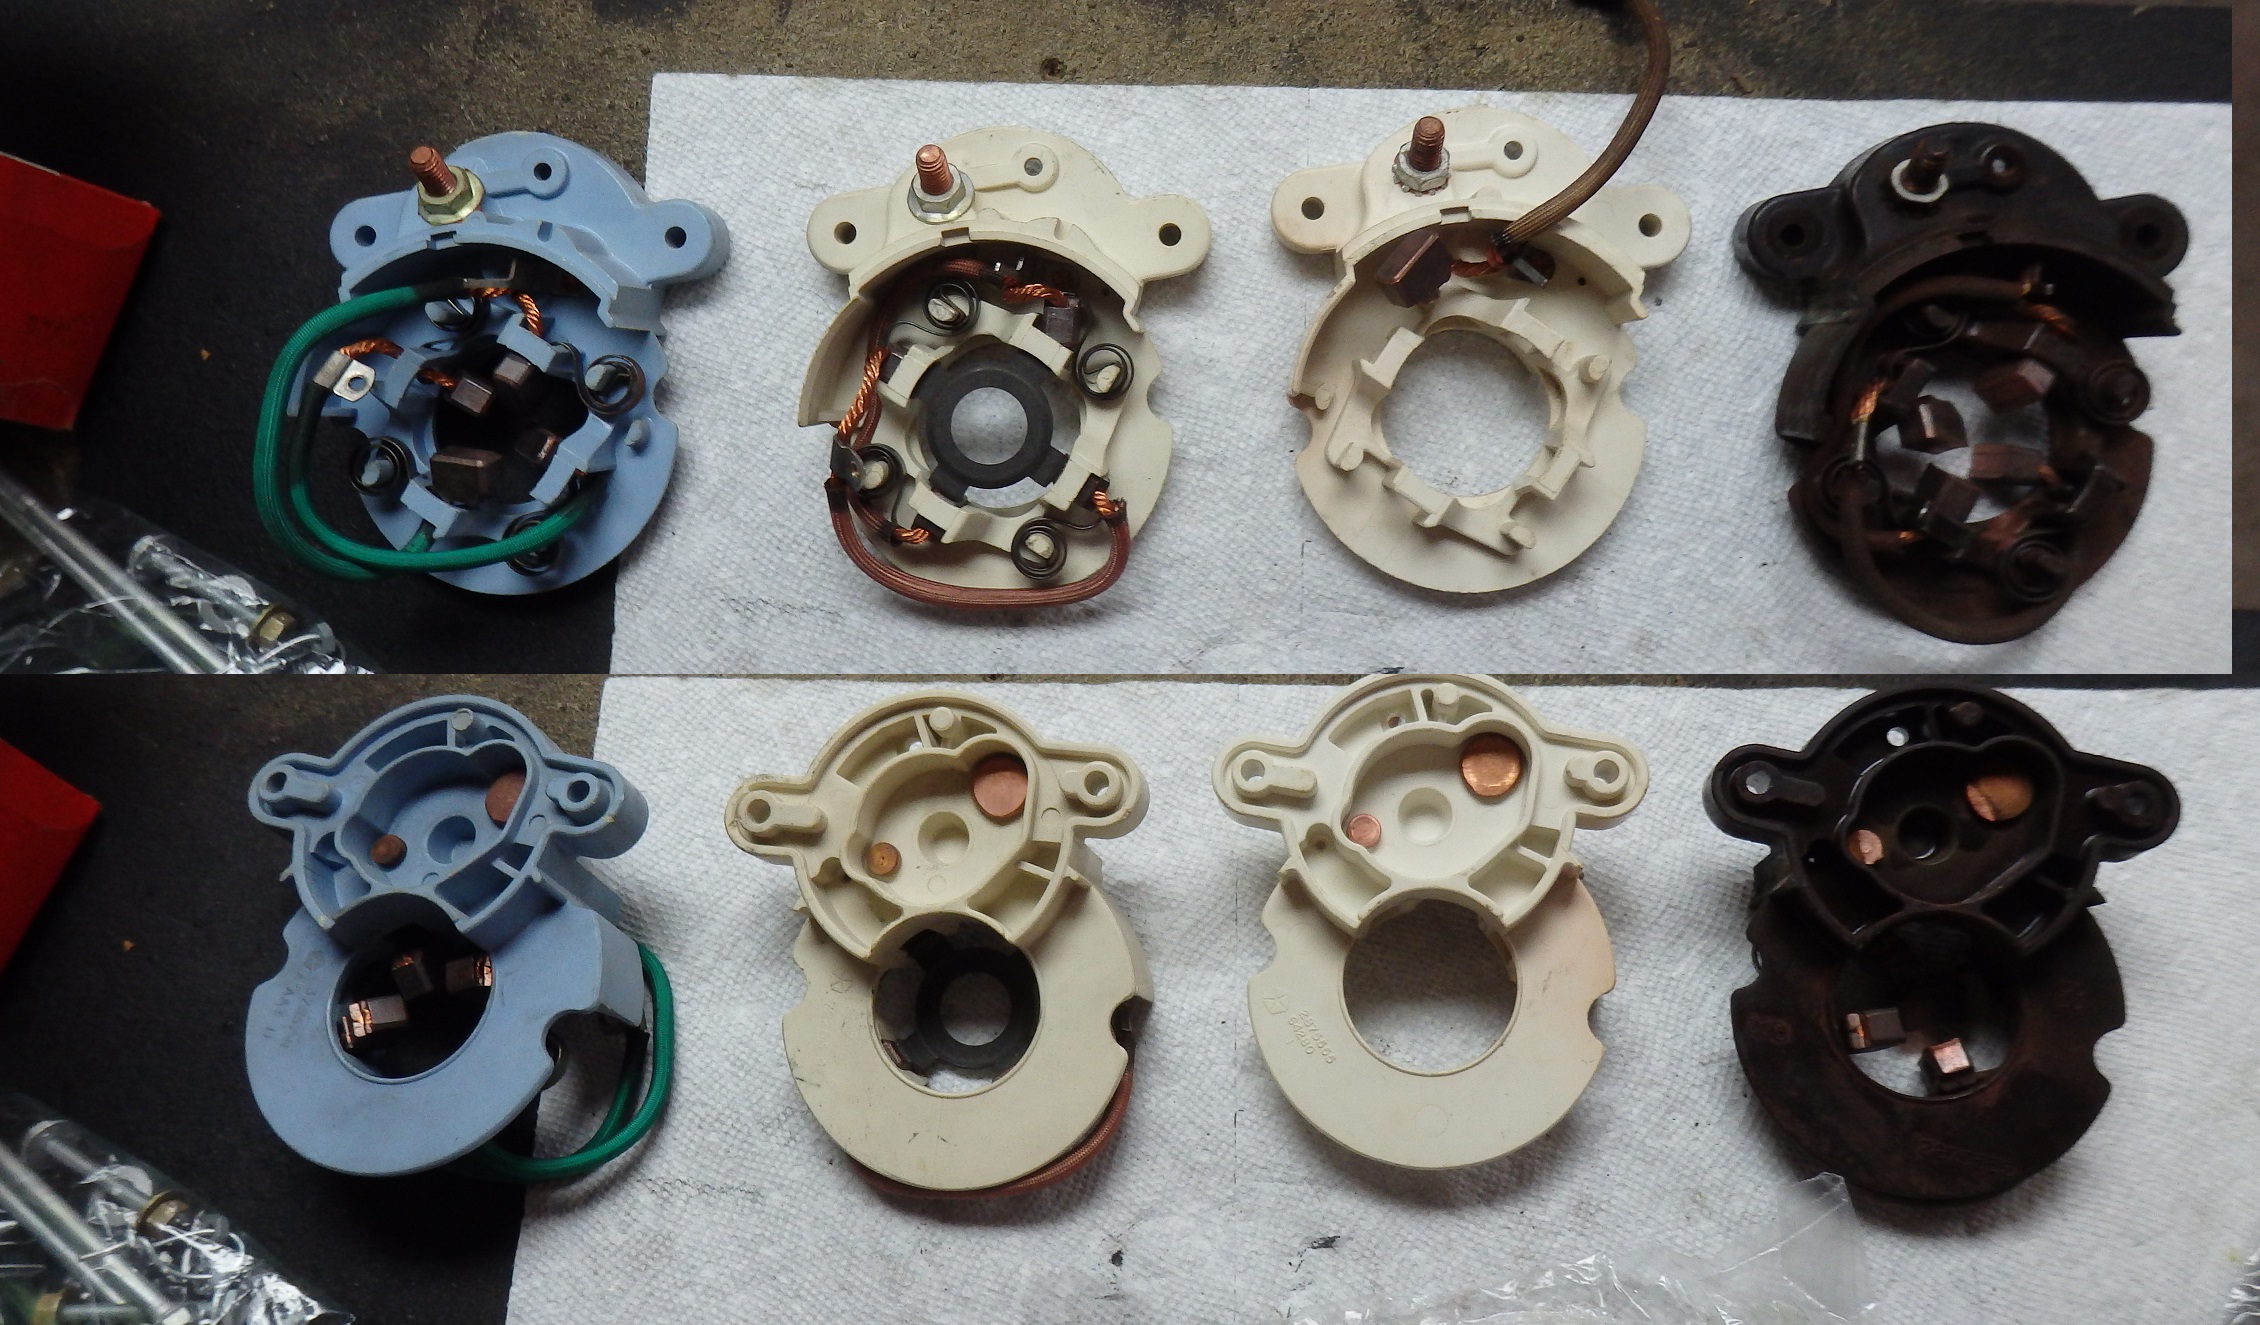
The picture on the left shows several different starter brush holders. The one on the right is the original brown one, for the starter. The one right next to it is the correct one for my car. Brown is also correct, but it is not very common.
The seocnd one from the left will work, but it doesn't have the correct makings on it. The blue one will fit, but it is obviously the wrong color.
|
|
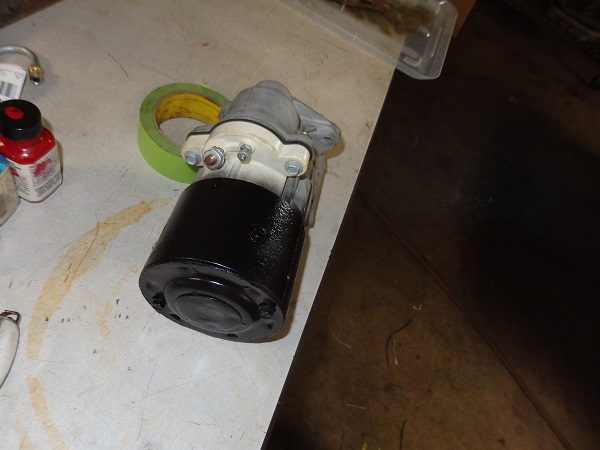
Here is the completed starter. The overspray is correct. I may not have actually been generous enough on the overspray compared to some starters I've seen.
|
|
|
Carburator
|
|
|
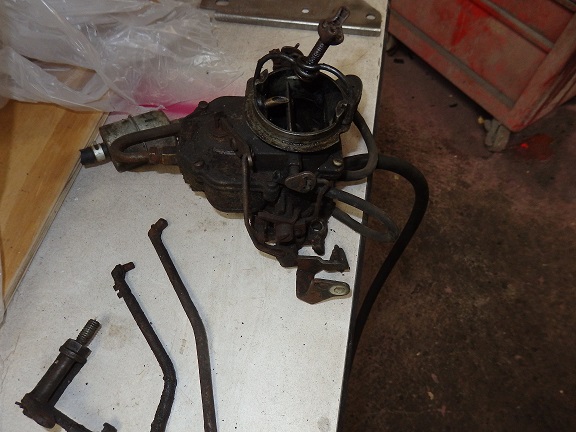
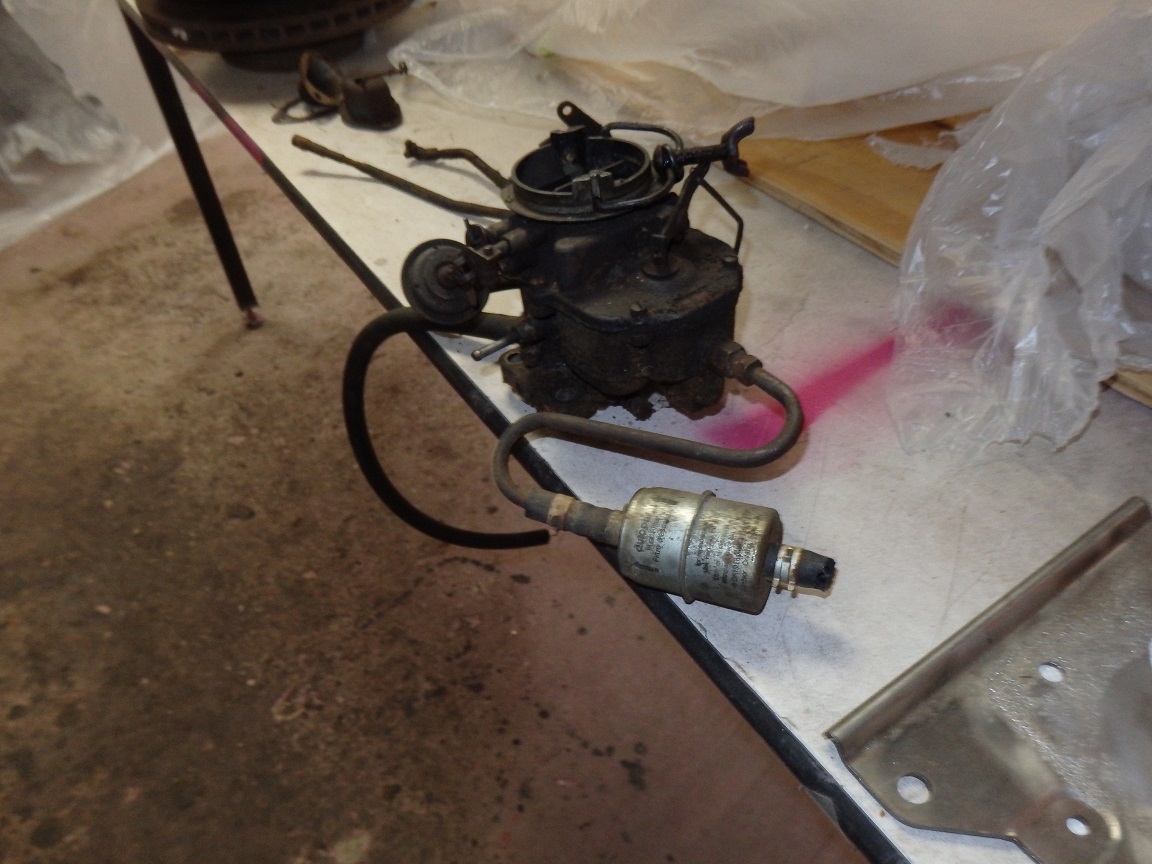
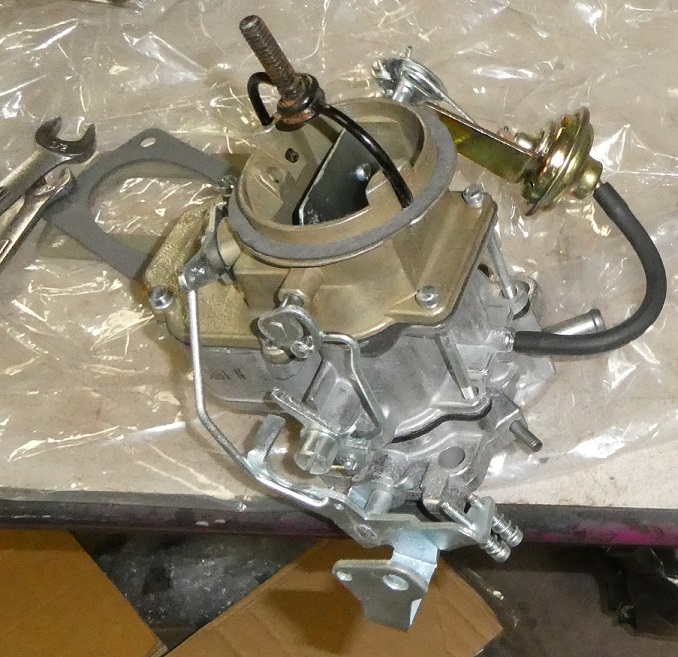
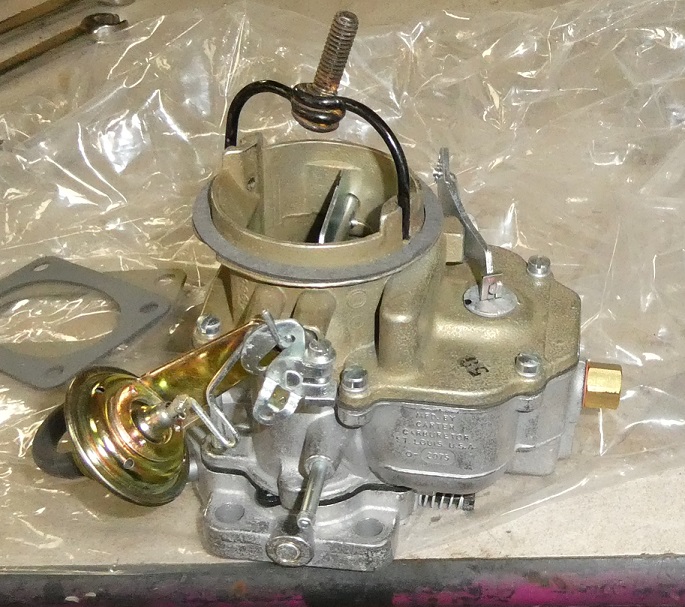
Here is the original carburator before and after it was restored by Scott Smith of HARMS Carburator Restorations. He does remarkable work. I waited quite a while for it as he was way backlogged and the lead
time on parts was quite long. I am glad I was so patient. I literally just bolted it in place and started the engine. All I had to do was adjust the idle down a little bit. It was soooo worth it.
|
|
|
Miscellanious Electrical Items
|
|
|
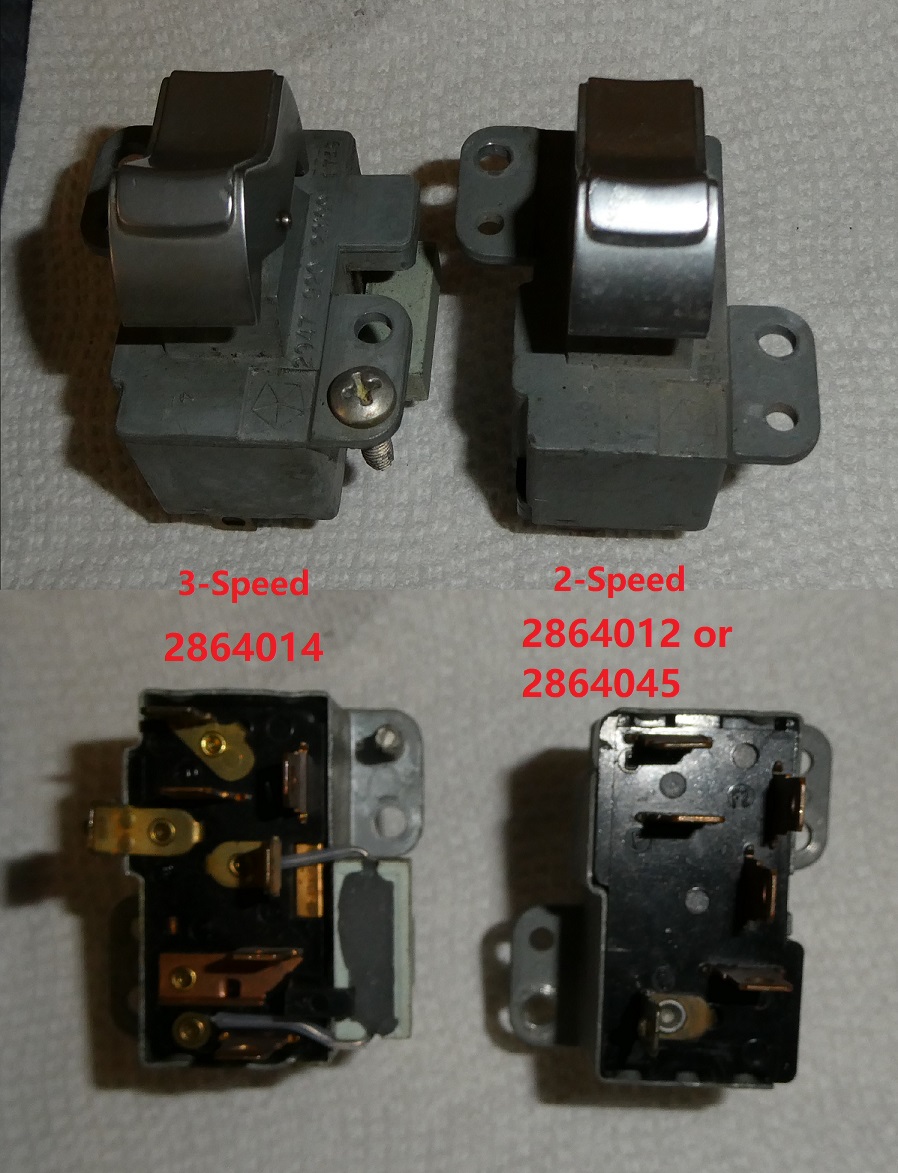
While trying to run the wipers for the first time I learned that there are actually 2 different types of switches and I had the wrong one. I needed the 3-speed one and I had the 2-speed one. I also learned that wiper switches in 1970
have a satin finish, just like the ignition.
Here are the 2 types of switches and the part numbers that are on them. Technically you would be looking for part numbers that being with "34" for a 1970 when shopping for NOS ones in the box. The quickest way to tell which is which, is that the
3-speed ones have the external resistor, which give you the 3rd speed.
|

|
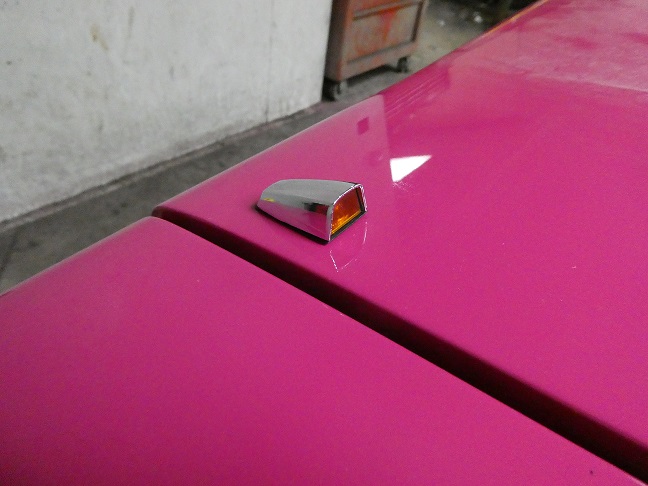
This car came with hood mounted tunr signals. They are the same as the ones used on Challengers and othe Mopars. I was able to buy NOS ones from Krusin Moons. My original wires were shot. Luckily Krusin Moons reproduces them.
The wires are 52" long on Satellites, which are impossible to find repo or NOS.
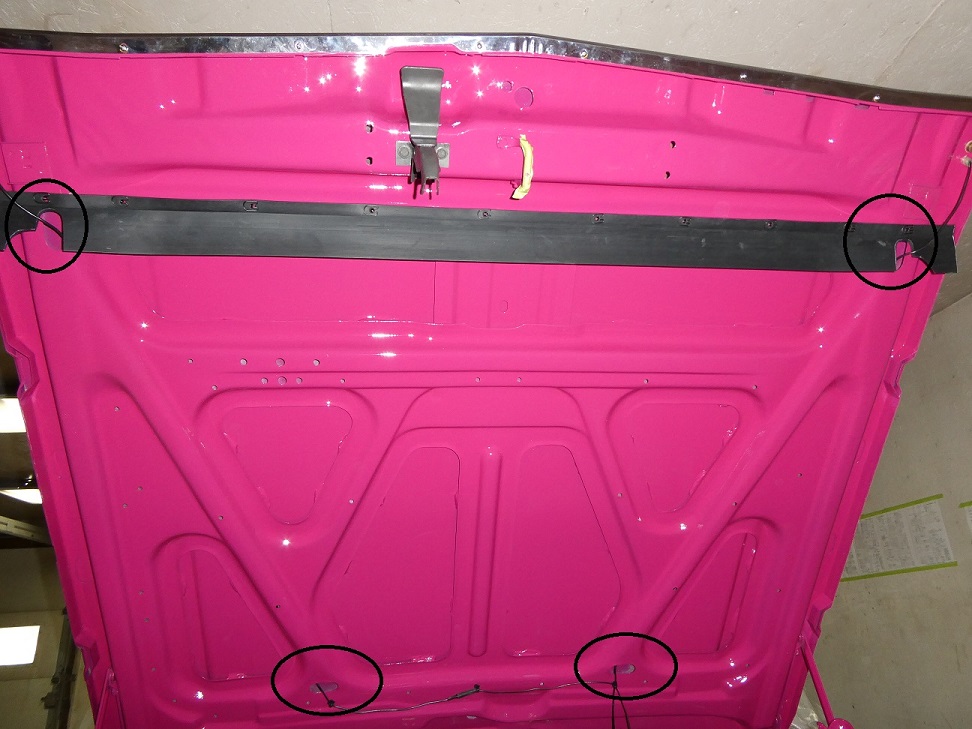
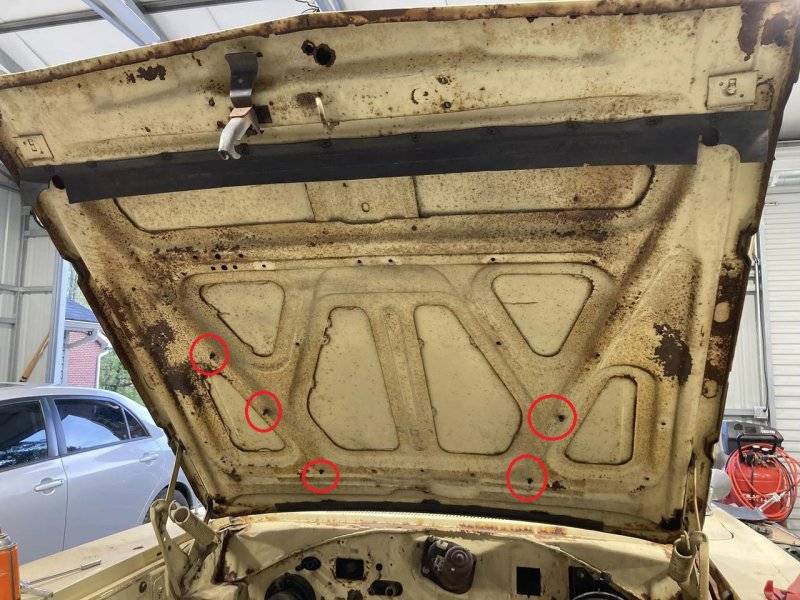
The wire routing was a mystery for a while as mine were removed when I got the car. I took me quite a while to find pictures of the wire routing on the web. In my search I discovered that there were 2 different versions of the Belveder/Satellite hood. The early version, shown here
in yellow, does not have cutouts in the underside of the hood. So the wires follow the ribs and are held in place with clips (circled in red) instead of going through the cutouts and are only held at the bottom with clips (circled in black).
One last thing to note here, is that my hood safety catch is properly plated brown zinc thanks to Stephan Fournier Restorations up in Quebec.
|
|
|
Miscellanious Engine Items
|
|
|
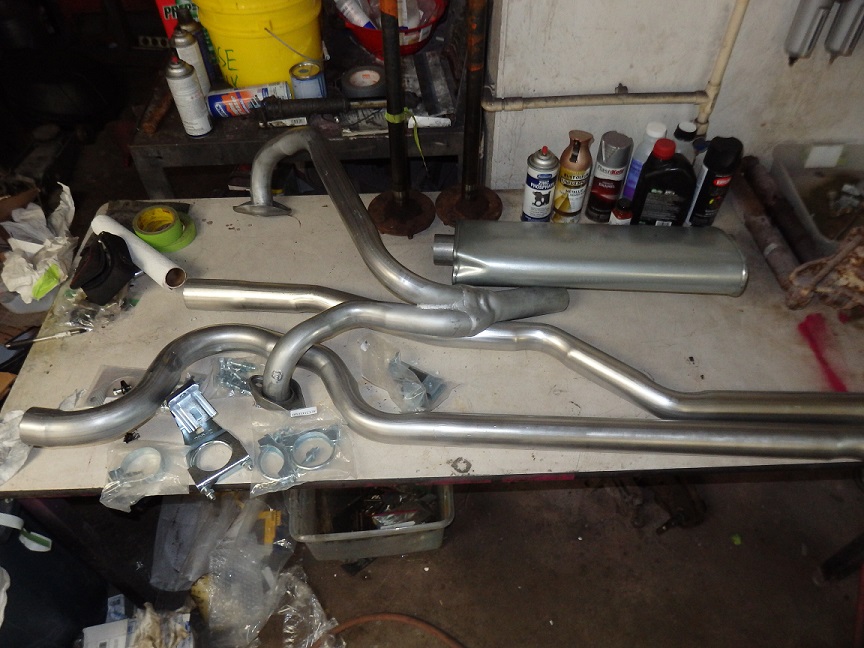
Here is my exhaust system from Accurate Exhaust. It came with everything to make my exhaust concours correct and it fit perfectly.
|