|
|
Quarter Windows
|
|
|
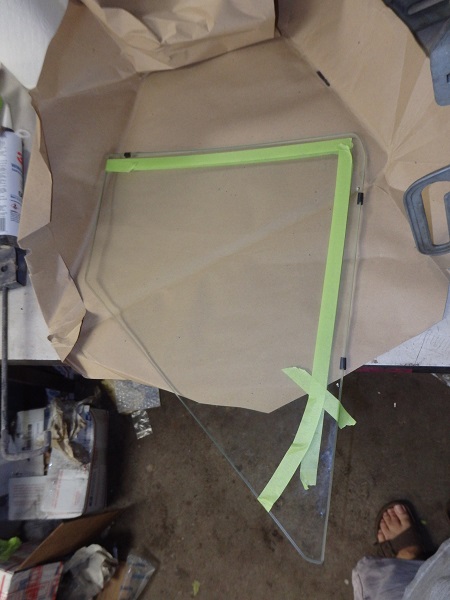
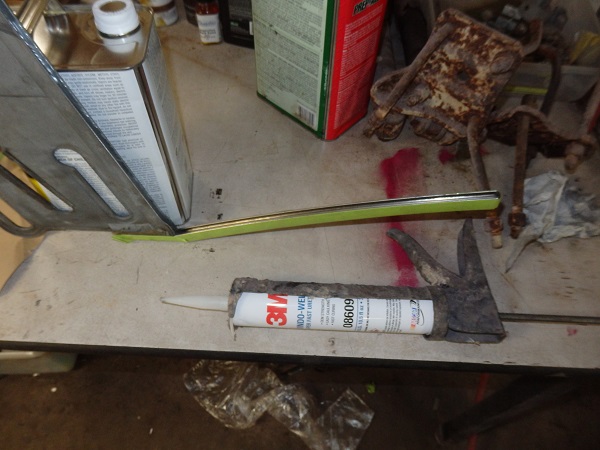
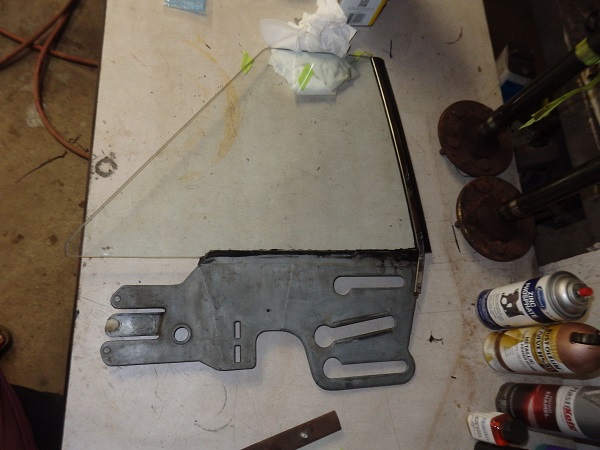
The rear side windows are installed in their frames with glass setting tape. I was concerned that the stainless trim would not stay attached to the glass correctly, so I opted to glue the glass in using 3M Window Weld, which is normally
used for installing windshields. I used pieces of the original glass setting tape to act as spacers to position the glass correctly during glueing.
|

|
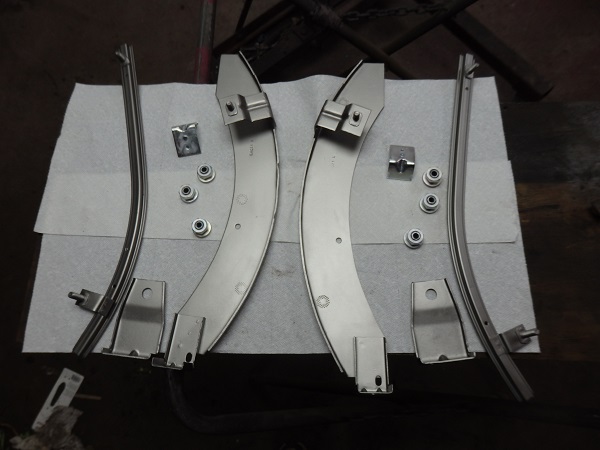
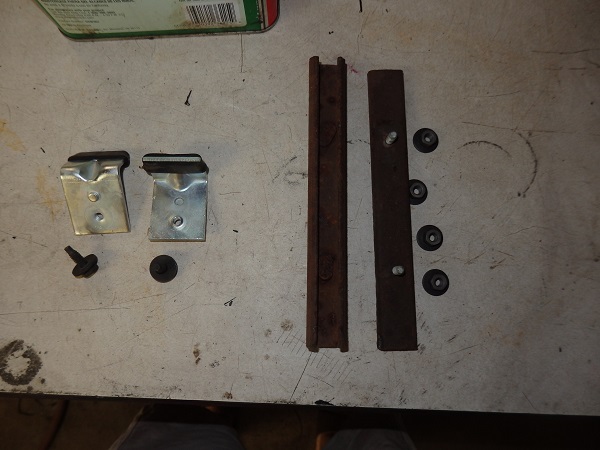
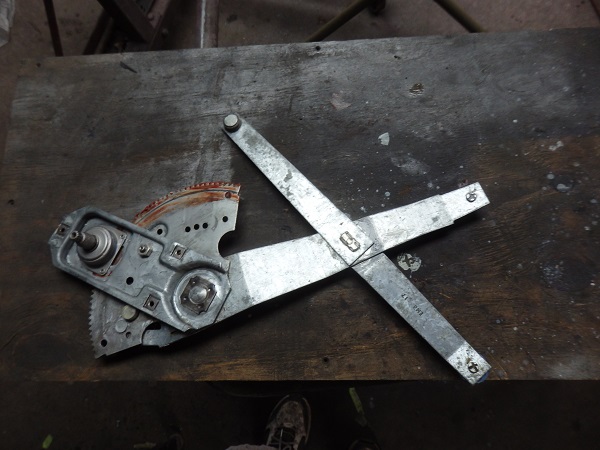
Here are the original rear side window tracks and guides. The rollers are unique to convertibles, but look very similar to the hardtop versions.
|
|
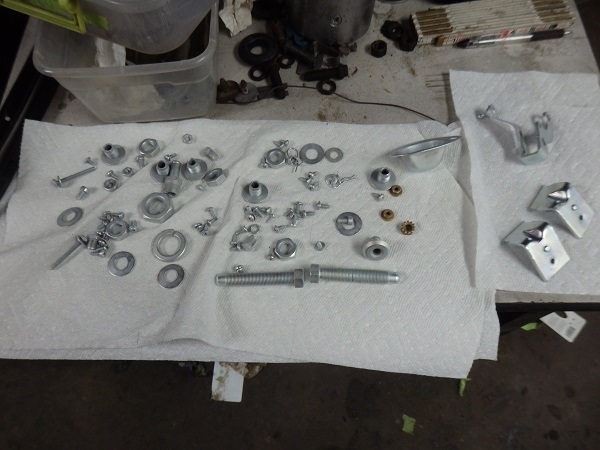
I replaced the original hardware in zinc. The window regulators, just needed to be cleaned and greased.
|

|
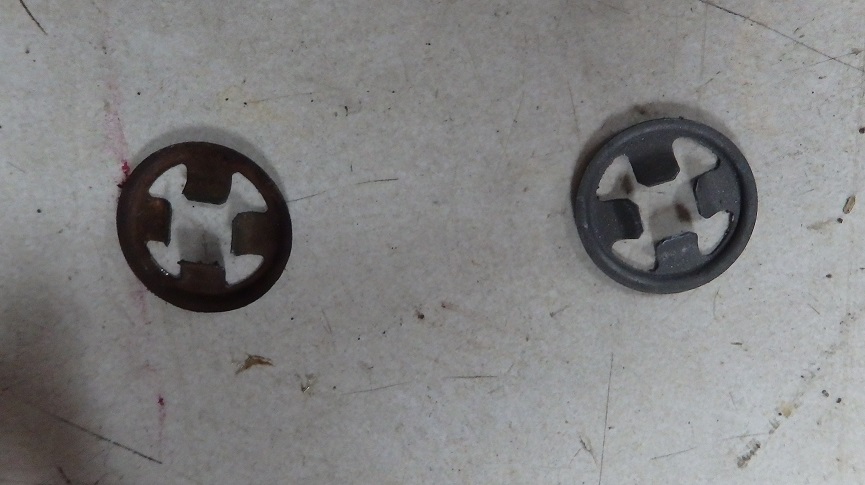
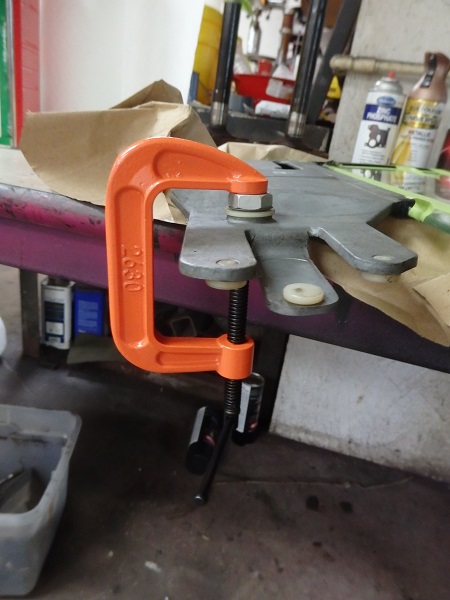
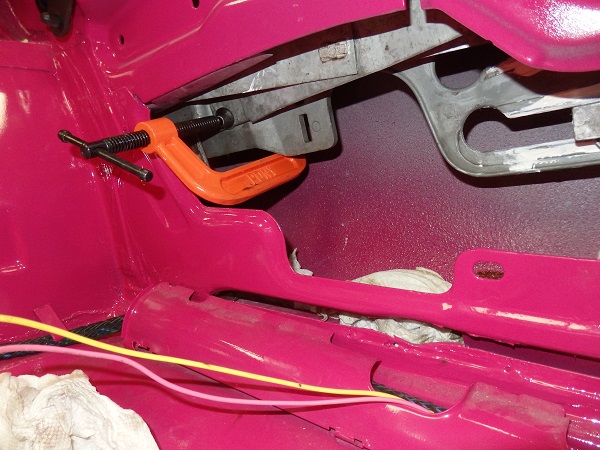
Removing and installing convertible rear side windows ranks about a 9.5 on the pain-in-the-ass-ometer. The glass is attached to the window regulator using this special clip that must be installed from the outside face of the glass.
The best way I found to do this was to use a C-clamp and one of the window adjuster nuts. I tape the nut and the clip to the C-clamp as shown in the third picture, position it around the glass and window regulator post and tighten the clamp
as shown in the forth picture. The second picture shows were the C-clamp is positioned if you could see through the quarter panel.
|
|
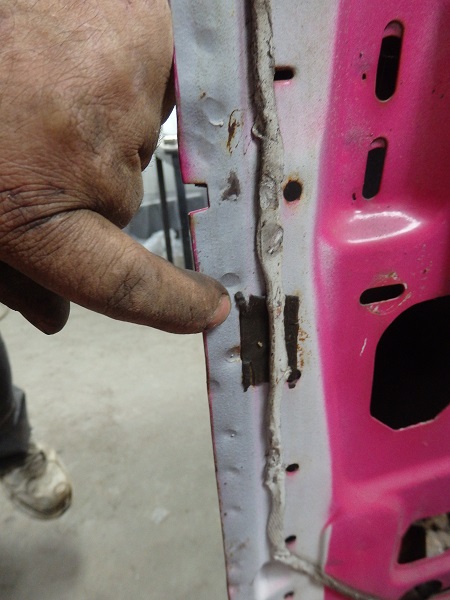
With the glass installed it was time for the watershield. As with the doors I opted to used paper ones as I expect to have to take things apart in the future and don't want to ruin the watershields.
The watershield is held on using gray strip caulk. Underneath the strip caulk is a rectangular piece of black sealer that the factory used to cover a hole by the B-pillar as shown in the picture on the left.
|
|
|
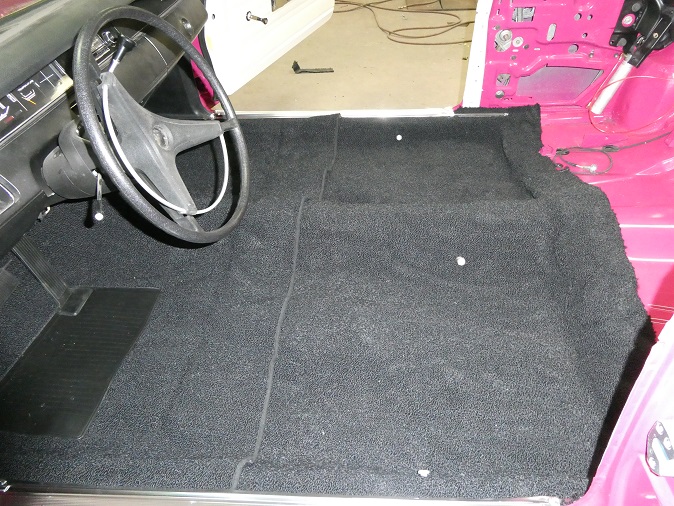
Carpets
|
|
|
MENTION REAR SILL PLATE EXTENSIONS. USING SOLDERING IRON TO MELT HOLES. USE SEATBELT BOLTS TO KEEP LOCATED.
|
|
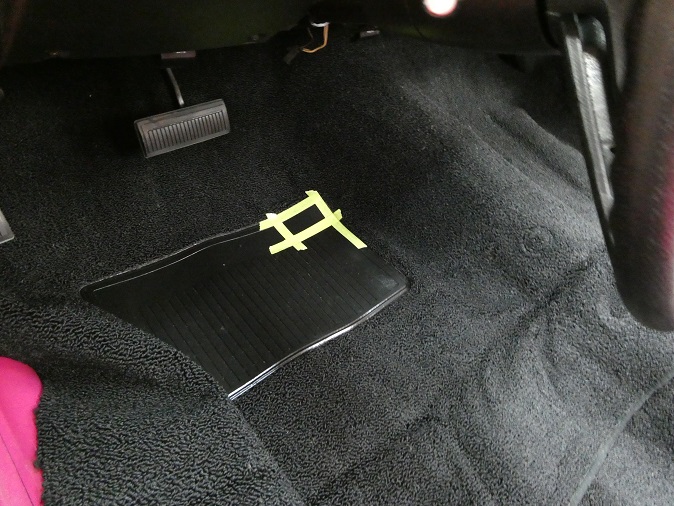
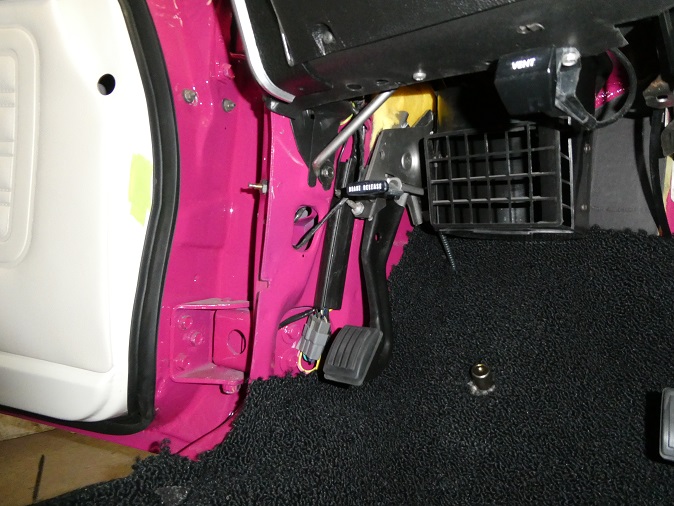
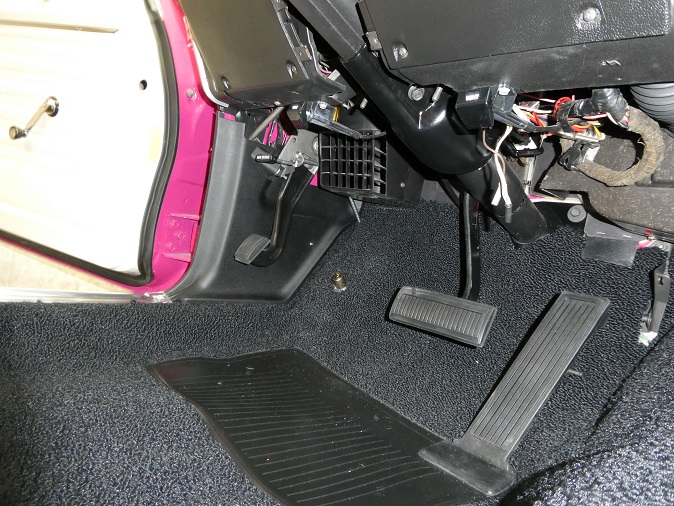
GAS pedal.
|
|
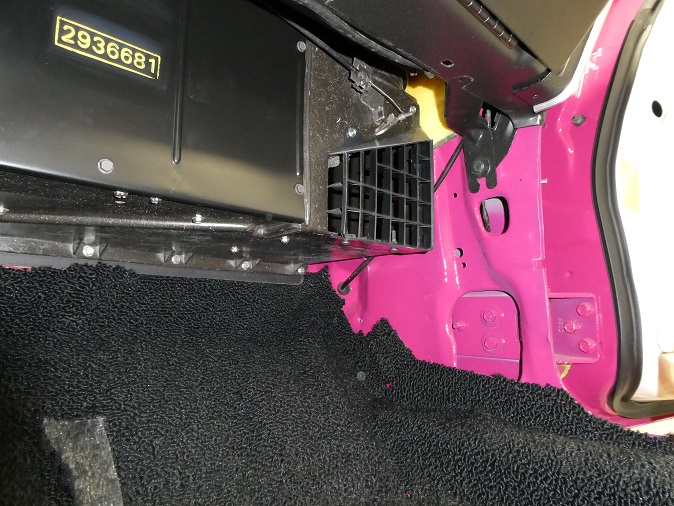
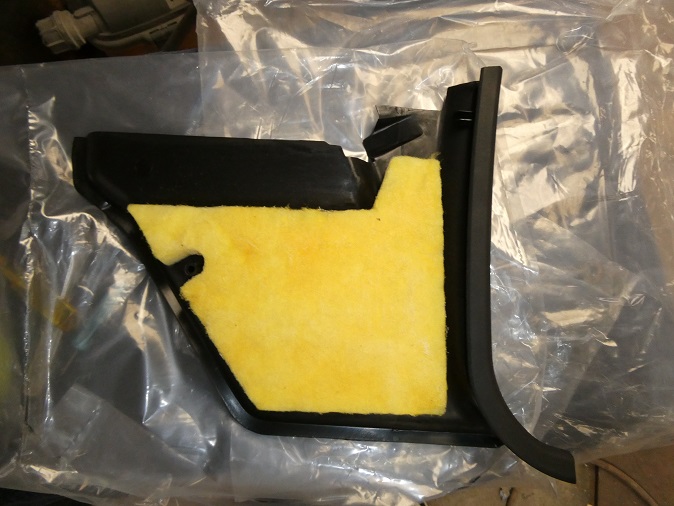
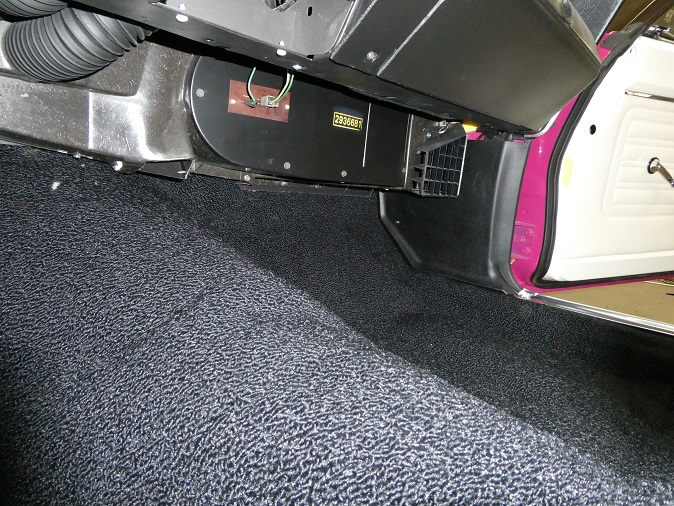
trim for kick panels.
|
|
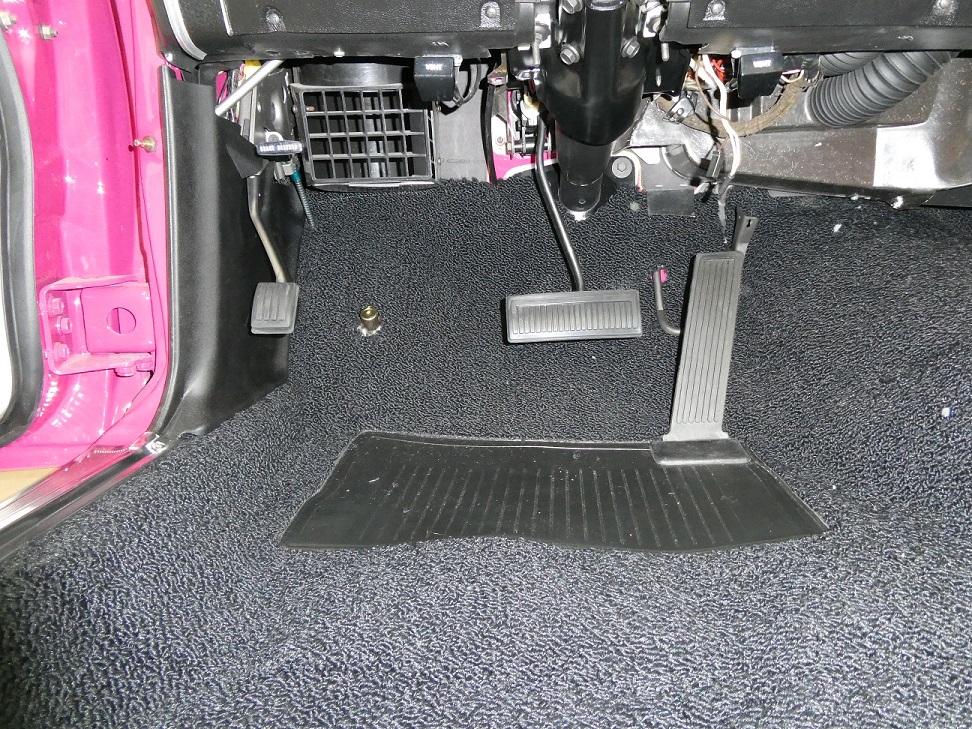
Kikcpanels installed
|
|
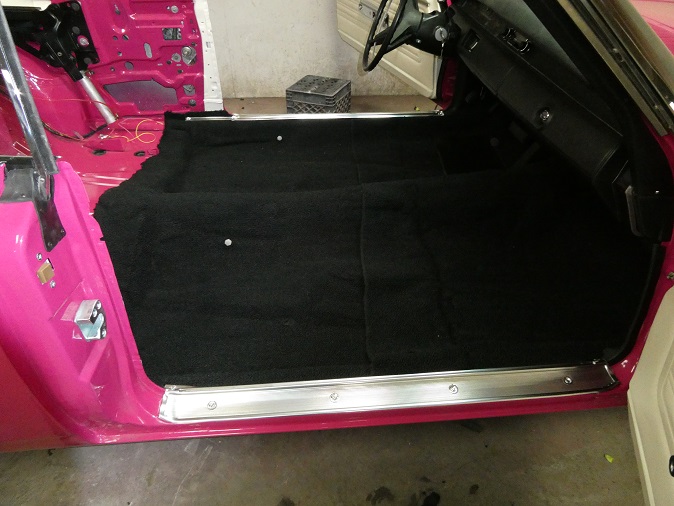
Ssill plates and extentsions
|
|
|
Rear Interior Panels
|
|
|
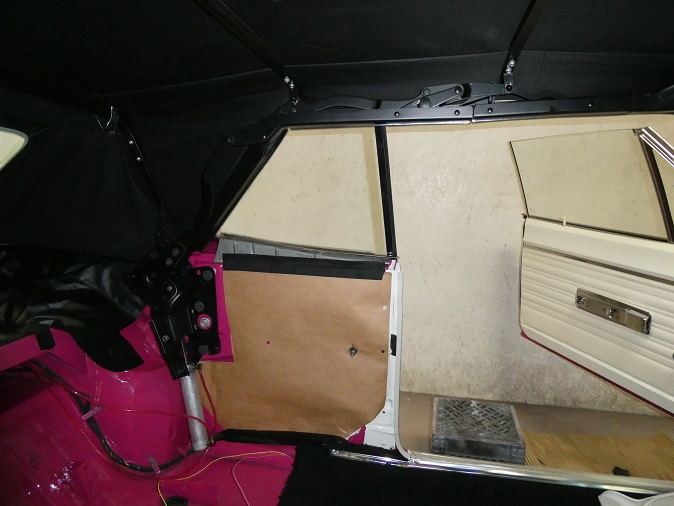
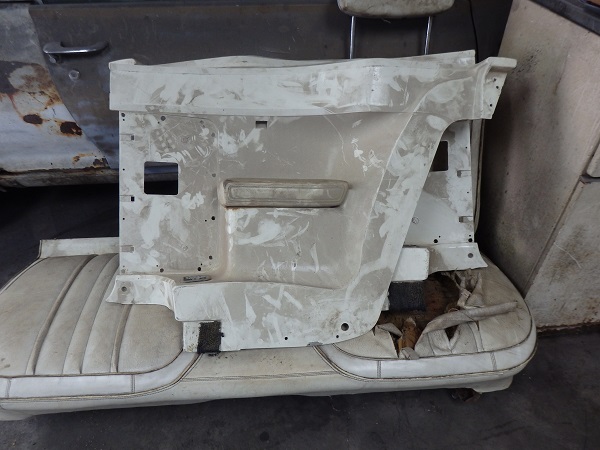
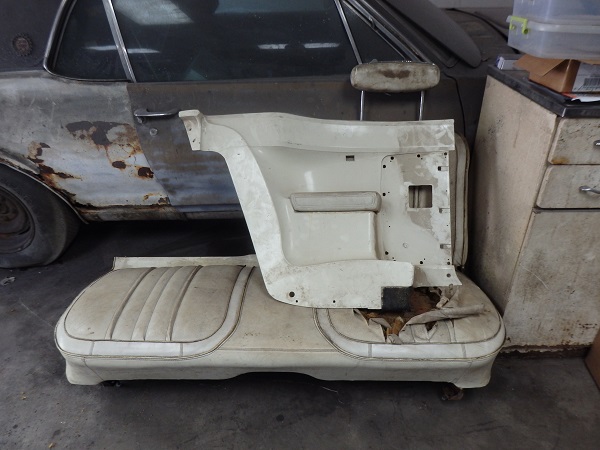
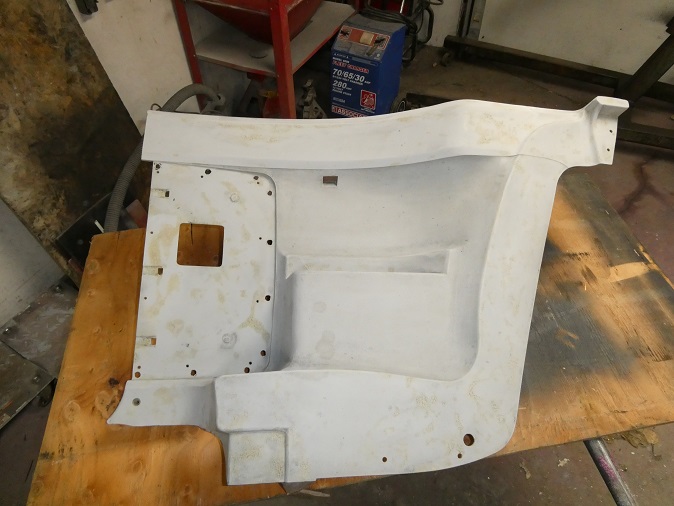
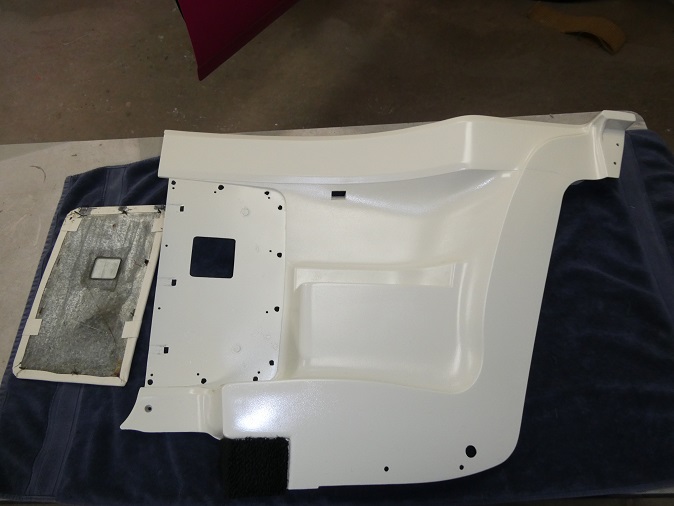
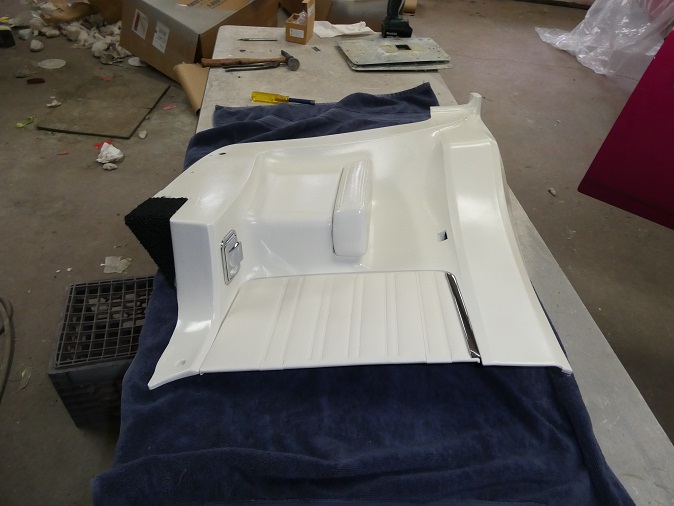
These rear interior panels are unique for 1970, though the 68 and 69 versions are very similar. The give away is the large hole at the bottoms for the seat belt bolts. You can convert the earlier years, if you can find them.
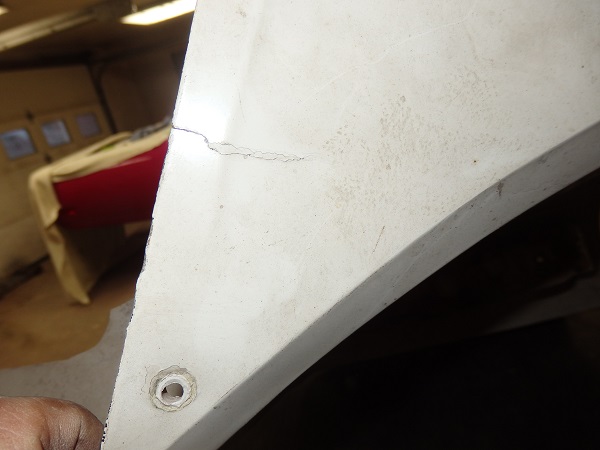
These panels had mild cracks due to poor handing through the years.
|
|
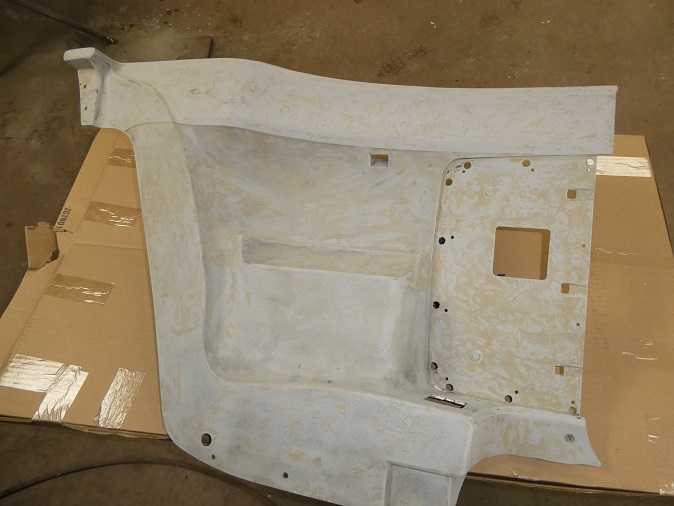
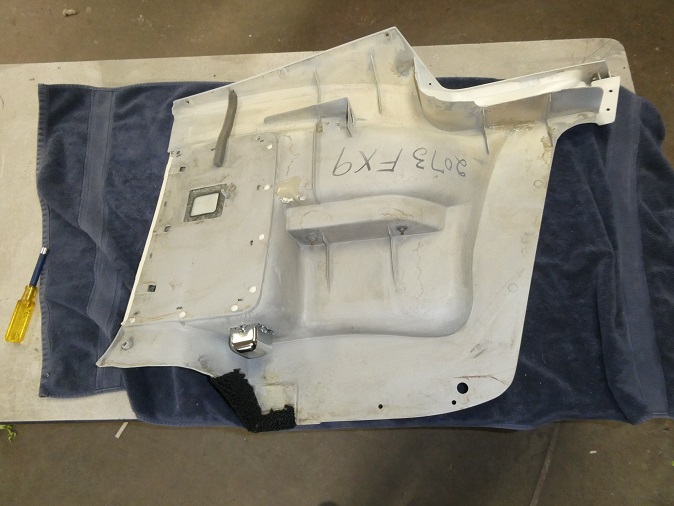
The first thing I did was stip the paint off them. Not very easy as regular paint stripper will melt the platic, which is a PVC material. The best trick is to use easy off oven cleaner. The real heavy duty kind in the blue can. The
formula has changed to "protect the environment" so you have to use a ton of it.
It took me a while to figure out how to fix the cracks correctly. I used PVC adhesive used for plumbing to bonfd the cracks and then reinforeced it with JB Weld from behind.
|
|
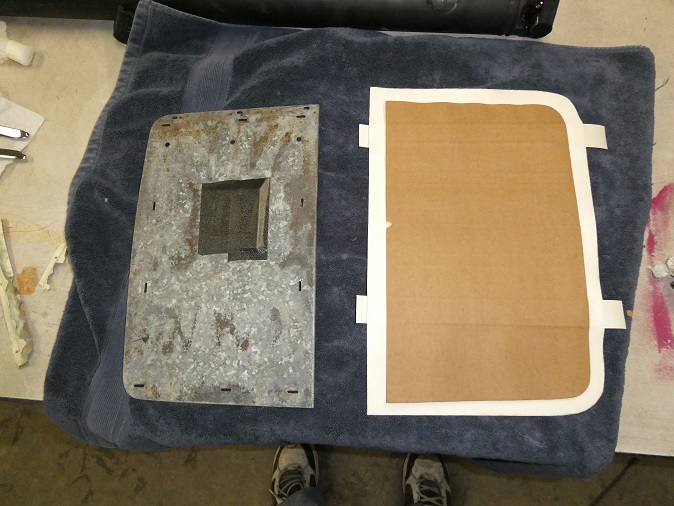
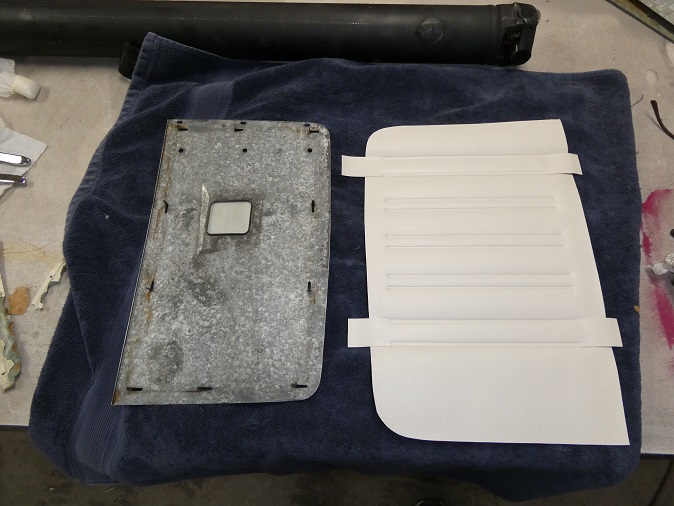
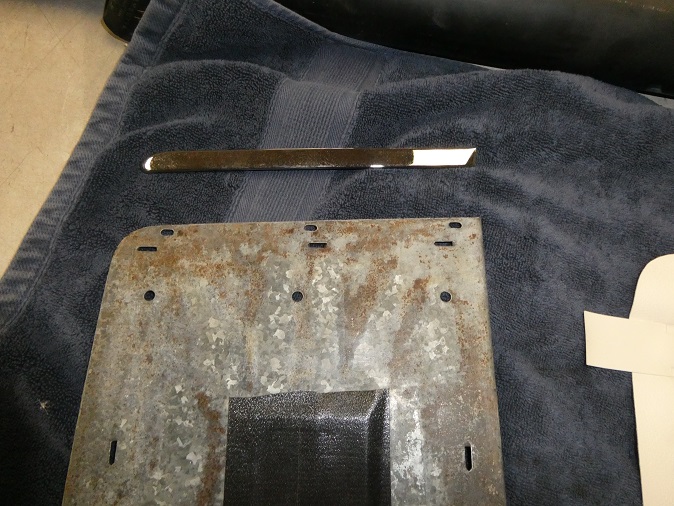
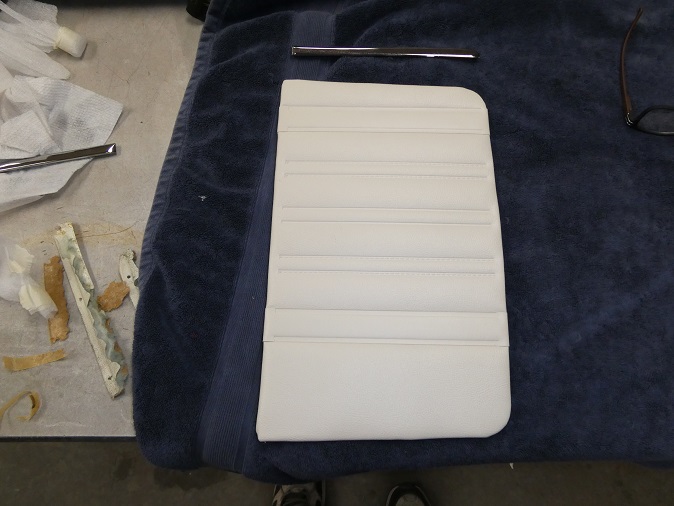
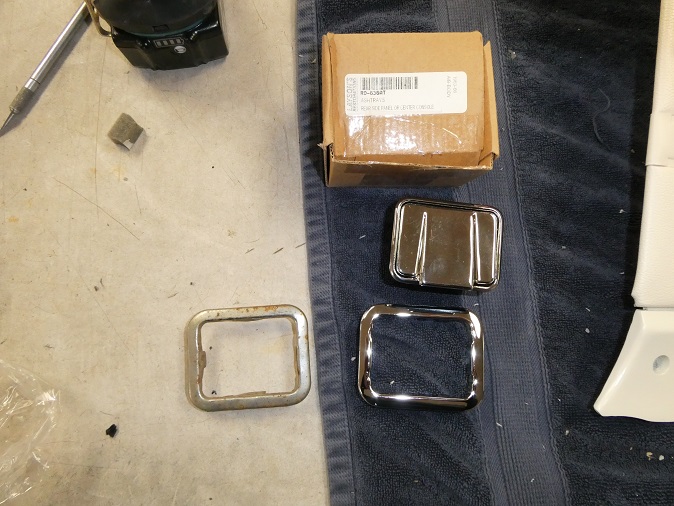
The panels have vinyl inserts that are glued to sheetmetal backers. In addition there is a chrome piece attached at the top. Originally the chrome pieces had pins in the back that are peaned over to hold them in place, but pinds had to be ground
down to remove the chrome for replating. To reinstall them I used JB Weld.
|
|
The rear panels were painted the same color as the door frames. The inserts have metal hooks that go through the panels and are bent over to hold them in place.
The armrests are repainted originals. The ashtray are repos.
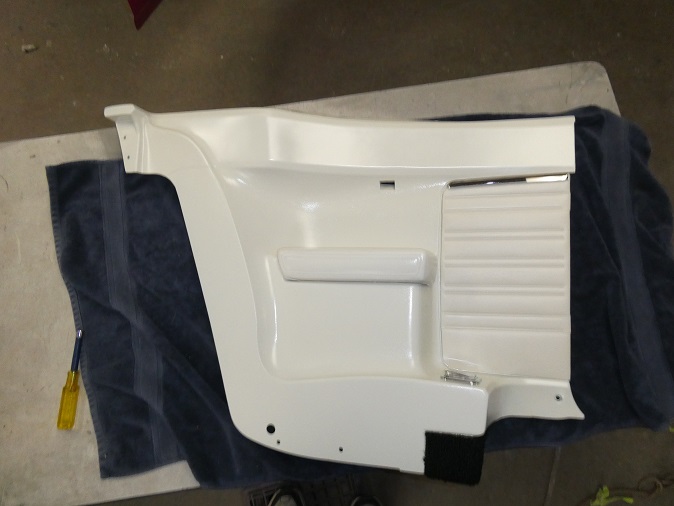
In the last picture you can see I was able to preserve thte original factory markings.
|
|
The ashtrays I found were for earlier years, which were not advertised to be correct for 70's.
|
|
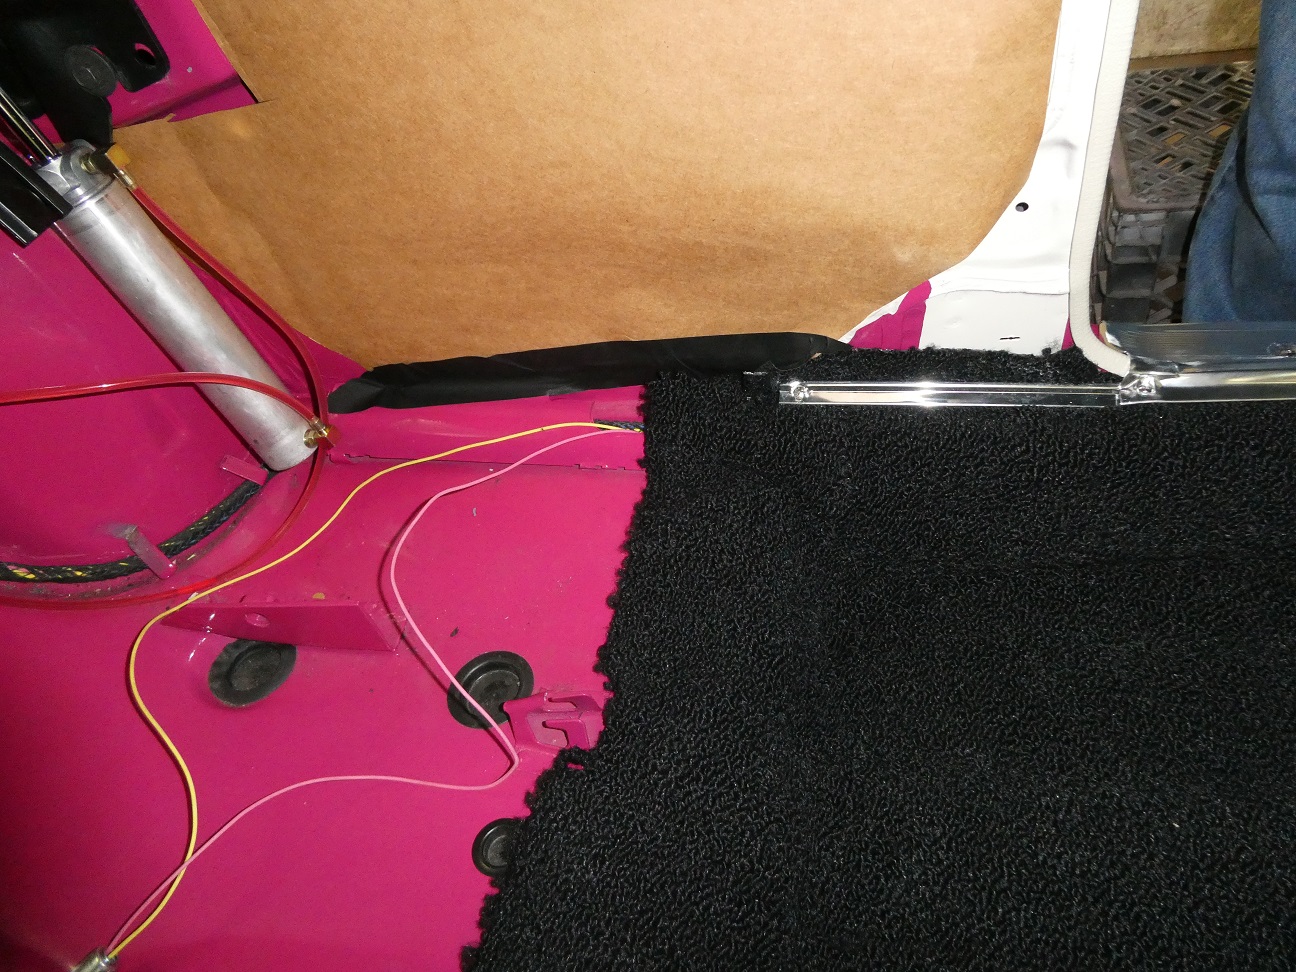
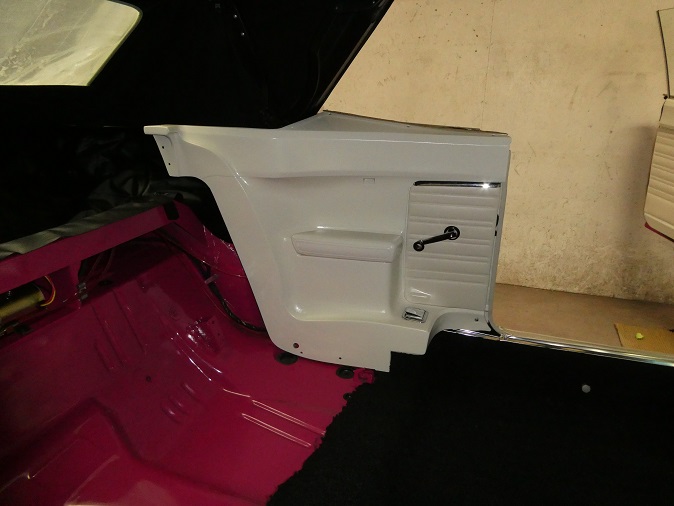
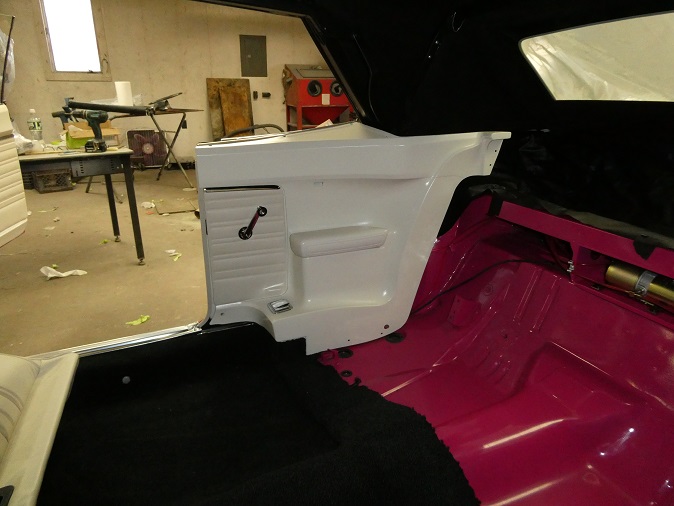
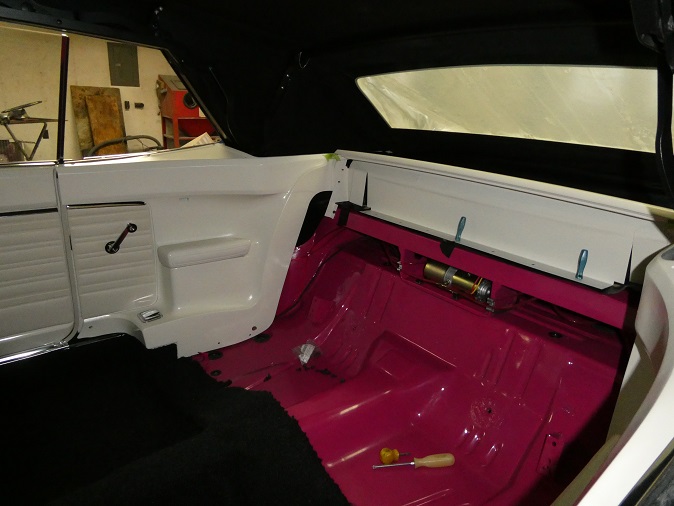
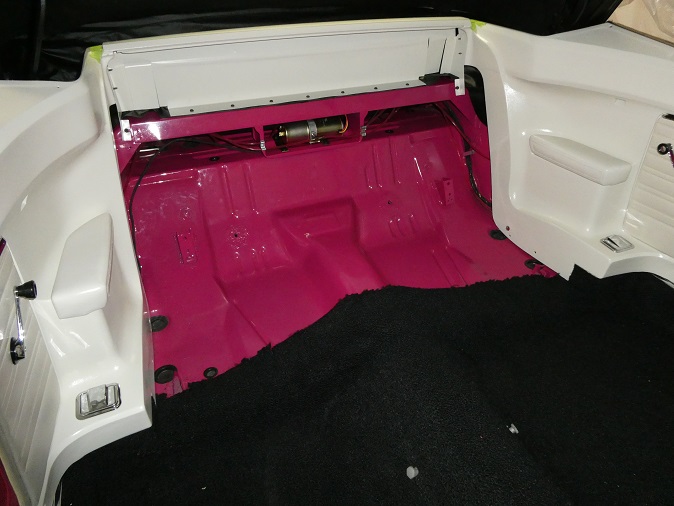
Here the rear side panels are installed. Notice that the front edge of the inside of the B-pillar is painted white? It needs to be painted so it doesn't show body color when the pinchwelting is installed. I've
seen this detail missed on many restos.
Lastly the rear filler panel gets installed. The well liner for the convertible top is held in place at the front by this panel.And there you have it, all ready for the seatbelts and rear seats.
|