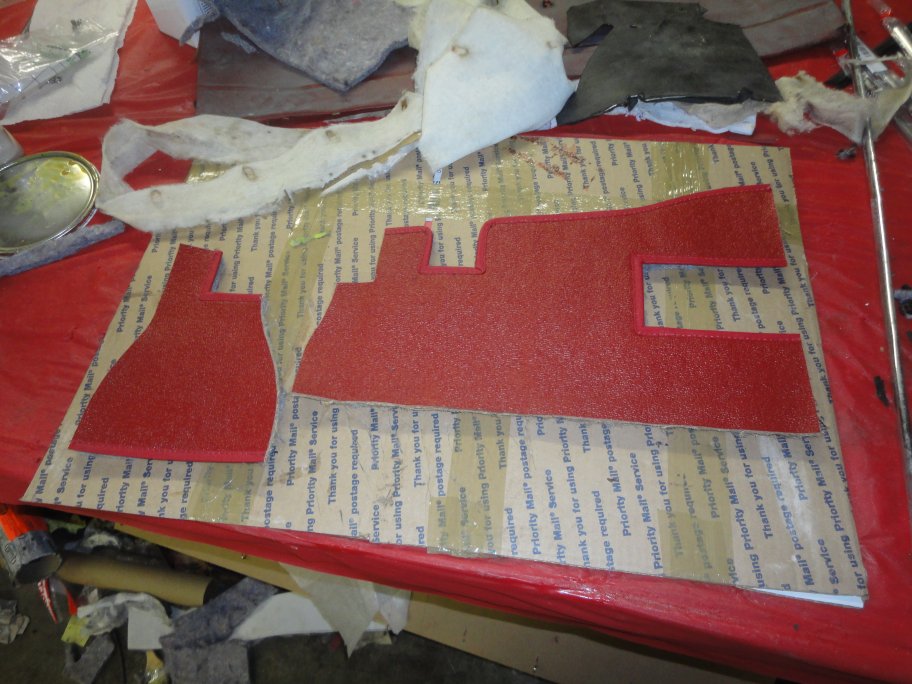
 65) Here is a picture of the underdash harduras for the driver's side. Typically they are installed prior to the footwell trimming, but in my case I had to wait until the
rest of the dash was put togther. The pieces shown here are identical to the originals. The vendor had originally sent me black
ones, but that is not correct for the early cars. They are supposed to be the color of the interior.
65) Here is a picture of the underdash harduras for the driver's side. Typically they are installed prior to the footwell trimming, but in my case I had to wait until the
rest of the dash was put togther. The pieces shown here are identical to the originals. The vendor had originally sent me black
ones, but that is not correct for the early cars. They are supposed to be the color of the interior.
|
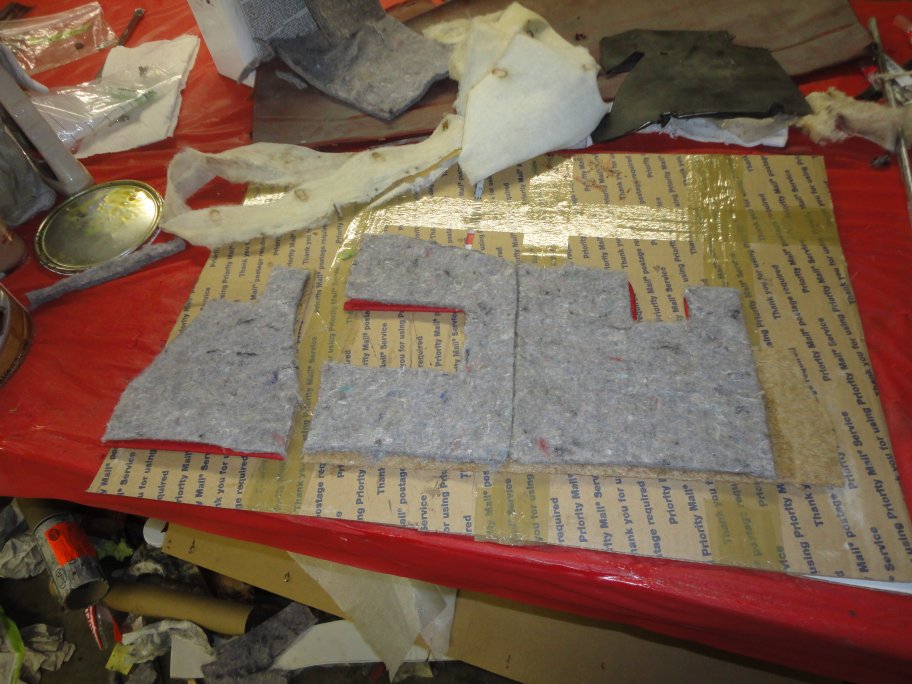 66) To make installation easier, the jute padding was glued to the underdash harduras. Then the pieces are glued to the underside of the dash.
|
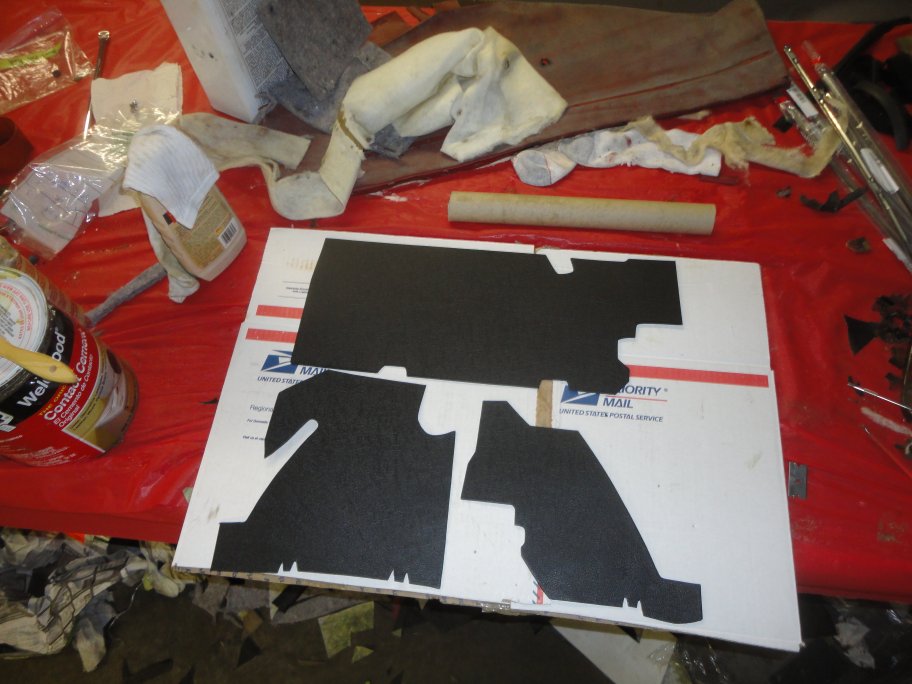 67) The lower dash fillers are vinyl covered aluminum. Once installed, they hold up the front part of the underdash harduras. They are installed with a
screws, but they also hook into the instrument cluster and glove box surround, so the dash needs to be assembled in order to install them.
67) The lower dash fillers are vinyl covered aluminum. Once installed, they hold up the front part of the underdash harduras. They are installed with a
screws, but they also hook into the instrument cluster and glove box surround, so the dash needs to be assembled in order to install them.
|
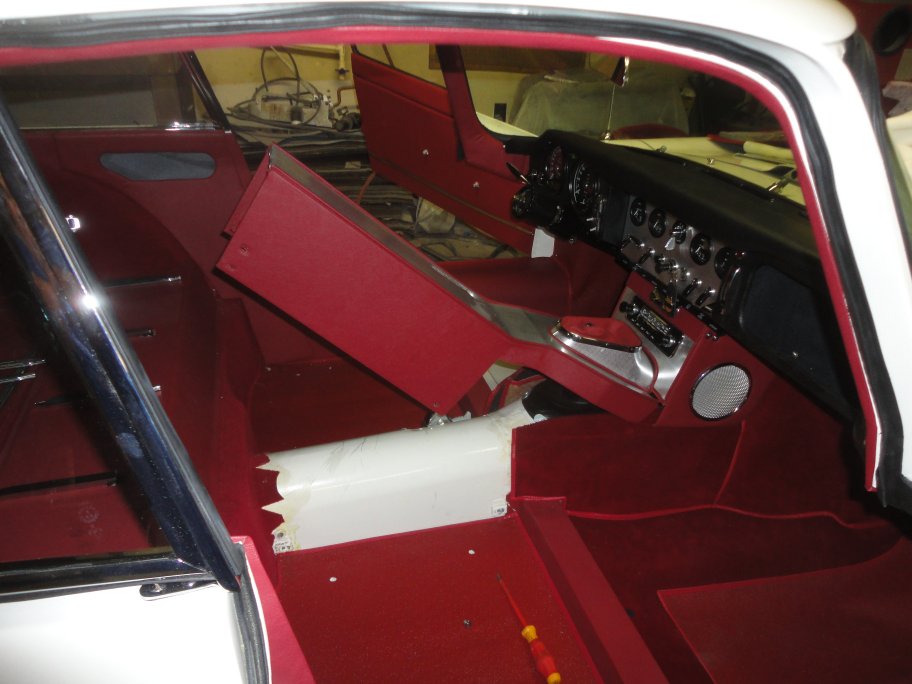
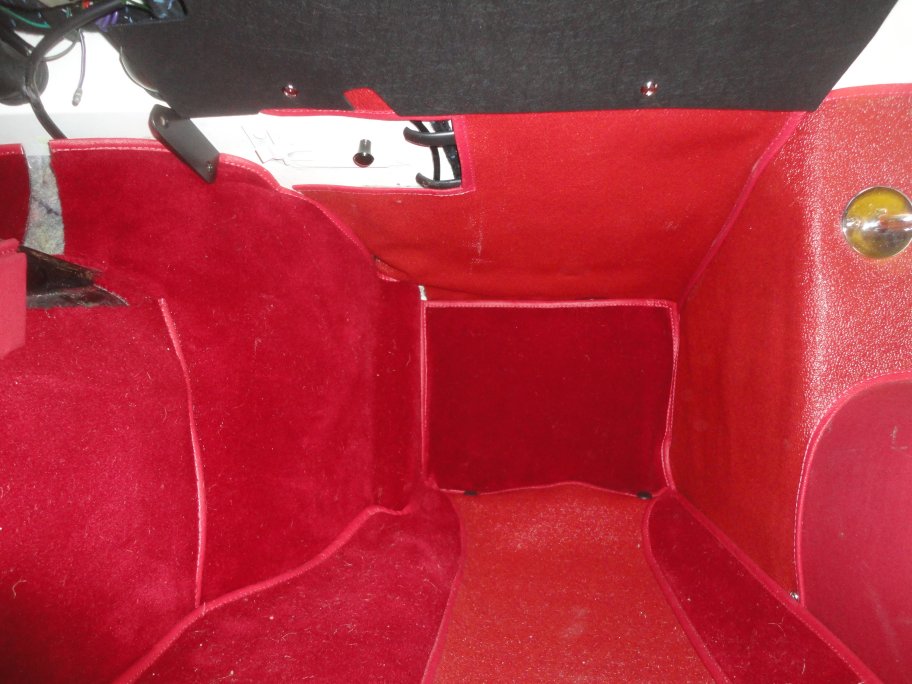 68) Here is the completed passenger's side. The plastic carpet retainers (black) are installed in this picture. Notice the vent door and the exposed wiring.
I check this several times. The wiring originally showed on this car. This may not be true for other Series I cars.
68) Here is the completed passenger's side. The plastic carpet retainers (black) are installed in this picture. Notice the vent door and the exposed wiring.
I check this several times. The wiring originally showed on this car. This may not be true for other Series I cars.
|
|
|
|
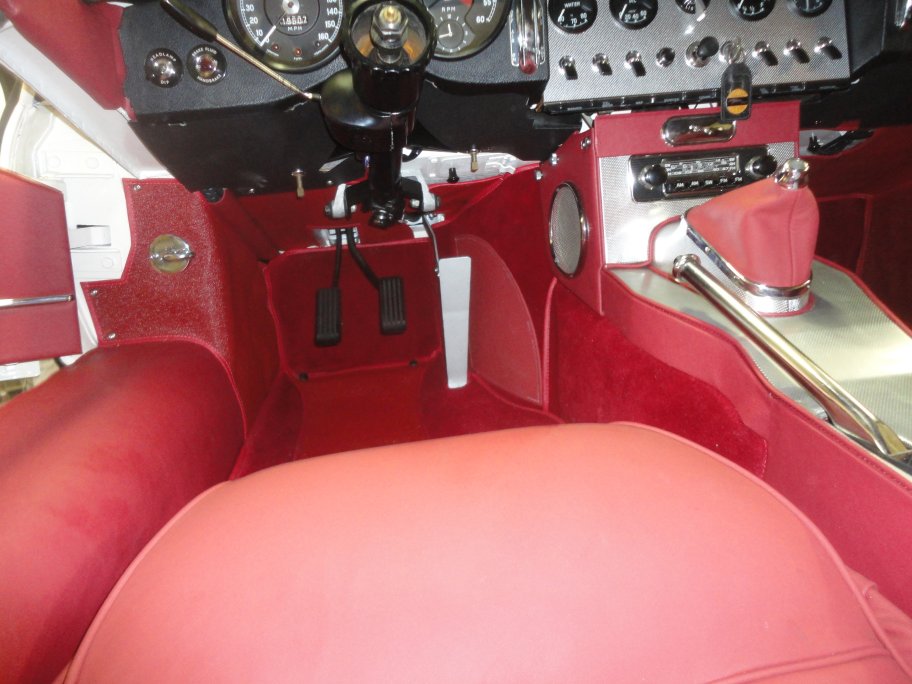 69) None of the pictures taken of the driver's side where clear enough to use, so instead you get to see the whole side completed, less the steering
wheel. IMPORTANT: The return spring for the gas pedal must be installed prior to gluing in the small triangular underdash hardura, since the spring mounting
hole can not be located otherwise.
69) None of the pictures taken of the driver's side where clear enough to use, so instead you get to see the whole side completed, less the steering
wheel. IMPORTANT: The return spring for the gas pedal must be installed prior to gluing in the small triangular underdash hardura, since the spring mounting
hole can not be located otherwise.
|
 70) Installing the center console can sometimes be a difficult task, especially after replacing the interior. It is recommend that the console be
trial fitted prior to installing the radio console. In my case I found I had to bend the front of the console down, which caused the sides to kink
at the point were the side pieces transitioned from small to large. The console originally had the kinks, but I straightened them out when I reuphostered it. It's
funny that I found myself putting kinks back into parts while trying to put the car back together.
70) Installing the center console can sometimes be a difficult task, especially after replacing the interior. It is recommend that the console be
trial fitted prior to installing the radio console. In my case I found I had to bend the front of the console down, which caused the sides to kink
at the point were the side pieces transitioned from small to large. The console originally had the kinks, but I straightened them out when I reuphostered it. It's
funny that I found myself putting kinks back into parts while trying to put the car back together.
|
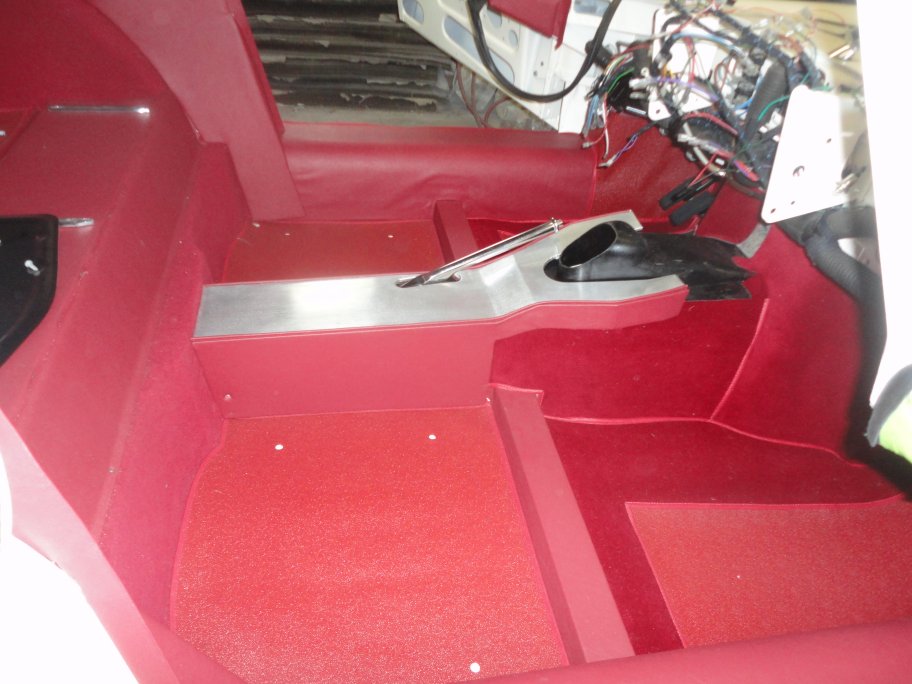
 71) The radio console is held in place with a pair of large chrome thumb screws on either side. The console is tucked under the radio console at the front
and is just levered down in place. I had to unbolt the parking brake lever to get it to fit through the consolde. This was a very easy way to install the
console.
71) The radio console is held in place with a pair of large chrome thumb screws on either side. The console is tucked under the radio console at the front
and is just levered down in place. I had to unbolt the parking brake lever to get it to fit through the consolde. This was a very easy way to install the
console.
|
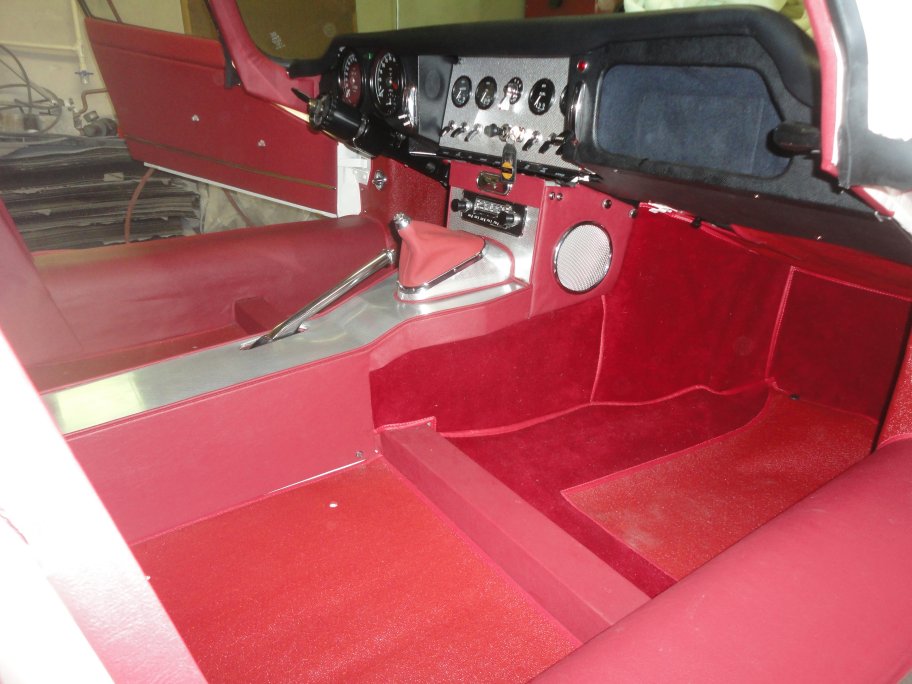 72) The console is only held in place with 3 screws. 2 on the passenger's side and 1 on the driver's side. In this picture you can see the thumb screws for the
radio console. You may notice that there isn't a shifter. That is because the engine and transmission have yet to be installed. I will be installing the engine
using a lift.
72) The console is only held in place with 3 screws. 2 on the passenger's side and 1 on the driver's side. In this picture you can see the thumb screws for the
radio console. You may notice that there isn't a shifter. That is because the engine and transmission have yet to be installed. I will be installing the engine
using a lift.
|
|