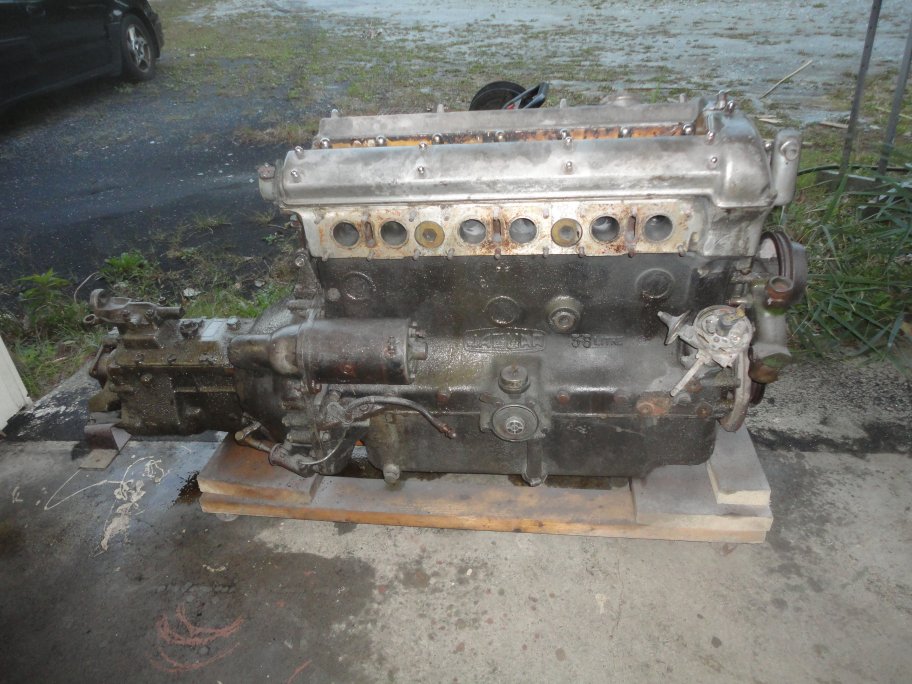
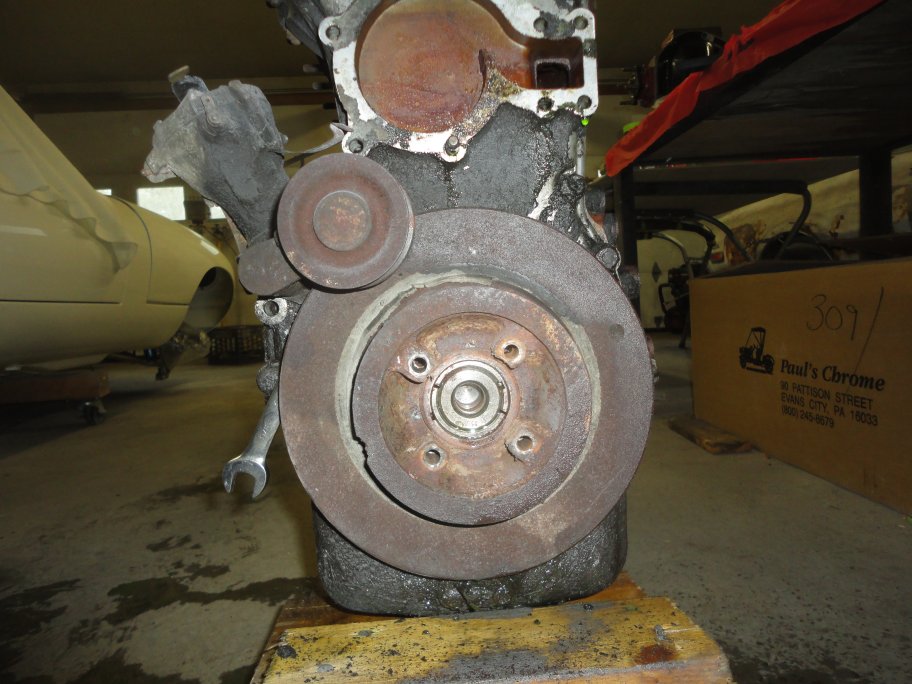
 1) Here is how the engine looked after sitting around the garage for 5 years.
 |
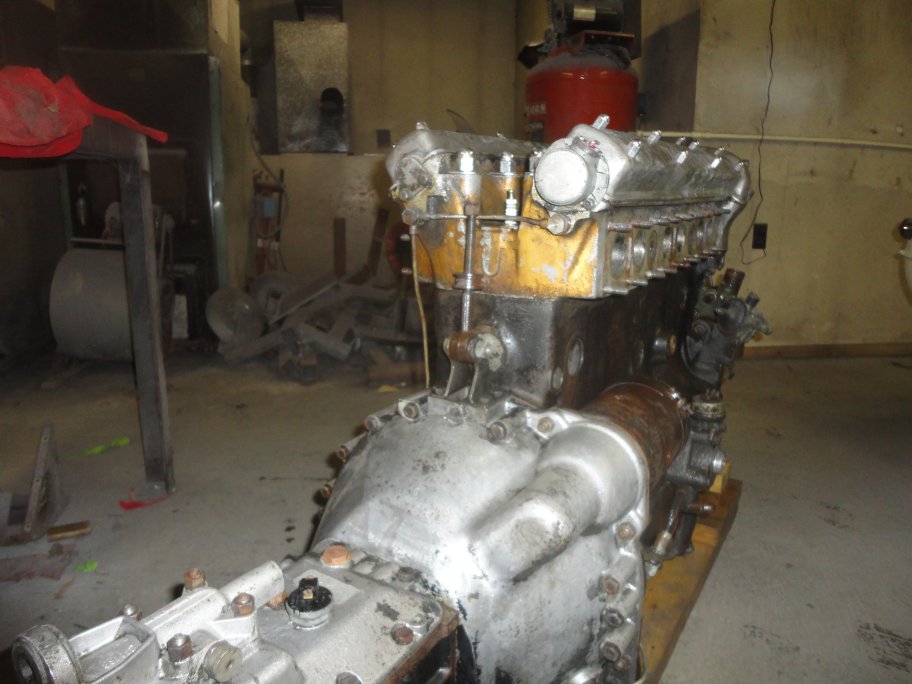
 2) At some point in the car's past the original transmission mount was replaced by this custom one. Early Series I cars had a double mount
arangement. Perhaps the original transmission mounts were not available and that is what drove someone to create a custom mounting bracket that
used front engine mounts. Luckily it was very easy for me to obtain a correct original mount and transmission mounts.
2) At some point in the car's past the original transmission mount was replaced by this custom one. Early Series I cars had a double mount
arangement. Perhaps the original transmission mounts were not available and that is what drove someone to create a custom mounting bracket that
used front engine mounts. Luckily it was very easy for me to obtain a correct original mount and transmission mounts.
|
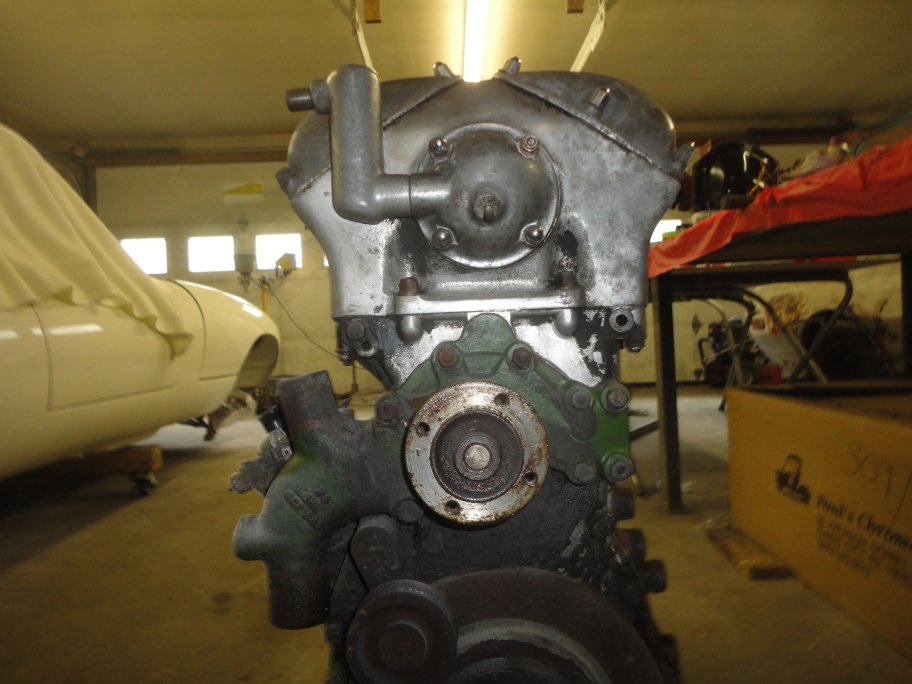
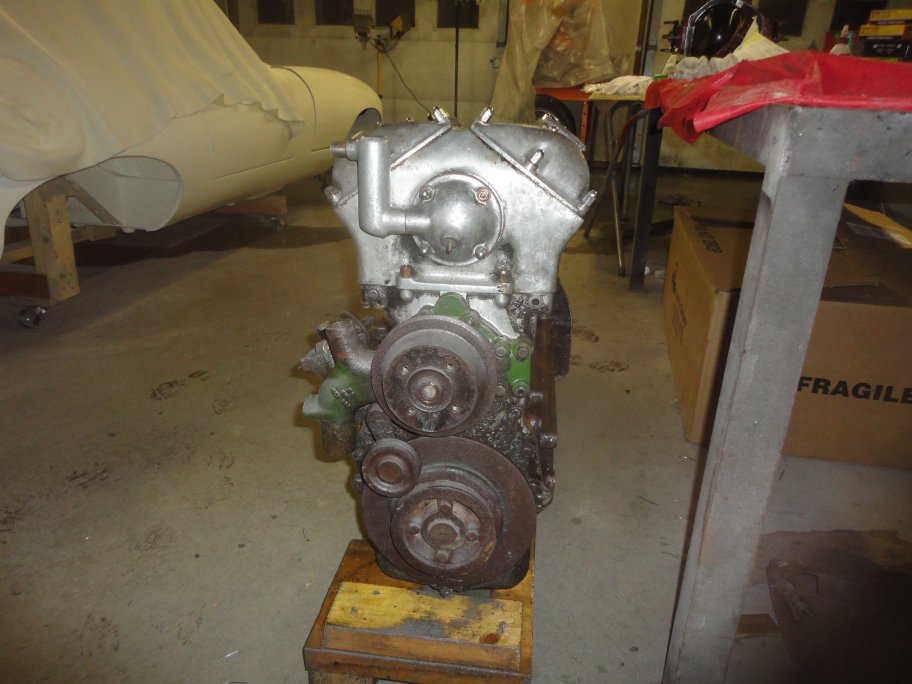 3) The water pump had also been changed at some point. However, I will install a new one. I've never had any luck with original water pumps lasting very long.
|
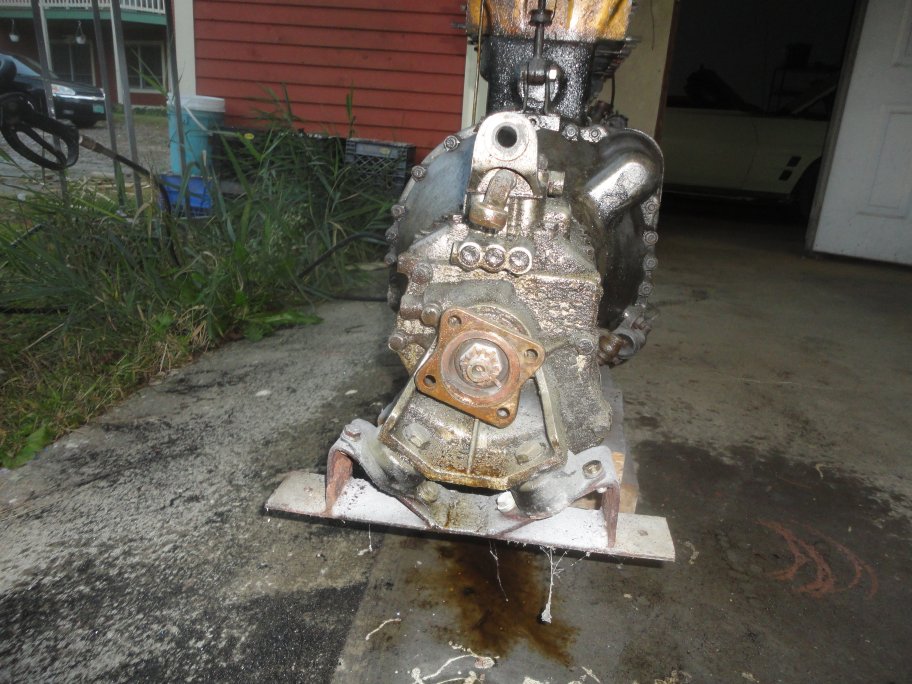
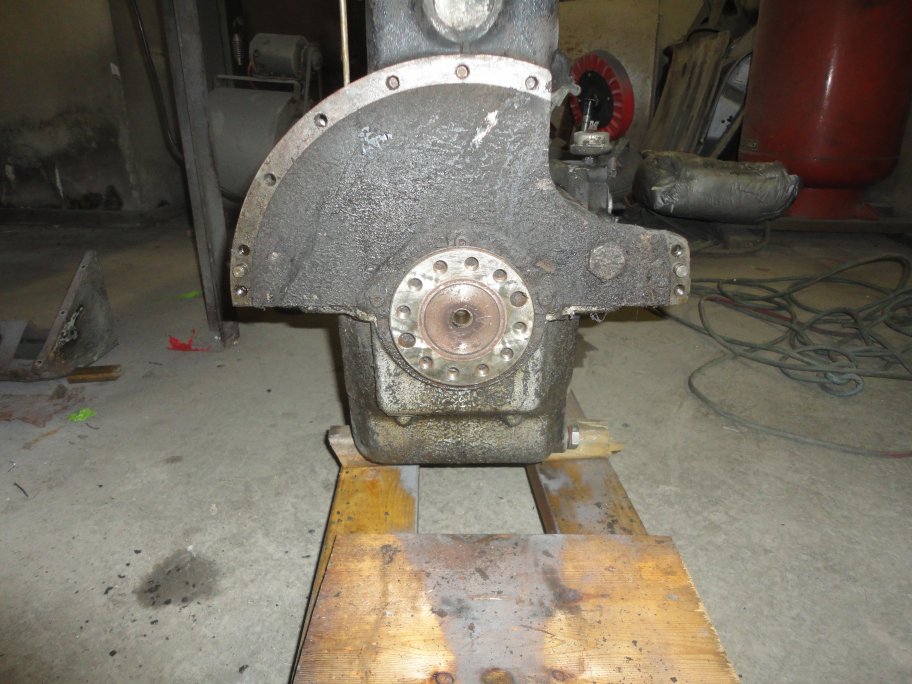
 4) This back shot of the engine shows the center engine mount.
|
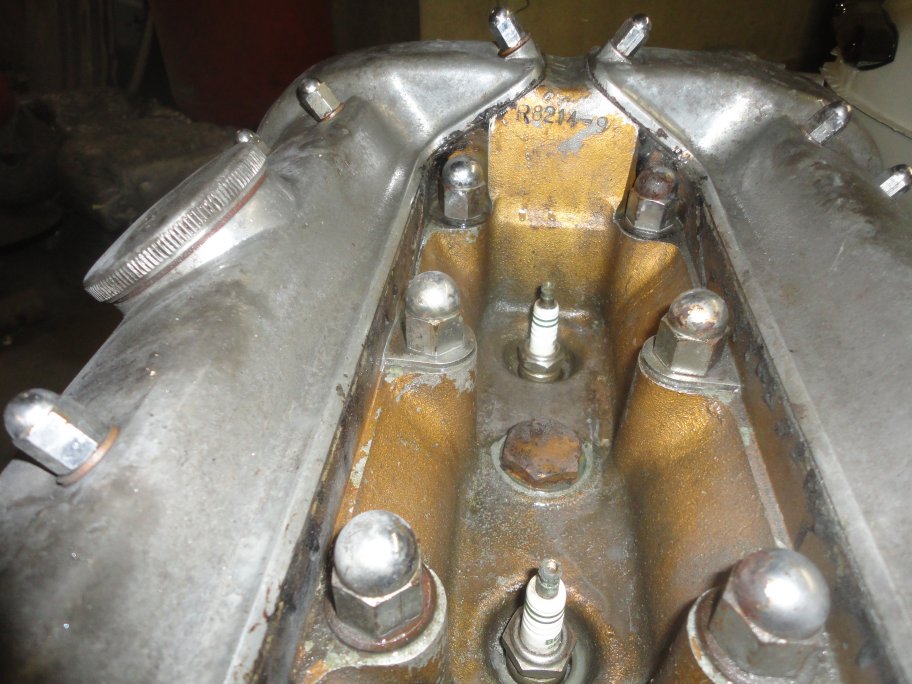 5) The head is stamped with the correct engine number (R8214-9) per the Heritage report. The "-9" stands for 9:1 compression ratio. That is important to know
when you order new pistons.
5) The head is stamped with the correct engine number (R8214-9) per the Heritage report. The "-9" stands for 9:1 compression ratio. That is important to know
when you order new pistons.
|
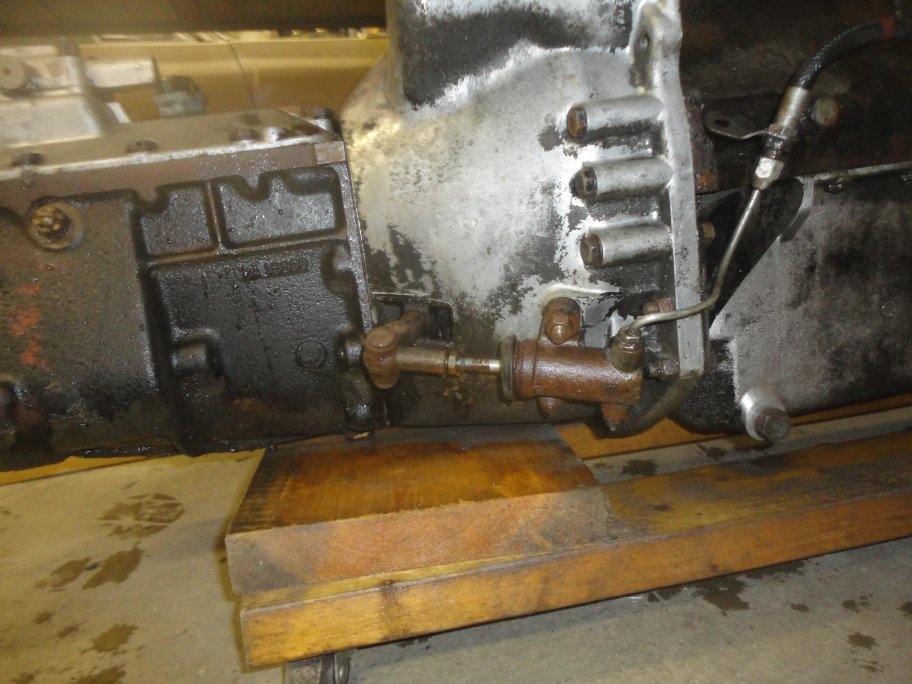 6) Here is the hydrolic clutch setup. The return spring and bracket were missing.
|
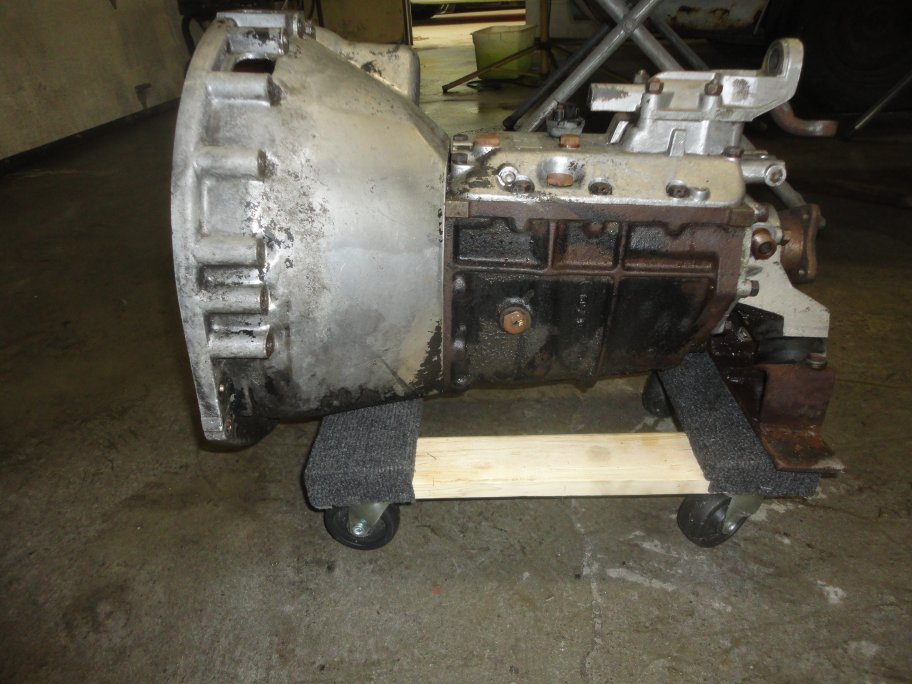 7) The transmission came off without much effort.
|
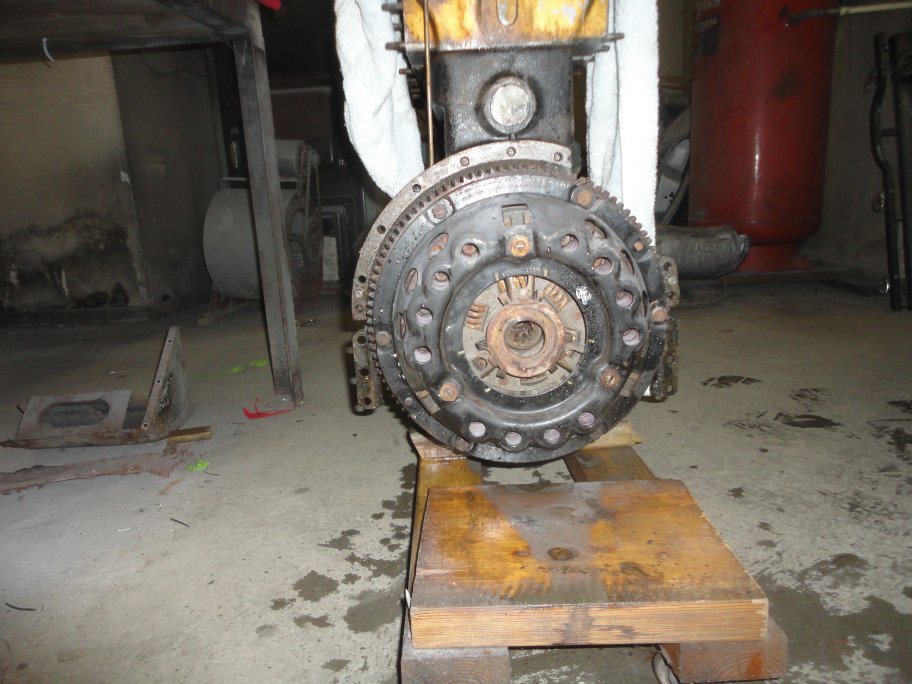 8) There appeared to be very little use on the clutch and pressure plate.
|
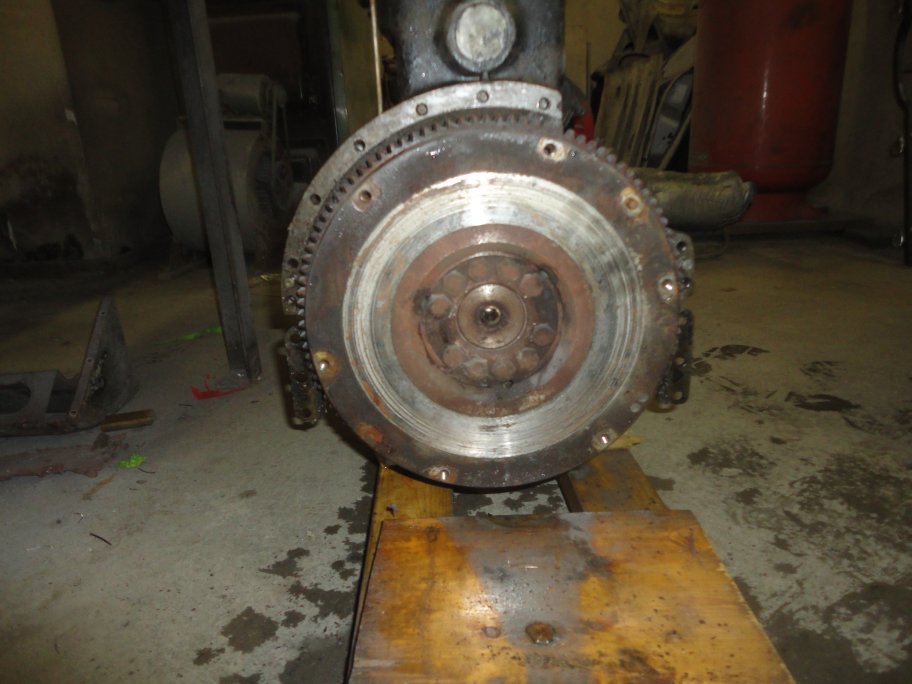 9) Grooves were worn into the flywheel. Luckily they came out when the flywheel was surfaced.
|
 10) Besides the typical grease it appears that the rear main seal never leaked.
|
 11) The water pump pulley is retained with 4 bolts.
|
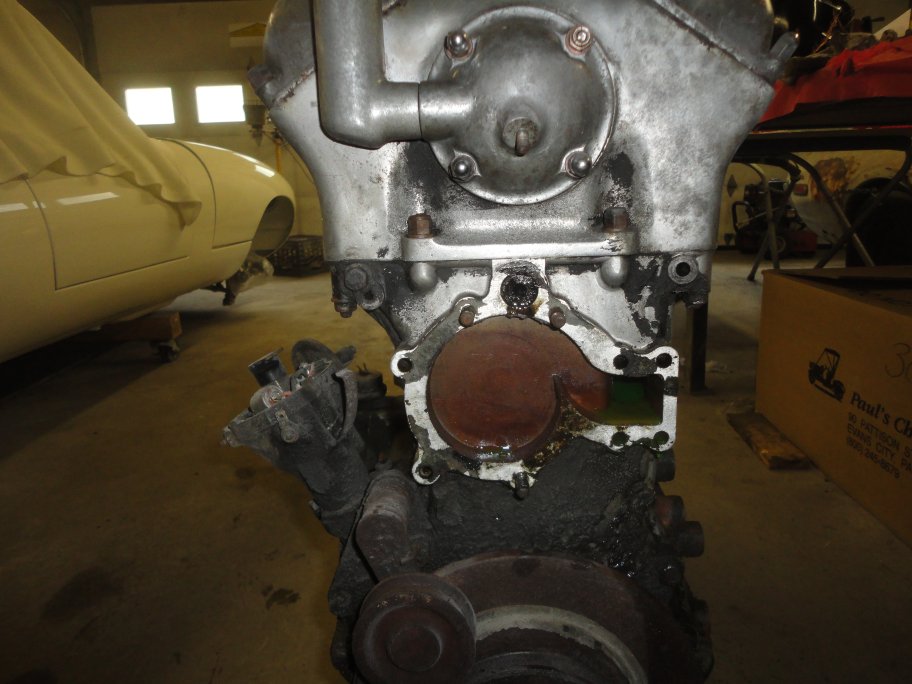 12) The water pumps is held on with nuts and bolts.
|
 13) The pulley on the harmonic balance was chipped. Luckily new ones are available. However, they are made of aluminum and need to be painted.
|
 14) A puller hade to be used to removed the harmonic balancer. A cone shaped spacer is used to fit the harmonic balancer to the flywheel. It comes right off.
|