 1) With the bumpers finally installed, it was time to get the fuel tank in and get this thing started. The original SU fuel pump was dismantled, cleaned and painted. It ran when power was supplied, but the only real test is how well it keeps up under tough driving conditions. There are no parts available to rebuild original SU fuels pumps. Replacement pumps cost $300+.
 |
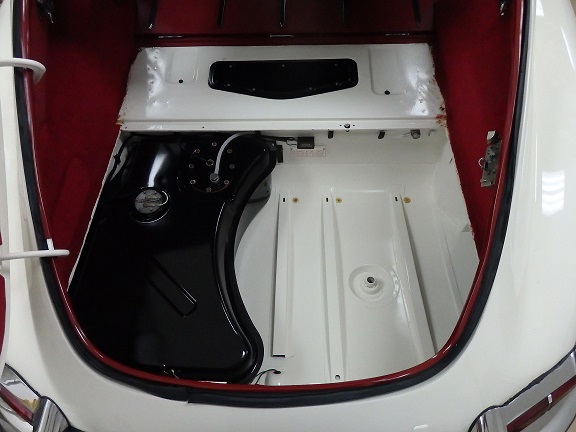 2) The installation of the repo fuel tank was a major pain the butt AND I had to do it twice !! I forgot to install the fuel door drain hose and had to take the tank back out. GRRRR.
It helps to have the fuel filler hose installed on the filler pipe (not the tank). The hose can then be pushed down from the inside with a long screw driver. Also, the rear lip of the boot that the boot board rests on needs to be bent down at an angle. I had straigtened mine during the restoration, but found I had to bend it back where it was. Seems to be a common them with these cars. If you come across something bent, don't straighten it. It probably was bent for a reason. |
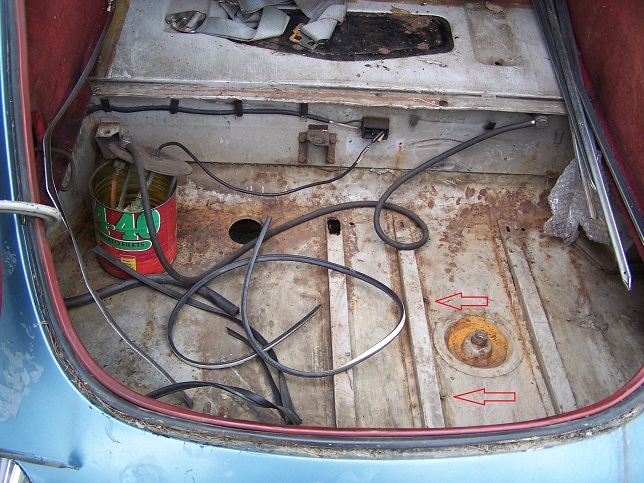 3) Here is an original picture of the boot before I started taking the car apart. The red arrows point to a pair of clips that were attached to the boot support. These clips are sort of a mystery. The factory was not supposed to install them on a car that was built after mid-June 1962 (after LHD FHC #886246), but there they are.
 |
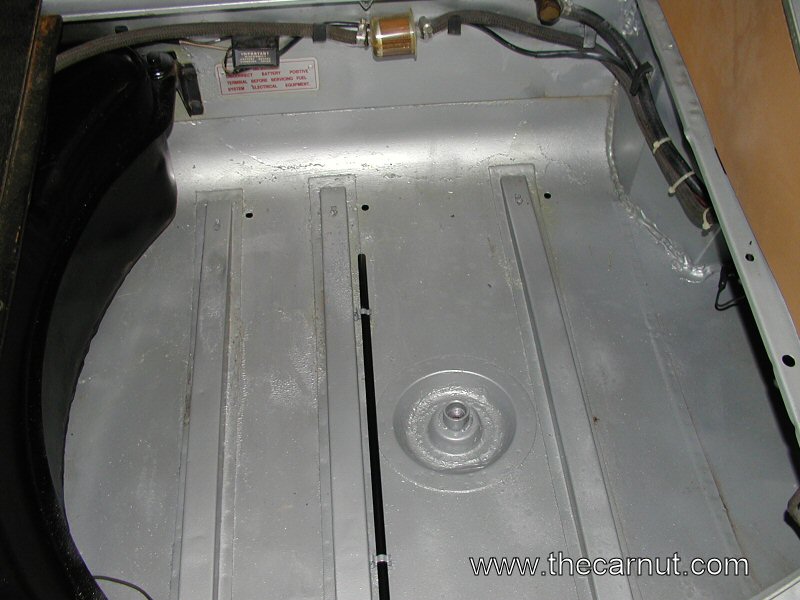 4) The clips are there to hold the rod for the Shelley bottle jack. Here is a picture on the rod installed in a 1961 E-type.
 |
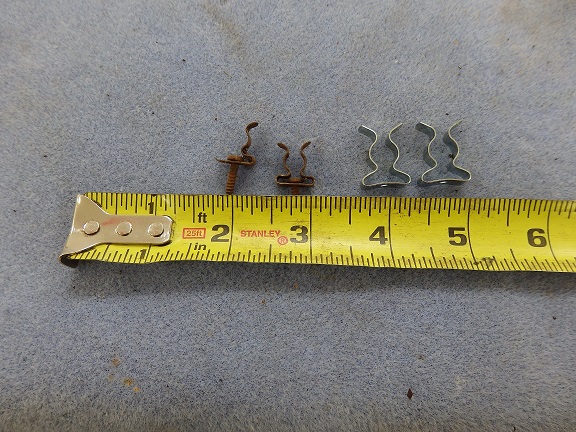 5) I bought some repo rod clips, but it turns out the repos were a generic clip that were not the same size as the originals. I suspect the are clips for retaining ceramic power resistors.
 |
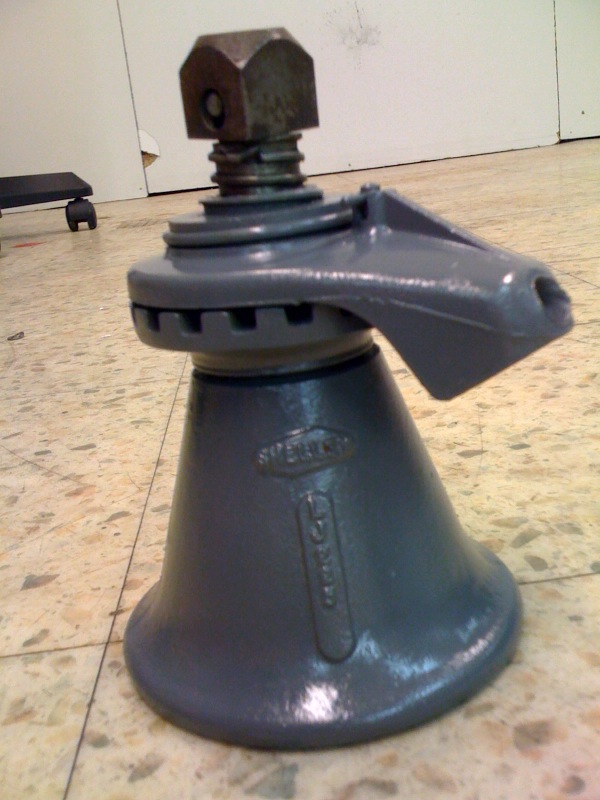 6) Here is a picture of an original Shelley jack, specifically made for Jaguar E-types. Used ones have been selling for way of $1000. There is no clear evidance that my car came with this style jack even though the clips were present. I am hoping some other car built in the same time frame will show up with its original jack. I have been contacted by a few E-Type owners whos cars were built around the same time as mine and none of them had the clips.
 |
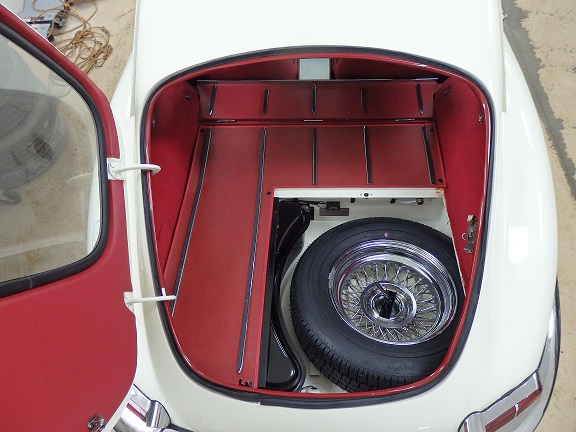 7) The spare tire covers the clips, so that's how things are going to be left until I have a definitive answer. I also need to buy and original tool roll and hammer to complete the boot area.
 |
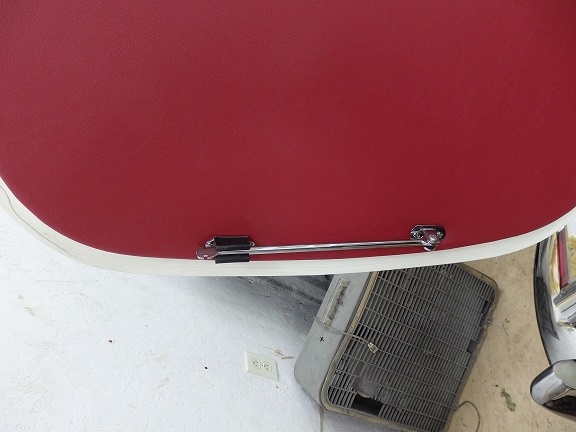 8) One of the last things I needed to install in the boot area was the hatch prop rod and its catch.
 |
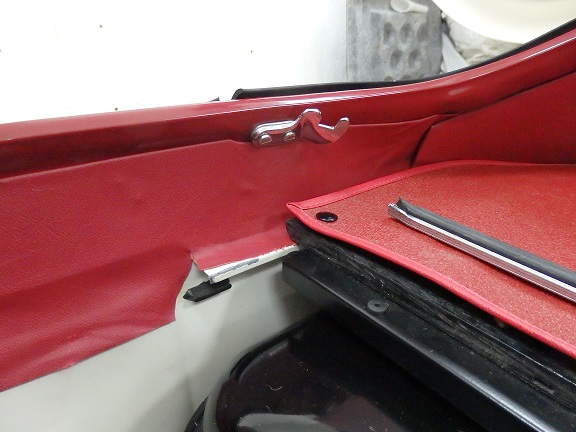 9) This car came with the early open style prop rod catch.
 |
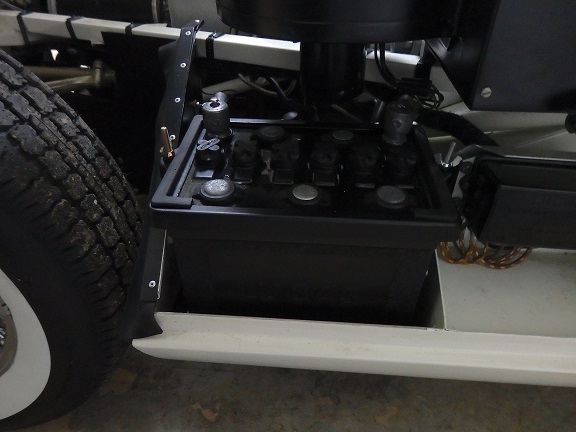 10) The last piece to install prior to starting the engine was the battery. I installed a reproduction Lucas battery from the Antique Battery Company. Their reproduction battery was actually a sealed battery with a fake top with caps. Under the caps is a shallow reservoir that can be filled with water to make it look like the old style battery.
 With the battery connected I started to check out the electrical system. Everything worked accept the horn and the left front directional. The spring terminal at the base of the steering column had to be bent a little bit to get the horns working. It took me a while to figure out the left front directional. It turned out I had the wire for the left directional plugged into a spare wire on the wiring harness by the glove box. It was an easy mistake to make. The wire for the directional is green with a brown tracer. The harness had two green wires that it could have went to. One had a redish brown tracer and the other had an orangish brown tracer. The correct one was the redish brown trace. When I tried to turn the engine over for the first time, nothing happened when I pushed the starter button. At first I found that the original started solenoid didn't survive the plating process. I was prepared for this by having a new one handy. Even with the new one the starter didn't do anything. I was forced to pull the starter. This isn't an easy job when you can't put the car on a lift. I had to pull the carbs and intake along with the vacuum tank just to reach the two bolts that held the starter in. Once out the problem was easily discovered. I had painted the face of the starter when I restored it. The face needed to be stripped to bare metal since that was how the ground connection was made. With the paint removed and a bunch of explatives later, the starter was reinstalled along with everything else. I decided to pull the coil wire and check the points the first time I turned it over after the starter was repaired. I was supprised to see a constant ground on the distributer feed wire at the coil. I pulled the distibutor cap and studied the wiring. What I found was that the new repo low resistance lead was connected to the points incorrectly. Unfortunately the lead was made with a ring terminal that was too small of a diameter. So I never installed it in the correct place. I removed the lead and soldered in a larger ID ring terminal. Once back together magic happened. I pumped the gas, turned on the key and pressed the starter button. It instantly started and idled at 2000RPM! It rev'd pretty smoothly too. I hadn't even adjusted anything yet. But of course I had to. I balanced the carbs with a Uni-Sync and then adjusted the mixture using the Ray Livingston method. |
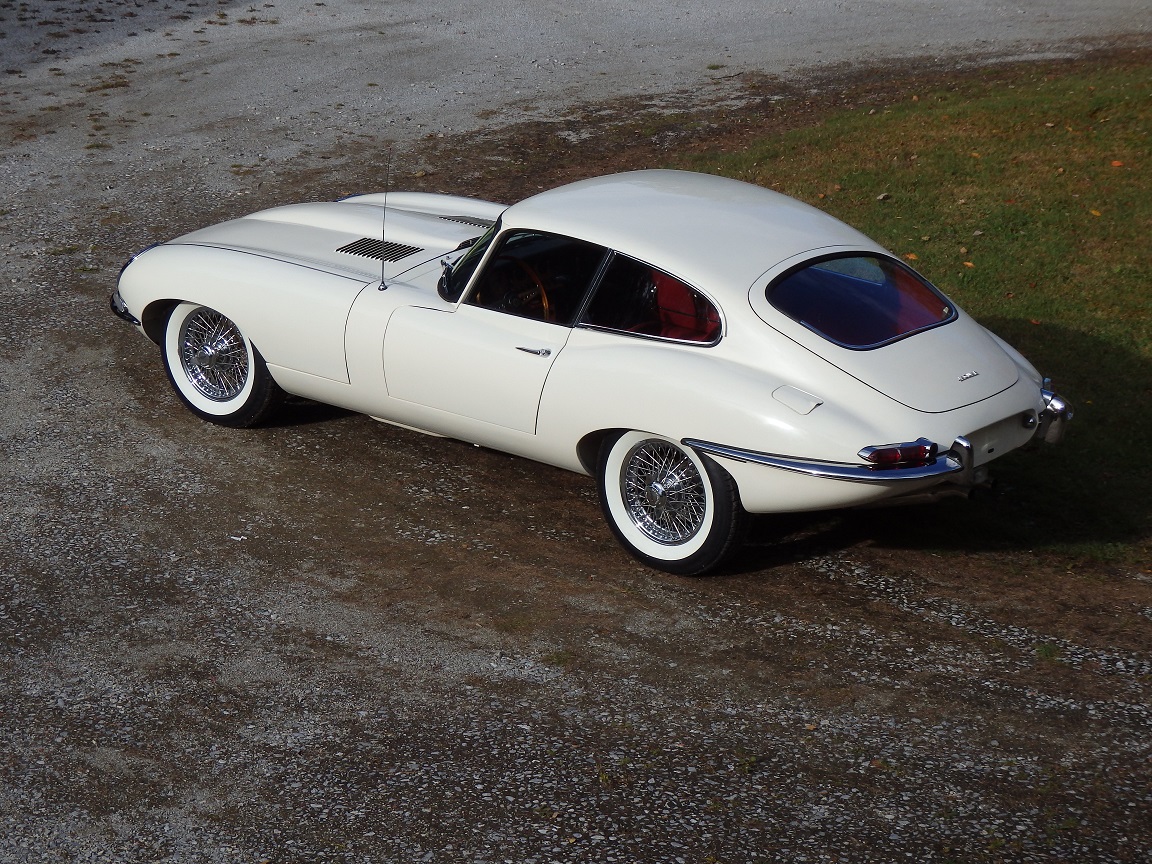
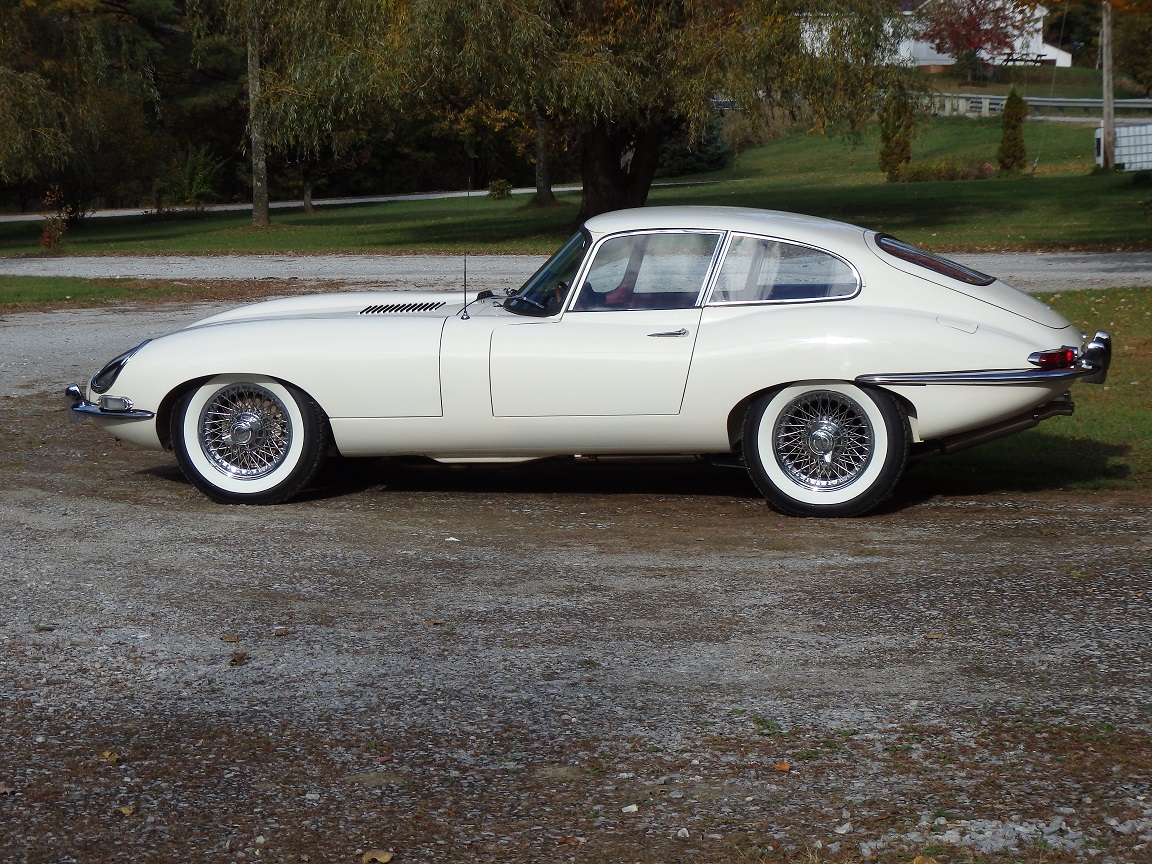
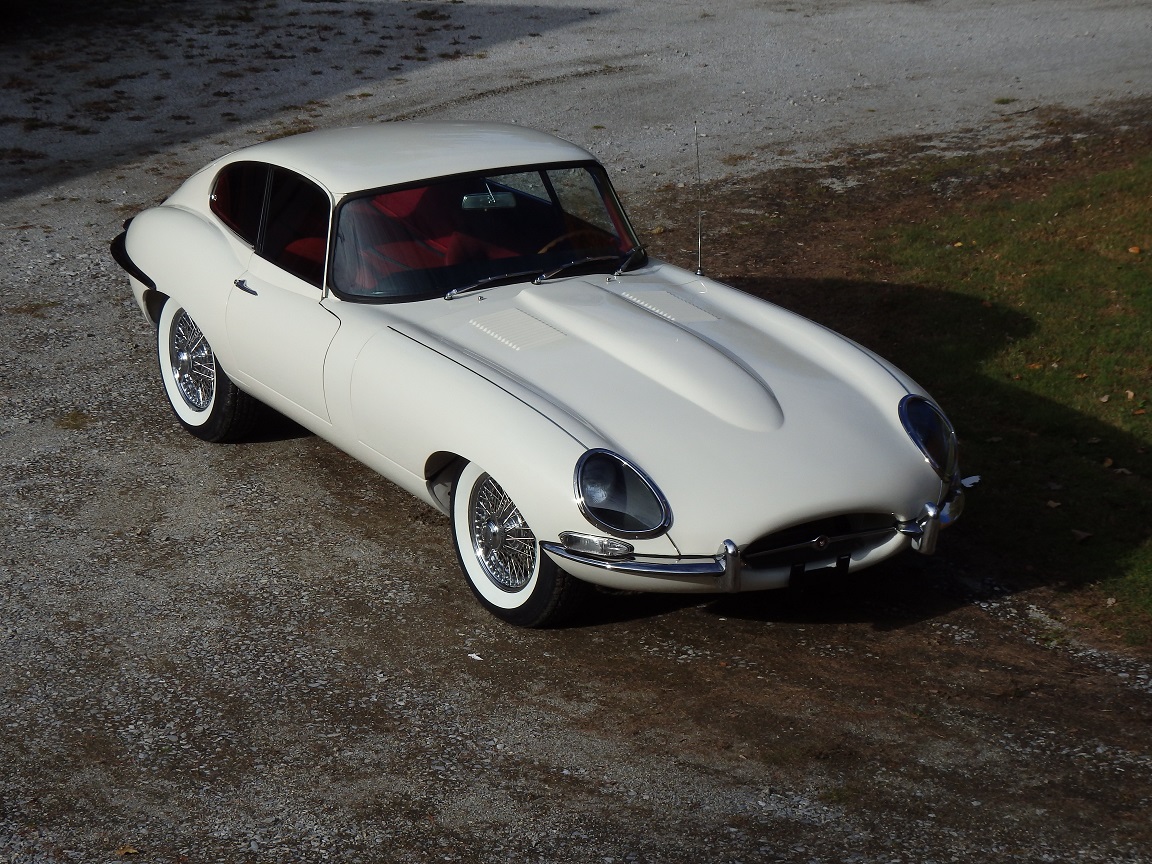
 11) Here are a series of pitures taken a couple days later. I still needed to install the windshield, boot window and gutter mouldings.
 |
 12)
12) |
 13)
13) |
 14)
14) |
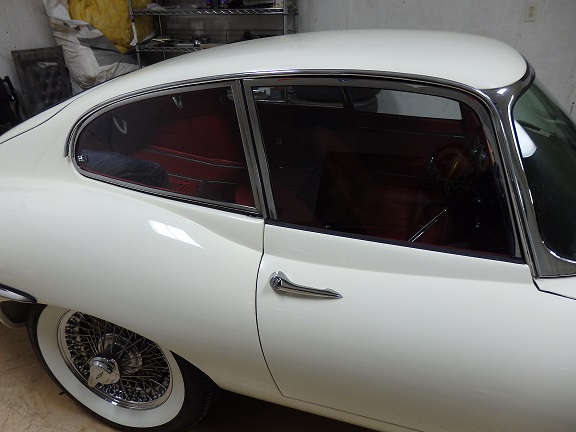 15) Installing the gutter mouldings was next on the list. One was original the other was a used one from ebay. They weren't very difficult to install. I first had to bend them to fit the contour of the gutters. I placed a thin bead of 3M Window Weld on the gutter and on the back side of the mouldings. The mouldings simply hook over the top of the gutter and the bottom is snapped in place with a rubber mallet. Of course the world isn't perfect. I had to tape the mouldings down for a day to ensure that they would stay put.
 |
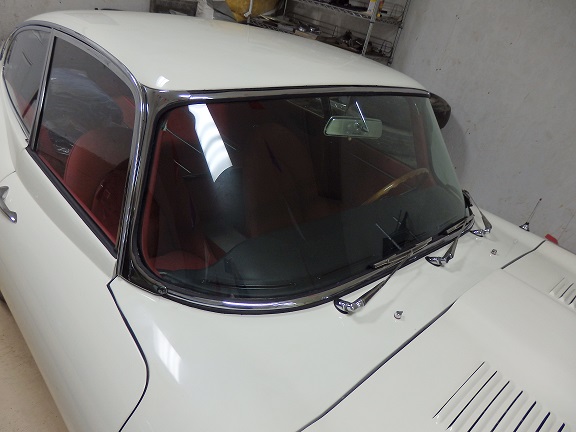 16) The windshield moldings were also used. The top one and the right windshield pillar moulding had to be bought used off ebay. The upper and lower mouldings fit inside a lip in the windshield rubber. It took a bit of twisting to get them to fit properly.
The windshield pillar mouldings are actually glued in place. With the inboard edge being tucked into the windshield rubber. Again I used 3M windshield weld and some tape. |
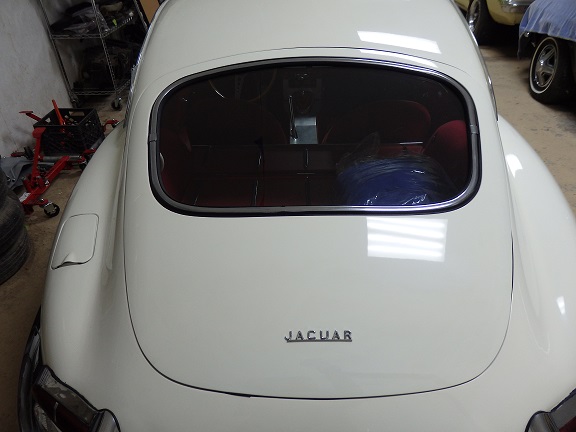 17) The hatch mouldings were horrible to install. At first I bought and older reprodcution set off ebay and found that only the bottom had a chance to fit if I were to bend and twist it a lot. I bought a second repo set and found that the top had a chance to fit if I were to bend and twist it a lot. After hours of twisting and bending I got the mouldings to fit into the rubber without glue. That's the hard part. You must get the mouldings to fit into the rubber without popping out. After that it's a matter of removing them, applying a bead of glue (3M windshield weld) and fitting them back in the rubber.
 She's almost done now! The seatbelts will need to be replaced or reconditioned and that's it. |
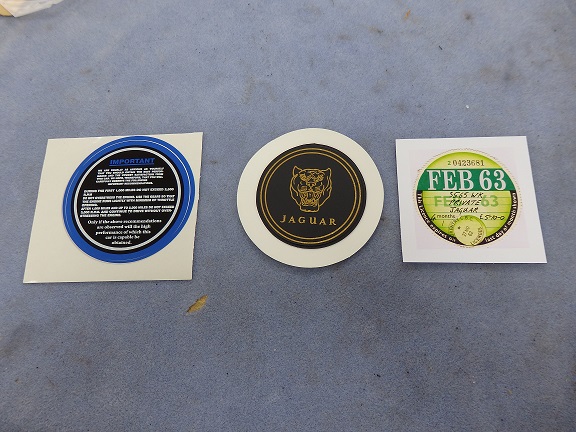 18) Though not technically needed, here are three items that will be installed on the windshield when I'm ready to show the car, the run-in decal, the tax disc holder and a repro of the original tax disc.
 |
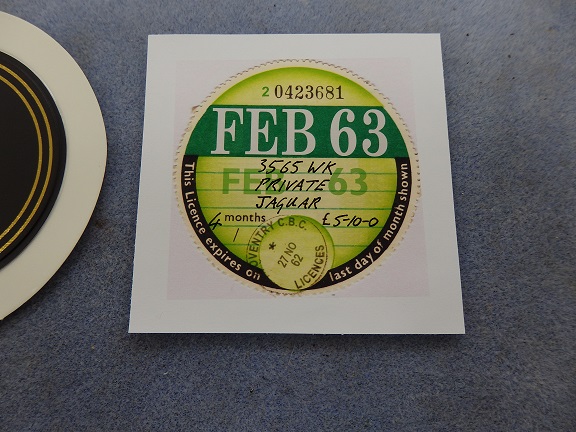 19) Since this car was originally registered in the UK before it was imported to the states, it had a tax disc that was issued in Coventry. The info on it is based on my Jaguar Heritage Certificate. I had to take a stab at the expiraiton date, but everthing else is accurate.
 |
 20) Here is the reverse side of the tax disc. It is not seen when it is inserted into the holder.
 |