 21) The next step in the process is related to the cubby area. The first thing to do is to fit the cubby support and make any adjustments to
it prior to upholstering it. This needs to be done after the wheel arches are covered in mocquette so that a good fit can be obtainted.
21) The next step in the process is related to the cubby area. The first thing to do is to fit the cubby support and make any adjustments to
it prior to upholstering it. This needs to be done after the wheel arches are covered in mocquette so that a good fit can be obtainted.
|
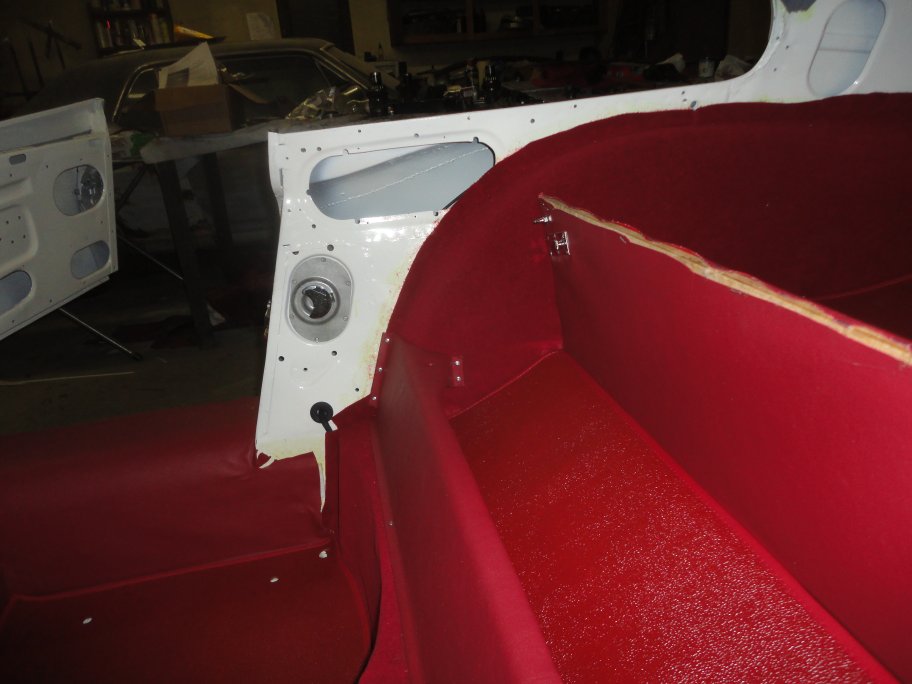
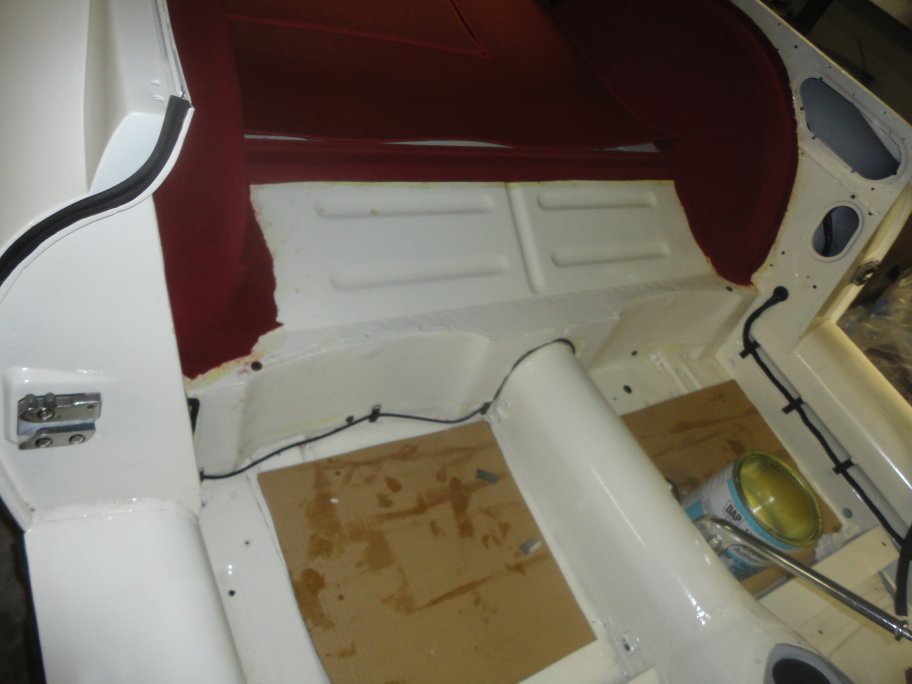 22) The bulkead behind the seat was the next hing to be covered. Foam was first glued to the bulkhead as shown in this picture. The foam helped by creating
a 'pocket' for the wiring harness. When the mocquette was applied the harness did not create a noticable bump in the fabric.
22) The bulkead behind the seat was the next hing to be covered. Foam was first glued to the bulkhead as shown in this picture. The foam helped by creating
a 'pocket' for the wiring harness. When the mocquette was applied the harness did not create a noticable bump in the fabric.
|
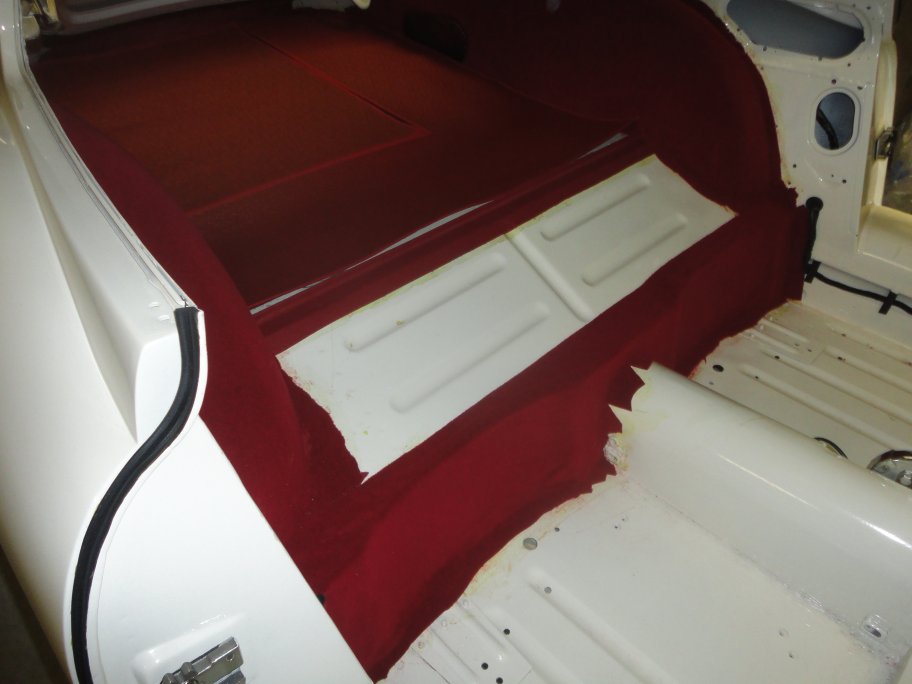 23) Mocquette was applied similar to the wheel arches. The perimeter was masked off, contact cement was brushed on around the outside edges, and the mocquette was
placed without glue. Then starting at the top above the transmission tunnel, contact cement was applied to the back of the mocquette, which was then pressed
in place after it became tacky. The hardest part was to keep the wrinkles out at the curviest part of the bulkhead at the top. It took a lot of tugging.
23) Mocquette was applied similar to the wheel arches. The perimeter was masked off, contact cement was brushed on around the outside edges, and the mocquette was
placed without glue. Then starting at the top above the transmission tunnel, contact cement was applied to the back of the mocquette, which was then pressed
in place after it became tacky. The hardest part was to keep the wrinkles out at the curviest part of the bulkhead at the top. It took a lot of tugging.
|
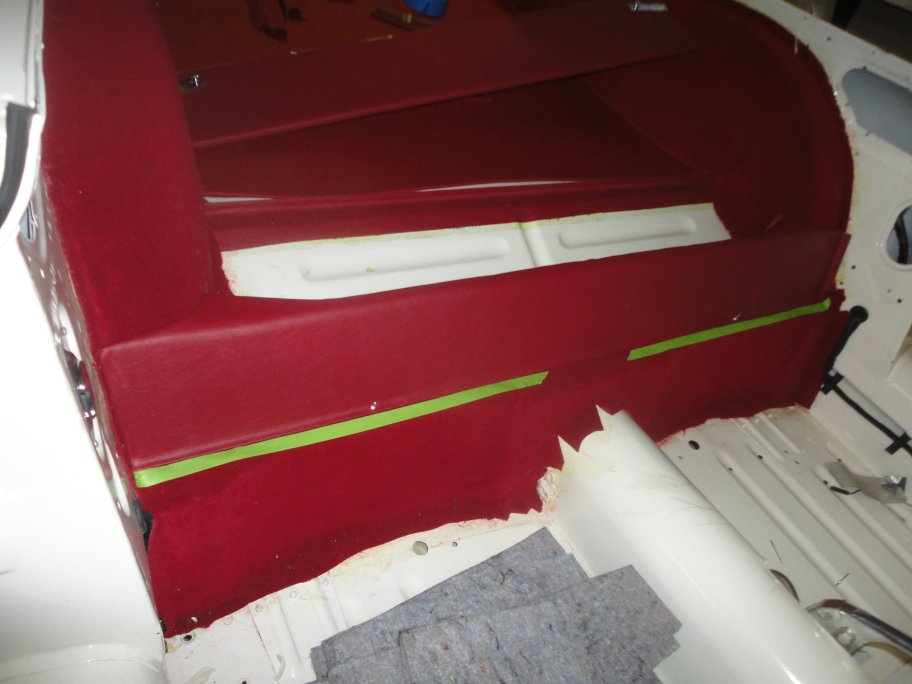 24) The next piece to go on was a piece of hardura (a kind of crinkly vinyl material) that covers the cubby floor. In order to glue it down in the proper location the
the cubby support had to be temporarily put in place along with the cubby door hinges. The hardura needs to cover most of the hinges.
24) The next piece to go on was a piece of hardura (a kind of crinkly vinyl material) that covers the cubby floor. In order to glue it down in the proper location the
the cubby support had to be temporarily put in place along with the cubby door hinges. The hardura needs to cover most of the hinges.
|
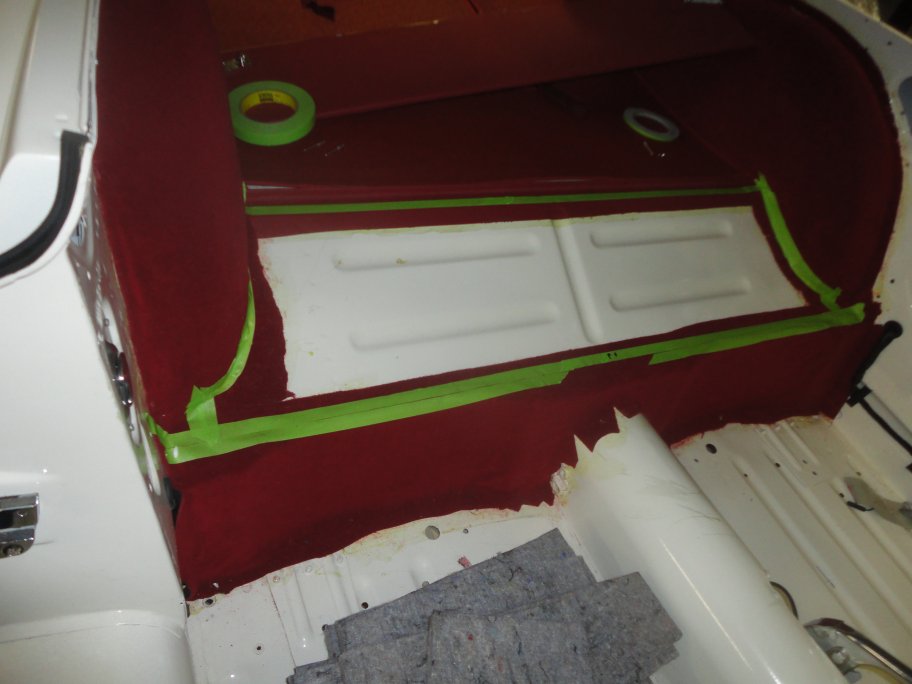 25) With the hardura dry fitted, the perimeter was masked of to both act as a border for the glue
and act as a reference for installation.
25) With the hardura dry fitted, the perimeter was masked of to both act as a border for the glue
and act as a reference for installation.
|
|
|
|
 26) The cubby floor has indents in it, which most likely was to keep it flat and stiff. Originally a thick felt paper was glued to the floor so that the hardura would not dip into
the recesses. I opted to just mask over the receses prior to applying the contact cement. That way the contact cement on the hardura underside would not stick in the recesses, making
it flat, in theory. This can easily be fixed in the future if it doesn't work out for me.
26) The cubby floor has indents in it, which most likely was to keep it flat and stiff. Originally a thick felt paper was glued to the floor so that the hardura would not dip into
the recesses. I opted to just mask over the receses prior to applying the contact cement. That way the contact cement on the hardura underside would not stick in the recesses, making
it flat, in theory. This can easily be fixed in the future if it doesn't work out for me.
|
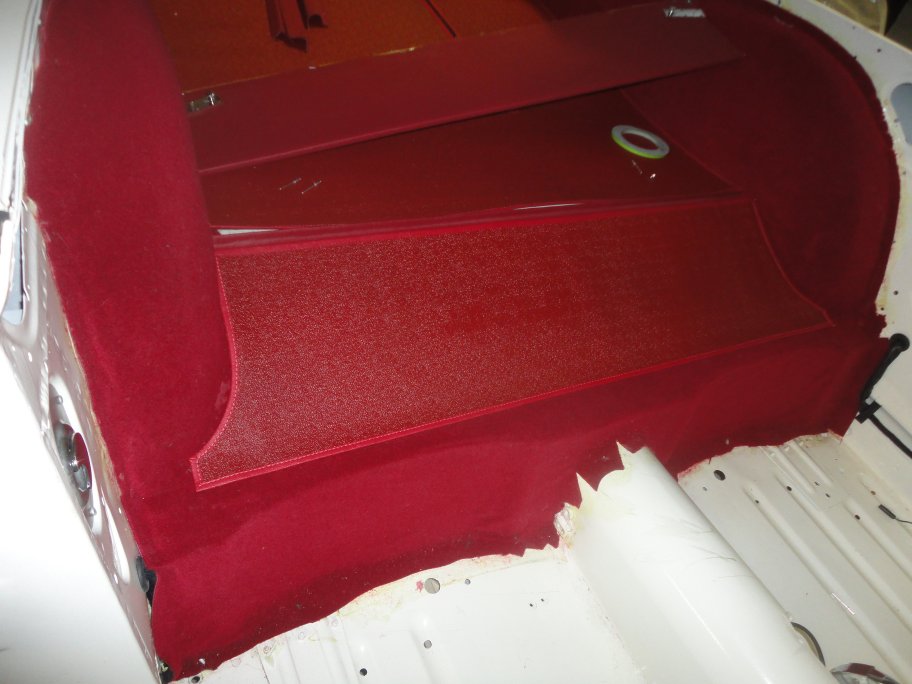 27) Here is the hardura glued in place. In my case the hinges had to be sent out for chroming so the hardura could not be glued at the very top.
|
 28) The cubby support was then pop rivetted in place on the ends using 1/8" x 1/4" aluminum poprivets. They actually show when the cubby door is opened.
|
 29) On my car there were two #4 sheetmetal screws, like the cantrail retaining screws, that held the cubby support in place at the top of the bulkhead.
I've seen pictures of other cars with nice chrome screws with dress washers (the same as the ones on the A-pillar) instead, but I know that my car
definitely did not come from the factory that way.
29) On my car there were two #4 sheetmetal screws, like the cantrail retaining screws, that held the cubby support in place at the top of the bulkhead.
I've seen pictures of other cars with nice chrome screws with dress washers (the same as the ones on the A-pillar) instead, but I know that my car
definitely did not come from the factory that way.
|
|