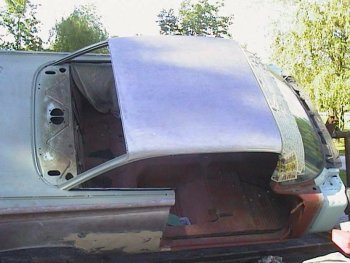
 With the body on the rotisserie, the first thing I did was strip the roof and rear deck to bare metal.
|
|
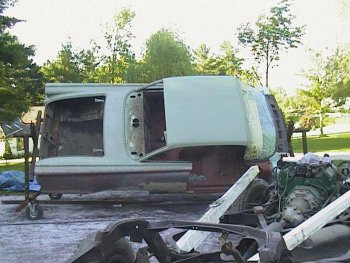 There was a minor repair that had to be performed to the lower right corner of the rear window opening. Besides that
there were no other repairs that were necessary. All I did after that was give roof and the rear deck area a good
thick coat of epoxy primer.
|
|
 When I originally did the work on the rear quarter panels I used a plastic filler, but that was 10 years ago. Modern filler is much
better today than it was back then. If there ever was a stone chip in the finish, the exposed filler would soak up water and cause
it to expand and the metal underneath would begin to rust as well. I decided to bite the bullet and remove all of the filler and start over.
I used a chopped fiberglass filler made by Evercoat. It is very hard and it is waterproof. As with the 69 Mustang project I did most of the
work with the chopped fiberglass filler. I only applied a thin layer of plastic filler over the top to fill in the small scratches. I never use
scratch putty.
|
|
 Here is the right rear quarter panel after receiving a thick coat of epoxy primer. most of the primer will be sanded away during the paddle sanding process.
Actually, I think that the reaear quarter turned out better the second time around.
|
|
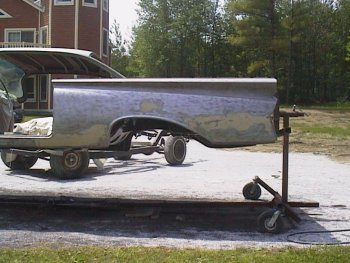 As with the RH quarter I removed all of the filler from the left quarter. Here it is with just the primer removed, which was done using an
orbital sander with 36 grit disks.
|
|
 Here it is several hours later in final primer.
|
|
 Here's a rear view. The tailpanel had a small jamb in it that I had to repair.
|
|
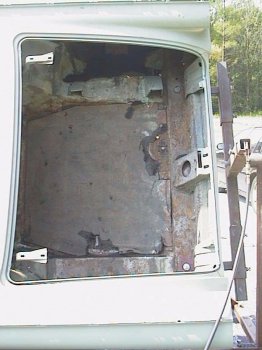 With the outside of the body done, I turned to the trunk. Here is what it looked like when I started working on it.
|
<
|
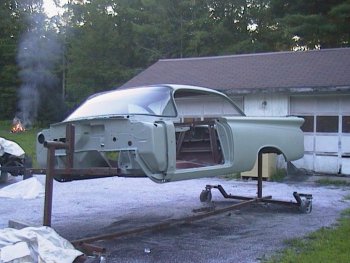 Here is the entire shell after it has been block sanded and reprimed. The firewall will be repainted before the body is
lowered back on the frame. The undercarriage will receive a coat of quality undercoating. The factory had originally
undercoated the car.
|