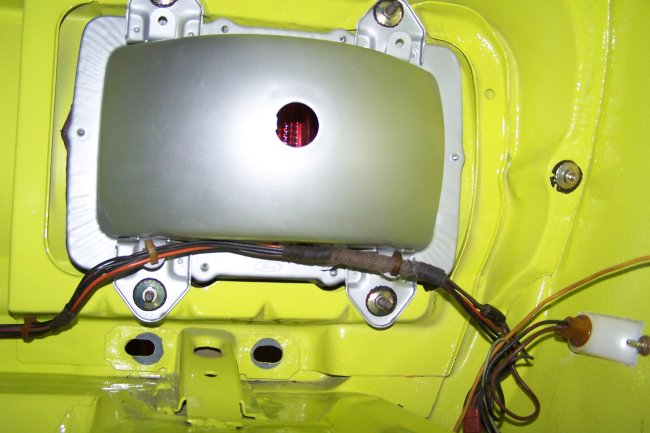
 The trunk area goes together rather quickly. The first thing I did was to run the wiring harness and install the trunk light. Not all Mustangs got a trunk light.
It had to be ordered with the Visibility Group to get a trunk light. In this picture you can see where the light is mounted in the trunklid. The light and harness are
fed into this hole in the trunk lid.
The trunk area goes together rather quickly. The first thing I did was to run the wiring harness and install the trunk light. Not all Mustangs got a trunk light.
It had to be ordered with the Visibility Group to get a trunk light. In this picture you can see where the light is mounted in the trunklid. The light and harness are
fed into this hole in the trunk lid.
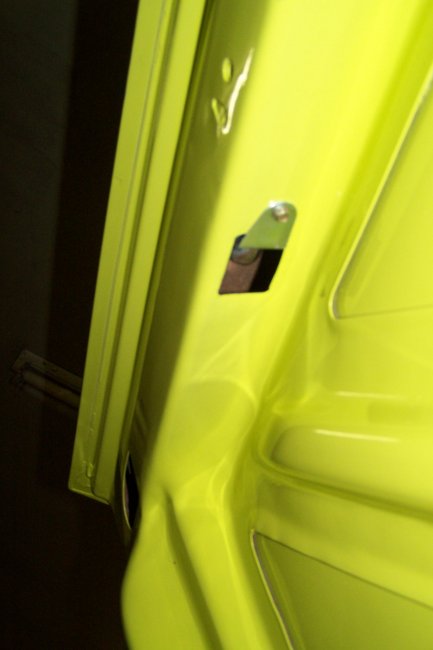
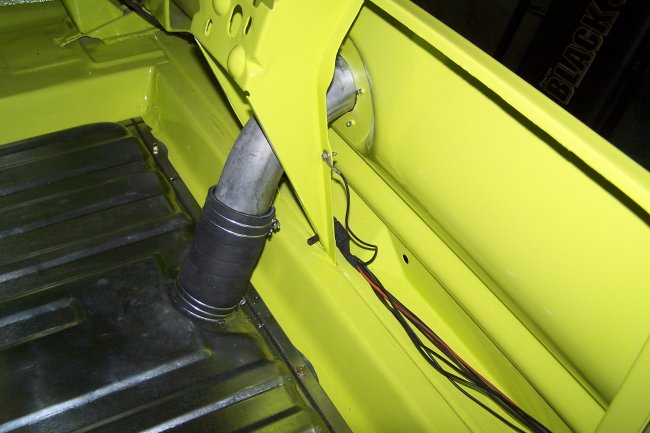
 The wire is snaked through and exits the trunklid through the lower round hole seen here on the left. The wire is held in place on the lid and above the wheel wheel using plastic clips.
The clips are the same ones that are used to hold the hood scoop wires and wipe motor wires to the firewall.
The wire is snaked through and exits the trunklid through the lower round hole seen here on the left. The wire is held in place on the lid and above the wheel wheel using plastic clips.
The clips are the same ones that are used to hold the hood scoop wires and wipe motor wires to the firewall.
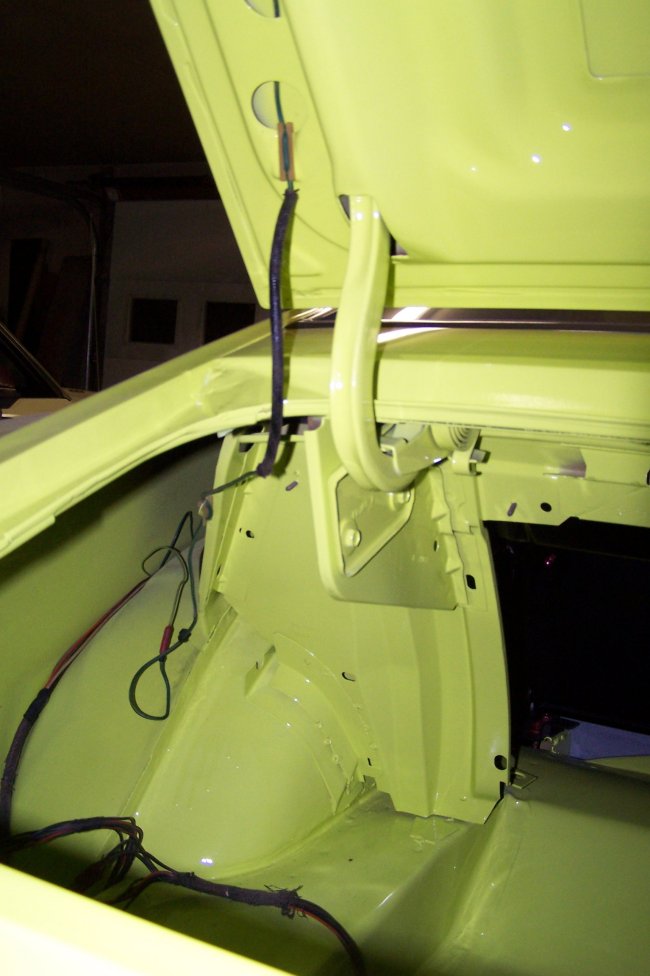
 In this picture you can see the wire routing for the left taillight and side marker light. There are 3 O-shaped clips that hold the harness in place on the left side. Two attache to the light
and one goes underneath the taillight reenforcement. These are the same O-shaped clips that hold the harnesses to the front fender extensions and the hood scoop harness to the hood.
In this picture you can see the wire routing for the left taillight and side marker light. There are 3 O-shaped clips that hold the harness in place on the left side. Two attache to the light
and one goes underneath the taillight reenforcement. These are the same O-shaped clips that hold the harnesses to the front fender extensions and the hood scoop harness to the hood.
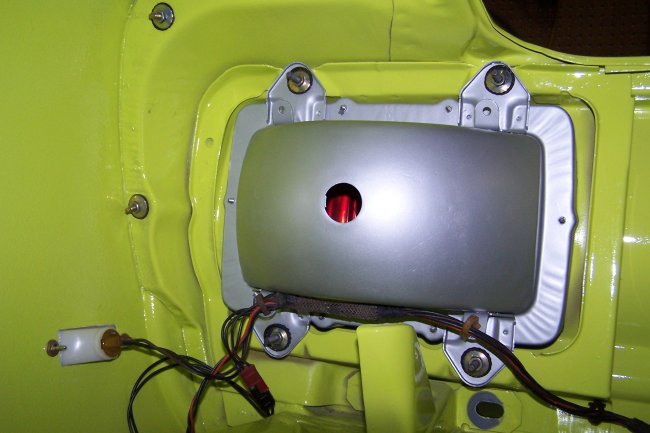 In this picture you can see the wire routing for the right taillight and side marker light. The harness is mounted just like the left side.
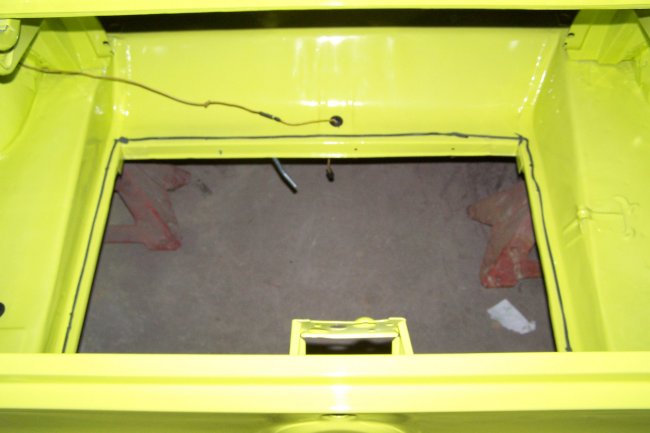 Next to go in was the gastank. As you can see in this picture there is gray stripcaulk around the perimeter of the opening. The stripcaulk goes over the mounting holes. You also see in this picture that
the main fuel line is installed. It should be noted that the correct gray strip caulk can now be purchased from AMK Products.
Next to go in was the gastank. As you can see in this picture there is gray stripcaulk around the perimeter of the opening. The stripcaulk goes over the mounting holes. You also see in this picture that
the main fuel line is installed. It should be noted that the correct gray strip caulk can now be purchased from AMK Products.
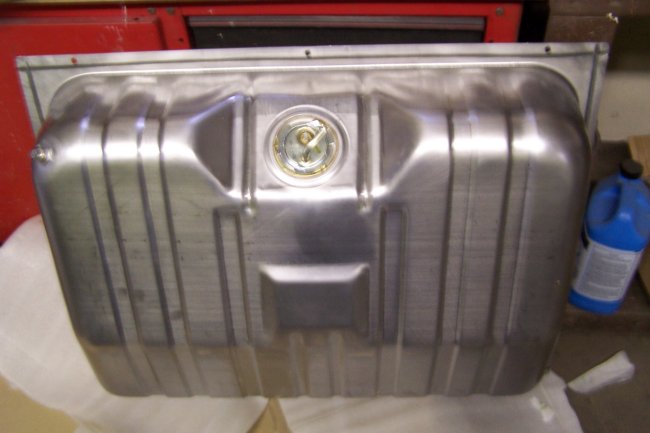 Here is the reproduction fuel tank and sending unit. The original sending unit was way to rusty to reuse. I would have to say that the quality of the tank is pretty good. Notice that it even comes with the
correct drain plug installed ?
Here is the reproduction fuel tank and sending unit. The original sending unit was way to rusty to reuse. I would have to say that the quality of the tank is pretty good. Notice that it even comes with the
correct drain plug installed ?
 Here is the fuel tank installed. I allowed some of the caulking to ooze out of the sides, just like the factory originally did. In this picture can see that the proper wire tie downs were used and that the sending unit
wire was retaped to the floor, just like the factory did it.
Here is the fuel tank installed. I allowed some of the caulking to ooze out of the sides, just like the factory originally did. In this picture can see that the proper wire tie downs were used and that the sending unit
wire was retaped to the floor, just like the factory did it.
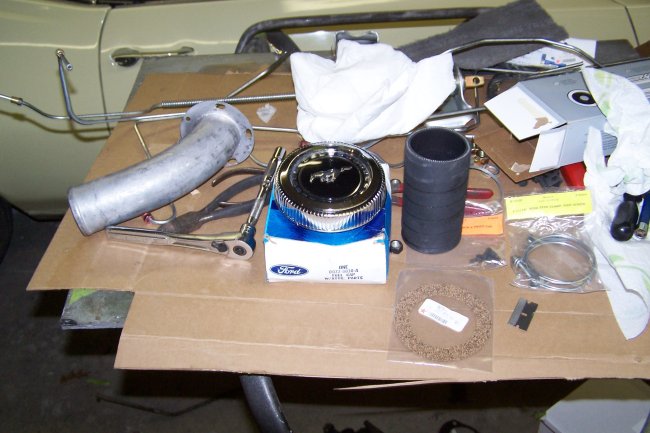 I managed to buy and excellent used gas filler neck and an NOS gas cap.
 Here is the filler neck installed. Sometimes gascaps can fit too tight to the tail panel, so its a good idea to double up on the cork gasket.
 In this picture you can see the filler board and floor pan plugs are installed. Only the left side gets the filler board.
 The next thing that goes on is the trunk mat underlayment. Nobody reproduces the correct underlayment, but you have to have one so that the trunk mat fits properly.
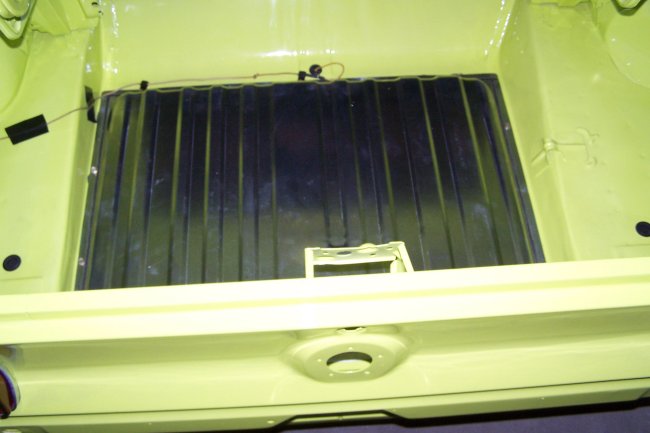
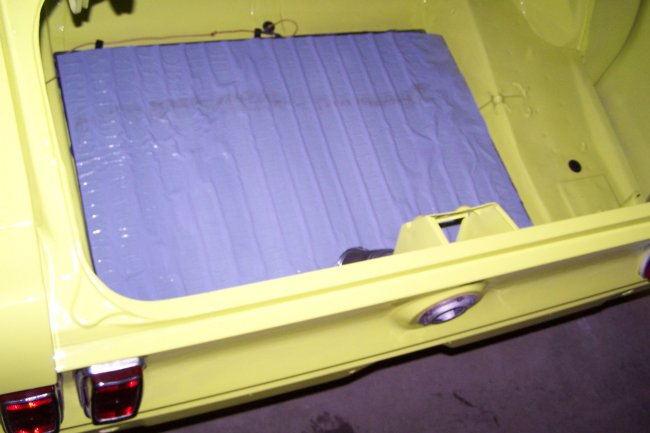
 Here is the trunk with the mat installed. It is made of Burtex and has a speckled appearance. Don't waste your money on the incorrect vinyl ones. They look like hell and don't fit. Unfortunately the correct mat costs $100.
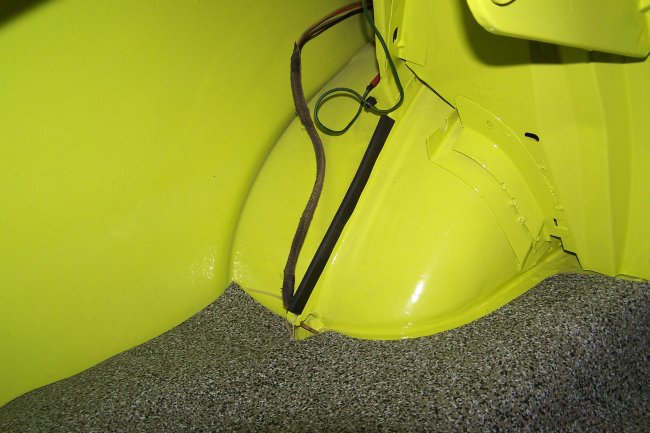 Here is a detail that shouldn't be missed. Ford put a rubber guard strip acrossed the lip on the left wheel well. It was either black or gray. Also, Ford used a Panduit brand tiewrap to hold the
wiring harness in place. The tiewrap went through a hole that is located at the end of the lip on the left wheel well.
Here is a detail that shouldn't be missed. Ford put a rubber guard strip acrossed the lip on the left wheel well. It was either black or gray. Also, Ford used a Panduit brand tiewrap to hold the
wiring harness in place. The tiewrap went through a hole that is located at the end of the lip on the left wheel well.
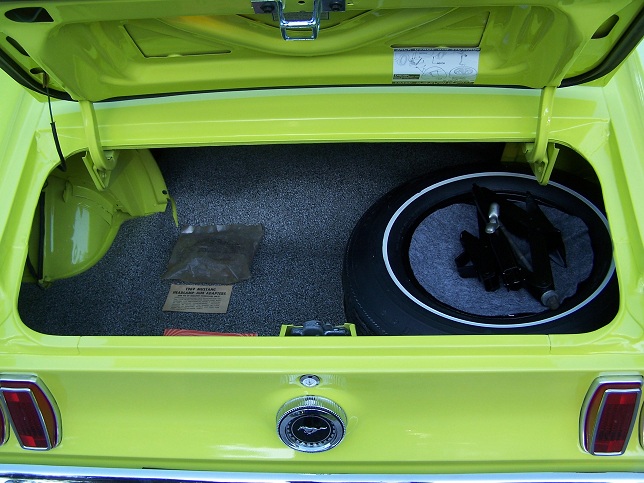 The finishing touch is to apply the spare tire decal and place the spare tire and jack in the trunk. Though I applied the spare tire decal for a standard spare, I installed styled steel wheels on the car so I placed a matching spare in the trunk. With styled steel wheels the tire is mounted facing up with the jack on top and a felt pad is used to prevent the wheel from being scratched.
 I was lucky enough to get my hands on an original set of headlight aiming adaptors still sealed in the original bag. They were placed in the trunk of every 1969 Mustang.