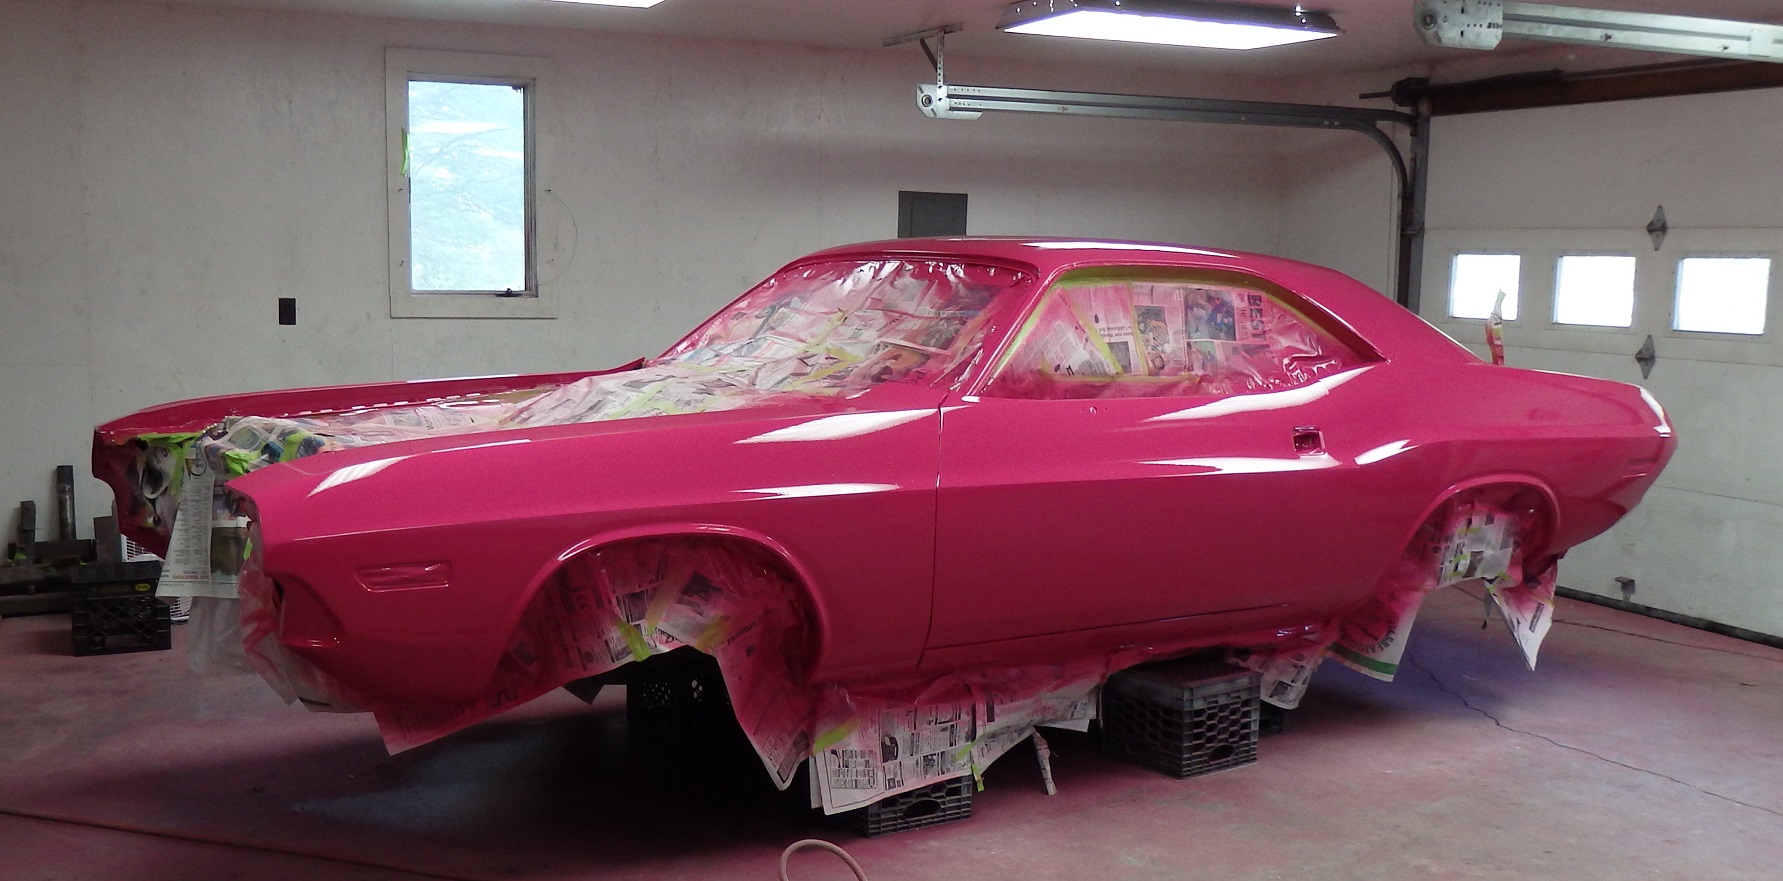
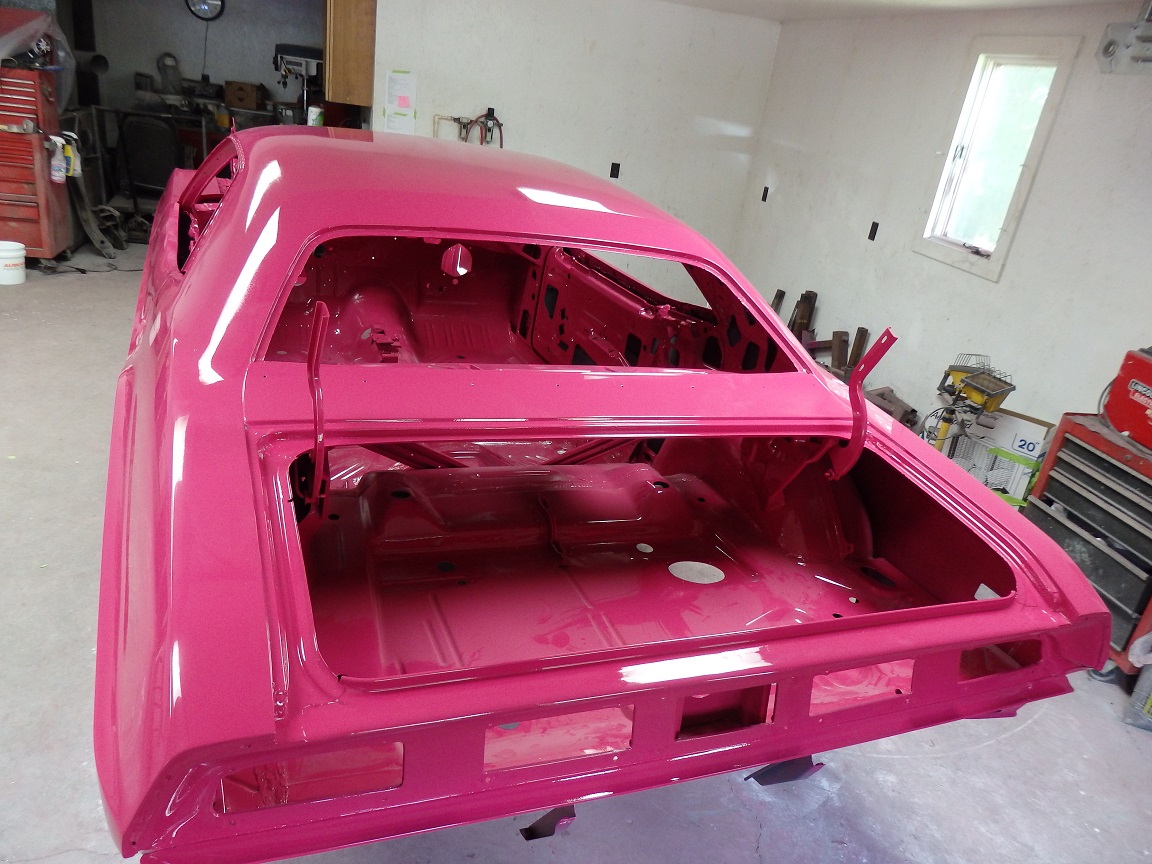
 242) The car was paintd with the hood and trunklid removed. Three coats of PPG DBC basecoat and 2 coats of DCU 2002 clear were applied to the body, trunk lid, hood and front valance. Since it is a vinyl top car I only applied 2 coats of basecoat and 1 coat of clear to the roof. With the exception of the interior and trunk, I went through almost and entire gallon of basecoat and a gallon of clear.
 |
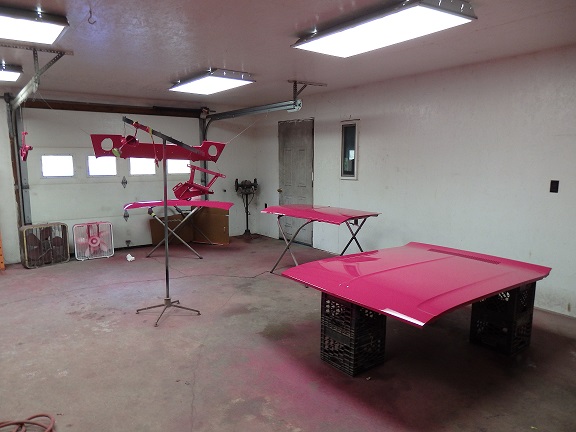 243) Here is picture showing the other panels that were painted at the same time. Everything at his point must be sanded and buffed with the exception of the hood springs and mirror.
 |
 244) The sanding and buffing processes has come along way in the past 5 years or so. You used to have to sand the car with 1200 grit, buff it with fast cutting compound, rebuff it with a medium cut compound and buff it with an final buffing compound. All risking bufifng through the clear. Thanks to the 3M Trizact disks, there is only one buffing step.
Without unmasking the car I block sanded my "mistakes" with 800 grit followed by 1200 grit. Not the whole car, just in spots. I then sanded the whole car with 1500 grit Trizact disks on my oribital sander (note: foam pads are used inconjunction with Trizact disks). I then went over the car with 3000 grit Trizact disks and finally with 5000 grit Trizact disks. At that point I just buffed the car with 3M Perfect-It 3 Ultrafine buffing compound. After that I just wiped the panels down with Bounty paper towels and unmasked it. And here you have it, one glowing mass of Panther Pink. |
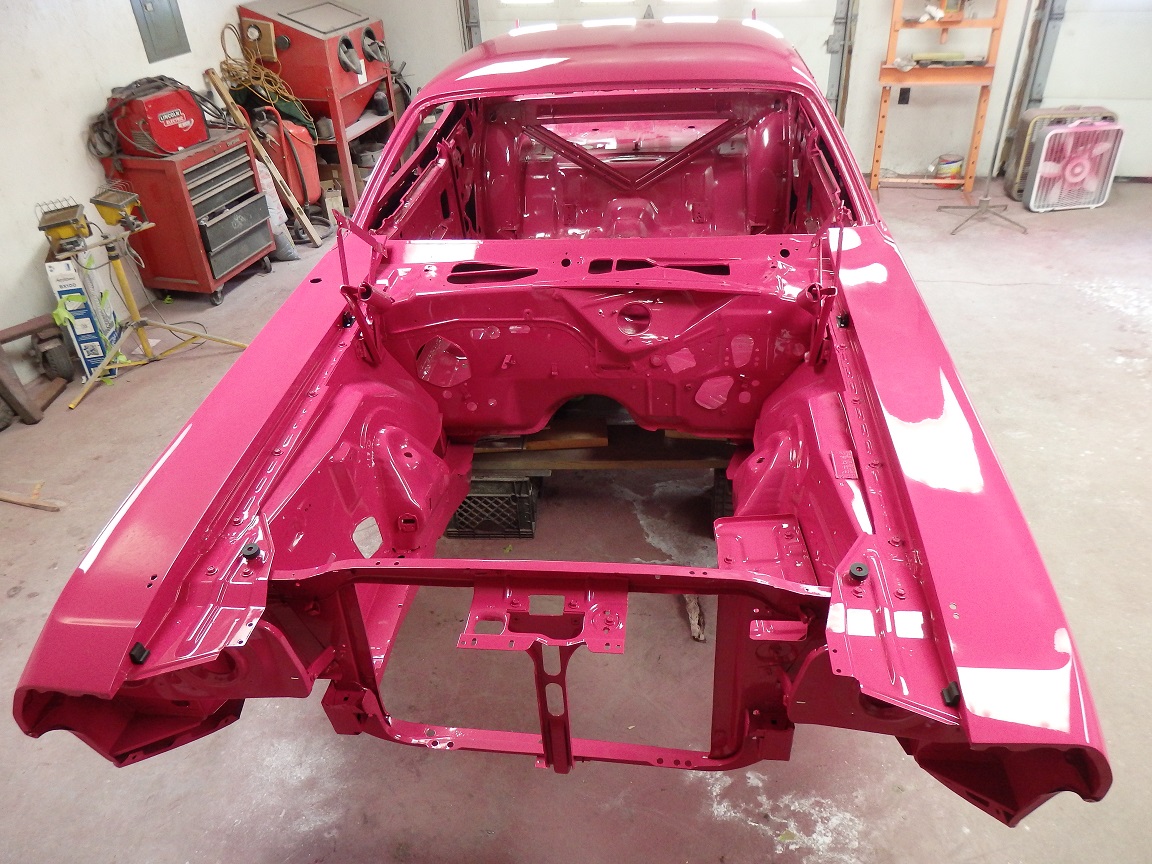 245) Here is picture showing the engine compartment. The radiator support still needs to receive blackout treatment.
 |
 246) The trunk just needs to have the lid installed.
 |
|
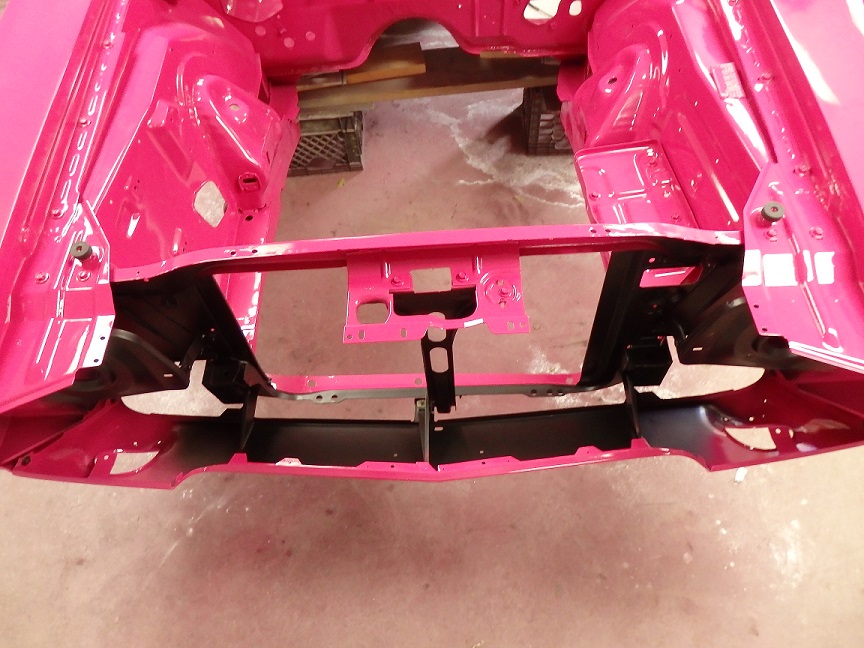
The last thing to do paint-wise prior to putting the car back together is the blackout. The factory originally blacked out the front of the radiator support, the inside face of the lower valance, the rocker pinch welds and all or part of the upper cowl. The upper cowl was not fully blacked out on this car. It also doesn't seam to have been blacked out on any of the Panther Pink Challengers except for the T/A cars. I'm not if it was do to a change at the factory, but there are a bunch of cars a out there that have their uppoer cowl blacked out that shouldn't. Instead of blacking out the uppoer cowl, the factory brushed blacked paint on the opening going around the windshield opening except for along the roof. I'm not really sure if it is paint or more like black primer that is used to help the windshield adhesive stick better. 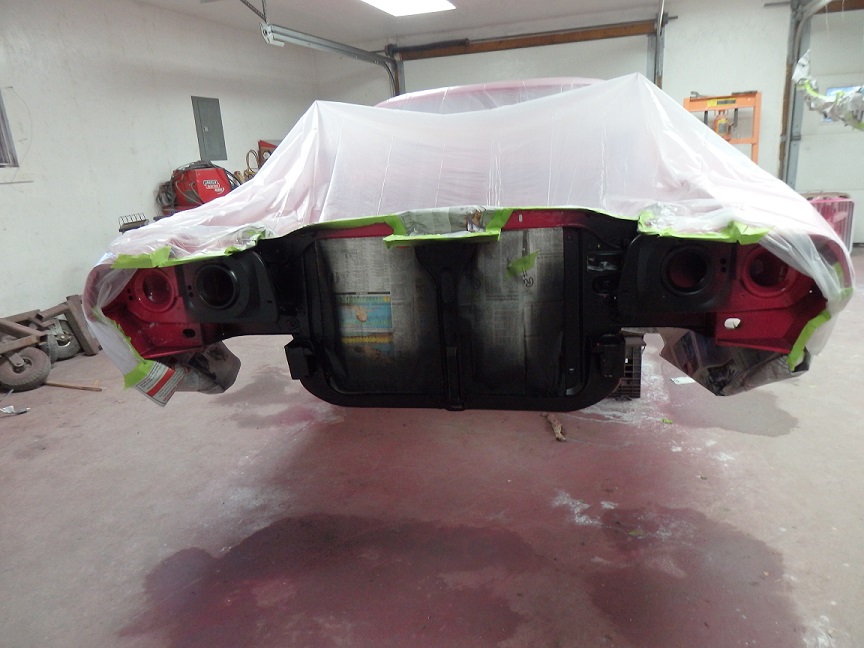 247) Here the car has been masked the radiator support was blacked out. I used SEMS Trim Black (39144) that I sprayed with a paintgun. When I got the car, the original nose was missing so I had to take a best guess on how the radiator support was blacked out by the factory. Generally, at the factory nothing was masked and the overspray went into the engine compartment. Some cars had more of the upper radiator support blacked out than others. Not a lot of care was taken to blackout the radiator support. It was only done so that body color would not show through the grill.
 |
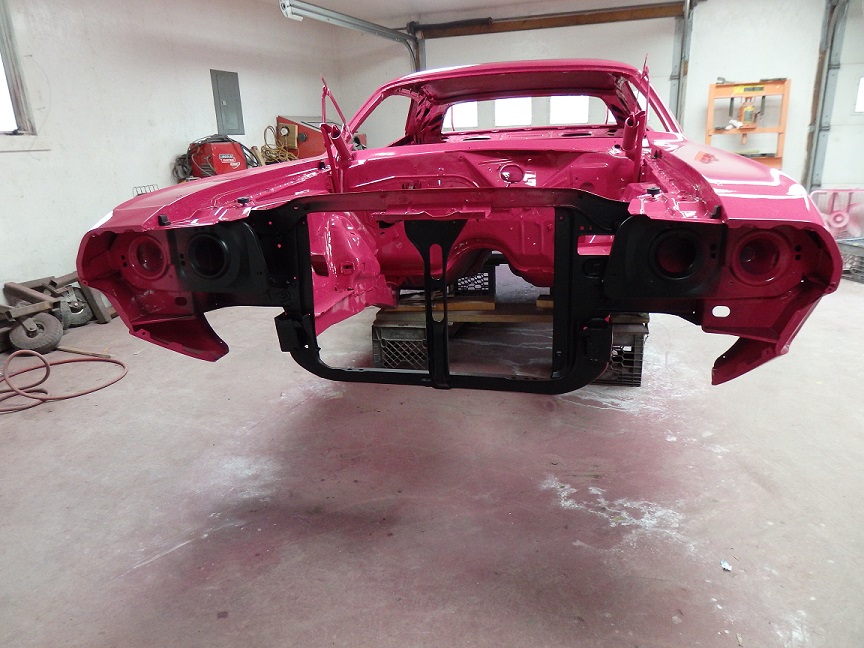 248) Here it is all unmasked and ready for assembly.
 |
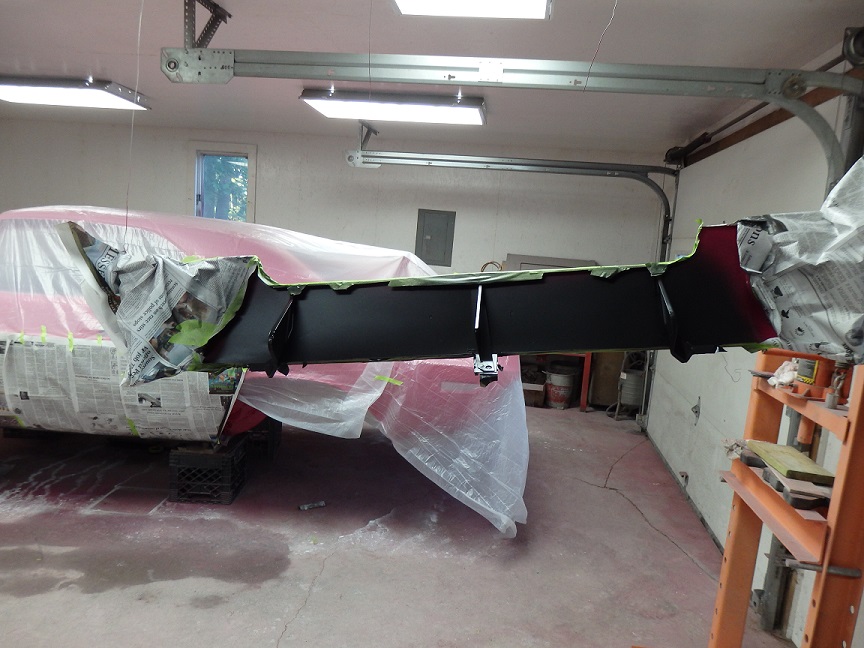 249) The front lower valance received blackout on the rear face, but not entirely. Again I did not have the original front lower valance, so I took my best guess based on examples from the internet.
 I'm not really sure why this was blacked out. All indications were that the front lower valances were not installed when ther were painted, since flanges on the side received full paint. I suspect that the front lower valances were hung in place with wires when the cars were painted and they got hit with blackout paint when the radiator support was blacked out. The paint pattern on the originals that I have seen seem to fit that theory. |
 250) Here it is with the front lower valance installed. I had bought 2 front valance hardware kits from 2 different vendors and I still couldn't get all of the original style hardware once combined. I had to buy the correct bolts from AMK Products. Mopars are a big pain in the butt to get the correct hardware for. No one seems to be getting it right.
 |
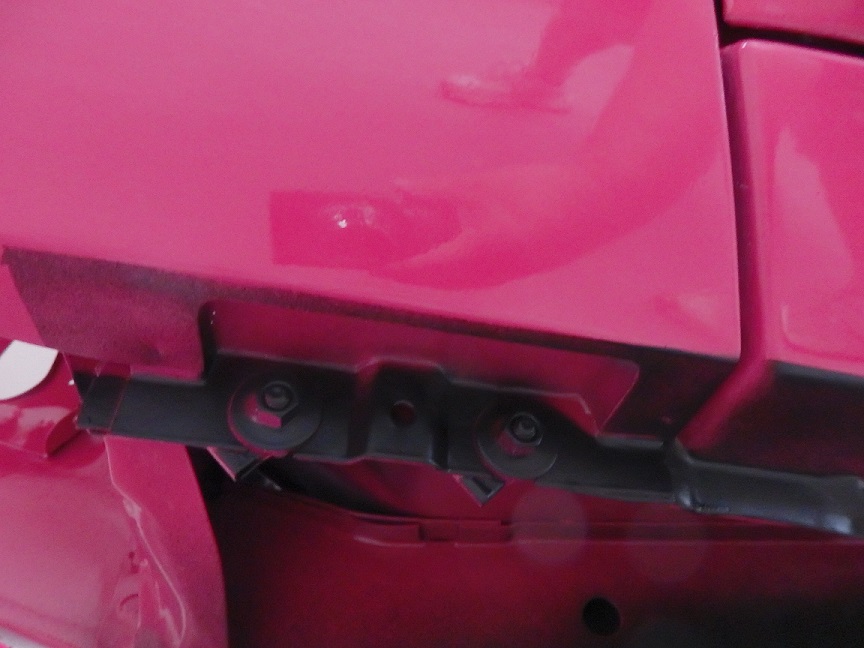 251) The rocker pinchwelds were originally blacked out on this car. Just like the Ford Mustangs. Sometimes the factory brushed on the paint and sometimes they sprayed it on. Again with little care for consistancy. In this case I found lots of black overspray on the underside of the floor pans, so I was confident about spraying the blackout paint.
This picture is of the left front fender where it meets the rocker panel. This is a tough view to find on the web and is just as difficult to find at car shows with blackout. |
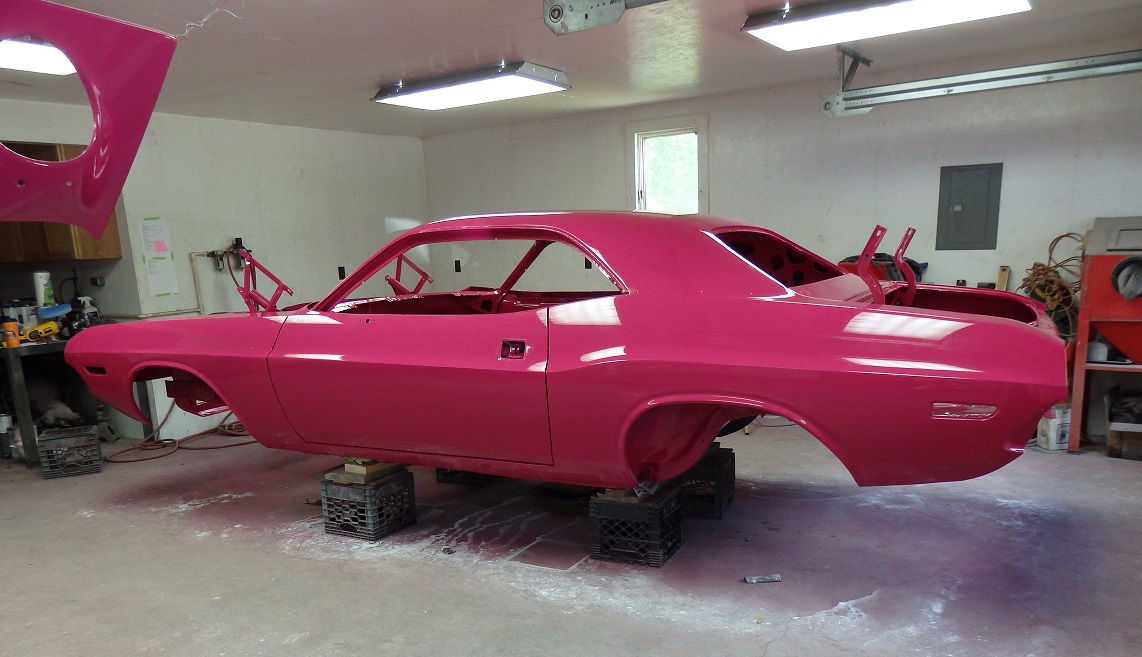
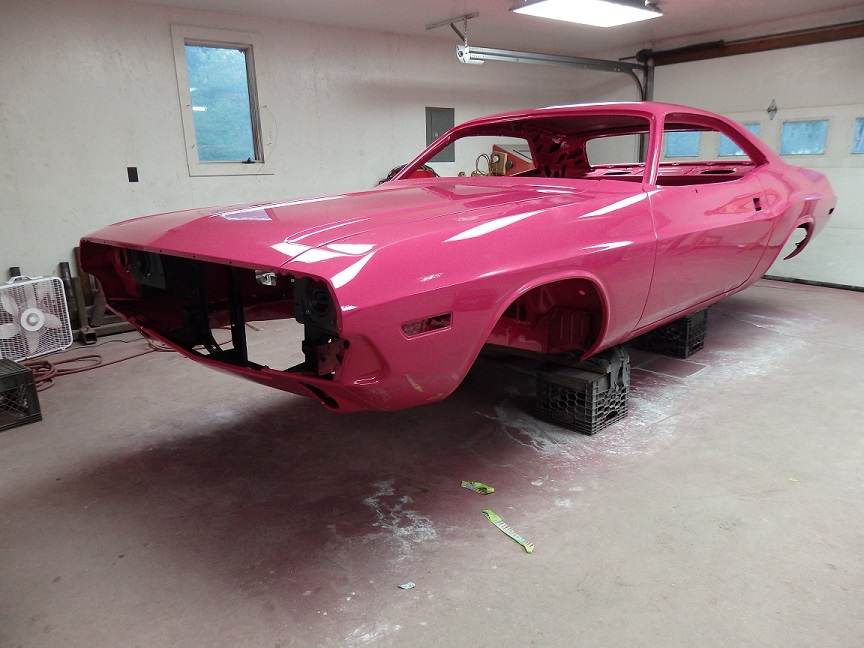 252) Here it is with the hood and trunklid installed. Finally ! the hard part is over. Nothing but visible progress from here on. Next up: Vinyl Top Installation.
 |