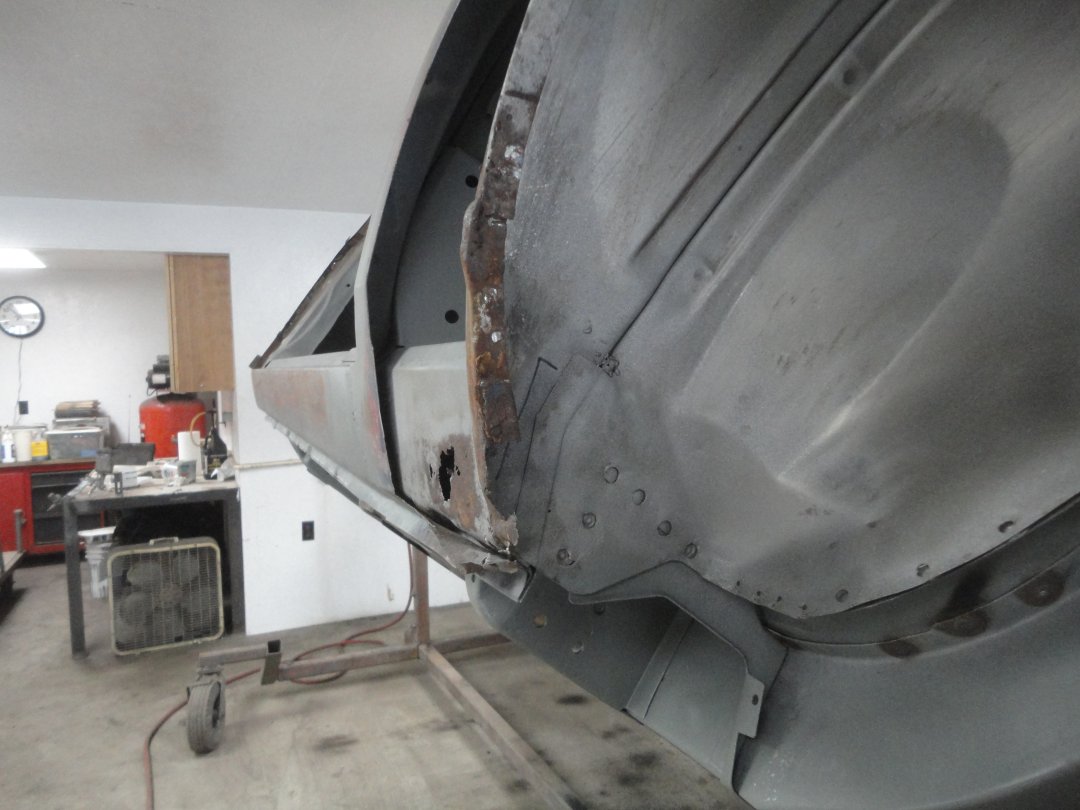
 73) There was light rust damage at the rear of the left rocker and the front of the left wheel well.
|
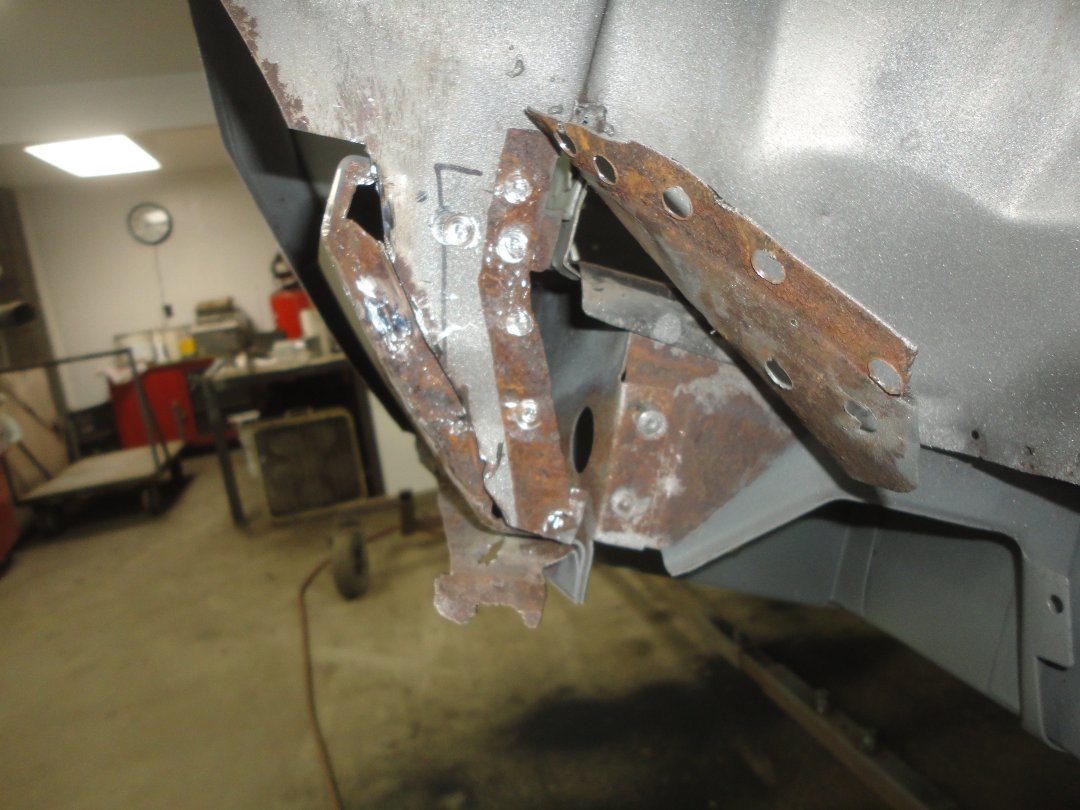 74) I cut out the rusted section on the wheel well and opened up the end of the rocker panel so that I could sandblast the
back side of the repair I was going to make to the rocker.
|
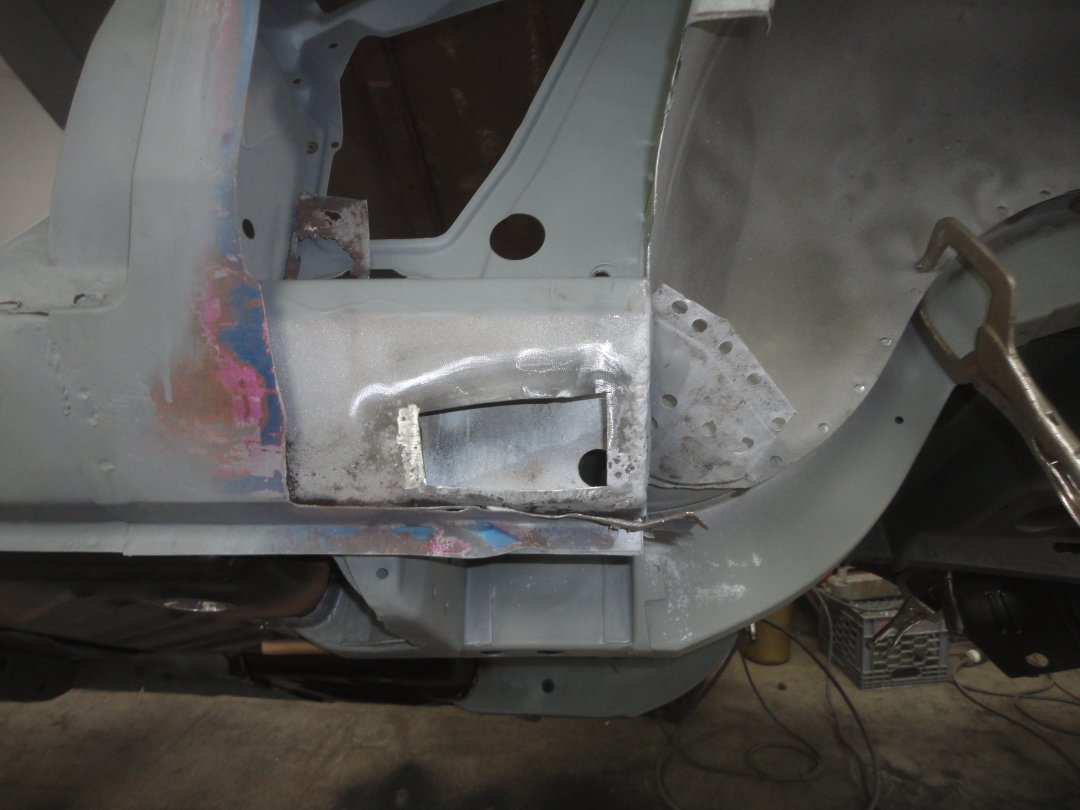 75) The rokcer was a pretty easy repair. I cut out the rust and sandblasted the inside of the rocker from the opening.
|
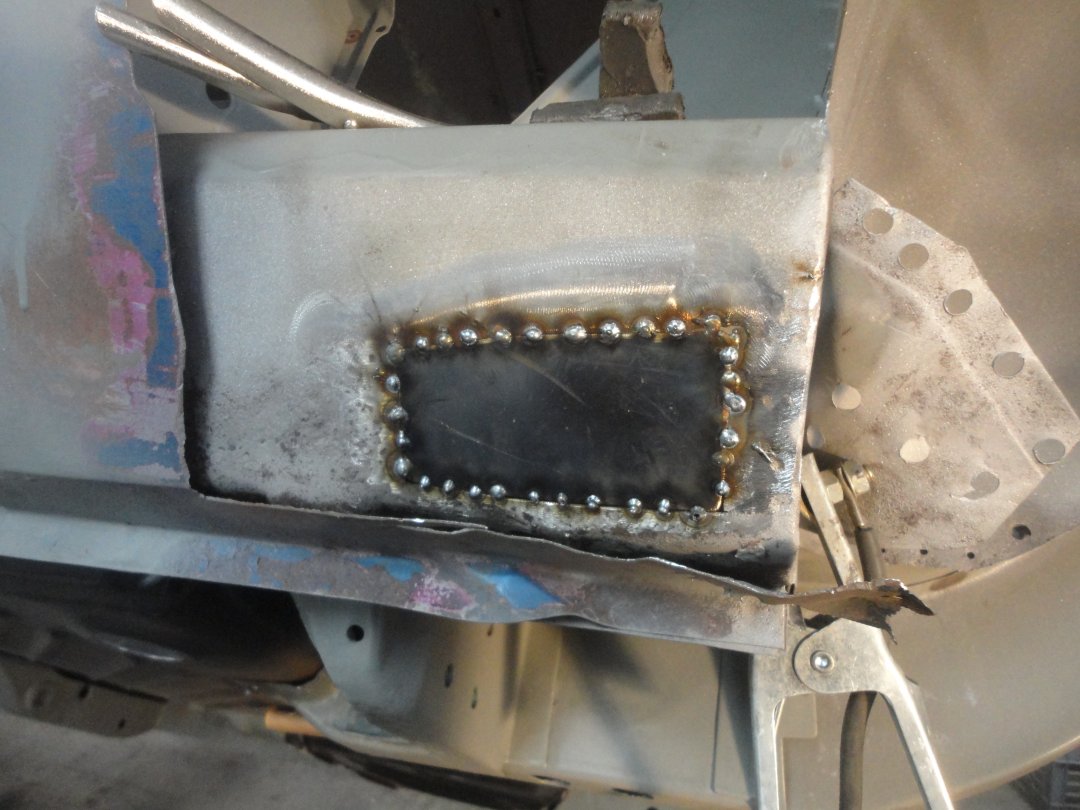 76) I made a new patch and butt-welded it in. In this picture the first round of tack welds were applied.
|
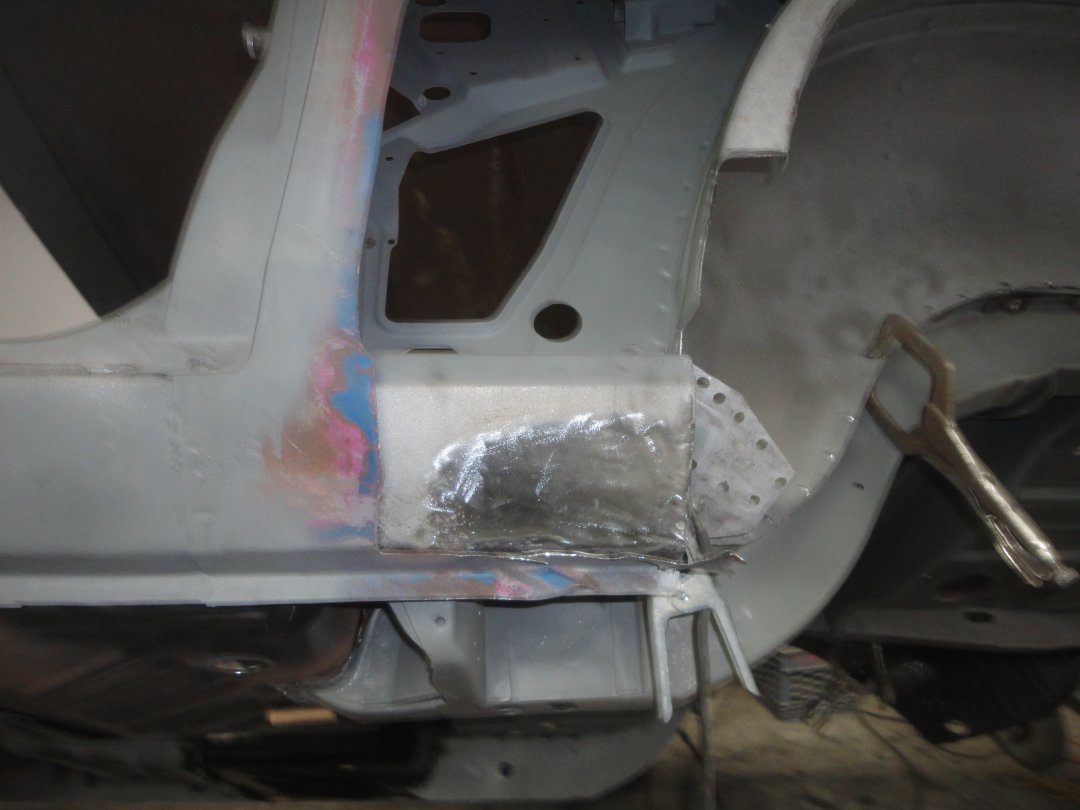 77) After welding and grinding the patch is virtually invisible.
|
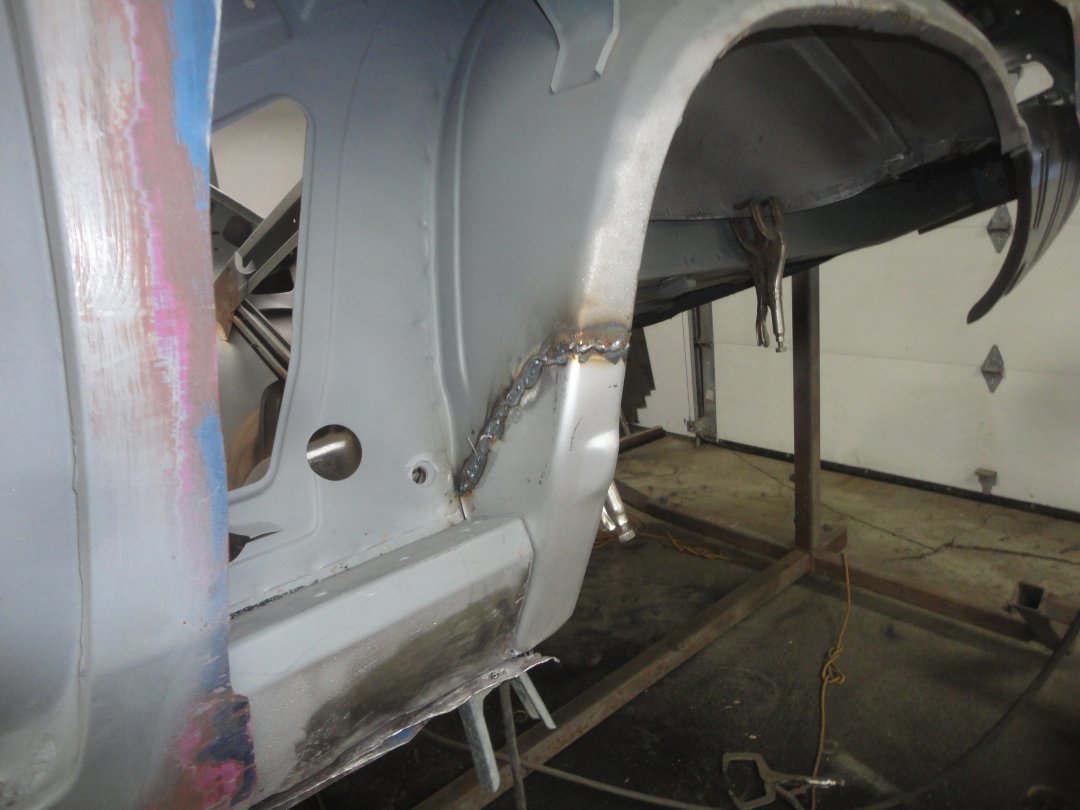 78) For the front patch of the wheel well, I used a section of a new repo panel. Here it is welded in place just before the
welds were ground down.
|
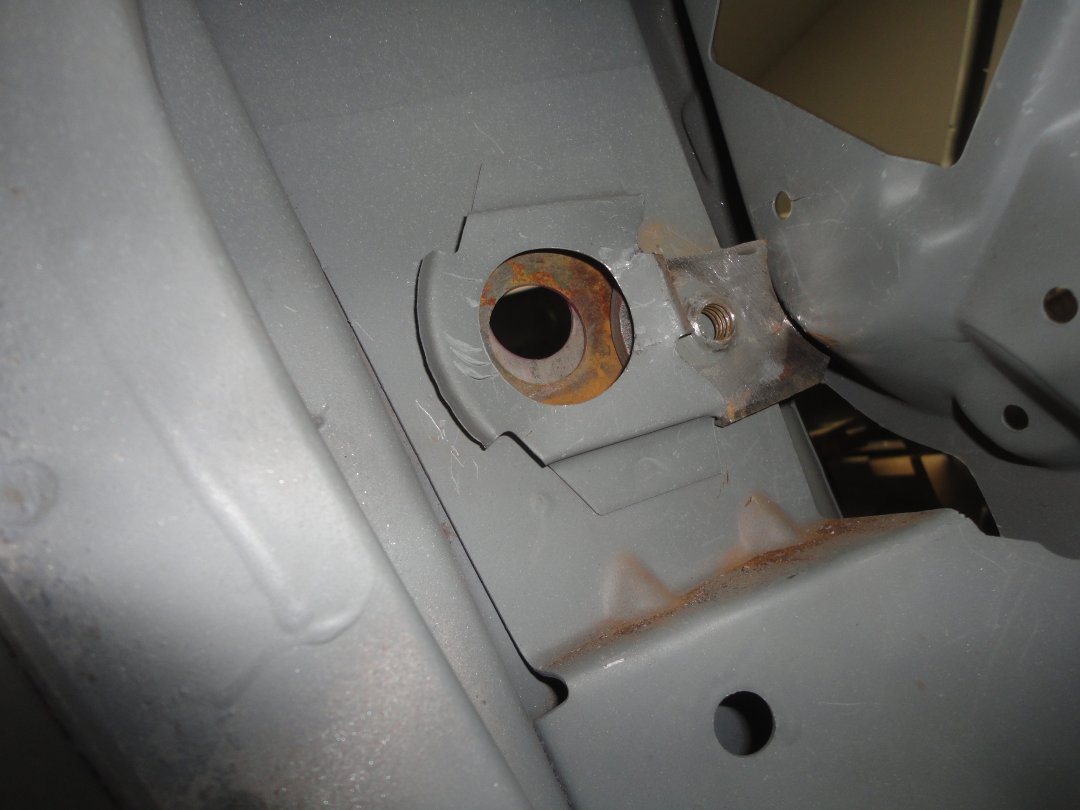 79) The driver's door did not line up with the quarter panel very well. This is because of the poor job the factory did
welding the B-pillar together. In this picture you can see that the bracket for the B-pillar was not lined up with the
opening for the door latch pin. It was about 3/8" too low. To preserver the original factory spot welds I removed the
latch pin bracket and ground 3/8" off of it.
|
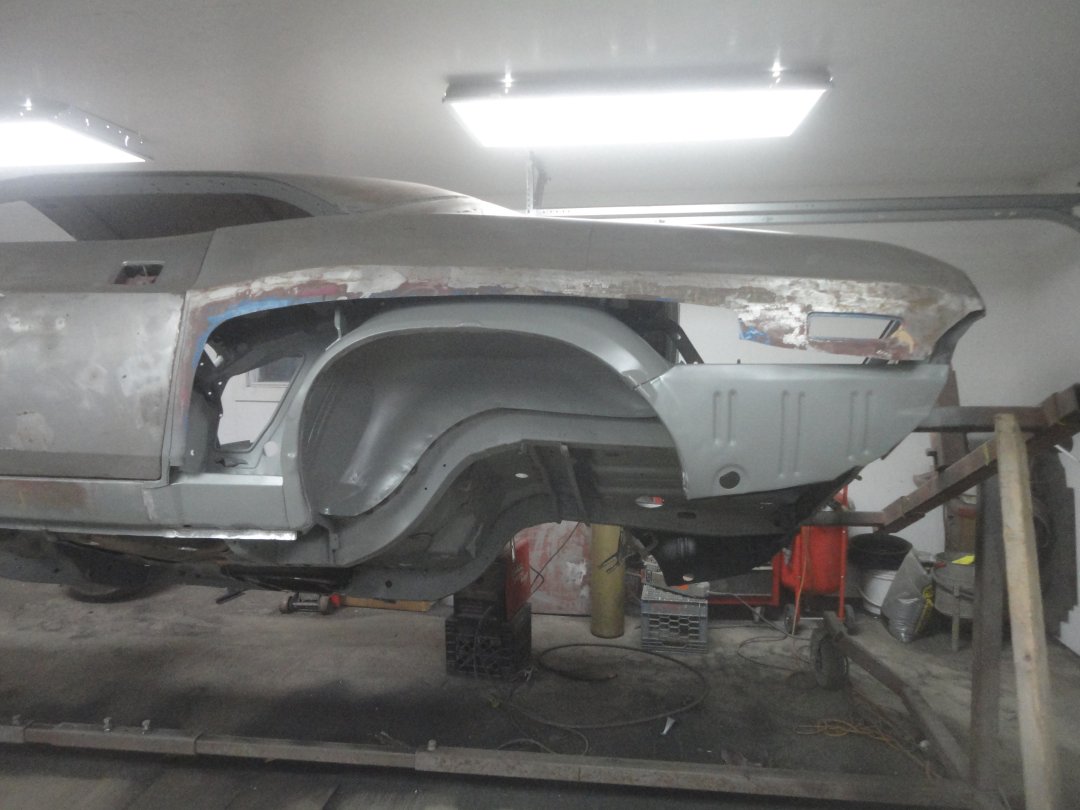 80) With the inner repairs done, I primed the inside of the quarter with epoxy primer.
|
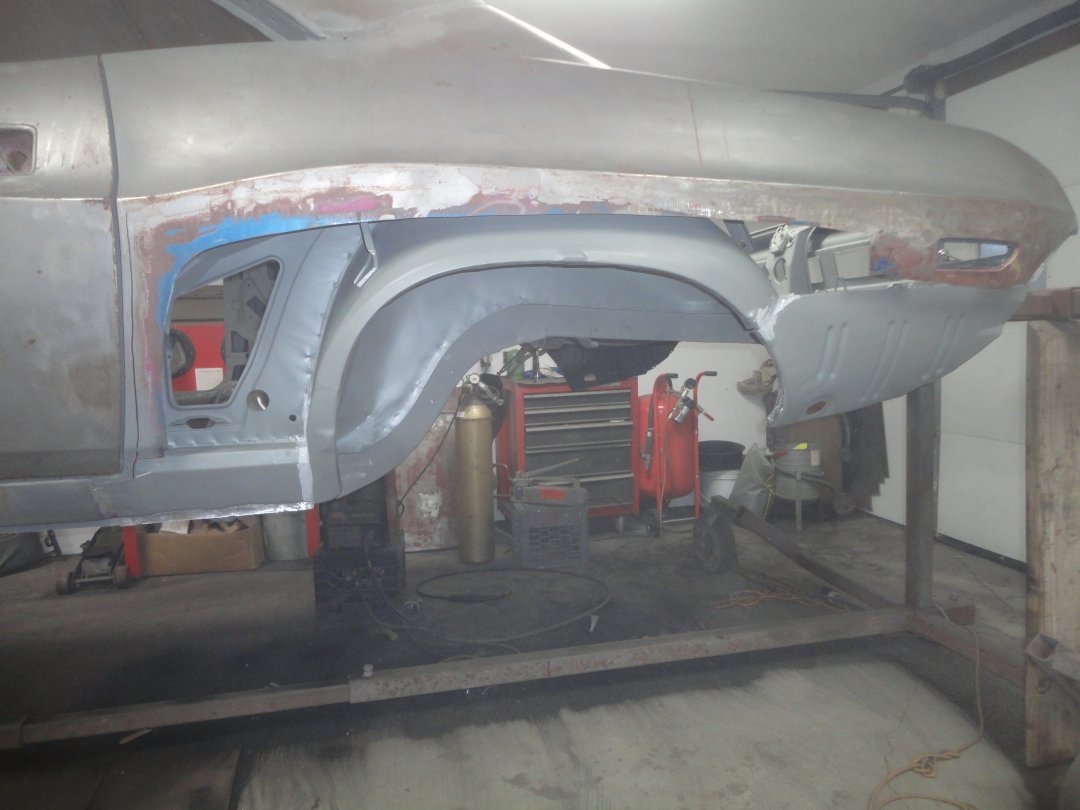 81) The seams at the front and rear of the wheel well were then sealed since they could not be reached later.
|