 107) A popular area to find rust holes is at the bottom of the A-Pillars (aka Door hinge pillars). There were two small
holes on this one. In this picture I had already cut the offending rust out and prep-ed the areas for patches.
107) A popular area to find rust holes is at the bottom of the A-Pillars (aka Door hinge pillars). There were two small
holes on this one. In this picture I had already cut the offending rust out and prep-ed the areas for patches. |
 108) In this picture the top hole was repaired and I was ready to fix the second hole. It should be noted that all
patches that I installed were made from new scrap metal taken from the repo quarter panels and the patches were always
butt-welded in.
108) In this picture the top hole was repaired and I was ready to fix the second hole. It should be noted that all
patches that I installed were made from new scrap metal taken from the repo quarter panels and the patches were always
butt-welded in. |
 109) Another popular place for rust is rocker endcaps. In this picture the rust was cut away and the area was prep-ed
for the new patch.
109) Another popular place for rust is rocker endcaps. In this picture the rust was cut away and the area was prep-ed
for the new patch. |
 110) Here it is with the patch welded in after the weld was ground smooth.
 |
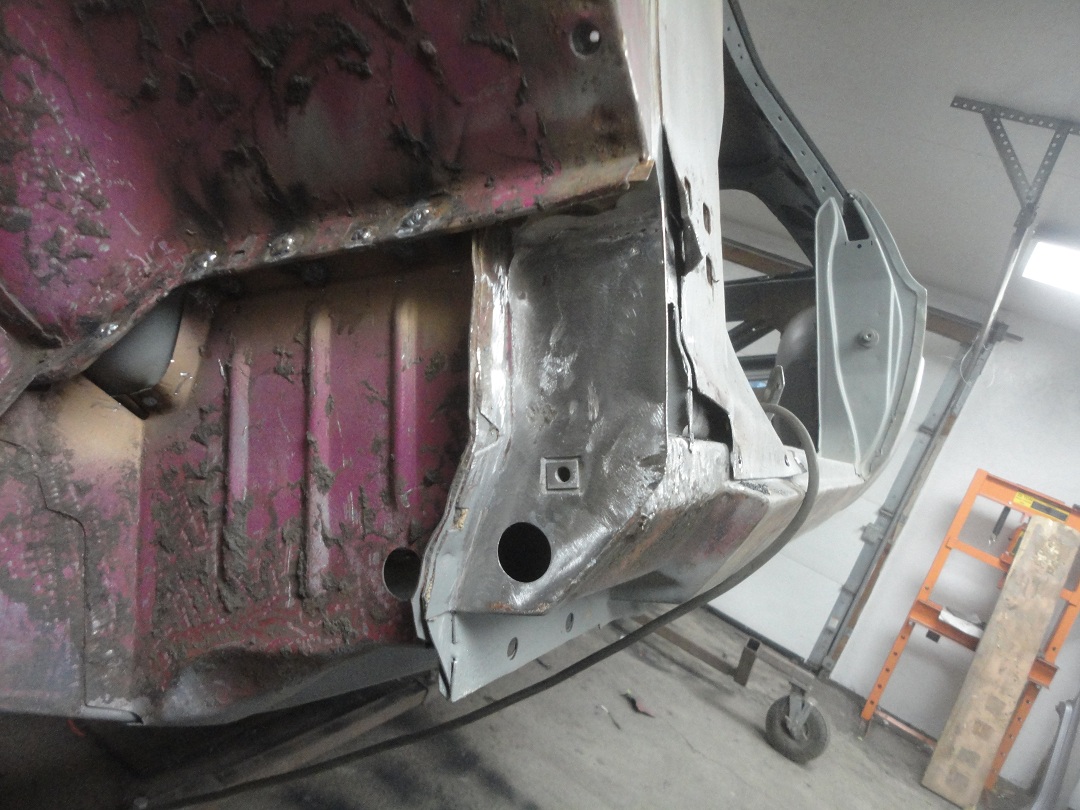
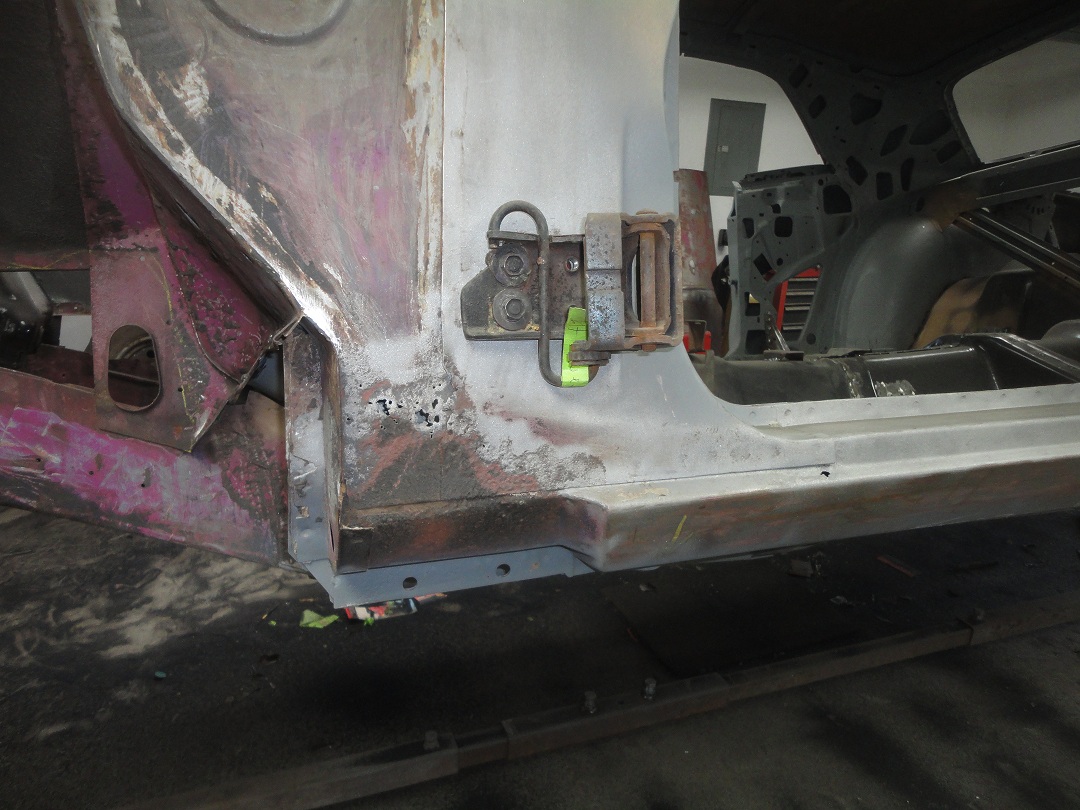 111) The left side was much worse on this car, so I thought I would go into more detail with this side.
 |
 112) The first thing I did was to cut away all of the rust.
 |
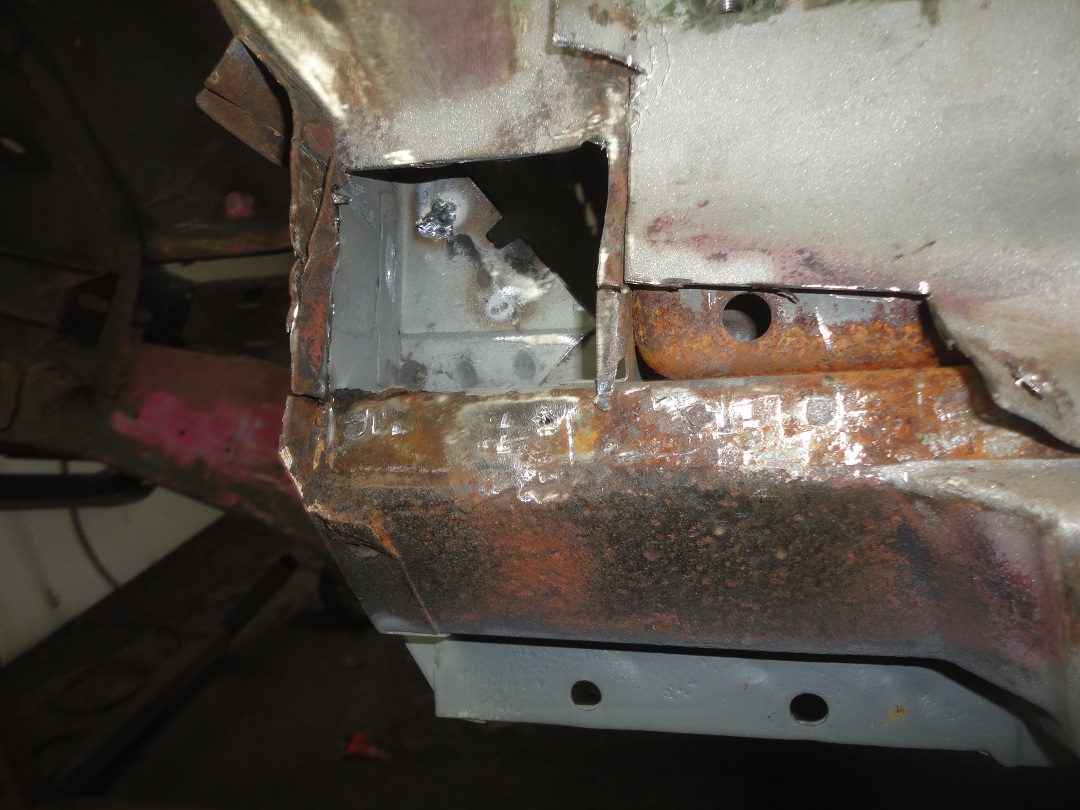
 113) Then I sandblasted and ground away the residual surface rust on the metal I wanted to keep. It looks pretty intimidating at this
point.
113) Then I sandblasted and ground away the residual surface rust on the metal I wanted to keep. It looks pretty intimidating at this
point. |
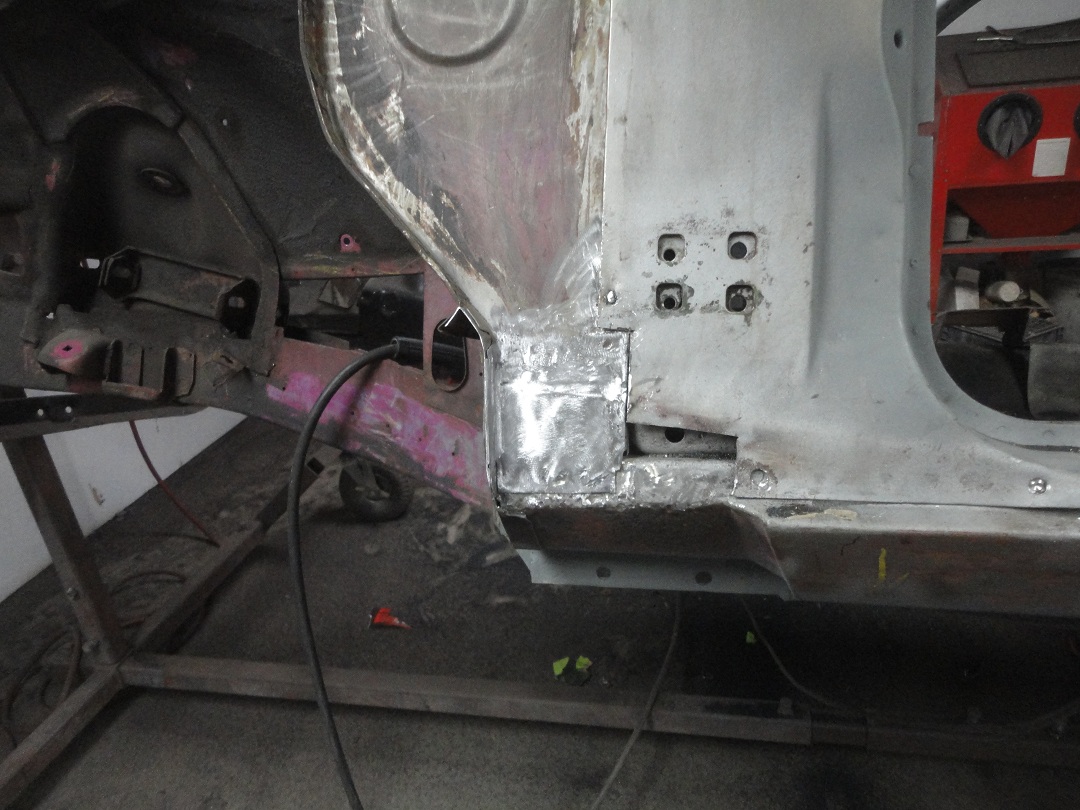
 114) In this case I started by repairing the rocker endcap first. Notice that the patch is larger than what is required? That is
because it is easier to weld up beyond the end of the original metal and grind the patch back to the correct
dimension, than it is to stop a weld at the exact edge you need.
114) In this case I started by repairing the rocker endcap first. Notice that the patch is larger than what is required? That is
because it is easier to weld up beyond the end of the original metal and grind the patch back to the correct
dimension, than it is to stop a weld at the exact edge you need. |
 115) Here it is after the butt-welding process and a little bit of grinding. I use 36 grit disks on my air grinder to get
the welds flat as possible. If you do it right, you will not need to use any filler.
115) Here it is after the butt-welding process and a little bit of grinding. I use 36 grit disks on my air grinder to get
the welds flat as possible. If you do it right, you will not need to use any filler. |
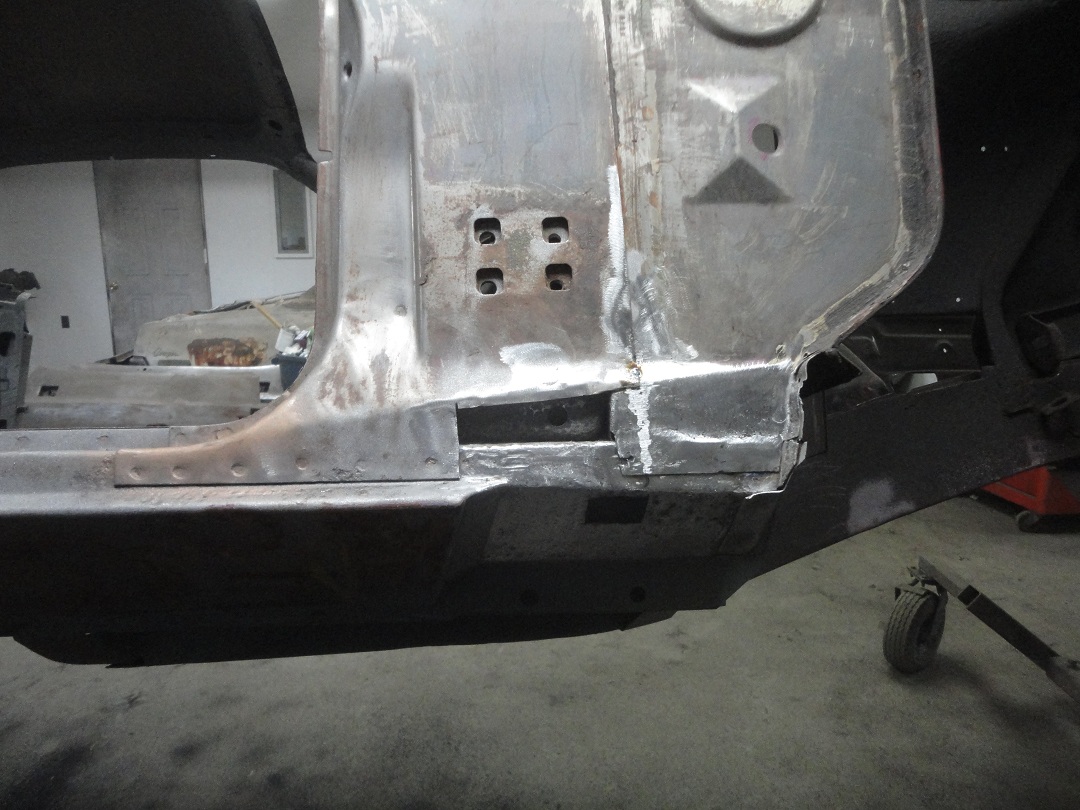
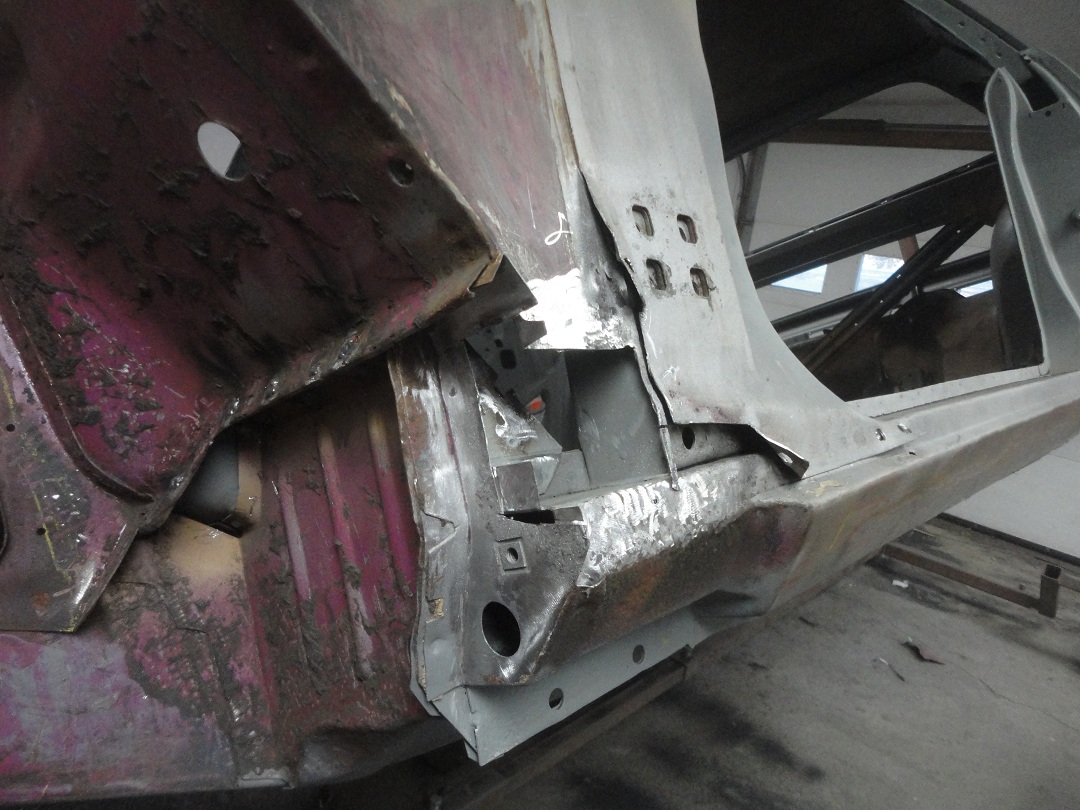
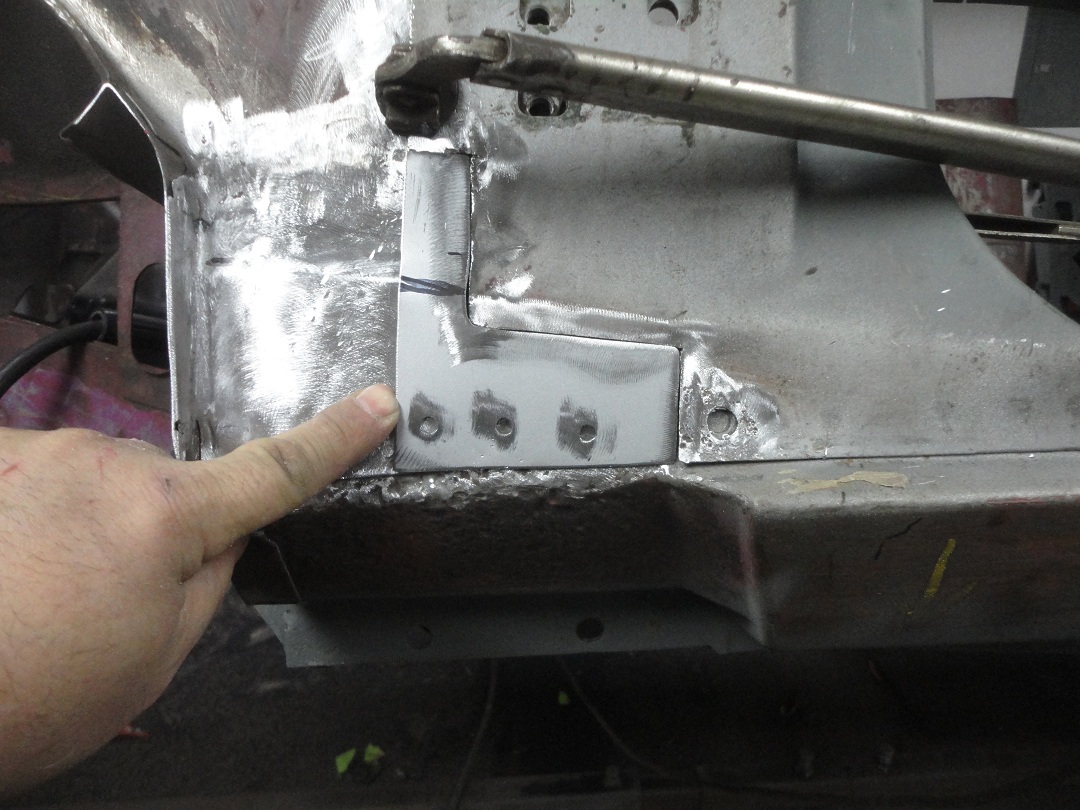
 116) Next came the side panel bottom. The patch needed to have a couple bends in it to match the original contour lines, which
you can see marked on the patch (but not bent yet).
116) Next came the side panel bottom. The patch needed to have a couple bends in it to match the original contour lines, which
you can see marked on the patch (but not bent yet). |
 117) The bends I made in a bench vise. Here it is welded in.
 |
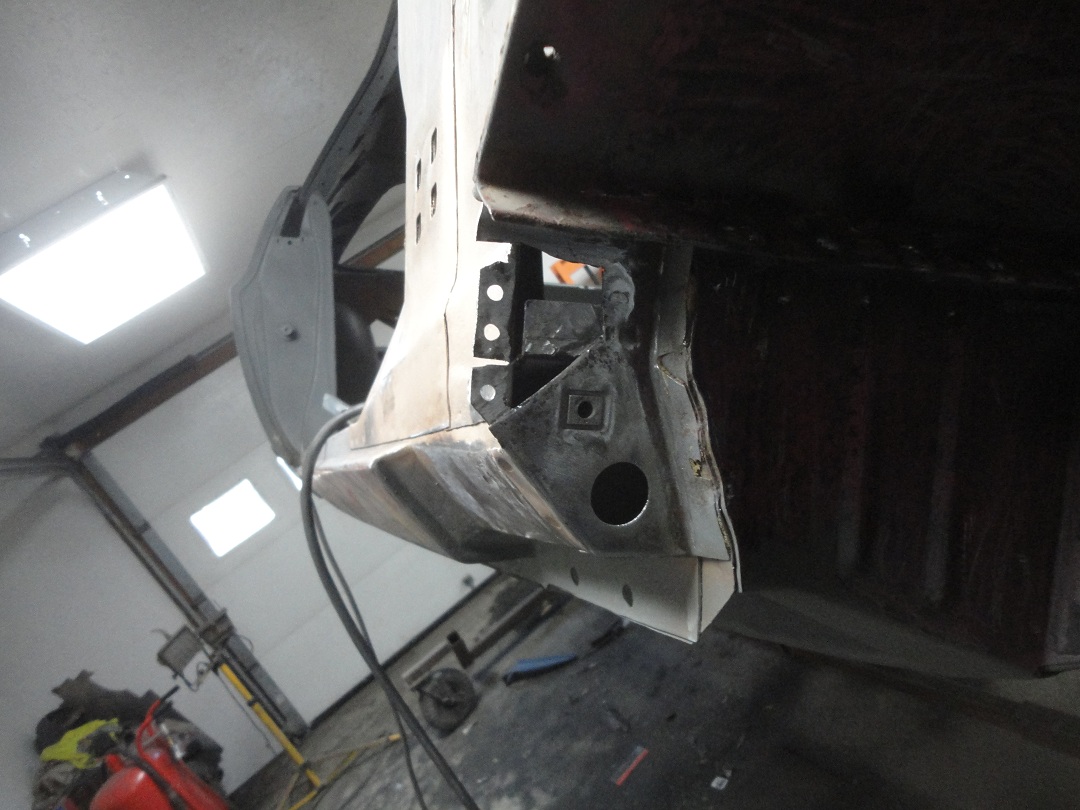
 118) Here is the last patch. Again the patch needed to have a bend in it to match an original contour line.
 |
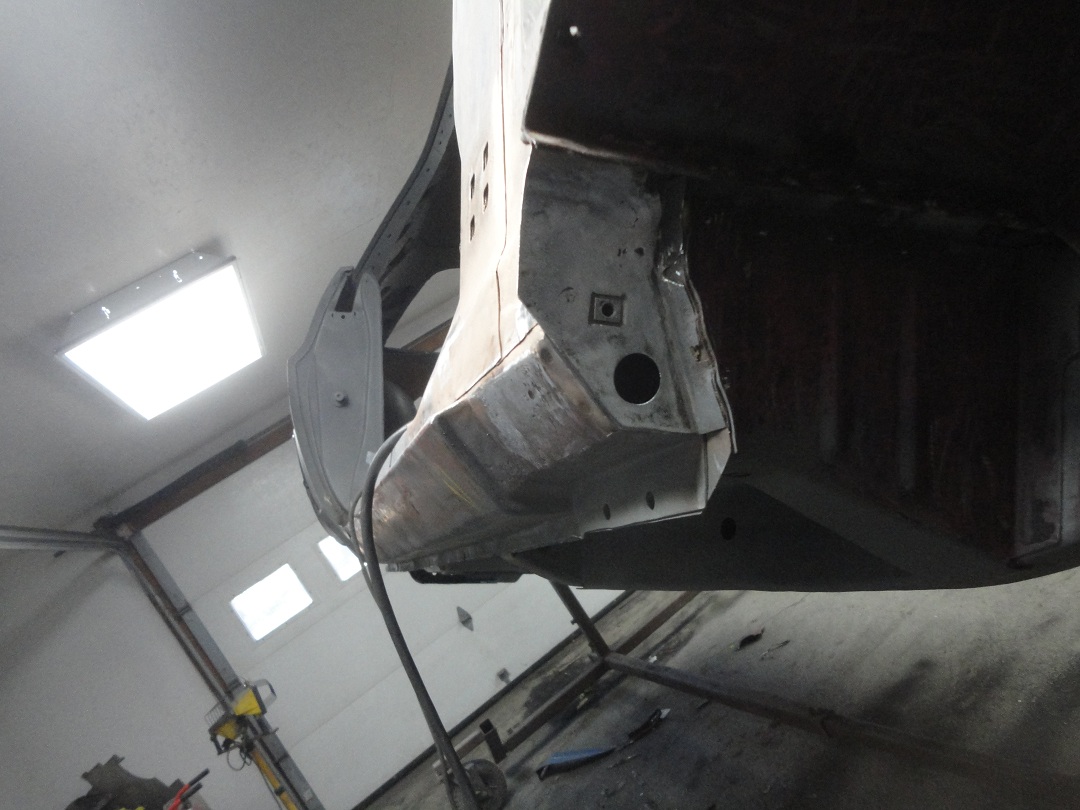
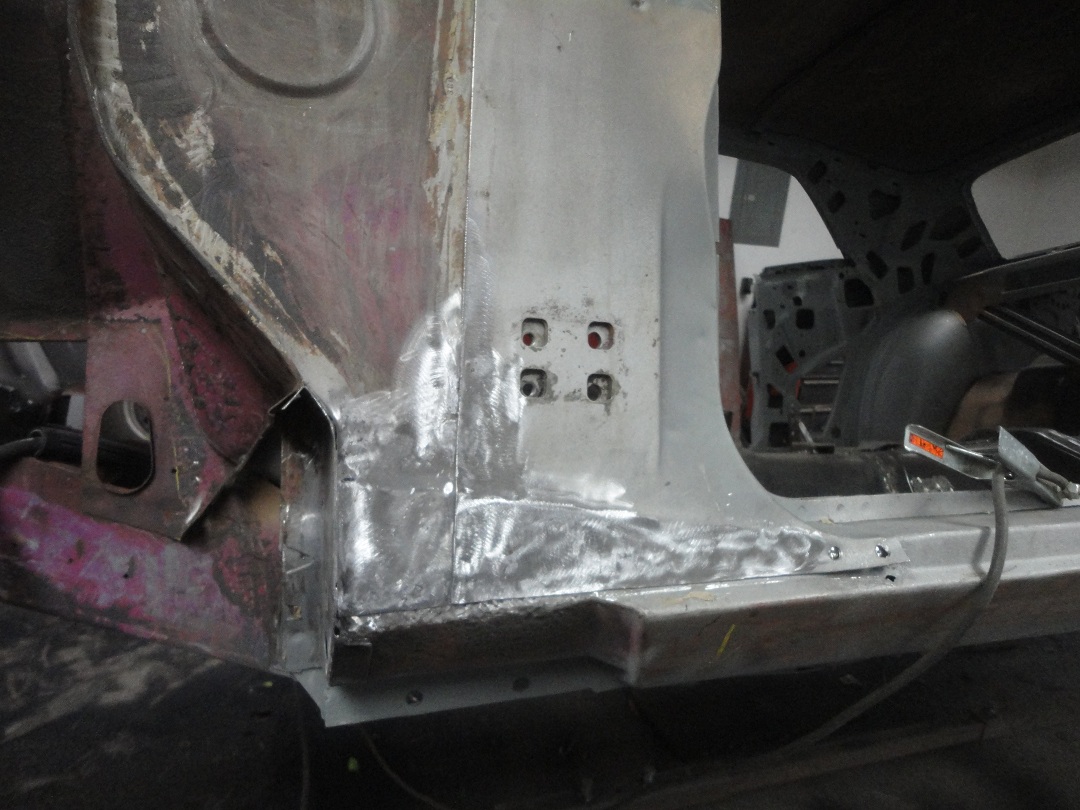 119) Here it is all welded up. You may notice the front part of the A-pillar where it meets the rocker. There was a small rust hole that
opened up to a larger one after sandblasting. I was able to just plug weld the hole instead of having to patch it.
119) Here it is all welded up. You may notice the front part of the A-pillar where it meets the rocker. There was a small rust hole that
opened up to a larger one after sandblasting. I was able to just plug weld the hole instead of having to patch it. |
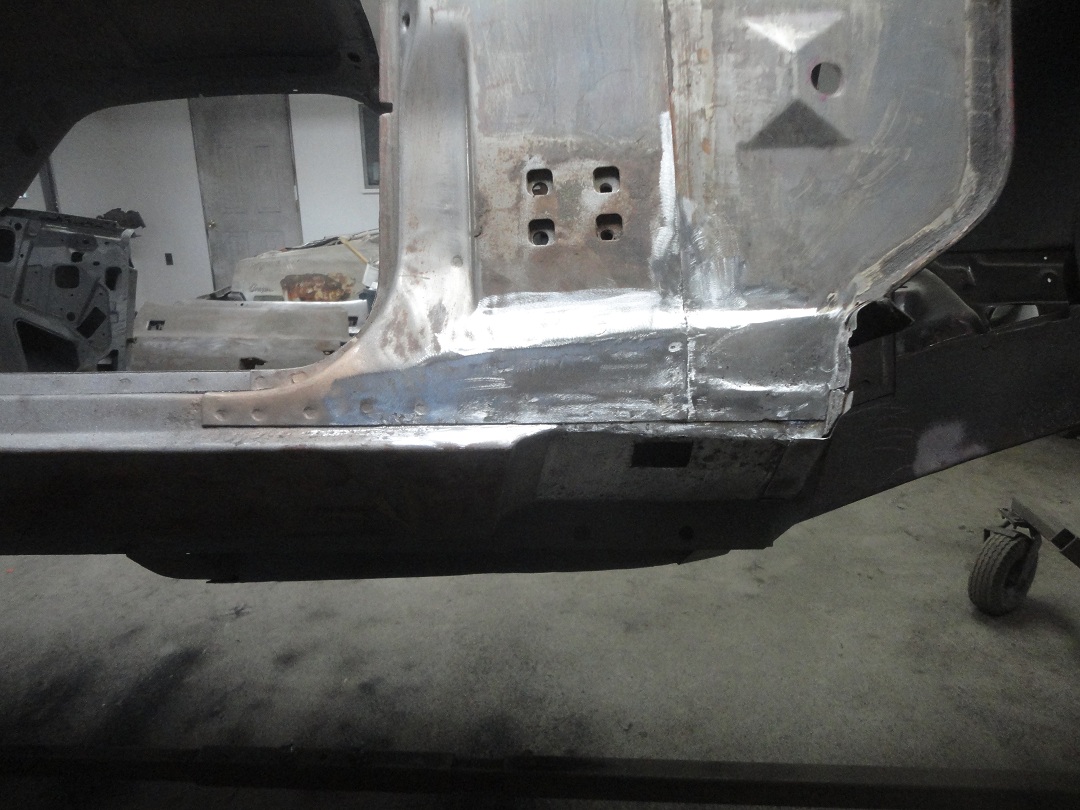
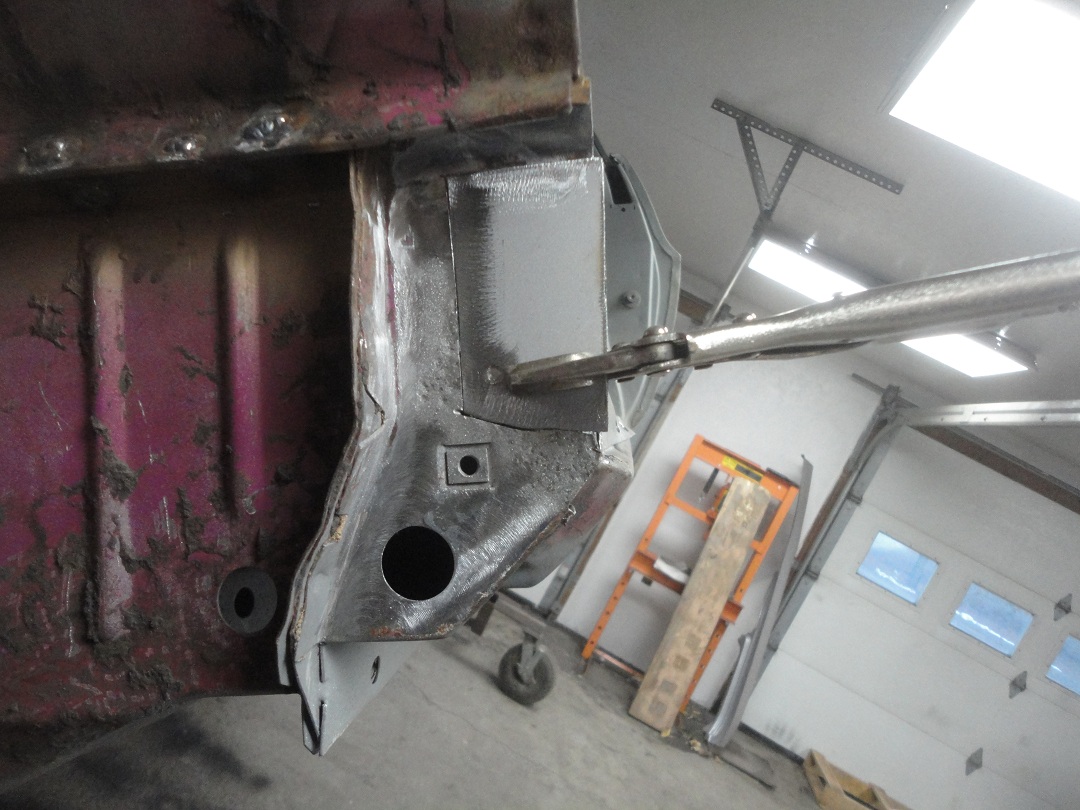
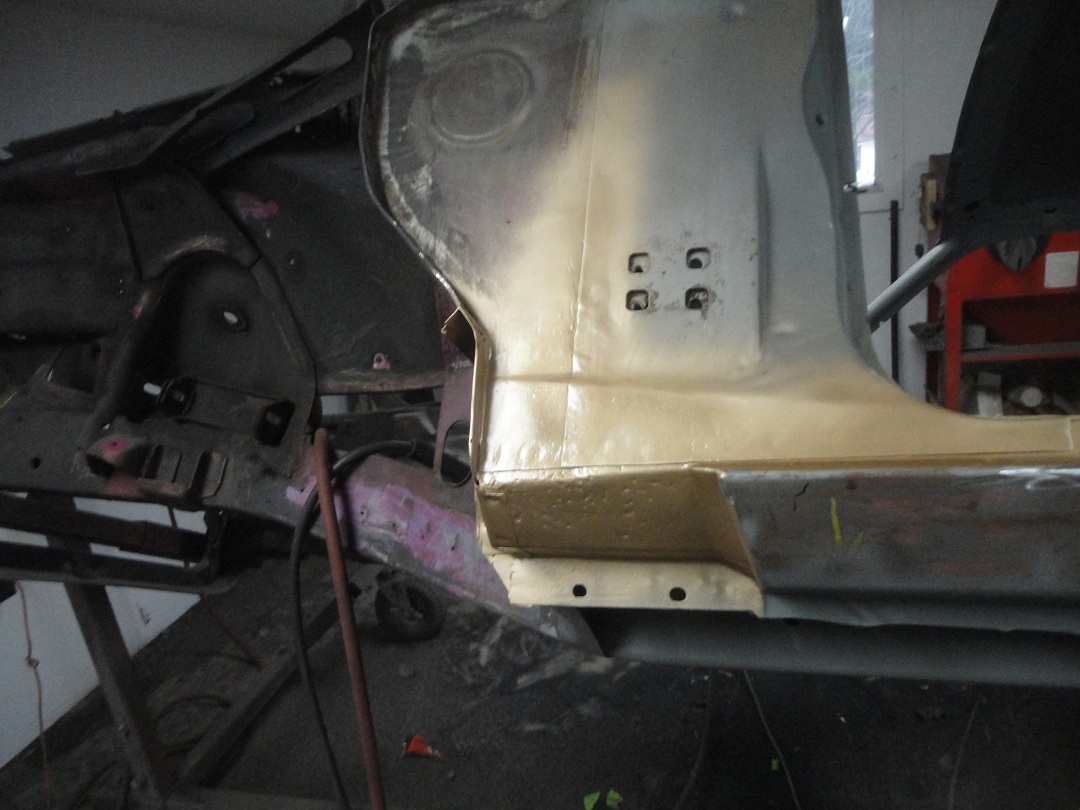 120) In this last picture I hit everything with some weld-though primer to temporarily protect my work from rusting and to get a
good visual of my work. The lines in the patches came out pretty good, don't you think?
120) In this last picture I hit everything with some weld-though primer to temporarily protect my work from rusting and to get a
good visual of my work. The lines in the patches came out pretty good, don't you think? |