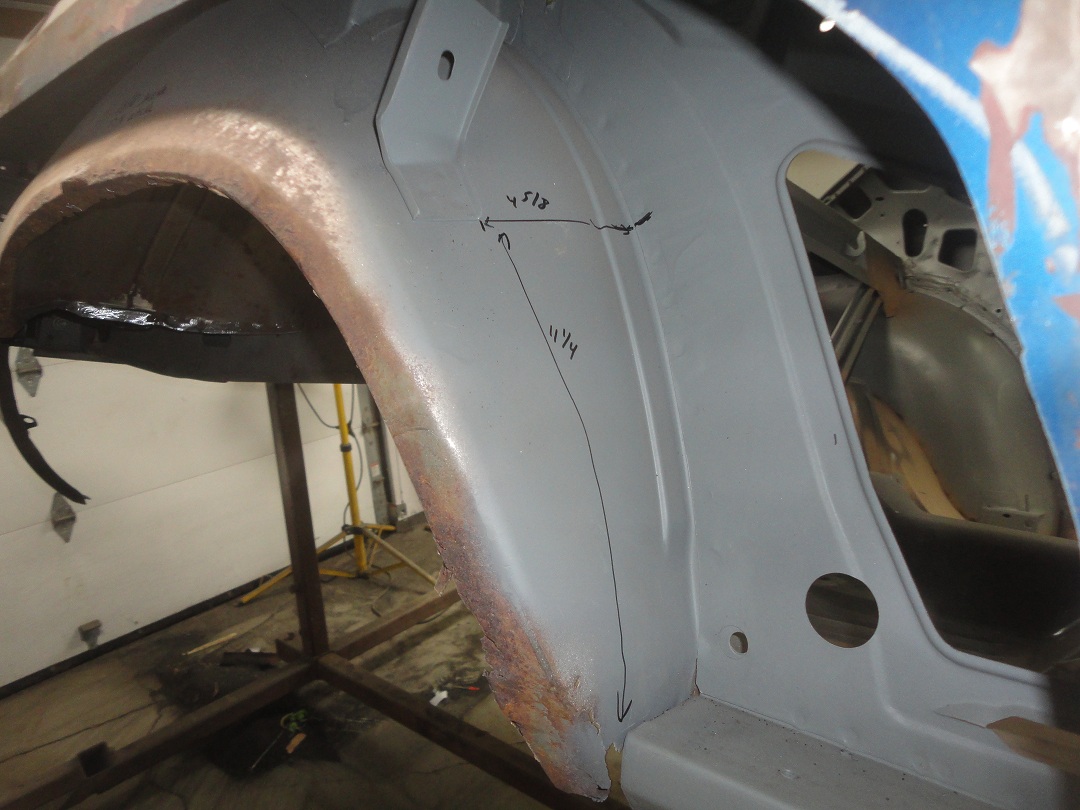
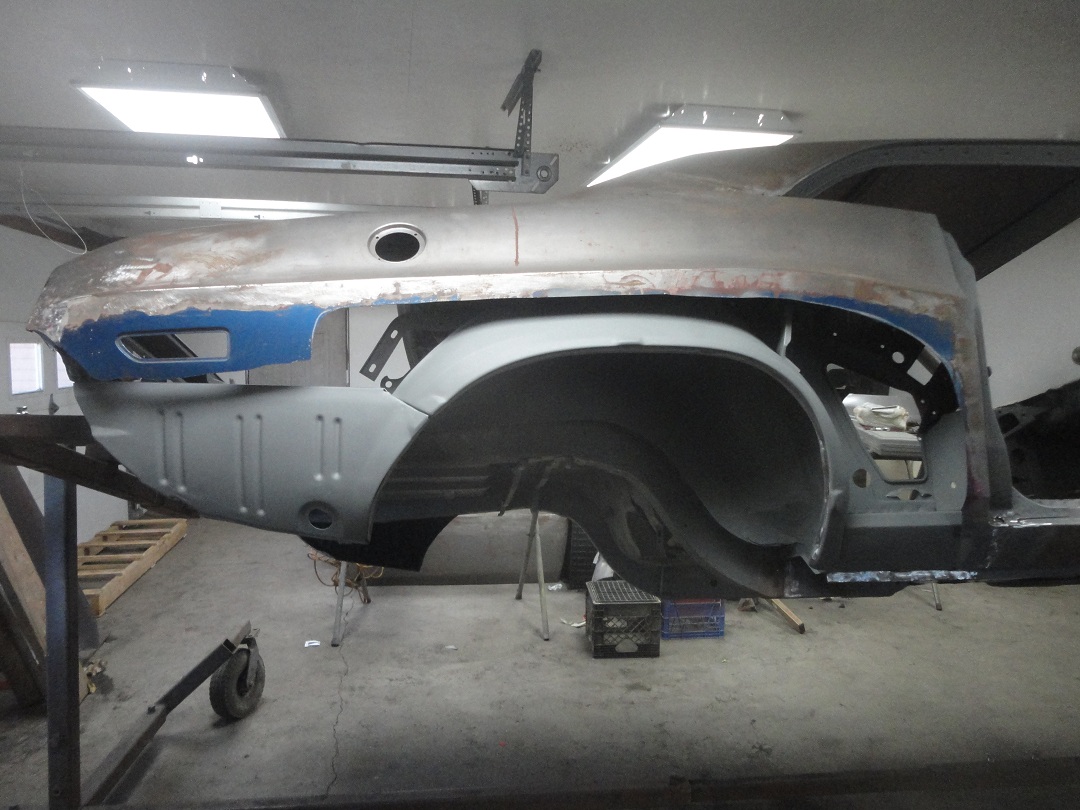
 89) The passenger's side did not fair as well as the driver's side in regards to the outer wheelhouse. There was just too much
rust damage around the lip, so the whole outer had to be replaced. Careful measurements were taken for the quarter window track
bracket, which needed to be welded to the new outer.
89) The passenger's side did not fair as well as the driver's side in regards to the outer wheelhouse. There was just too much
rust damage around the lip, so the whole outer had to be replaced. Careful measurements were taken for the quarter window track
bracket, which needed to be welded to the new outer.
|
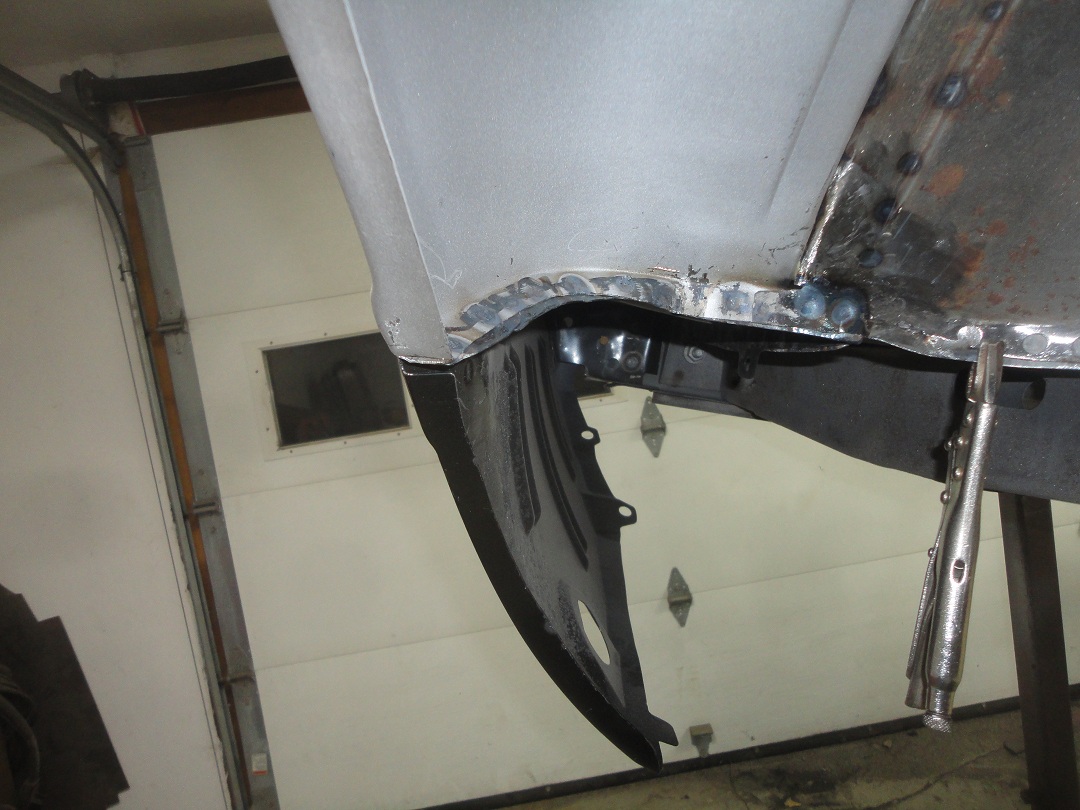
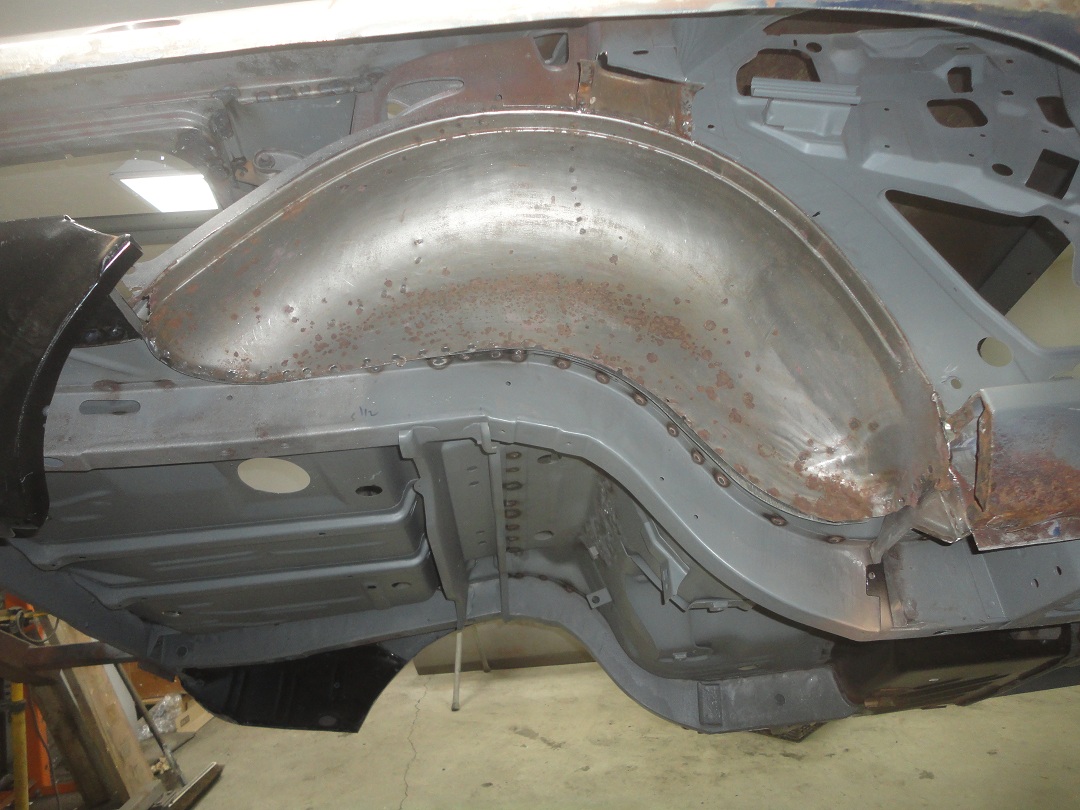 90) Here is a shot with the outer removed. The front half of the pinchweld is inside of the car behind the quarter window panel, which
makes it a tricky task to clean up the pinch weld.
90) Here is a shot with the outer removed. The front half of the pinchweld is inside of the car behind the quarter window panel, which
makes it a tricky task to clean up the pinch weld.
|
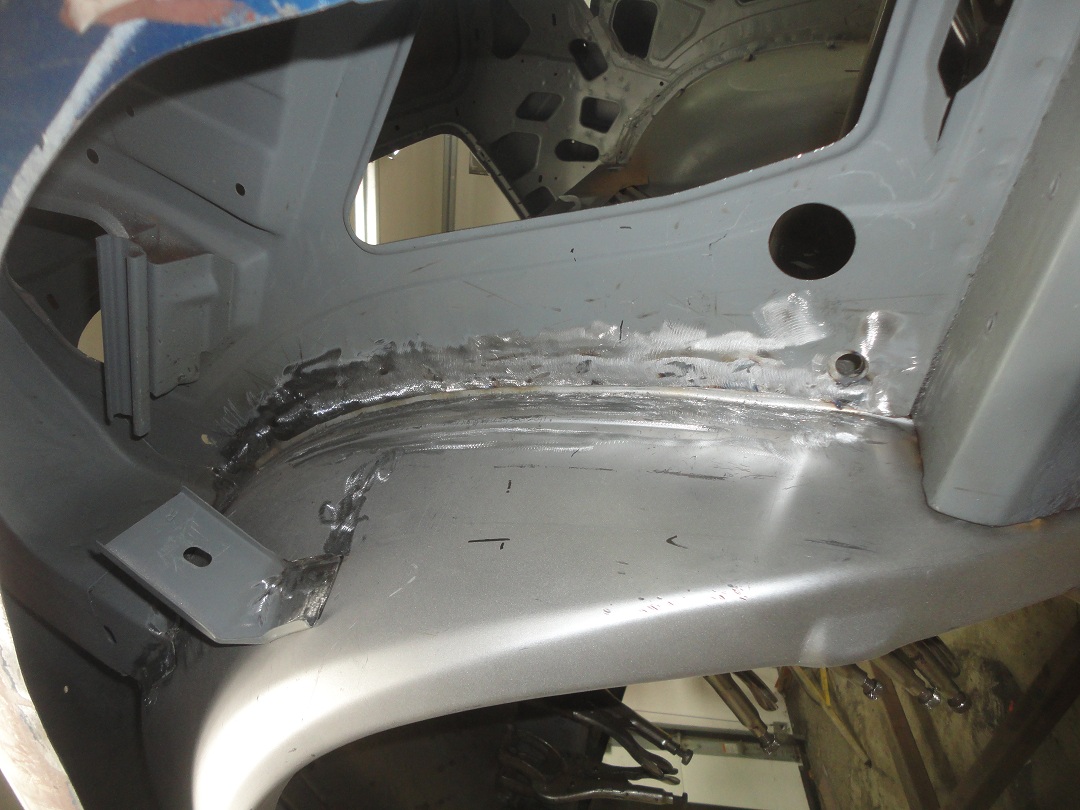
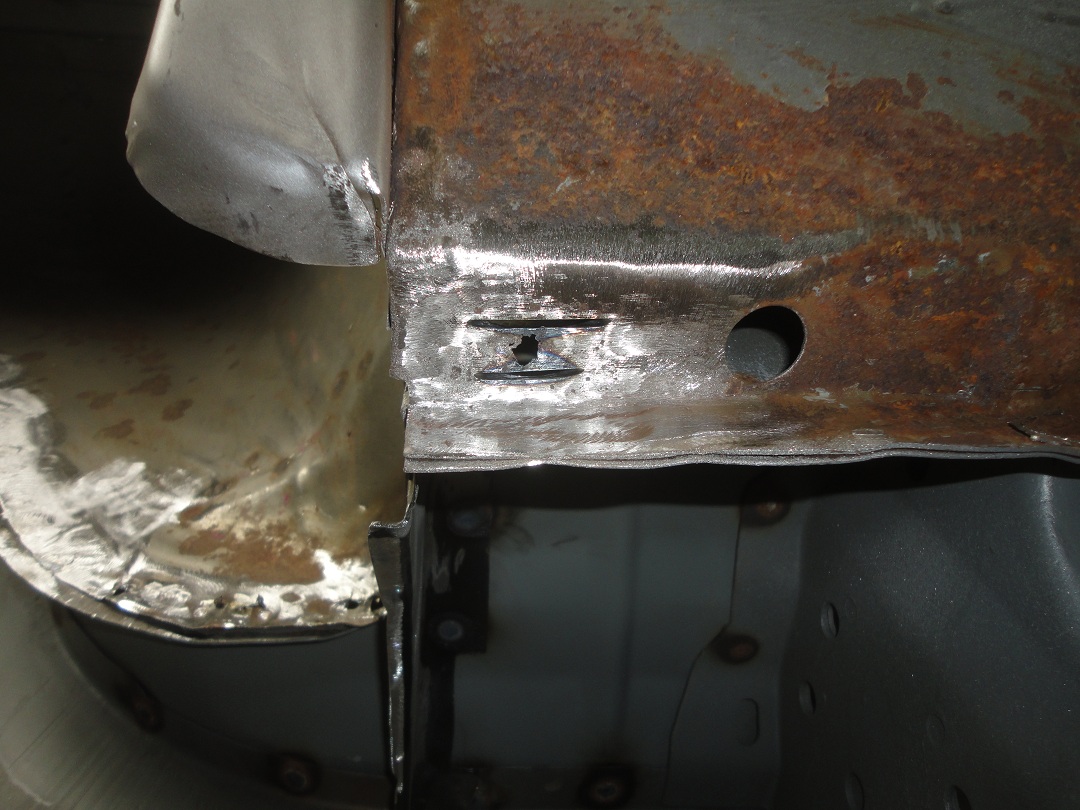
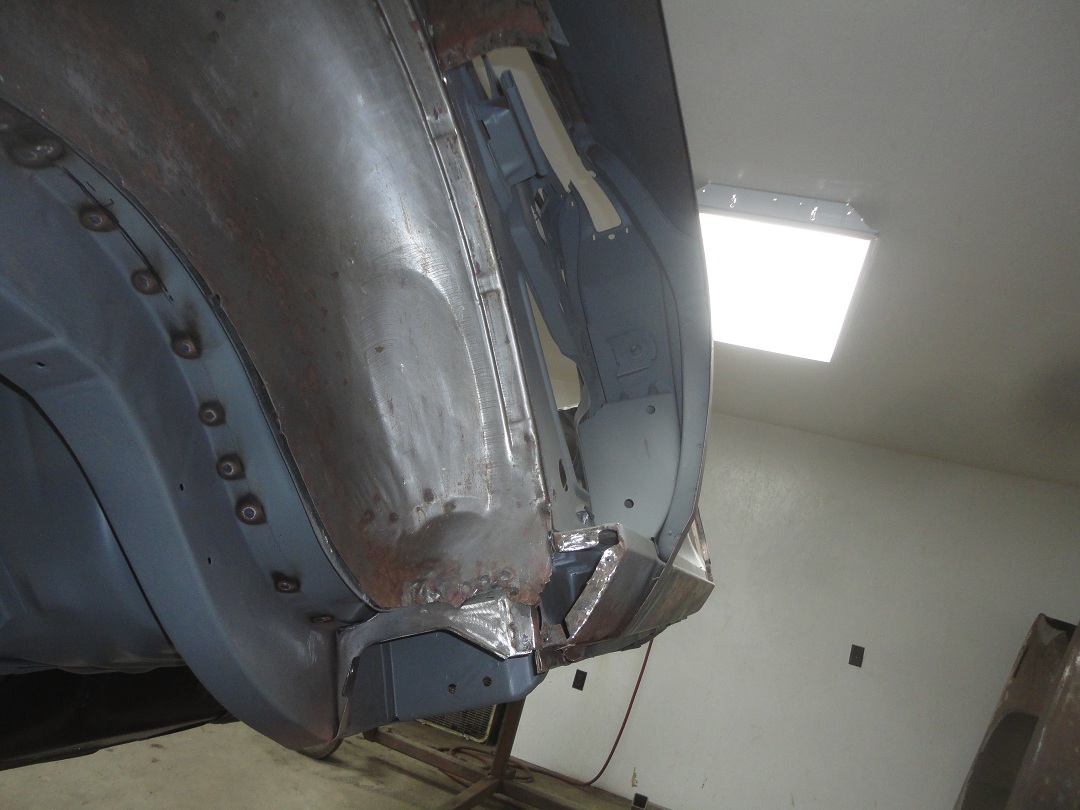 91) The front section of the inner needed to be repaired. A small repair was also needed on the end of the rocker. In this picture
the rocker repair had already been performed.
91) The front section of the inner needed to be repaired. A small repair was also needed on the end of the rocker. In this picture
the rocker repair had already been performed.
|
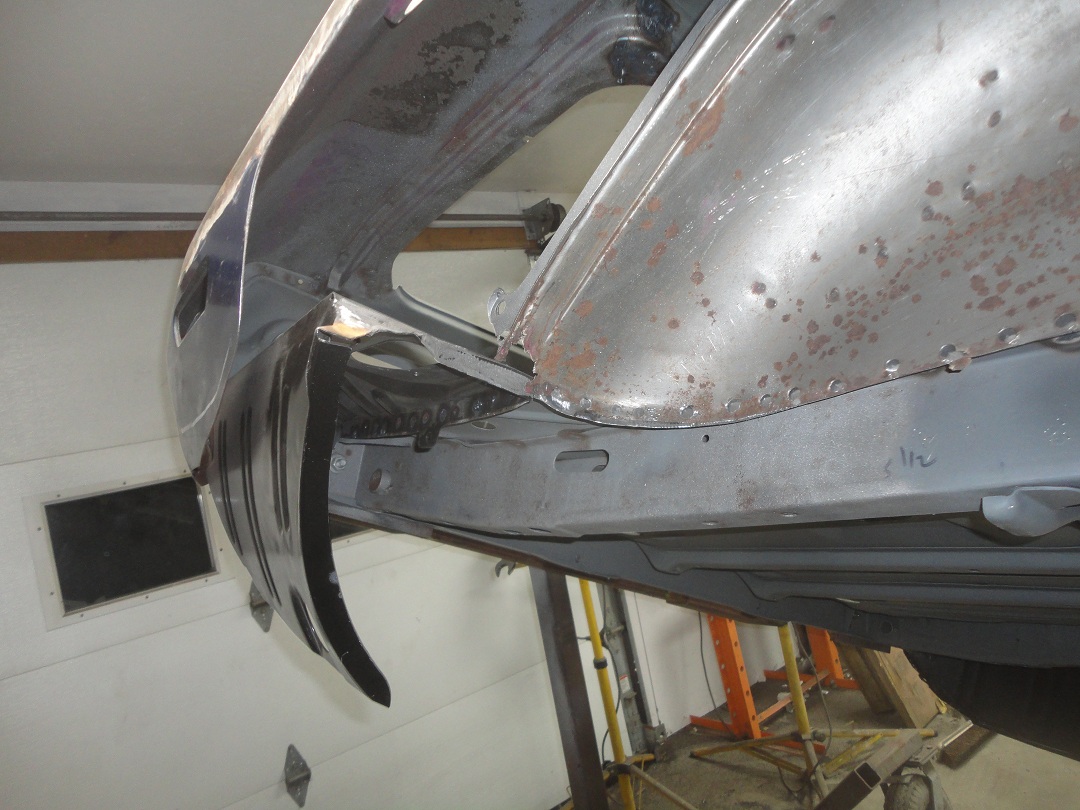 92) There was a small rusted out section at the rear of the inner (shown here).
|
 93) A small patch as easily made, which was then butt-welded in place.
|
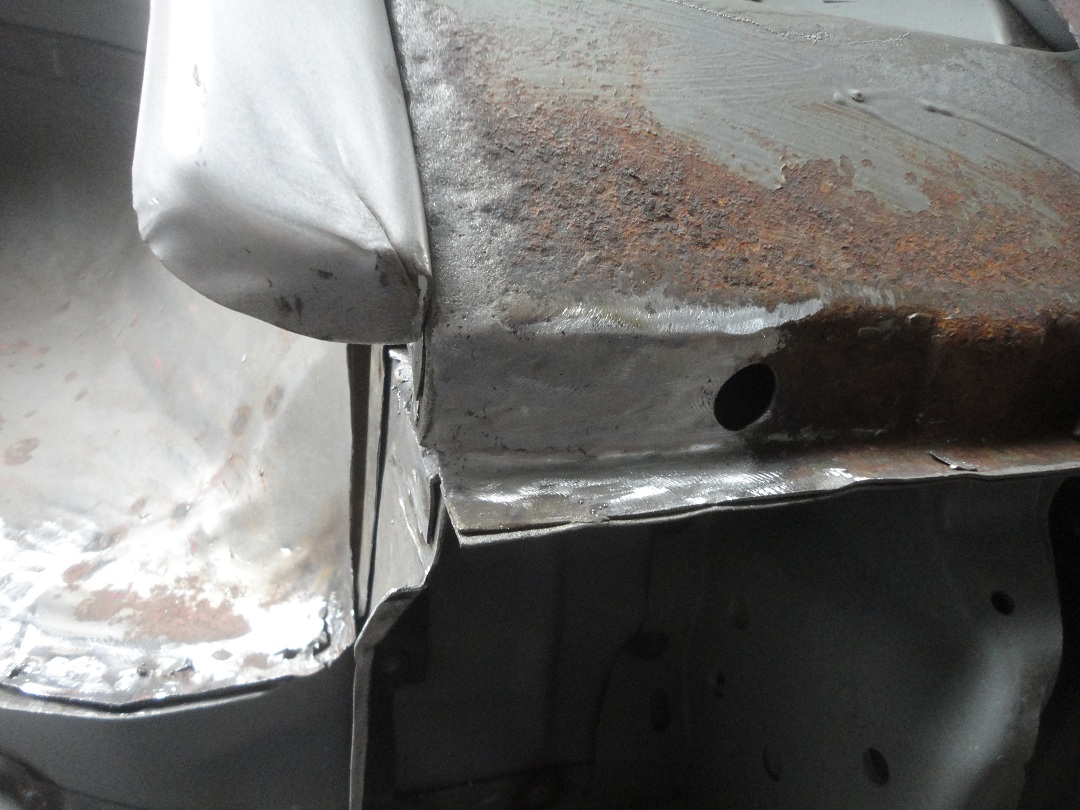
 94) In this picture the remnants of the outer were removed. On the front half I drilled out the spot welds and split the pinchweld apart
from inside the car. The rear half was simply ground down.
94) In this picture the remnants of the outer were removed. On the front half I drilled out the spot welds and split the pinchweld apart
from inside the car. The rear half was simply ground down.
|
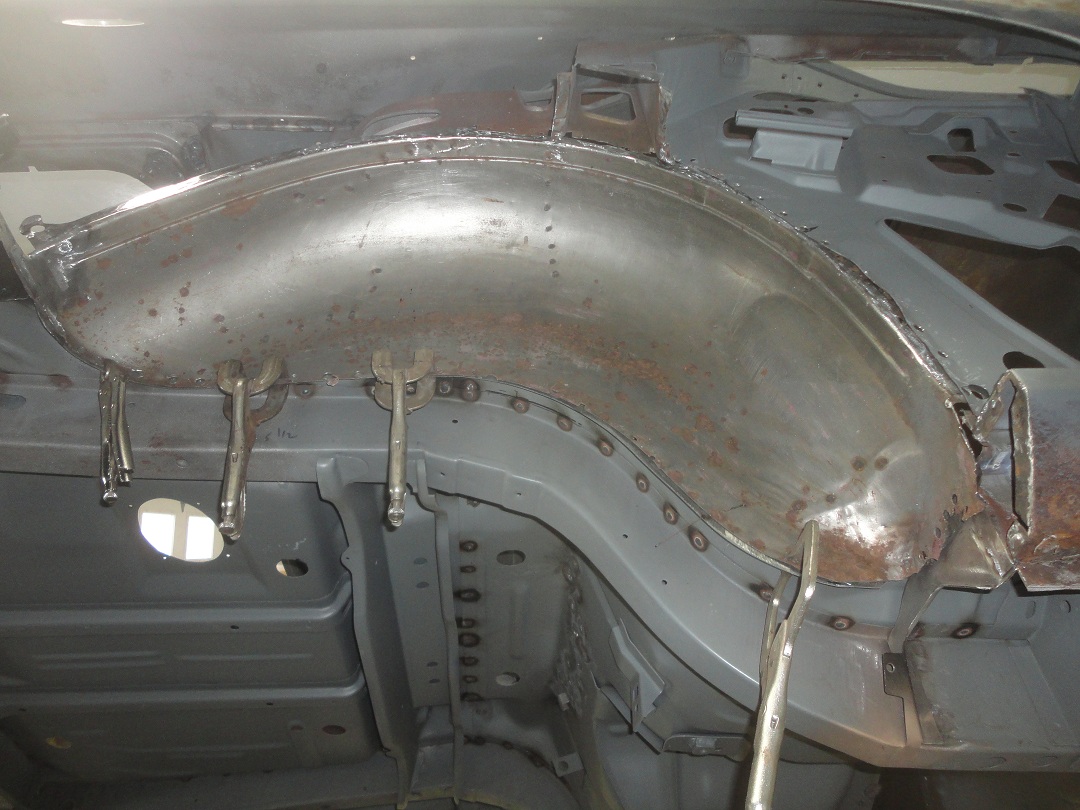
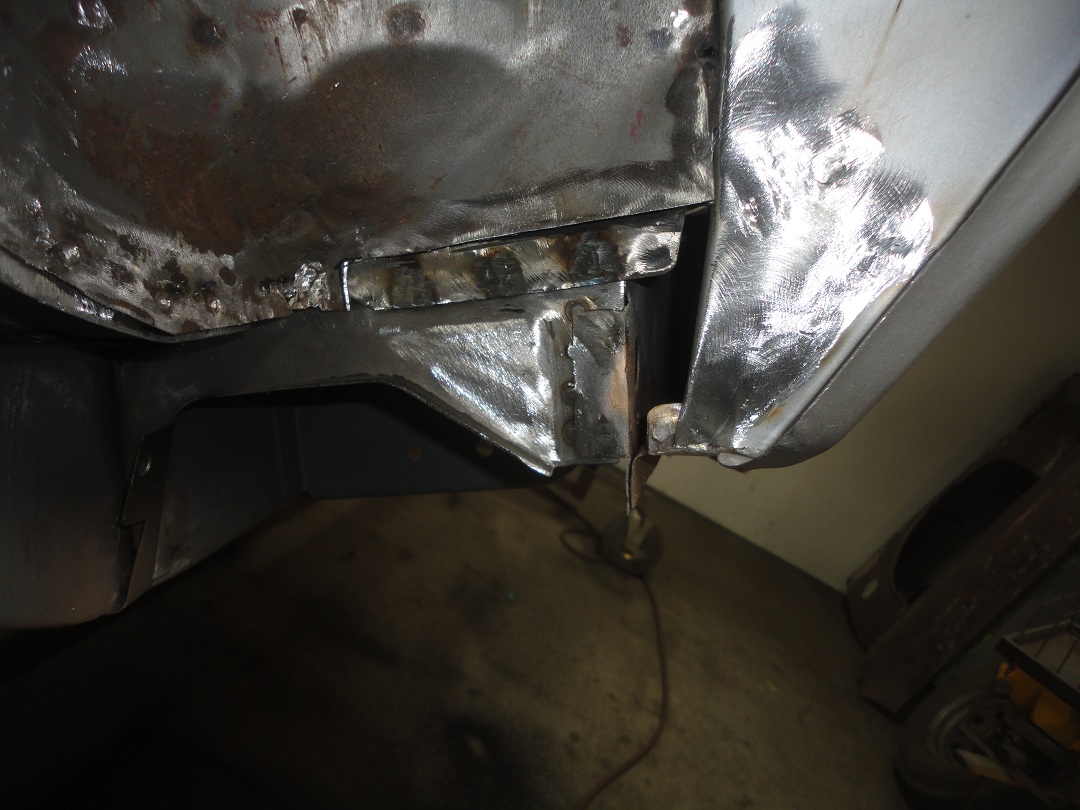
 95) The front half of the outer was plug-welded in place, while the rear was just pinch welded with a spot welder. Here is a view from
inside of the car. The seam was burried in factory seam sealer, which had to be ground away since it catches on fire rather easily.
95) The front half of the outer was plug-welded in place, while the rear was just pinch welded with a spot welder. Here is a view from
inside of the car. The seam was burried in factory seam sealer, which had to be ground away since it catches on fire rather easily.
|
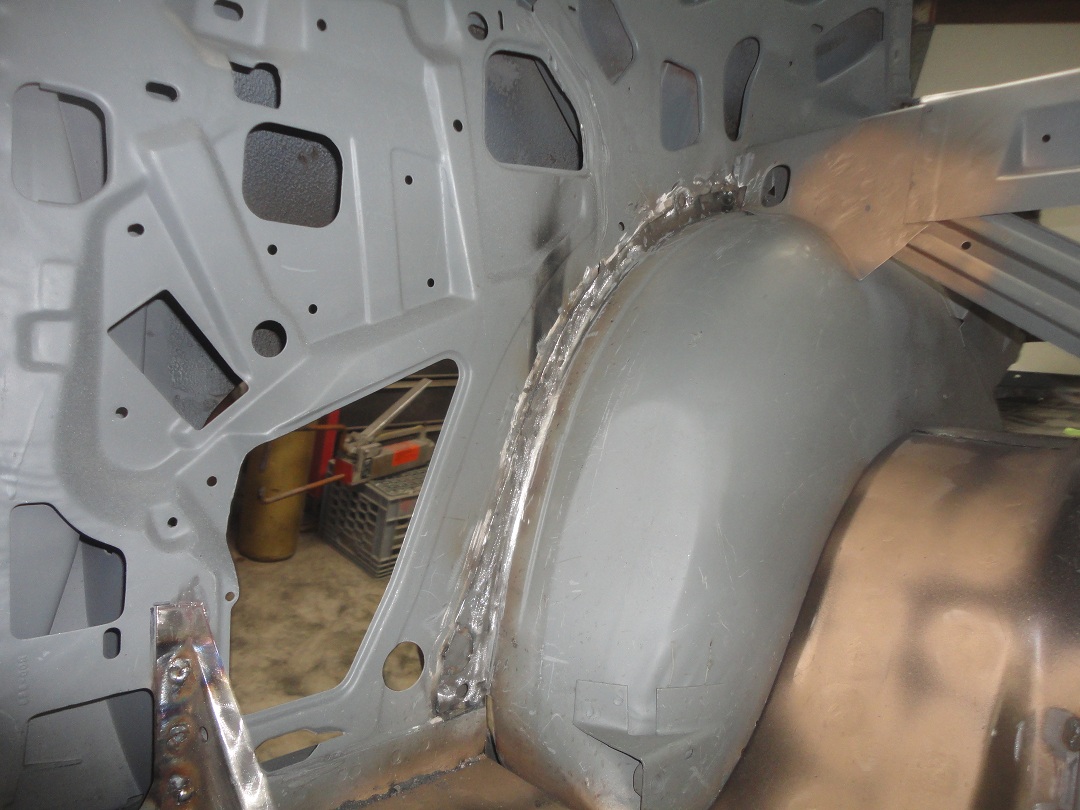
 96) In this picture the quarter window bracket was welded in and the welds had all been dressed. Note: The window track was installed
to ensure that the bracket was properly located.
96) In this picture the quarter window bracket was welded in and the welds had all been dressed. Note: The window track was installed
to ensure that the bracket was properly located.
|
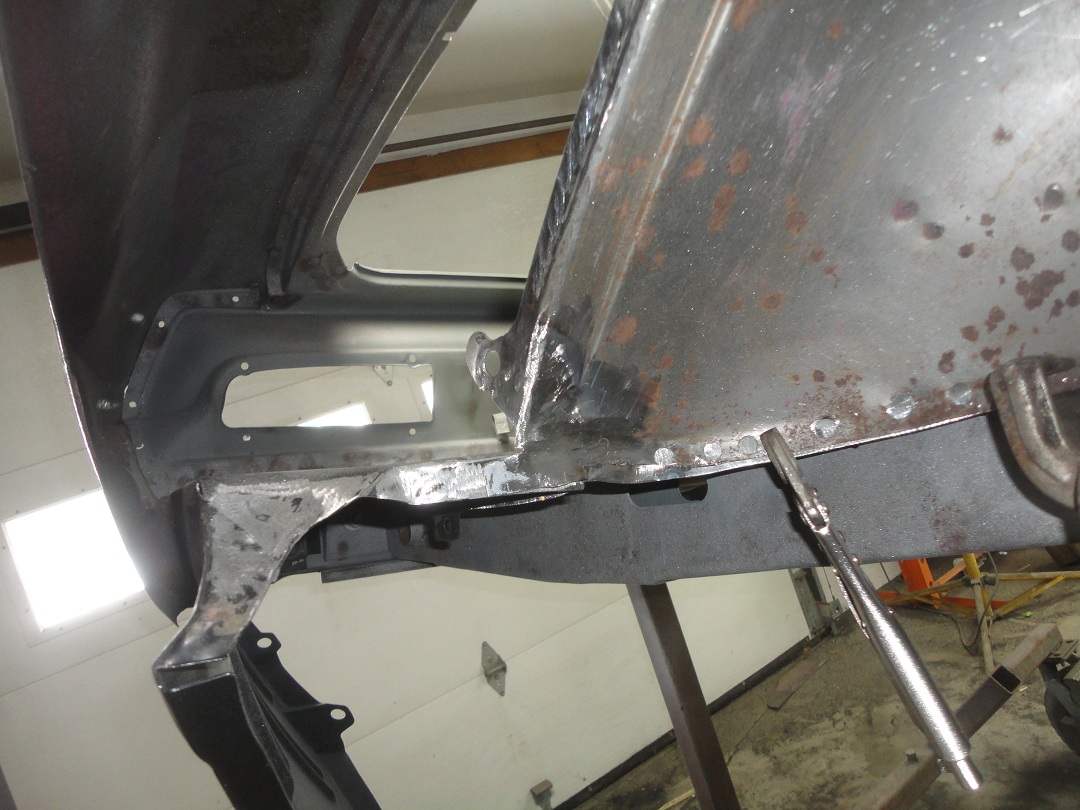
 97) This picture shows the pinch welds at the rear of the outer wheelhouse where it meets the trunk drop off.
|
|
 98) Here is a small rust hole at the bottom of the RH rocker. I'm sure some people wouldn't bother patching it, but finding out later
that you needed good metal there to weld in the quarter panel is not easily fixable as it is now with everything exposed.
98) Here is a small rust hole at the bottom of the RH rocker. I'm sure some people wouldn't bother patching it, but finding out later
that you needed good metal there to weld in the quarter panel is not easily fixable as it is now with everything exposed.
|
 99) Here it is all patched and ready for cleanup.
|
 100) Here is the front section of the inner all ready for a patch. Guess I was too busy to take pictures during the repair.
|
 101) With the repairs completed (less the actual quarter panel), the inside was primed with epoxy primer.
|
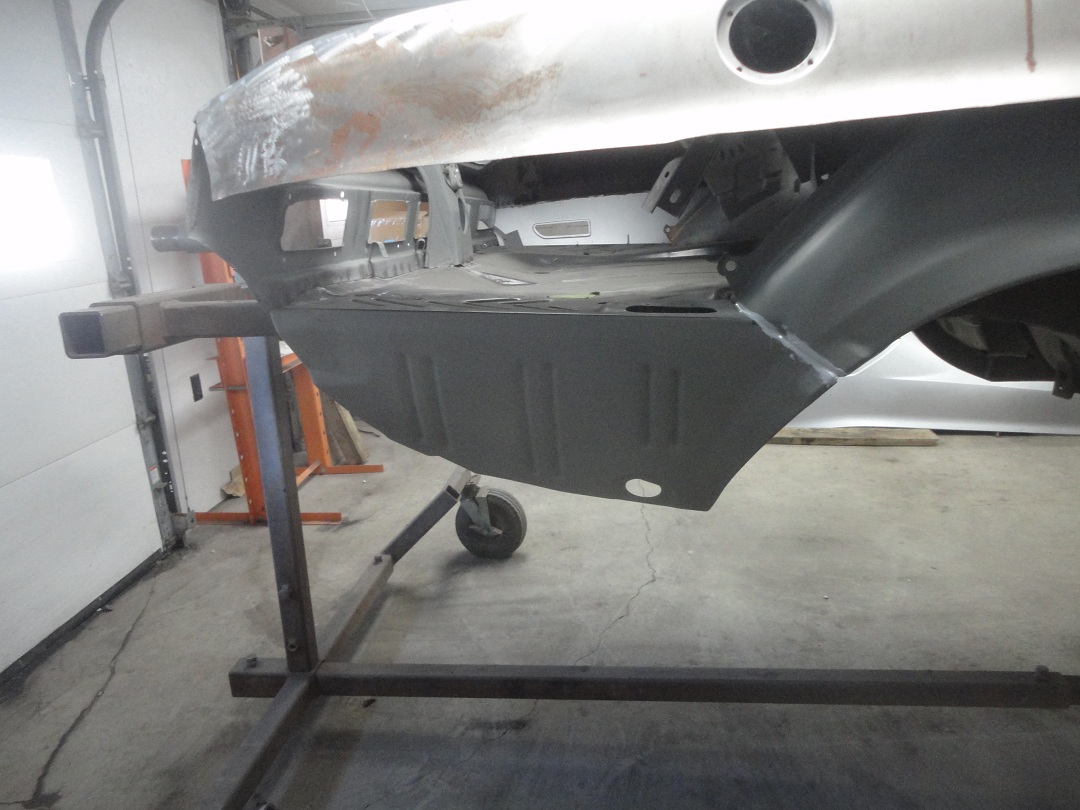 102) A nice bead of seam sealer was applied to the outer wheelhouse were it meets the drop off. This area can not be accessed
once the quarter is installed.
102) A nice bead of seam sealer was applied to the outer wheelhouse were it meets the drop off. This area can not be accessed
once the quarter is installed.
|
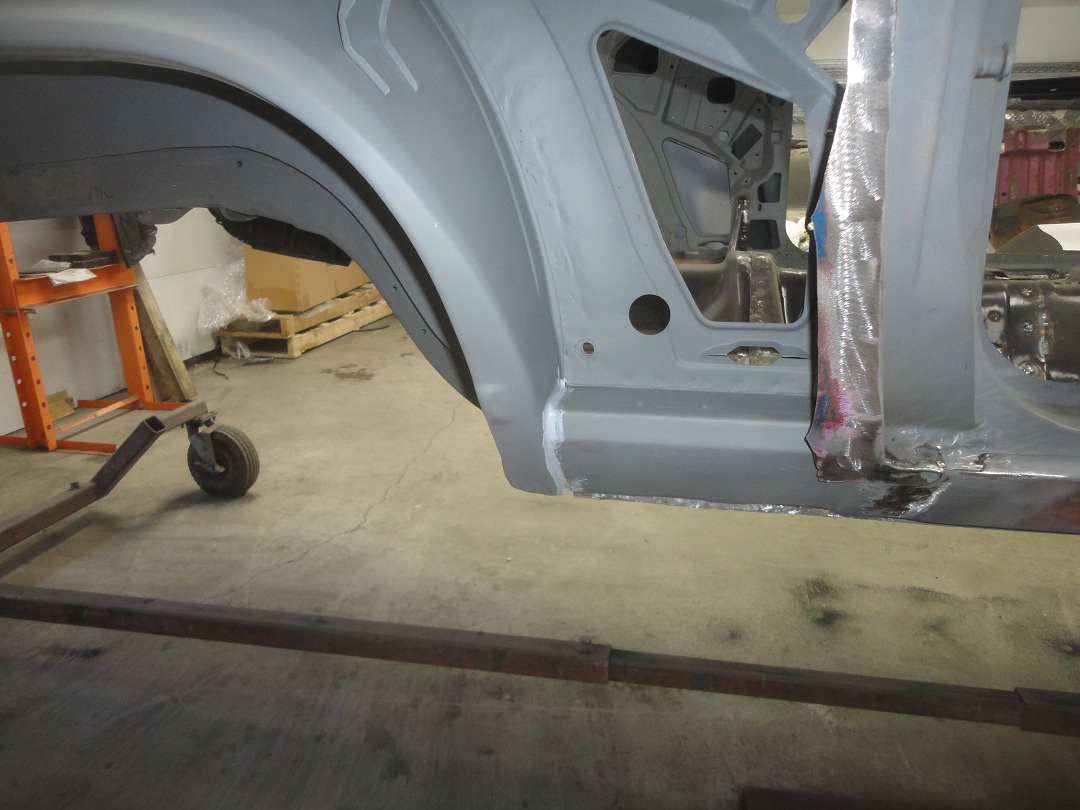 103) A bead of seam sealer was also applied to the seam where the rocker meets the outer, which is another impossible location to seal
once the quarter is installed.
103) A bead of seam sealer was also applied to the seam where the rocker meets the outer, which is another impossible location to seal
once the quarter is installed.
|
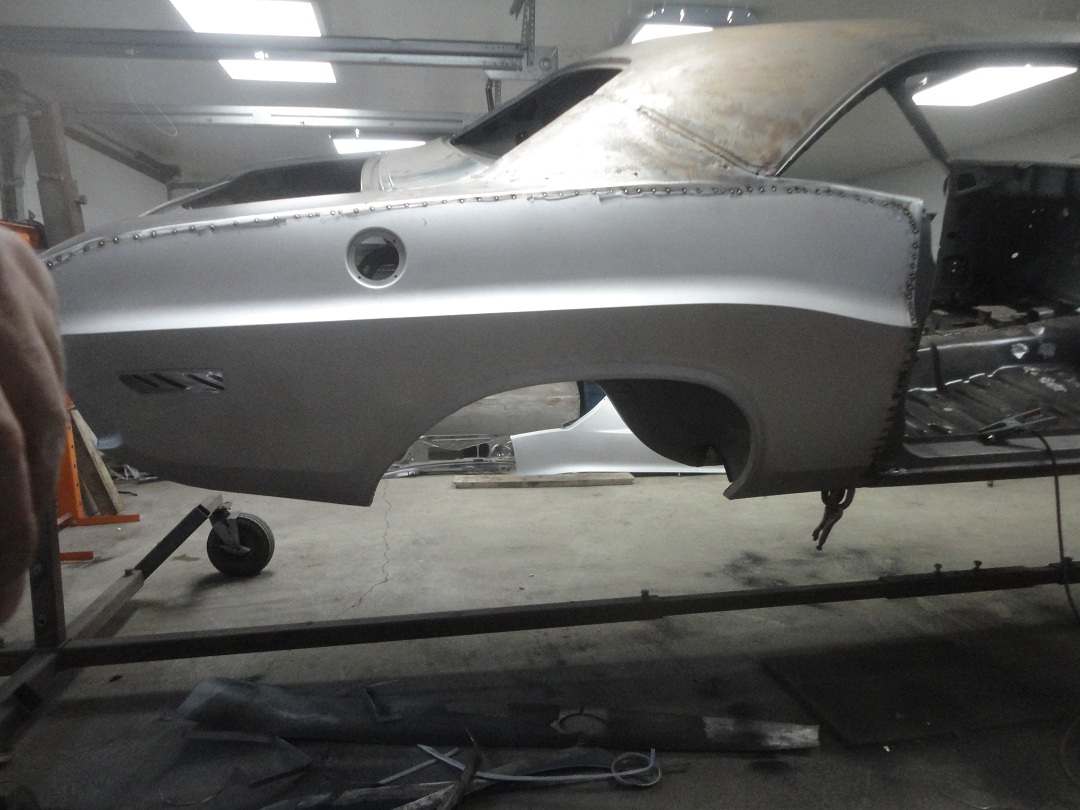
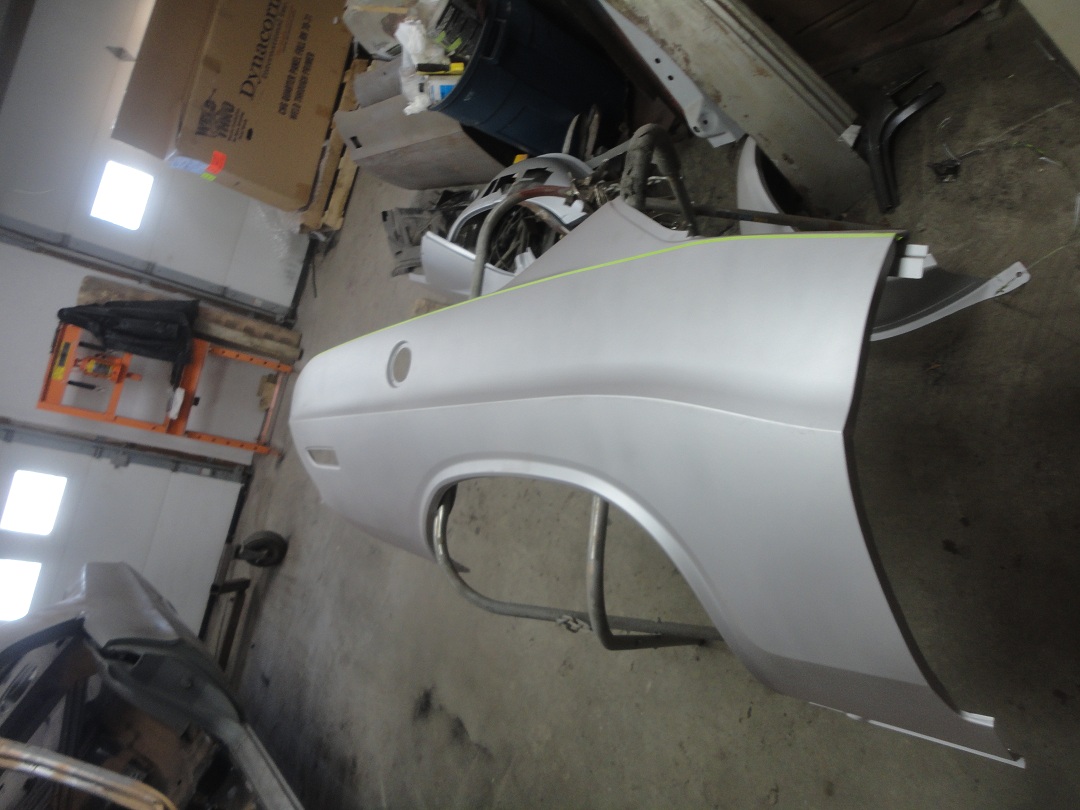 104) Here is a picture of my new Dynacorn rear quarter. The 4 holes for the gas filler were a bit undersized (which I corrected), but
the panel was pretty nice. As with the left side my intension was to use only a piece of the quarter panel. There was accident damage
on the right side side of the car above the center bosy line, so I had to use more of the panel. The cut line is marked with masking
tape in this picture.
104) Here is a picture of my new Dynacorn rear quarter. The 4 holes for the gas filler were a bit undersized (which I corrected), but
the panel was pretty nice. As with the left side my intension was to use only a piece of the quarter panel. There was accident damage
on the right side side of the car above the center bosy line, so I had to use more of the panel. The cut line is marked with masking
tape in this picture.
|
 105) Here is the quarter during the butt-welding process. I followed the same process on the right side which I followed on the right.
|
|