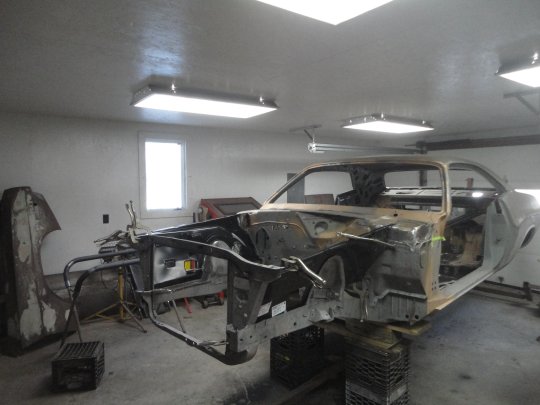
 138) Using the new inner fenders (I recommend the Goodmark version), the upper radiator support was clamped in place and welded to the lower radiator support.
 |
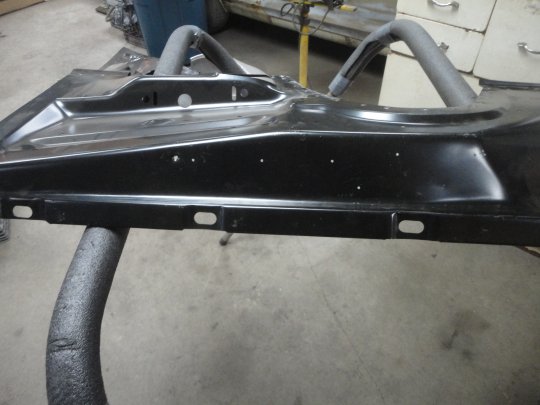
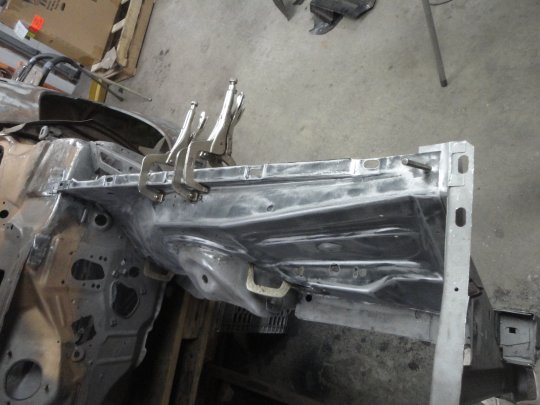
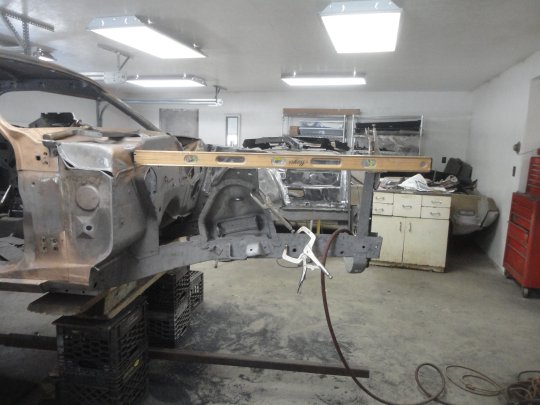 139) I had removed the control arm braces with the cowl braces when I removed the original inner fenders. To put it back on I used the original spot weld locations and a level, which I layed across the control arm brace and radiator support. The top of the control arm brace and radiator support are supposed to be in the same plain as each other for the inner fender to fit properly.
 |
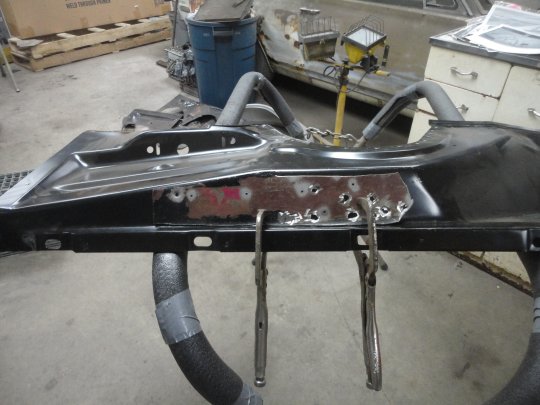
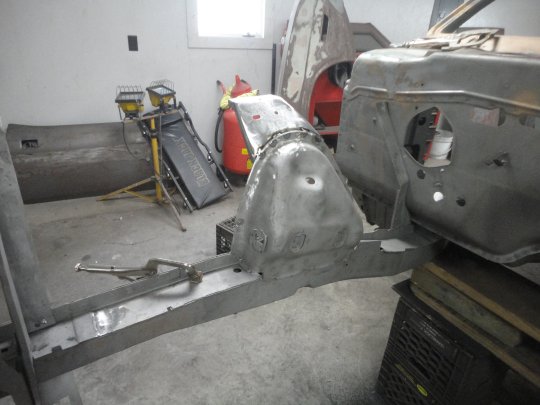 140) The control arm brace was both plugwelded from the outside and bead welded from the inside (as original).
 |
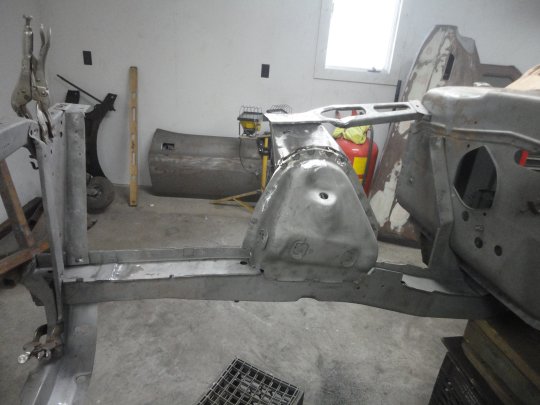 141) The cowel support was then welded in place using the orginal spot weld locations for reference. Precise alignment is not critical. It jsut needs to lie flat on the control arm brace.
 |
 142) I prep-ed the inner fenders before installing them. On the left side there are 5 holes for fender tags and a hole for an AC line. A lot of restorers do not drill 3 of the fender tag holes if they weren't used and are covered with the emissions label.
 To achieve the correct location of the holes, I clamped the piece from the original inner fender onto the new one and drilled the holes. For the AC line hole I dimpled them metal first so that I would get the correct look. Originally there would be a dimple in the inner fender, which only got drilled out if the car was an AC car. |
 143) Here's the inner fender with the holes drilled.
 |
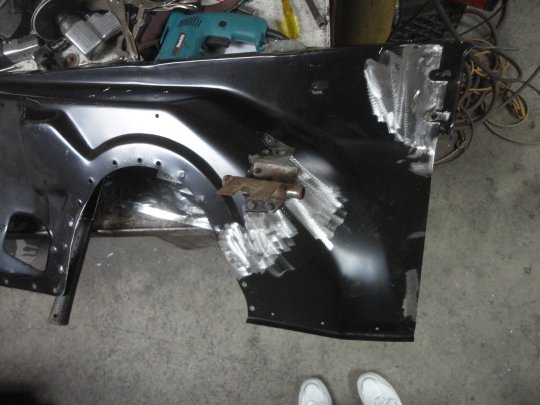 144) The repo panels do not have all of the dimples in place or all of the holes drilled, especially for AC cars. I put the correct dipples in the inner fenders and actaully drilled holes and mounted the parts to the inner fenders before even welding them in place. In this picture you can see the water valve mounted to the RH inner fender.
One thing to note, when I fit the inner fenders to the car I found that the rear hood hinge brackets were welded to the inner fenders crooked. I had to drill out the spot welds and weld it in straight. This was done with the inner fenders clamped in place. |
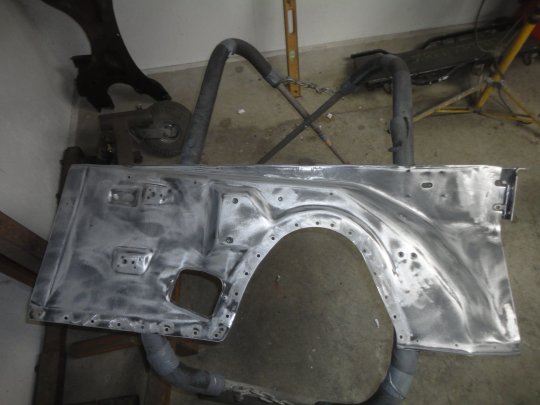 145) With all of the holes drilled, a sanded most of the primer off the repo panels. This was done to removed scratches, reveal defects and to generally create a surface for the epoxy primer to stick.
 |
 146) The inner fenders were then clamped and screwed in place.
 |
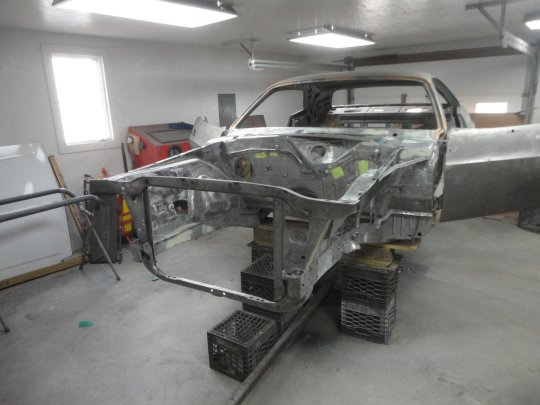
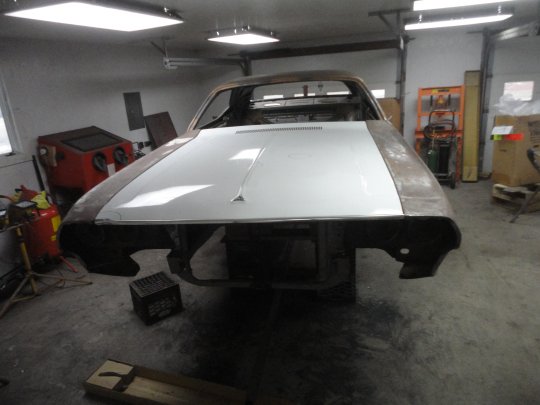 147) It is very important at this point to test fit the front end sheetmetal before welding. All of my sheetmetal is original 1970 parts so I didn't have to worry about repo parts issues messing with my alignment.
 |
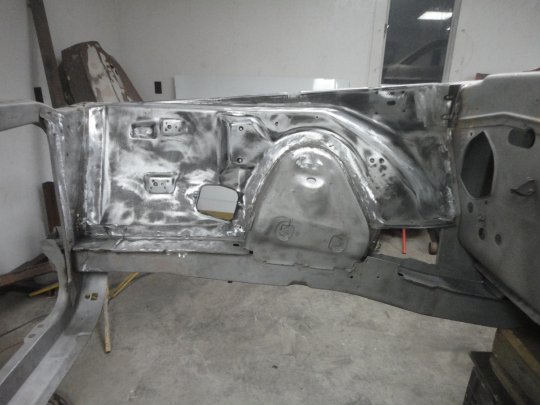
 148) With everything in a happy position, I welded the inner fenders in place. Here is the left side with the welds ground down.
 |
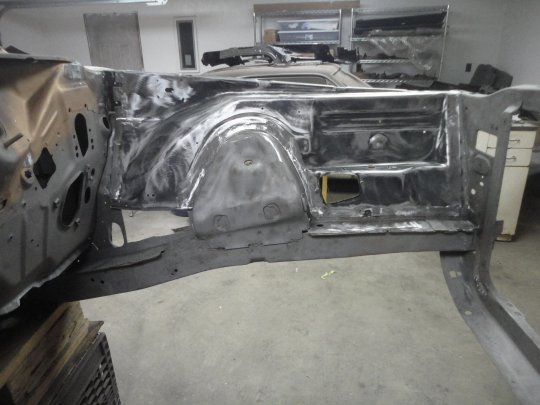
 149) Here is the right side. It should be noted the the hood hinge braces (that are welded to the inner and cowl) original had short bead welds on the front and side of the cowl and a short bead weld to reenforce the spot welds on the outboard side of the braces. This was done, I'm sure, to create a strong joint so that the braces don't break free when the hood is closed. I tried to recreate this as best as possible.
 |
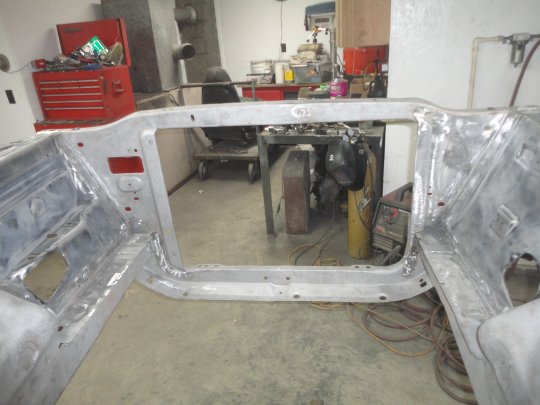 150) Here is a picture showing the back side of the radiator support after welding.
 |
 151) With the welding complete, some light filler work was done to smooth out the imperfectsions (mainly grinder marks).
 |
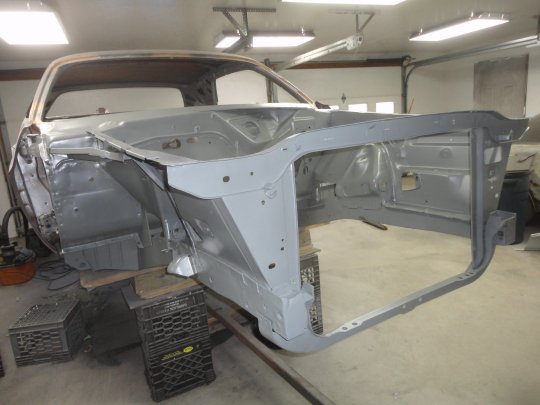 152) Here it is after two good coats of DP40LF graygreen epoxy primer. It took two quart cups mixed, to cover this much.
 |
 153) Here's the back side of the radiator support after priming.
 |
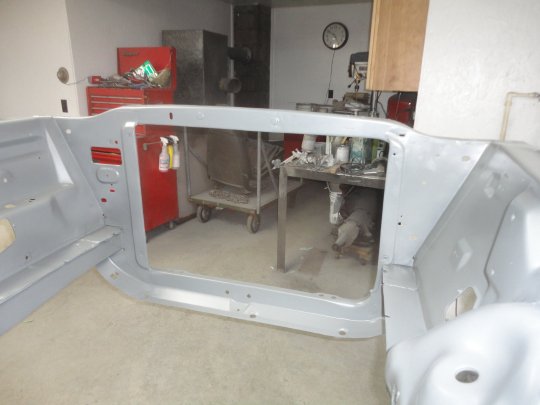
 154) And finally a top view. I would say that this came out terrific. I was also able to keep the original cowl and radiator support, which have the partial VIN stamped in them. Thw engine compartment isn't ready for paint at this stage. There are some very minor defects that can't be seen in this picture. Most of them will come out when I sand the engine compartment down with 220 grit paper.
Once the rest of the car is in final primer, I will come back and do the 220 grit sanding. I will then seal it with more epoxy primer and paint it. |