|
I had to paint all of the interior trim pieces Dark Ivy Green. There aren't any local places that mix the original lacquers
any more so I ordered a pint from Metro Mustang . It took a few weeks, but the color was perfect.
|
|
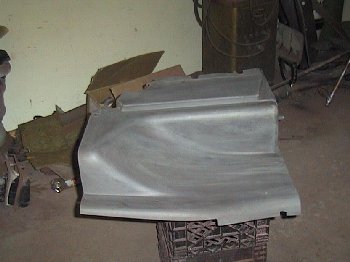
 I had to buy a new package tray since the old one was cut up with speaker holes. There is a paper/cardboard piece that goes under it that I
replaced as well. The package tray comes black and the material likes to soak up paint so I primed it first to conserve paint. The problem
with priming first is that if you scratch the packagetray deep enough you will see primer.
I had to buy a new package tray since the old one was cut up with speaker holes. There is a paper/cardboard piece that goes under it that I
replaced as well. The package tray comes black and the material likes to soak up paint so I primed it first to conserve paint. The problem
with priming first is that if you scratch the packagetray deep enough you will see primer.
|
|
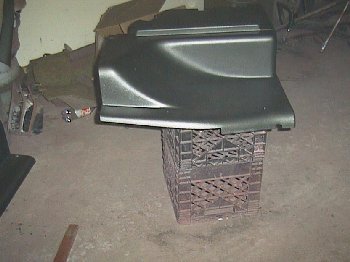
 Here it is all painted. It came out great.
|
|
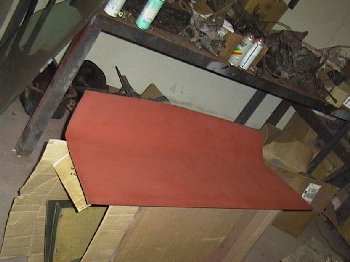
 Here's one of the rear quarter trim panels before paint. I scuff-padded it and washed it down with lacquer thinner.
|
|
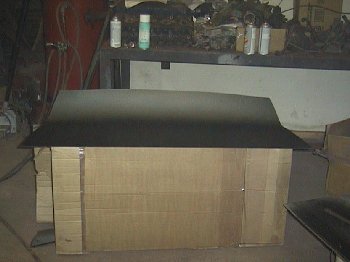
 And here it is after painting.
|
|
|
|
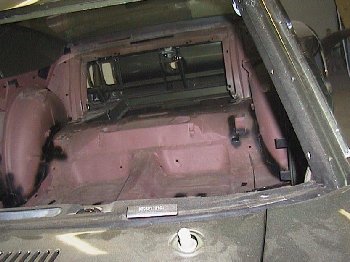 The assembly began with spraying undercoat in the locations that the factory had done. I then installed all the
rear trim brackets. There were 16 in all.
The assembly began with spraying undercoat in the locations that the factory had done. I then installed all the
rear trim brackets. There were 16 in all.
|
|
 Then the rear set back was installed. I gave it a fresh coat of charcoal metallic paint before it was installed. This car
has a fixed rear seat. The upper rear seat is smaller on than the seat back by about 3/4 of an inch on each end. So its
important to paint both sides of the seat back charcoal metallic.
Then the rear set back was installed. I gave it a fresh coat of charcoal metallic paint before it was installed. This car
has a fixed rear seat. The upper rear seat is smaller on than the seat back by about 3/4 of an inch on each end. So its
important to paint both sides of the seat back charcoal metallic.
|
|
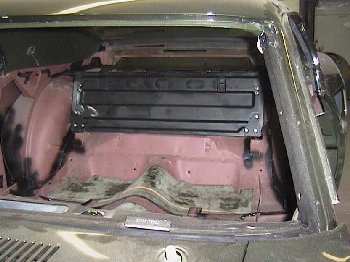
 In this picture the packagetray re-enforcement and underlayment are installed. I had to replace the underlayment because
of the speaker holes that where cut in the old one.
In this picture the packagetray re-enforcement and underlayment are installed. I had to replace the underlayment because
of the speaker holes that where cut in the old one.
|
|
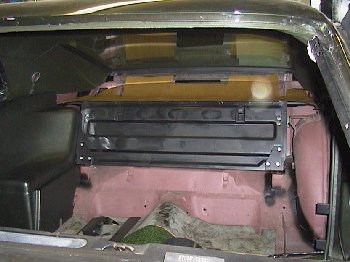
 Here everthing is in-place except for the seatbelts and lower seat section.
|
|
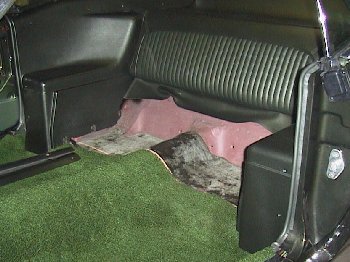
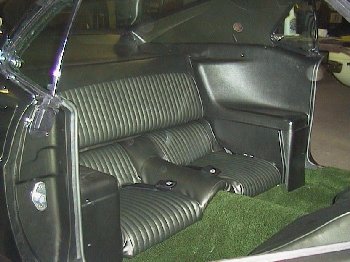 It looks just like new here. The only thing missing here is the lights that go in the sail panels. Though you might not
be able to tell from the picture there are 5 different shades of green in the interior of this car: the headliner, rear trim,
seat outer fabric, seat center sections and of course, the carpet, which kind of looks like grass. This is a very interesting color
scheme.
It looks just like new here. The only thing missing here is the lights that go in the sail panels. Though you might not
be able to tell from the picture there are 5 different shades of green in the interior of this car: the headliner, rear trim,
seat outer fabric, seat center sections and of course, the carpet, which kind of looks like grass. This is a very interesting color
scheme.
|
|
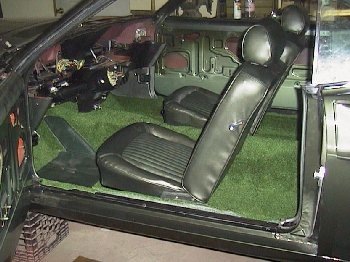 Next came the seats.
|
|
 Here's a view of the dash after I installed the new dash pad. The pad had to be dyed to match the interior.
|
|
 Here is a close-up of the passenger's side. I'm not really sure if this car originally came with this map light panel with the running horse
filler instead of the clock, but I installed it anyway. I think that they just came with the deluxe interior.
Here is a close-up of the passenger's side. I'm not really sure if this car originally came with this map light panel with the running horse
filler instead of the clock, but I installed it anyway. I think that they just came with the deluxe interior.
|
|
 Here's a view of the instrument cluster. I still need to locate the correct green steering wheel.
|