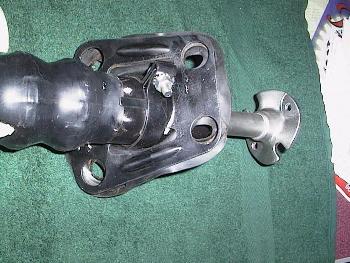
 Though it is not very visible here, the collar is stamped "Jan 22 1969"
|
|
 This "W" shaped yellow inspection mark was found on the side of the column.
|
|
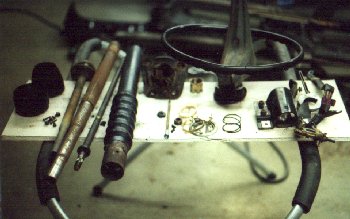 Here's the steering column fully dismanted and ready for rebuilding.
|
|
 Here are some of the parts all restored and ready for re-assembly. All I did with the collar pieces and the wire cover was sand them
and paint them with the correct charcoal metalic paint. It costs $8 a can and can be bought from most Mustang resto parts suppliers.
Here are some of the parts all restored and ready for re-assembly. All I did with the collar pieces and the wire cover was sand them
and paint them with the correct charcoal metalic paint. It costs $8 a can and can be bought from most Mustang resto parts suppliers.
|
|
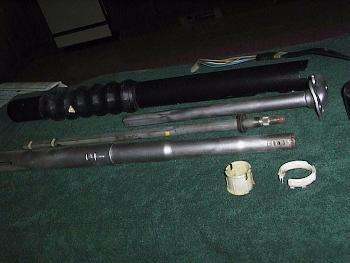 Here are the rest of the column parts. The housing was painted with charcoal metalic paint and the pieces that show were painted with Rustoleum
stainless steel paint to give them that natural steel look.
Here are the rest of the column parts. The housing was painted with charcoal metalic paint and the pieces that show were painted with Rustoleum
stainless steel paint to give them that natural steel look.
|
|
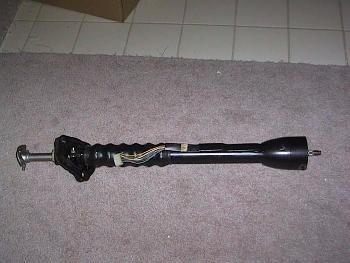 Here is the column fully assembled. The wheel and turn signal lever will not be installed until after the column is in the car.
|
|
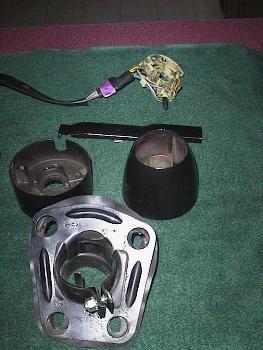
 Here's a close-up of the base.
|
|
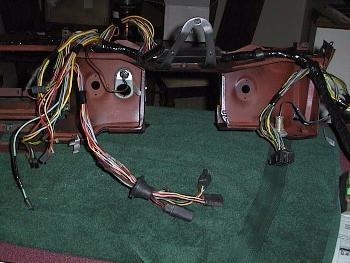
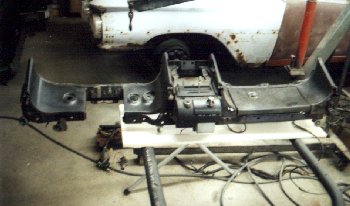 Here's the lower dash assembly removed from the car and with the wiring harness
removed.
Here's the lower dash assembly removed from the car and with the wiring harness
removed.
|
|
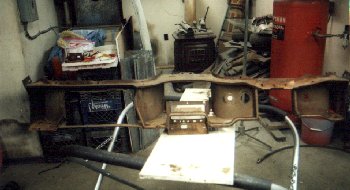
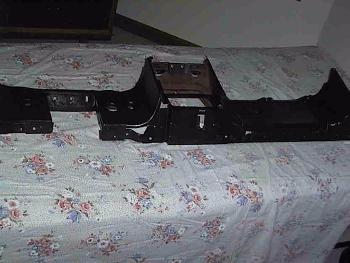
 Here's the rear of the lower dash.
|
|
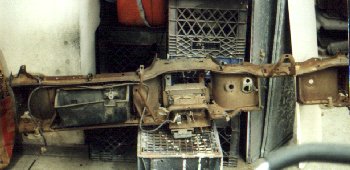
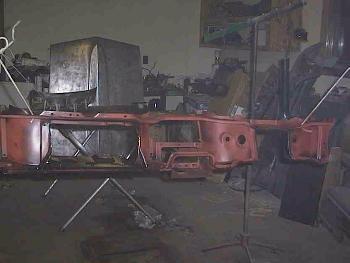
 Here it is again with all of the components removed.
|
|
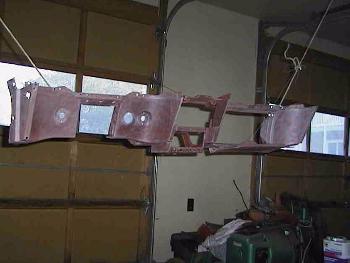 I sandblasted the dash and hung it from my garage ceiling to prime and paint it.
|
|
 Here is a back view after it was just painted. The factory originally primed it with a red oxideprimer. Though
they didn't cover all of the bare metal. I did to prevent the return of any rust.
Here is a back view after it was just painted. The factory originally primed it with a red oxideprimer. Though
they didn't cover all of the bare metal. I did to prevent the return of any rust.
|
|
 The front picture taken in the garage was too dark to post, so you'll have to suffer with this one, which was taken
in my spare bedroom a couple days later.
The front picture taken in the garage was too dark to post, so you'll have to suffer with this one, which was taken
in my spare bedroom a couple days later.
|
|
 Using the pictures that I had previously taken as a guide I started to re-assemble the dash. The first thing I did was
to install the courtesy lights, support brackets and the flasher mounting brackets.
Using the pictures that I had previously taken as a guide I started to re-assemble the dash. The first thing I did was
to install the courtesy lights, support brackets and the flasher mounting brackets.
|
|
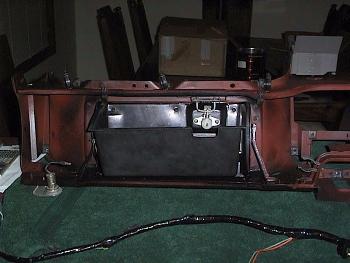 I then installed the glove box, the wire retainers and all of the metal clips that the heater controls, dash pad ,etc. attaches too.
|
|
 Then came the wiring harness.
|
|
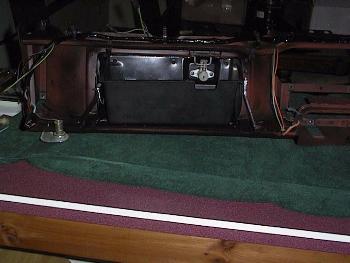 The goal is to have the lower dash assembly fully assembled and to be installed in one piece like the factory did it.
|