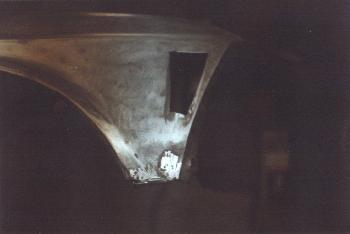
 The right front fender needed some work. It had rusted through at the front and at the bottom. The fender on my parts car was too
damaged to used, but it made a good doner for patches. In this picture you see where I cut out the rust in the front. I cut out the
same section on the doner fender and butt-welded it in.
The right front fender needed some work. It had rusted through at the front and at the bottom. The fender on my parts car was too
damaged to used, but it made a good doner for patches. In this picture you see where I cut out the rust in the front. I cut out the
same section on the doner fender and butt-welded it in.
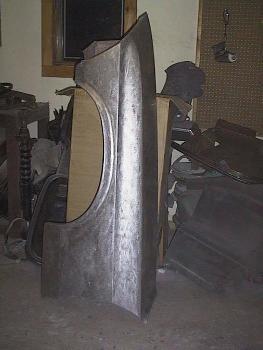
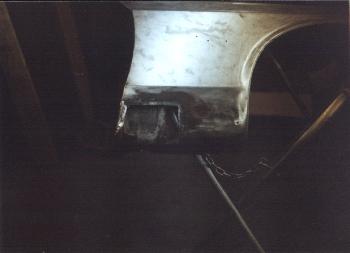 The lower section was also cut out. It wasn't rusted all the way to the bottom. This is the only reason that I patched this fender.
With this section cut out, I sandblasted and primed the brace, which can be seen through the hole. As with the front, I cut a section off the
doner fender and butt-welded it in. Because I had a doner fender, the patches had the same shape as the pieces I cut out. After the butt-welding
process, all I had to do is grind down the welds and apply a thin coat of filler. This is just like what I did to install the rear quarter
panels. I first apply a thin coat of filler with fine fiberglass particles (This stuff is very hard, much harder then the
regular body filler. And it resists moisture). It is sanded down and then I applied a thin coat of body filler. This is mainly used to fill
in the little scratches.
The lower section was also cut out. It wasn't rusted all the way to the bottom. This is the only reason that I patched this fender.
With this section cut out, I sandblasted and primed the brace, which can be seen through the hole. As with the front, I cut a section off the
doner fender and butt-welded it in. Because I had a doner fender, the patches had the same shape as the pieces I cut out. After the butt-welding
process, all I had to do is grind down the welds and apply a thin coat of filler. This is just like what I did to install the rear quarter
panels. I first apply a thin coat of filler with fine fiberglass particles (This stuff is very hard, much harder then the
regular body filler. And it resists moisture). It is sanded down and then I applied a thin coat of body filler. This is mainly used to fill
in the little scratches.Unfortunately most of the pictures of the work I did on this fender came out too dark. I highly recommend using a digital camera when taking pictures of your project. This fender was in primer by the time I got my pictures developed.
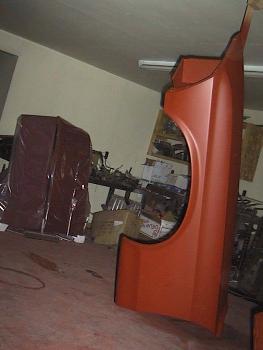
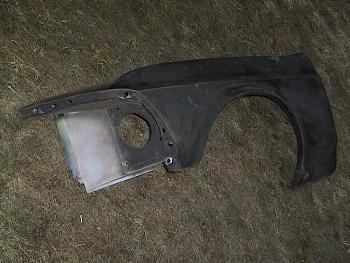 The left front fender that came with the car wasn't usable. It had a couple large holes that were filled with chopped fiberglass.
I was able to get a good used rust-free fender for $175 from a salvage yard in Florida. This is what it looked like when I got it.
There were a few very minor dings on it, but I was pretty happy with it.
The left front fender that came with the car wasn't usable. It had a couple large holes that were filled with chopped fiberglass.
I was able to get a good used rust-free fender for $175 from a salvage yard in Florida. This is what it looked like when I got it.
There were a few very minor dings on it, but I was pretty happy with it.
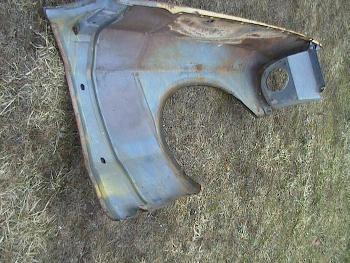 The underside was really clean. All I had to do was sandblast it.
 I stripped the paint using paint remover, as usual. I then ran an orbital sander over the entire fender. I fixed the dings with
a little filler. Then the fender was primed with epoxy primer and paddle sanded.
I stripped the paint using paint remover, as usual. I then ran an orbital sander over the entire fender. I fixed the dings with
a little filler. Then the fender was primed with epoxy primer and paddle sanded.
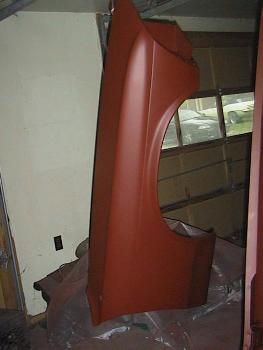
 After that, I hung the fenders from the ceiling of the garage and primed them both. Here's the left one.
 Here's the right one.
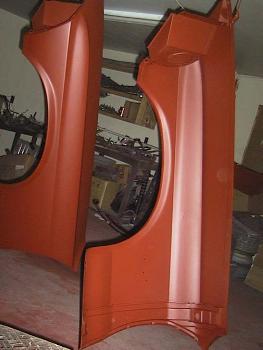 This back view of the right fender shows that there is absolutely no evidence that this fender was repaired.
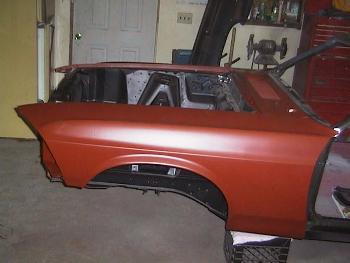 I like to temporarily hang all of the sheet metal before its painted. I do this to check the fit of all the panels and its also
a good way to get everything out of the way when you're running out of room to work. I have to say that everything fit pretty good.
The only way that someone could tell that these fenders are not original to the car is by comparing the date codes to the build date
of the car. The car was built in February 25th 1969, the right fender was made in March 1969 and the left fender was made in October 1968.
I like to temporarily hang all of the sheet metal before its painted. I do this to check the fit of all the panels and its also
a good way to get everything out of the way when you're running out of room to work. I have to say that everything fit pretty good.
The only way that someone could tell that these fenders are not original to the car is by comparing the date codes to the build date
of the car. The car was built in February 25th 1969, the right fender was made in March 1969 and the left fender was made in October 1968.