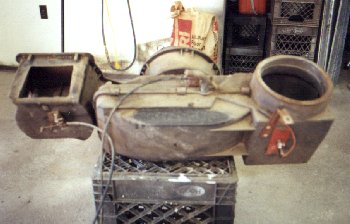
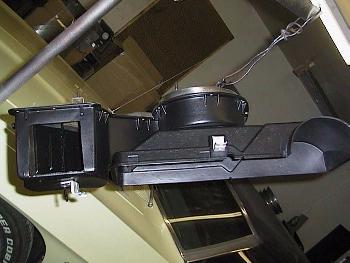
 Here's the heaterbox ready for dismantling.
|
|
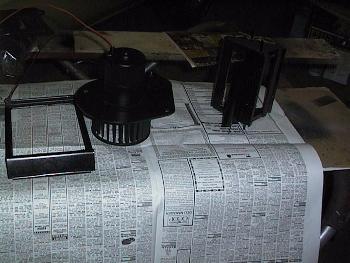
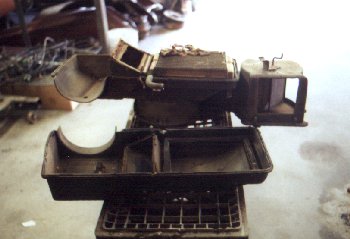 Here we have the case halves separated. It was just a matter of removing a couple screws
and taking off a half dozen clips. All of the seals and gaskets need replacing.
Here we have the case halves separated. It was just a matter of removing a couple screws
and taking off a half dozen clips. All of the seals and gaskets need replacing.
|
|
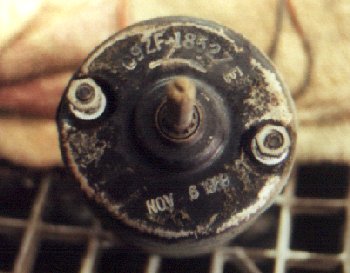 Once removed, the heater blower motor was found to have its part number and manufacturing
date stamped on it.
Once removed, the heater blower motor was found to have its part number and manufacturing
date stamped on it.
|
|
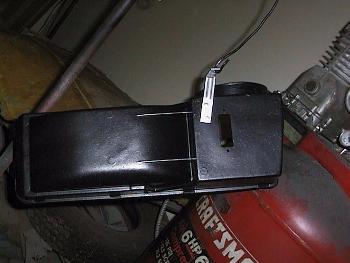 Here's the front cover all painted and hanging to dry. All I did was clean it and paint it. I painted the metal brace
with a silver paint and the cover was painted with Rustoleum satin black.
Here's the front cover all painted and hanging to dry. All I did was clean it and paint it. I painted the metal brace
with a silver paint and the cover was painted with Rustoleum satin black.
|
|
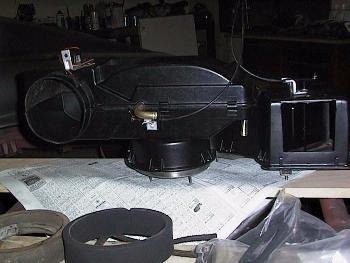
 I spent a little more time on the main case. The side that attaches to the firewall was cleaned and painted with clear. The
gate (or dampener door) was sandblasted and paint gloss black. The metal brackets were the heater cables attach were painted silver
and the cover was painted with Rustoleum satin black.
I spent a little more time on the main case. The side that attaches to the firewall was cleaned and painted with clear. The
gate (or dampener door) was sandblasted and paint gloss black. The metal brackets were the heater cables attach were painted silver
and the cover was painted with Rustoleum satin black.
|
|
 The remaining pieces were painted with Krylon semi-flat black.
|
|
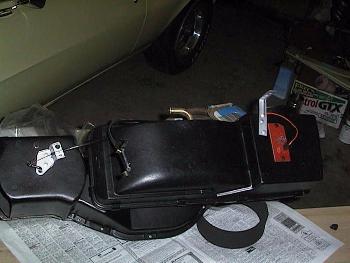 I purchased a heaterbox foam kit for $8. The foam in the kit is a little to thick to assemble the case easily. So I had to trim it down.
Here it is all re-assembled.
I purchased a heaterbox foam kit for $8. The foam in the kit is a little to thick to assemble the case easily. So I had to trim it down.
Here it is all re-assembled.
|
|
 Before I assembled it, I polished the heater core inlet and outlet tubes. Attention to details makes this assembly look like new.
|