 The great thing about having a car on a rotisserie is that you can easily reach any spot on the body.
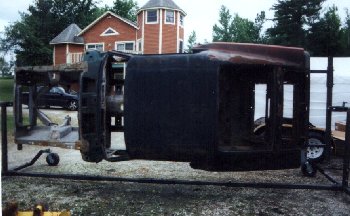
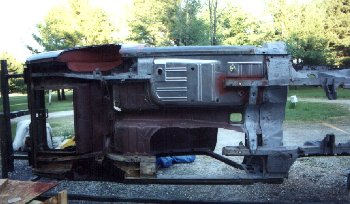
 With the body turned on its side the roof was easily stripped. I use a chemical stripper to take off
the paint. I then used an orbital sander to take of the residual factory primer that remained.
With the body turned on its side the roof was easily stripped. I use a chemical stripper to take off
the paint. I then used an orbital sander to take of the residual factory primer that remained.
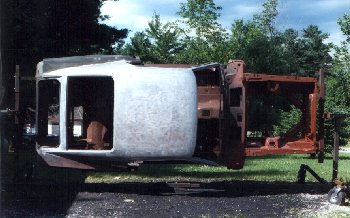
 This view makes me wonder what a two-tone paint job would look like.
 With the roof primed, I turned to the floorpans. Pun not intentional. I had previously cut out the old pans
prior to getting the rotisserie. On the rotisserie changing the floorpans was a breeze. I am intentionally not
going into detail on the subject since there are many websites giving details on the subject. I recommend going to
the KAR Auto Group website for a good series of floorpan replacement pics.
With the roof primed, I turned to the floorpans. Pun not intentional. I had previously cut out the old pans
prior to getting the rotisserie. On the rotisserie changing the floorpans was a breeze. I am intentionally not
going into detail on the subject since there are many websites giving details on the subject. I recommend going to
the KAR Auto Group website for a good series of floorpan replacement pics.
I was lucky with this car, since there wasn't any rust holes in the torque boxes or frame rails. This car suffered from many little pin holes under the driver's feet and in the rear pan areas.
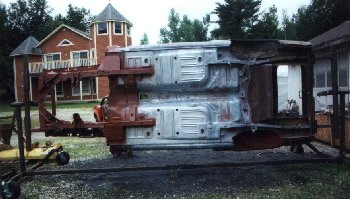
 Here is a picture of the Right side floorpan installed shown from the underside.
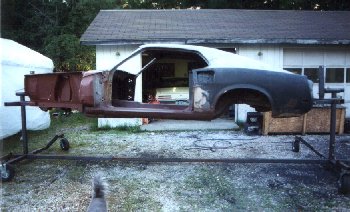
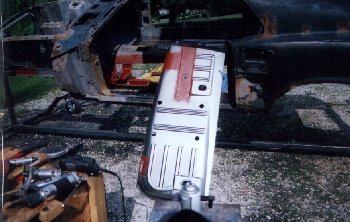
 Here a top view of the right side. Can you spot the incorrect features of the replacemnt floorpans ?
This is what I found wrong.
Here a top view of the right side. Can you spot the incorrect features of the replacemnt floorpans ?
This is what I found wrong.- There is not supposed to be a big floorpan plug in the front.
- There is supposed to be a rib perpendicular to the parallel ribs that go under the seatriser. (where the label is in the picture.
- There is supposed to be a rib that starts from the area where the arched rib meets the rectangular area for the floor plug and ends towards the back seat.
- The curve of the pan where it rises by the back seat is supposed to be much more predominant.
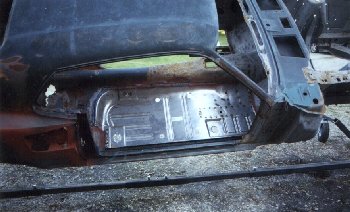
 Here is the left side floorpan ready to install. Notice the primed area. Since these places can
not be accessed after the pan is installed it is very important to prime this area and to prime inside
the frame rails as well.
Here is the left side floorpan ready to install. Notice the primed area. Since these places can
not be accessed after the pan is installed it is very important to prime this area and to prime inside
the frame rails as well.
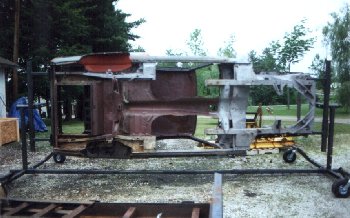
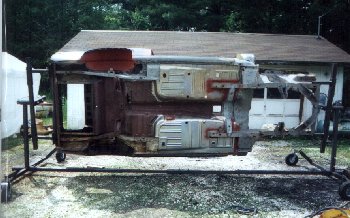 Here is a view of the underside with both pans welded in.
 With the floorpans installed, minor filler work was performed to cover the welds.
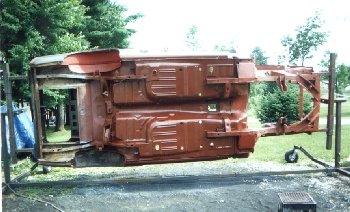 The underside is given a good thick coat of epoxy primer. This is not the final color for the underside.
Just before I took the body off the rotisserie I applied a final coat of epoxy primer that I mixed to match
the original undercarriage color. It was a sort of a purple-ish red.
The underside is given a good thick coat of epoxy primer. This is not the final color for the underside.
Just before I took the body off the rotisserie I applied a final coat of epoxy primer that I mixed to match
the original undercarriage color. It was a sort of a purple-ish red.