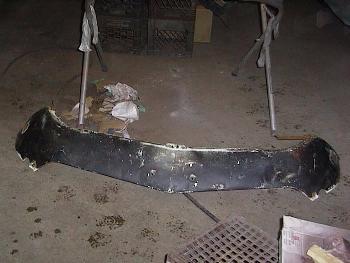
 The lower valanace panel I got with the car was NOS. Unfortunately it looked like it was run over about 50 times. So I had to
use the one off the parts car. Here's the front view. There are several jambs and wrinkles that are evident
The lower valanace panel I got with the car was NOS. Unfortunately it looked like it was run over about 50 times. So I had to
use the one off the parts car. Here's the front view. There are several jambs and wrinkles that are evident
|
|
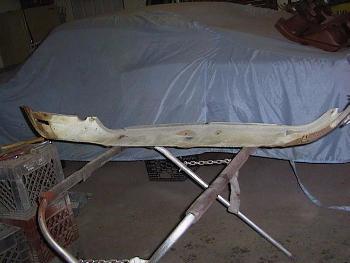 The back view shows a little surface rust by the corners where it attaches to the fenders.
|
|
 It was easy work taking out the dings using a hammer and dolly. I used a little light filler to smooth out the imperfections. I then
primed, paddle sanded and reprimed the panel. It came out pretty good.
It was easy work taking out the dings using a hammer and dolly. I used a little light filler to smooth out the imperfections. I then
primed, paddle sanded and reprimed the panel. It came out pretty good.
|
|
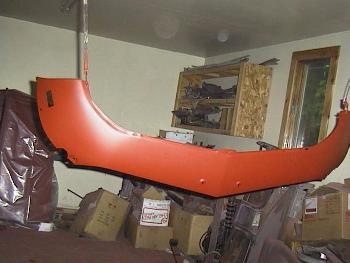
 Often neglected, I also fixed the imperfections on the inside as well. I'm very pleased with how this panel came out. It should look
real nice when its painted. It should be noted that I had this panel on and off the car several times while doing the repairs. A part
like this may appear to be perfect, but it could be bent or twisted. Putting it on the car after its painted is not the time to discover
that it doesn't fit right.
Often neglected, I also fixed the imperfections on the inside as well. I'm very pleased with how this panel came out. It should look
real nice when its painted. It should be noted that I had this panel on and off the car several times while doing the repairs. A part
like this may appear to be perfect, but it could be bent or twisted. Putting it on the car after its painted is not the time to discover
that it doesn't fit right.
|
|
|
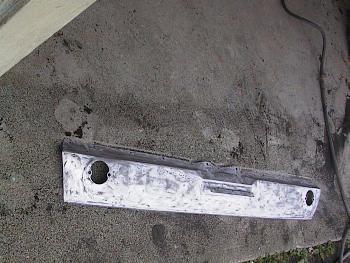
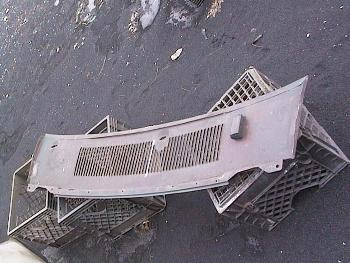
I did not have a rear valance panel. Having looked at the quality of a repo that a friend recently bought, I decided that original was
the only way to go. NOS ones are going for about $150 so I looked for a good used one. I was able to buy a used one for $35 from a member
of the Vintage-Mustang Forum, which I frequently visit. Here are the pictures that the guy sent
me before I bought it.
|
|

|
|
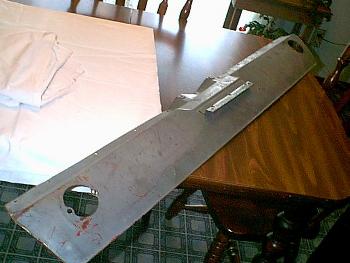
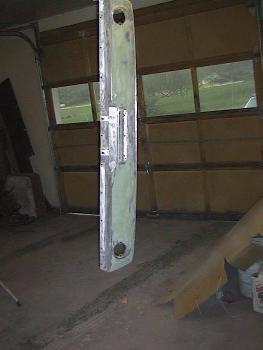
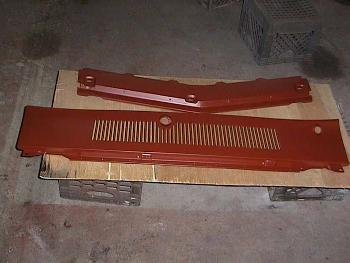
 The first thing I did when I got it was remove all of the paint with paint stripper and I sandblasted the back. The panel wasn't perfect.
I had to take out a few jambs that had been filled. I also replaced the mounting tab on the rear, which had a bolt welded to it.
The first thing I did when I got it was remove all of the paint with paint stripper and I sandblasted the back. The panel wasn't perfect.
I had to take out a few jambs that had been filled. I also replaced the mounting tab on the rear, which had a bolt welded to it.
|
|
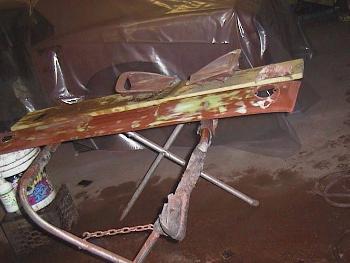
 Here it is just before I primed it. You can see the area I had to fix. The back side of the panel was repaired as well. Don't be fooled
by the amount of filler you see. It is paper thin.
Here it is just before I primed it. You can see the area I had to fix. The back side of the panel was repaired as well. Don't be fooled
by the amount of filler you see. It is paper thin.
|
|
 After priming it was paddle sanded, just like the rest of the body panels.
|
|
|
INSERT PICTURE HERE
Here it is with its final primer coat waiting to be painted body color.
|
|
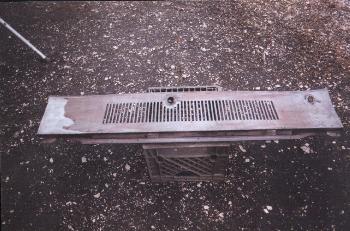 Here it is the upper filler panel. There was nothing wrong with it. It just needed to be stripped and primed.
|
|
 The back side of the panel had four foam pads glued to it for support. The locations of the pads were measured for future re-attachment.
|
|
 Here a the upper valance and filler panels after the final prime. Just like the other panels, after priming they were paddle sanded and
reprimed. This was done to make sure that I didn't miss any minor imperfections that might appear after they were painted.
Here a the upper valance and filler panels after the final prime. Just like the other panels, after priming they were paddle sanded and
reprimed. This was done to make sure that I didn't miss any minor imperfections that might appear after they were painted.
|