 |
The Golde sunroof was installed by the Americal Sunroof Corporation (ASC) on all of the Hertz-G cars. American auto manufacturers did not install sunroofs at the factory until the 70's. If you had a car from that period that came with a sunroof, it probably was installed by ASC.
It is very common for the roof skin to rust out on these cars as each one were hand installed in some fashion. The rust was so bad on the roof skin on this car, that the roof could not be saved. Usually people would cut the entire roof off a donor sunroof car to fix thier car. I guess I am
a glutton for punishment as I intend to modify a repo skin to fit the original sunroof structure.
I've searched the web for several years trying to find examples of this repair prior to attempting it myself, but have never found an indication that it has been done before.
I'm sure it has, but no one is posting it......so challenge accepted! Let's do this thang!
|
|
 |
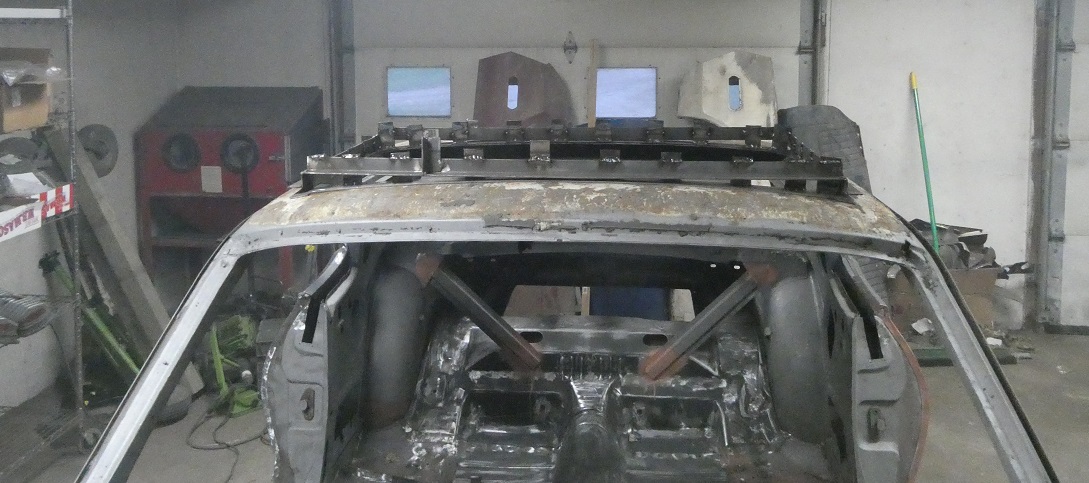
To accomplish the task I needed a jig to form the flanges around the sunroof opening. Let's look at how I made the jig.
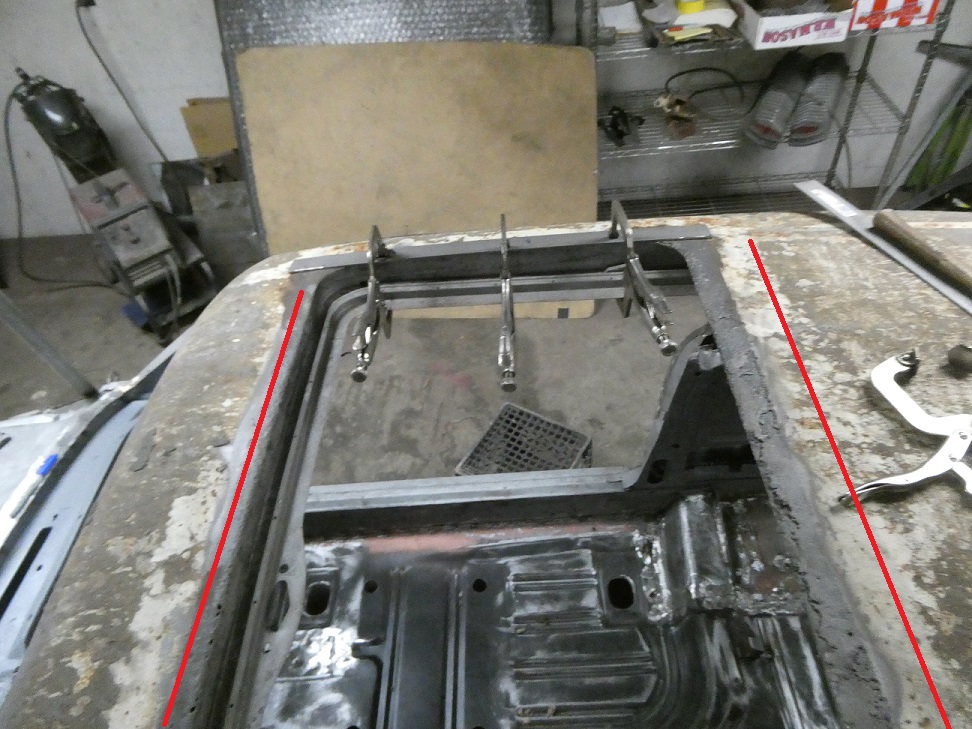
The first thing I needed to do was picture frame the opening. This I built with some flat cold rolled steel stock. 4 pieces in all. They were cut and fitted one at a time. I bent and twisted each one
so that they followed the curvature of the roof.
I started one on the right side, which is the shortest and easiest to clamp in place as it only had one bend in it. No twists. The piece was clamped with the inside edge even with the sunroof opening. I then replicated the piece on the left side. The long ones were first cut to length
and then bent and twisted to fit the roof. Note: The pieces needed to hold the roof shape without pushing down and deforming the roof. It is important to note that the jig was formed to the opening with the roof skin metal still in place. When the new skin is installed and the metal is bent
down, it must be flush with the face (inner lip) of the jig to get the opening sized correctly.
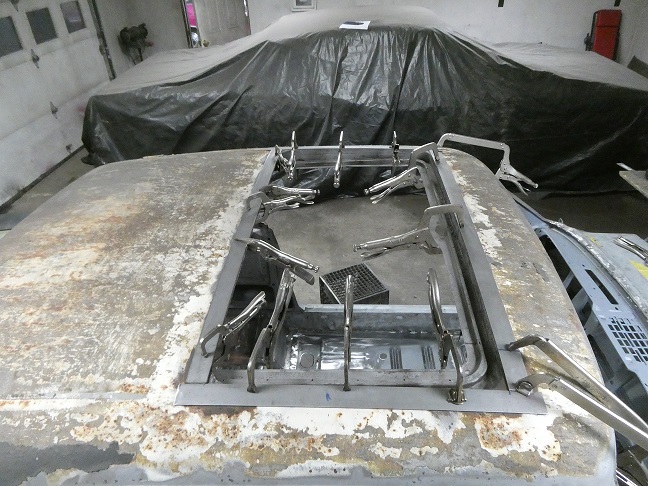
Then with the four sides made, the mating edges were chamfered for welding and then they were gently clamped to the roof being careful not to distort the curvature of the roof. They were then tackwelded together.
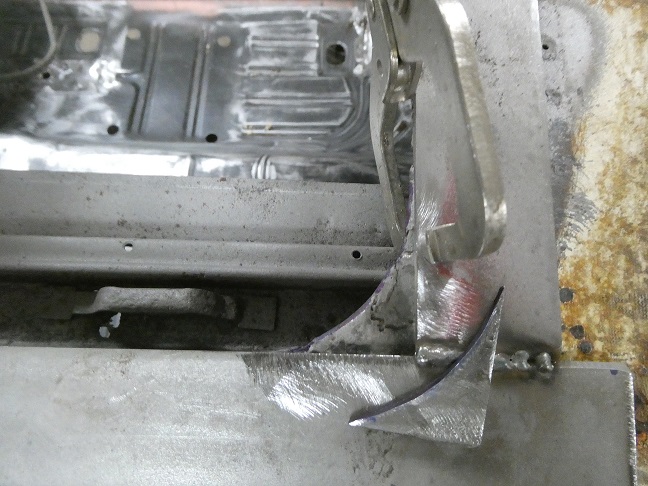
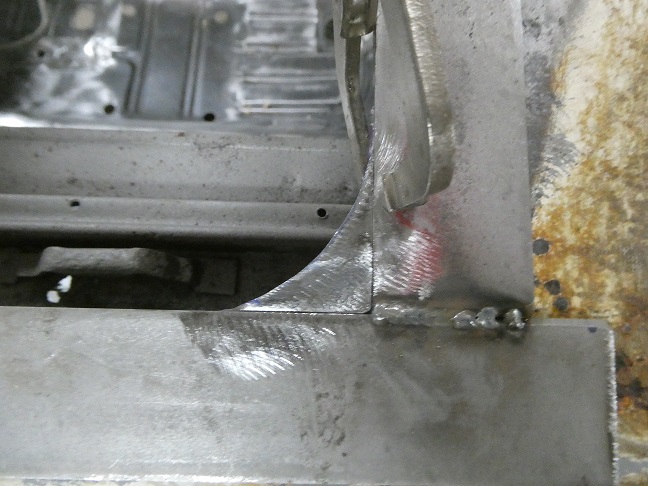
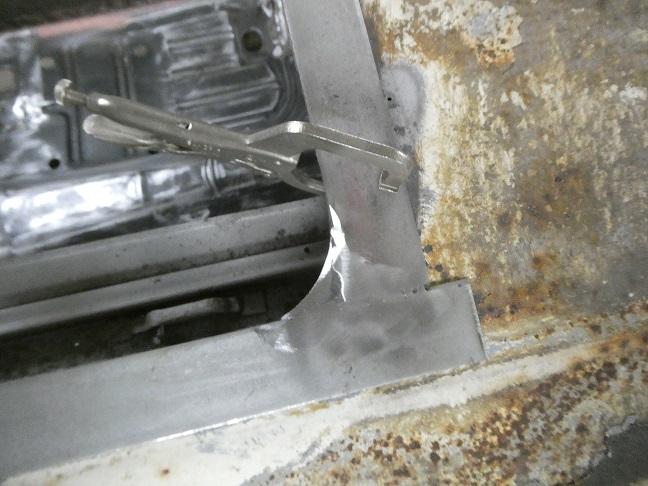
The inside corners of the sunroof opening are curved. I made 4 filler pieces properly curved as to be even with the inside face of the opening. Once satisfied with the shape, I chamfered the straight faces, to form a V-groove and welded them to
the frame.
|
|
|
|
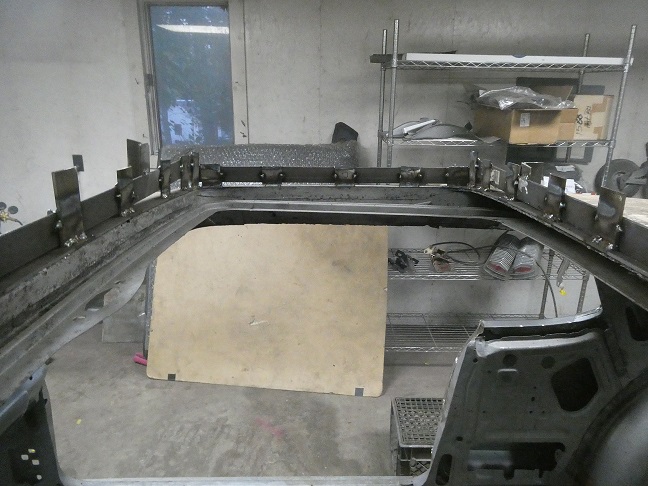 |
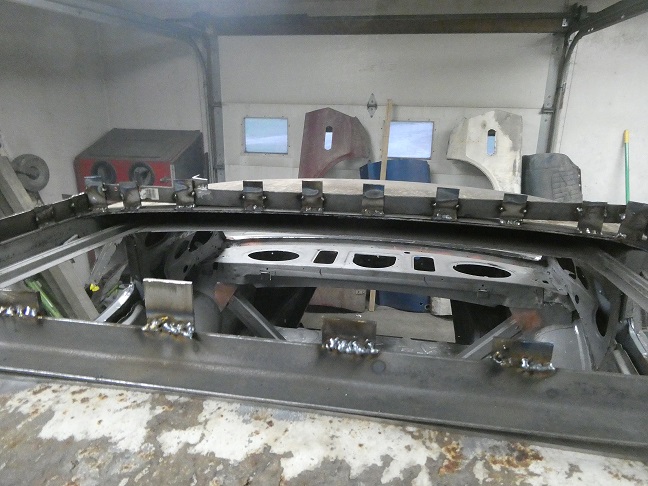
The flat frame I made would not fit tight to the roof without clamps. So, I made a reinforcement out of angle iron to hold the frame’s shape. I first made a box out of angle iron and then welded it to the frame with some short pieces so that it retained
it shape once the clamps were removed. It's not pretty. It does the job though.
|
|
 |
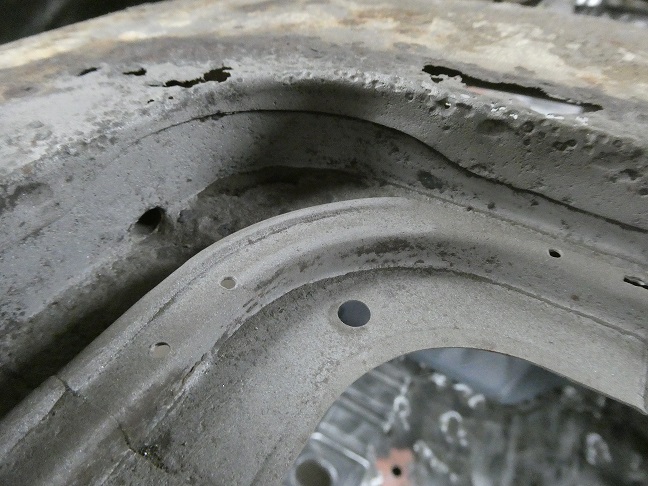
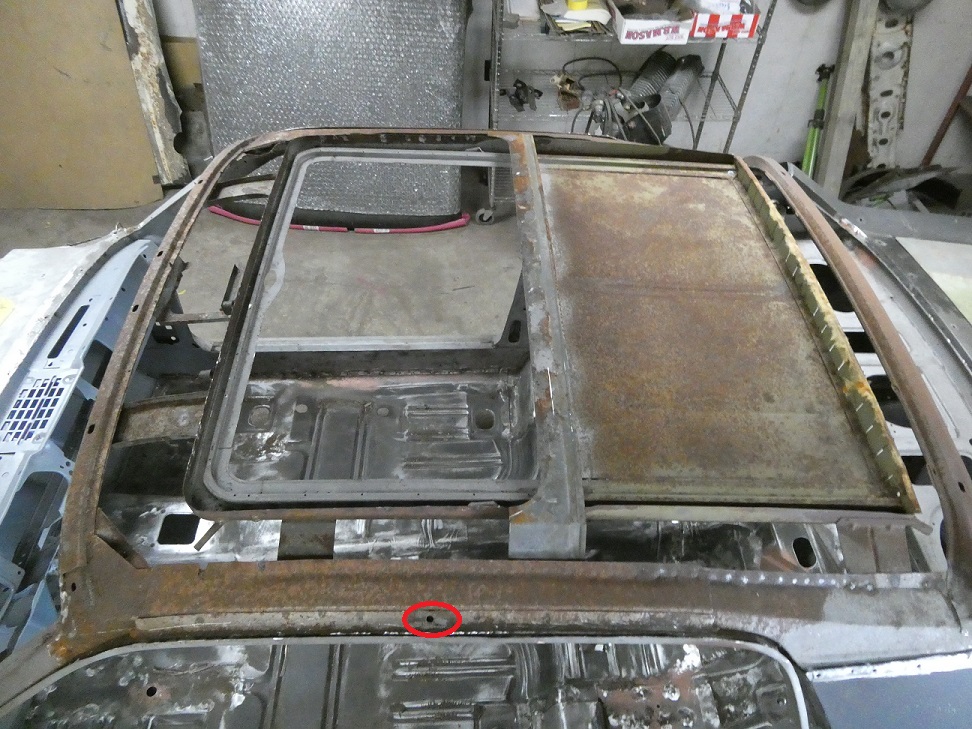
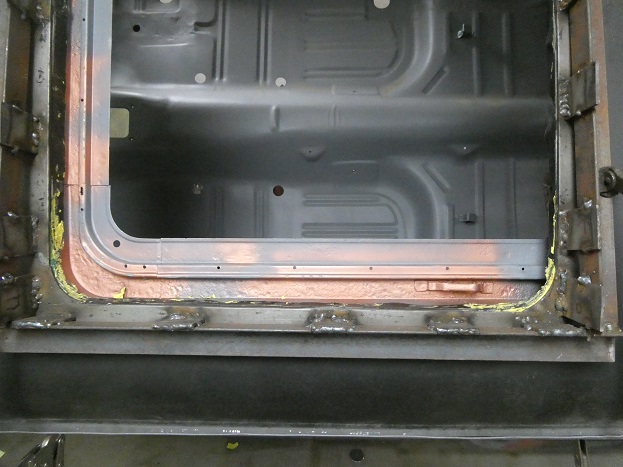
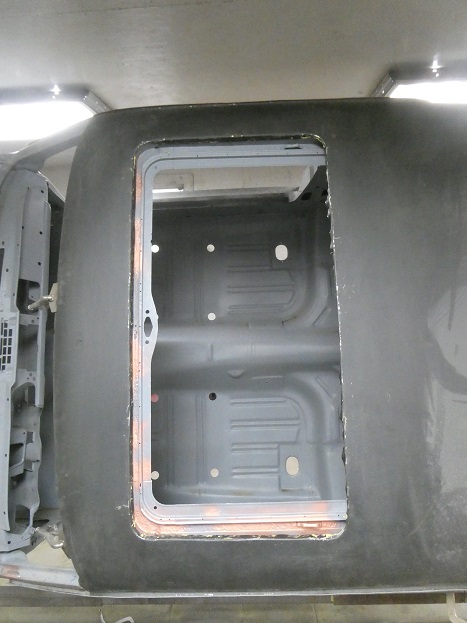
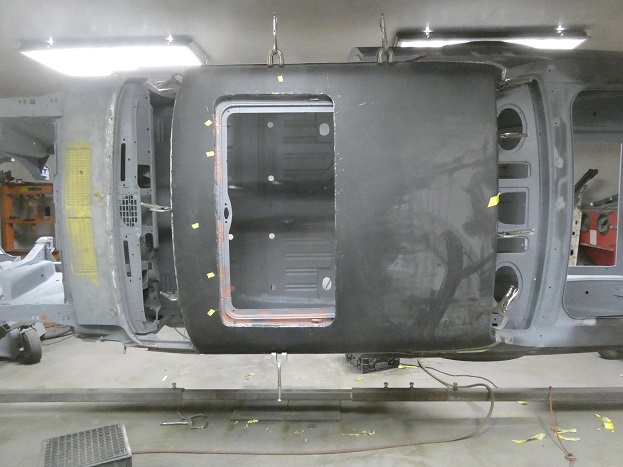
With the jig made, I was able to completely remove the roof skin. This exposed the metal frame that ASC added to the car.
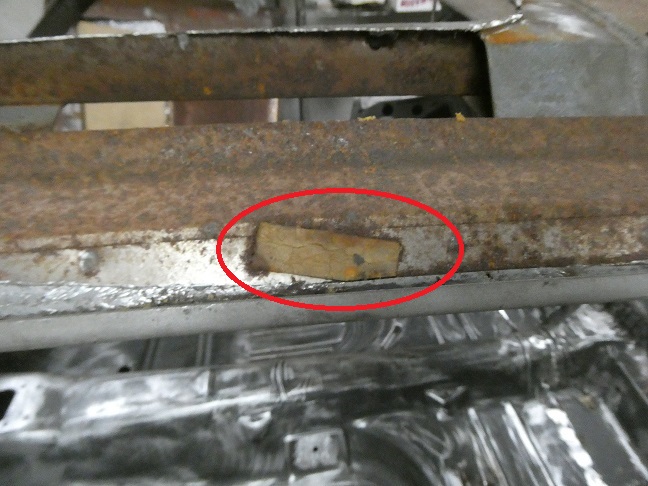
The hole circled in red was covered with the foam piece (right). I thought I would document it before I forgot about it when the time comes to put the roof skin on.
|
|
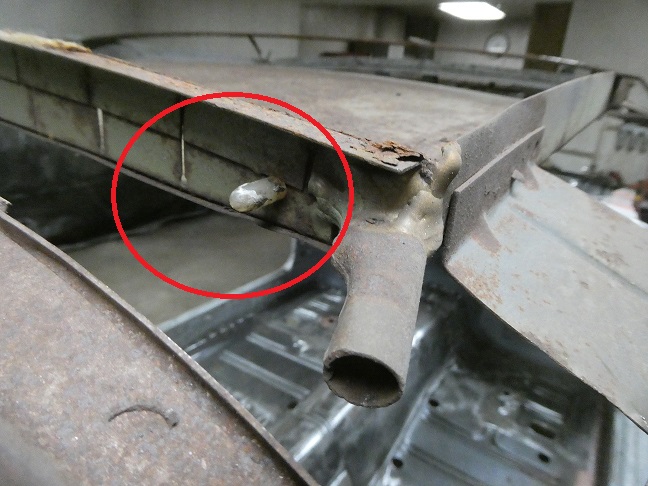 |
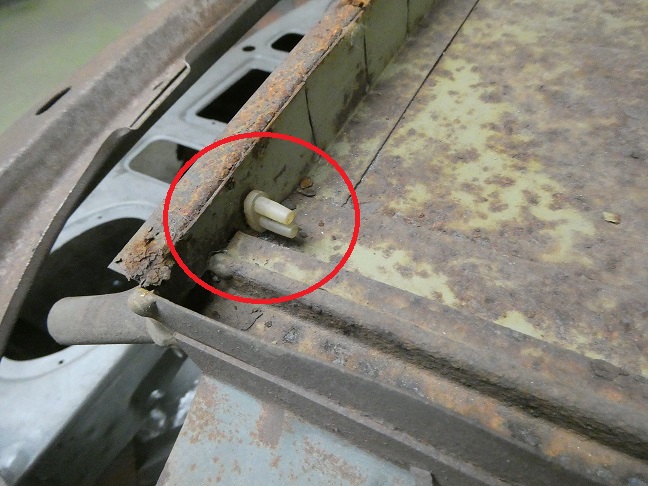
Not evident until the roof skin was removed are these plastic stops for the sunroof panel. The one on the right side is shown here.
|
|
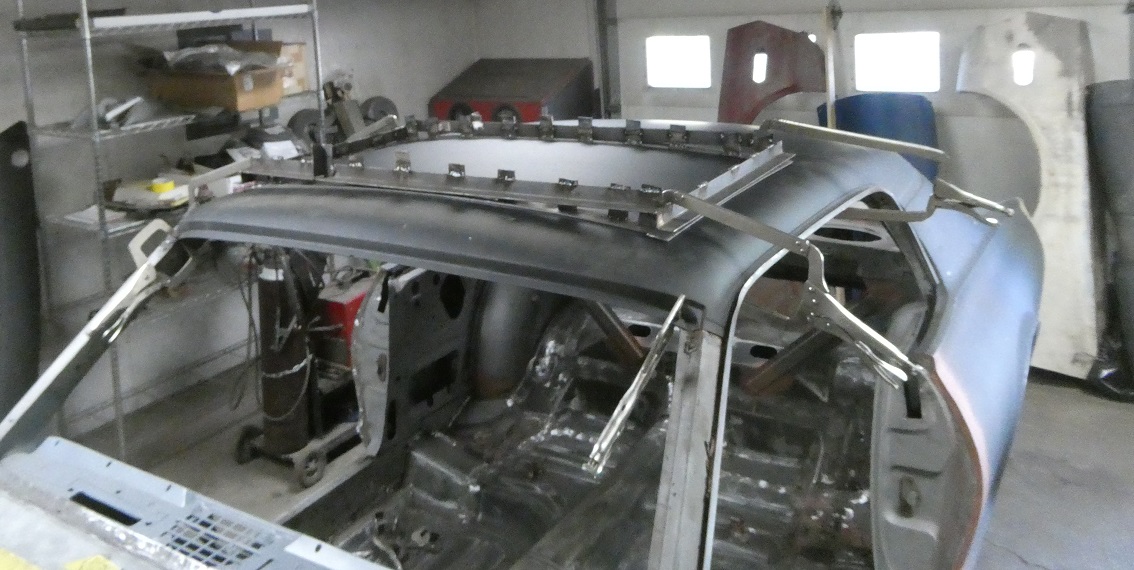 |
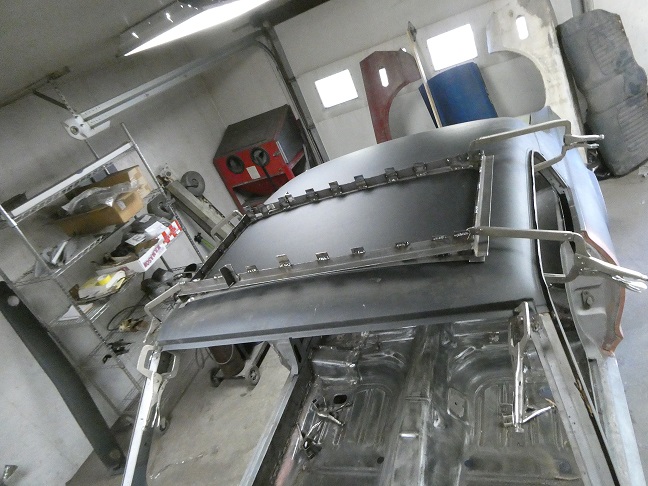
With the new roof skin clamped in place, I was able to trial fit the jig. Looks like it will do nicely.
The idea is that with the roofskin welded in, the jig is clamped in position. The sunroof opening is cut out about 1/2 inch smaller than the jig opening. Then the roof skin is manually flanged with a hammer to fit flush to the
sunroof frame on the front and on the sides. At the rear the skin is hemmed over the roof reinforcement.
With the jig made I temporarily put the project on pause until the Fall (2024). The last picture was taken on July 8, 2024. So I didn't pause the project for too long...
|
|
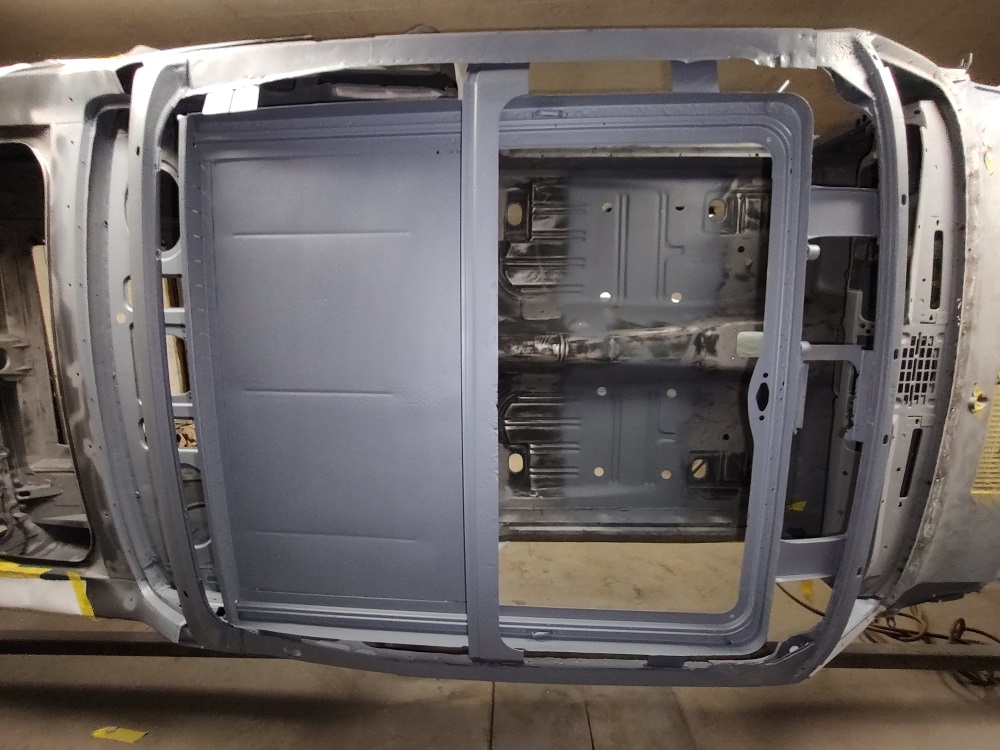 |
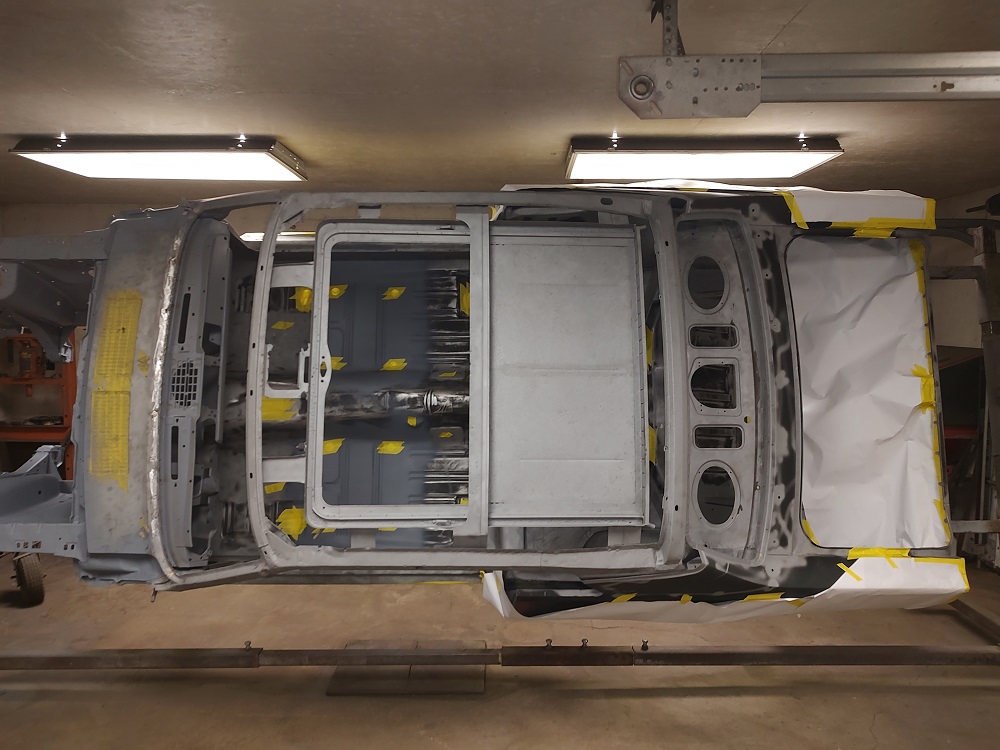
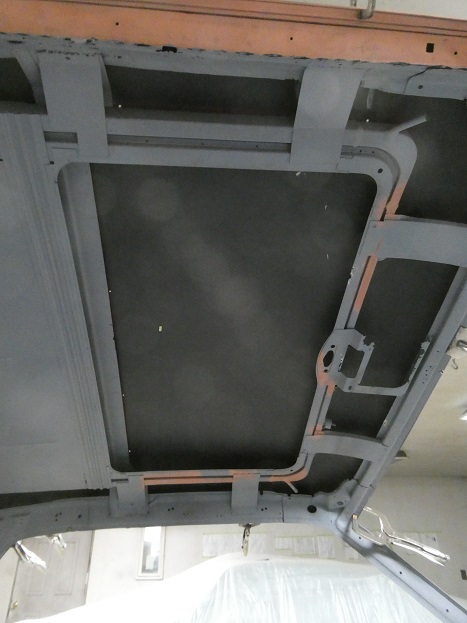
The next step was to sandblast and epoxy prime the inner roof structure with several coats of DP50LF. In subsequent pictures you may notice some copper colored patchy areas. Sandblasting the rusty sunroof channels had produced a few
random pinholes at the low spots. These I took care of by drilling the holes out to open them up to size where the metal was thick enough to plugweld. The welds were then ground down smooth and primed with weldthrough primer, to keep them from rusting
until I was ready to primer the entire car as a unit.
|
|
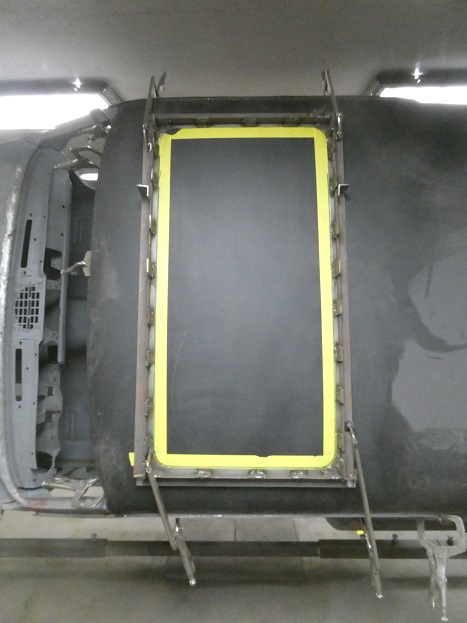 |
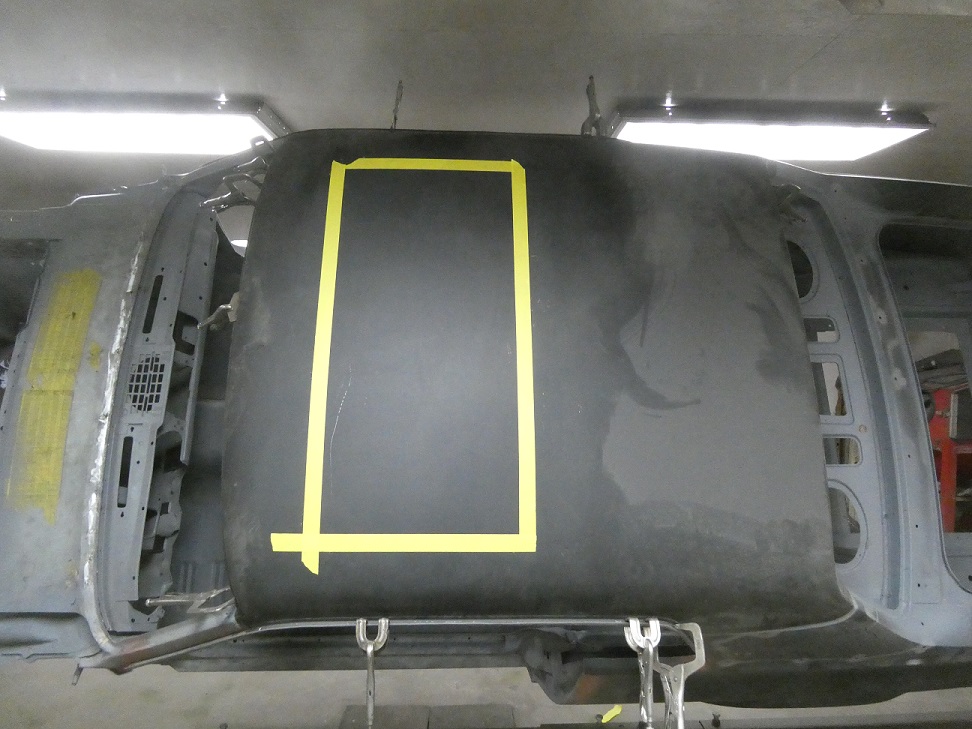
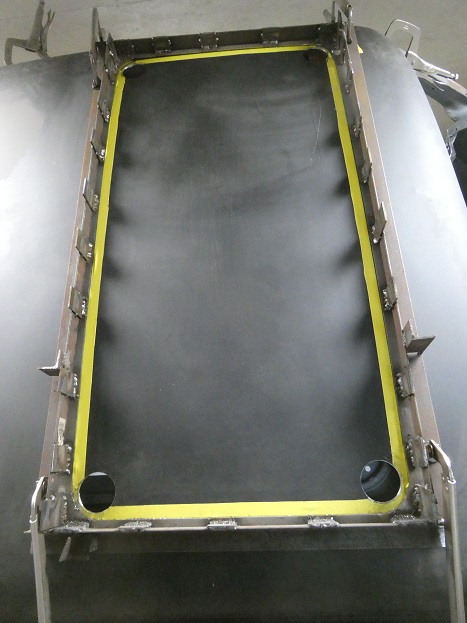
The roof skin was then clamped back in place. In order to properly align my sunroof jig, I drilled a few alignment holes along the inside of the sunroof frame and then connected the dots (holes) with masking tape as a reference line. Then
it was just a simple matter of aligning the jig and clamping it down.
|
|
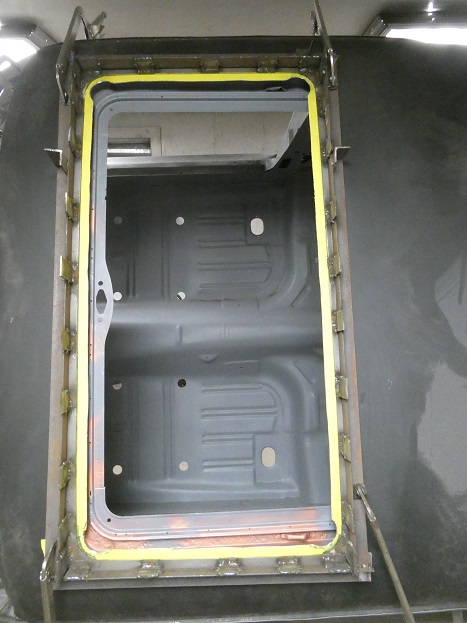 |
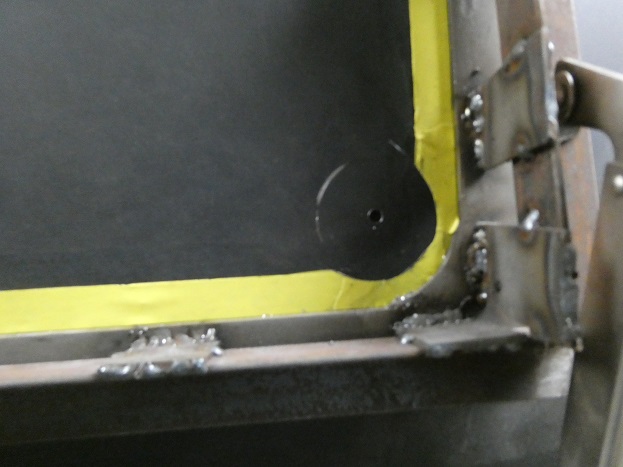
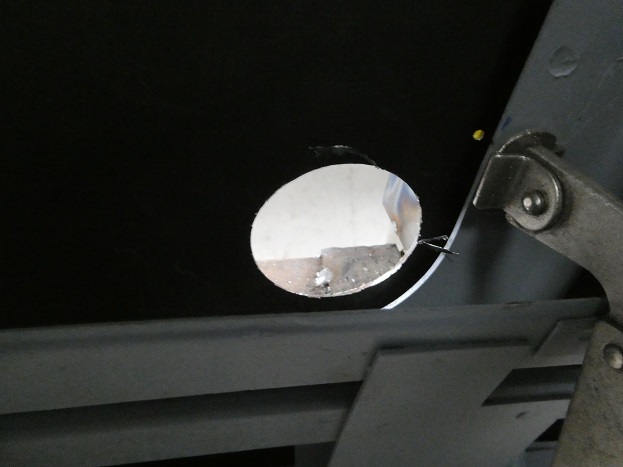
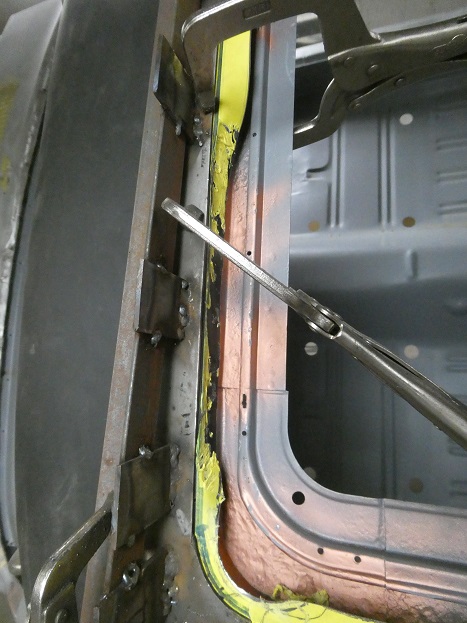
The flange (the flap of metal to be bent down) was measured at approximately 1/2" around the perimeter, except for the corners which had less width so it could folded around the corners. It was obvious by how the roof skin was cut out by ASC that they used a hole saw to
drill out the 4 corners leaving a small portion of metal to wrap around the sunroof frame.
|
|
 |
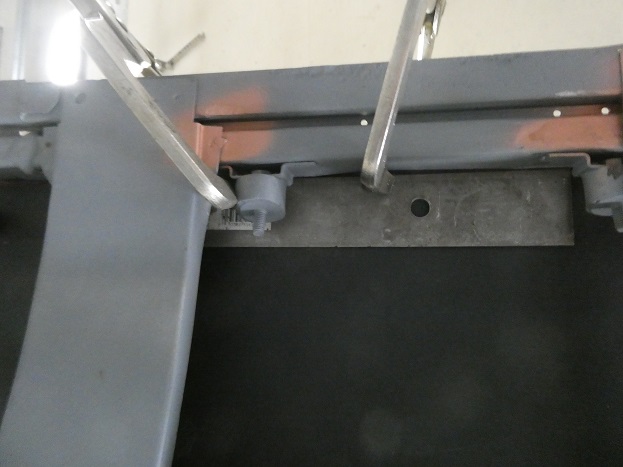
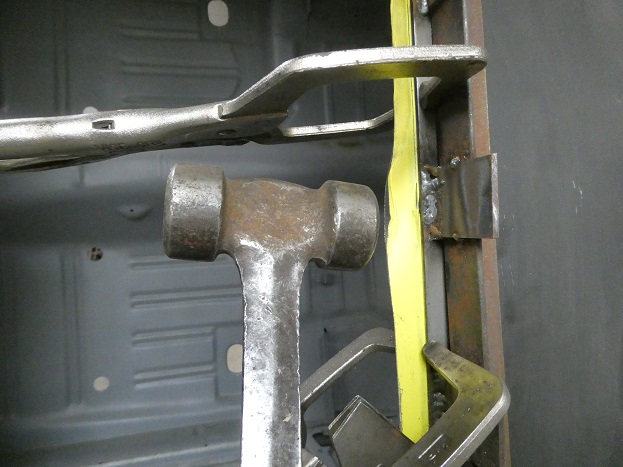
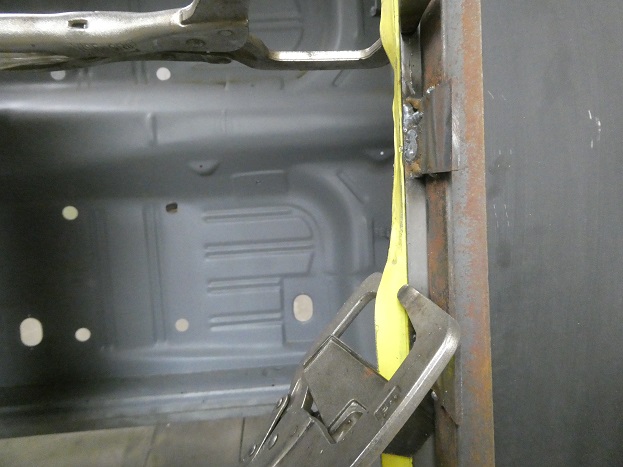
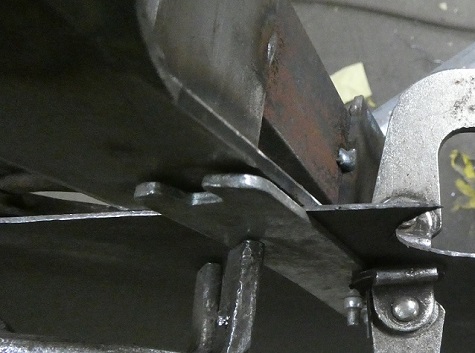
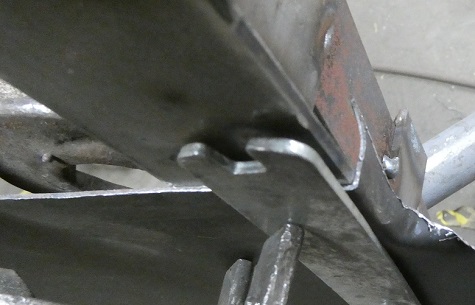
How did I make the flange you might ask? It is very similar to reskinning a car door. I clamped a steel plate to the underside of the roof. Sandwiching the roof skin between the jig and the steel plate.I then took a hammer and bent the metal over.
This kept the roof skin from warping. This is an acquired skill from doing many door skins in the past. So don't expect it to turn out pretty if you are doing these for the first time.
|
|
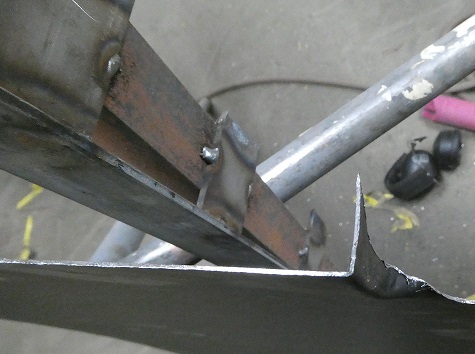 |
Here is a series of staged pictures showing how it is done.
|
|
 |
The corners are actually pretty easy do do with a round headed body hammer.
If you enlarge the picture on the right, you can see that the flange is not well formed simply because the roof skin was gonig to be removed. I decided early on to remove the roof skin for priming before permanently folding the rear lip over the roof reinforcement.
You do not have to do it this way, it was just how I wanted to dress the underside of the roof skin.
|
|
 |
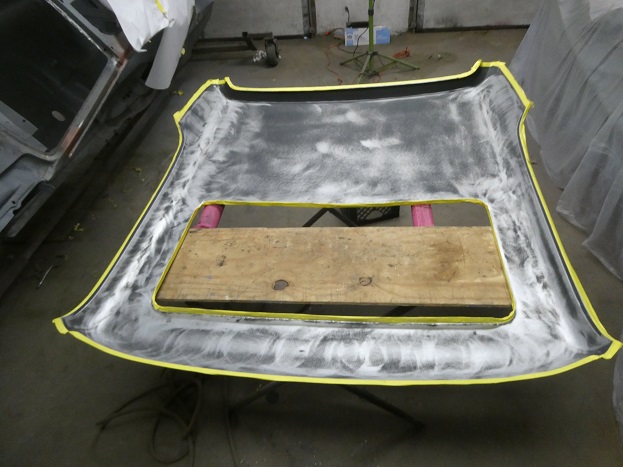
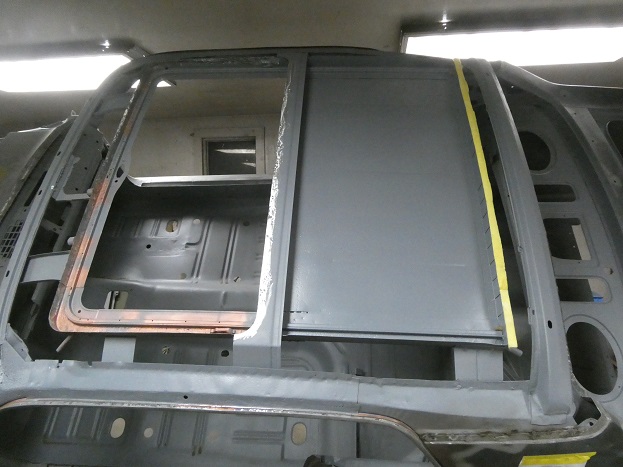
The perimeter of the roof skin was ground down and a series of holes were drilled for plug-welding the skin in place. Then the underside was sanded for priming. DP50LF is my primer of choice.
|
|
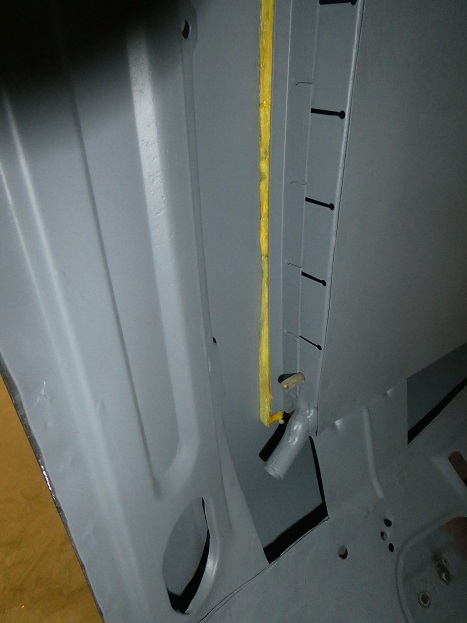 |
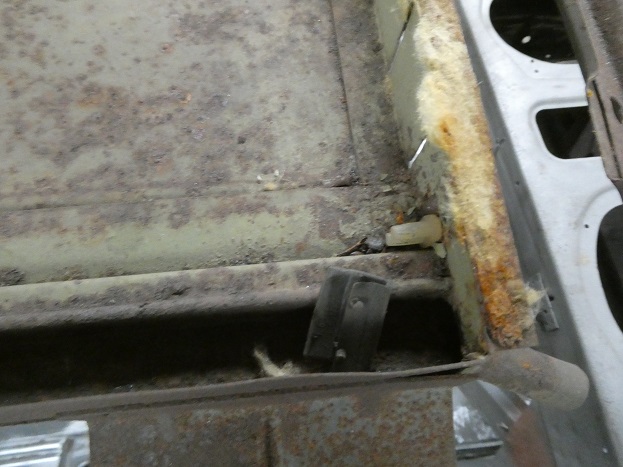
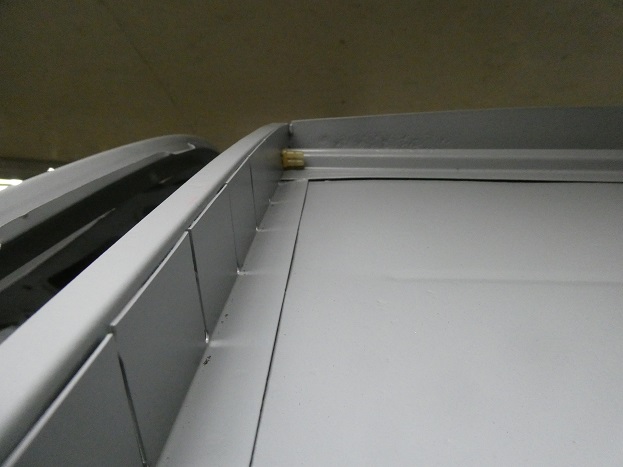
Before putting the roof skin back on I installed the sunroof bumpers and a new insulation strip across the rear sunroof frame. The insulation strip was made from a piece of pipe insulation the I bought at Home Depot. It had the same correct color and density as the original strip
installed by ASC.
|
|
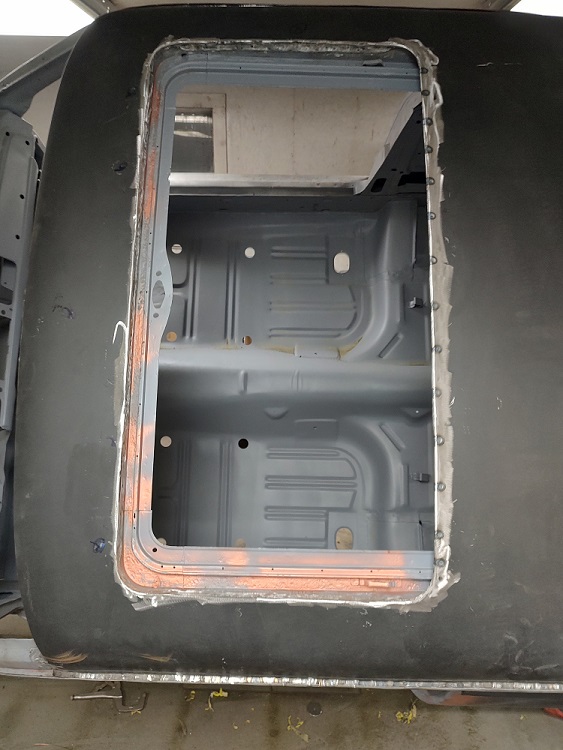 |
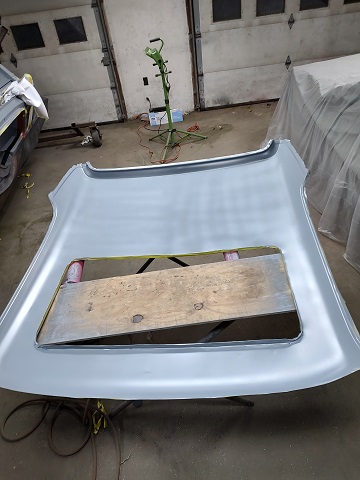
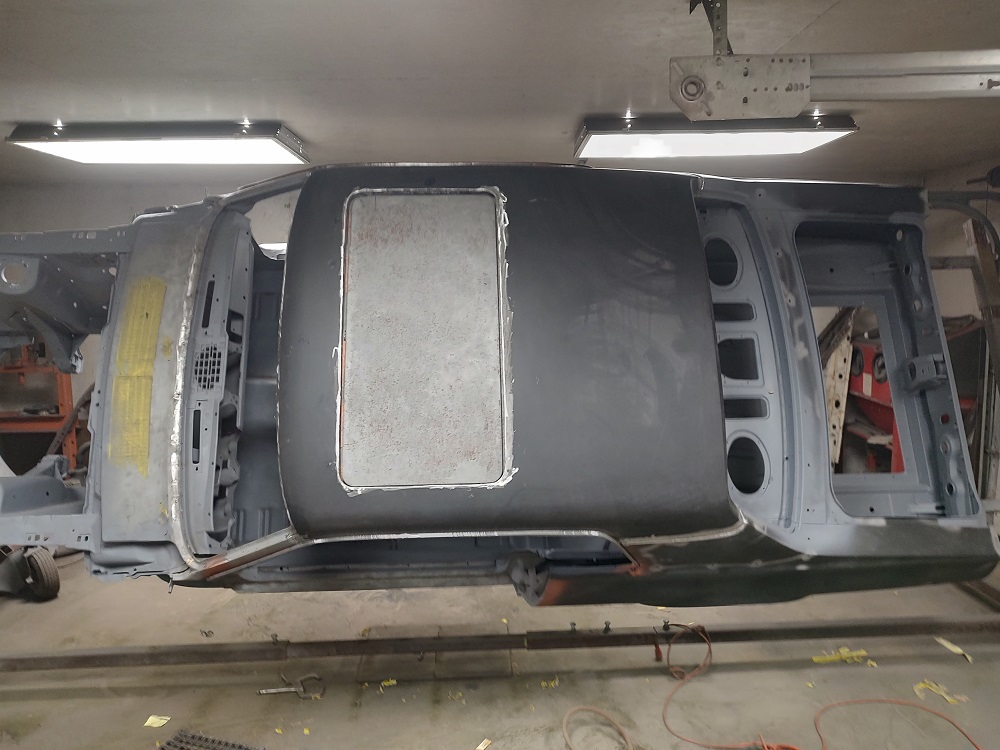
With the roof skin back in place, I finished folding over the roof skin at the rear sunroof inner reinforcement. This is just like installing a door skin. I folded the metal over with wide vicegrips and hammered and dollied it flat followed
by crimping it down using visegrips. Then as ASC did it I a pinchwelder to weld the newly formed hem in place.
The sunroof panel was used to ensure the contours of the sunroof opening were correct before the rest of the opening was welded in place, followed by welding the roof skin to the roof rails and window openings.
|
|
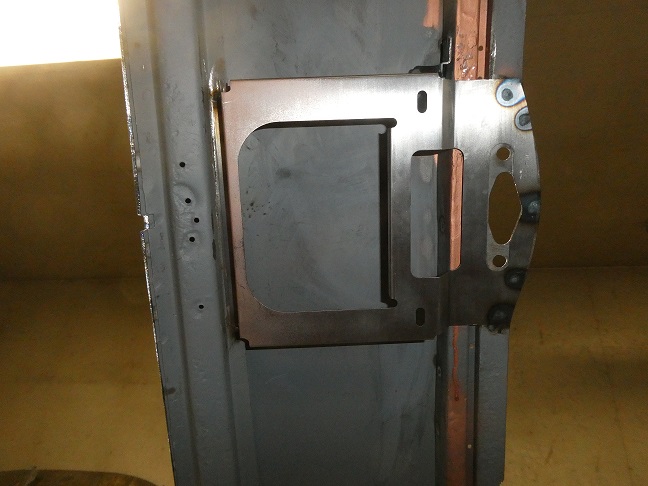 |
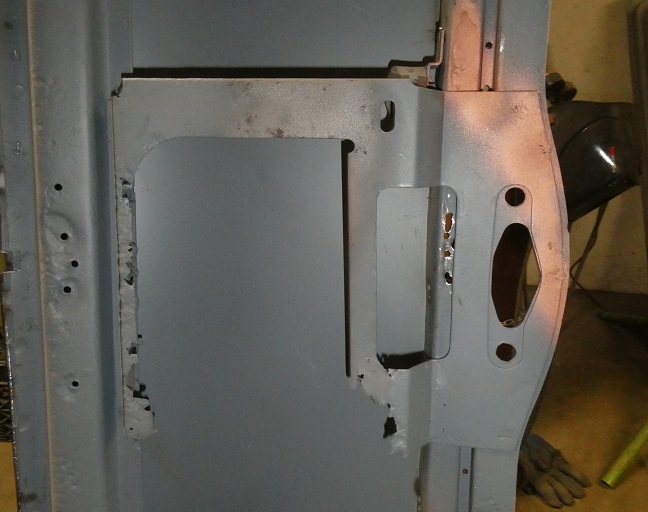
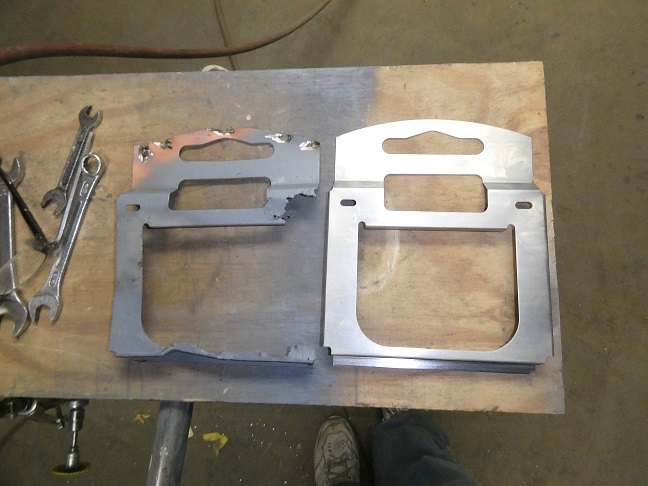
You probably noticed in the earlier pictures that the overhead console bracket was in bad shape. This was a custom part created by ASC for the Cougar to relocate the overhead console. This is an impossible part to get unless you have another 1968 Cougar with a sunroof to get this part from.
Luckily the part was just made of a sheetmetal cutout with some bends. I was able to create a model of it in SolidWorks and had one laser cut and folded to make a new one. It came our ridiculously well. If you need one, I have spare or
I can sent you the part file and you can make your own made.
|
