 |
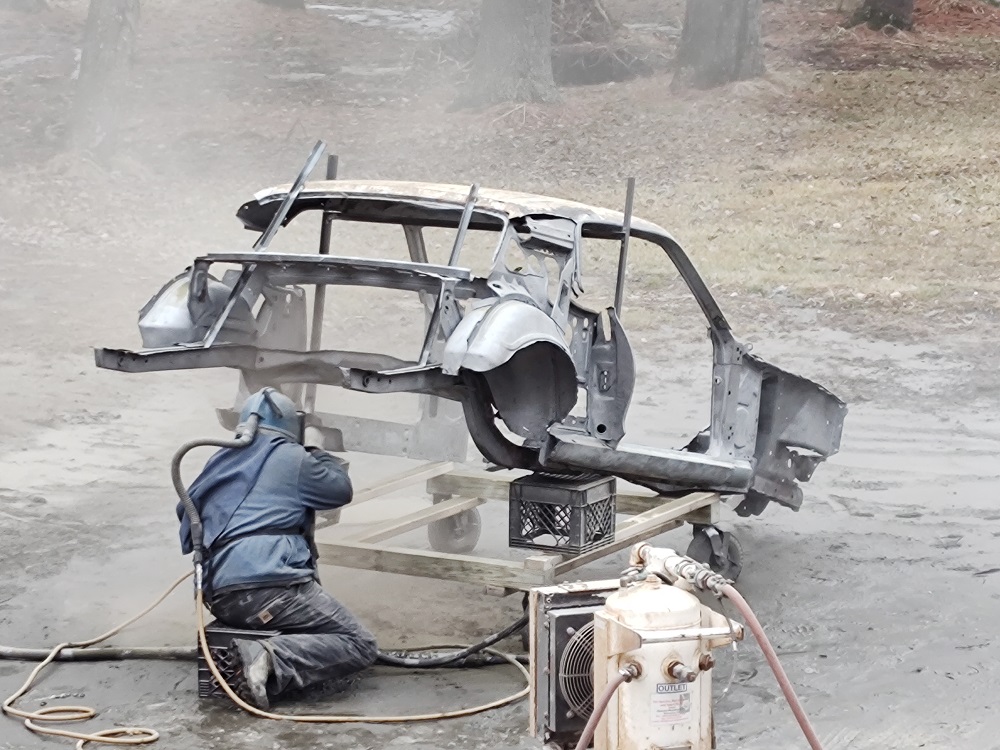
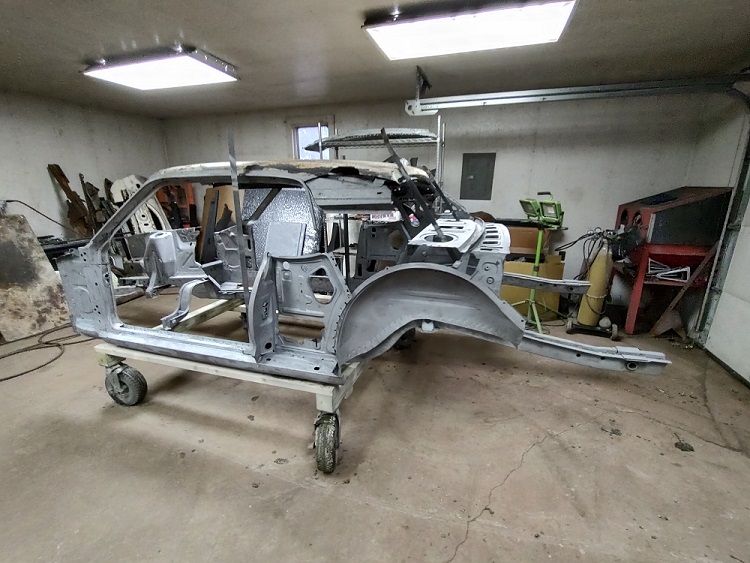
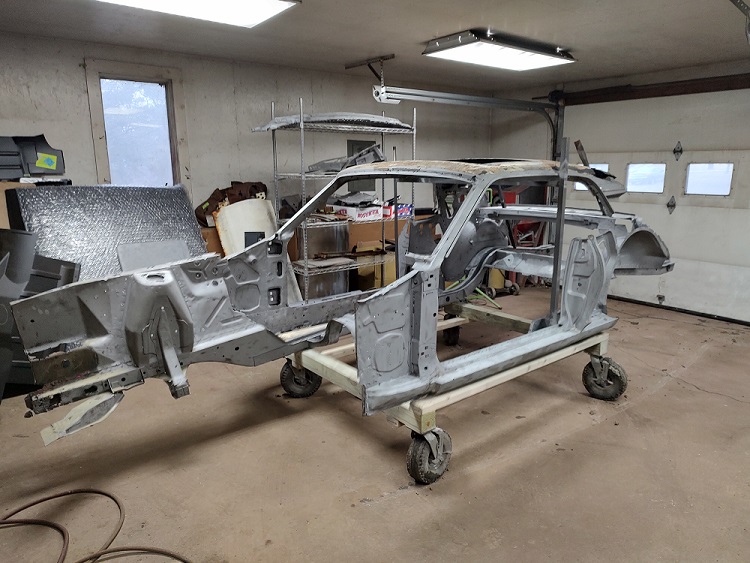
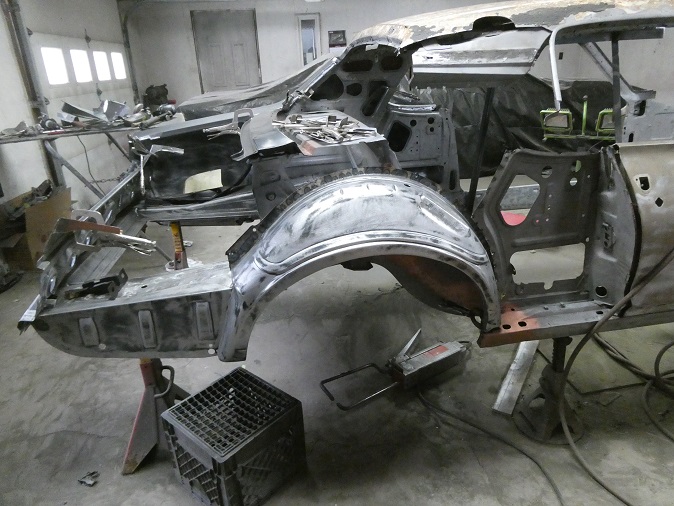
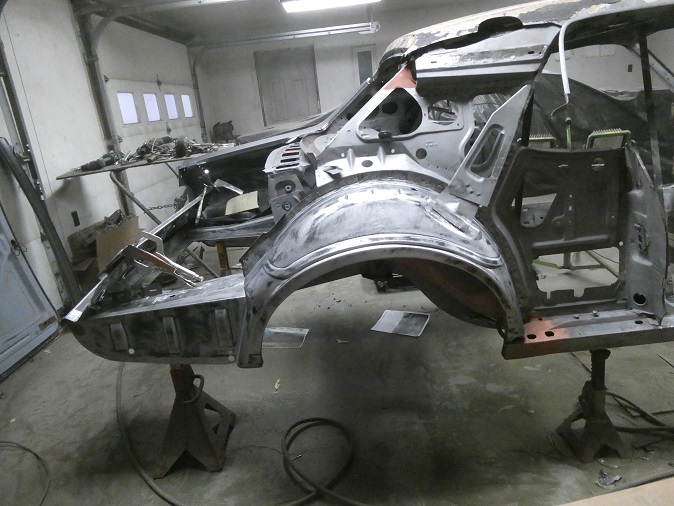
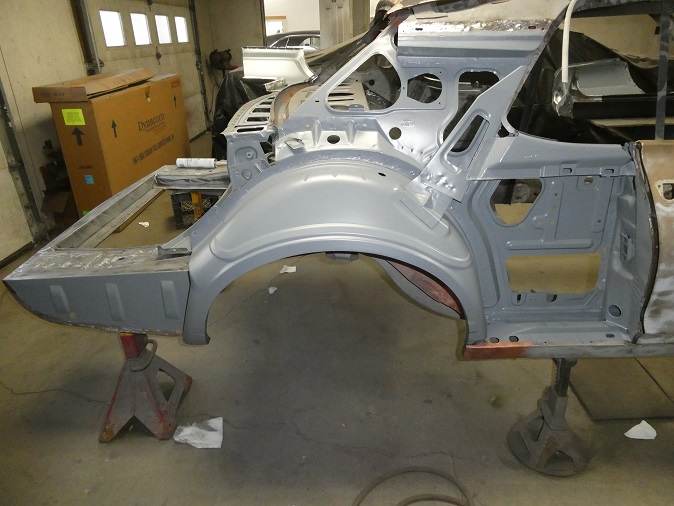
Here is what is left of the shell being sandblasted, followed by how it looked immediately after. Things always looks worse before it looks better.
|
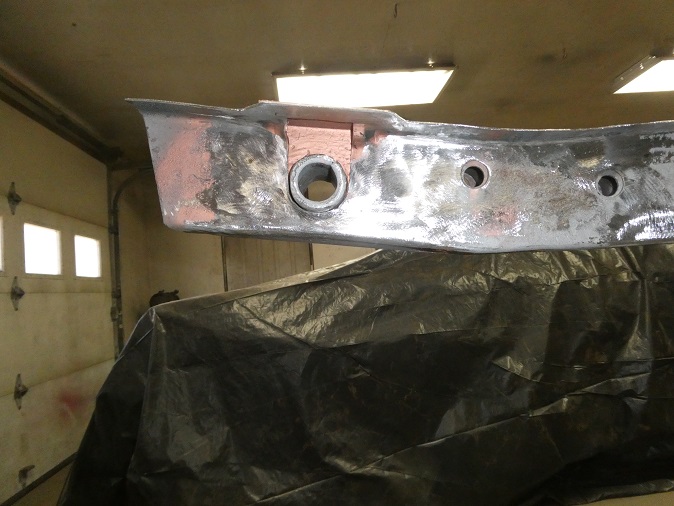 |
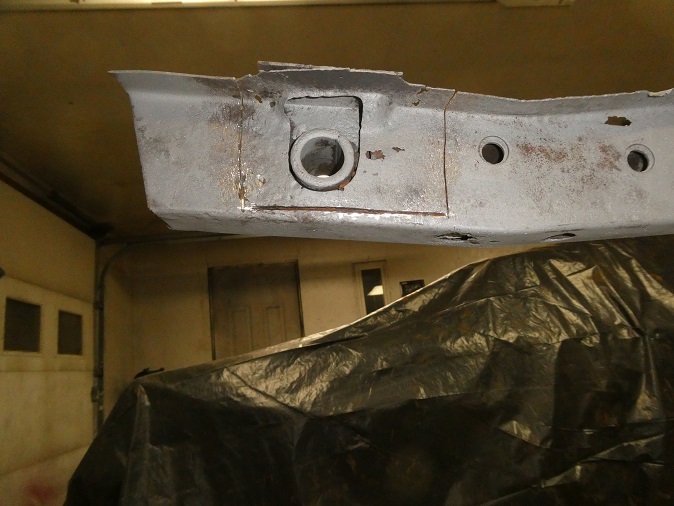
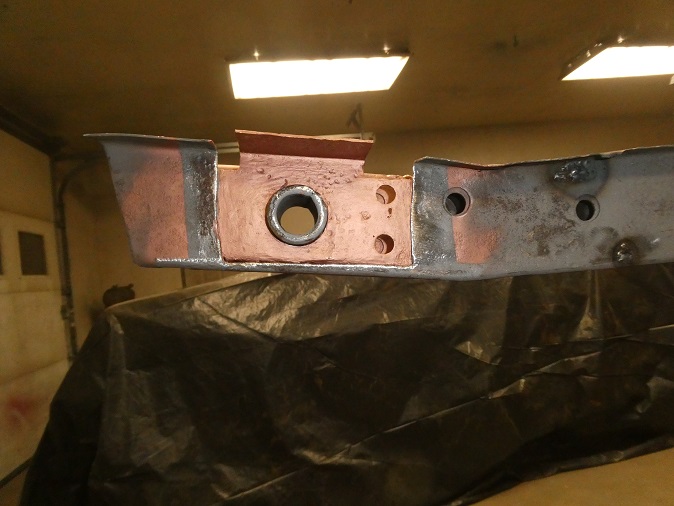
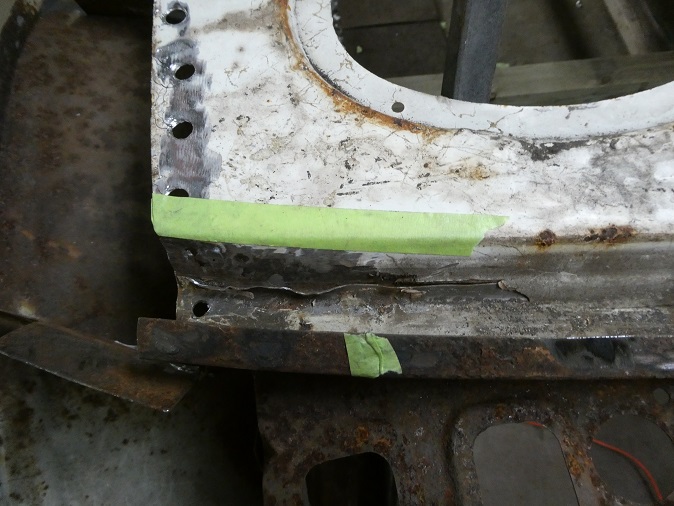
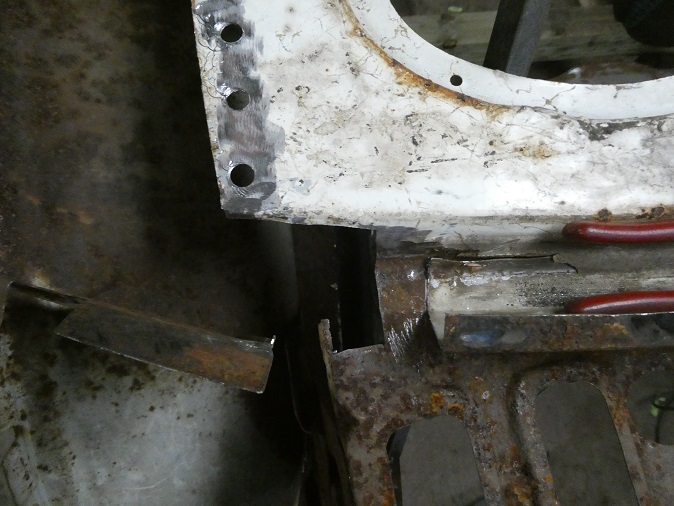
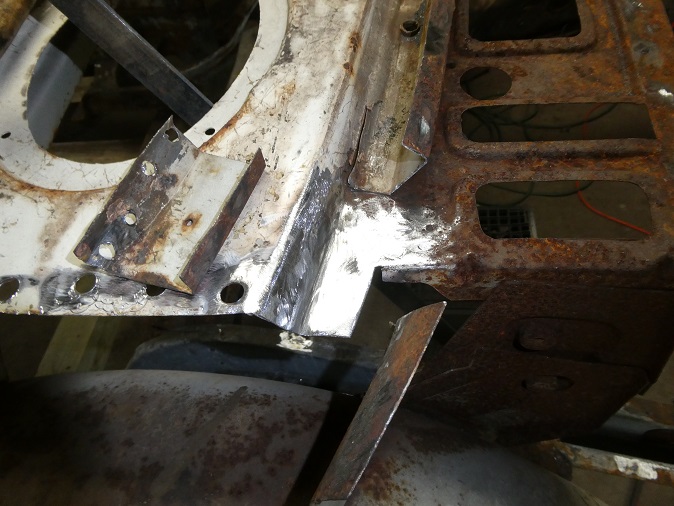
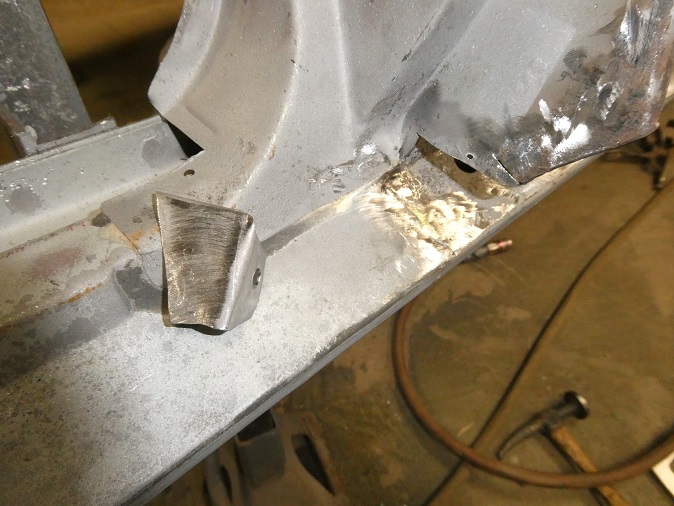
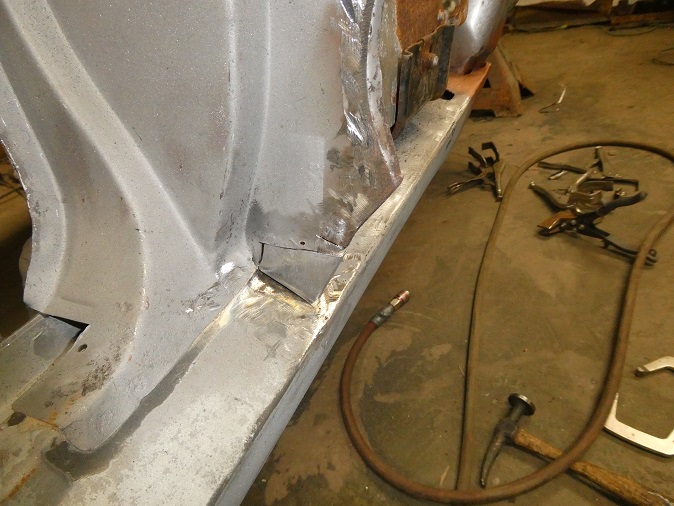
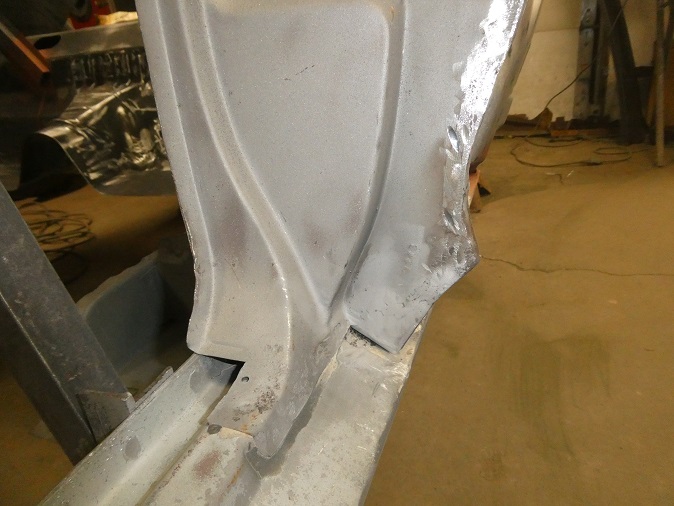
Once the shell was sandblasted, it was time to make the repairs on the areas that would not be replaced with new repo sheetmetal. First off was a small section on the left rear frame rail. There were rust holes
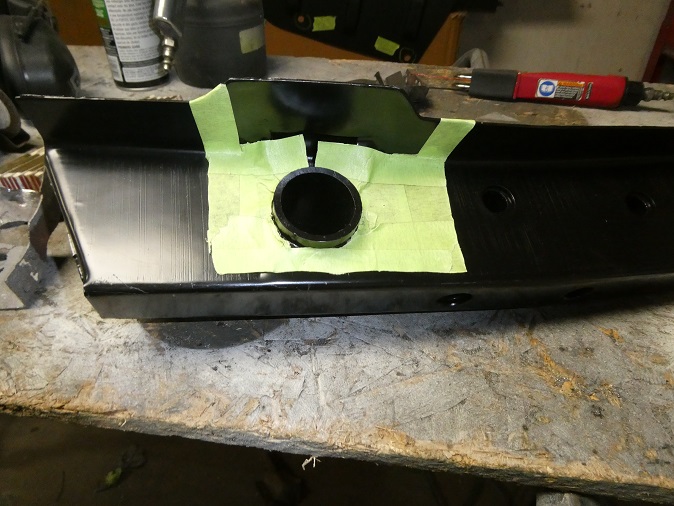
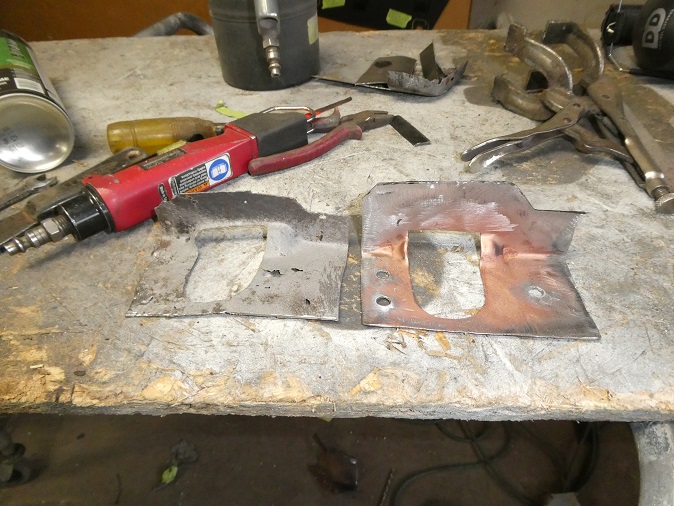
around one side where the shackles go. There where a lot of details around this area, so I ended up buying a repo frame rail section and cut out a piece of it to graft into the area where the original was rusted. I cut the
bad section out and used masking tape as a template to cut out the new piece.
|
|
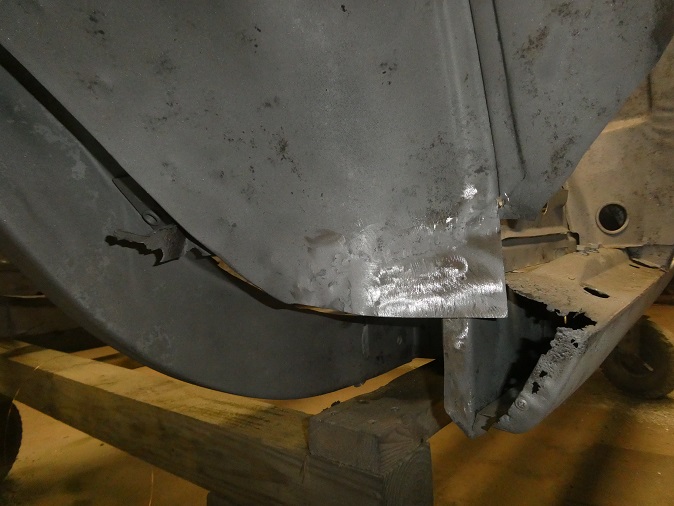 |
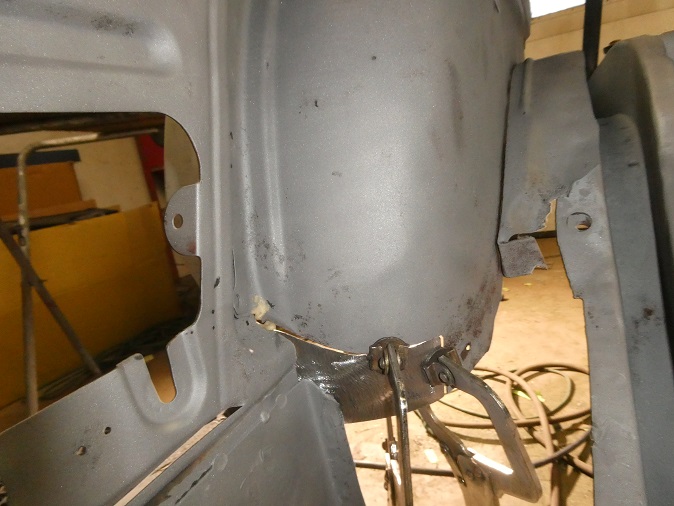
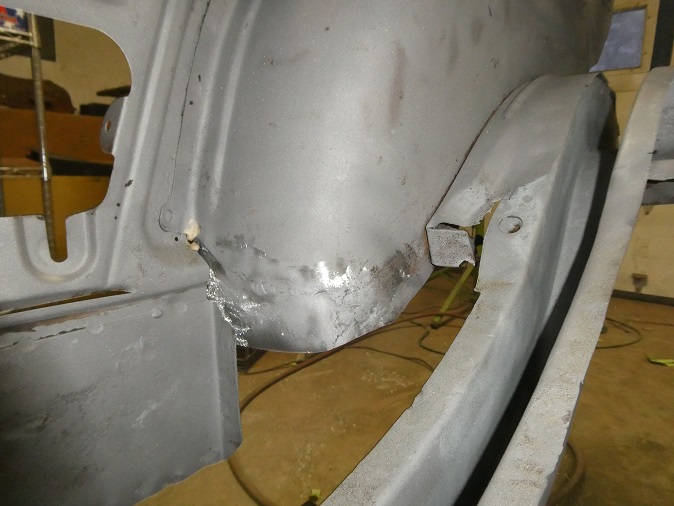
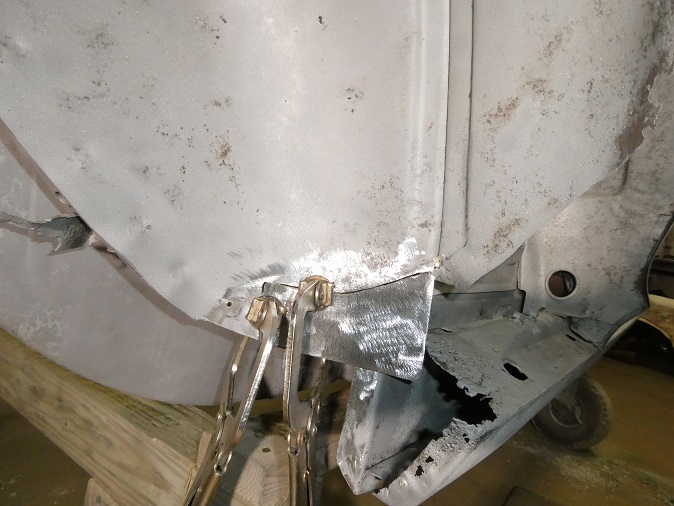
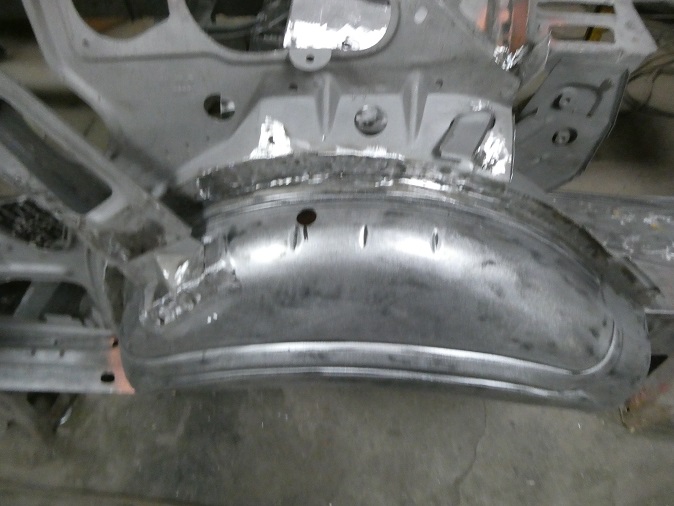
I was going to replace the outer wheelhouses, but needed to make some small repairs to the inners. Nothing too complicated here. I just cut out the rusted area and butt-welded in some new metal that was contoured to fit.
|
|
|
|
 |
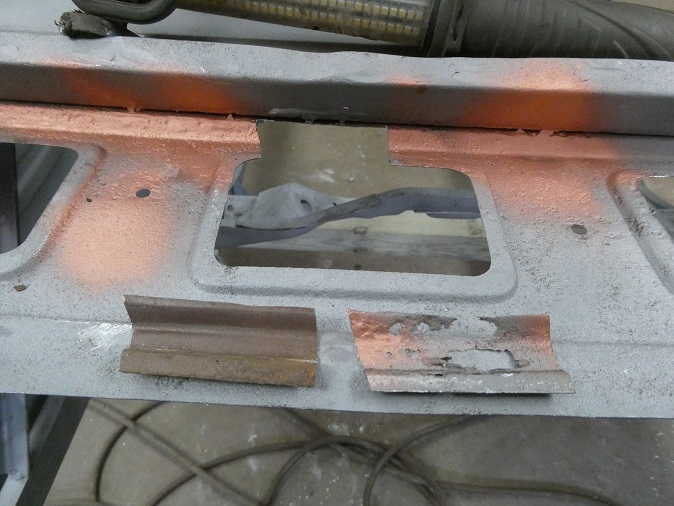
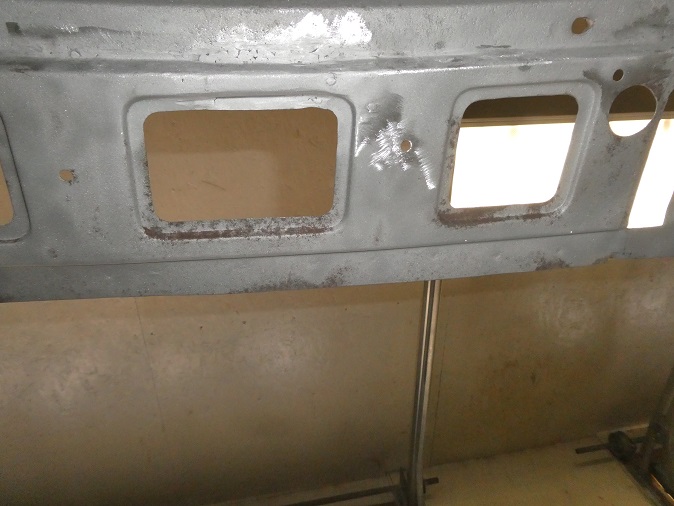
The package tray extends from inside the car into the trunk where the rear filler panel welds over the top of it. The section of the package tray around the rear window channel is shaped like a gutter, which collects water (if any) and runs it
down into the quarter panels where it drains to the ground. This area tends to rust out when the rear window seal fails.
On this car the ends of the gutters had to be repaired as well as a section of the package tray. There were a few small holes along the window channel that also needed to be welded up.
|
|
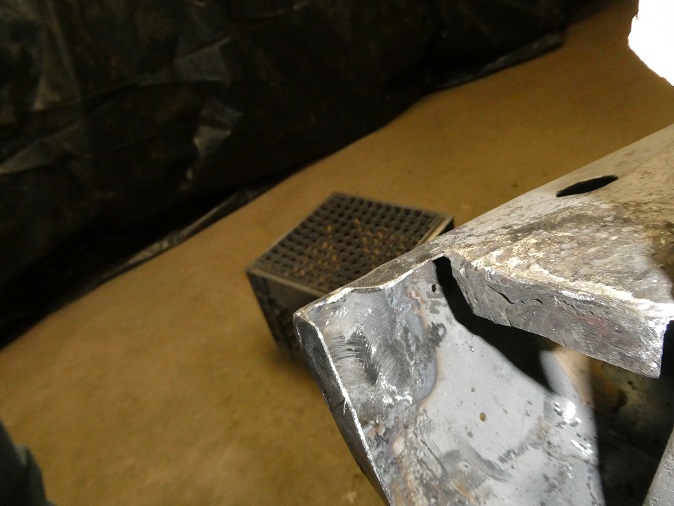 |
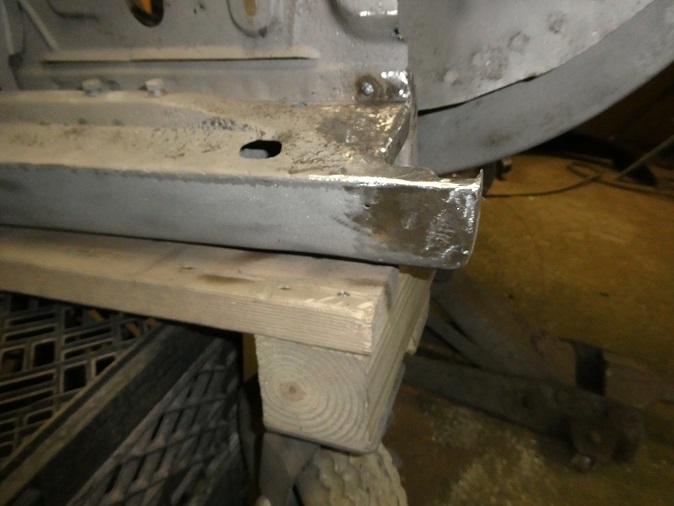
The tail ends of both rocker panels had to be fixed where they meet up with the outer wheelhouses. I originally bought a Mustang rocker panel to use the rear section from, but it turns out that Mustang and Cougar rocker panels are no where's
near alike.
|
|
 |
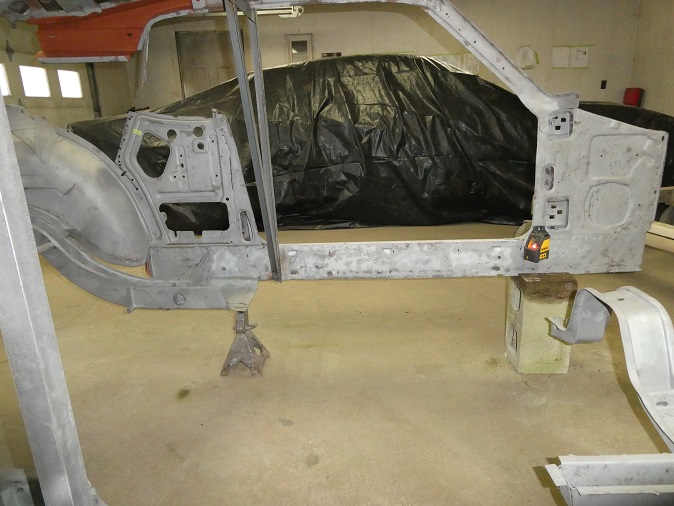
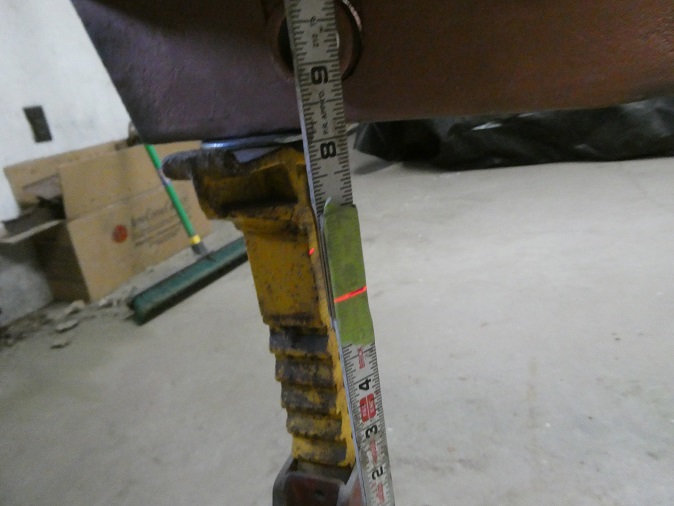
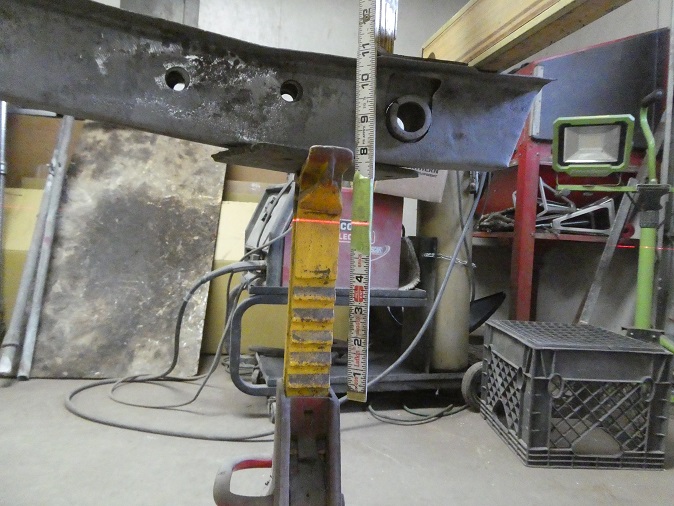
Next up was leveling the body before any real structural work could be done. I used a laser level to level the rockers and made sure the rear frame rails were both level to each other and were at the correct elevation. A word of warning:
The factory service manual is the only good reference for measurements, that and the car before it is dismantled (assuming no accident damage). I have found the Liskey frame charts to be vary inaccurate in some critical dimensions and gave up
using them .
|
 |
The trunk floor (left and right drop offs, rear crossmember and intermediate panel) can be purchased as one prewelded assembly. But since there were known issues with it regarding correctness, I decided to buy the pieces seperate so that it
is easier to fix the problems. That and I don't trust that the panels would be welded together correctly in China....
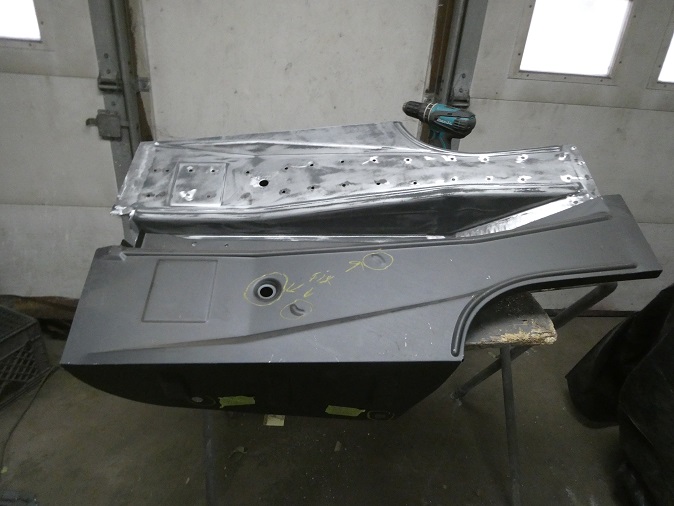
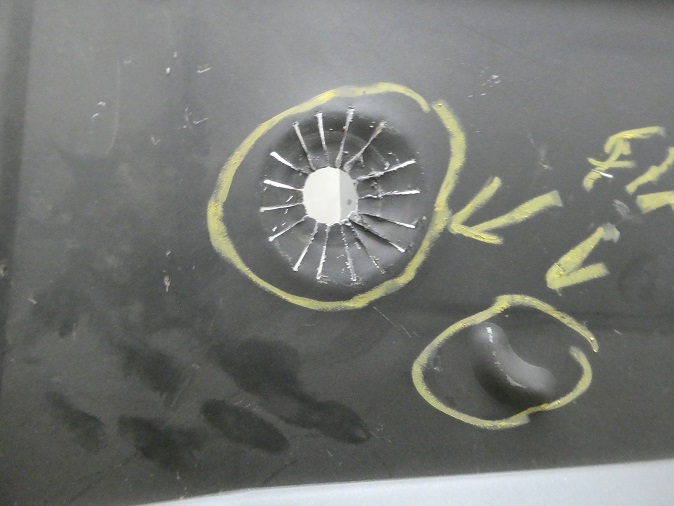
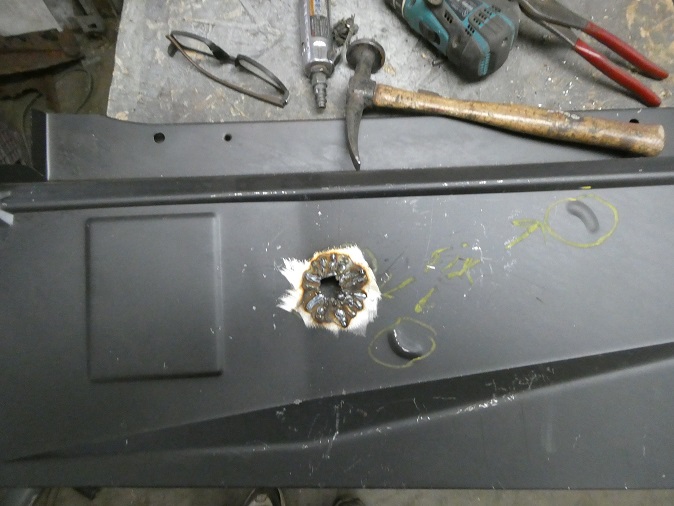
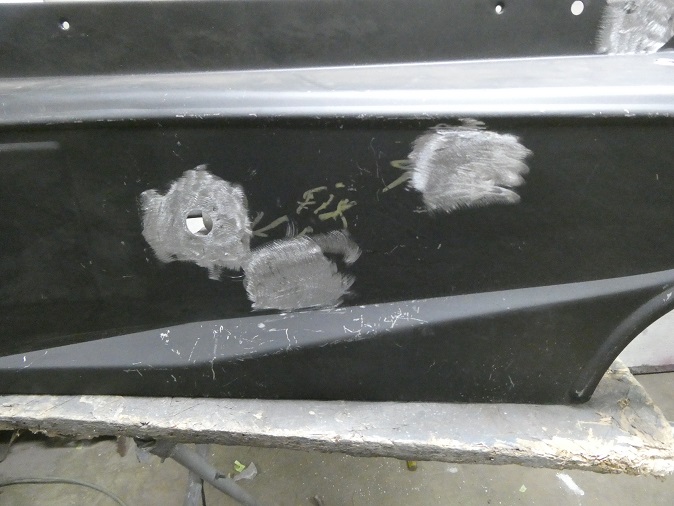
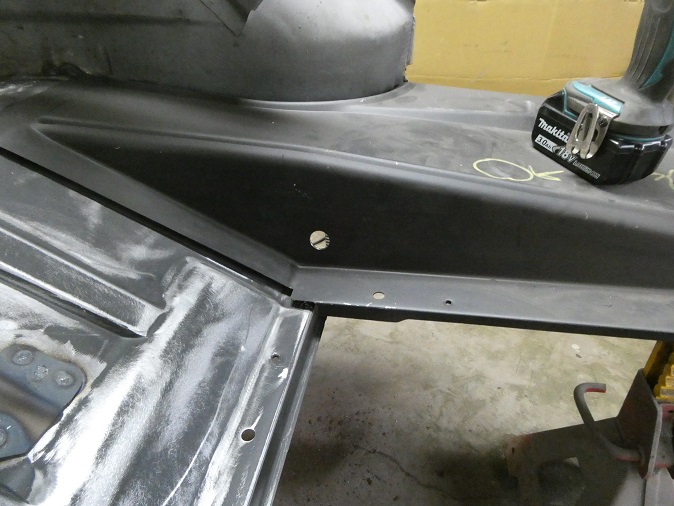
On the drop offs there are factory dolly holes that are plugged with rubber plugs. Originally the holes would just be flat/even with the top surface, but the repos were recessed. In this series of pictures you can see how I corrected them.
I cut slits around the perimeter of the hole and hammer & dollied the metal flat. I then welded up the slits and ground the welds flat. The hole was then properly sized using a stepped drill.
Another incorrect feature was on the right drop off. It looks like the alignment bumps for the spare tire hold down for Mustangs. This is weird as these panels are Cougar specific and they have Mustang features on them.
|
 |
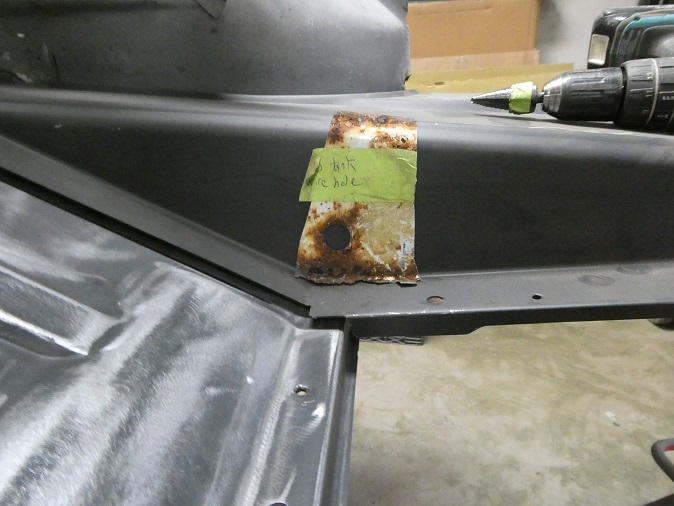
The right hand drop off was missing the hole that the fuel sending wiring feeds through. I used a piece of the original one as a template for locating the hole.
|
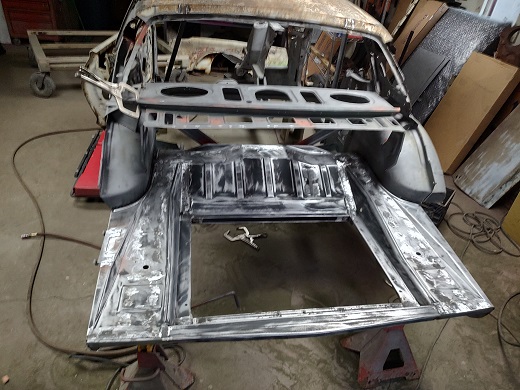 |
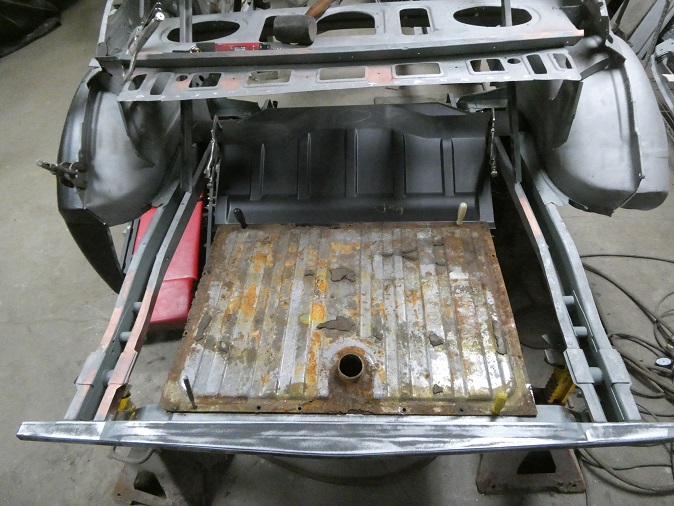
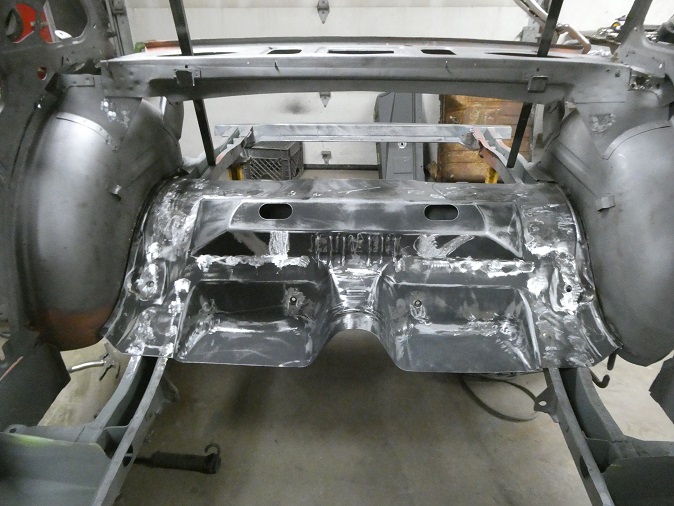
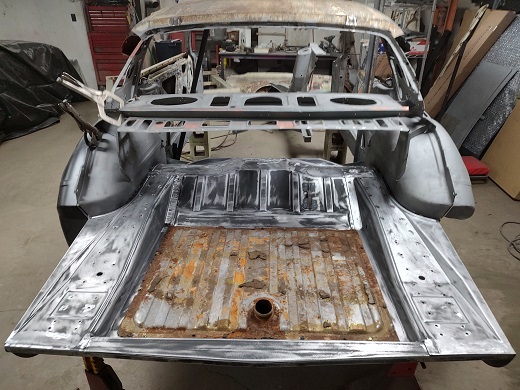
This series of pictures shows how I welded in the trunk pieces. The rear crossmember was first welded to the rear frame rails. The intermediate floor panel was located and welded in using the gas tank for alignment. Then the dropoffs were welded in, also using the gas tank
for alignment before final welding.
You may have noticed that all of the panels are already sanded. It's far easier to do before the panels are welded in.
|
|
 |
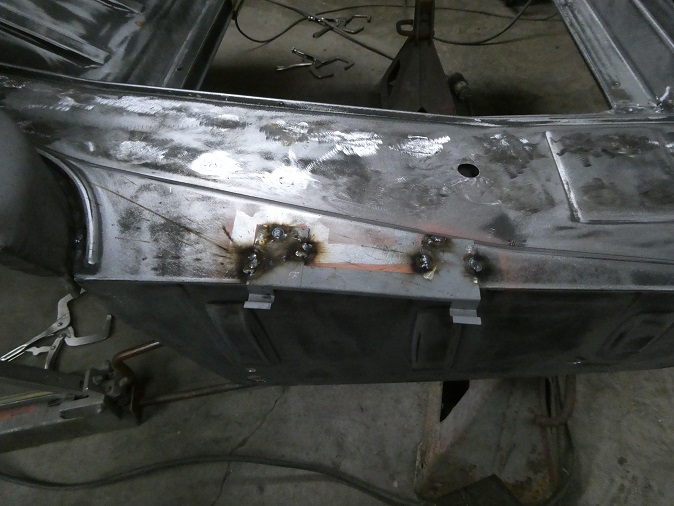
The picture on the left shows the bracket for the tail light sequencer assembly being welded in.
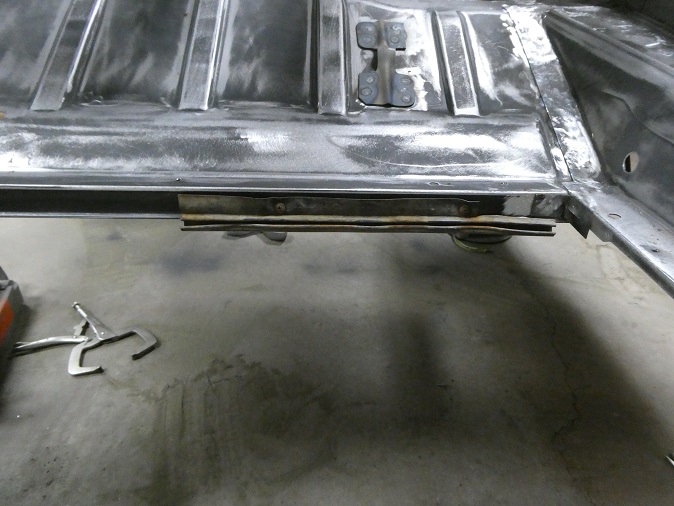
The picture on the right shows the fuel sending unit wire retainer installed. I used it to predrill the holes in their original location prior to paint.
Depending on when a Cougar (and Mustang presumably) was built, there would either be one of these
plastic retainers or a pair of metal clips for the sending unit wires. This car was built on Feb 29, 1968 and it received this plastic retainer.
|
|
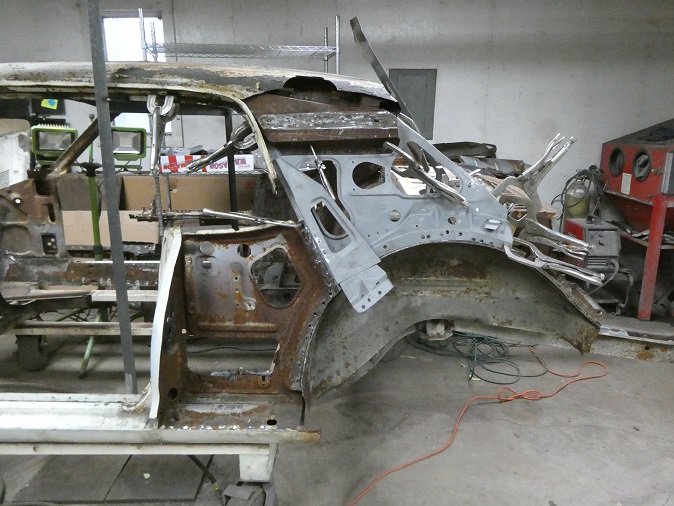 |
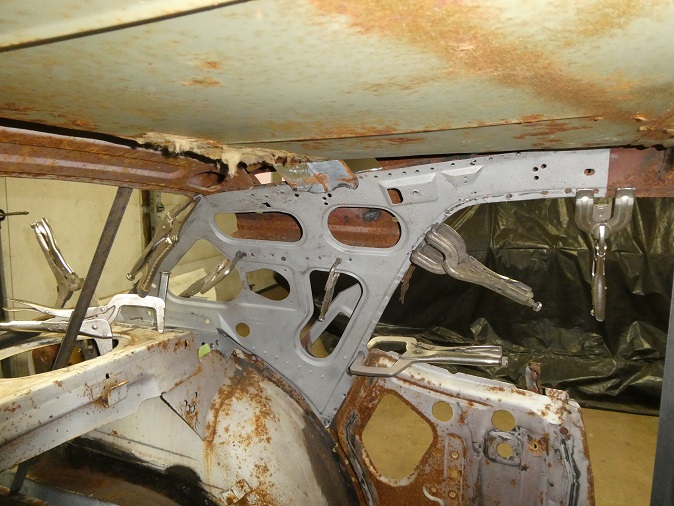
The inner roof pillar panels were pretty rusted. Thanks to West Coast Classic Cougars, I was able to get some used ones clipped from a car. While waiting for the car to be sandblasted, I reinforced the roof and cut the left side open to get
the left side ready for repairs. The inner roof pillar panel welds to the outside of the outer wheelhouse, so the new trunk floor and then the outer wheelhouse had to be installed first.
|
|
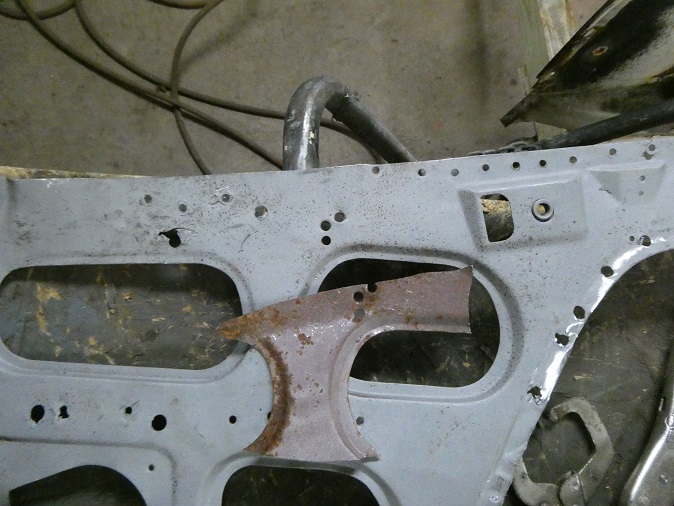 |
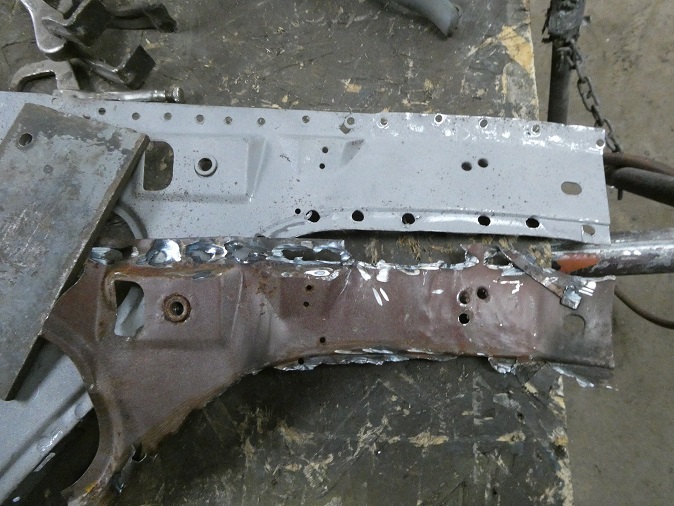
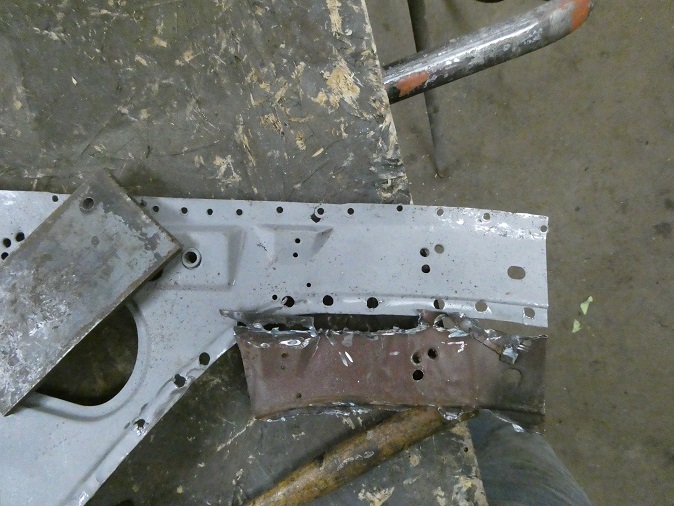
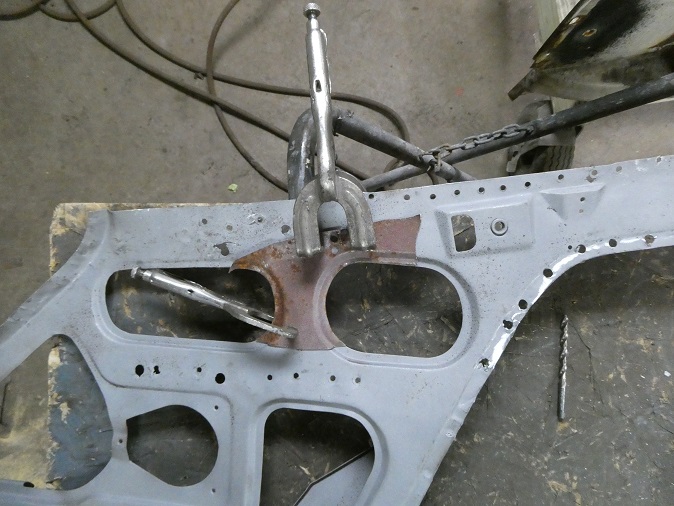
When ASC installed the sunroof, they had to lower the headliner. The holes for the rods along the roof rails were actually too high, so they drilled new holes. In this series of pictures you can see that I used pieces of the original
inner roof pillar as a template to drill the new holes in the correct locations.
|
|
 |
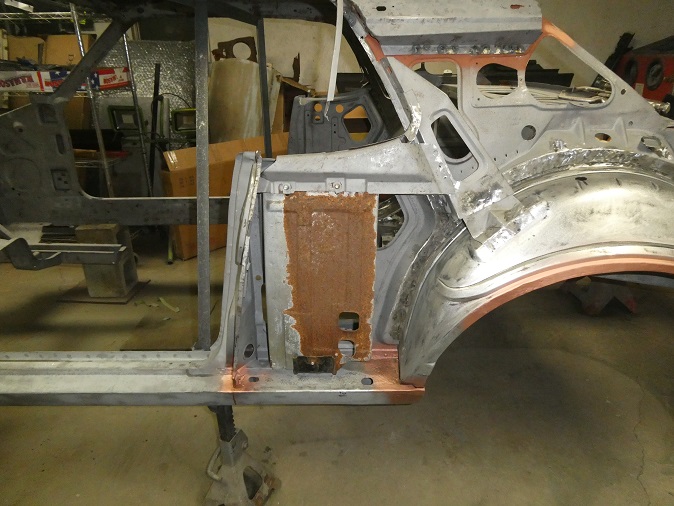
Another typical rust area for Cougars and Mustangs is the bottom of the B-pillars. Without the quarter panels in place it is relatively easy to repair this area.
|
|
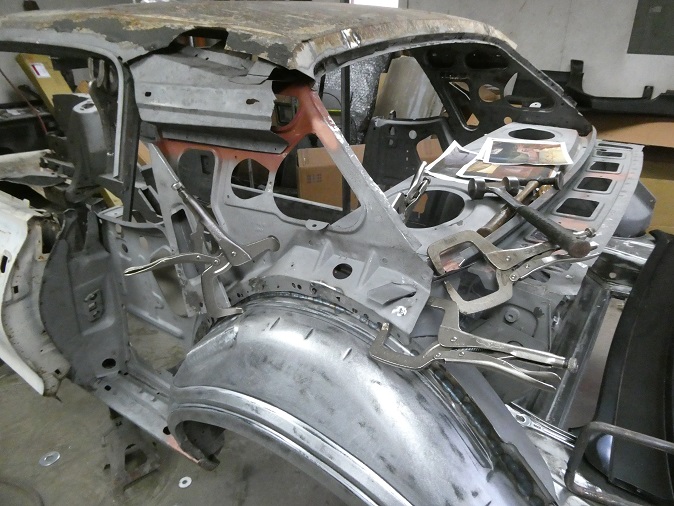 |
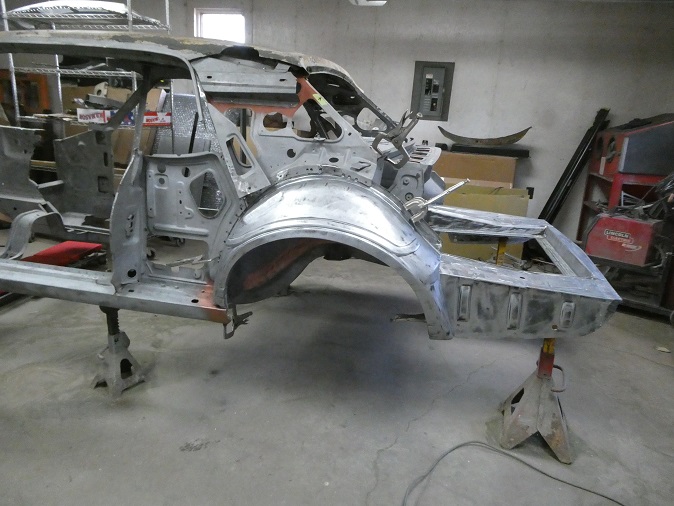
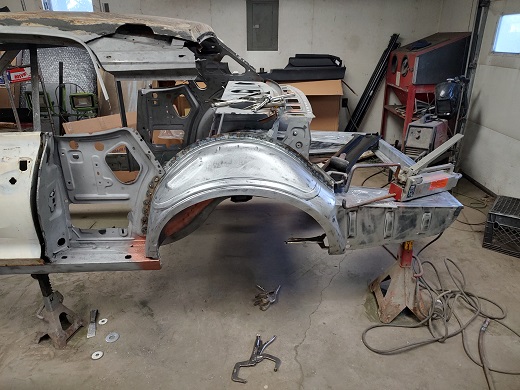
At last it was time to add more metal. The left outer wheelhouse and the left inner roof pillar were clamped in place. Then the left quarter panel was aligned to the car. With the quarter properly aligned the wheelhouse and the
inner roof panel piece were screwed in place. This is the only way to ensure that the panels would be in alignment for welding.
With the quarter panel and inner roof pillar removed the outer wheelhouse (middle picture) remained in place and was welded in. Then the inner roof pillar was screwed back in place and was welded in.
|
|
 |
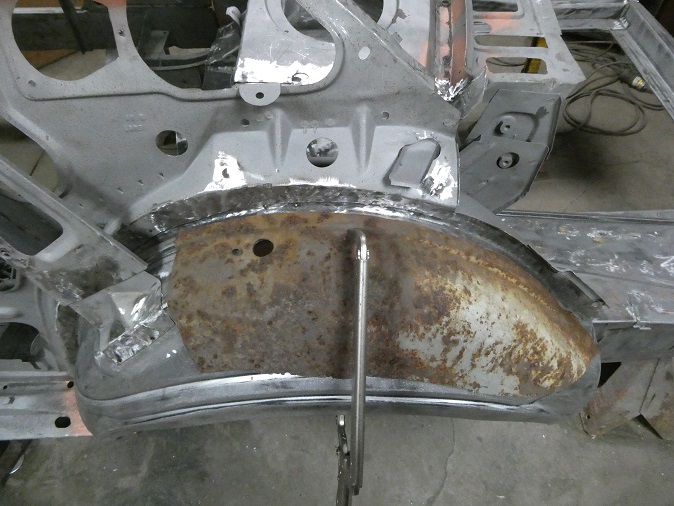
The rear drain hose for the sunroof goes through a hole that ASC drilled through the top of the outer wheelhouse. This was replicated using a piece of the original wheelhouse as a template.
|
|
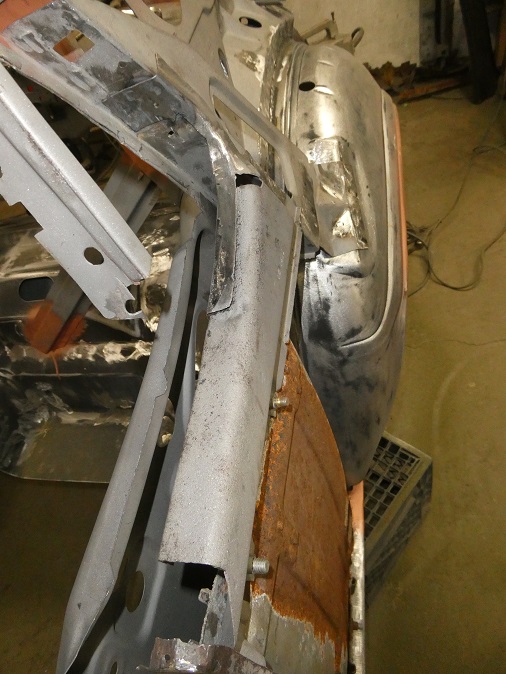 |
I am not sure what is called, inner side window reinforcement perhaps? Well the side window reinforcements are welded to the quarter panels and are also welded at the ends to the B-pillar and a roof pillar brace. The also
act as the upper attachement point for the rear side window tracks. The ones on this car were very rusted and had to be replaced. Luckily I got a pair cut from another car by West Coast Classic Cougars.
To install them I used the window tracks to hold them roughly in place and then installed the quarter panels. The side window reinforcements were then properly aligned and clamped and screwed in place from the inside. The
quarter panels were then carefully removed as to not dislodge the reinforcements. The reinforcements were then weld in.
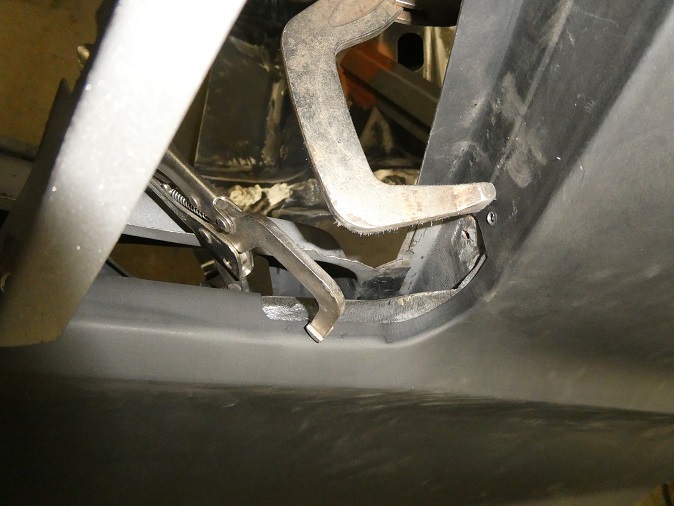
Along with the side window reinforcements are pieces of metal that cover up the gap between the side window reinforcement and the roof rail (shown clamped in place in the middle picture). These pieces are intended to be tightly
fit along the rear bottom corners of the quarter windows. Careful alignment and clamping were required to get them set right before welding. They came out perfect.
|
|
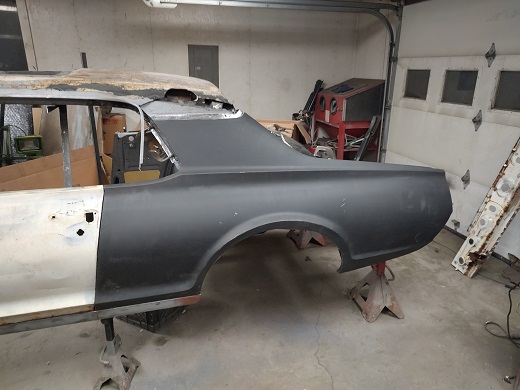 |
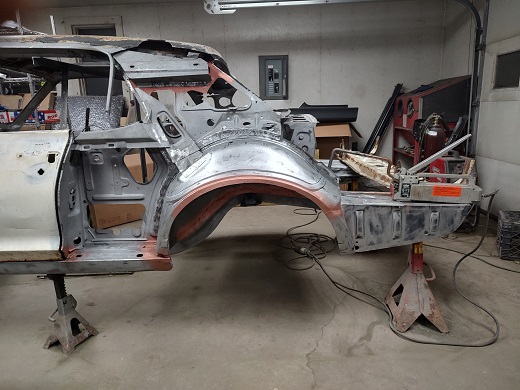
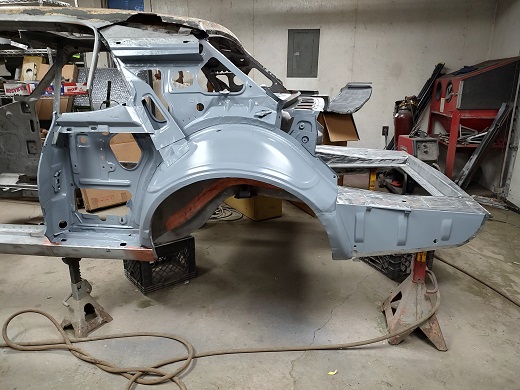
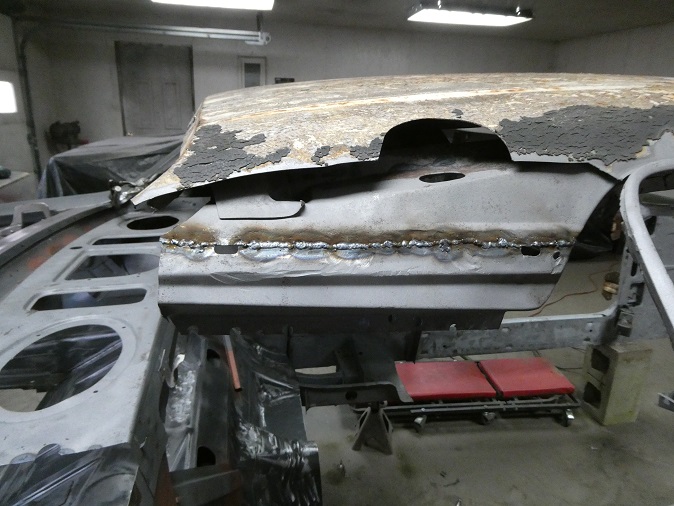
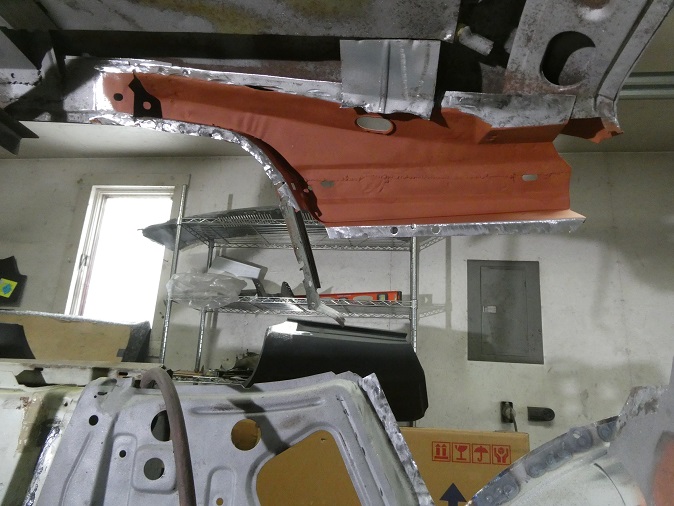
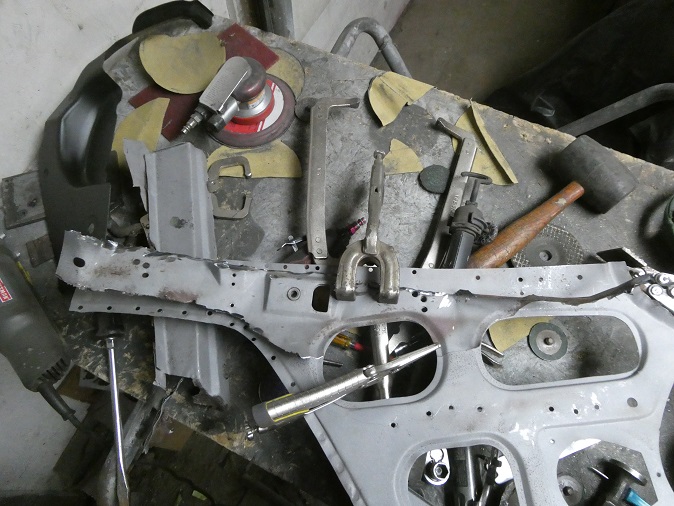
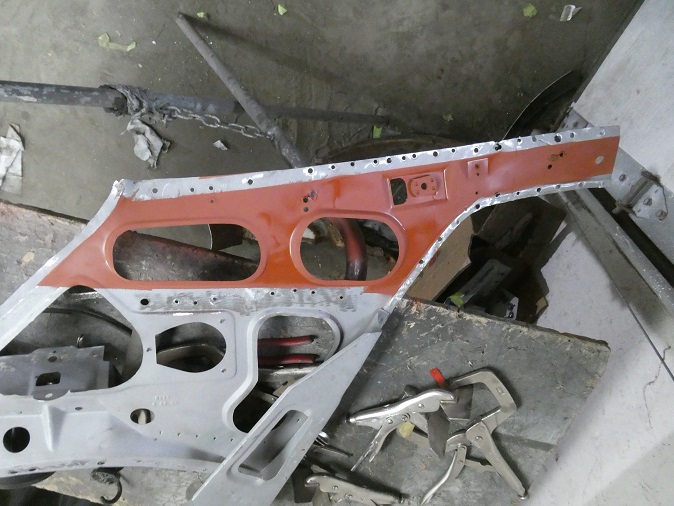
With all of the welds cleaned up and some slight adjustments made to improve quarter panel alignment, the entire inside area of the left rear quarter was primed with DP40LF epoxy primer.
|
|
 |
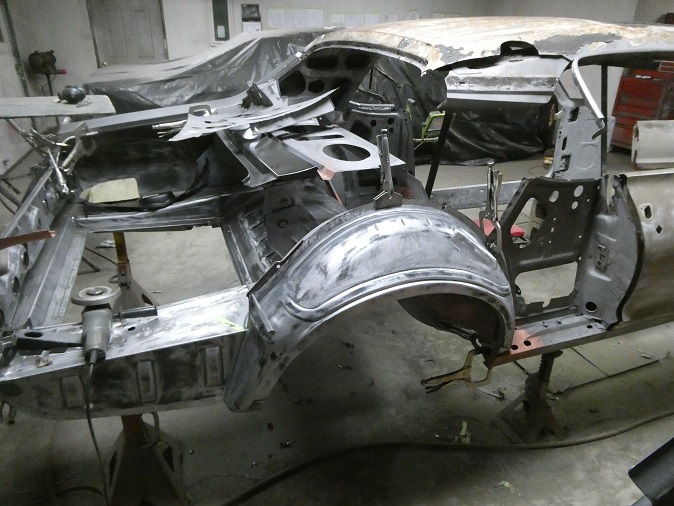
Now on to right side. The bottom rear section of the roof inner structure needed to be replaced due to rust. Luckily it came with the replacement roof pillar section from West Coast Classic Cougars.
As with the left side the new lower holes for the headliner rods were added using pieces of the original inner roof pillar.
|
|
 |
The process for welding in the new pieces was the same as with the left side. Clamp the pieces in place, install the quarter, screw the pieces together, pull the quarter and weld everything together followed by
priming with epoxy primer.
|
|
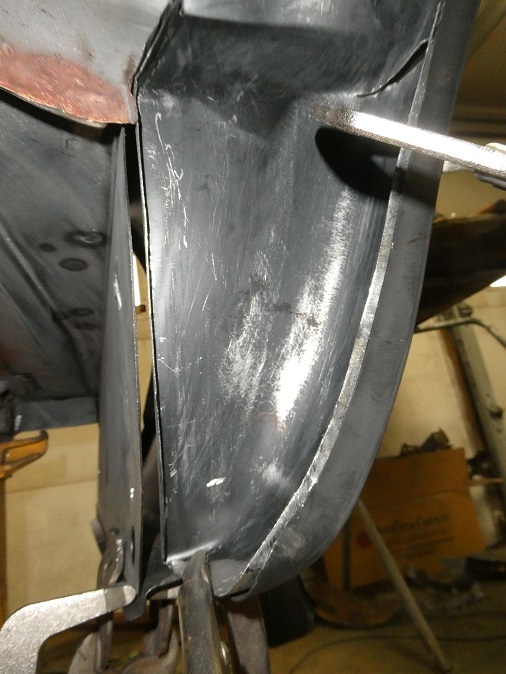 |
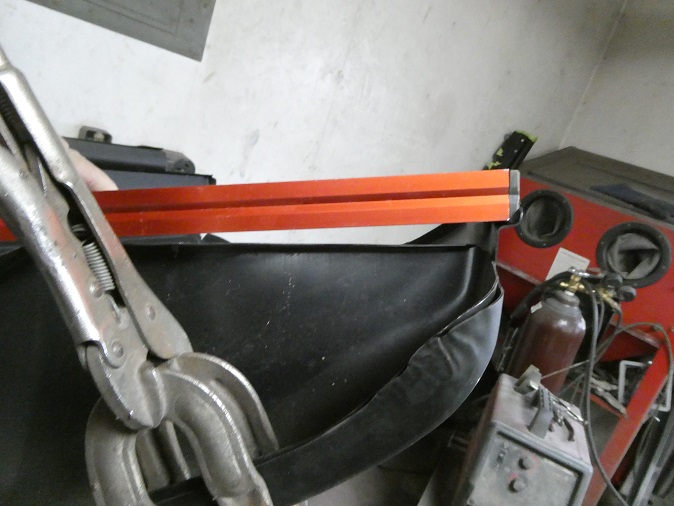
I should have talked about this earilier, but it didn't fit into the narative too well. I found that the repo outer wheelhouses were not formed correctly where they meet the trunk dropoffs. There is a huge gap at the bottom
that tapers off at the top. I had to cut a big slit into them and buttweld in filler pieces to get them to fit properly.
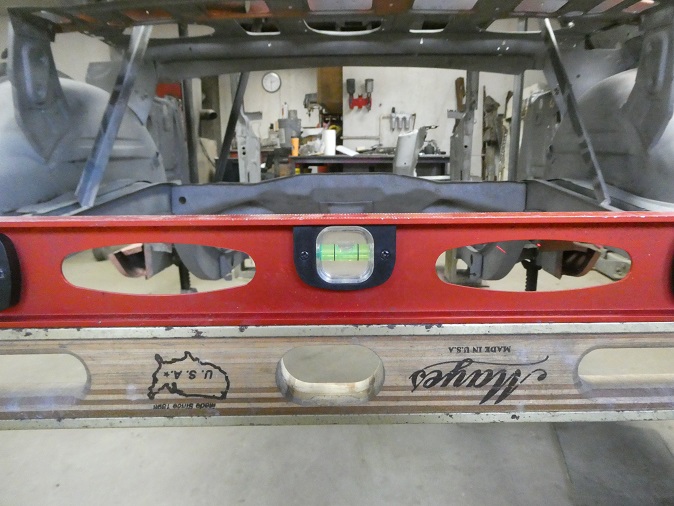
The picture on the left just shows the RH wheelhouse resting on the quarter panel with a level acting as a straight edge to show the gap. The picture on the right shows the left wheelhouse installed on the car. With the quarter panel
properly aligned (before welding) you can see the gap is still present. So the problem isn't with my work. Luckily I caught this early on before I welded everything together and primed the inner quarter areas.
|
|