 |
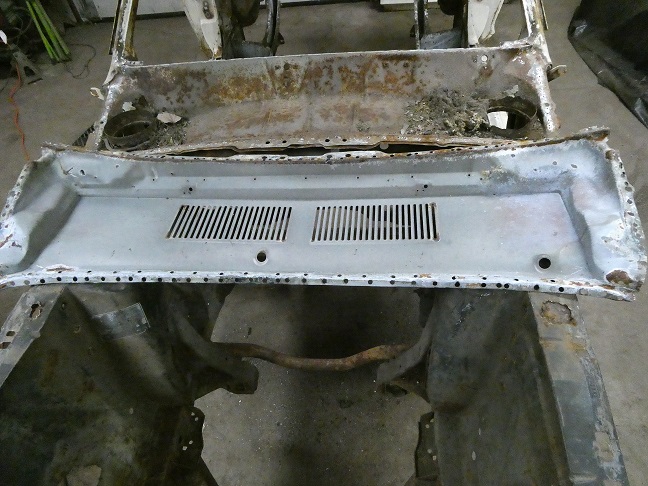
It should come as no surprise to anyone who has ever worked on a car that has a welded in upper cowl (I mean you, you Mopar and Ford lovers), that the debris can make its way into the sealed cowl
area and create a dam that prevents water from flowing out as intended. This of course creates lots of rusted out lower cowls that allows water to drain inside the car.
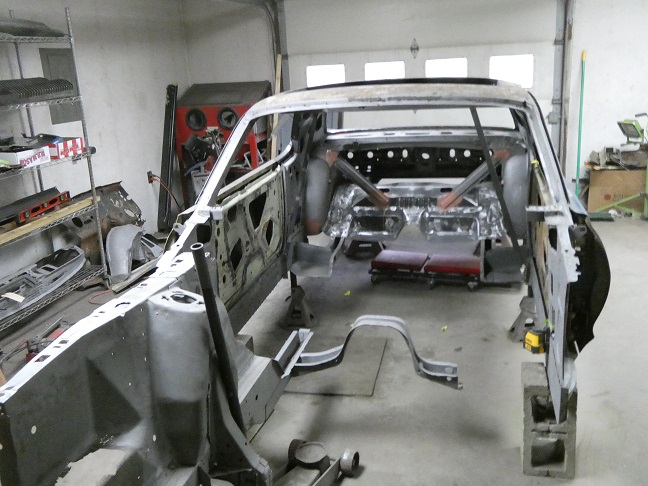
This car was no exception. In the end I had to remove the cowl and the firewall just to find out how bad it really was.
|
|
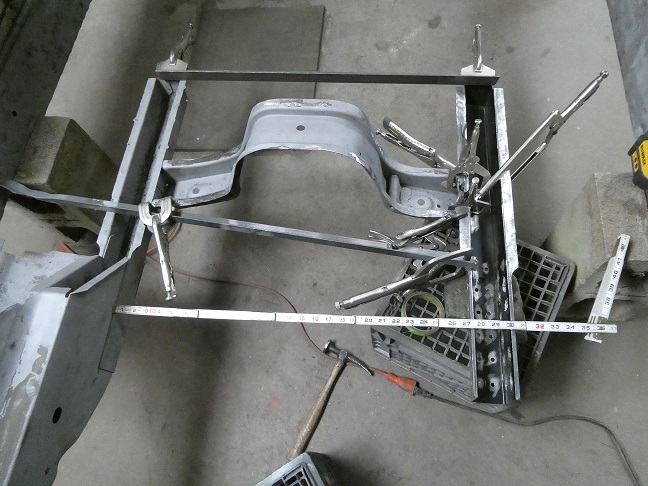 |
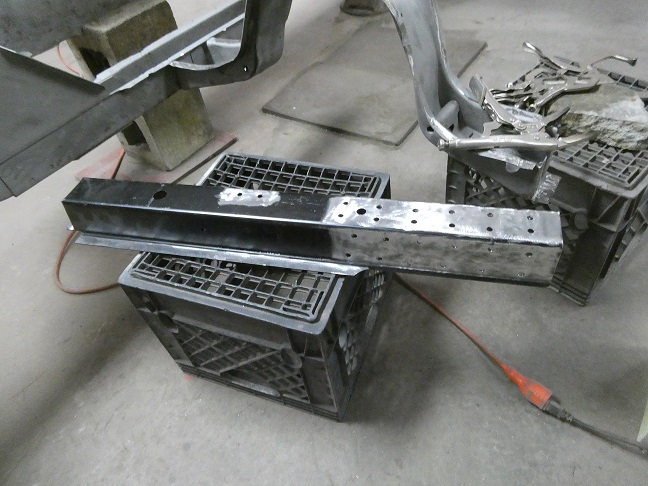
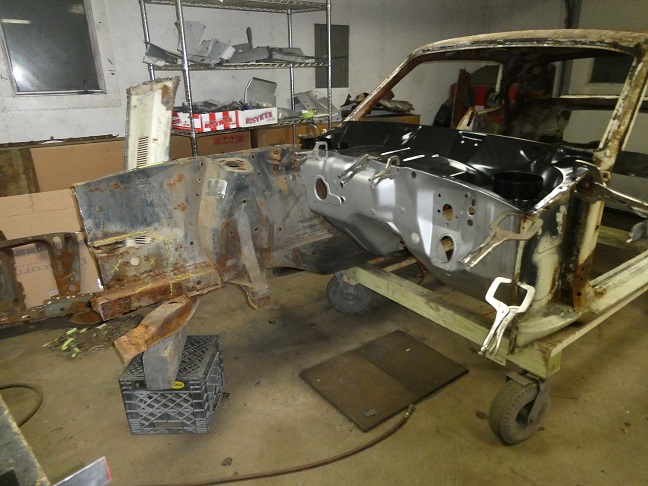
Initially I had dreams of keeping the original RH front frame rail and torque box in place, but that was futile as the RH frame rail is quite holey once sandblasted.
While I still had the RF frame rail installed, I used it as a reference to line up and weld in the new LH frame extension.
|
|
|
|
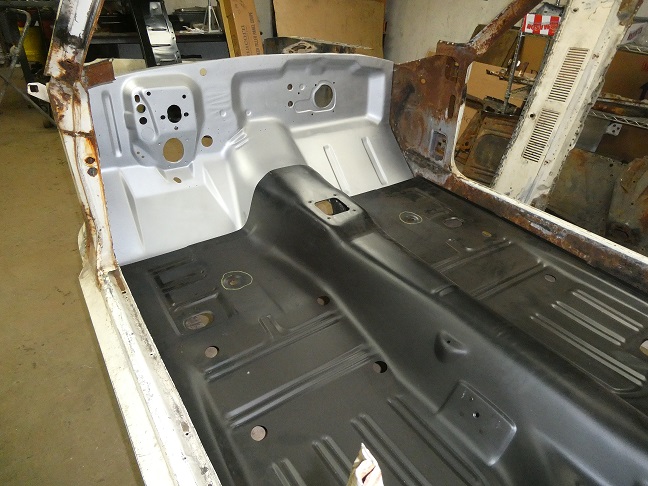 |
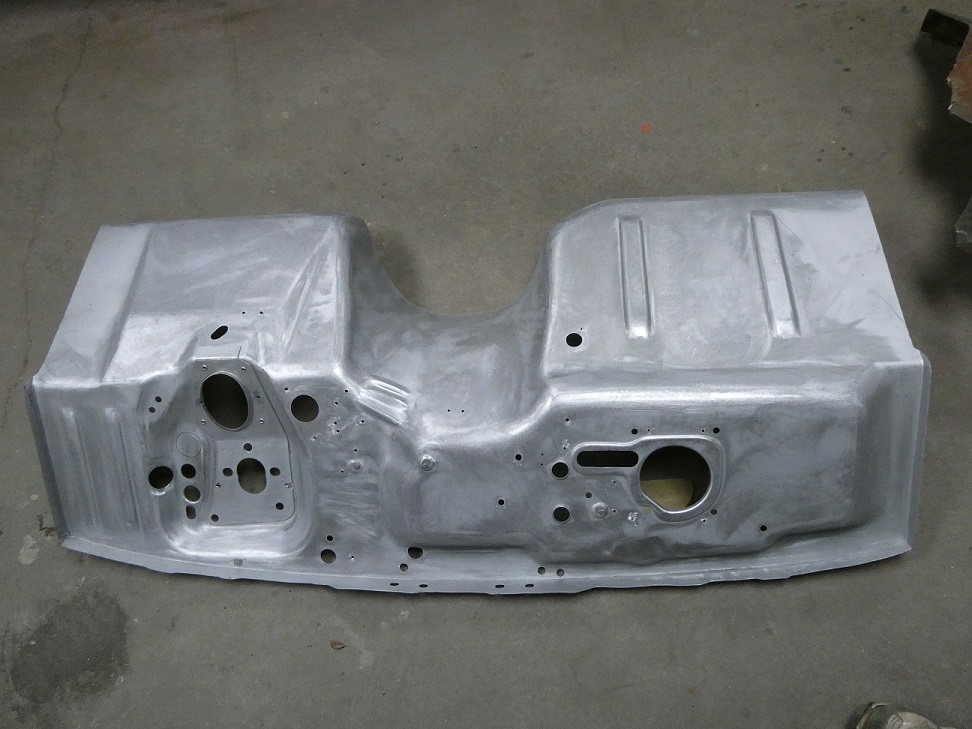
When my Dynacorn sheetmetal order came in, I fit the new firewall, lower cowl and floorpans, to see how well everything would come together. I would say the lower cowl and firewall were fantastic. The floorpan was another story...
|
|
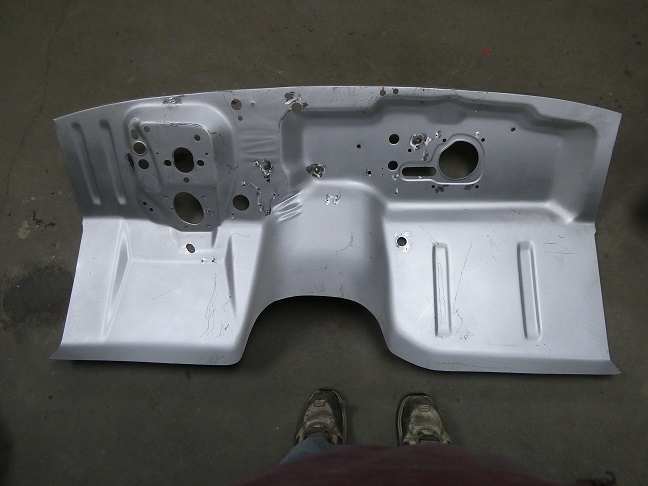 |
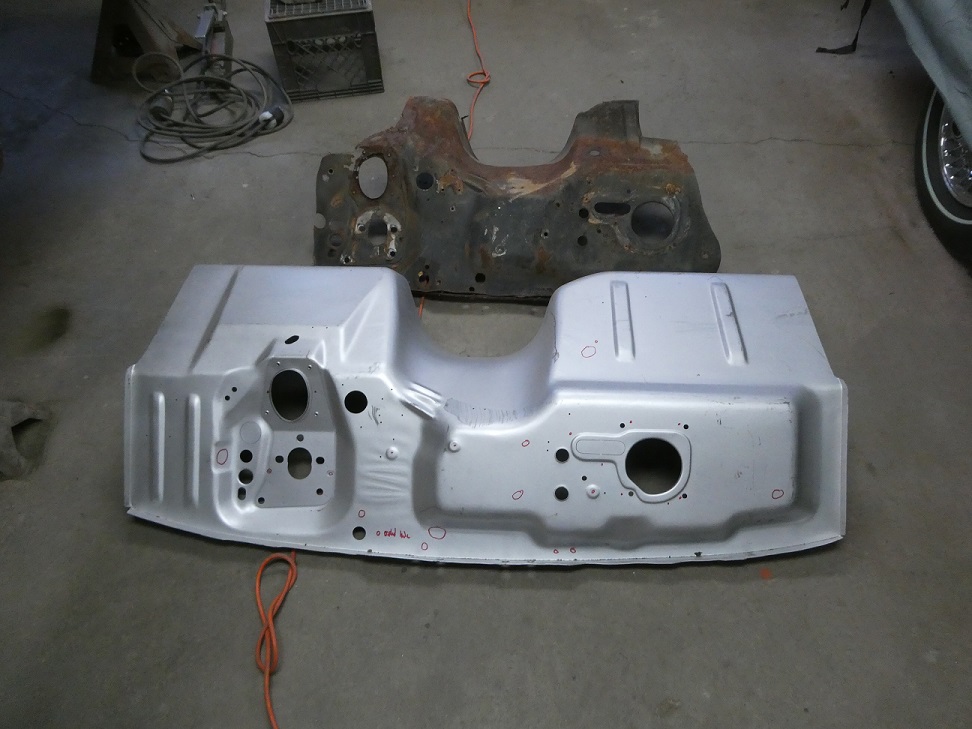
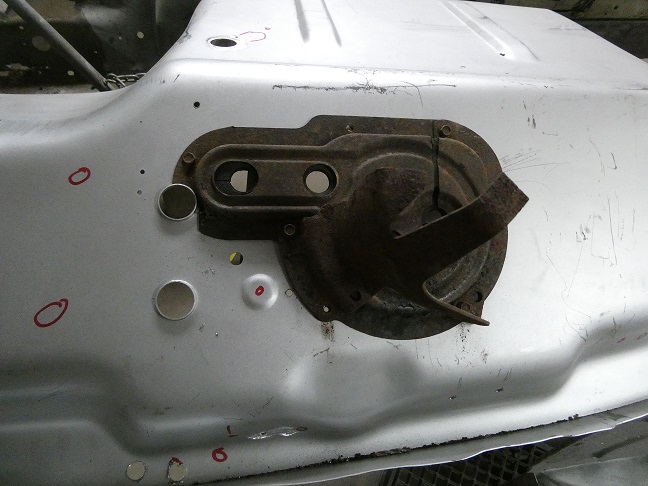
Prior to installing the new firewall, I prepared it by transfering all of the original holes over from the original firewall. Then I sanded it for priming as it is much easier to do off the car.
Though the firewall is identical to Mustang there are some Cougar specific holes due to all the vacuum lines. Plus the car had AC and a tilt away steering column, which also added to the holes.
|
|
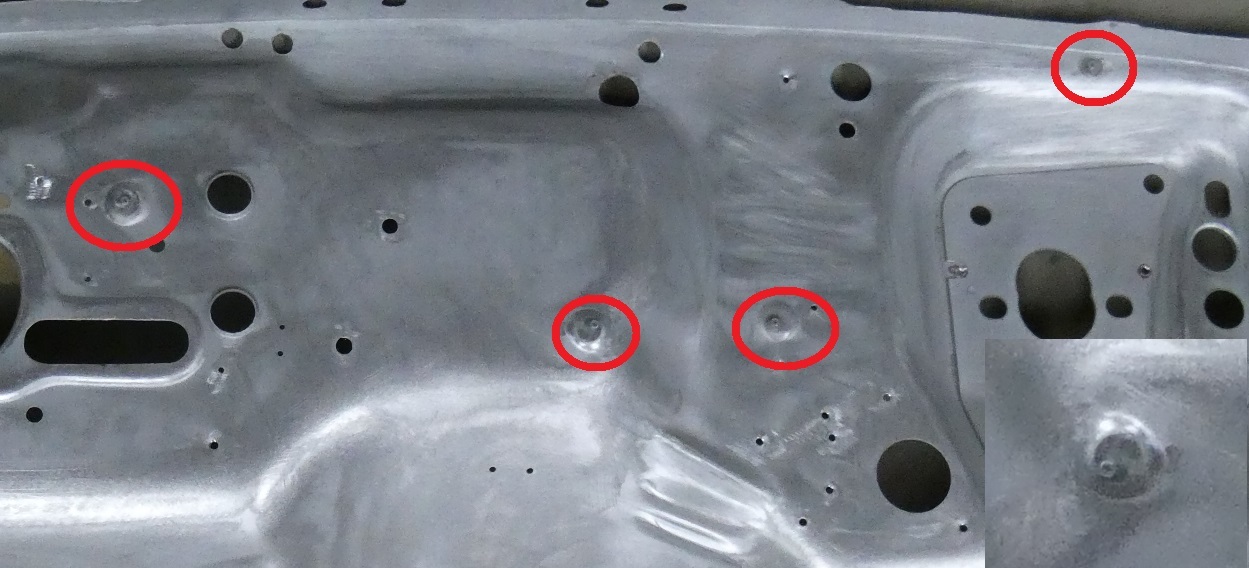 |
Not included on the repo firewalls are 4 studs, like windshield clips studs, that are used to hold wire and vacuum line retainers. I bought some screw in versions of West Coast Classic Cougars and welded them
in place so they would never come free.
|
|
 |
|
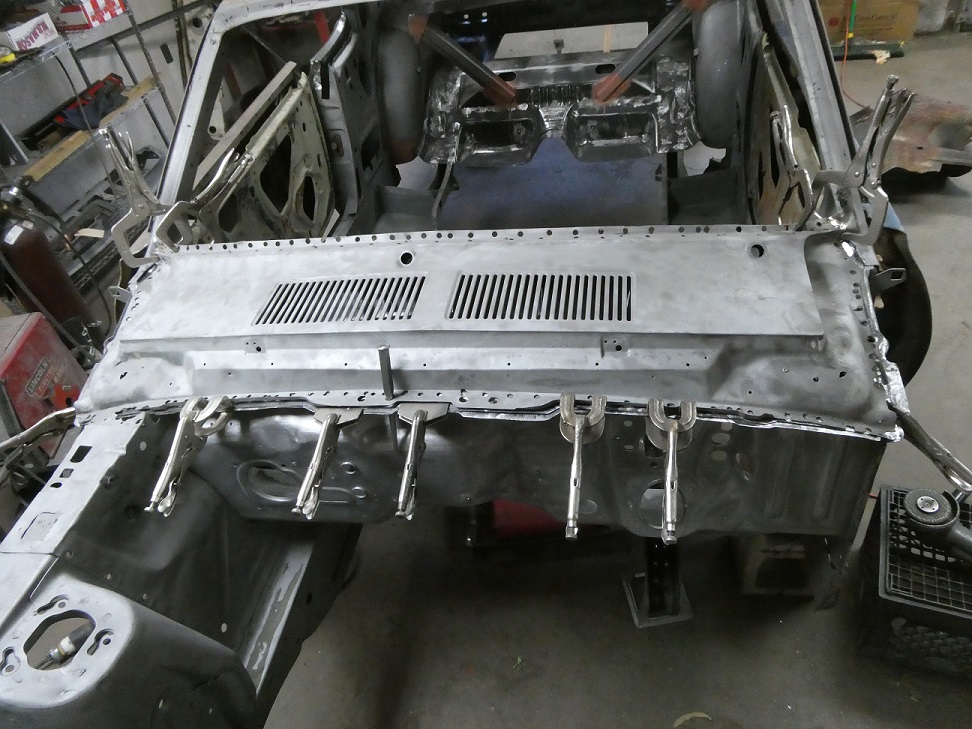
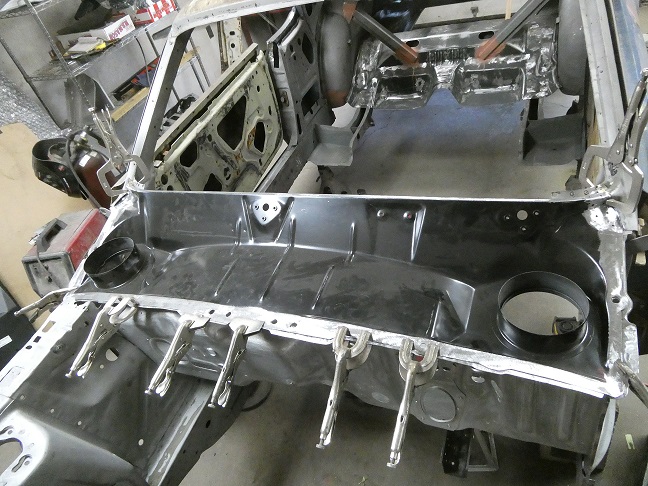
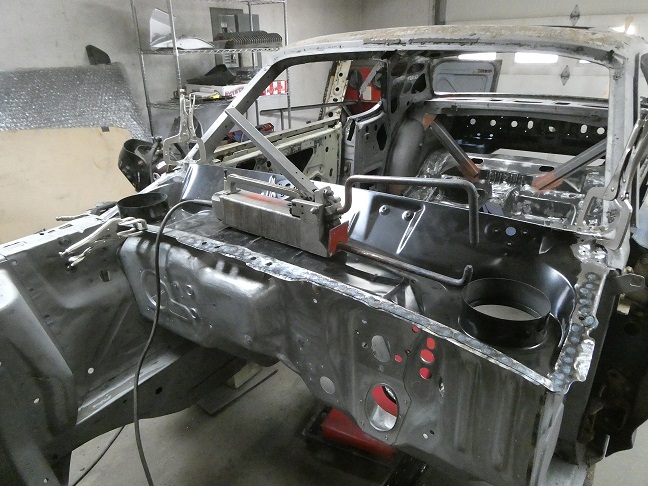
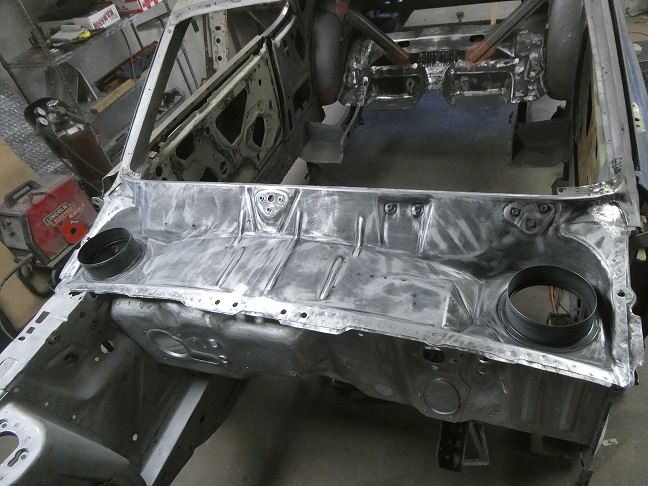
Welding the new firewall in place went rather quickly. I clamped the upper and lower cowl panels in place to get the alignment right, then I used my spot welder to weld it in followed by the lower cowl panel.
|
|
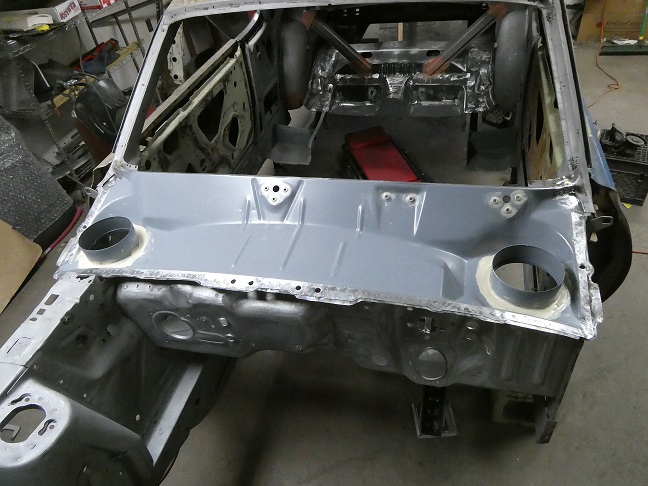 |
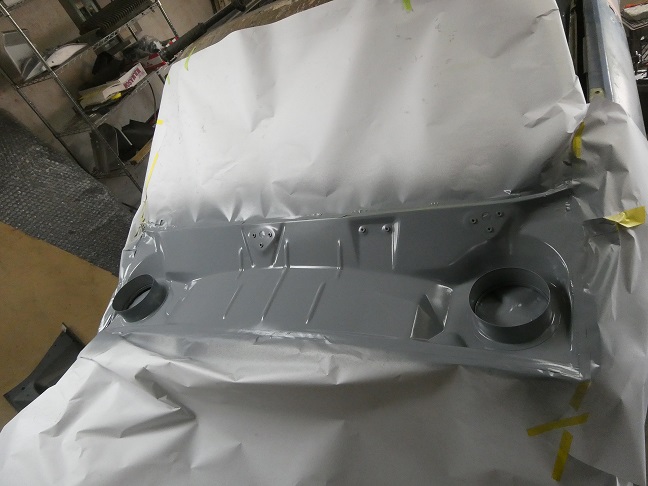
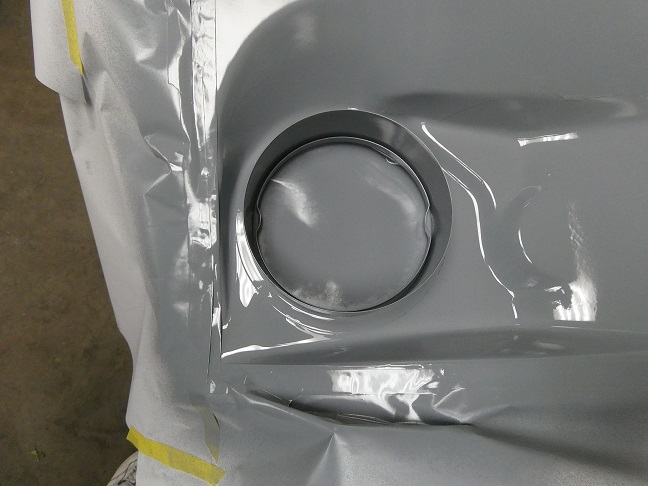
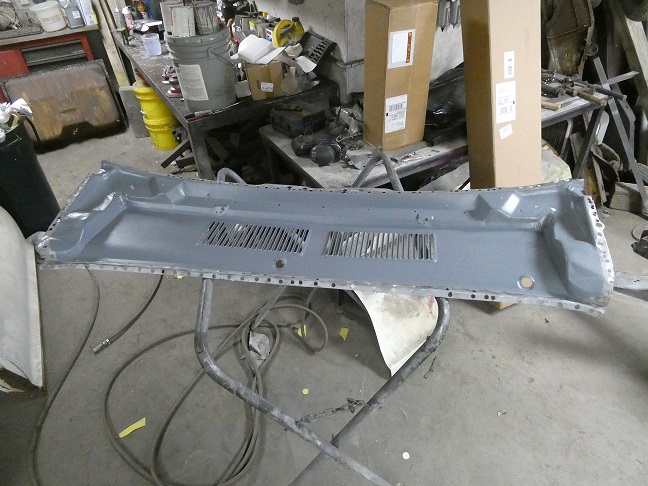
I primed the top surface of the lower cowl panel and underside of the upper cowl panel prior to welding the upper cowl in. To ensure that there would never be any leaks I sealed the lower cowl with 3M 08505 Fast & Firm Seam Sealer.
|
|
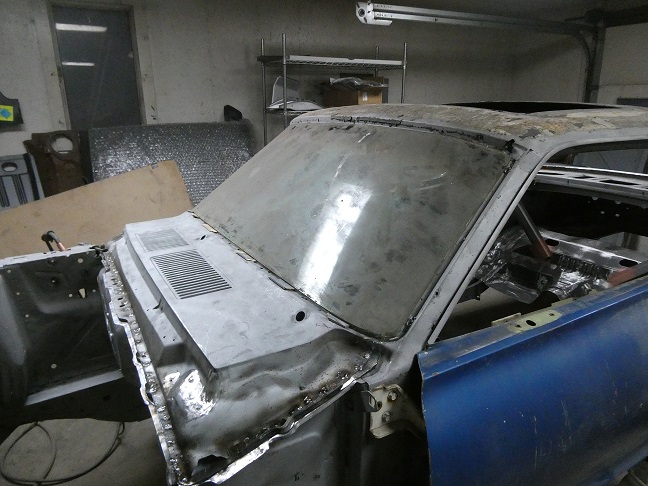 |
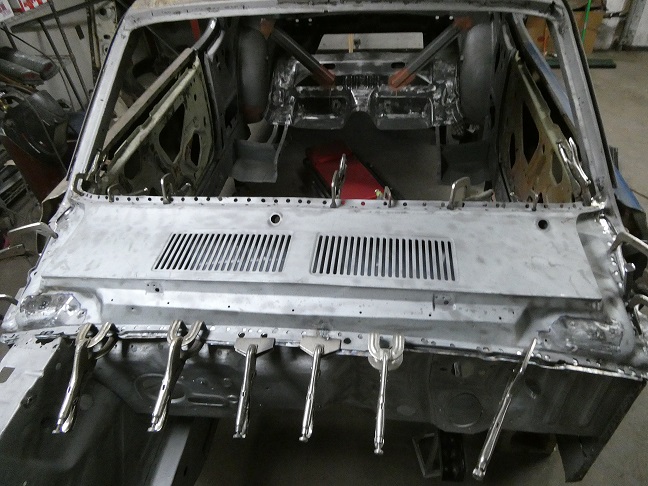
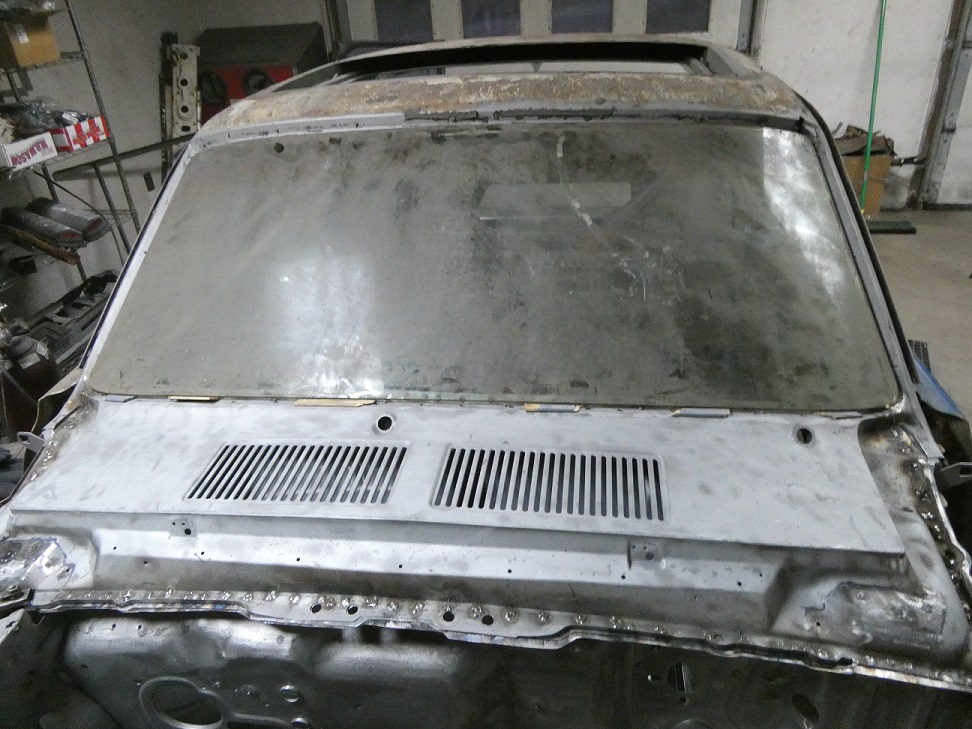
Since the upper cowl was original to the car, the holes I drilled to take it out were easy references for lining it up for welding it back in. Just to make sure I set the windshield in the opening to ensure the original
gaps were still there.
Refer to the Floor Pan Installation page for pictures of welding in the dash panel.
|
|