 |
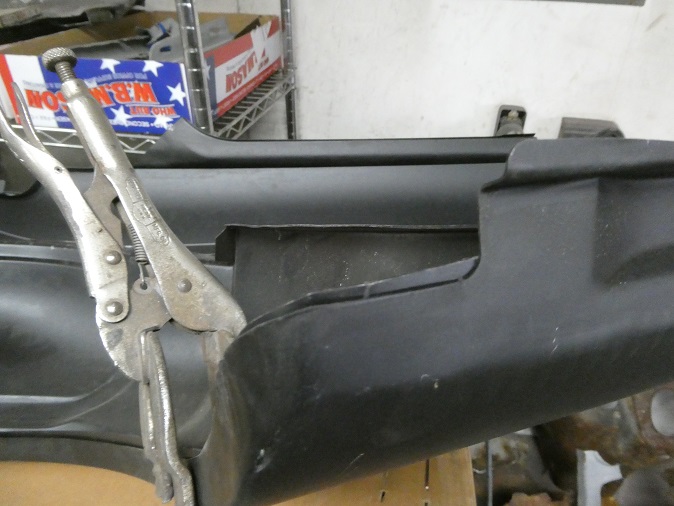
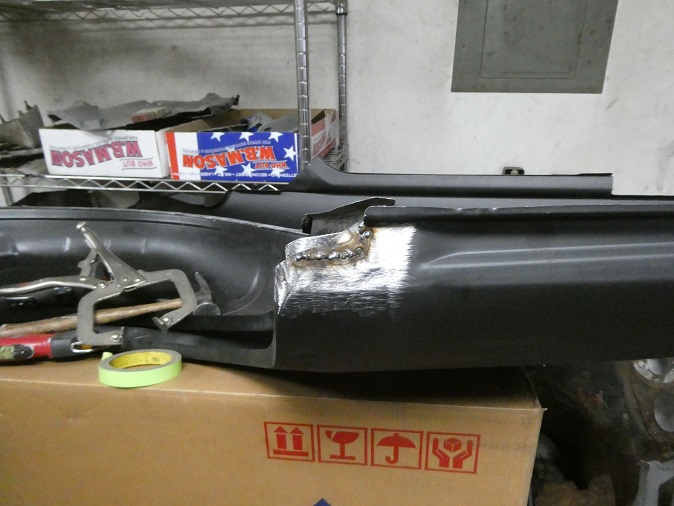
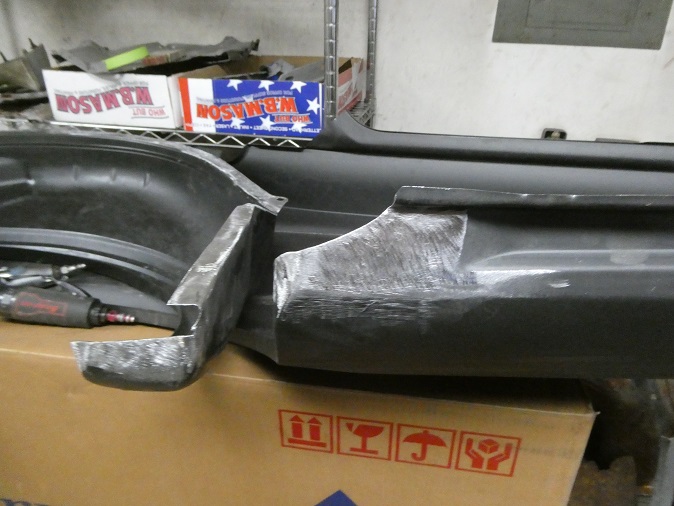
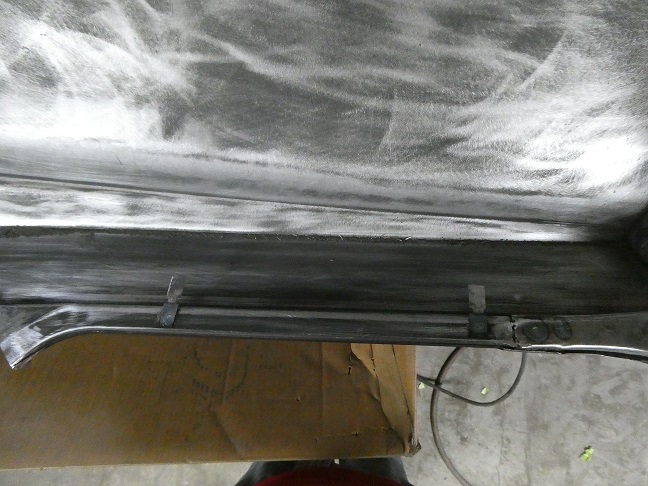
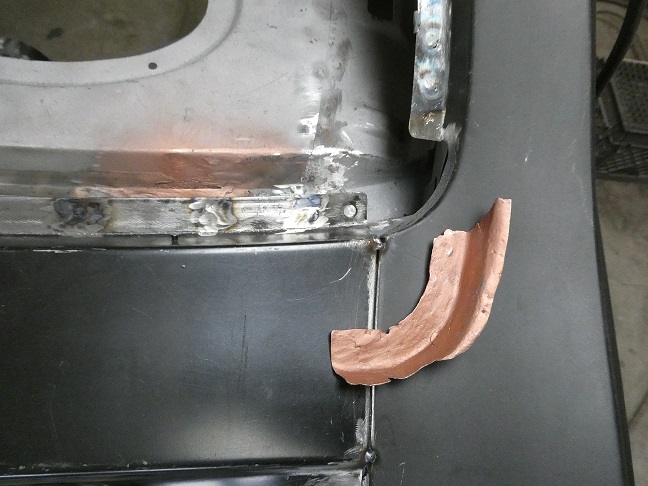
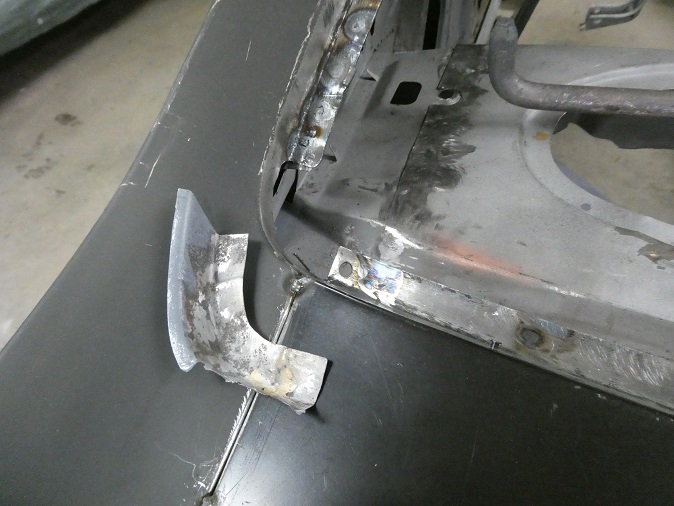
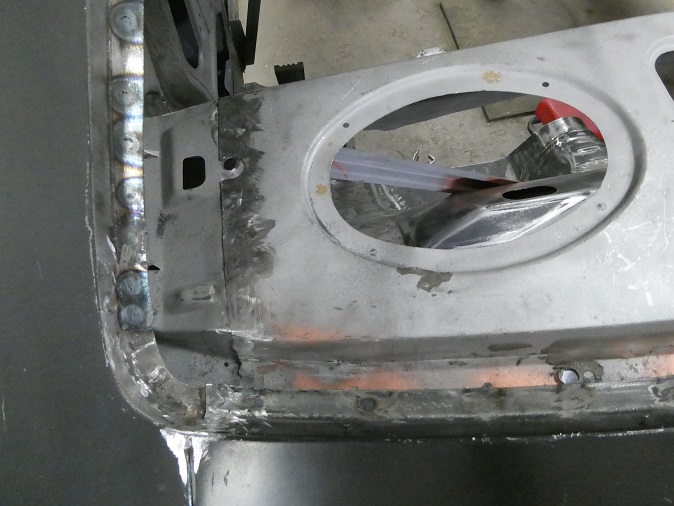
The bottom of the repo quarter panels turned out to be not factory correct. They are supposed to extend beyond the bottom of the wheel house (to catch water and rust out I guess...). This was pretty easy to correct as shown in these pictures. A simple thing to do
and a simple thing to spot when checking to see if the quarters were changed.
|
|
 |
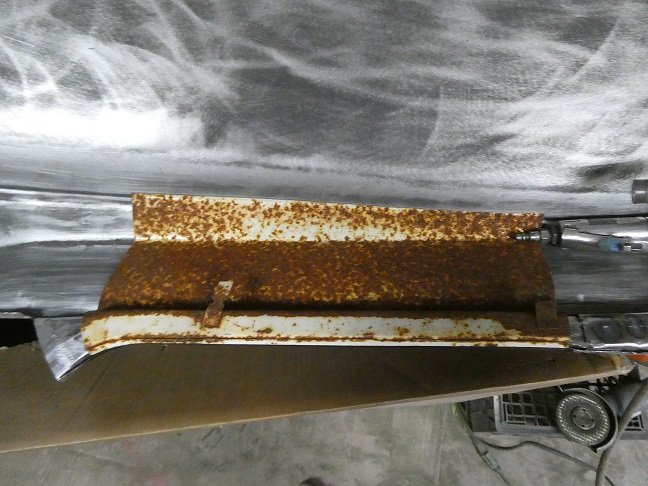
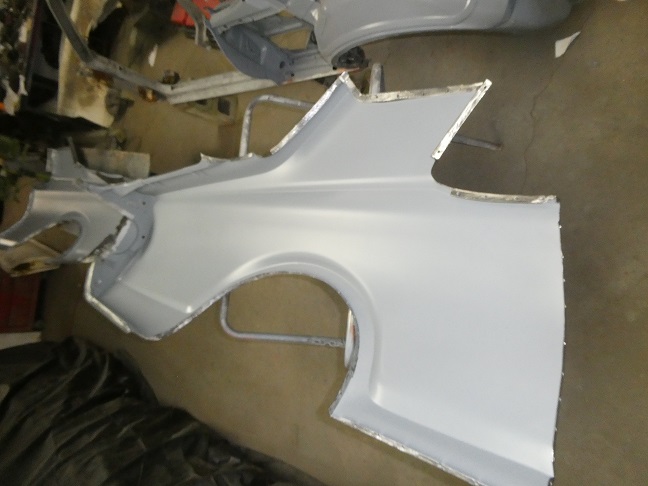
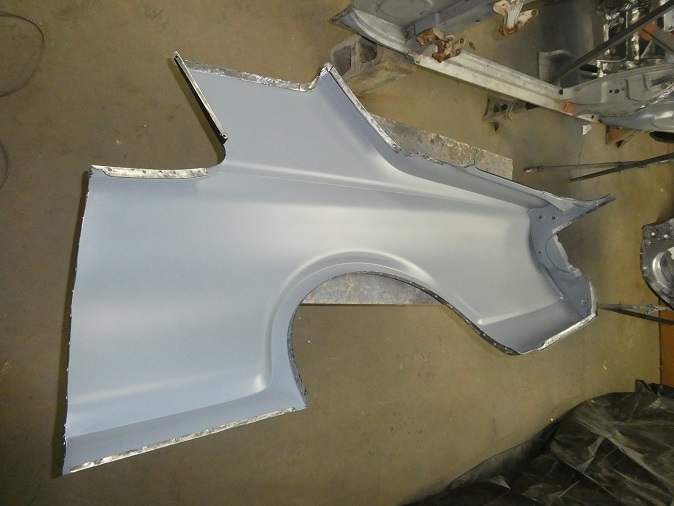
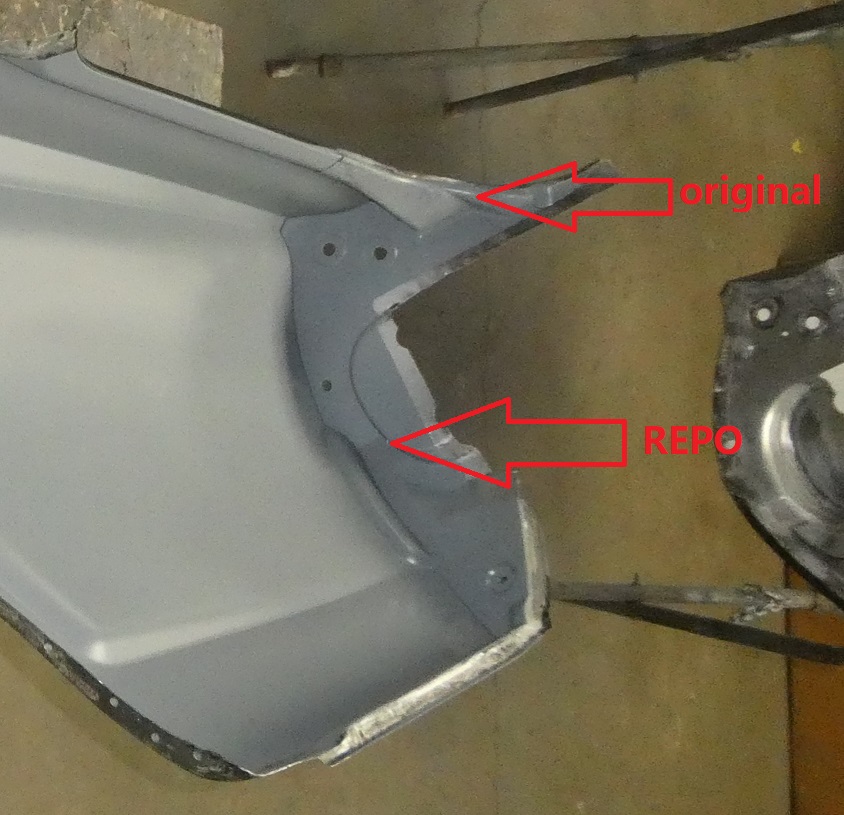
There are supposed to be a pair of wire retainers welded to the underside of the LH quarter in the trunk. It was a simple matter of removing them from the original quarter and spot weld them in place. Another simple thing to do
and a simple thing to spot when checking to see if the quarters were changed.
|
|
 |
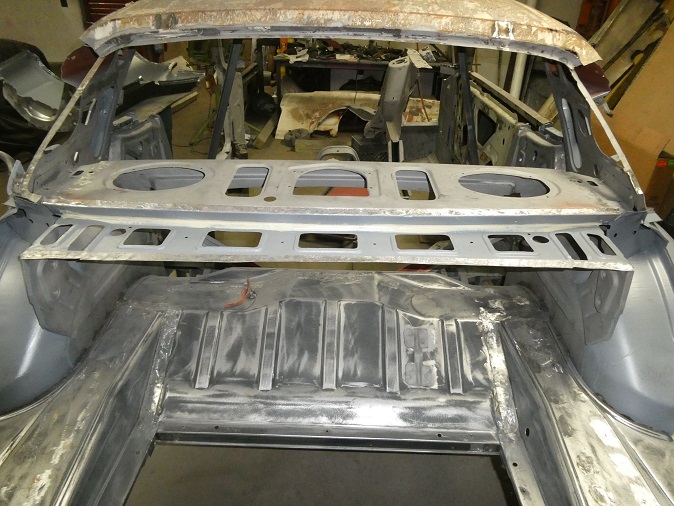
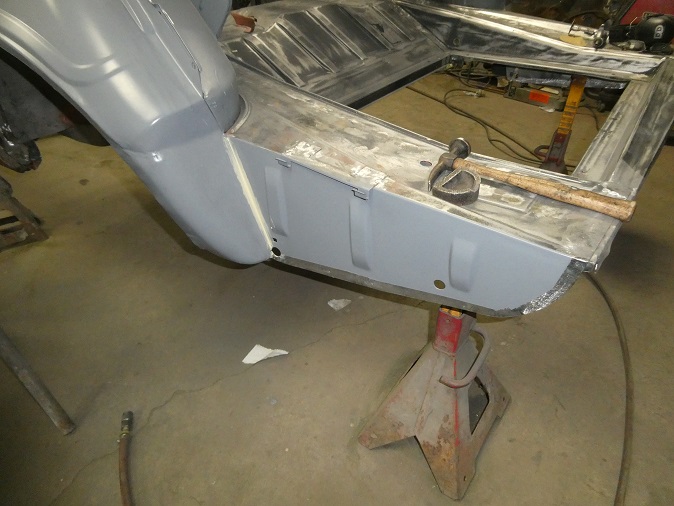
The quarters were sanded and primed on the inside before being installed. I don't have pictures of this, but the original trunk gutter extensions and repo tail panel extensions were fitted to the quarters using the quarter panel
extensions for alignment. They were then welded in place using my spot welder.
|
|
|
|
 |
Before welding in the rear filler panel (dutchman) and quarter panels, I applied 3M 08505 Fast & Firm Seam Sealer to the hard to reach spots.
|
|
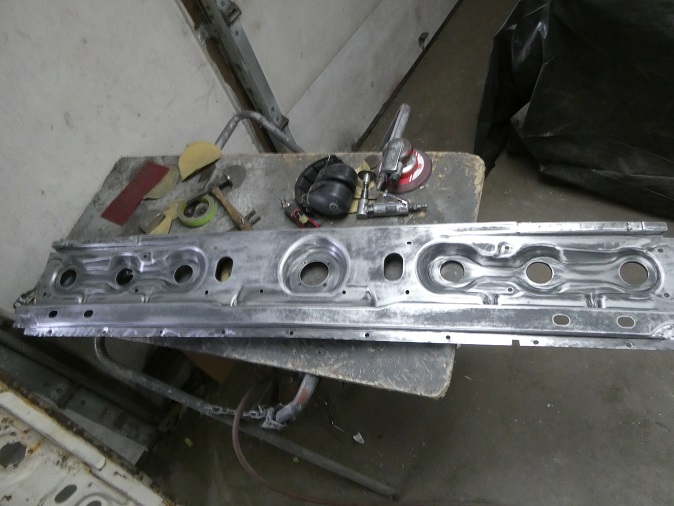 |
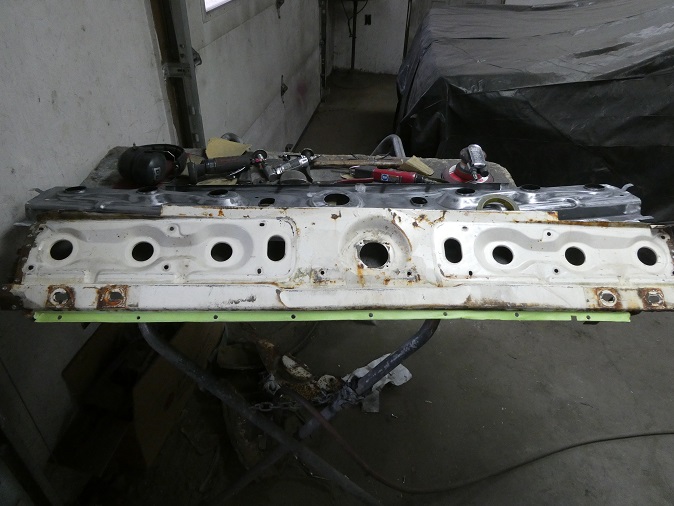
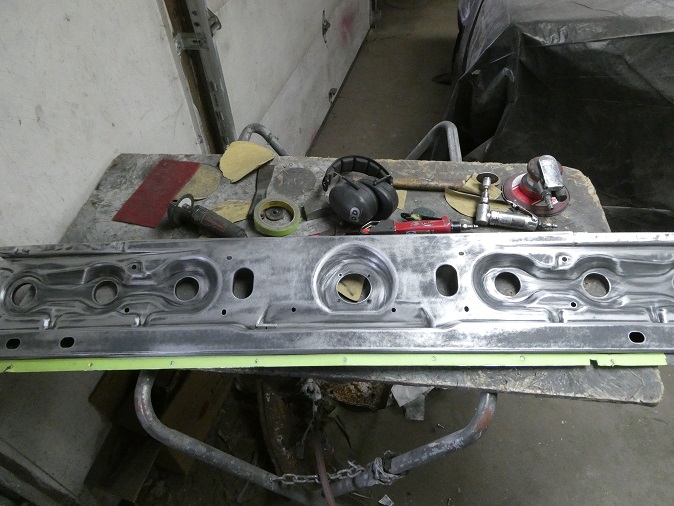
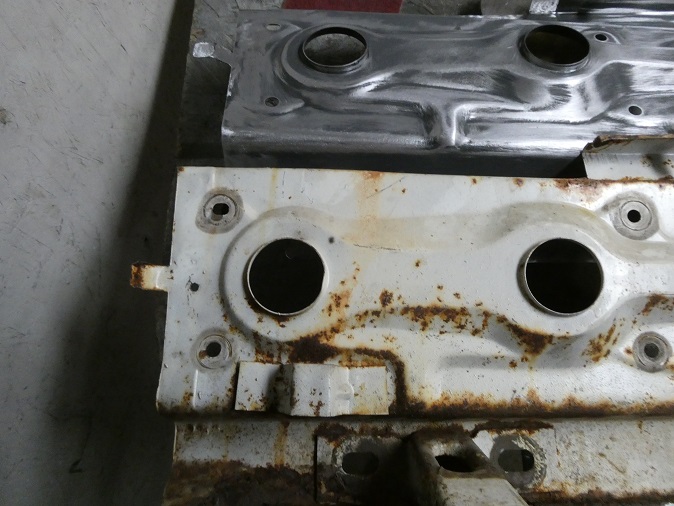
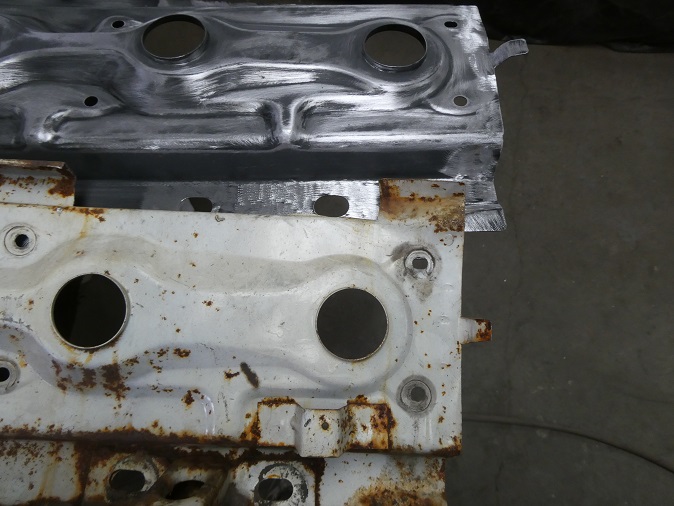
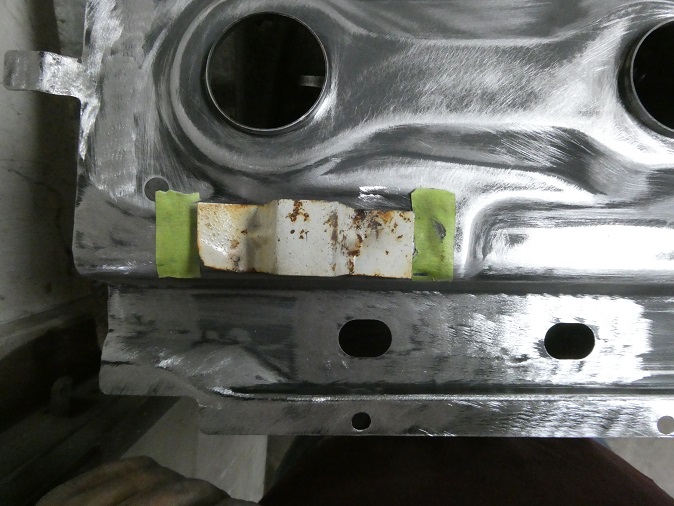
The original tail panel was too bent and rusted to save. The repos are pretty nice, but aren't 100% identical. I used masking tape as a template and transfered the rear valance panel holes and alignment notch to a new panel.
|
|
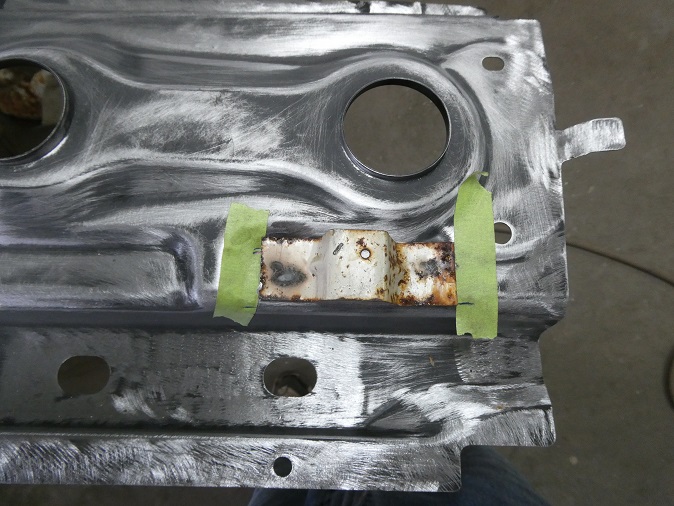 |
There are a pair brackets welded to the inside of the tail panel for mounting tail light covers. These were easily removed and transfered over to the new panel.
|
 |
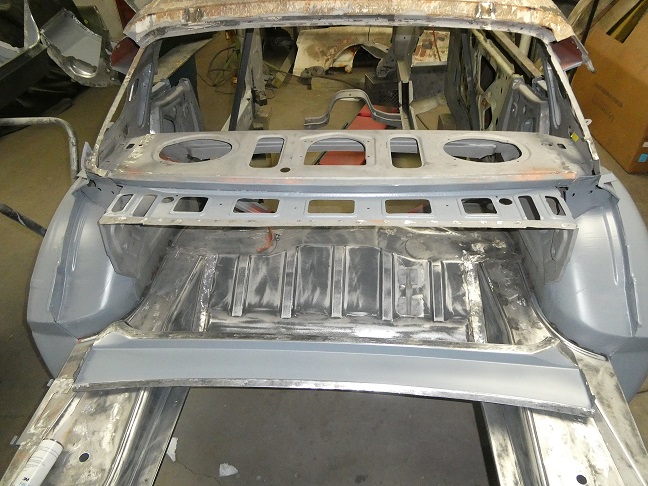
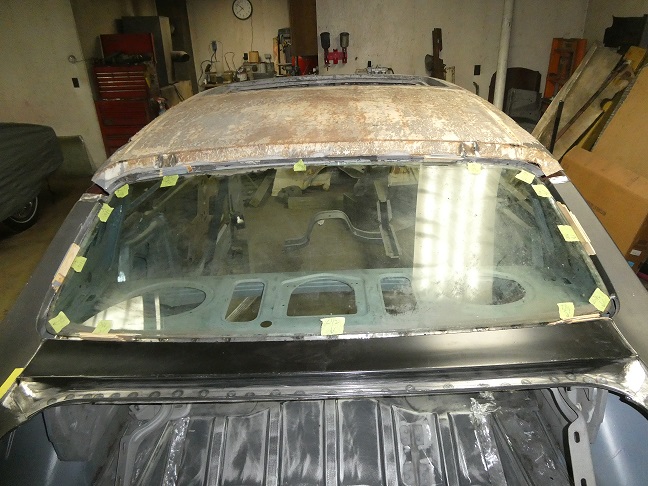
The rear filler panel is easy to install, but care had to be taken in order to get the rear window opening correct. When the rear window was removed prior to cutting away any metal, I placed it back in the opening and centered it using paint paddles
as shims. I recorded the gaps on pieces of tape which I applied to the glass. The gap was 7/16" all the way around. When it came time to set the rear filler panel, the glass was put back in place and I adjusted it to give me the 7/16" gap along the perimeter.
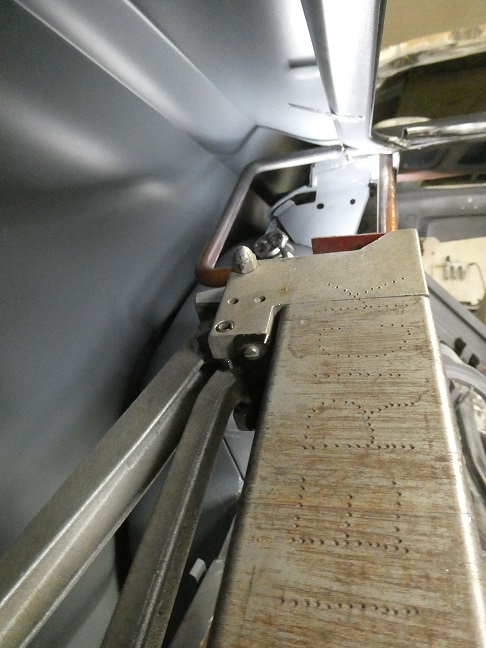
Once set the filler panel was tack welded in the corners and spot welded from below like the factory originally did it. With the glass removed, the filler panel was plug welded to the window opening as my spot welder wouldn't fit.
|
 |
The bottom corners of the rear window opening is formed with these little sheetmetal pieces. They are welded in from the inside. These are the first pieces to rust away on these cars. Luckily one side was good and the other one came with the
clipped panel that I got from West Coast Classic Cougars. I used the window mouldings to get them in the correct location before welding them in.
|
|
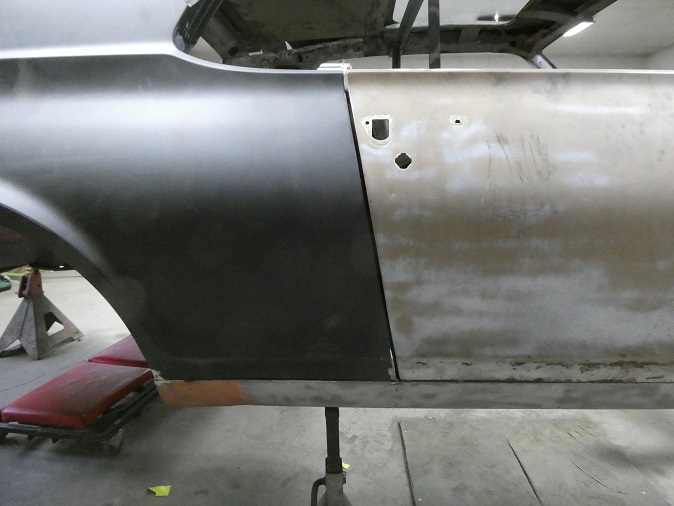 |
When installing quarter panels, you should start by installing the doors with the gap along the bottom of the doors even with the rocker panels. Then you align the door to the quarter panel. In a perfect world you would have nice gaps
along the rocker and the B-pillar. But in the world of repo sheetmetal extra work may be required.
In this case the repo right quarter panel fit very well with nice gaps along the door.
|
|
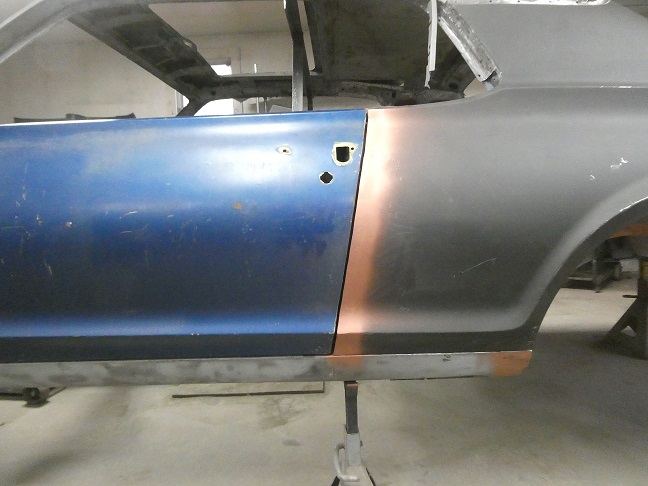 |
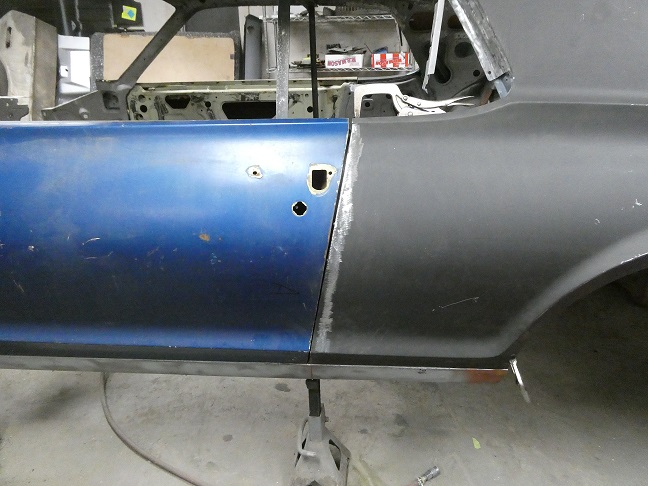
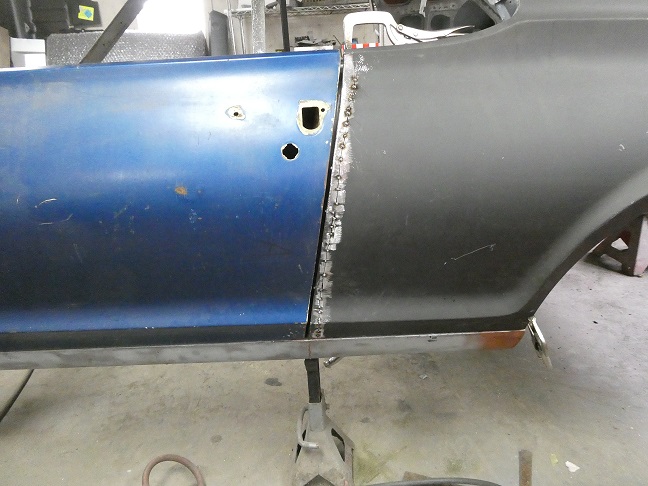
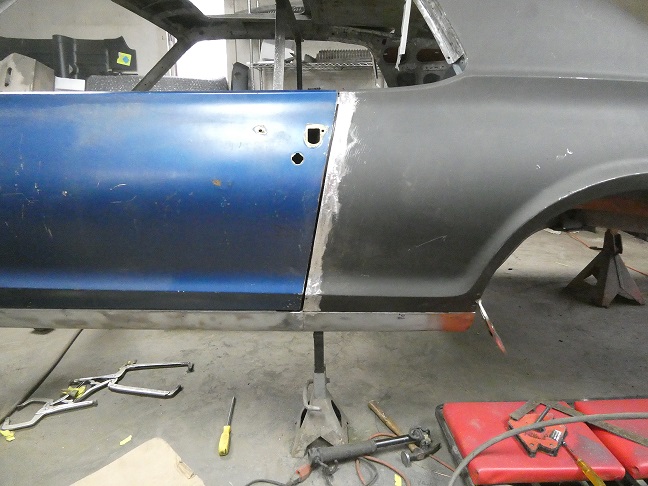
The left quarter was a different story. It hit the bottom of the door while having a nice gap at the top. The way to fix this is to cut a slit in the quarter (more of a long skinny pie wedge), tap the slit closed to achieve a good gap and weld it
closed.
It's a little more involved than that actually. I started with marking where I wanted the cut to be using masking tape as a reference line. I then cut a slit into the quarter and tapped the edge of the quarter back to get a good door gap. For setting the gap
I use a stack of fender shims (washers work too) that added up to 3/16" thick, to slide up and down the door gap to get it even. I then tack-welded along the cut slit (2nd picture on the left) to hold it all in place. Then I performed a series of tack welds
to fill the gap. With that done I ground the welds down. I put a light within the quarter panel to show if I missed any spots. Any place I could see light shine through, I welded. Once all done I hit the seam with primer to keep it from rusting.
|
|
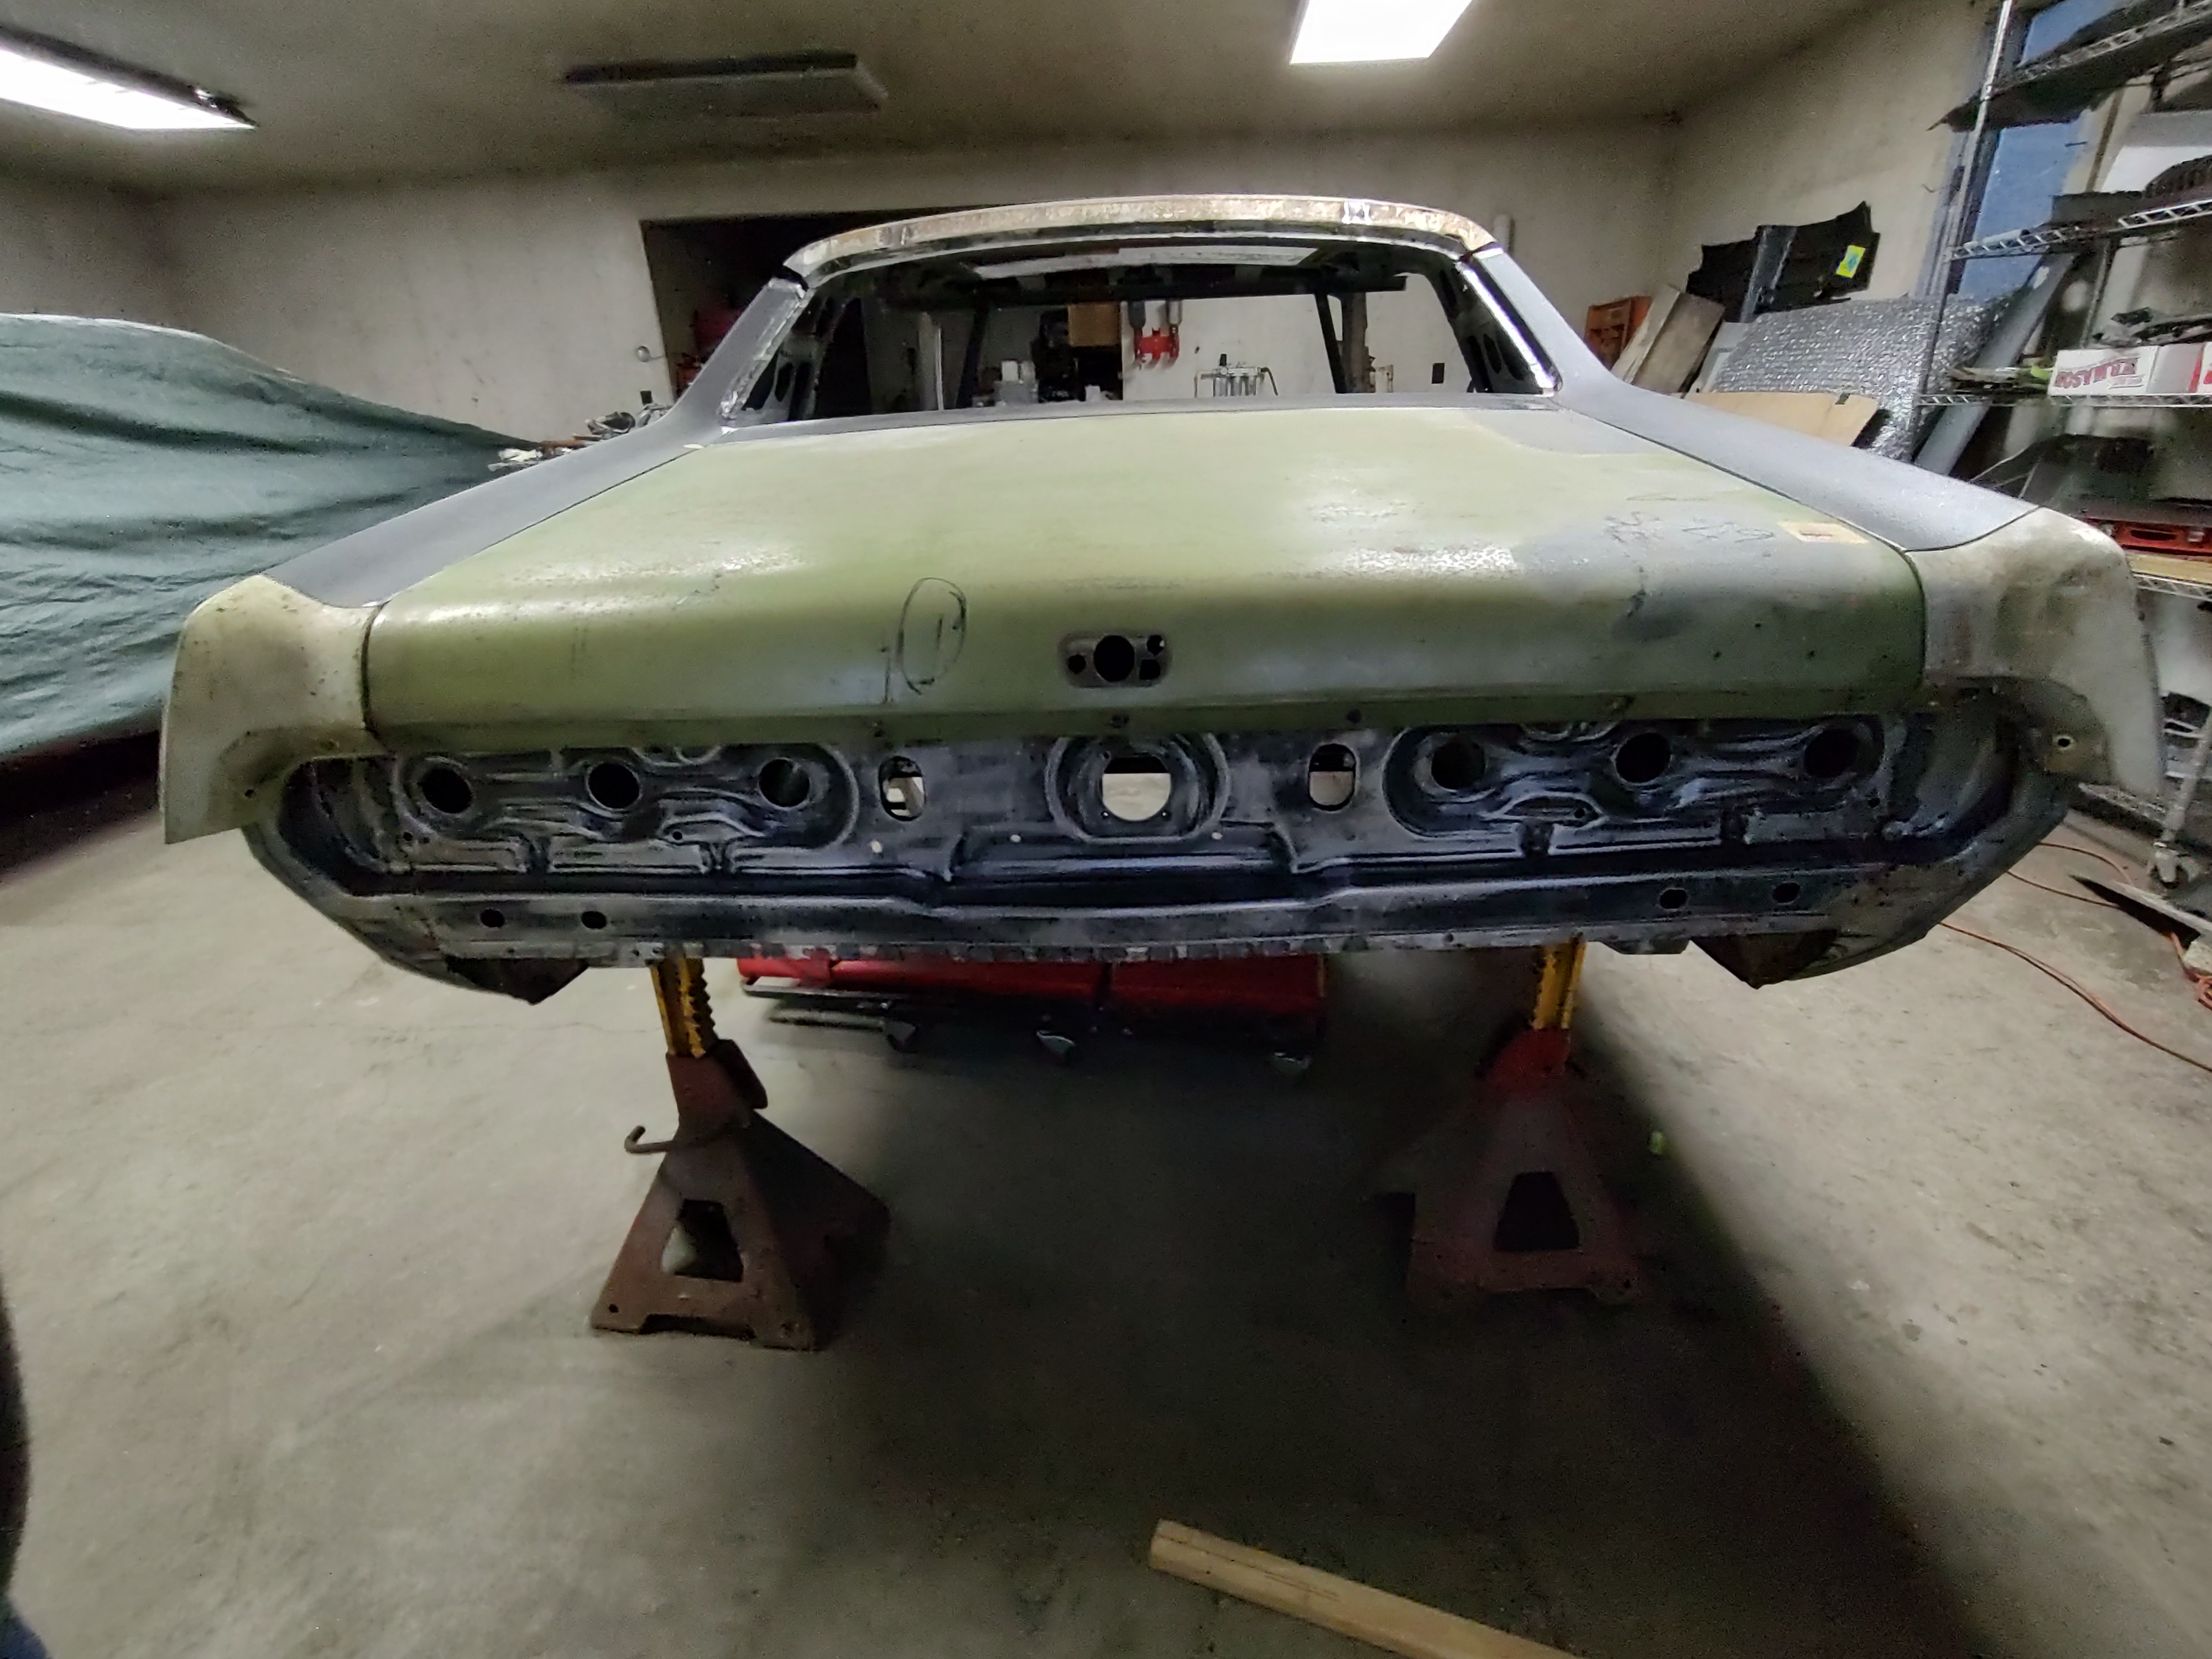 |
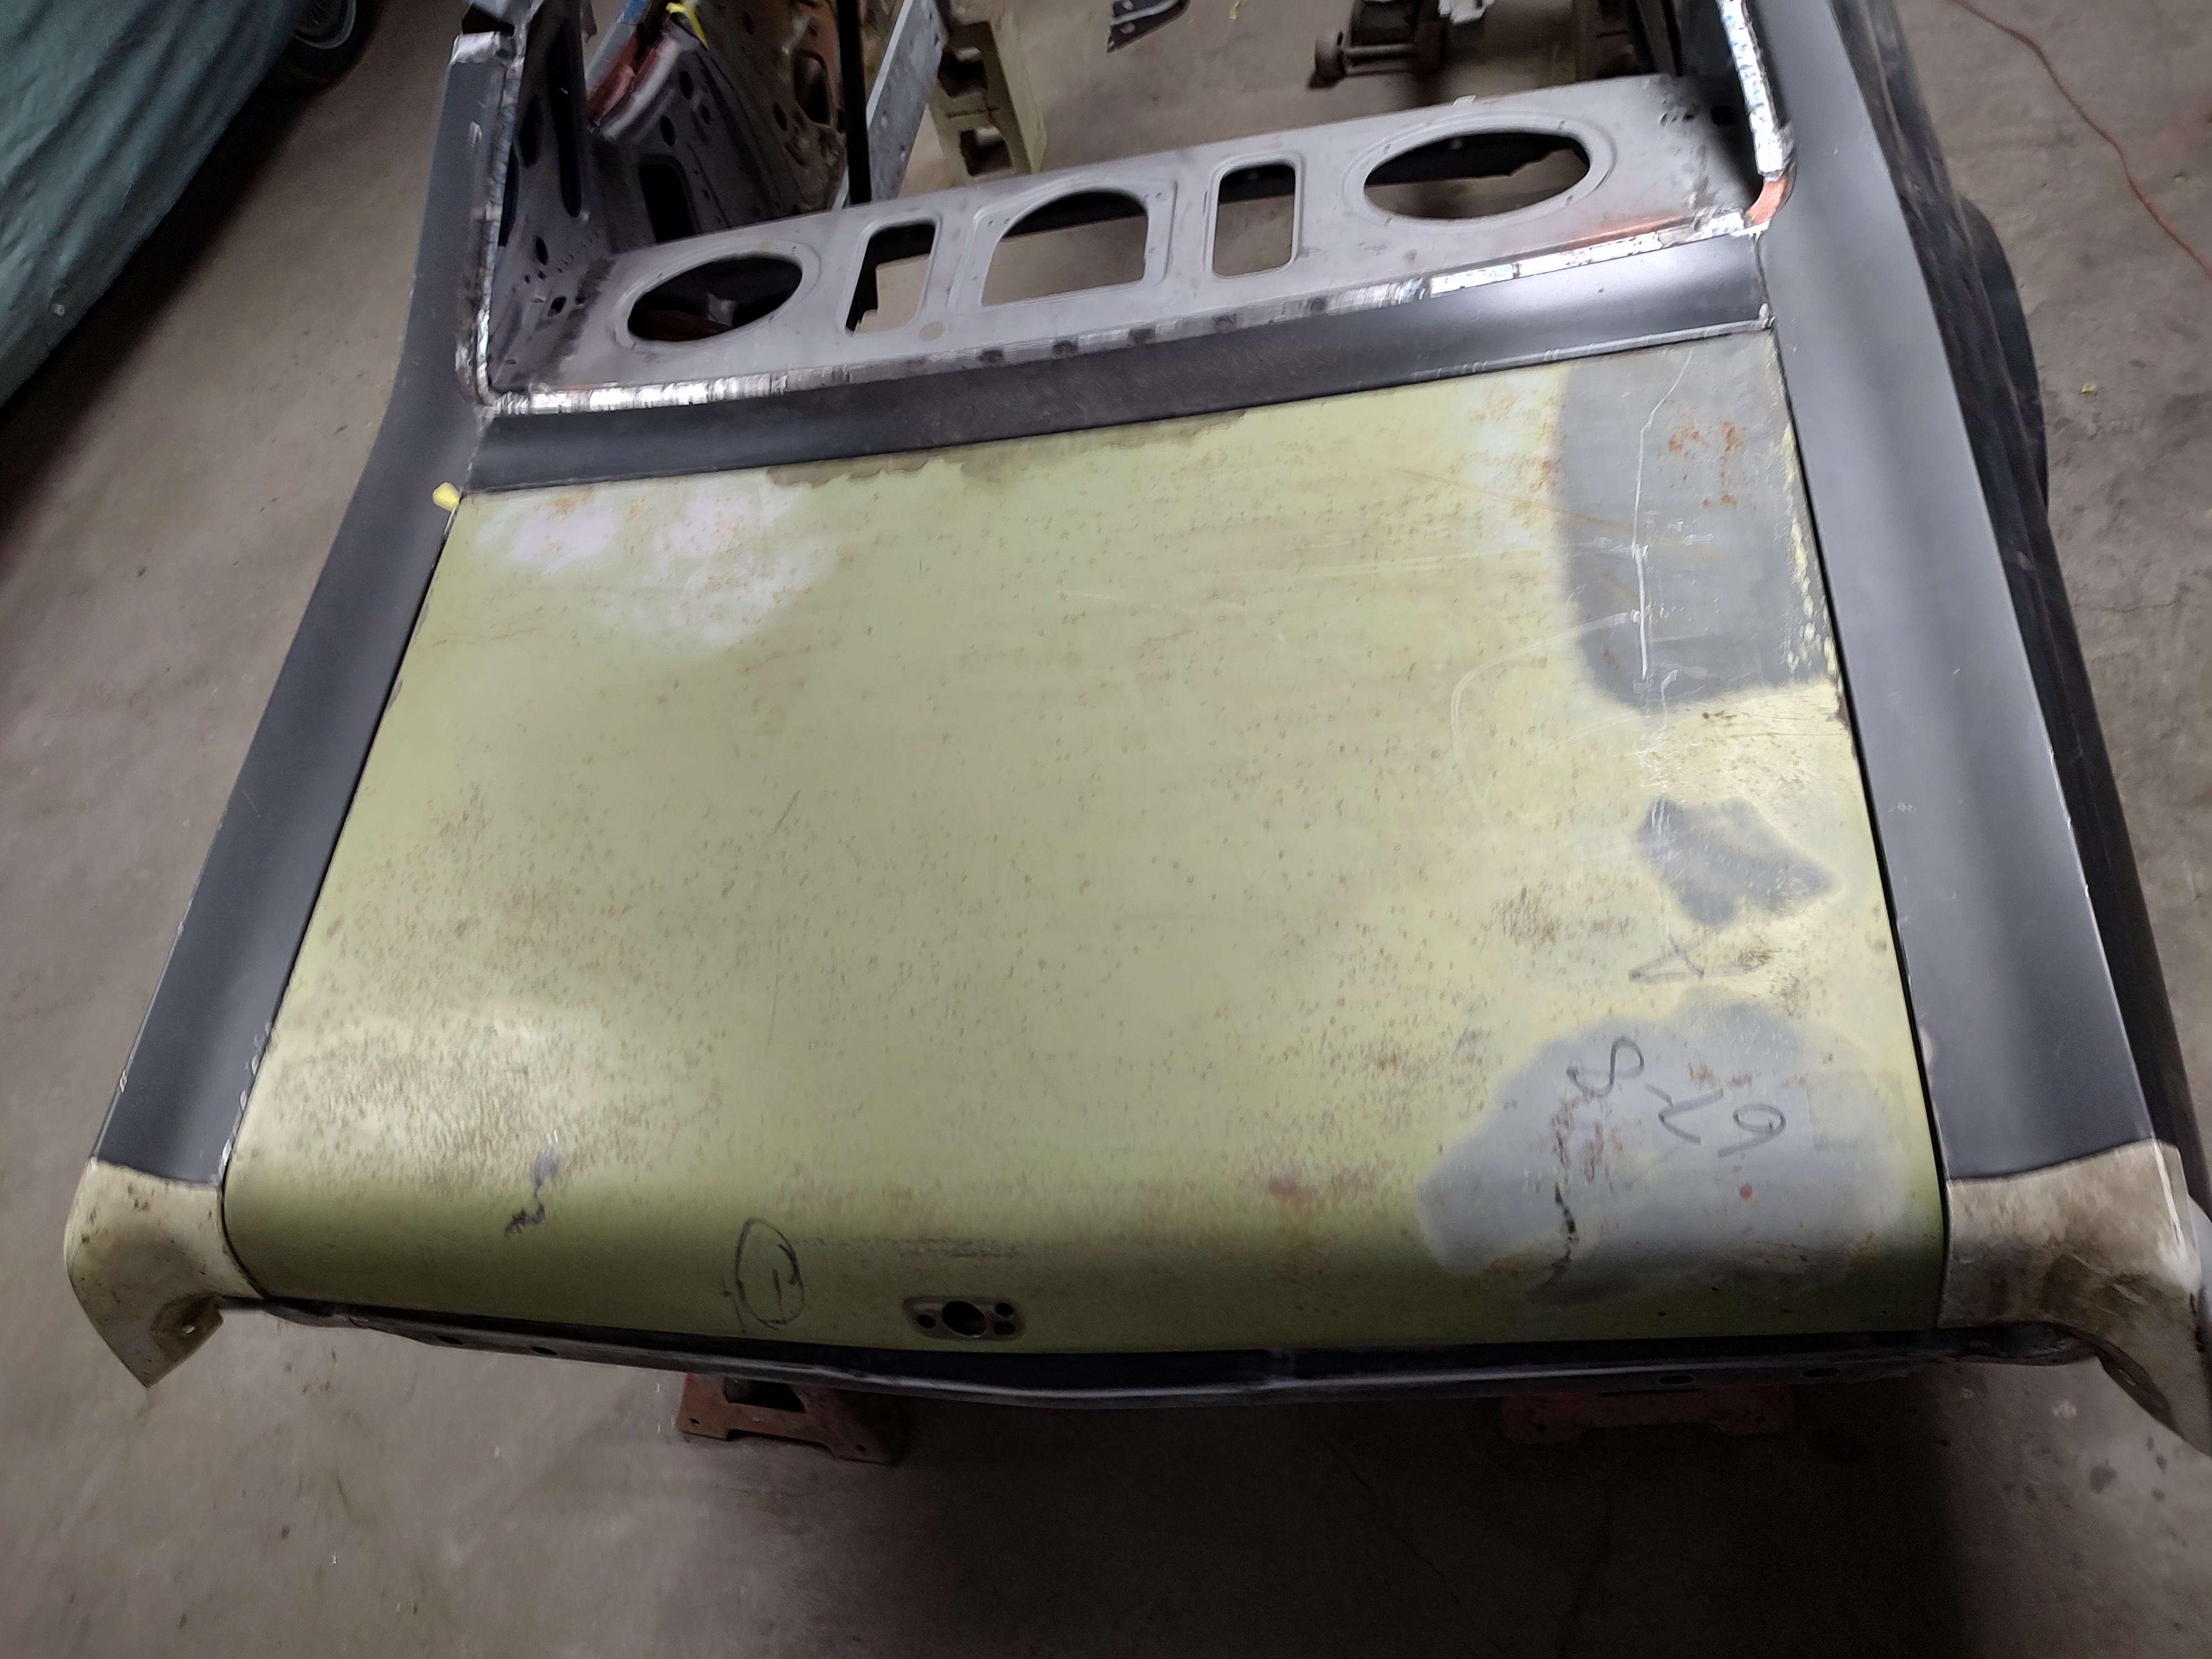
The car did not come with the original trunklid or the correct one. It came with and early 1967 trunklid, which has a different shaped inner panel than the 68-70 Cougars.
Luckily West Coast Classic Cougars had a nice rust free one, which I was able to purchase and use to set the gaps for the quarter panel.
|
|
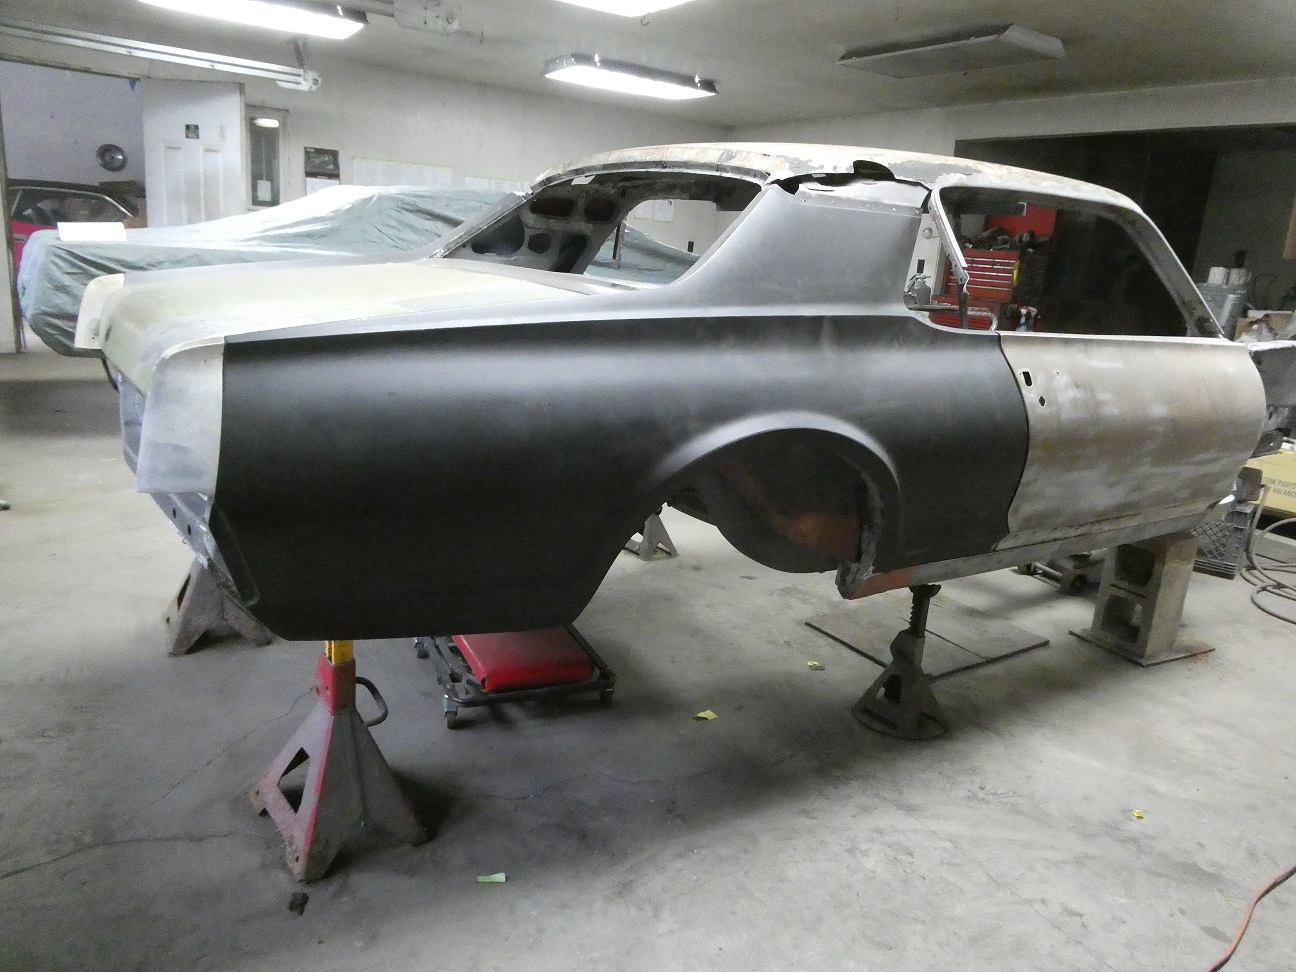 |
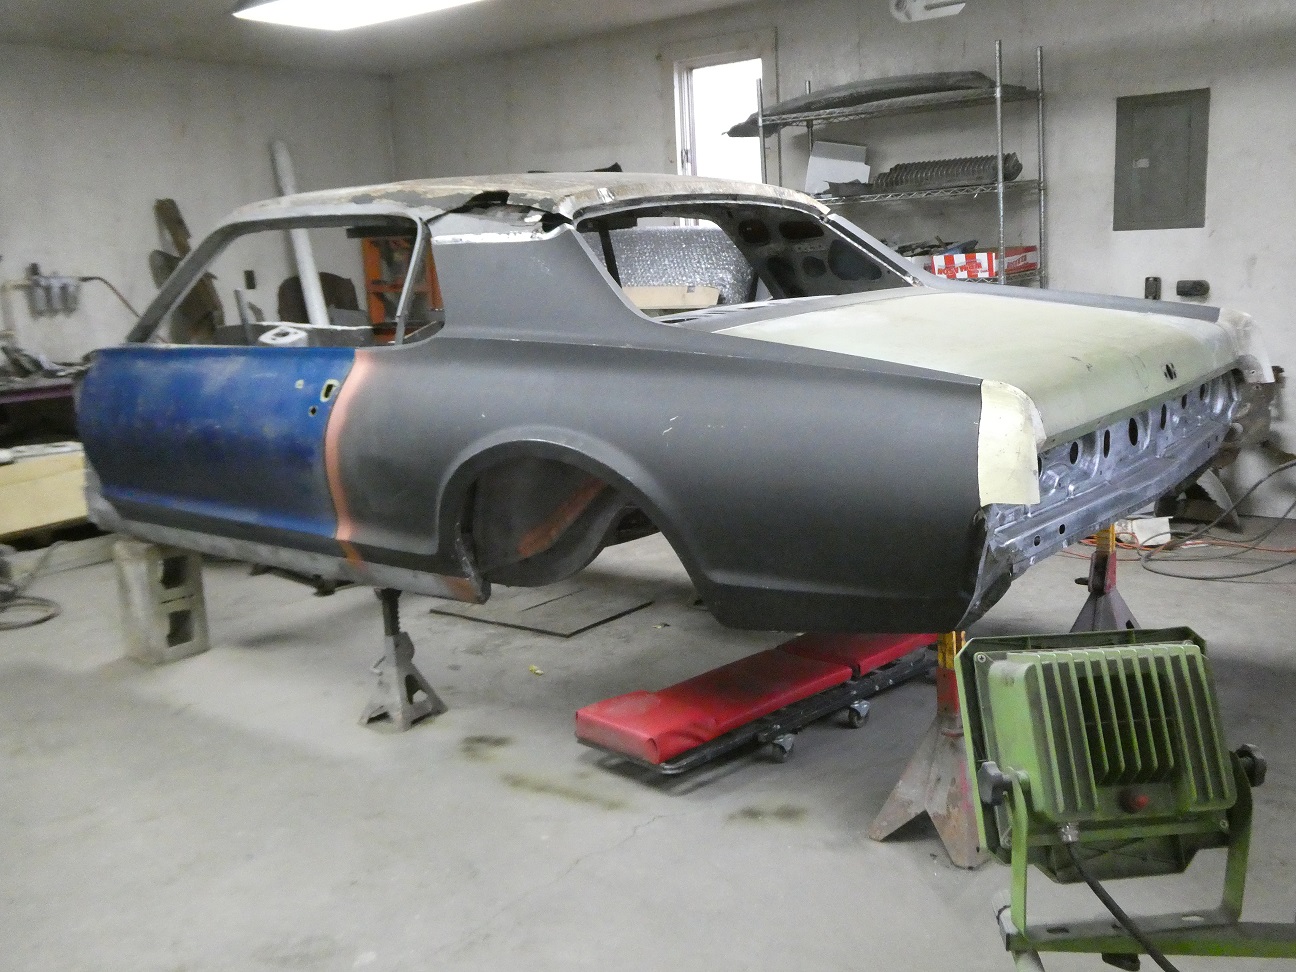
Here is how the rear end looked with the quarter panels all welded in and the trunk gaps set correctly.
|
|
 |
REAR VALANCE- I ended up buying a repo rear valance. I needed it to set the rear quarter spacing relative to the rear drop offs. The rear valance will be easily converted to an XR7G version by performing a couple U-cuts and
adding some mounting holes for the chrome moulding for the exhaust tips.
|