 |
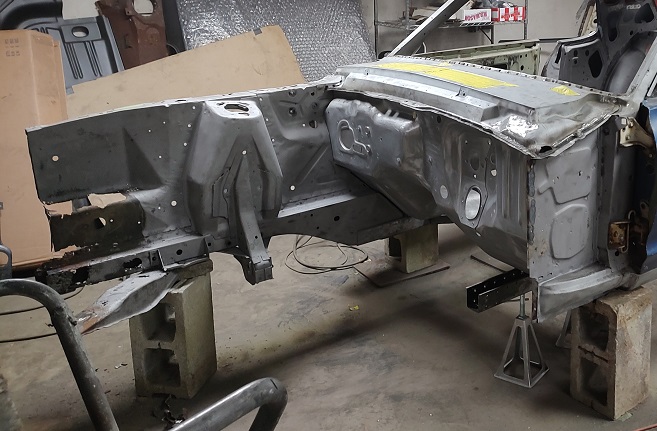
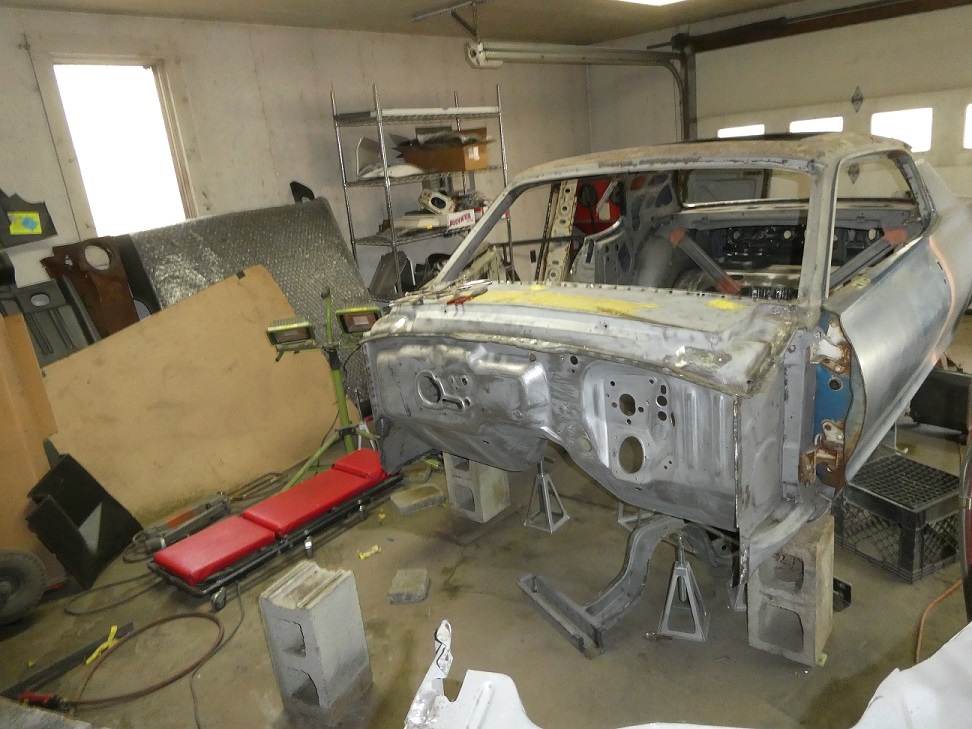
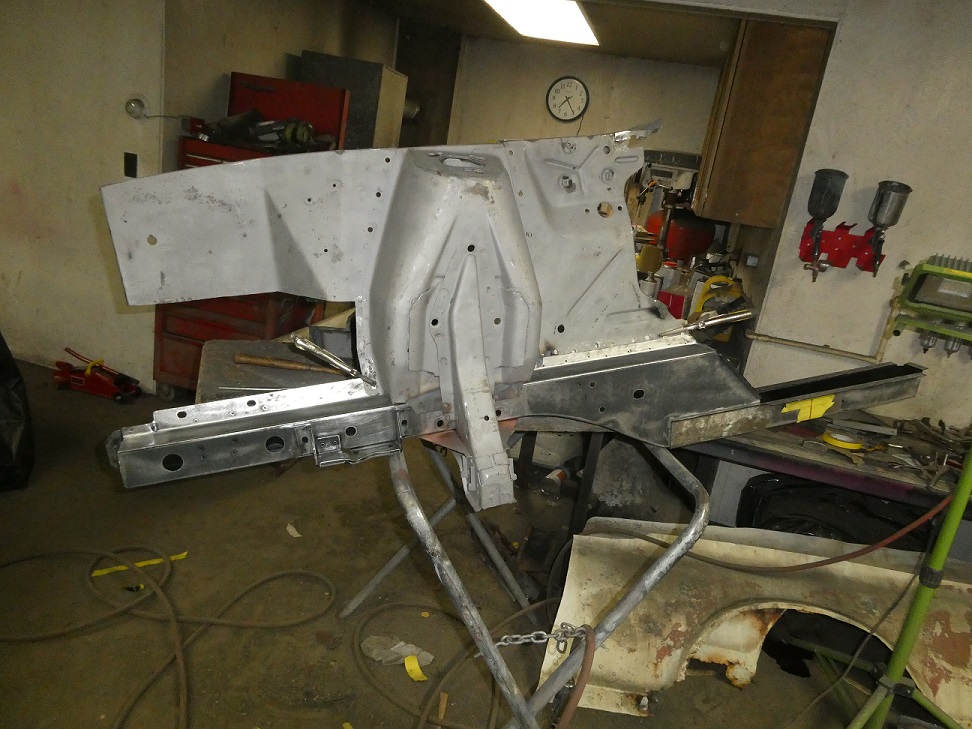
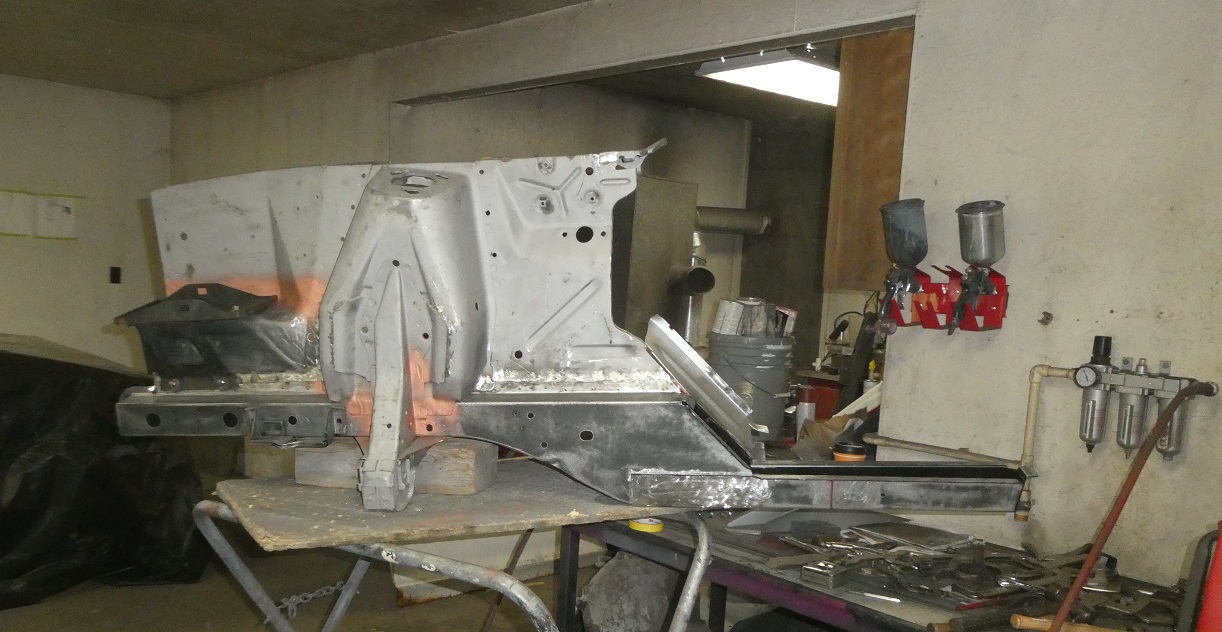
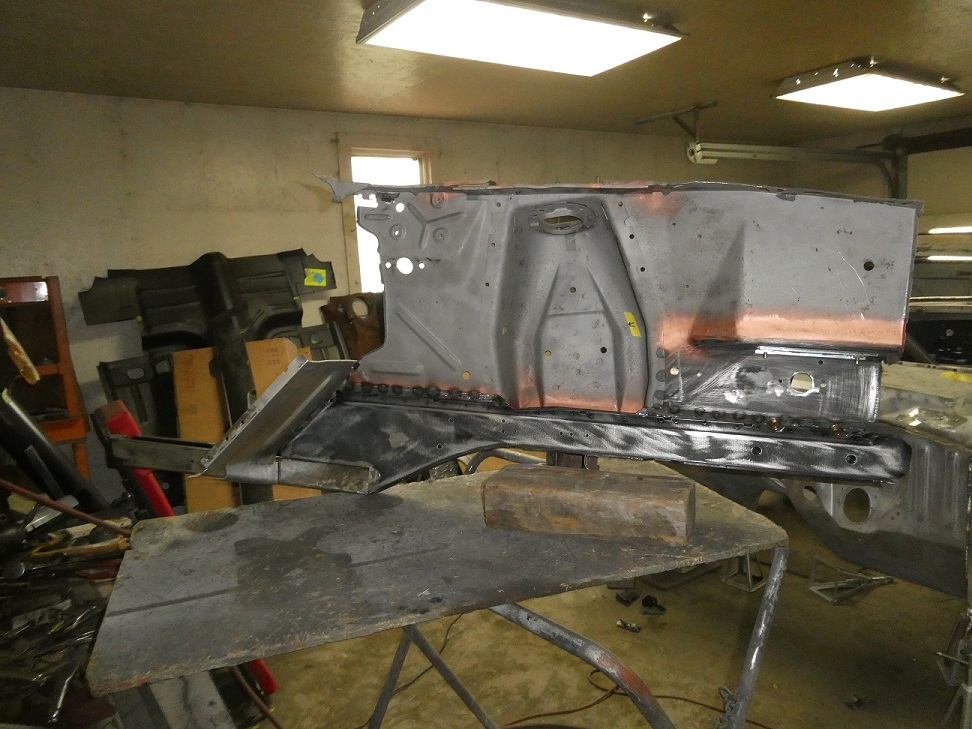
Well, I was hoping to keep the RH frame rail, but the time to repair it was way beyond what it would take to swap it out with a new one. That and it makes the car safer to do so.
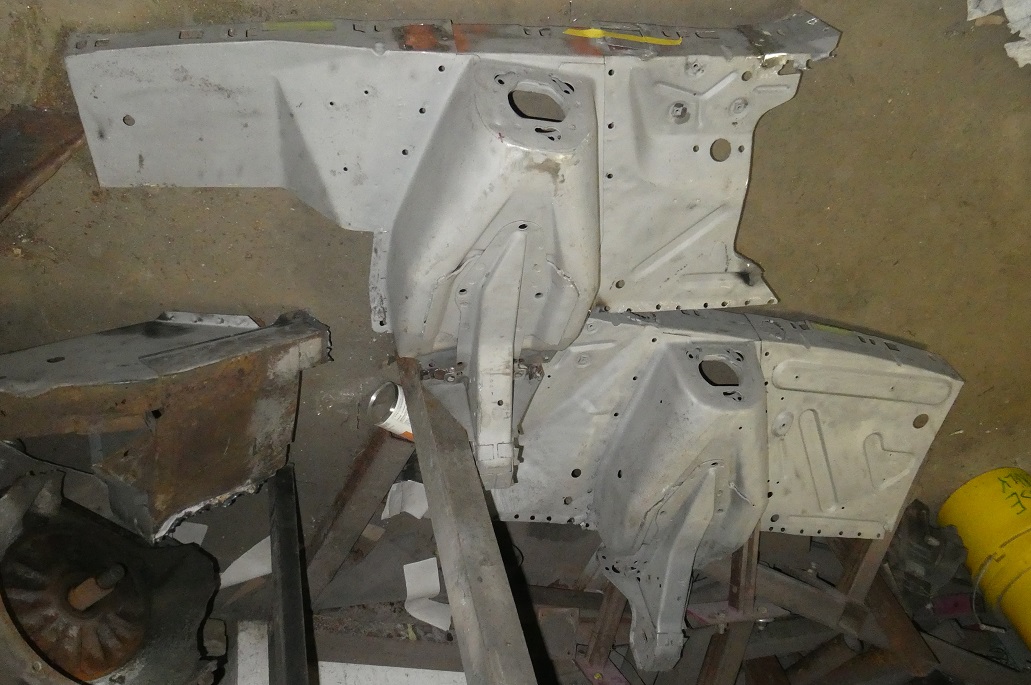
I needed to keep the fender aprons as the S-code VIN number is stamped on them and I wanted to main the original factory look as much as I could. You can get full shock tower assemblies, but the
VIN numbers would need to be moved over and I did not want to make this car look like I moved the VIN to a different shell.
|
|
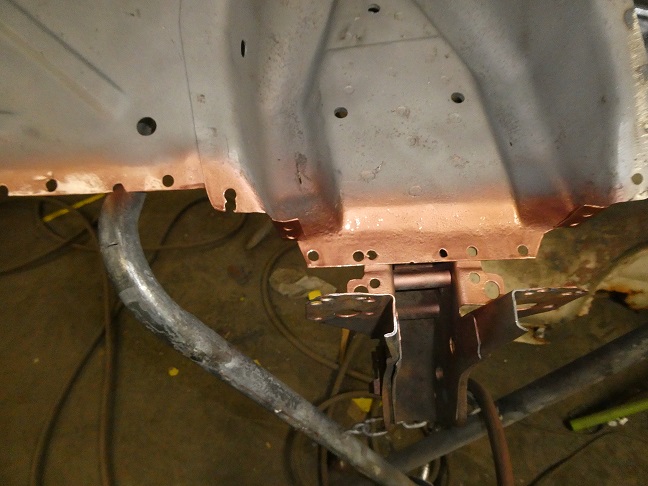 |
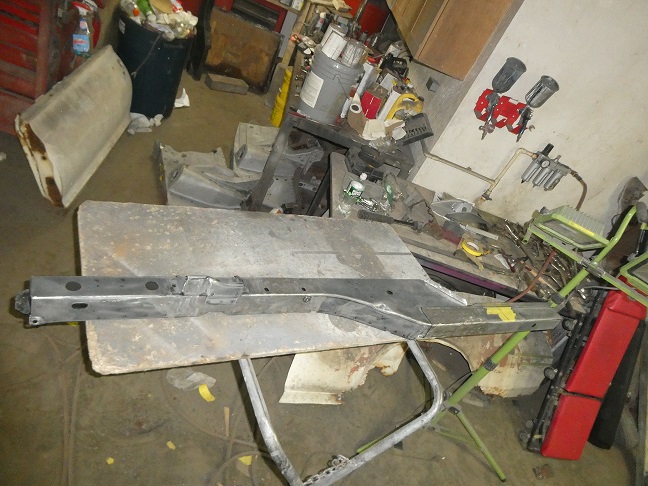
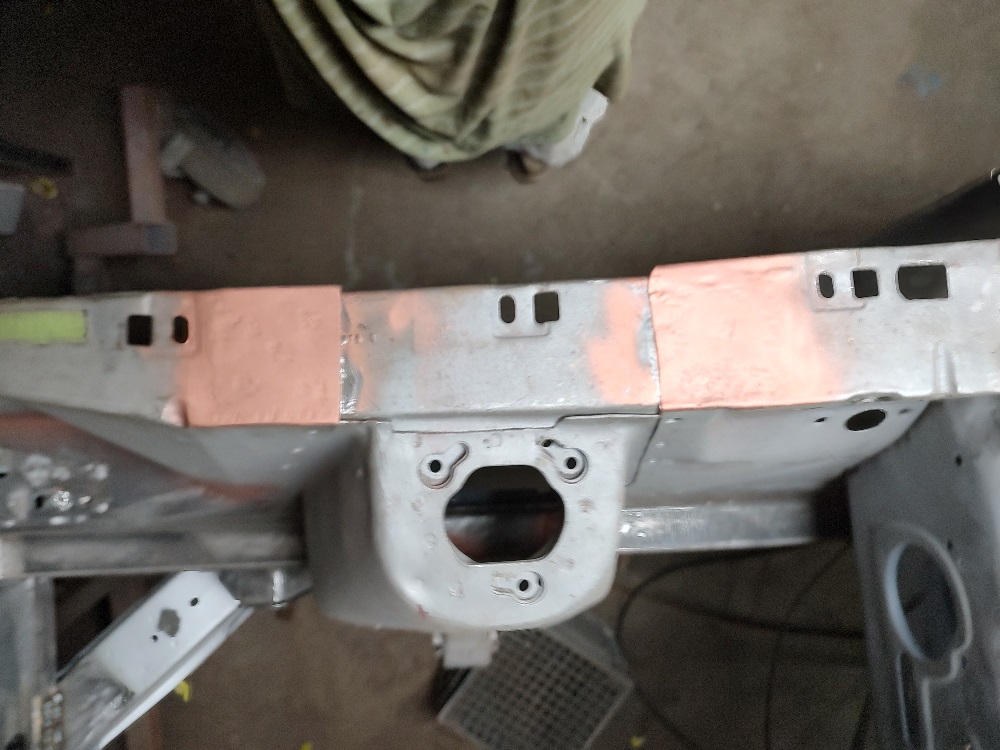
The Dynacorn frame rails are actually pretty nice. It was pretty easy to move the fender aprons and shock towers over to them. Copper weld-thru primer was used in the locations where the shock towers
and aprons met the frame rails.
|
|
|
|
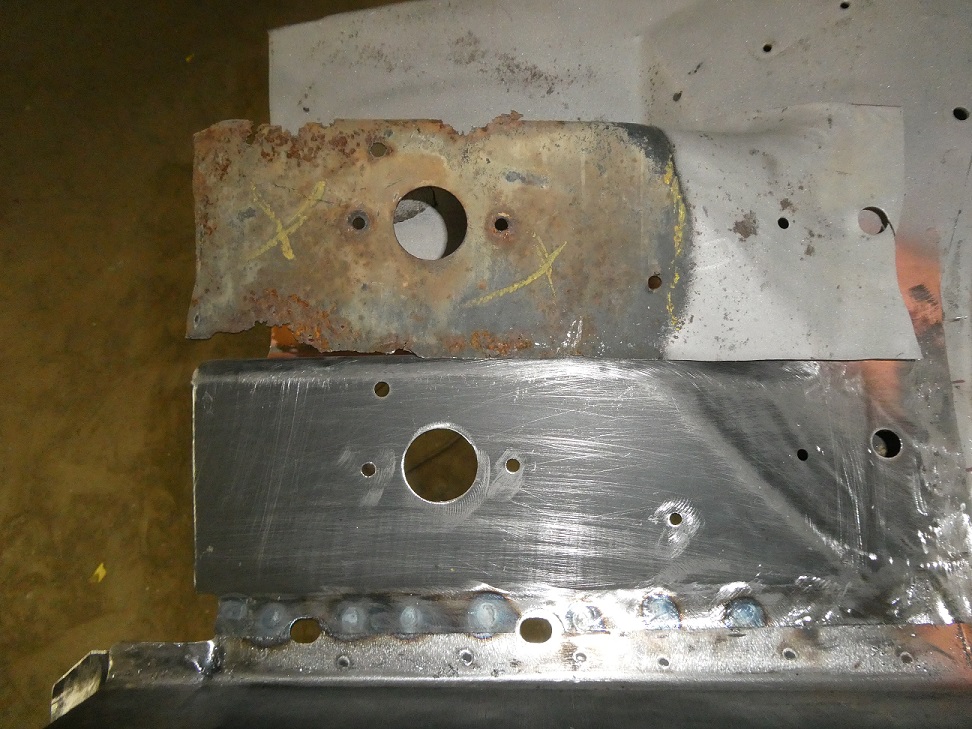 |
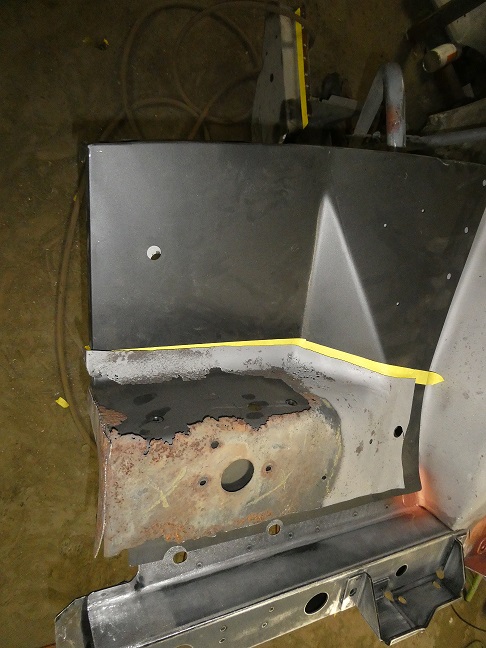
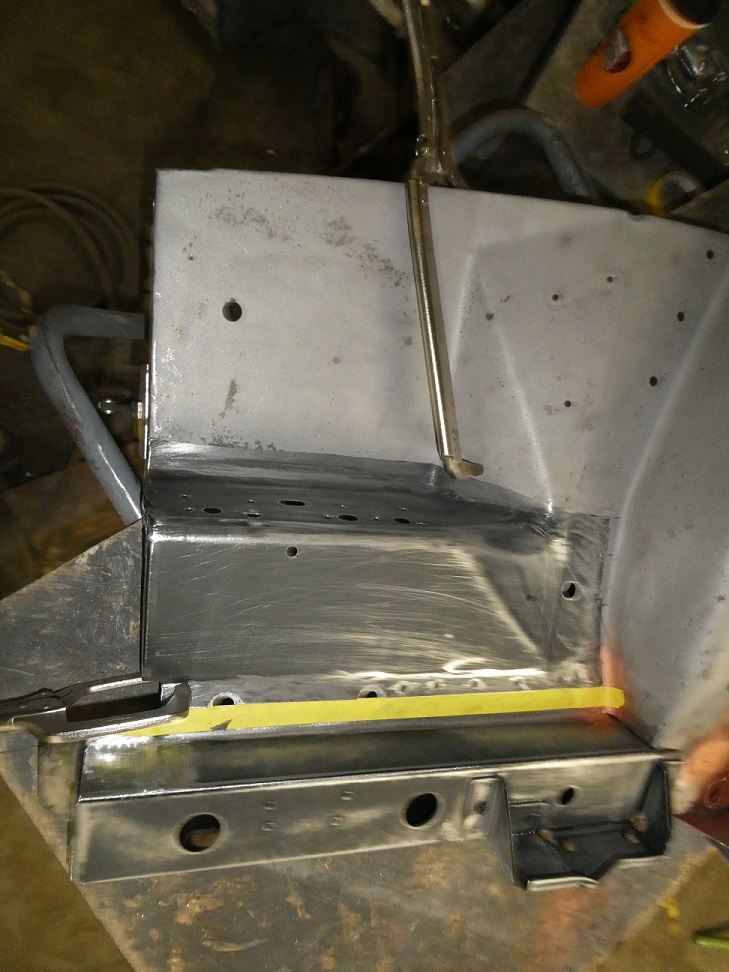
In order to keep the VIN on the RH fender apron I had to repair it as it had the typical battery acid damage. This involved cutting out the rusted section and making a duplicate piece from a repo fender apron.
Being an A/C car this meant that there was a vacuum pot below the battery tray. The holes for it and the hose retainers were transfered over from the original rust out piece once the patch panel was but-welding in place
|
|
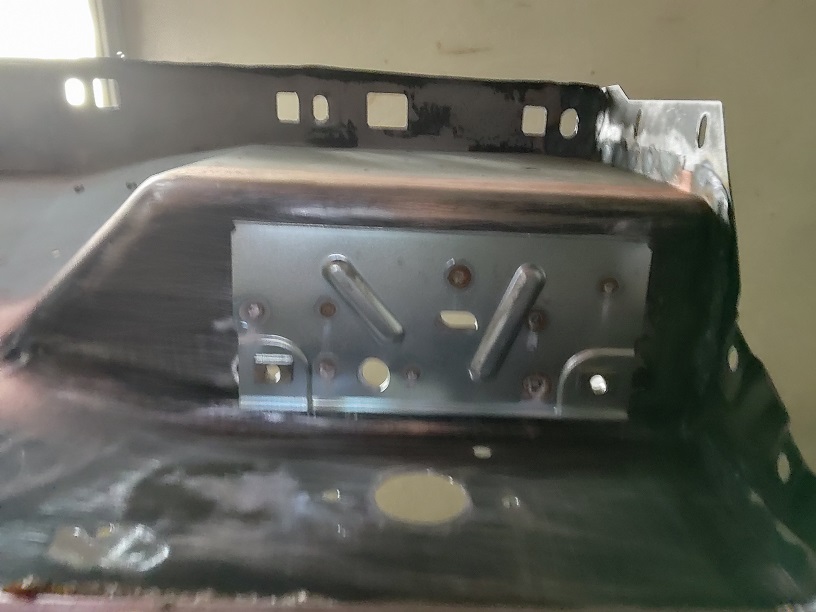 |
I was able to locate an NOS battery tray, which I used to set the new repo battery tray reinforcement that is welded to the undeside of the fender apron. It should be noted that there are correct and very incorrect
repo battery tray reinforcements out there. This one I got from West Coast Classic Cougars of course.....
|
|
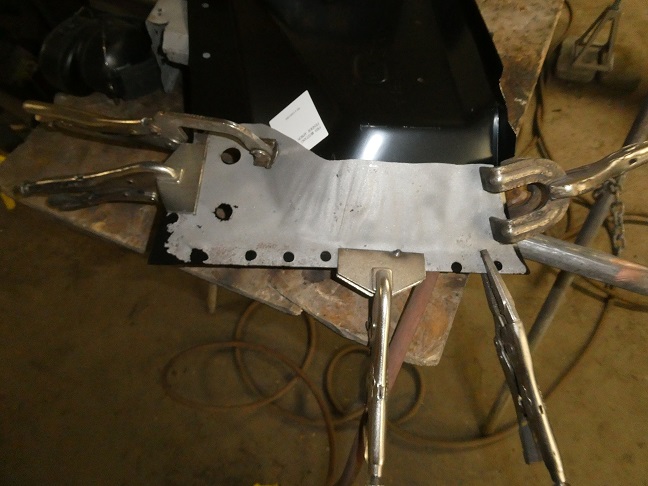 |
The very bottom section of the left rear front fender apron suffered from leaky brake fluid damage. I used as section from a repo panel to fix it with.
|
|
 |
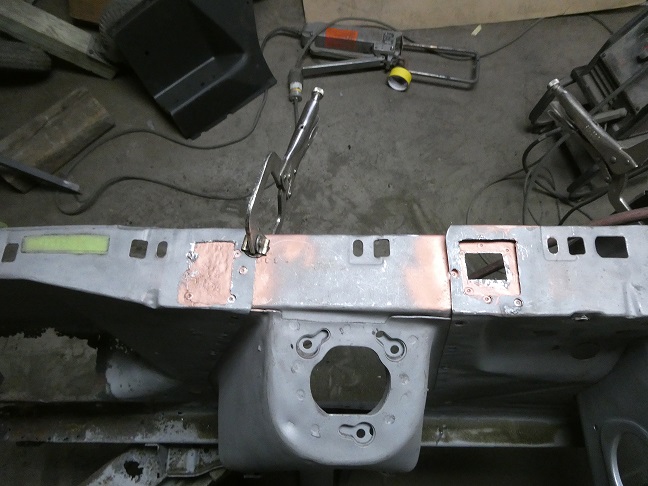
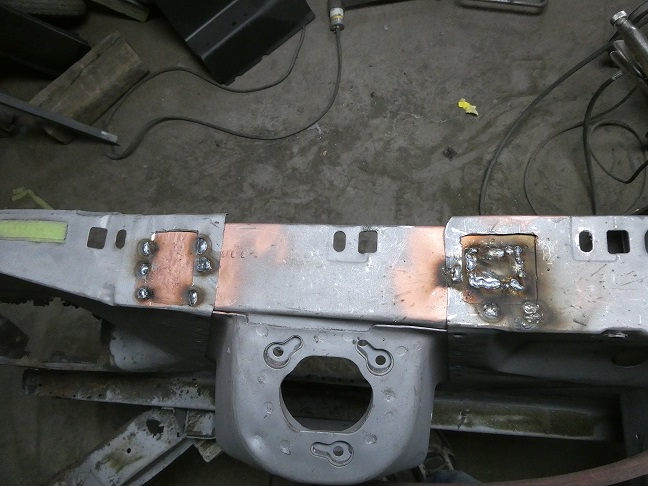
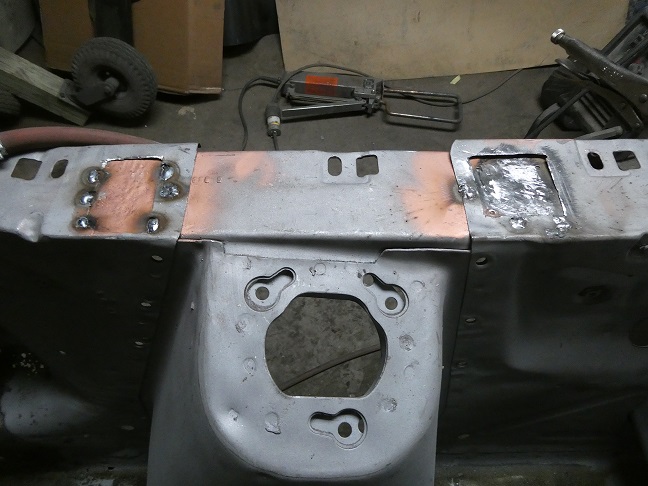
Other issues that plague Mustangs and Cougars (and other unibody Fords ?) is they rust out where the fender aprons overlap the shock towers. The factory just didn't treat these areas very well before welding them together. Here are a
few progressive pictures of a repair.
|
|
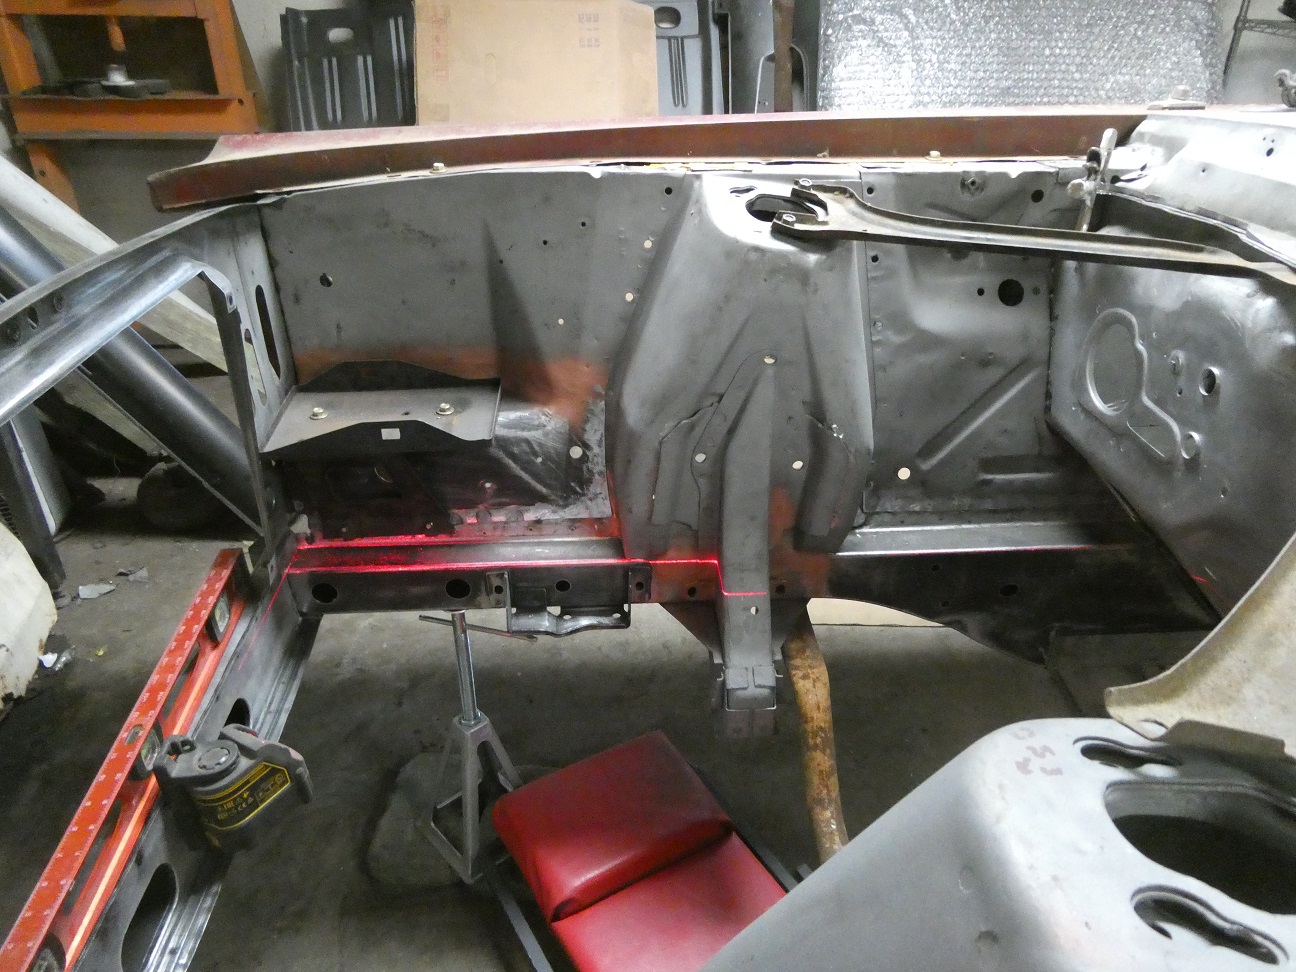 |
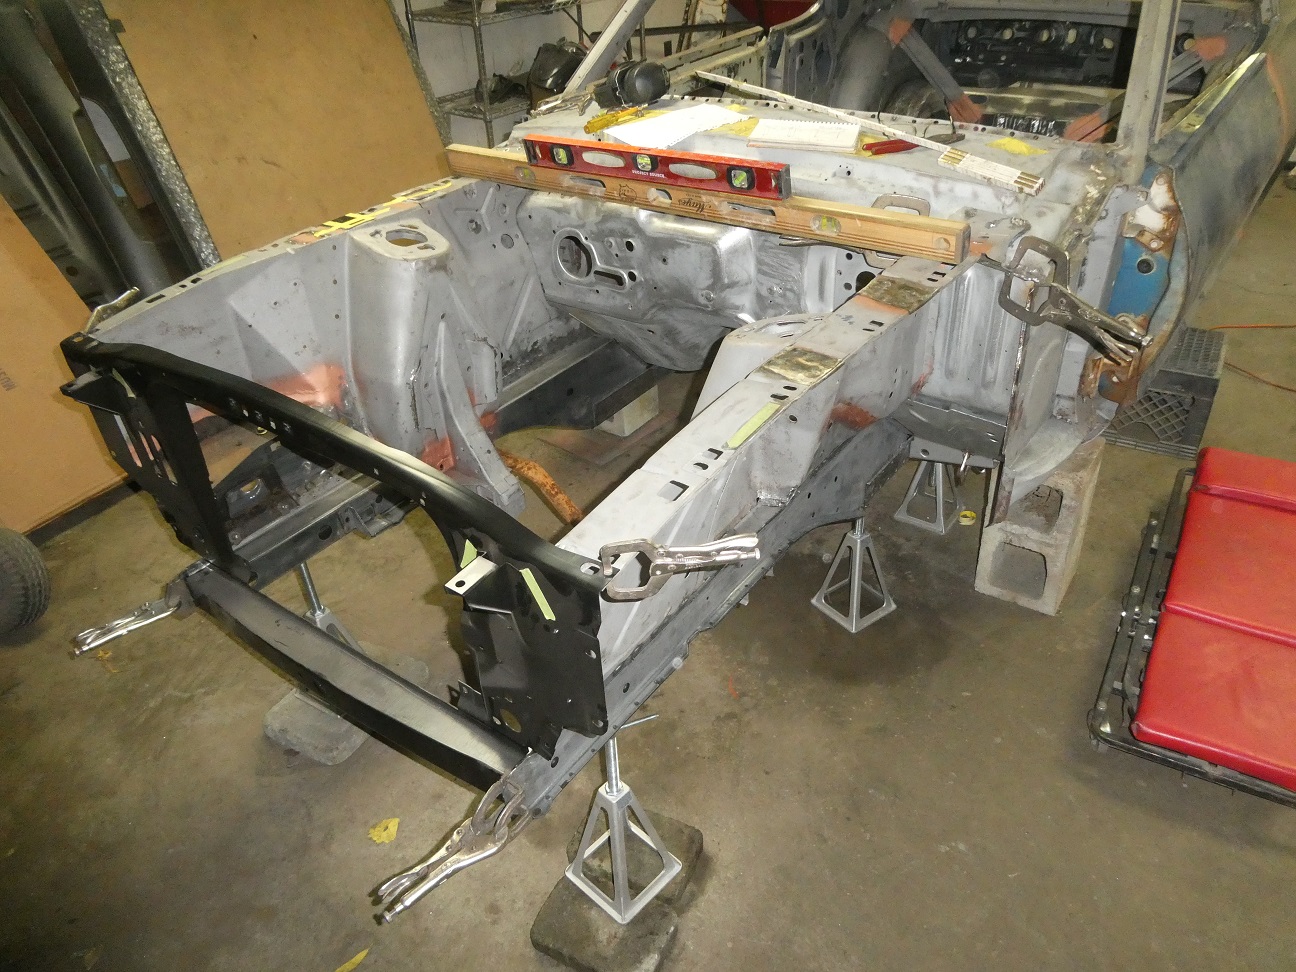
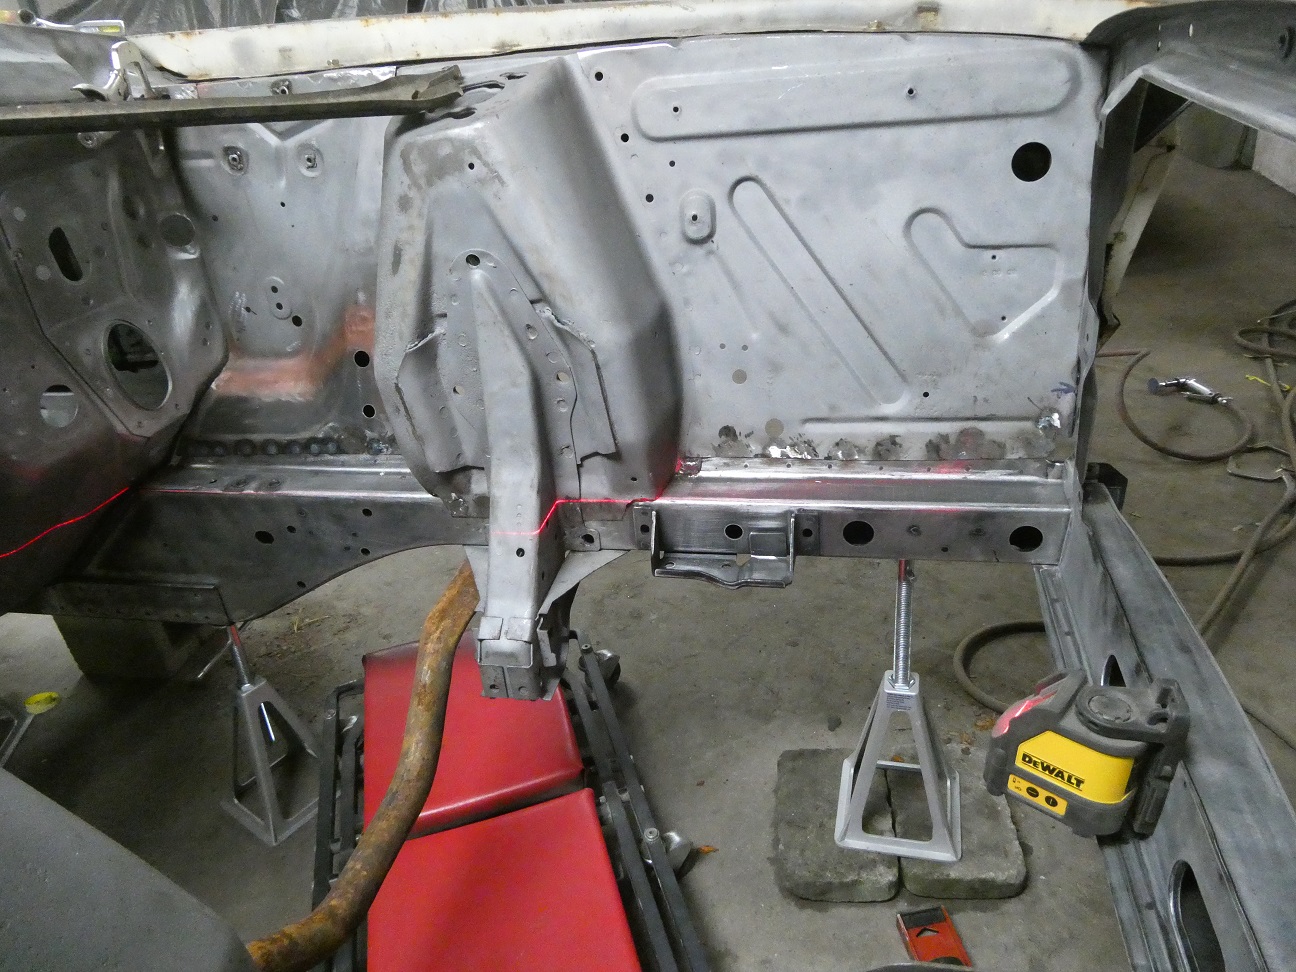
With the shock tower assemblies repaired enough for installation, it was time to get the front end welded back in. I used trailer leveling jacks, a laser level and a ton of measurements from before to get the front pieces clamped in the correct locations.
The shock tower braces helped hold things in place.
|
|
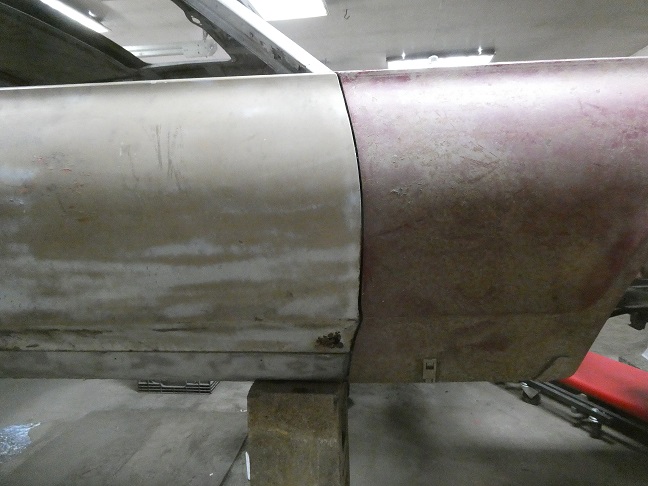 |
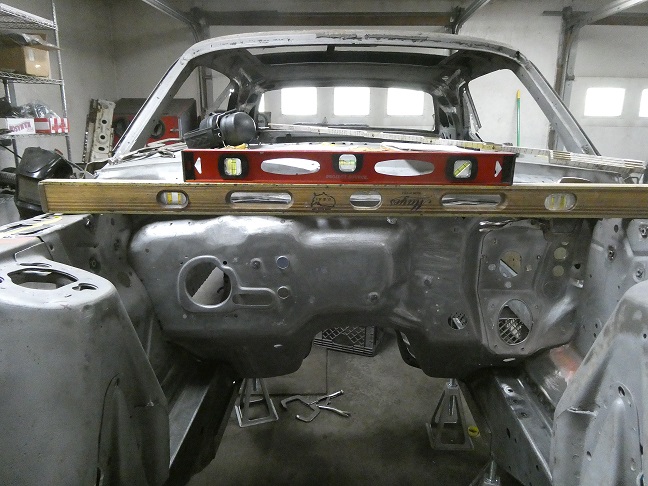
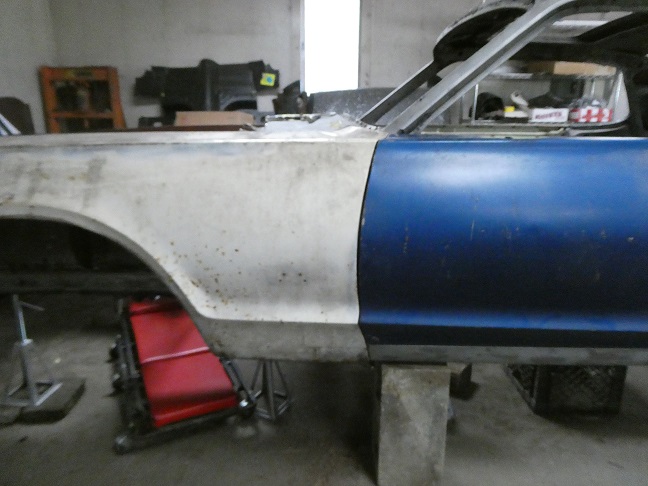
A final check before welding was to install the fenders to ensure good even gaps with the doors. It should noted that the top of the front frame rails are not supposed to be parallel with the rockers.
|
|
 |
When the front shock tower assemblies were removed, I had marked the fender apron extensions where they were attached to the upper cowl. When it came time to weld the front back together, it was easy to locate the fender aprons to the firewall.
Sorry for the bad picture. Sometimes you don't think you need a good before picture until it is too late.
|
|
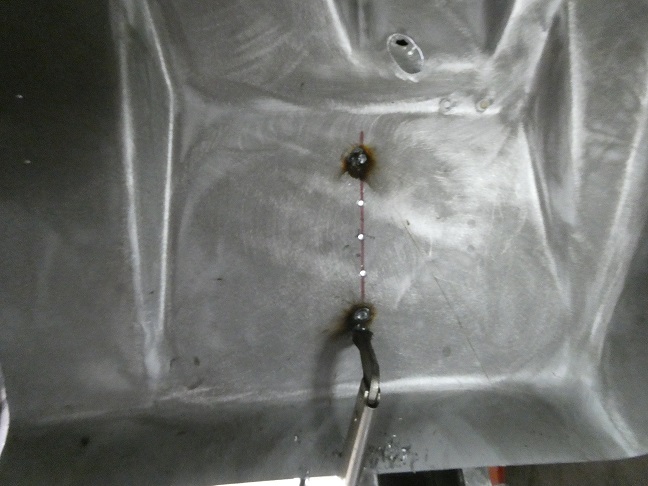 |
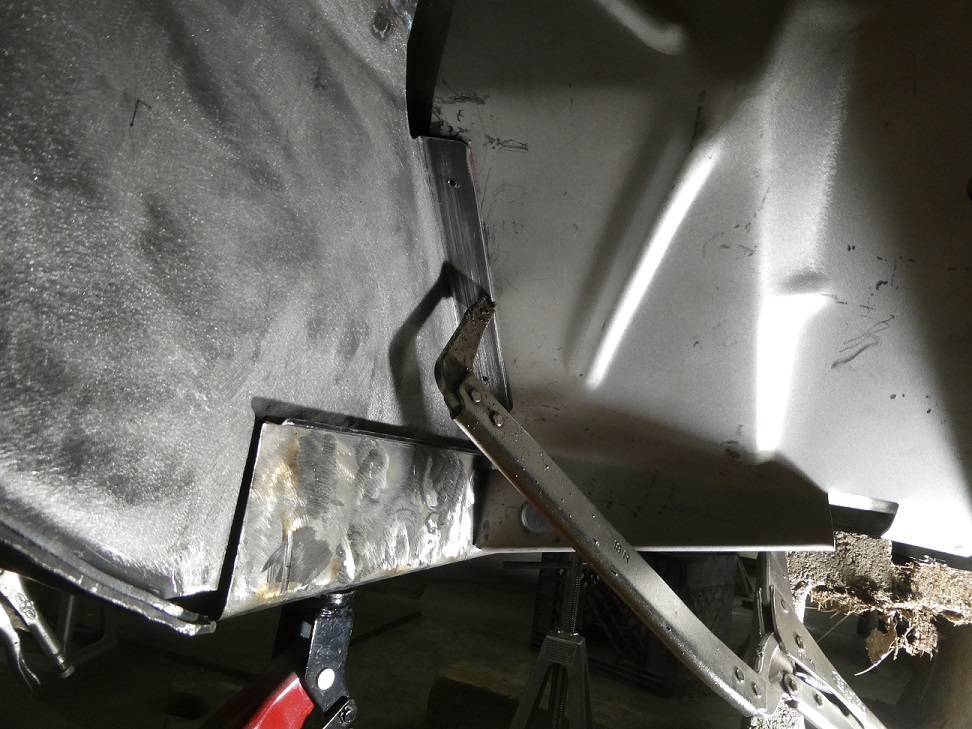
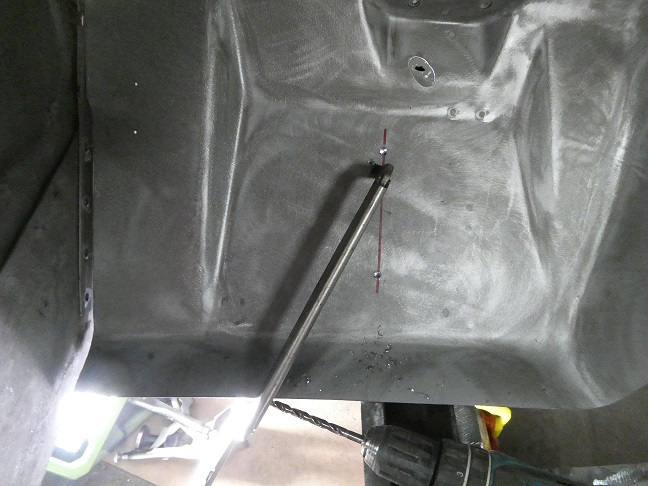
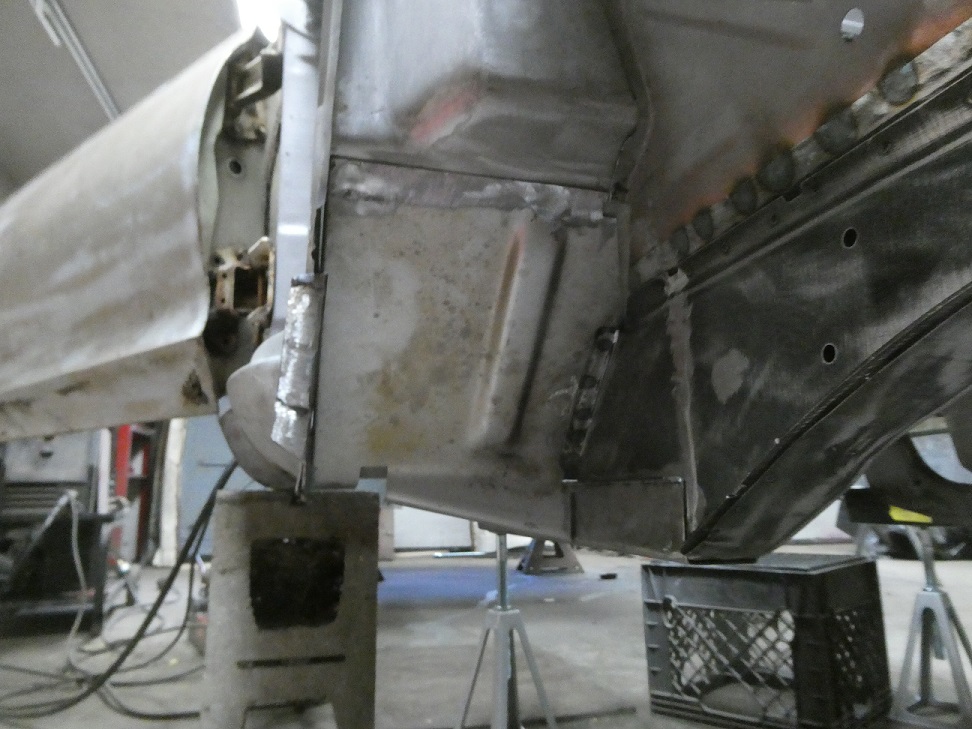
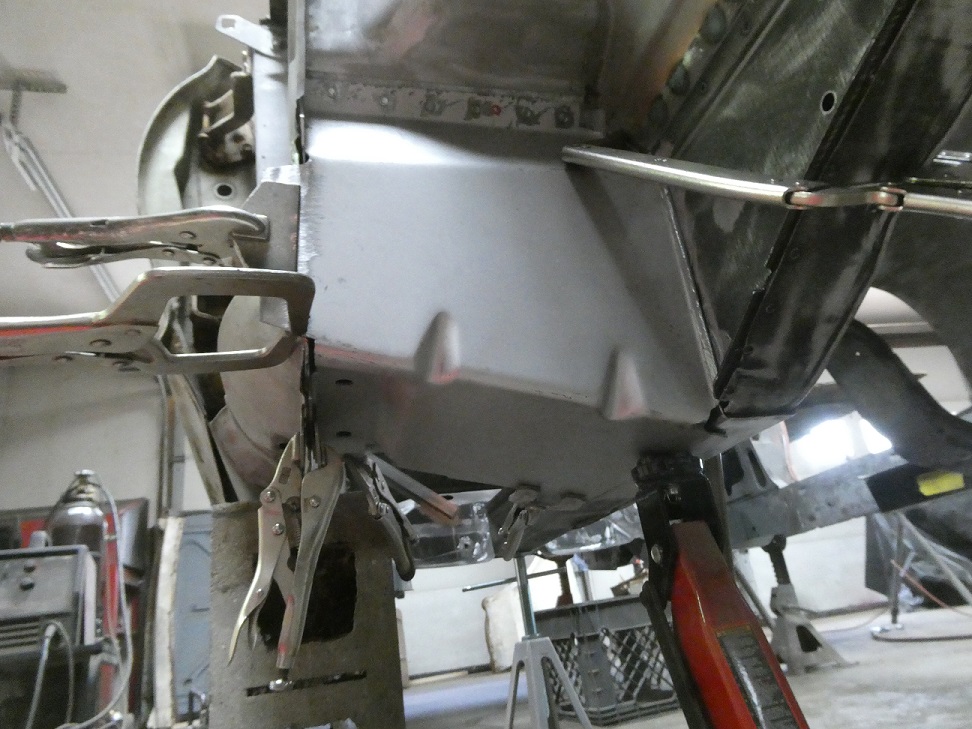
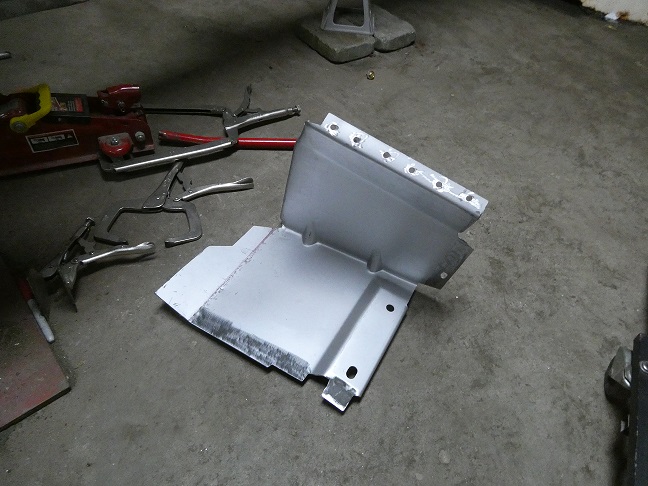
With everything clamped in place and properly aligned, I started by installing the torque boxes. First the torque box cap gets wedged between the frame rail and firewall. With that clamped in place I drilled through the firewall and torque
box cap so that I could plug weld it all to the rear face of the frame rail. Here you see the process on the left side.
|
|
 |
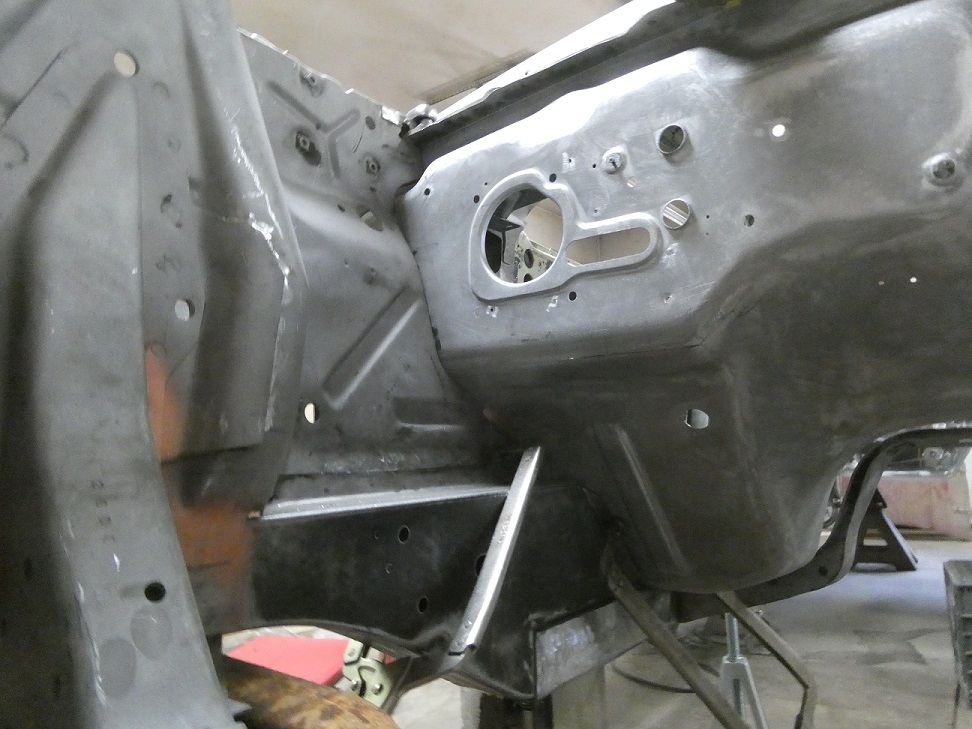
With that performed on both sides, it is time to fit the rest of the torque boxes. After confirming that the frame rails were still correctly aligned, the torque boxes get bead welded to the frame rails, followed by a whole bunch of plug
and spot welds to hold it to the body.
|
|
 |
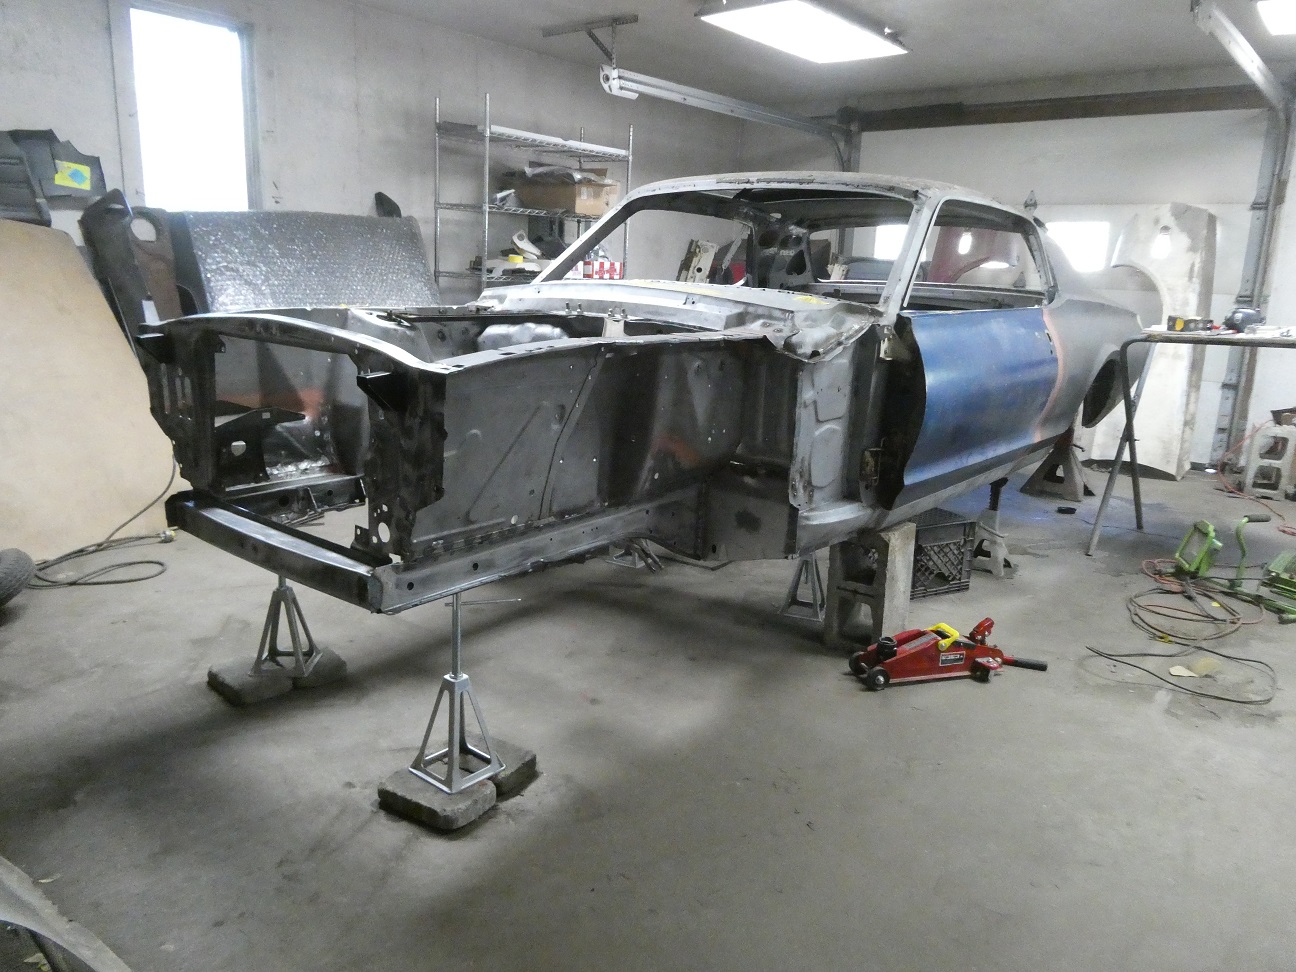
With that done, the firewall can be welded to the inboard faces of the frame rails..
|
|
 |
The radiator support was then safe to spotweld in place.
|
|
 |
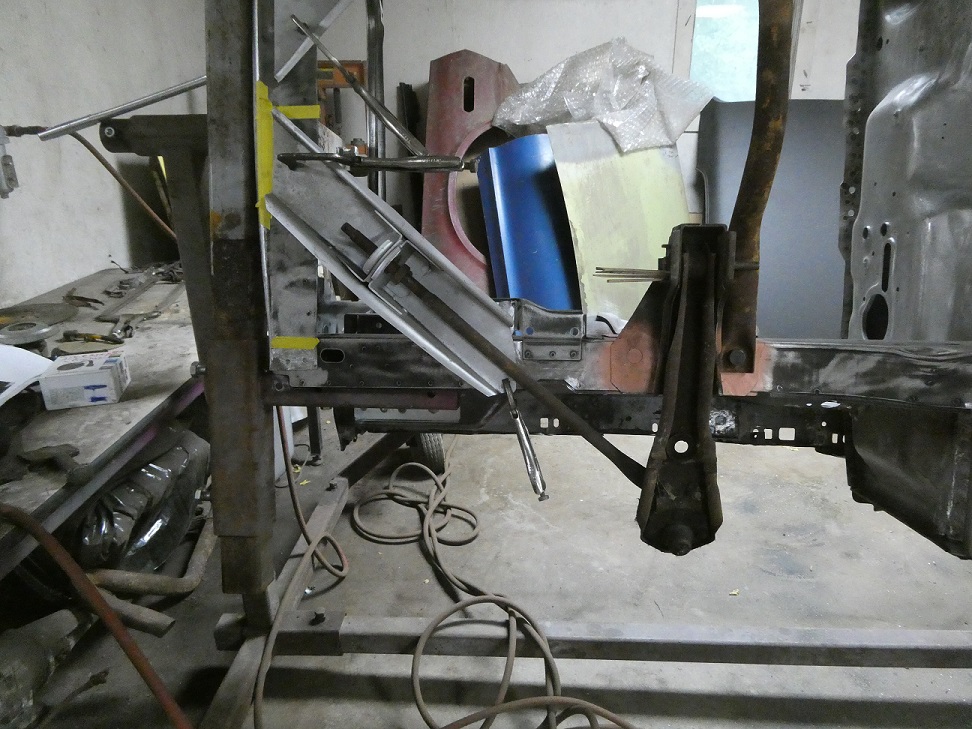
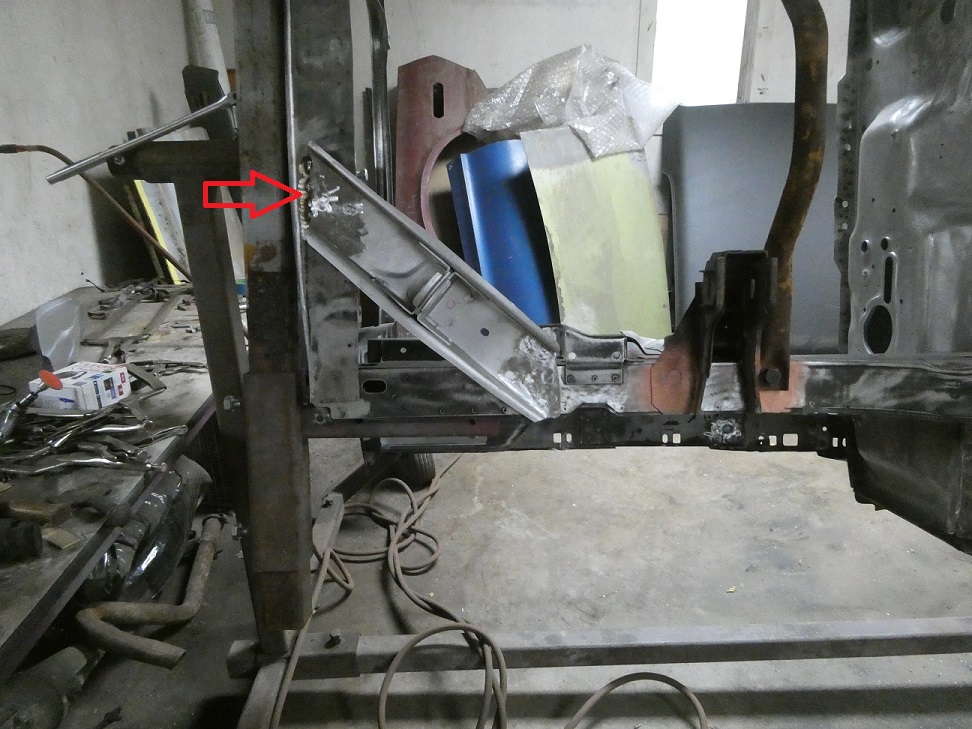
This leaves the strut braces. The strut braces were actually installed with the car on the rotisserie. I used measurements from the old ones to get them located and confirmed their position using the lower control arms. You need to make sure you
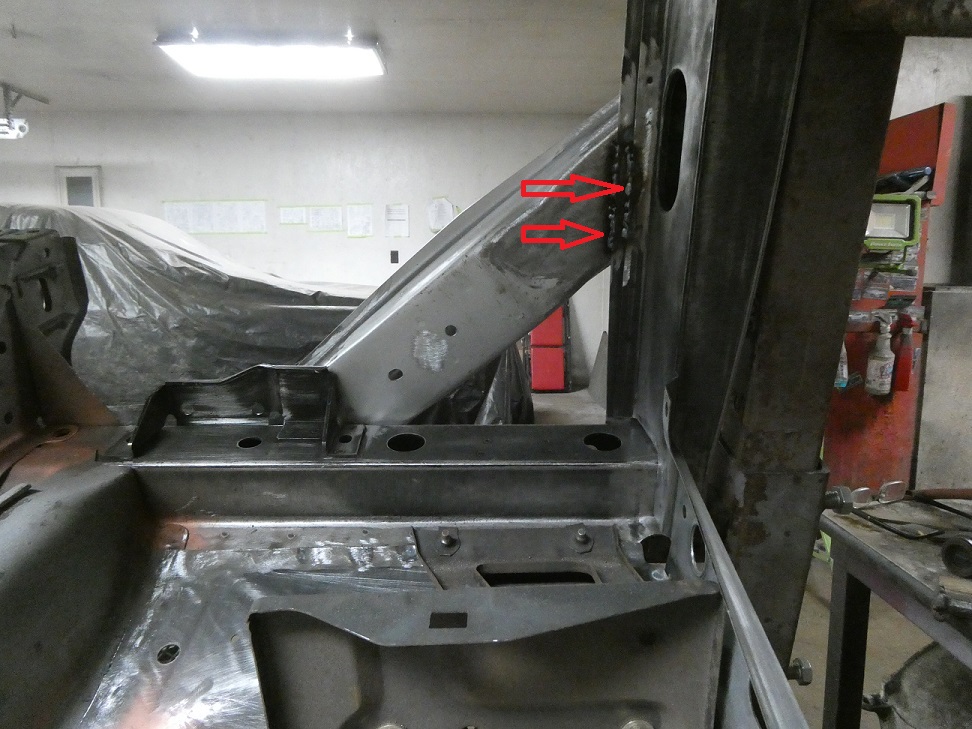
weld them in correctly so that they don't break off going down the road some day. There are about 8 plug welds in the front and 8 plug welds in the back. There are also 4 to 5 stitch welds at the front where they meet the lower radiator support. Though
not very evident in the last picture, there are 2 long welds on the top looking down. This holds the brace to the lower radiator support and it holds the lower radiator support lower section to the main port of the radiator support to ensure a
good reliable bond. This is exactly how the factory did it.
|
|