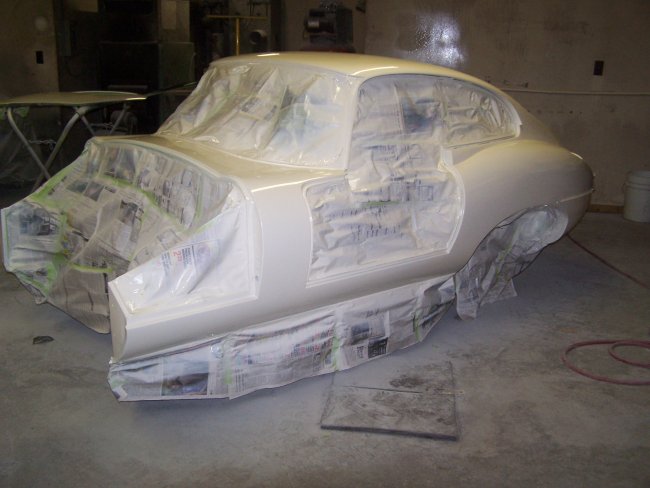
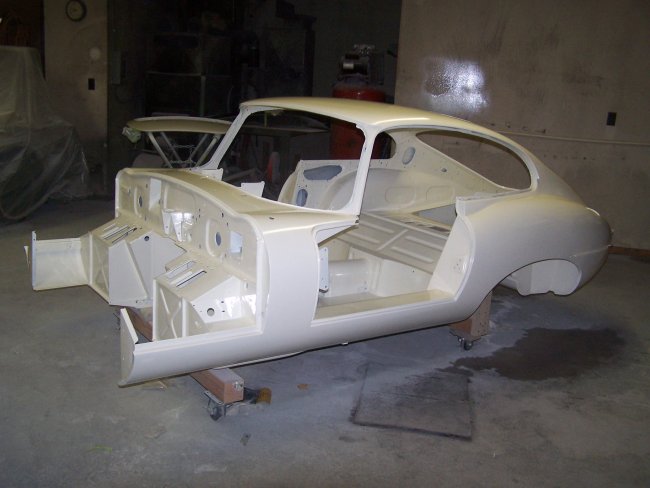
For the record, I painted it using PPG Global Basecoat code 8894 mixed 1:1 with PPG D871 Medium Thinner (65F-77F). It took a good 4 coats to cover the car (roughly 2 1/2 quarts of basecode).
For clear coat I used Deltron DCU2002 High Solids Polyurethane Clear mixed 4:1:1 with PPG DT870 Medium Temperature Reduced (65F-80F) and PPG DCX8 Medium Temperature Hardener. I applied two coats of clear (roughly 2 1/2 quarts of clear).
For the curious it cost me $972 for the materials and I had to borrow my brother's expensive Snap-On HVLP paint gun to spray it with, since the regular part store guns spray clear for crap.


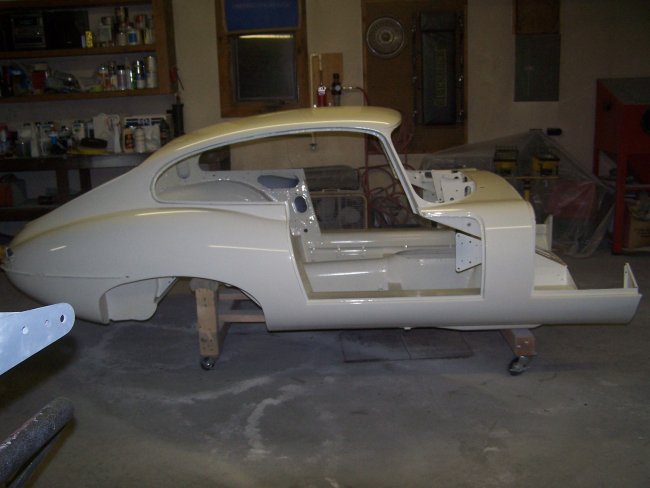

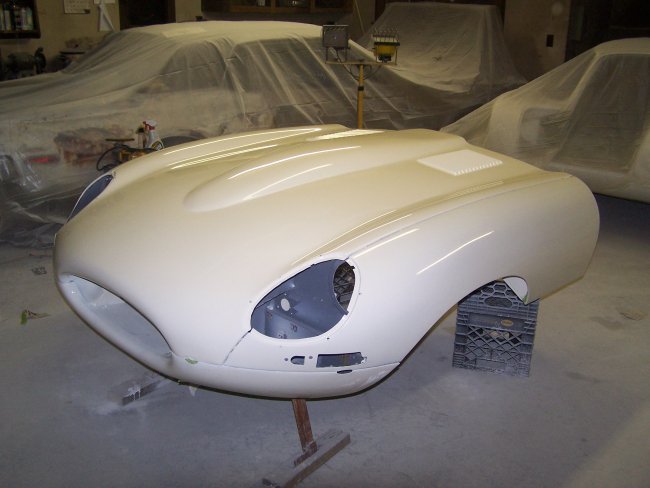
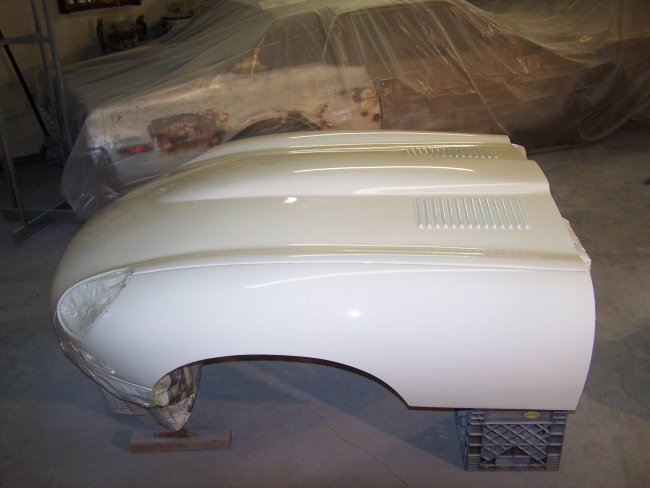
I started by sanding the nibs (dust specs that produce bumps in the clear) down using 1200 grit paper on a foam sanding block and using soapy water. I actually had one run in the clear to fix on the bonnet (amazing there was only one in this curvy car) . This I took care of by blocking it down with 800 grit paper (wet) wrapped around a paint paddle. Being careful to only sand the run, I sanded it till it was almost gone. Then I took the rest of the run away using 1200 grit.
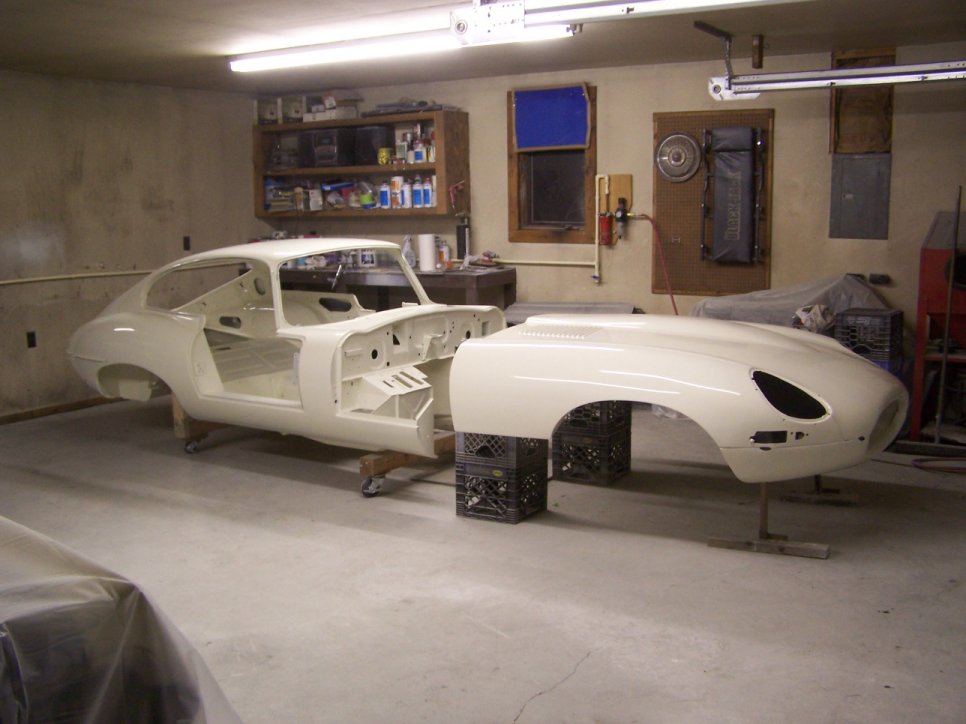
I then sanded everything using 2000 grit Meguiars sandpaper wrapped around a semi-rigid foam sanding block. Sanding was done using warm soapy water. I wiped the panels dry with Bounce paper towels (because they are soft)as I went. The sanding was then repeated using 2500 grit Meguiars sandpaper. I probably have 7 hours into sanding the car by hand.
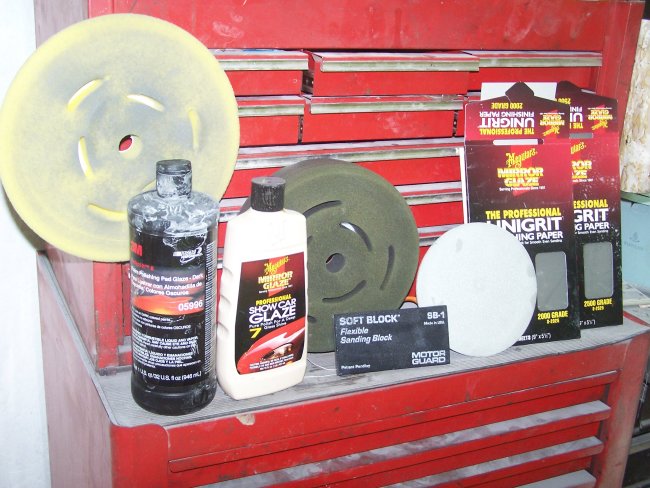
At this point I normally start buffing the car starting with a high cutting 3M compound, but my brother suggested that I try the new 3M Trizact 3000P sanding disks on my orbital sander. He claims that it replaces the first buffing step and it makes the second buffing step easier. He gave me 2 disks which were plenty enough to do the entire car. They turned out to be pretty easy to use. You just wet the pad and lightly wet the panel using a spray bottle with soapy water as you go. You then sand the panel like you normally would. I found that a properly sanded panel will look kind of frosted, like etched glass, but will not show any of the sanding scratches made by the rougher grit sanding.
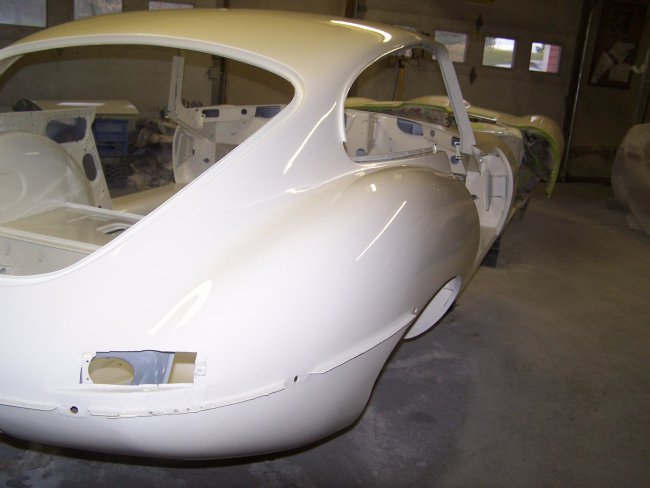
The car was then buffed using 3M PerfectIt Polishing Pad Glaze 05996 using a Dewalt DW849 variable speed polisher with an orange buffing pad. This buffing step takes out a majority of the haze in the sanded clear coat. Buffing and polishing is a nerve-racking process. It is quite easy to burn through the paint if you stay too long in one area. In a split second you can burn off the paint along the edges if you don't follow the golden rule 'always roll the buffing pad off the panel and never into the panel'. This is because the pad will dig into the paint on the edges as it is compressed when it meets the edge of the panel. E-types are very difficult to buff. I found myself using wide masking tape to prevent buffing into adjacent edges and seams.
A final polishing step was required to remove the light scratches. I first washed the car down soapy water to remove the residual buffing compound. Once dried, I polished the car using Meguiars Show Car Glaze 7 (polish) using a gray buffing pad on the Dewalt DW849. With the polishing completed one more wash was performed and the whole car was unmasked.
| < Back | 26 | NEXT > |