Project Index, Project Home, Part II - Page #: 5 6 7 8 9 10 11 12 13 14 15 16 17 18 19 20 21 22 23 24 25 26 Part III, Progress, Links

< Back July 19,2010 - September 4,2010: Painting Part I NEXT >

I decided to paint the car the original Cream color, which is often confused with Old English White (OEW). Specifically because sometime throughout Jagaur production the names meant the same color and other times it did not. There are many paint codes for Cream/Old English White, but I could only find one that could be made in a modern BC/CC paint system. PPG 8894. I got a gallen, but could only get it mixed in PPG's Global Paint System (I'm sure that it could be mixed using other manufactures' paints, but I wanted to stay with PPG). The paint cost me $425 for the gallon. Unforatunately I learned that I would need another full gallon to complete the car, because the color was so light and there was so much surface area to paint.


The painting process began with the body being reinstalled on the rotisserie. It took me most of an afternoon to accomplish this. I had to raise the body up high enough to assemble the rotisserie around it. This was done using only a floor jack, wooden blocks and milkcrates.

Once the body was attached to the rotisserie, the inside and undercarriage where sanded using scuff pads and 220 grit sandpaper. It was then wheeled outside, where it was thoroughly blown out and vaccumed out.


The rotisserie was rolled back inside garage and all of the joints were sealed using 3M 8505 Fast&Firm Seam Sealer.

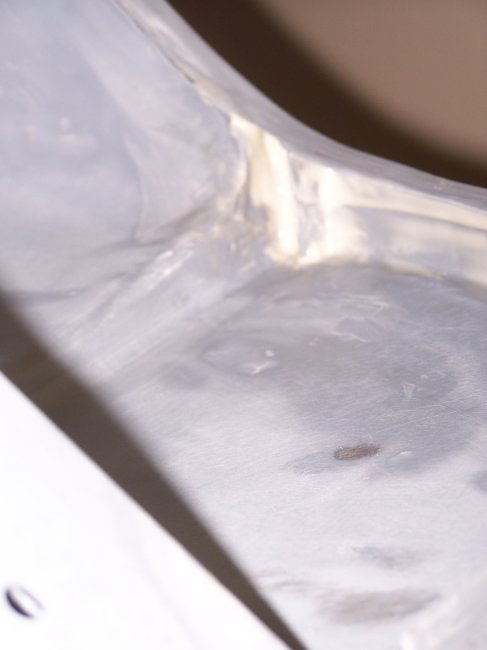
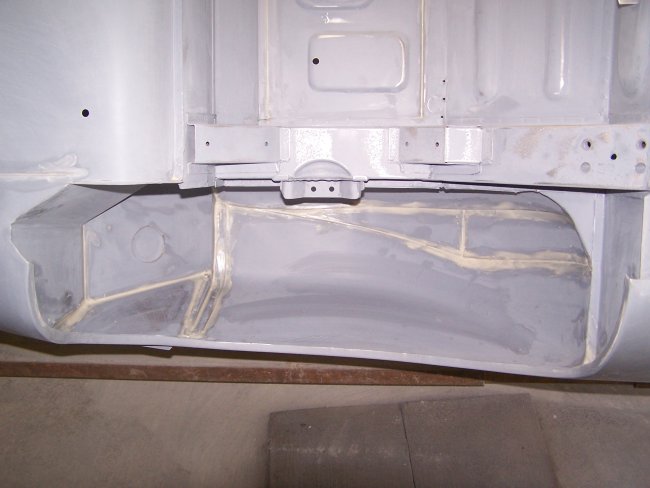
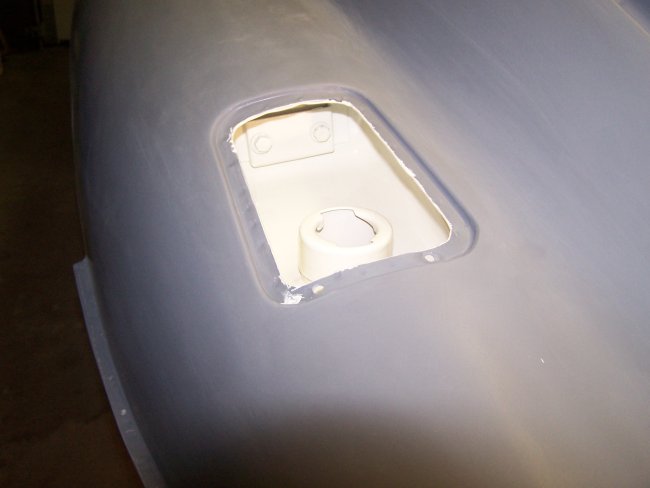
Special attention was paid to the area where the rocker panel meets the rear outer wheel well. Originally the factory had left a holes where water leaked inside. Refer to the bottom of Page 6.


The underside of the body came from the factory totally covered with undercoat (refer to Page 6). Very little primer or paint was applied to the underside at the factory, so the undercoating was the only form of protection these cars had. Many professional restorers rocker guard and then paint the underside. Classic Jaguar does many E-type restorations that way, so I used their online photos as a reference.

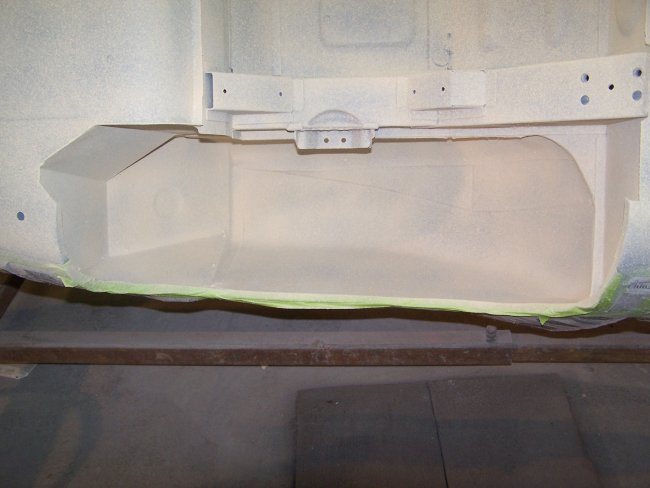
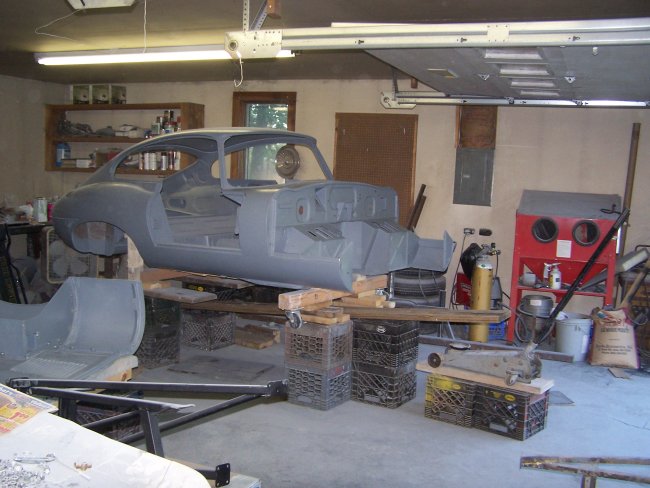
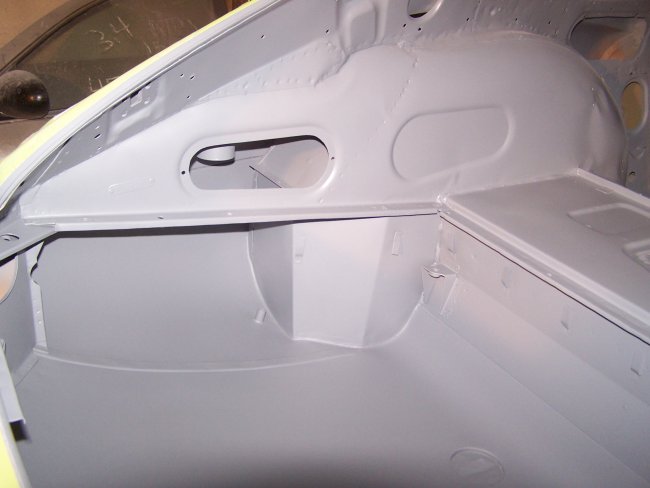
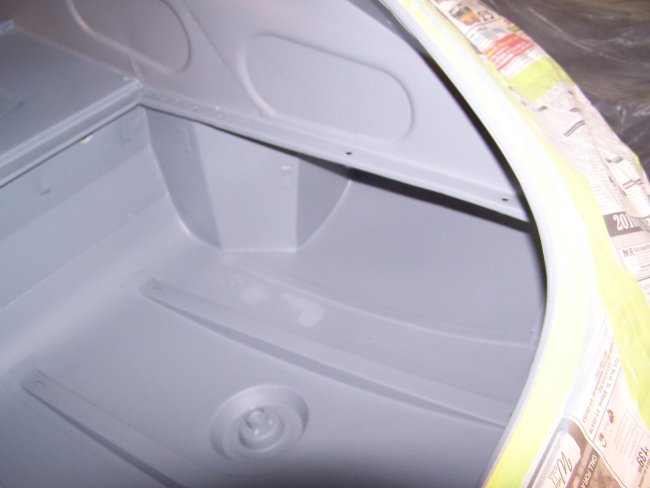
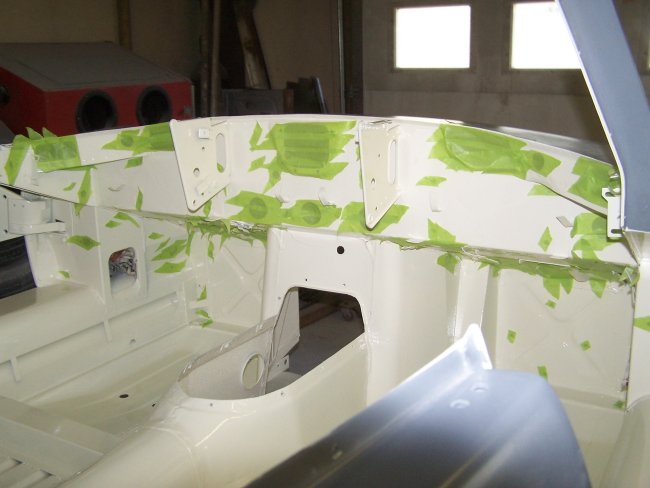
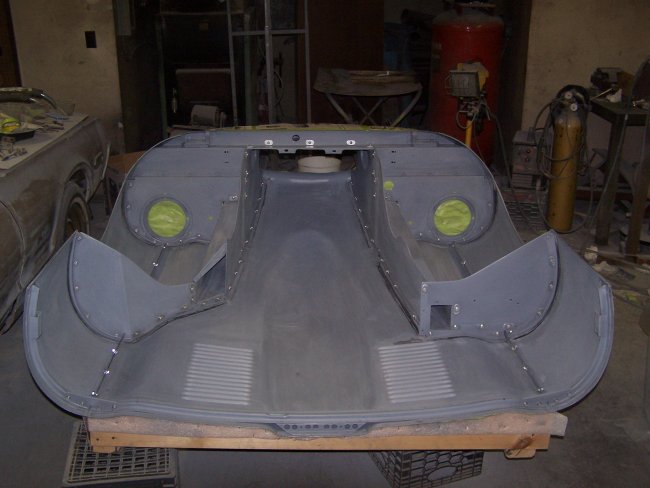
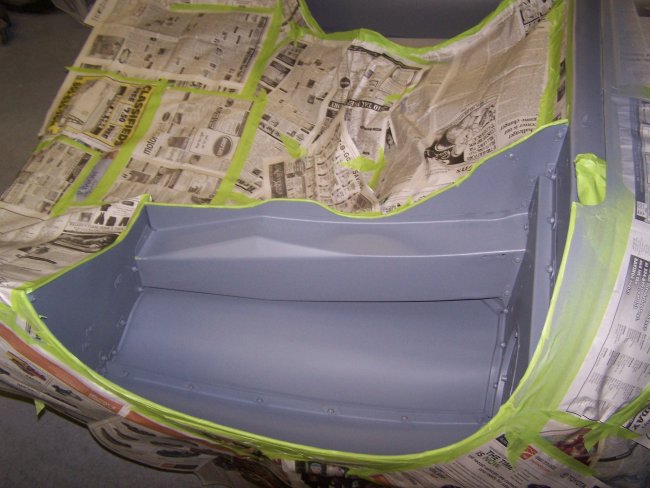
In the first picture above you can see where my mask line was for the rocker guard. With that established it was a simple matter of masking the rest of the body off.

Though not pictured the next step was to seal the underside, which I did by spraying some reduced DP50LF non-sanding epoxy primer. This I let set overnight so that I did not have to worry about the primer shrinking after it was painted.

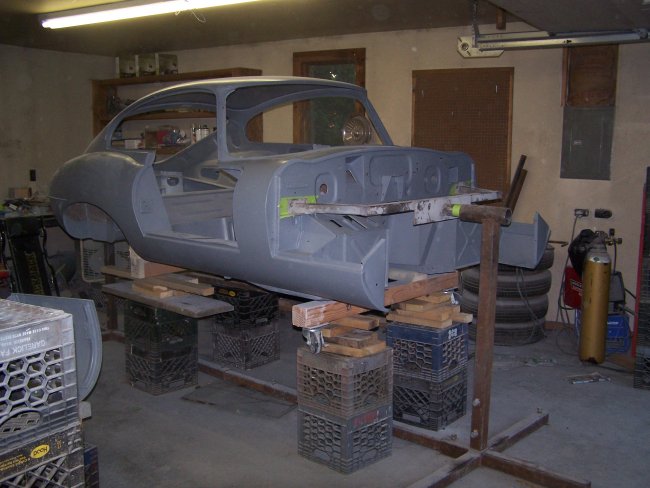
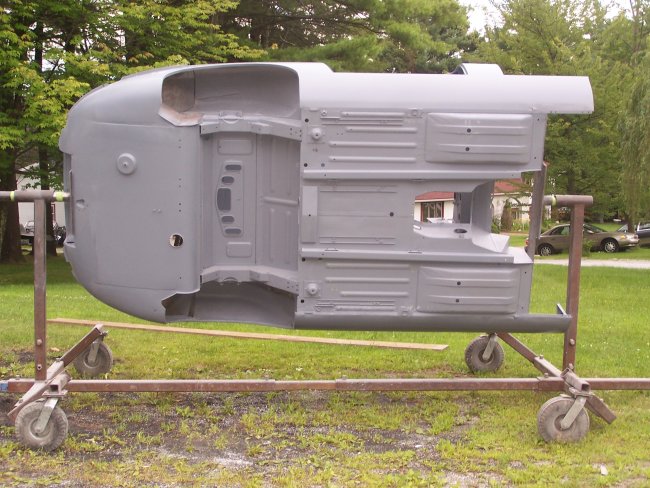
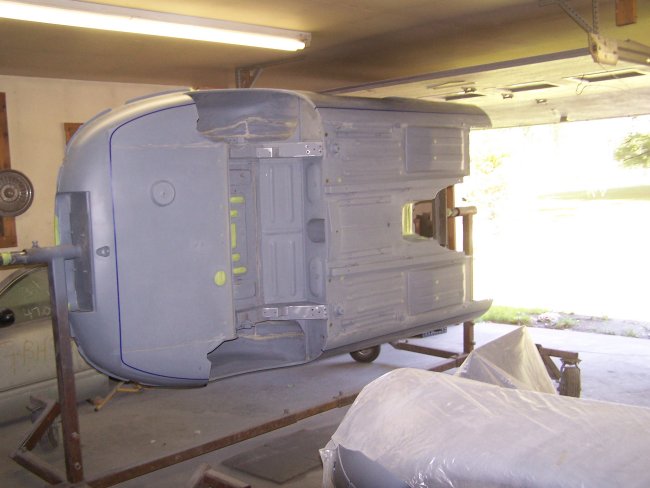
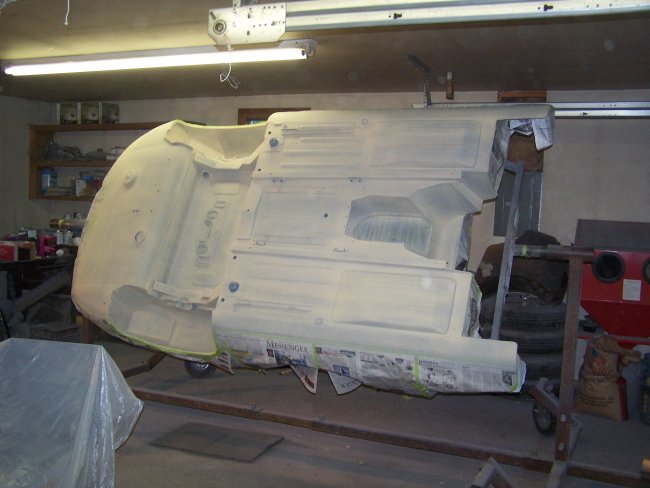
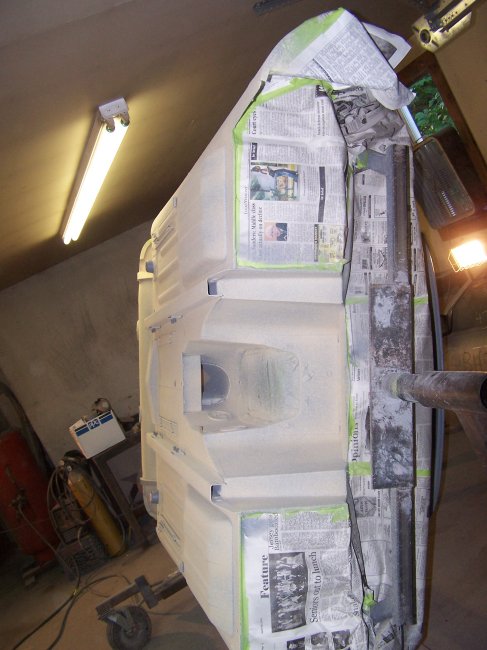
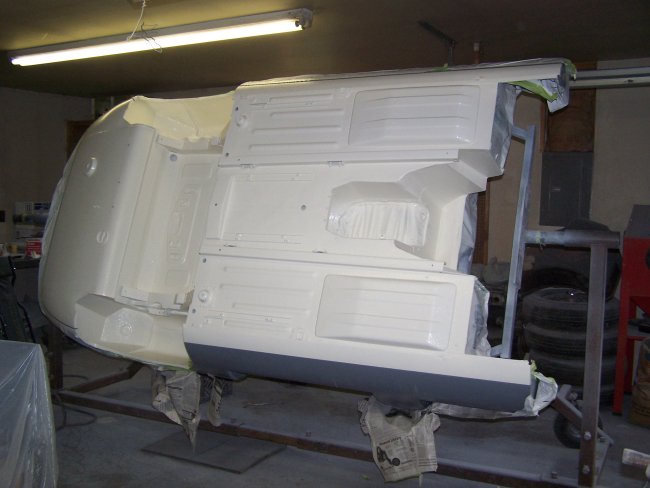
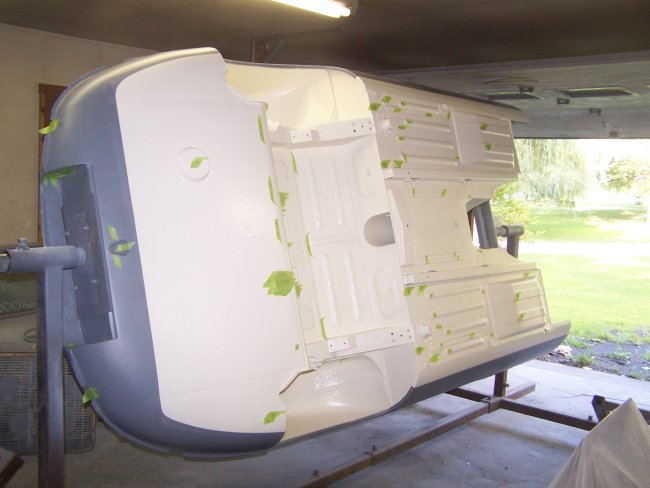
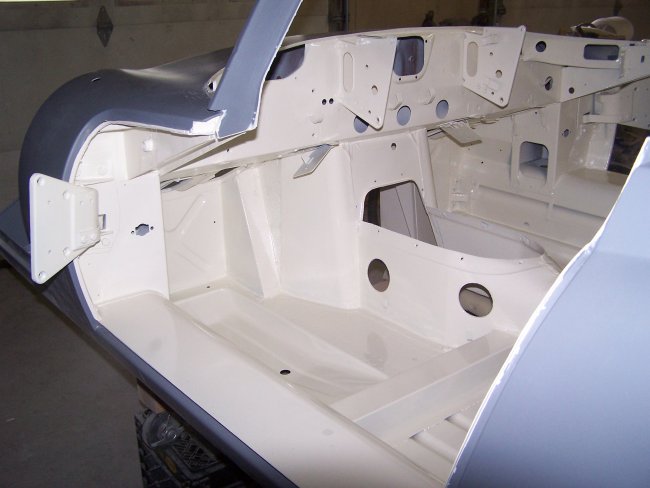
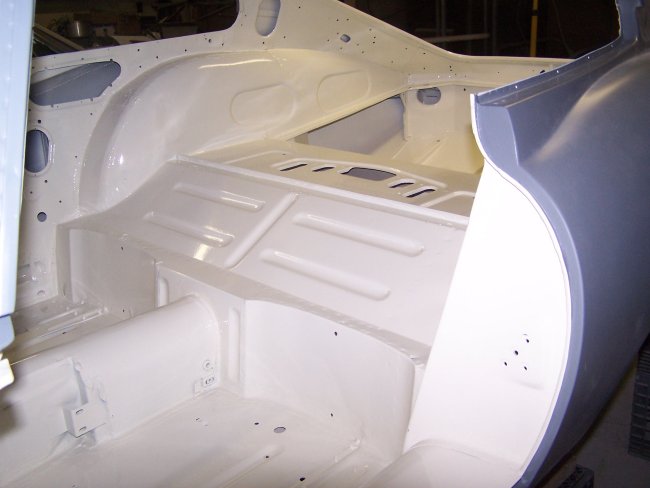
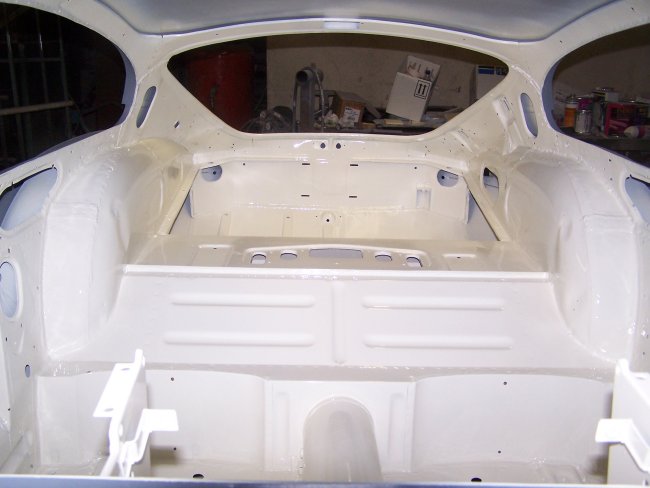
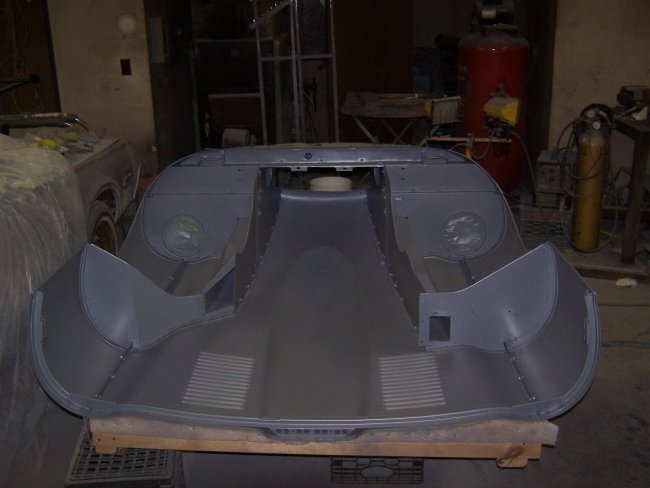
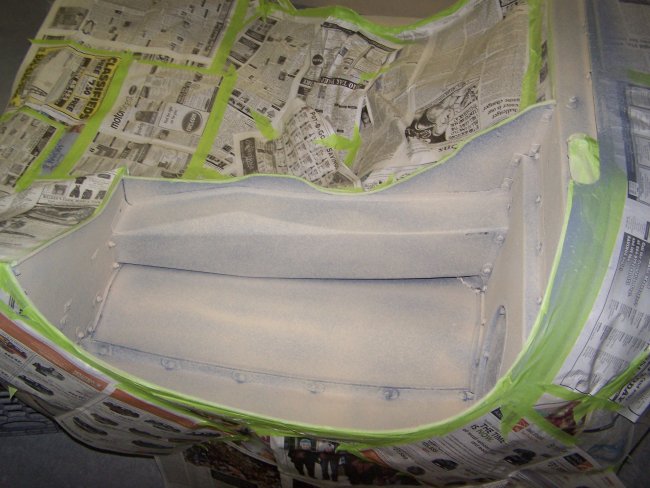
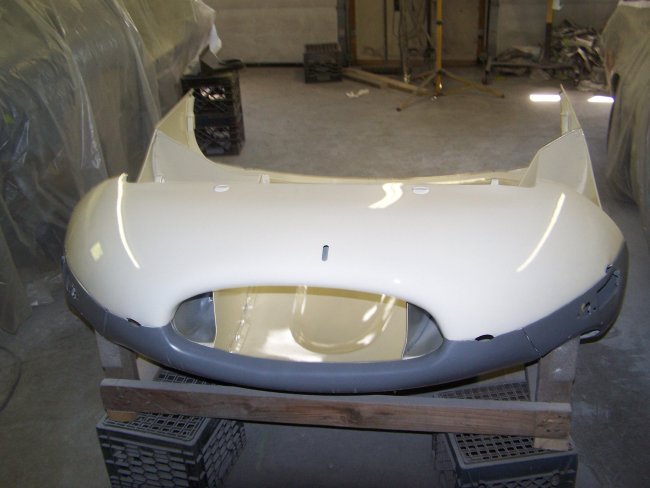
The rocker guard of choice was 3M Rocker Schutz. This required a special gun. The 3M guns cost about $75. The cheap repo guns cost $16. Guess which one I bought ? The next 3 pictures above show the undercarriage after application of three coats of Rocker Schutz. It took 2 full cans to do the job.

After allowing a good half hour for the Rocker Schutz to dry, I painted over it. Yah! Color! This took up about 1 & 1/2 quarts of basecoat.


With my rotisserie setup the interior could not be painted while the body was installed on it. So, before removing the body from the rotisserie (for the last time) I masked the holes on the underside so that primer and paint overspray would not make a mess of the underside.

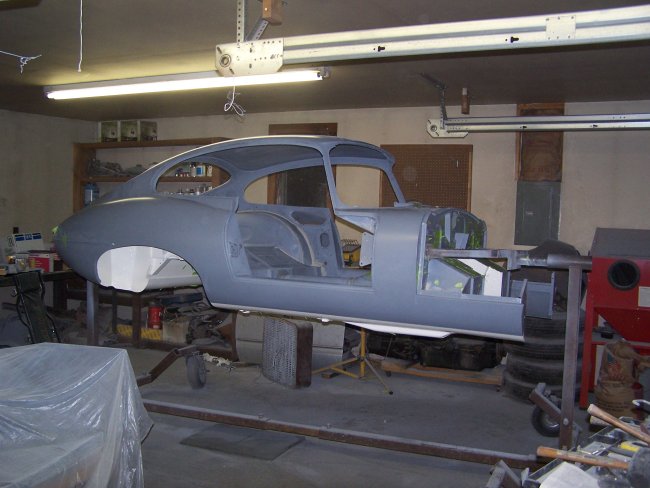
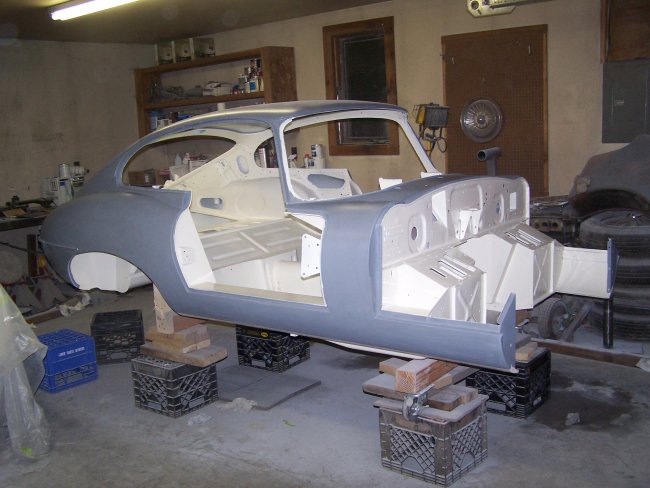
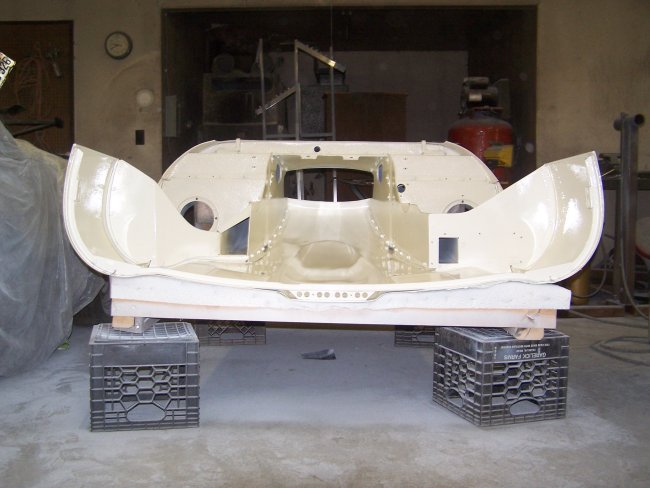
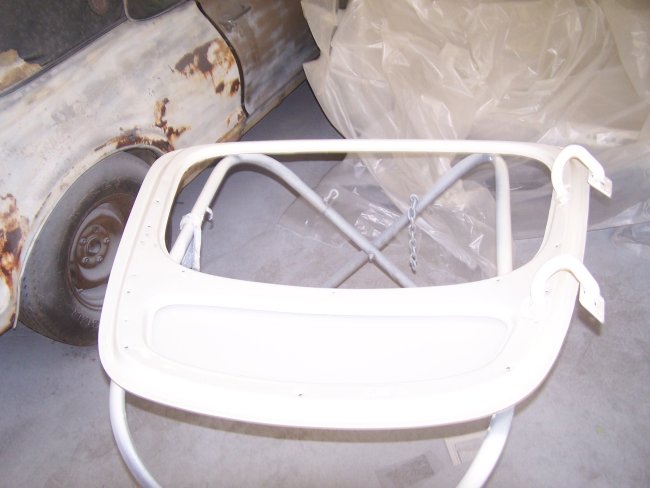
With the body setting on the cart I made earlier, I removed the body from the rotisserie and lowered the body/cart till the cart was a couple feet from the floor. This gave me the perfect height for painting the inside.

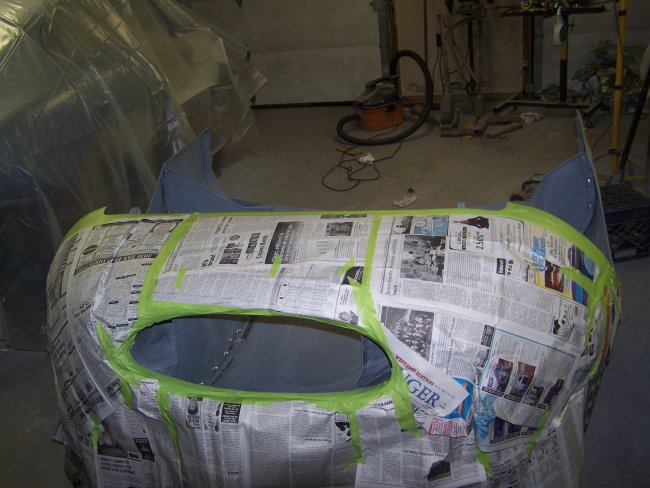
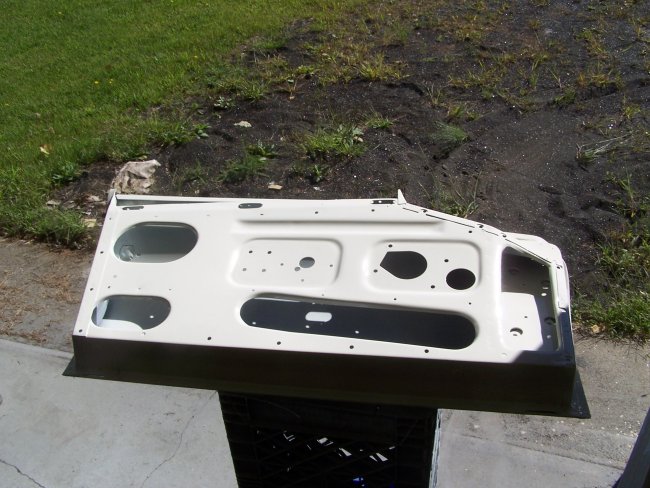
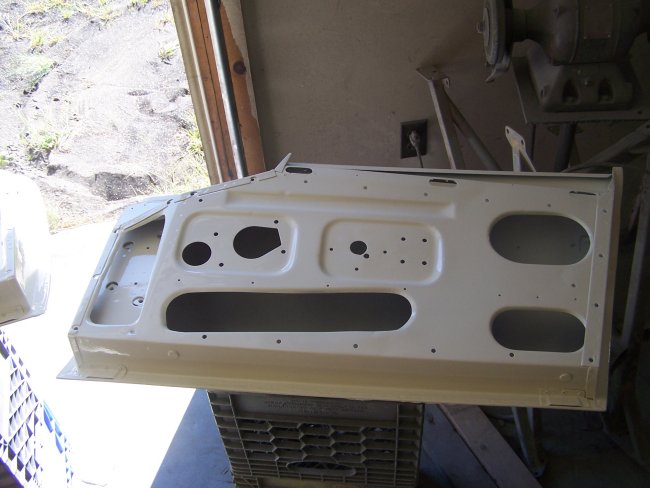
I decided not to paint the firewall at the same time as the interior, to avoid overspray issues. So I masked over all of the holes on the firewall. Then after a couple hours, I had the body fully masked. I tend to used old newspapers to mask with. It's funny that every once in a while I'll find an article that catches my eye and I stop to read it.


As with the underside, I coated the interior with reduced DP50LF non-sanding epoxy primer.


I let it cure overnight and then I painted the inside. This took up another 2 quarts of basecoat.

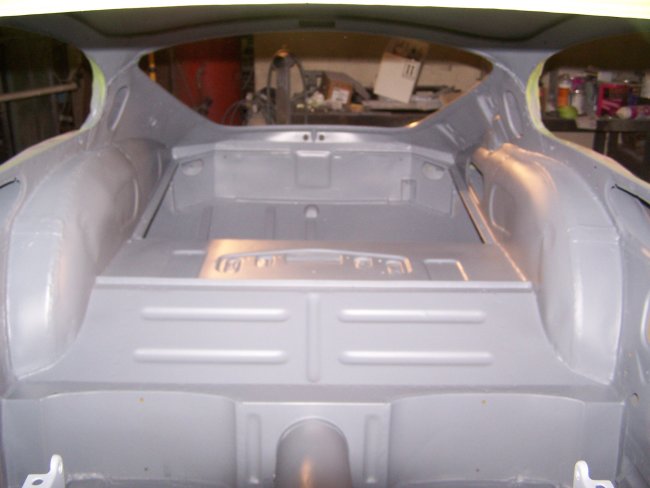
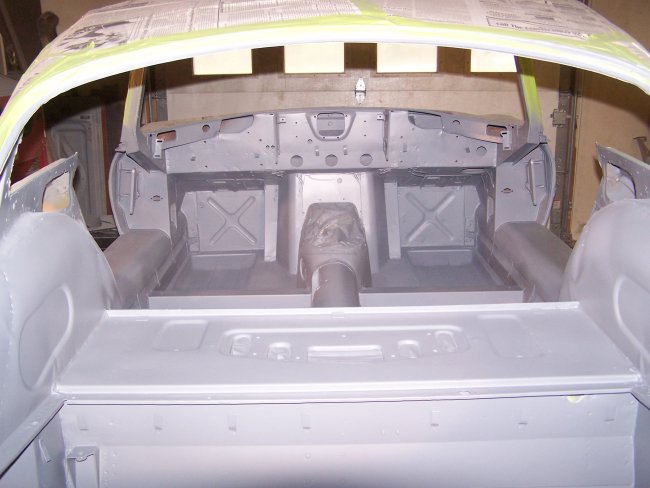
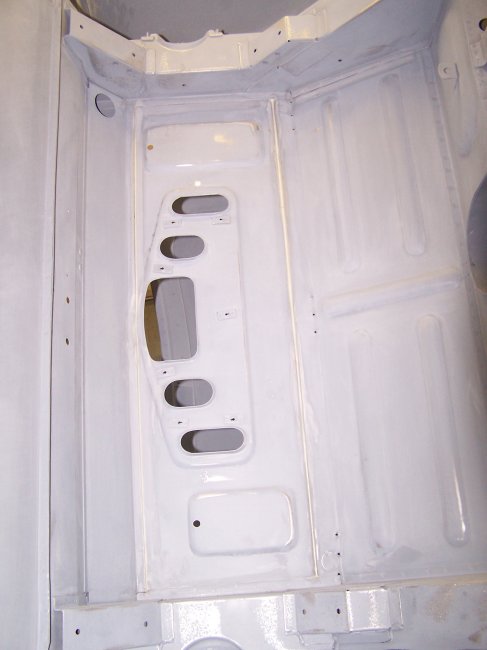
You may notice that I painted the interior with the two heater doors open. The factory originally painted them with the doors closed. I didn't want to do it that way because When the doors are opened you will be able to see the unpainted spots. It should be noted the the doors are also supposed to have a foam gasket seal glued to them. The original seal was deteriorated down to nothing. When it comes time to put the interior in, I'll make some new foam gaskets.


Next came the firewall and the gas filler. I masked off all of the holes on the inside first. And then masked the outside along the seams so that no mask lines will appear after the outside is painted. As with the interior, I sprayed the firewall with reduced DP50LF non-sanding epoxy primer and let it set overnight prior to painting.

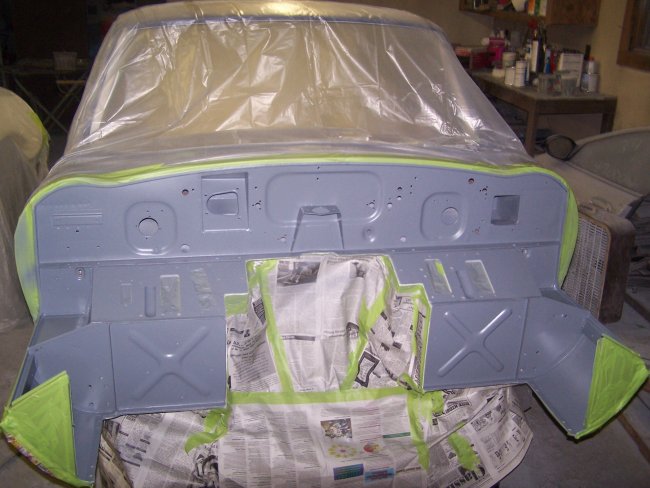
I used less than a pint of paint on the firewall and gas filler.


Next came the bonnet. I sanded the inside with 220 grit sandpaper and scuffpads. It's really difficult to paint the bellypan when the bonnet is turned right-side up, so the bellypan should be painted at the same time as the inside of the bonnet. I sanded the bellypan with 600 grit sandpaper wet and then masked it off since I would not be sealing it with epoxy primer.

As before I primed the inside with epoxy primer and let it dry overnight.


Originally the inside of the wheel arches (wheel wells) were not painted. But as with the underside of the body, many reputable restoration shops rocker guard and paint the wheel arches. So that is what I did.

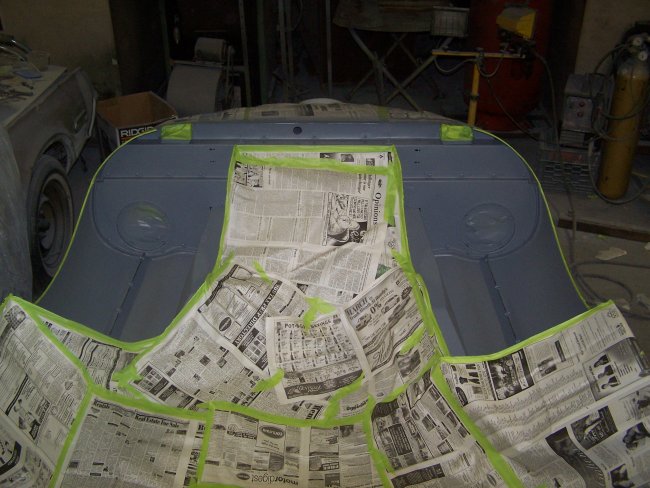
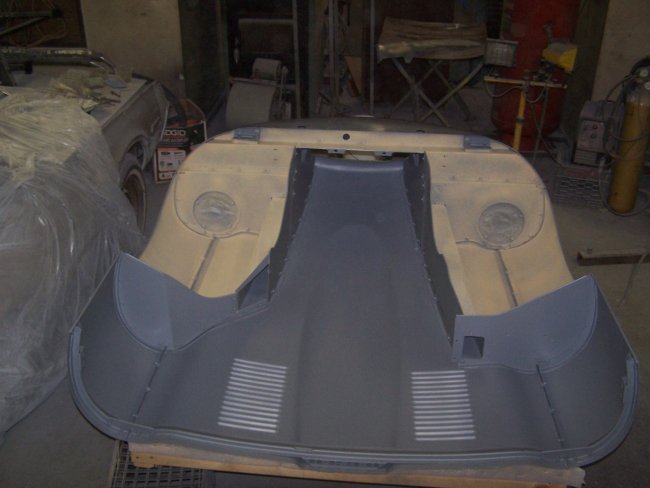
In the pictures you may notice that I masked off the hinge pivots. I decided that I wanted them to have a clean look so that you can see the detail of the parts and be able to read the head markings on the bolts.

To ensure that I had enough paint to do the job, I bought another quart of paint (at $125 per quart). The quart was dumped in to the original gallon can and mixed with that paint I had left. This helps in the event that the new quart is a different shade then the original color.

I used most of the quart to paint the inside of the bonnet and the bellypan.


The last parts to be painted where the inside of the doors and rear hatch. I also took this time to paint the inside area underneath the gas door.

Next up, the outside.


< Back 24 NEXT >