|
|
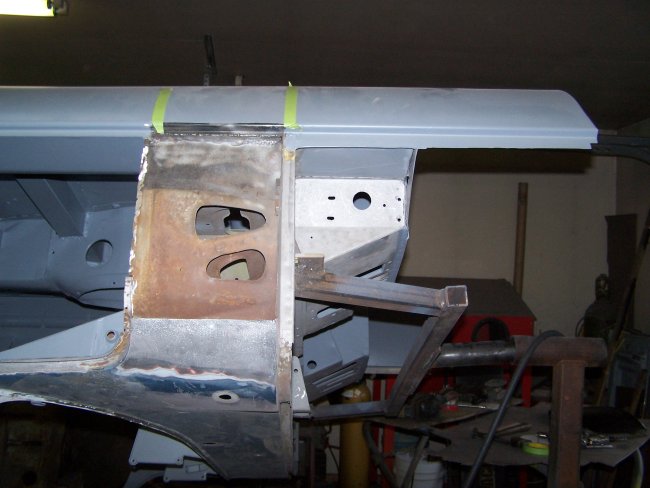
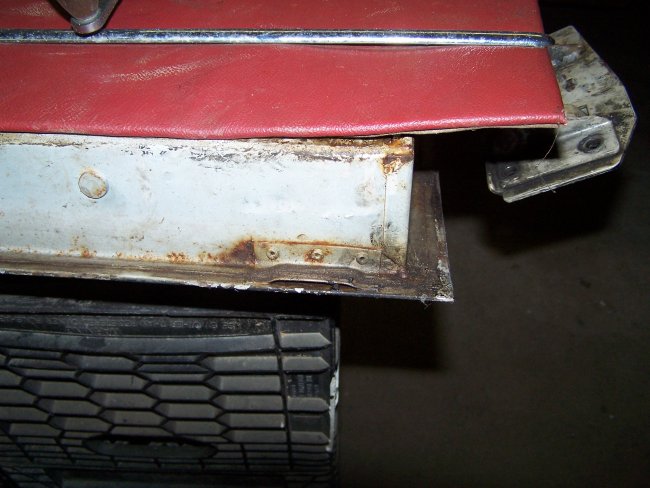
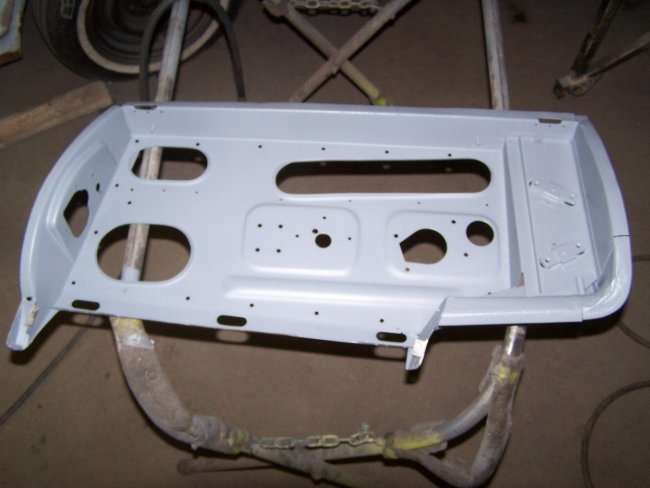
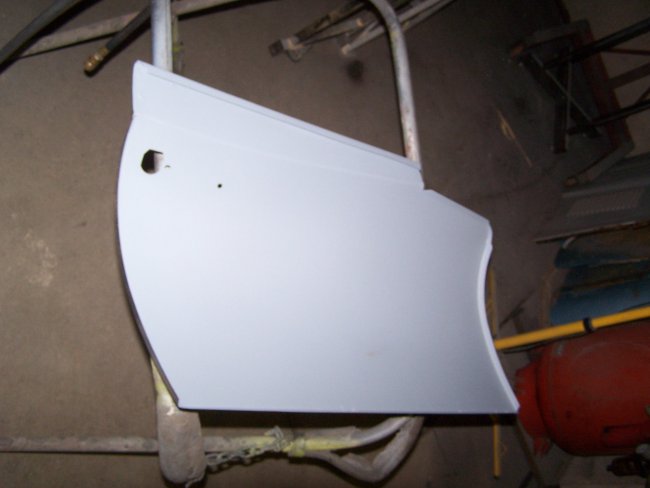
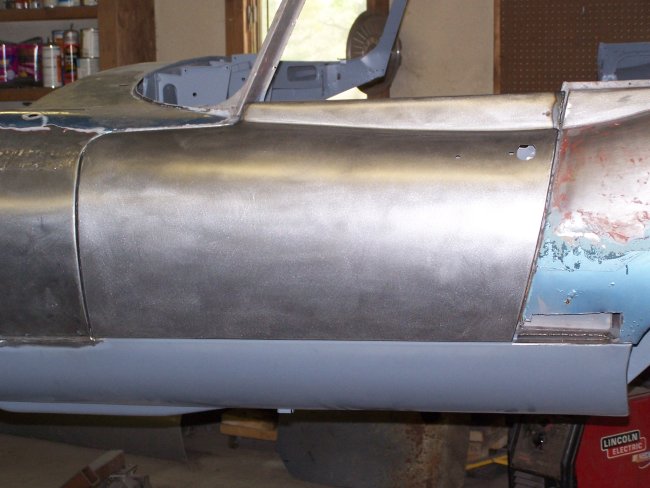
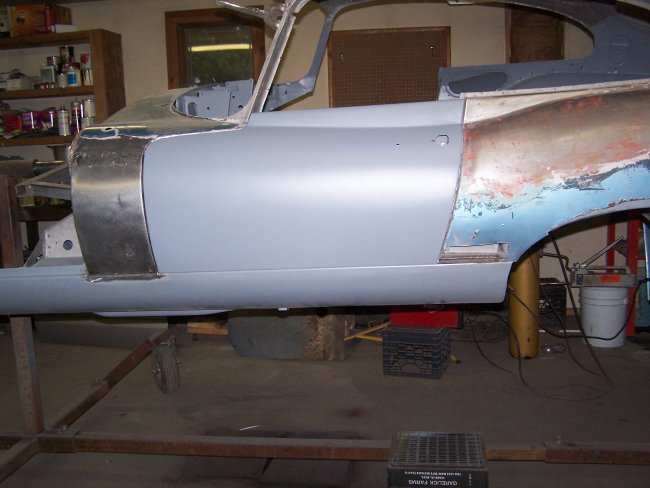
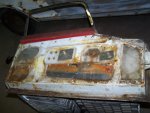
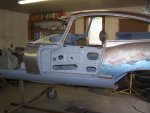
The next job I turned to was the reskinning of the driver's door. But first I had to replace the left hand side panel to ensure that the door skin was aligned properly. Previously I had removed as section from the side panel to install the rocker panels.
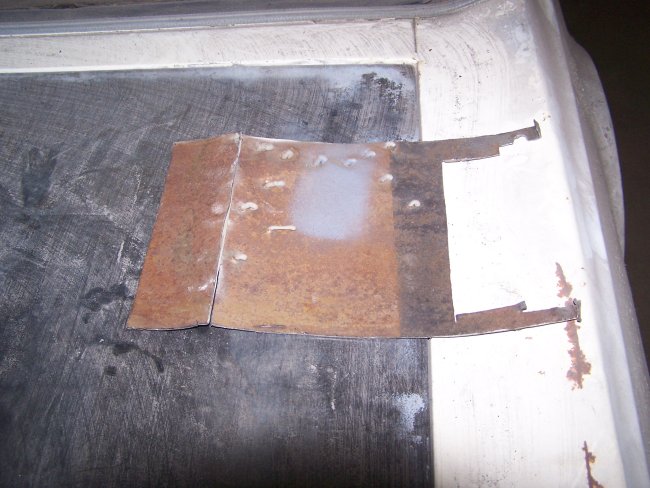
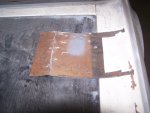
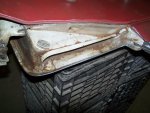
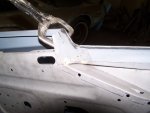
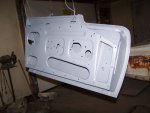
As it turned out the side panel had been previously repaired, which was bad enough to warrant replacing the whole panel. As you can see in the second picture above, holes where drilled into the panel for repair with a dent puller. The tool screws into the holes
and the dents are pulled out. The holes were then filled with bondo. The bodyman did a poor job of pulling out the dent because the bondo was 1/4" thick.
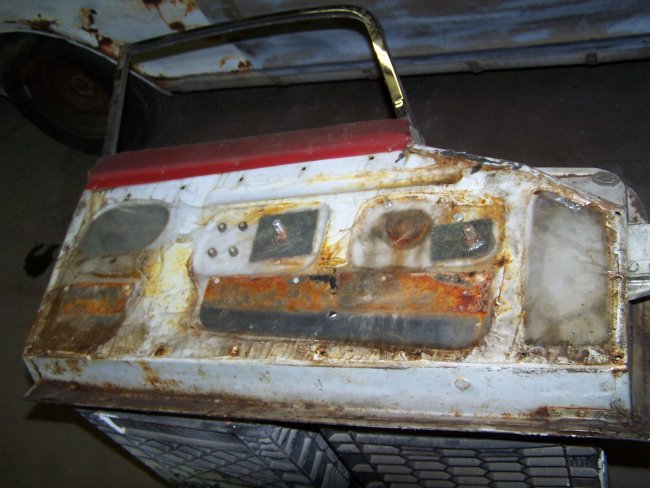
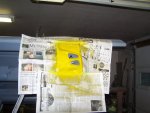
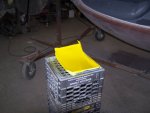
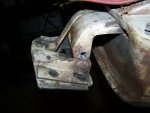
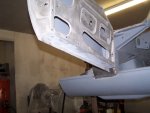
New side panels are relatively inexpensive so I cut out the old one out and welded in a new one. In the above pictures you can see the exposed inner structure just before I primed it. And as always Wurth Body Wax was applied as a protectant
prior to welding.
|
|
|
|
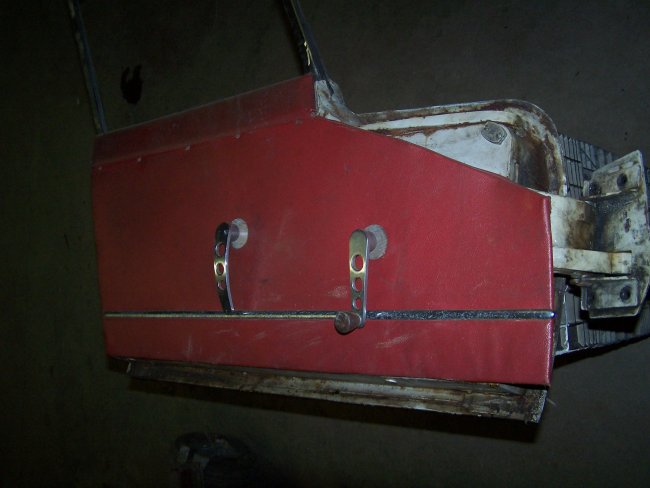
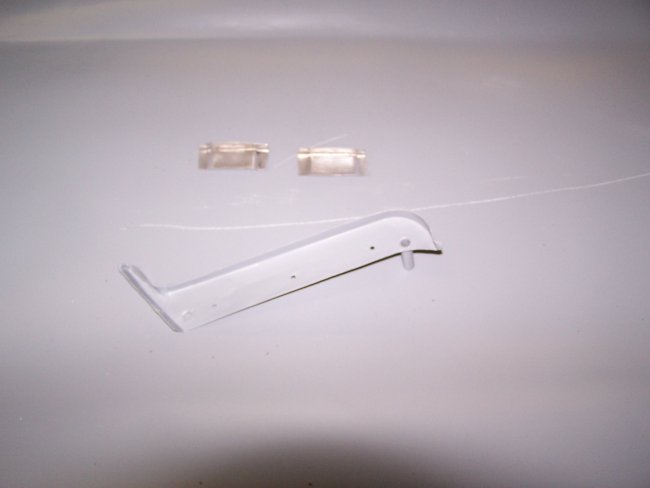
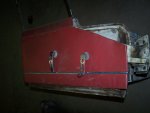
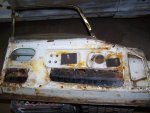
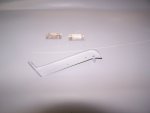
The door reskinning process began with me dismantling the door. It's a good idea to take a lot of pictures. In the first picture you can see one of the very few non-original parts on the car. At some point someone had replaced the
original door handles and window crank handles. The replacement ectuchens were made from wood. The three hole detail on the handles resemble the detailing on the steering wheel. Perhaps there was some dress-up kit available for these cars?
The second picture shows a few of the front gutter. This part is rivetted and brazed on. It should be removed when reskinning the doors so that hidden rust can be treated.
In the third picture you can see where holes where drilled into the hinge (there is another one on the other side). At first I thought that this was done by someone because they had a squeeky hinge, but I've seen this on many E-types on the web. If this
wasn't done at the factory then, it was done as a common repair.
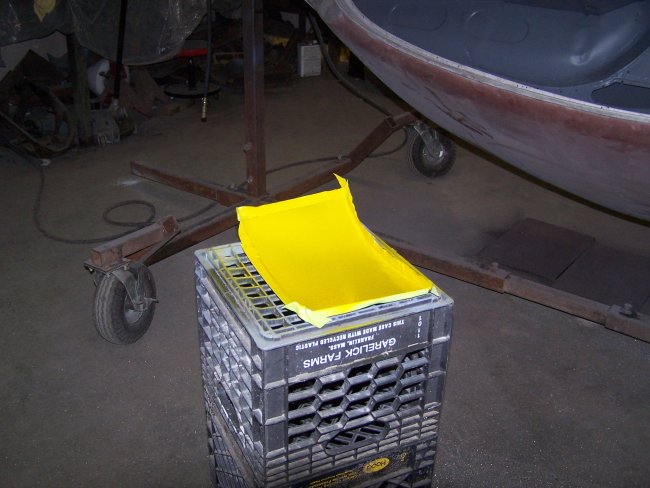
The last picture shows one of the rain gutters underneath the doors. They are rivetted and spot welded to the door. I ended up making new ones, because they were quire rusty and couldn't be removed from the doors without
destroying them anyways.
|
|
|
|
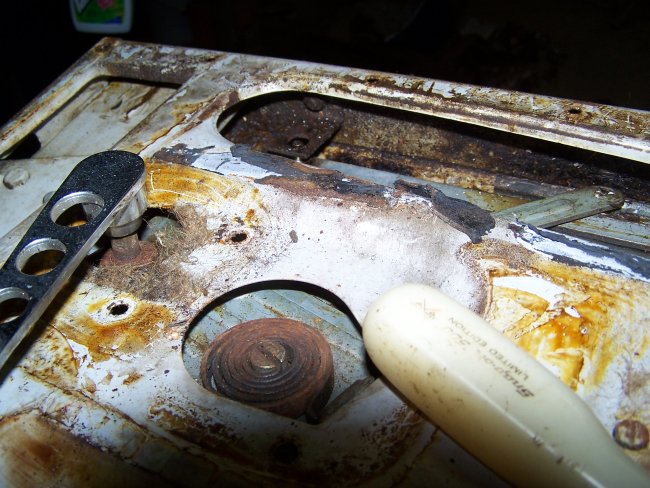
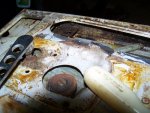
This series of pictures shows the details of the left door during the taredown. I had a real hard time getting the window frames out. They are screwed along the top of the door and are bolted to some brackets at the bottom inside of the door (refer to
the third picture). To get them out, you have to remove all of the components and then lift them up all the way to the top untill the bottom brace hits. Then you have to tip them about 90 degrees to get them out.
I am going to have to be real careful when putting them back in once the car is painted so that I don't scratch the paint.
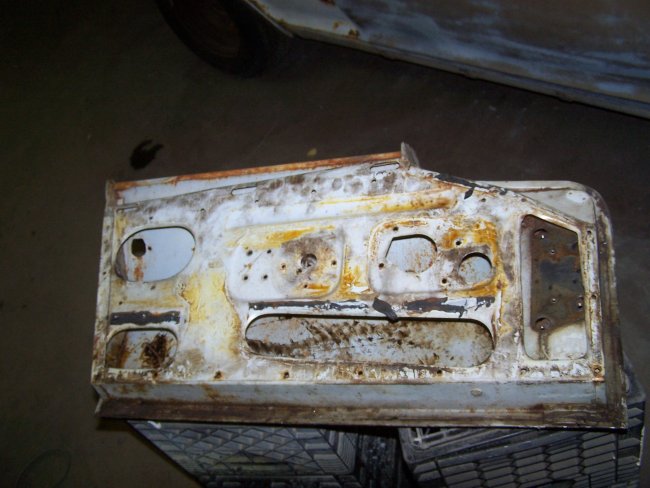
In the last picture there is a black area where the hinge was bolted. The absence of paint tells me that the car was painted with the doors installed. I will probably leave the doors off for painting so that there isn't a mask line around the door openings.
|
|
 
|
|
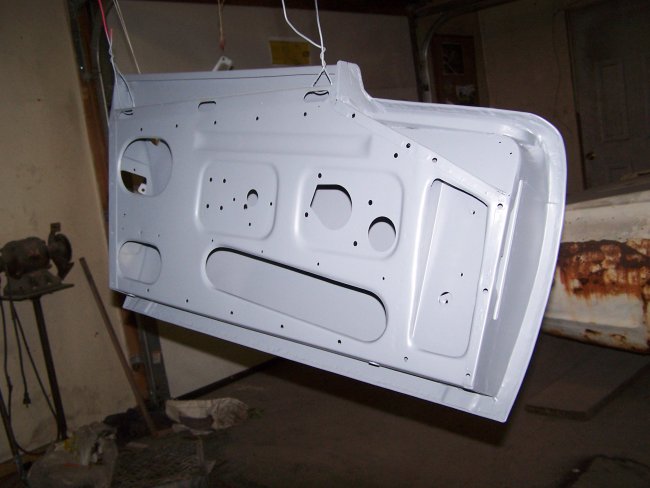
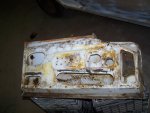
The skin was removed from the door using a stone grinder. I ground the edge of the door along the parameter and pulled the skin off. That left just the lip on the inside edge of the door to take off, which was quite simple
since it was only spot welded in a few locations. To remove the upper gutter, I had to drill out the rivets and use torches to melt the braze. The shell was then sandblasted. It was then primed on the inside along with the backside of the new door skin.
It should be noted that the factory primer should be removed from new panels since it is only adequate enough to keep the panels from rusting while in stock. Lacquer thinner takes the primer right off.
I then mounted the inner door shell to the tub so that I could properly attach the skin at the top corners where it is bead welded in place (refer to fourth picture above).
The last picture shows the gutters for the right door. I didn't take any pictures of the ones for the left door.
|
|
|
|
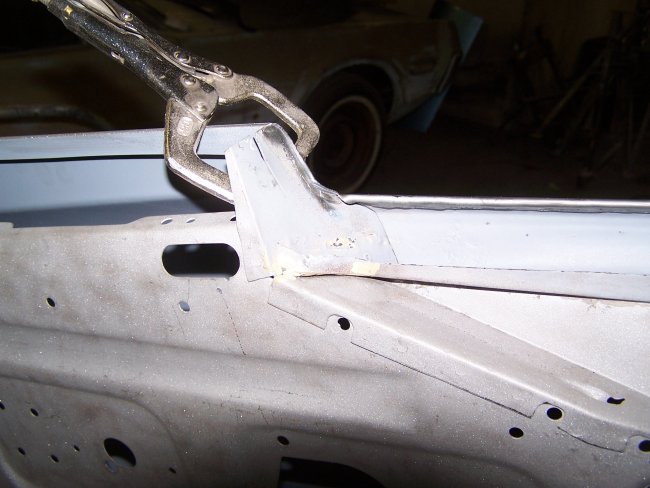
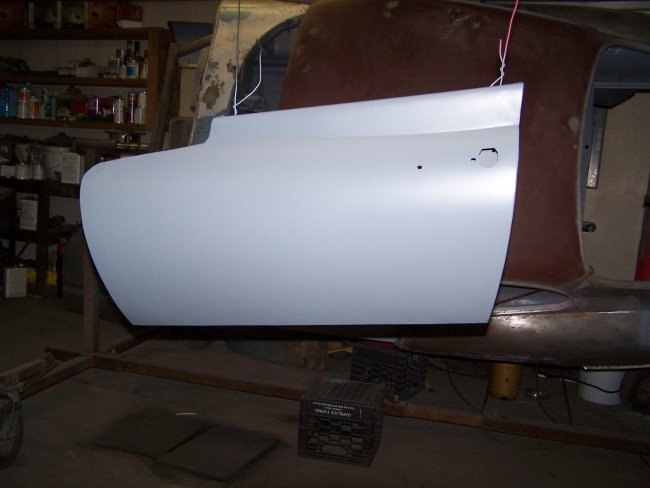
The top outer edges of the doors were bead welded in place like original. Using a hammer and dolly I bent the lip around the back. I then spot welded the skin to the door in the same locations as the
factory. Note: For the spot weld to work, primer had to be removed from the backside of the skin and on the lip of the door so that a good electrical contact could be made.
The second picture is a view showing the lower gutters, which were a pain to install because my rivet gun could not be positioned at the angle that was necessary to pop the rivets. I had to pop them at the wrong angle
and then hammer and dolly them into the correct orientation. Once that was done the bottom corners were spot welded to the lip like original. With that done, the door and hinge was removed for priming.
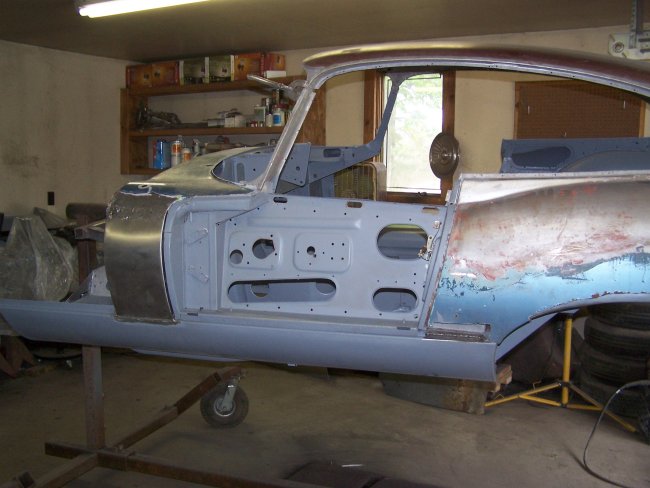
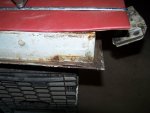
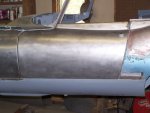
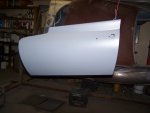
The last picture shows the door back in place. You can also see the installed side panel, which had not yet been primed since it needed to be bare steel for the lead loading process.
|
|