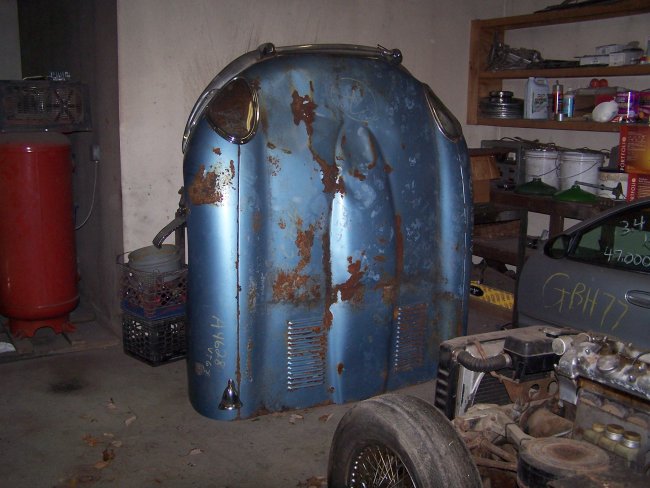
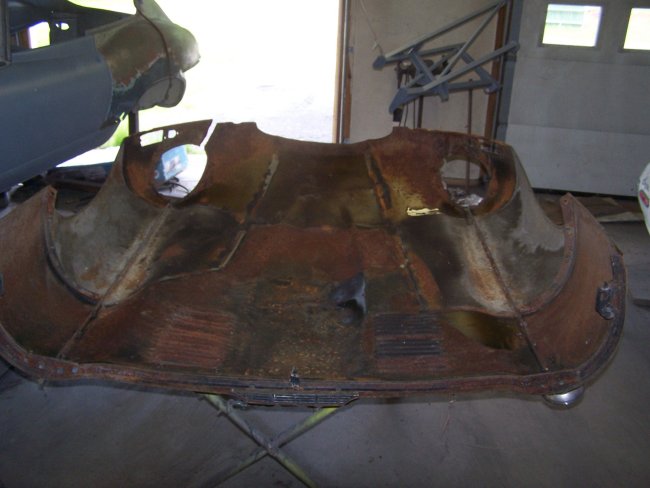
So I decide to see if I could fix the original center section before I spent another dollar. The first thing I discovered during the tare-down was that the bonnet was not original. In fact someone had replaced the whole assemble with a brand new one. That must have cost somebody some big bucks. I should have realized this earlier since there was no paint on the inside of the bonnet. There was a patch of factory primer between the louvers, but the rest was just surface rust and a thick coating of protective oil, which must have been factory applied.
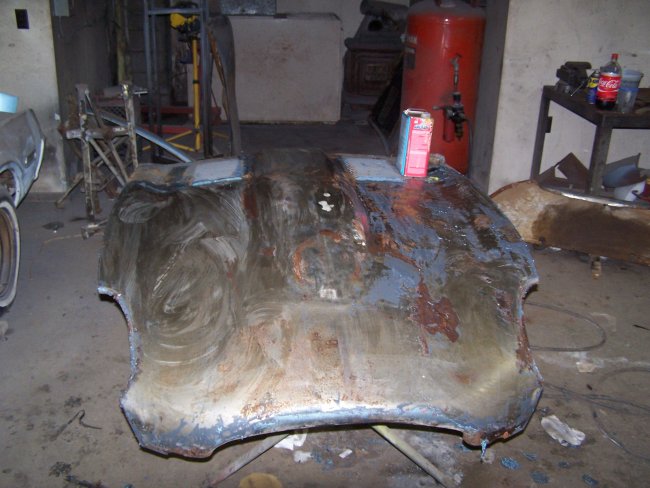
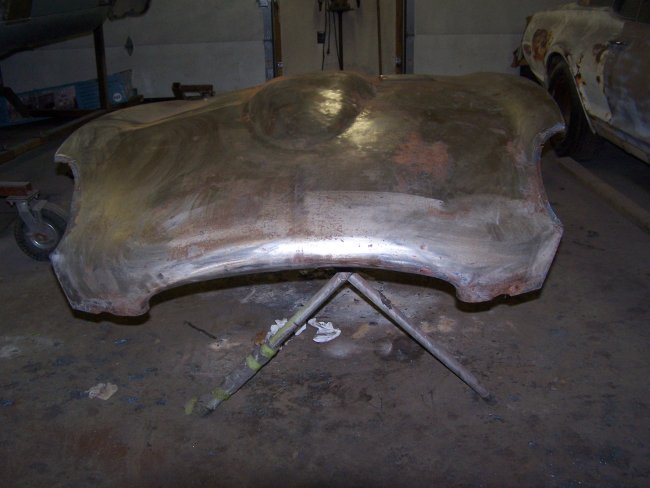
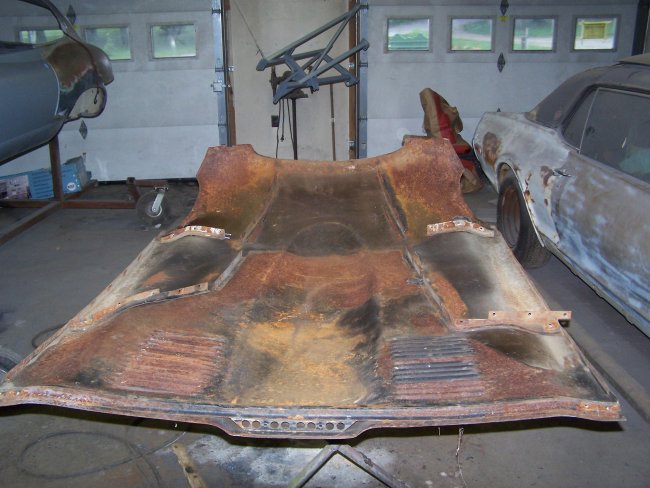
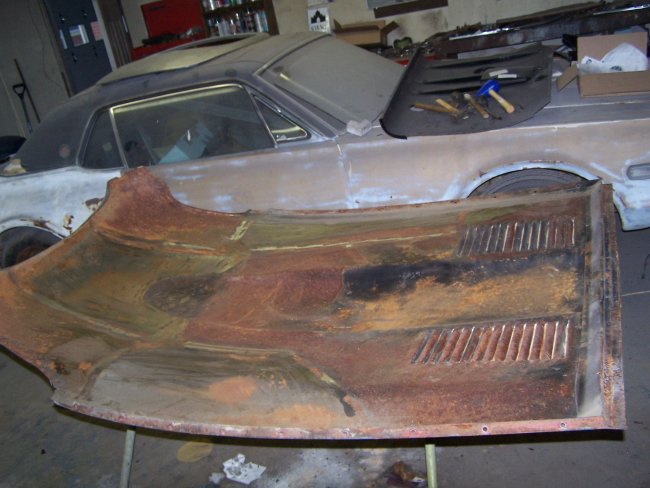
I started out the repair by pounding out the big jambs using a variety of hammers, rubber mallets and plastic mallets. Then using the old school, pre-bondo, technique that my father showed me, I used a pick hammer and a flat body file to flatten out the dents. This took me quite a lot of time. As you can see in the last picture above, the bonnet center had come out damn good. I could have saved myself $500 if I had tried this earlier.
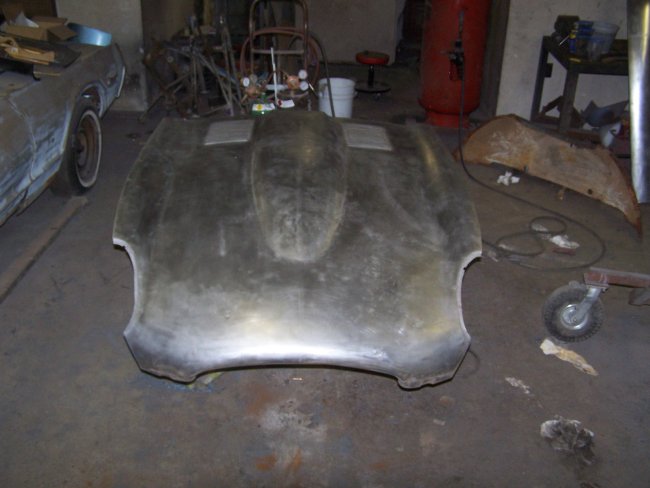
Since I was planning on taking some time off from working on the project for the summer, I primed the bonnet center section with DP50LF Epoxy Primer to protect it until I was ready to continue working on it again.
| < Back | 12 | NEXT > |