|
|
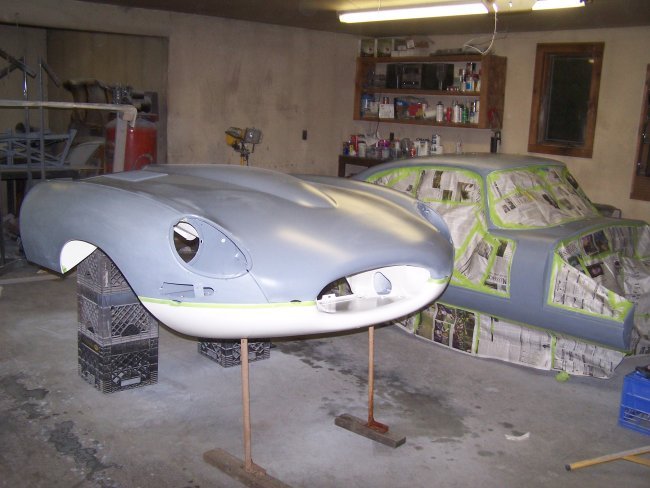
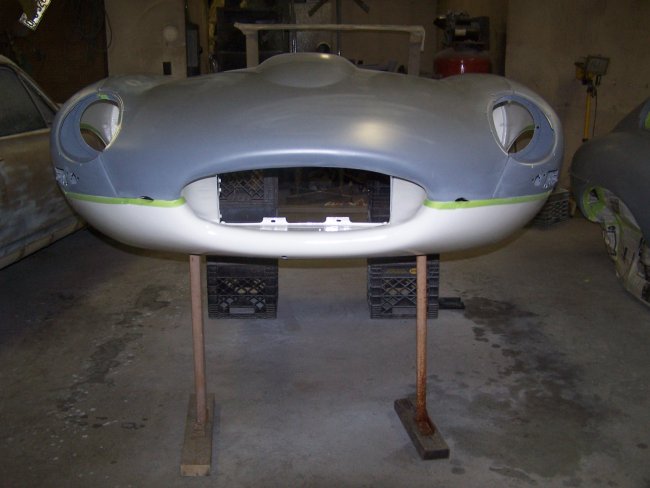
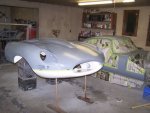
With only the outside left to paint, the body and cart were lowered to the floor. I then sanded the primer first with 400 wet followed by 600 wet. I only use 3M or Meguiars sandpaper.
There is a lot of crappy sandpaper out there. For sanding I use a spray bottle with lightly soaped water. I use sanding blocks that are made up of
a dense foam on one side and a softer foam on the other. The dense side goes down against the work surface. I also use a rubber squeege to wipe the water away as I sand so that I can get a good look at the surface
that I have just sanded to locate any imperfections.
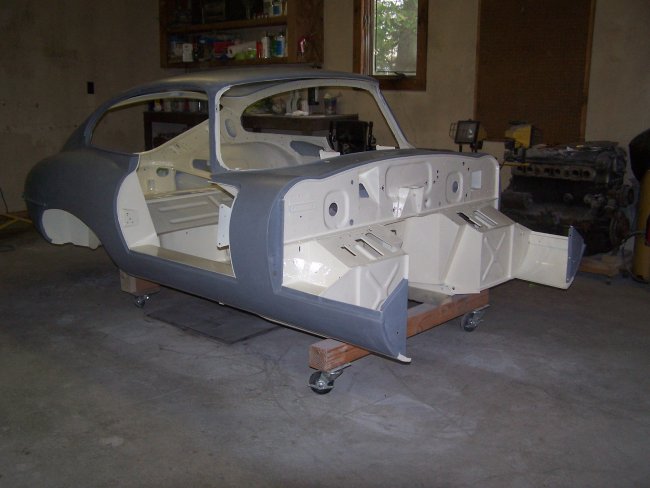
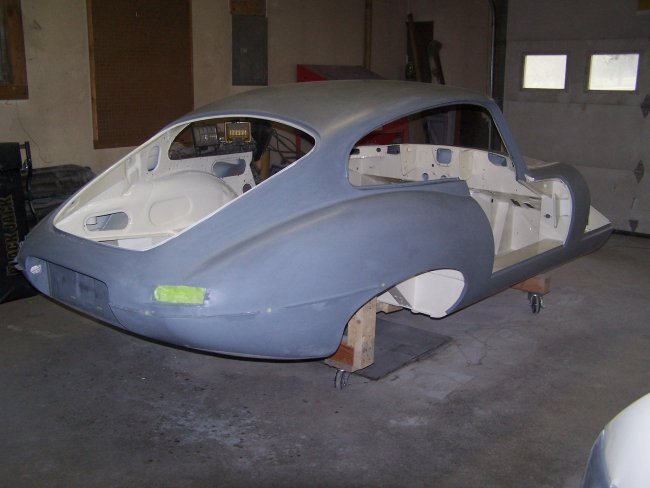
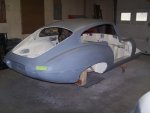
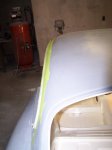
In the above pictures you can see the body after the sanding was completed.
|
|
|
|
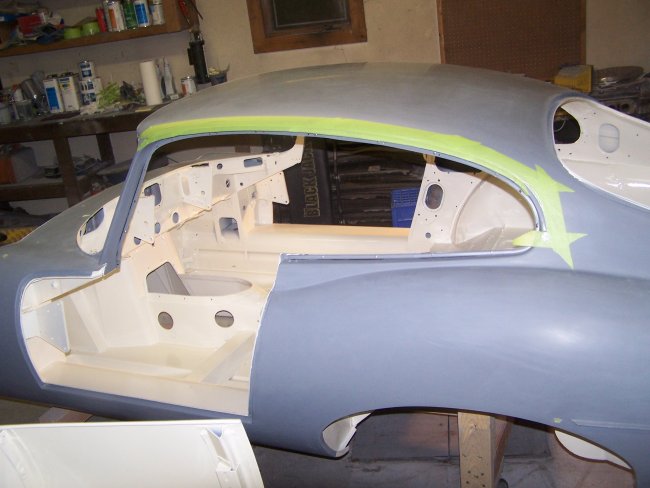
Even after sanding there were a few tasks that needed to be completed on the body prior to painting, which don't seem to get any mention on any of the restoration sites that I have see.
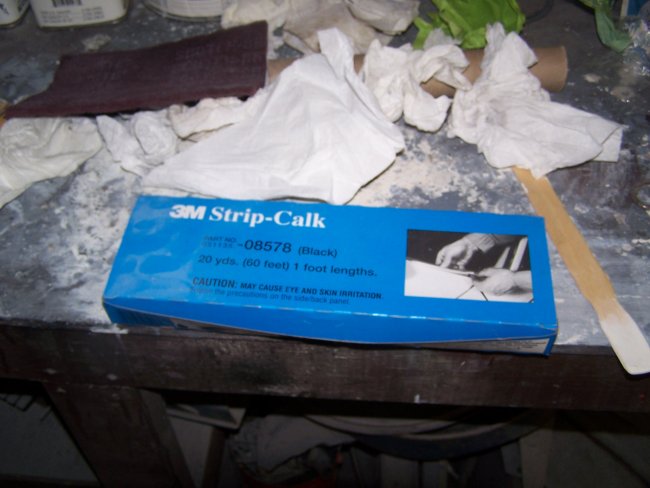
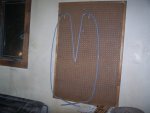
The first task is to attached the roof rail weatherstrip retainers. I don't think restorers typically remove them, but in my case I had to because the roof was changed. The retainers (seen in the first picture above) are set in a bed of strip-calk
and are pop-rivetted in place. Care must be taken to use the right holes for the pop-rivets, since some of the holes are used for holding the roofrail interior trim in place. In my case I had to drill new holes along the roof rail for the
pop-rivets and the trim mounting holes, again because the roof was changed.
|
|

|
|
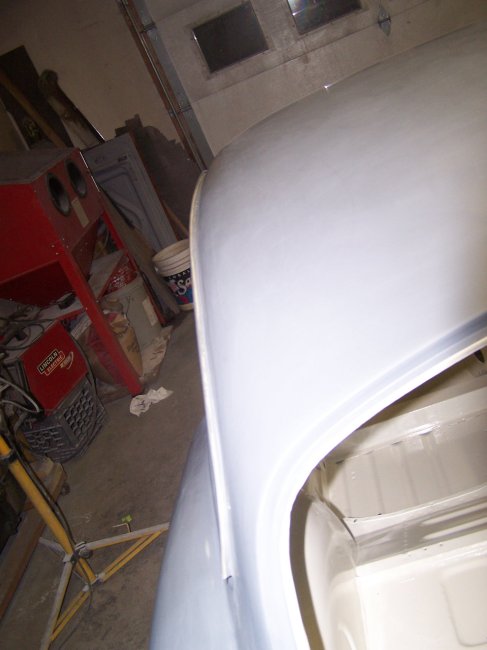
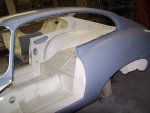
The second task is to seal the seam where the roof skin is attached at the drip rails. All I do here is to mask off the area where I do not want the seam sealer to go. I then lay a thin bead of 3M 8505 Fast & Firm seam
sealer along the seam (SEMS also makes a nice seam sealer for this task). I then wipe my finger down the seam to smooth it off. After a minute I removed the tape.
Now the body is ready for masking and painting.
|
|
|
|
The bonnet was the next thing to get sanded. It was kind of tricky flipping it over. I first made a couple legs out of an old bed frame and a few pieces of wood. I attached them to the bonnet balance link mounting holes (with the paint protected with masking tape). Then I wrapped the rear
seam of the bonnet with 1/2" pipe insulation. Then, with the help of my father and wife Lisa, we picked the bonnet off the milk crates and set it on the rear where it was protected by the foam. We then flipped it over the rest of the way with the feet
resting on the floor and the rear held up with milk cratest. For you Red Dwarf fans out there, it kind of looks like 'Car Bug'.
|
|